As I do all my woodworking currently outside the back of our garage, I spend a lot of time standing up. I recently started borrowing my wife’s folding step stool from the kitchen to sit on while sanding but obviously, this is not a perfect solution (and she’s not ecstatic about the idea)! So I decided to make myself a small stool to permanently live out in the garage purely for woodworking that I can use whenever I’m outside and am doing a relatively simple task like sanding. I will hopefully be able to have an inside shop in the garage at our new house when we move (at some point in the next few months!) and will design a new workbench and taller stool then.

So this stool started as a single board (of scrap wood I obtained from someone getting rid of a load), which was then cut into the top, two legs and the centre brace section. Once I had cut the legs from the board to length, I measured a 15° angle at the top and bottom of the legs. That way the legs would be slightly splayed out from the top of the stool but would still rest flat on the floor. I cut the legs to my marks and then moved on to the top.

Following the plans I found online exactly would have made the stool slightly quicker to make, but as I don’t have a pocket hole jig I decided to use a dado joint (housing joint) to more firmly secure the legs into the top section. That way the stool would be held together slightly more securely than just through glued end grain on the legs and possibly some screws at odd angles.

I marked out the areas where the two legs would go and then using a combination of a straight bit in my router and a chisel, I cleared out all the wood from the two dado grooves. I made sure to follow the same 15° angle on each side of the dado, so the legs would slot into the groove and sit at the correct angle. This was a bit fiddly to do and in future would probably be easier with some kind of jig to allow me to angle the router to make the cuts, rather than having to do all the angle cuts by hand using a chisel.
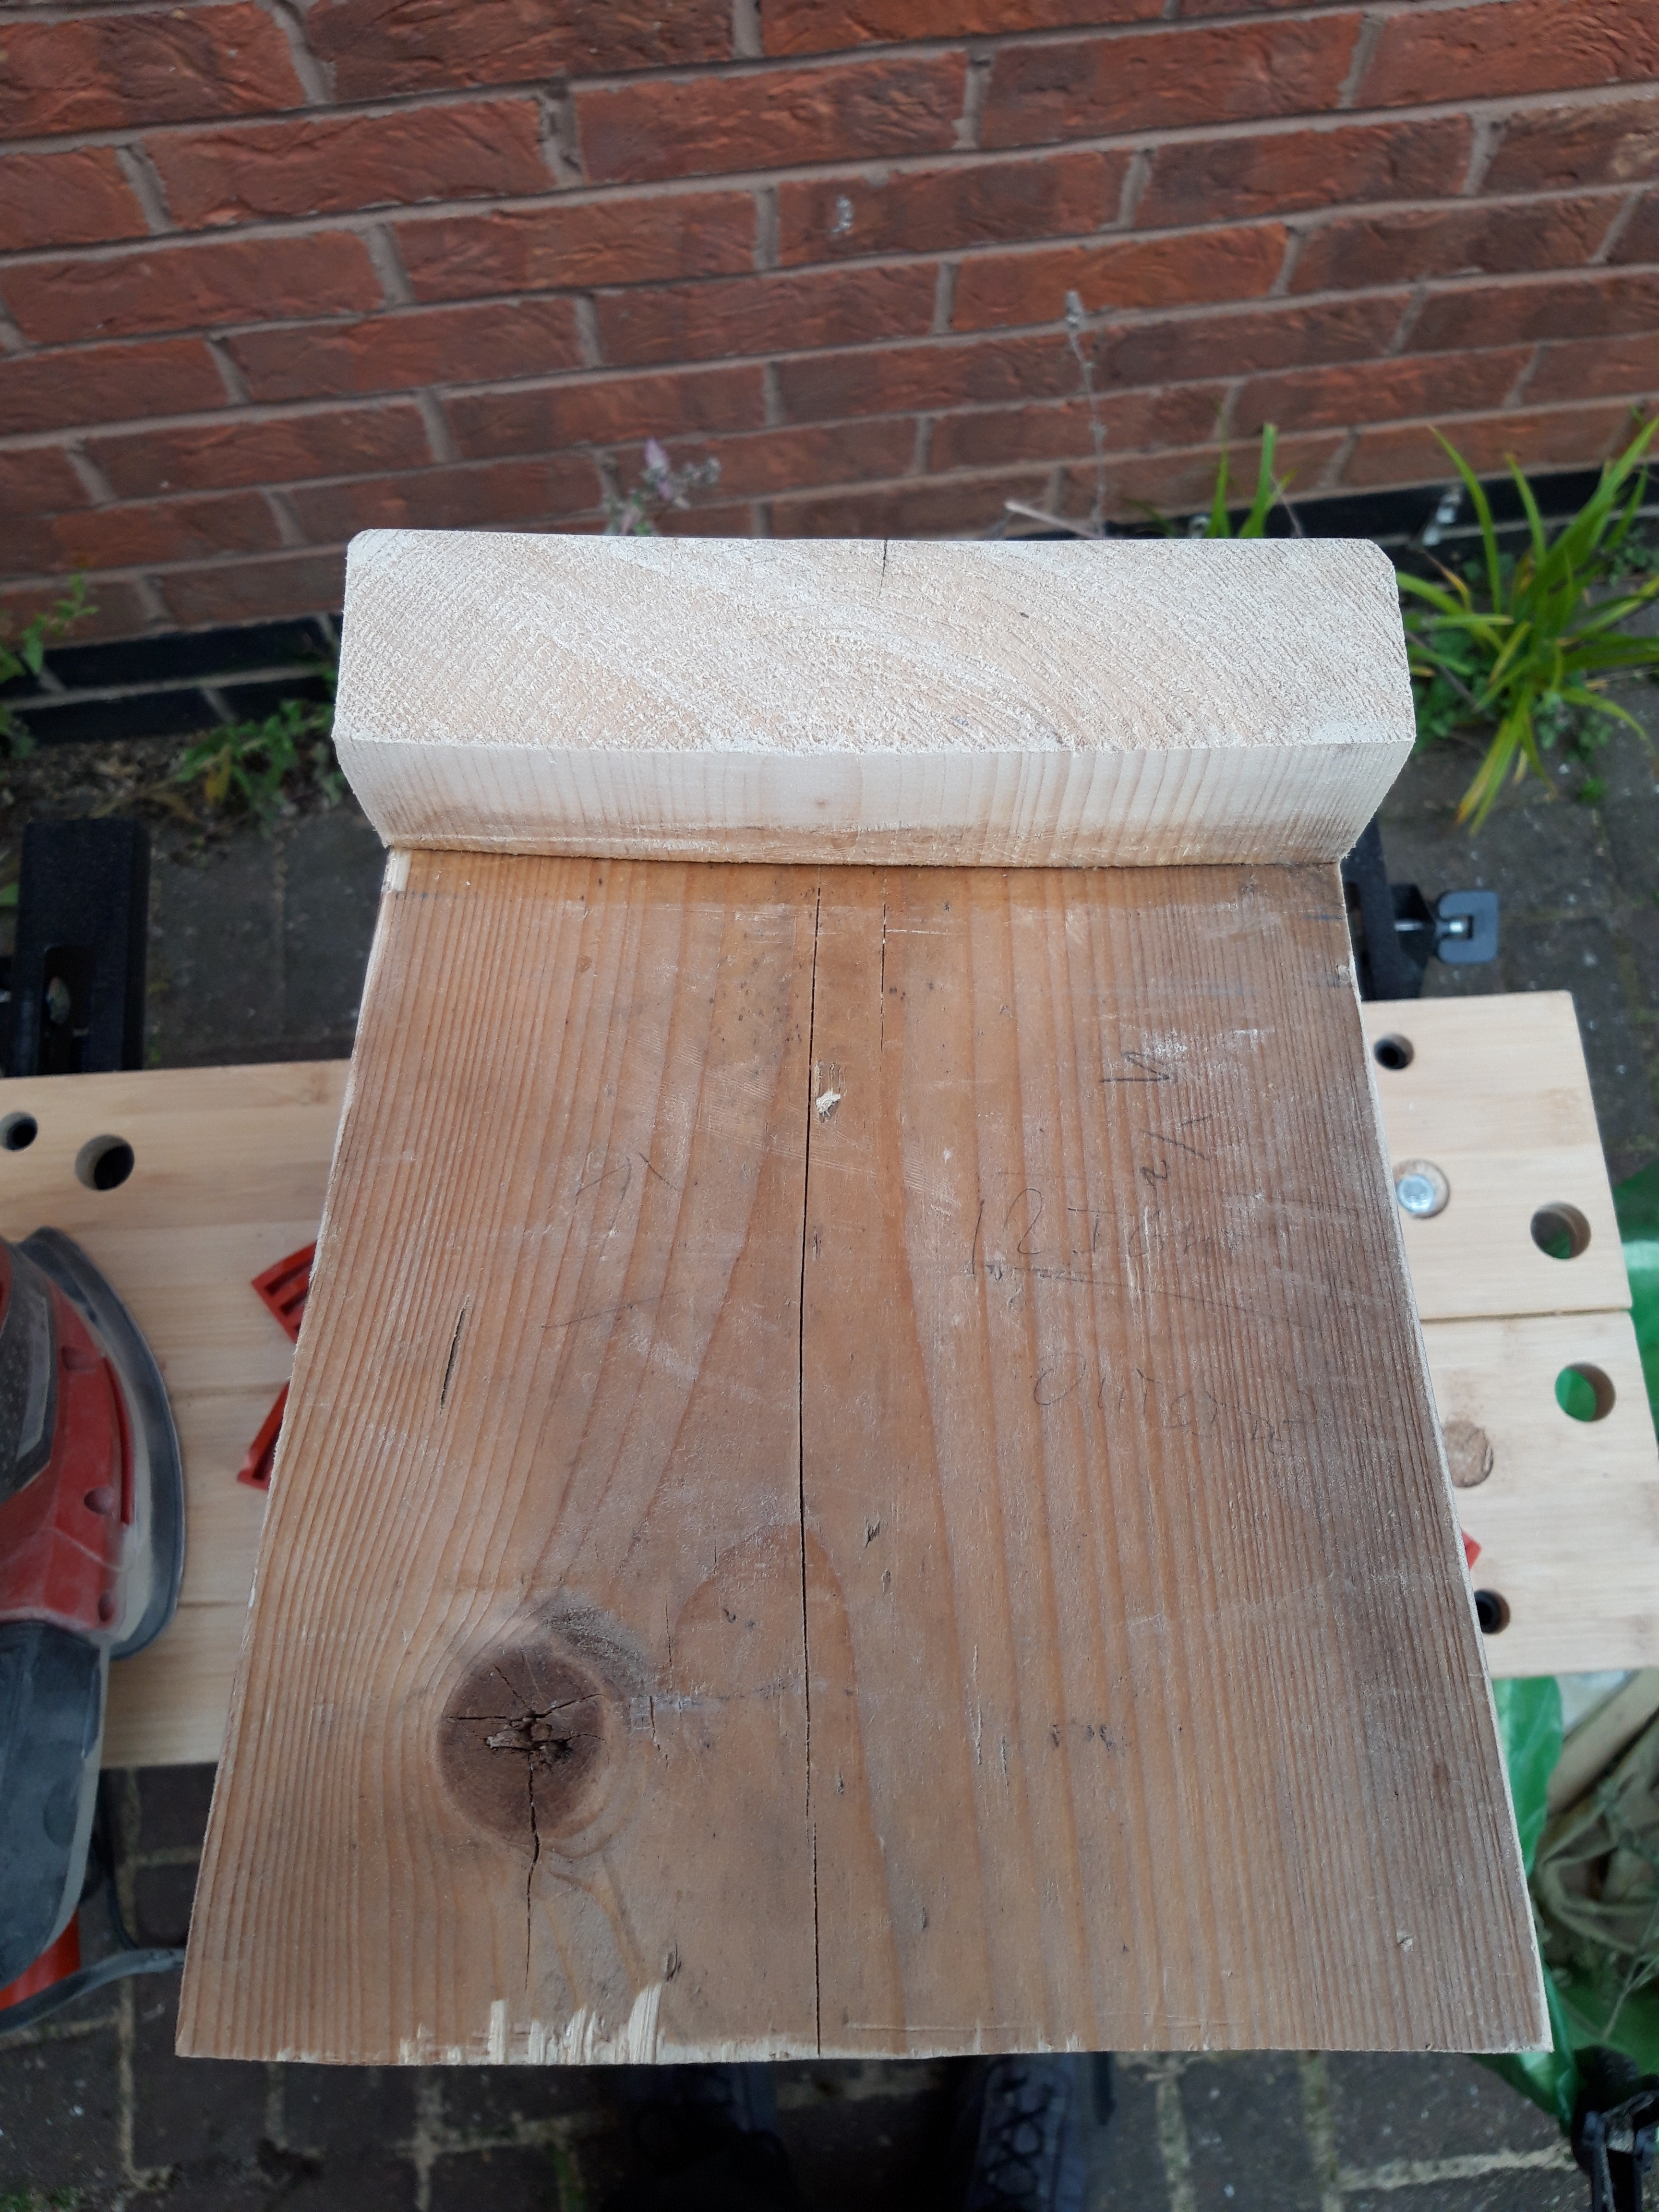
Once the dado grooves were completed, I gave all the pieces a thorough sanding going up through the grits and then started the assembly. As the stool only has four pieces, it was very quick to put together. I glued up both the legs and then used the dimensions between them to allow me to fine tune the dimensions of the centre brace, which I then cut to size.

I glued the centre brace into the middle section between the legs and then turned the stool the right way up and left it for a couple of days to fully dry. Then it was a large amount of sanding again, working my way through the grits, to smooth all the surfaces of the stool and make it comfortable for sitting on. This took a little while, but as the board was reclaimed scrap, it was really quite grubby and was considerably darker on the sides which had been exposed to the elements. By thoroughly sanding the wood on all sides I uncovered the much paler wood underneath.

I debated leaving the stool unfinished (ie with no finish applied) but eventually settled on wiping it down with some linseed oil to give it some protection as it will be living in the garage, which gets quite cold over the winter. And I have already made great use of it, spending quite a while sitting on it to sand a variety of different projects which I made people for Christmas (posts to follow!). So overall I am very happy with how the stool turned out and it has been a useful surface for placing tool cases on too, rather than meaning I have to always bend all the way down to the floor. So in summary, this was really fun to make and it has been incredibly useful too! 🔨

3 thoughts on “Knot too difficult a project – a one board Farmhouse Stool”