Hello again! It has been a good few months since I last posted, but it has been an incredibly busy time. I have moved house over 200 miles to the south of England and work has also been delightfully busy, with relocating sites into a brand new building too! So I have been doing a lot of unpacking, sorting and setting up of my new workshop space in the garage. But I have reached a point where I am able to make lots of projects again, so I thought I would start sharing what I have been creating again!
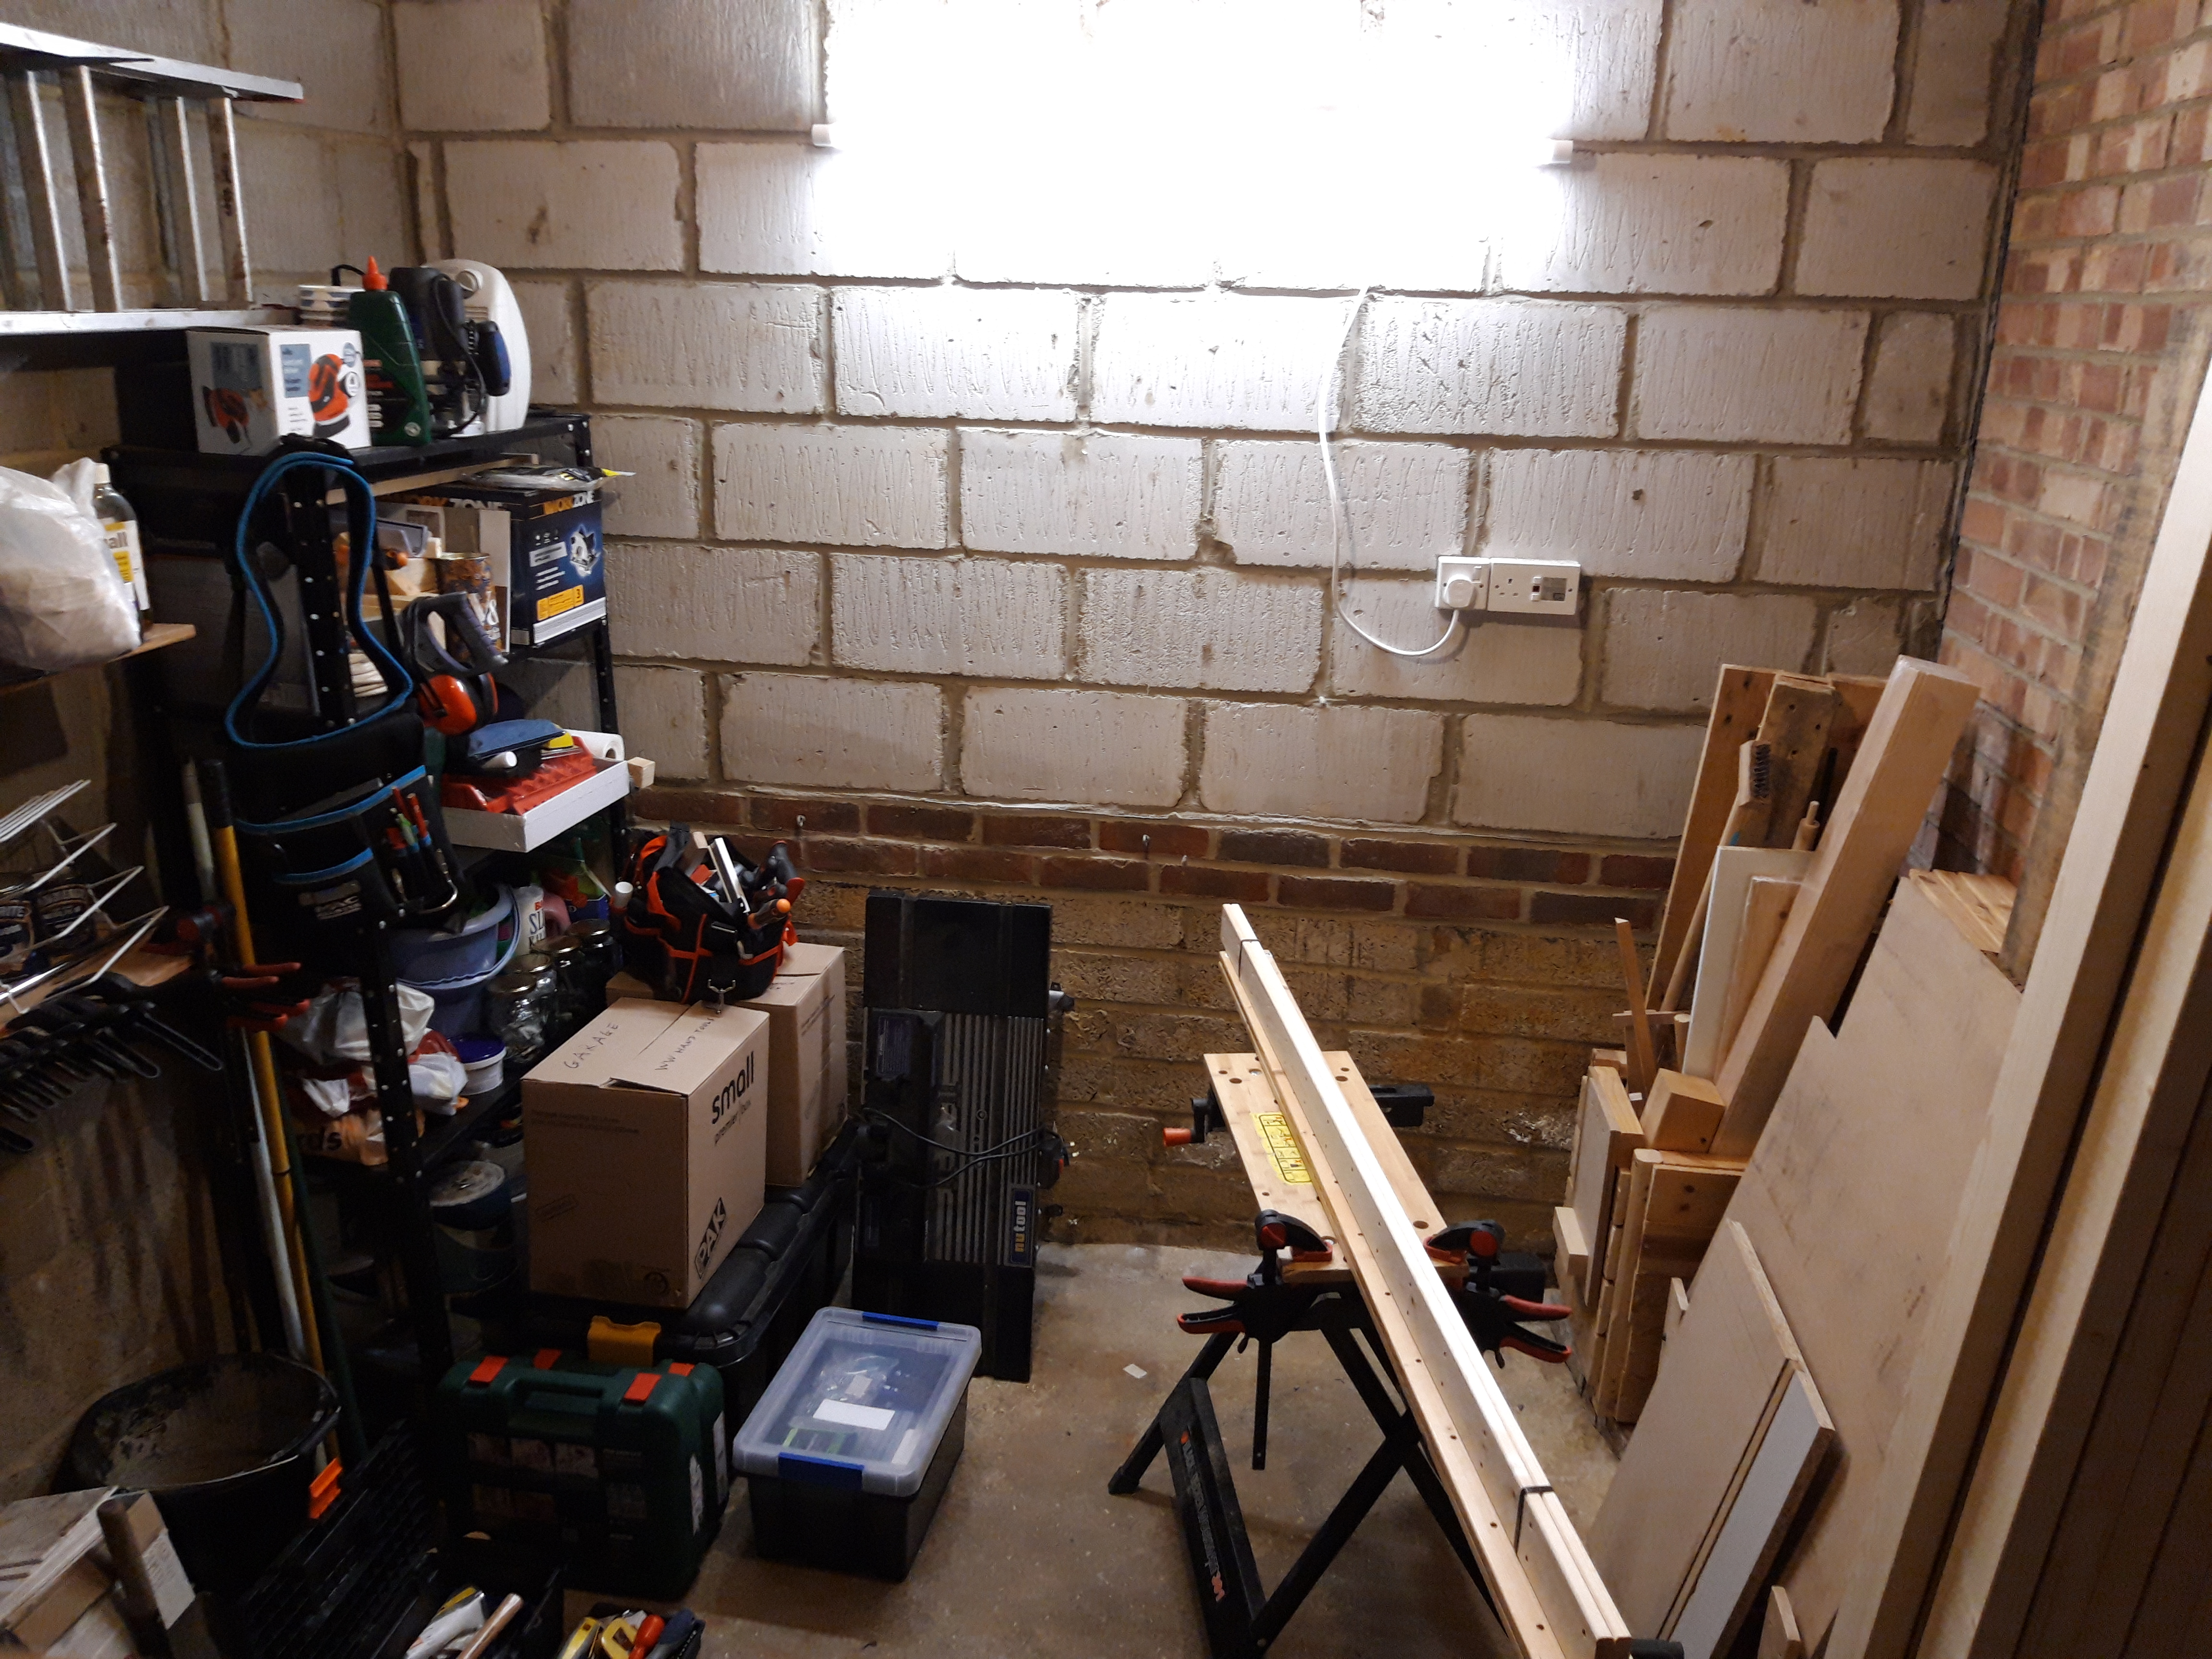
The first step in getting the space suitable, alongside with simply moving everything into neat piles, was to get sufficient light where I needed it. The garage initially simply had a single light bulb setup, which although enough for parking a car or collecting stored items, was not enough for spending lots of time working on projects.

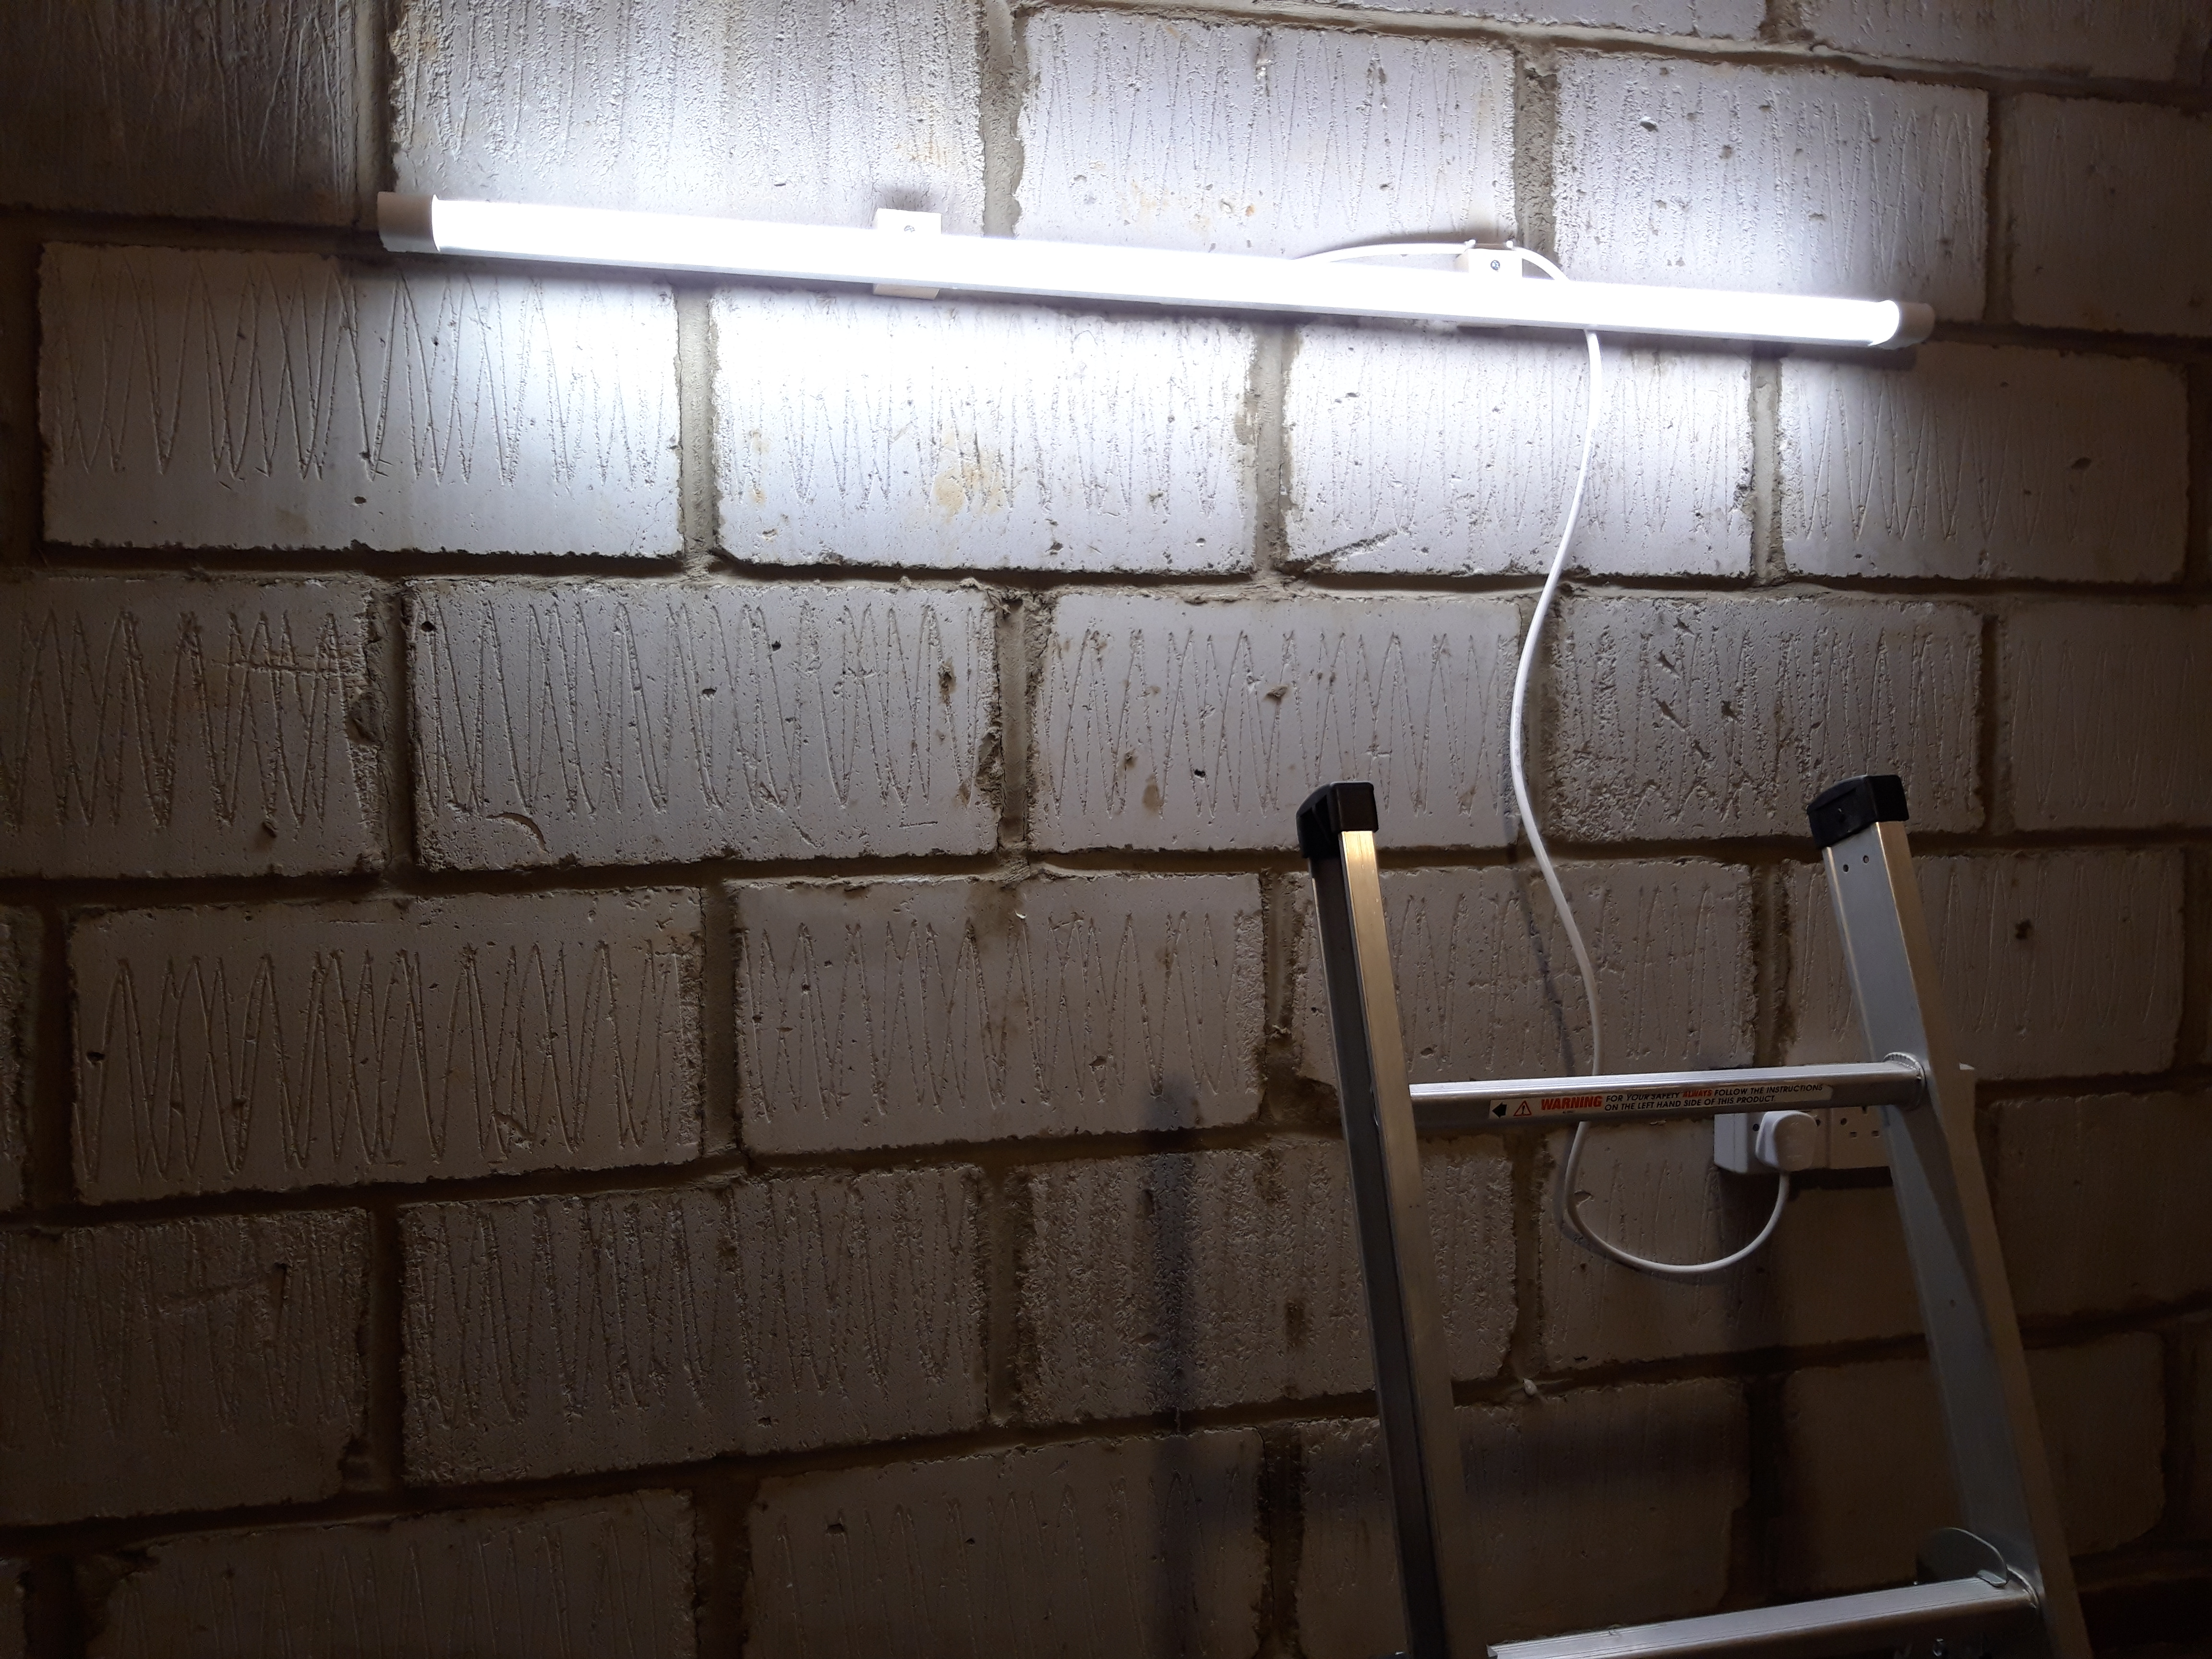
After lots of research, I settled on a fluorescent light tube, which I mounted to the wall in existing rawl plugged holes using wooden blocks. The light tube is designed to be mounted to the ceiling, so the wire comes out of the top side. However I live in a rented property and cannot make lots of holes in the ceiling to wire in a whole new lighting setup without the landlord’s permission! Plus that seemed a lot more of a drastic solution. So after doing lots of reading I settled on a wall-mounted light and plugged into a standard socket. I made sure to have sufficiently high tolerance wiring and the right amperage fuse for the plug too. And with the blocks then secured to the wall, I could mount the light fitting to the blocks, which gave enough clearance underneath for the wiring to fit.
And as you can see, the garage now has a nice bright light at the back end! The garage only has the front up-and-over door, so is quite dark at the back without my extra light on. But I don’t have a rear garage door to leave room for, so I can make use of all available space, which is a massive bonus! At present the garage is divided into the workshop and storage space, which will gradually become more tidied and organised as I spend more time out there. I am planning on making a large sturdy workbench to go against the back wall directly under the new light and then a mitre saw work bench on the right hand side. And as I now have a dedicated workshop space and can work in all weathers, I’m really looking forward to getting on with a whole range of fun and interesting projects I have planned! 🔨

1 thought on “Setting up a workshop – A new beginning!”