As a birthday present to myself I invested in a mitre saw, to enable more accurate, rapid and repeatable cross cutting of longer pieces of timber than my previous method of cutting with a circular saw and a held square.
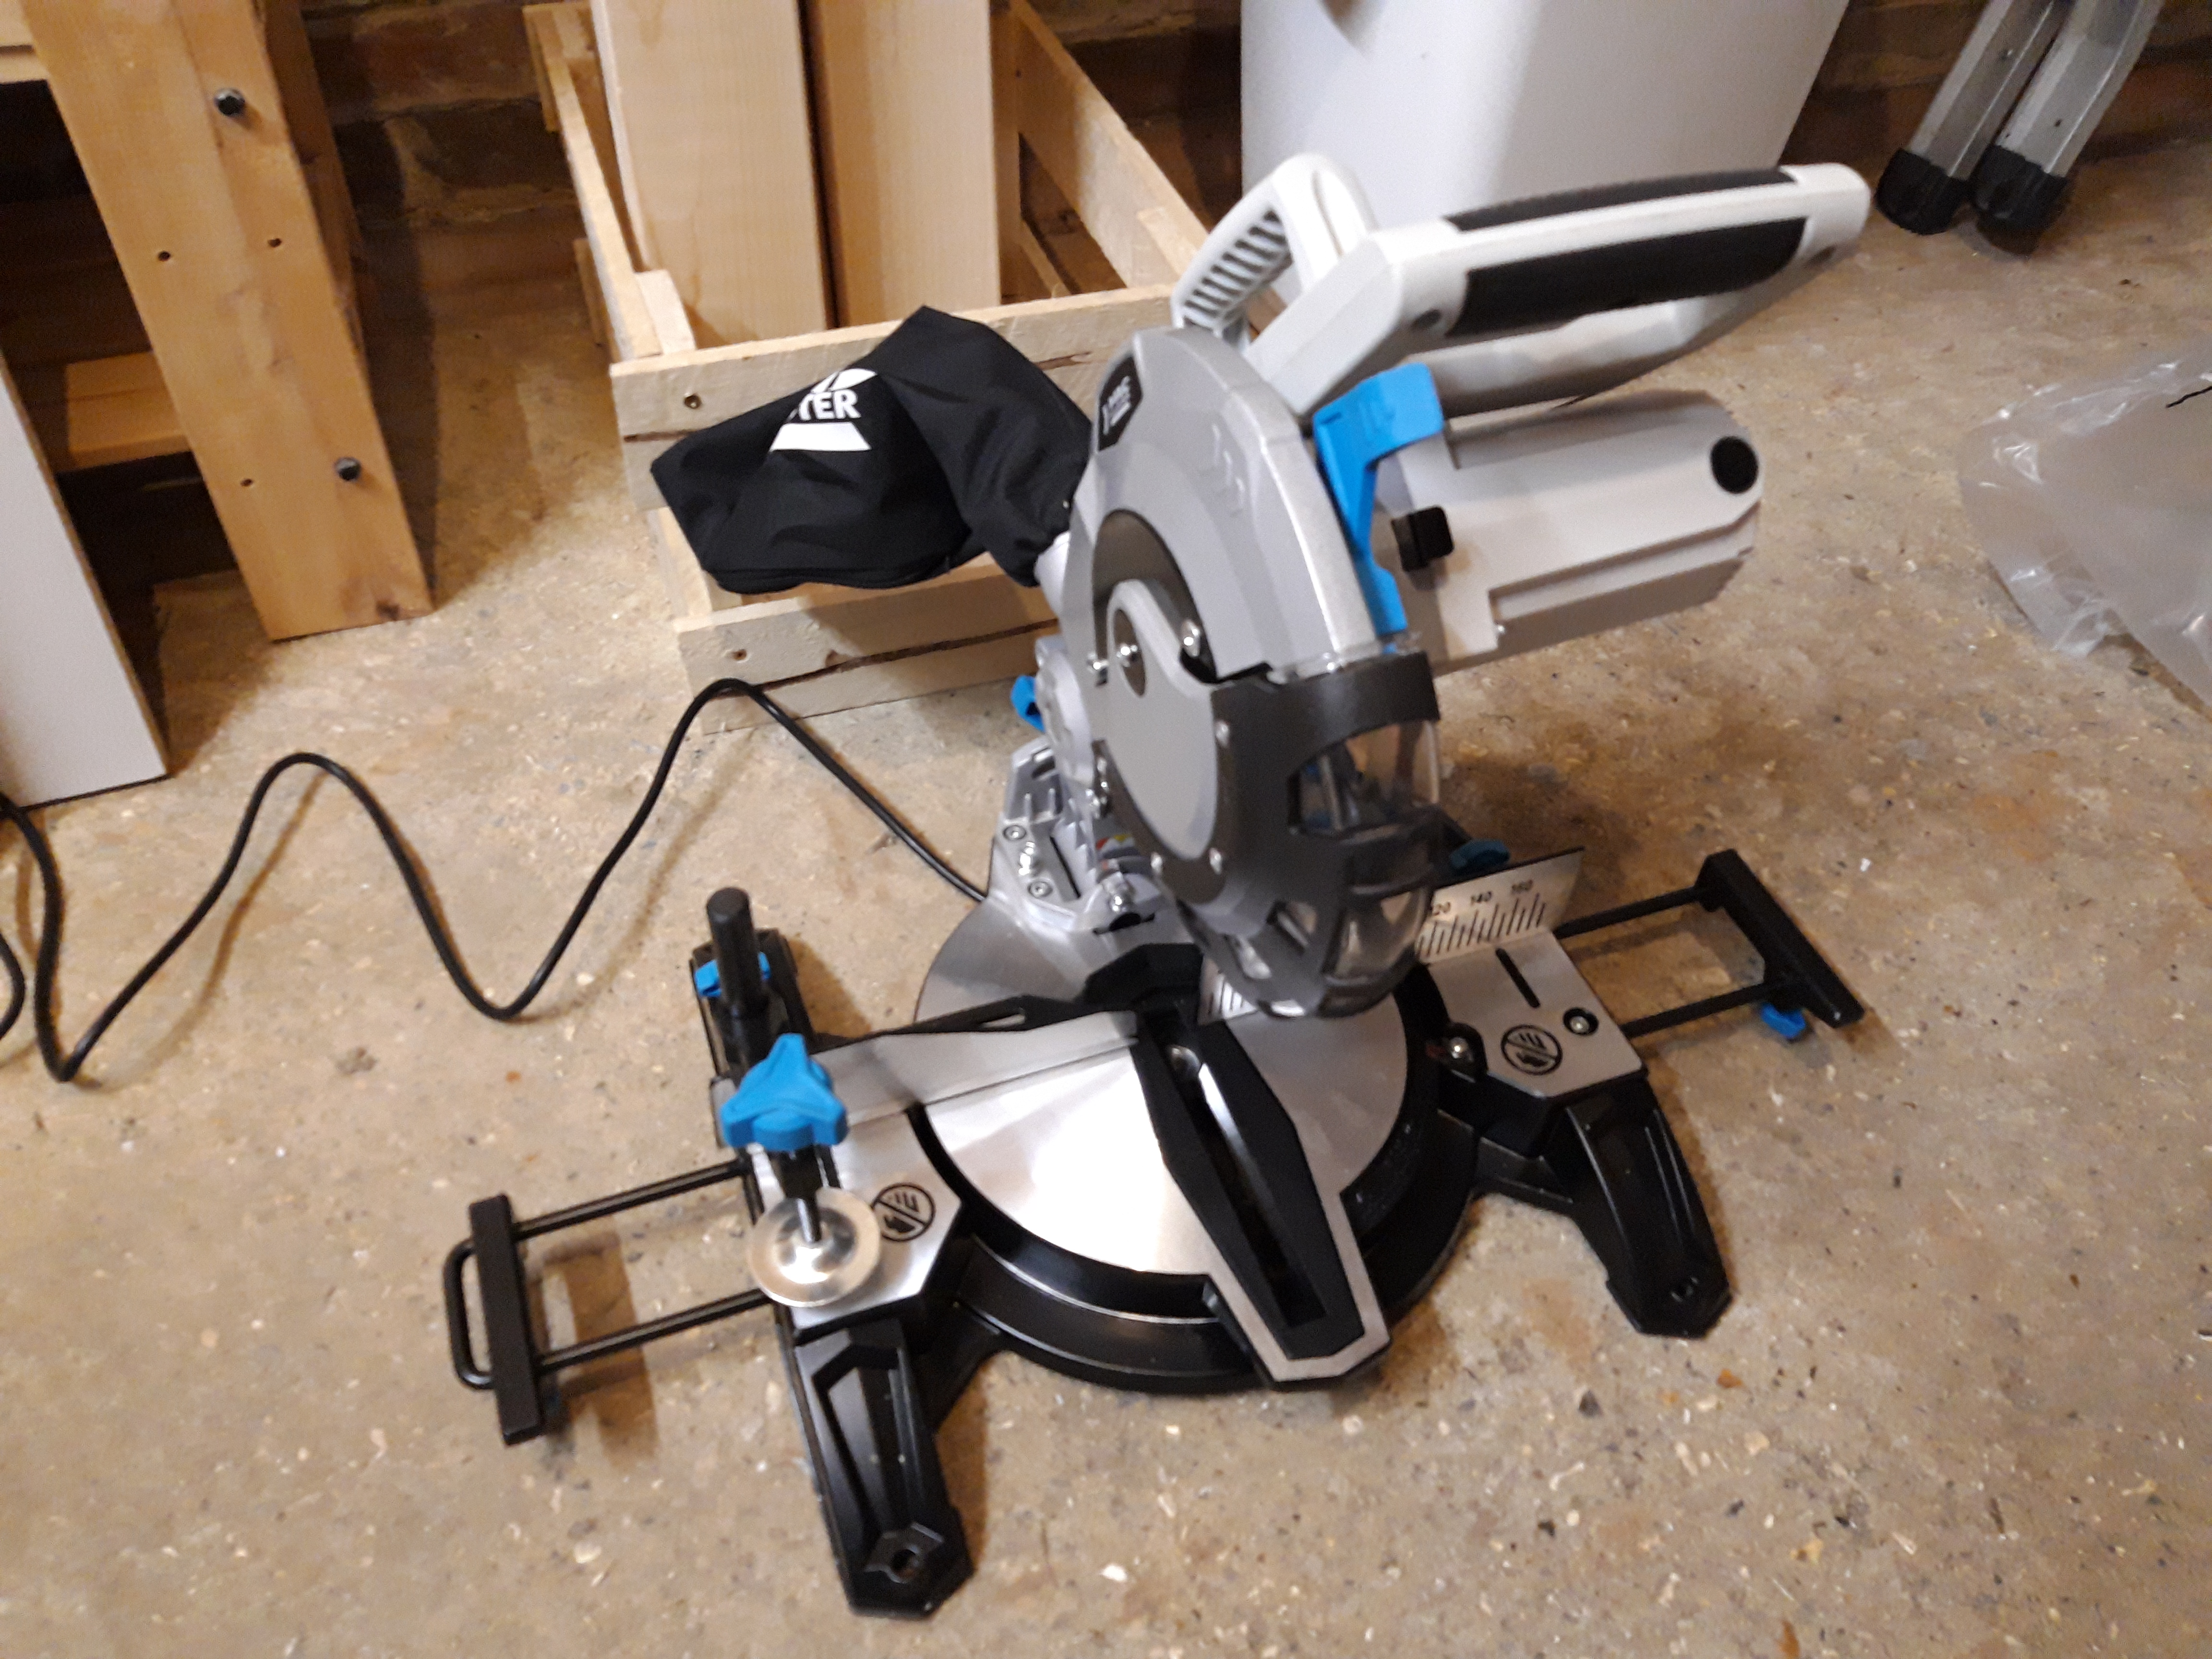
I quickly realised that having no place for the saw to live permanently was a massive hindrance, particularly as I only have a temporary “workmate-style” workbench at present and having to lift the saw on and off when I wanted to make cuts or kneel down on the floor was a bit of a pain! I set about making some plans for a permanent solution to the problem…
The first step was to measure and cut all the pieces to size – ironically this would have been so much quicker with a mitre saw station (!), with the ability to use a stop block to make multiple identical replicate cuts.
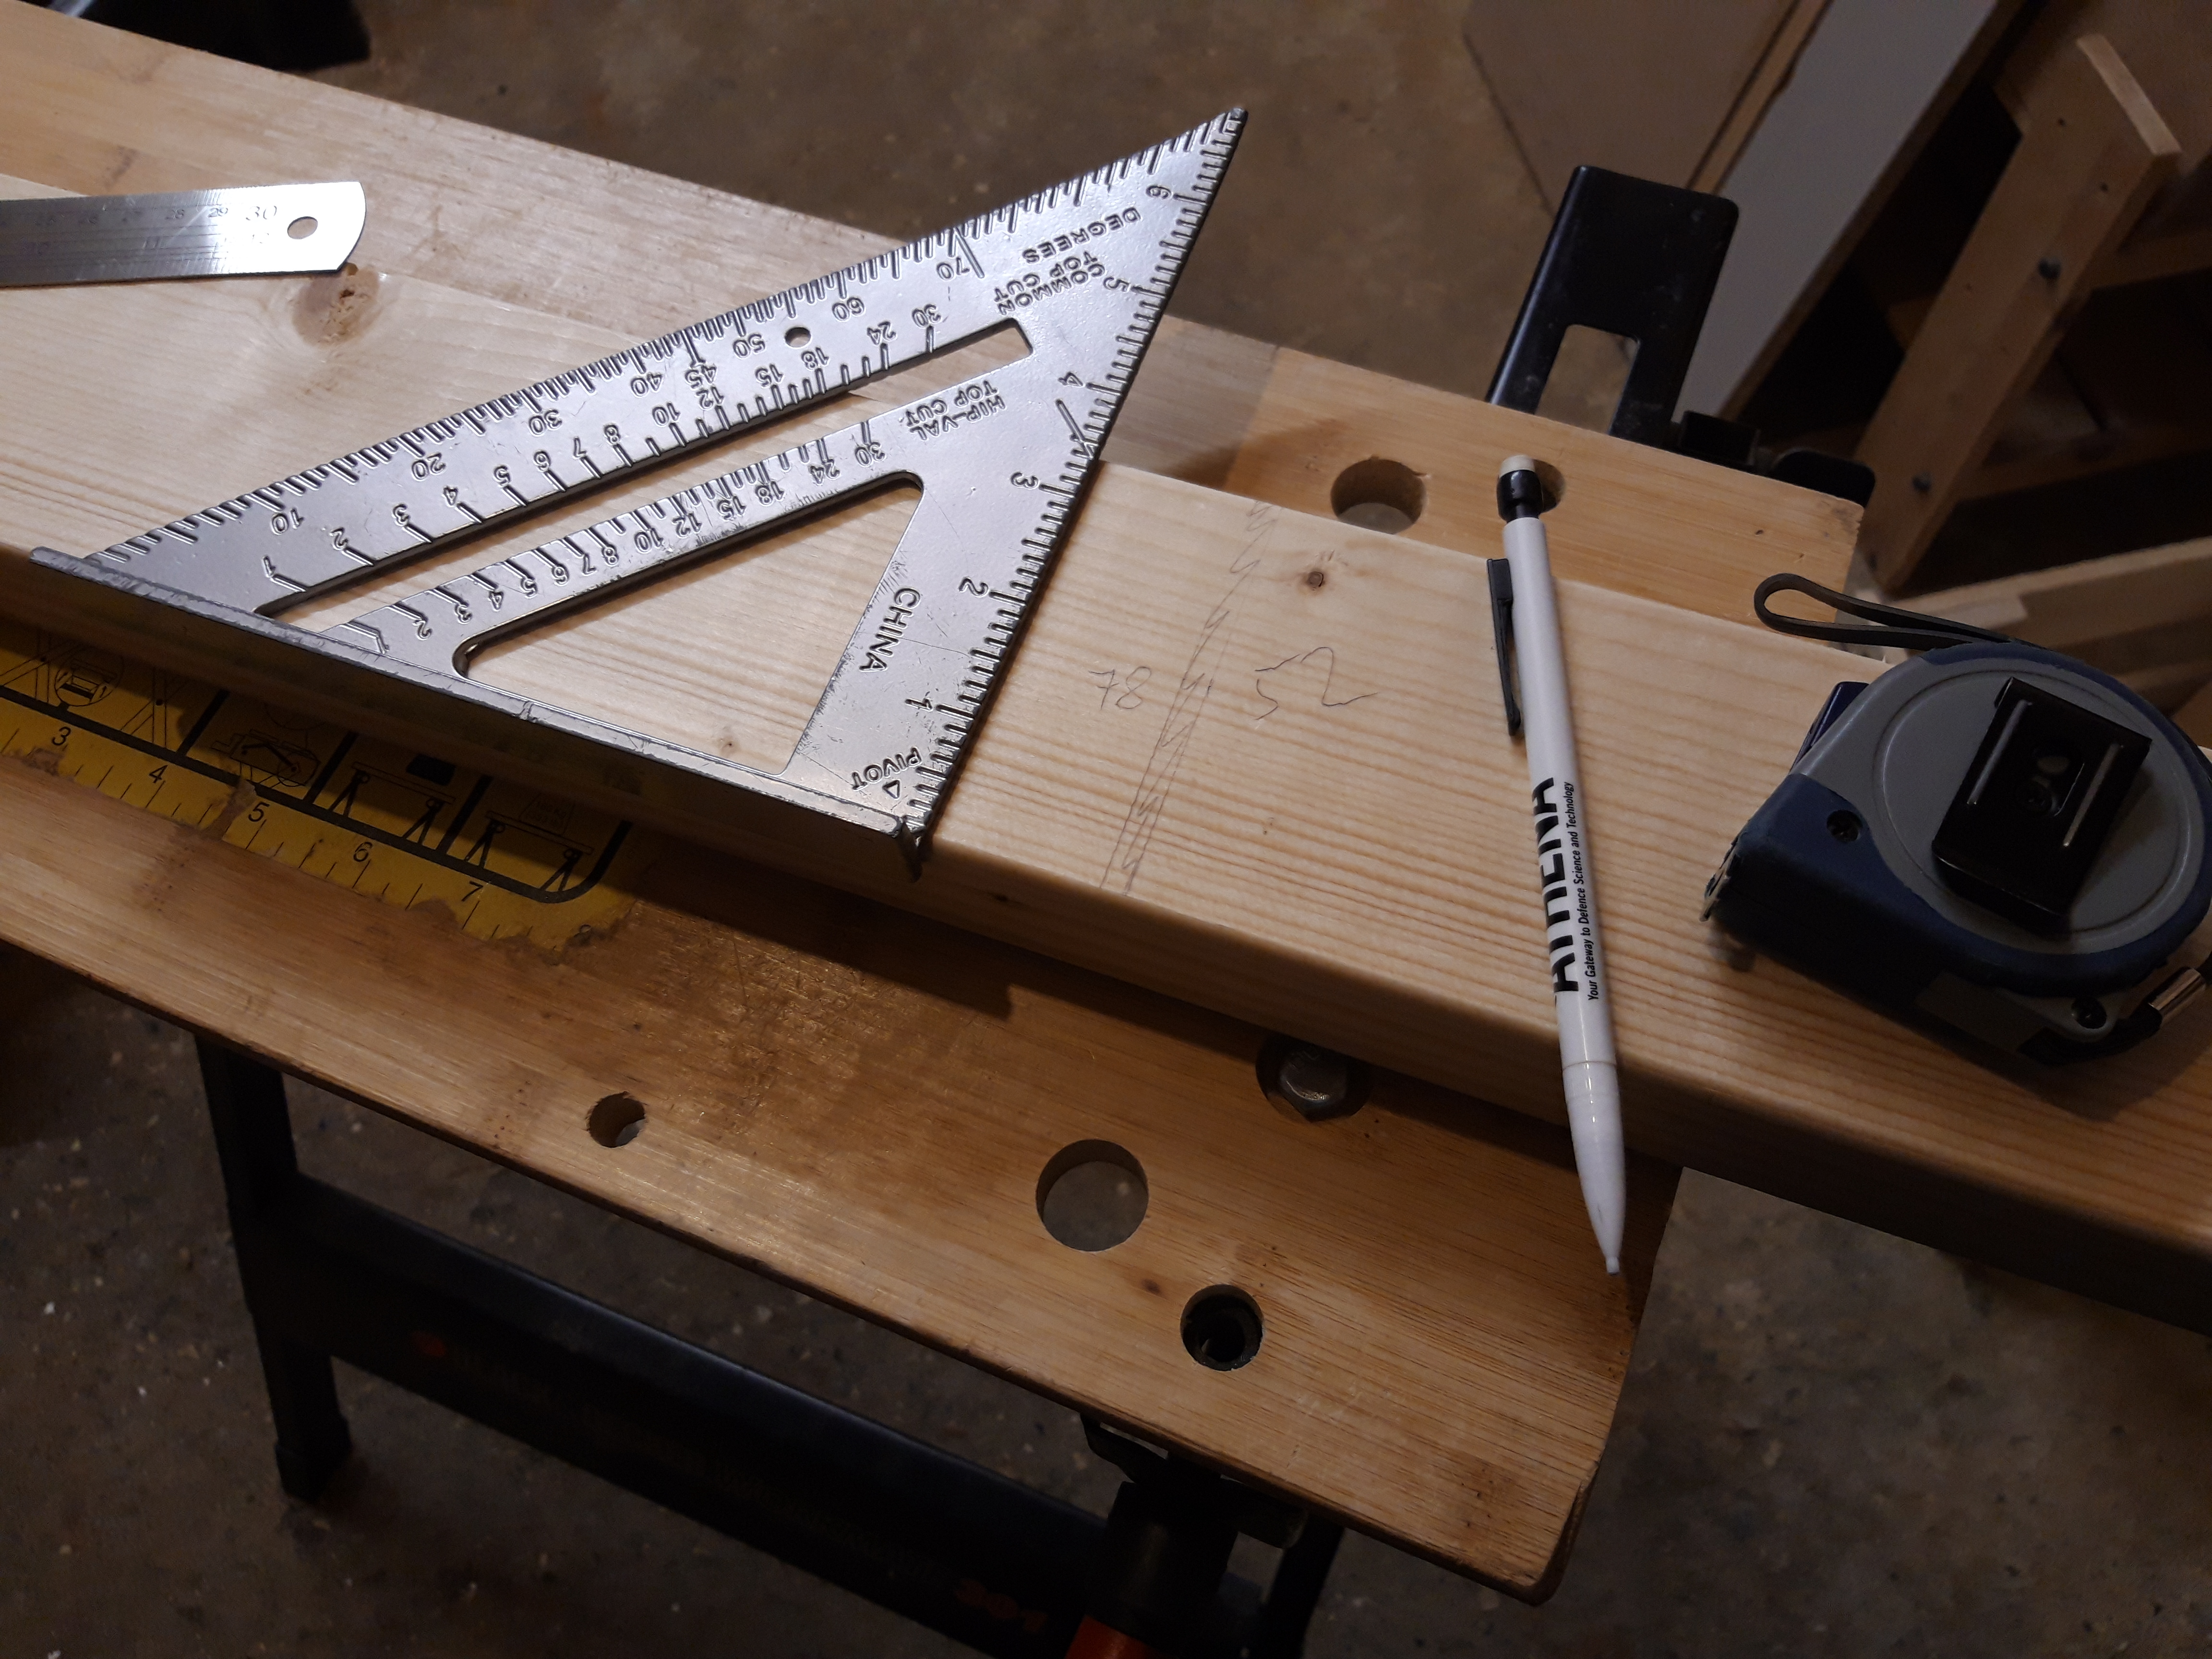
Every piece was carefully measure out and marked up, leaving a small amount of waste between each piece to account for the width of the saw blade. I used eleven 2x4s to obtain all the various lengths I needed and it took an afternoon and some of the next day to finish making all the cuts!
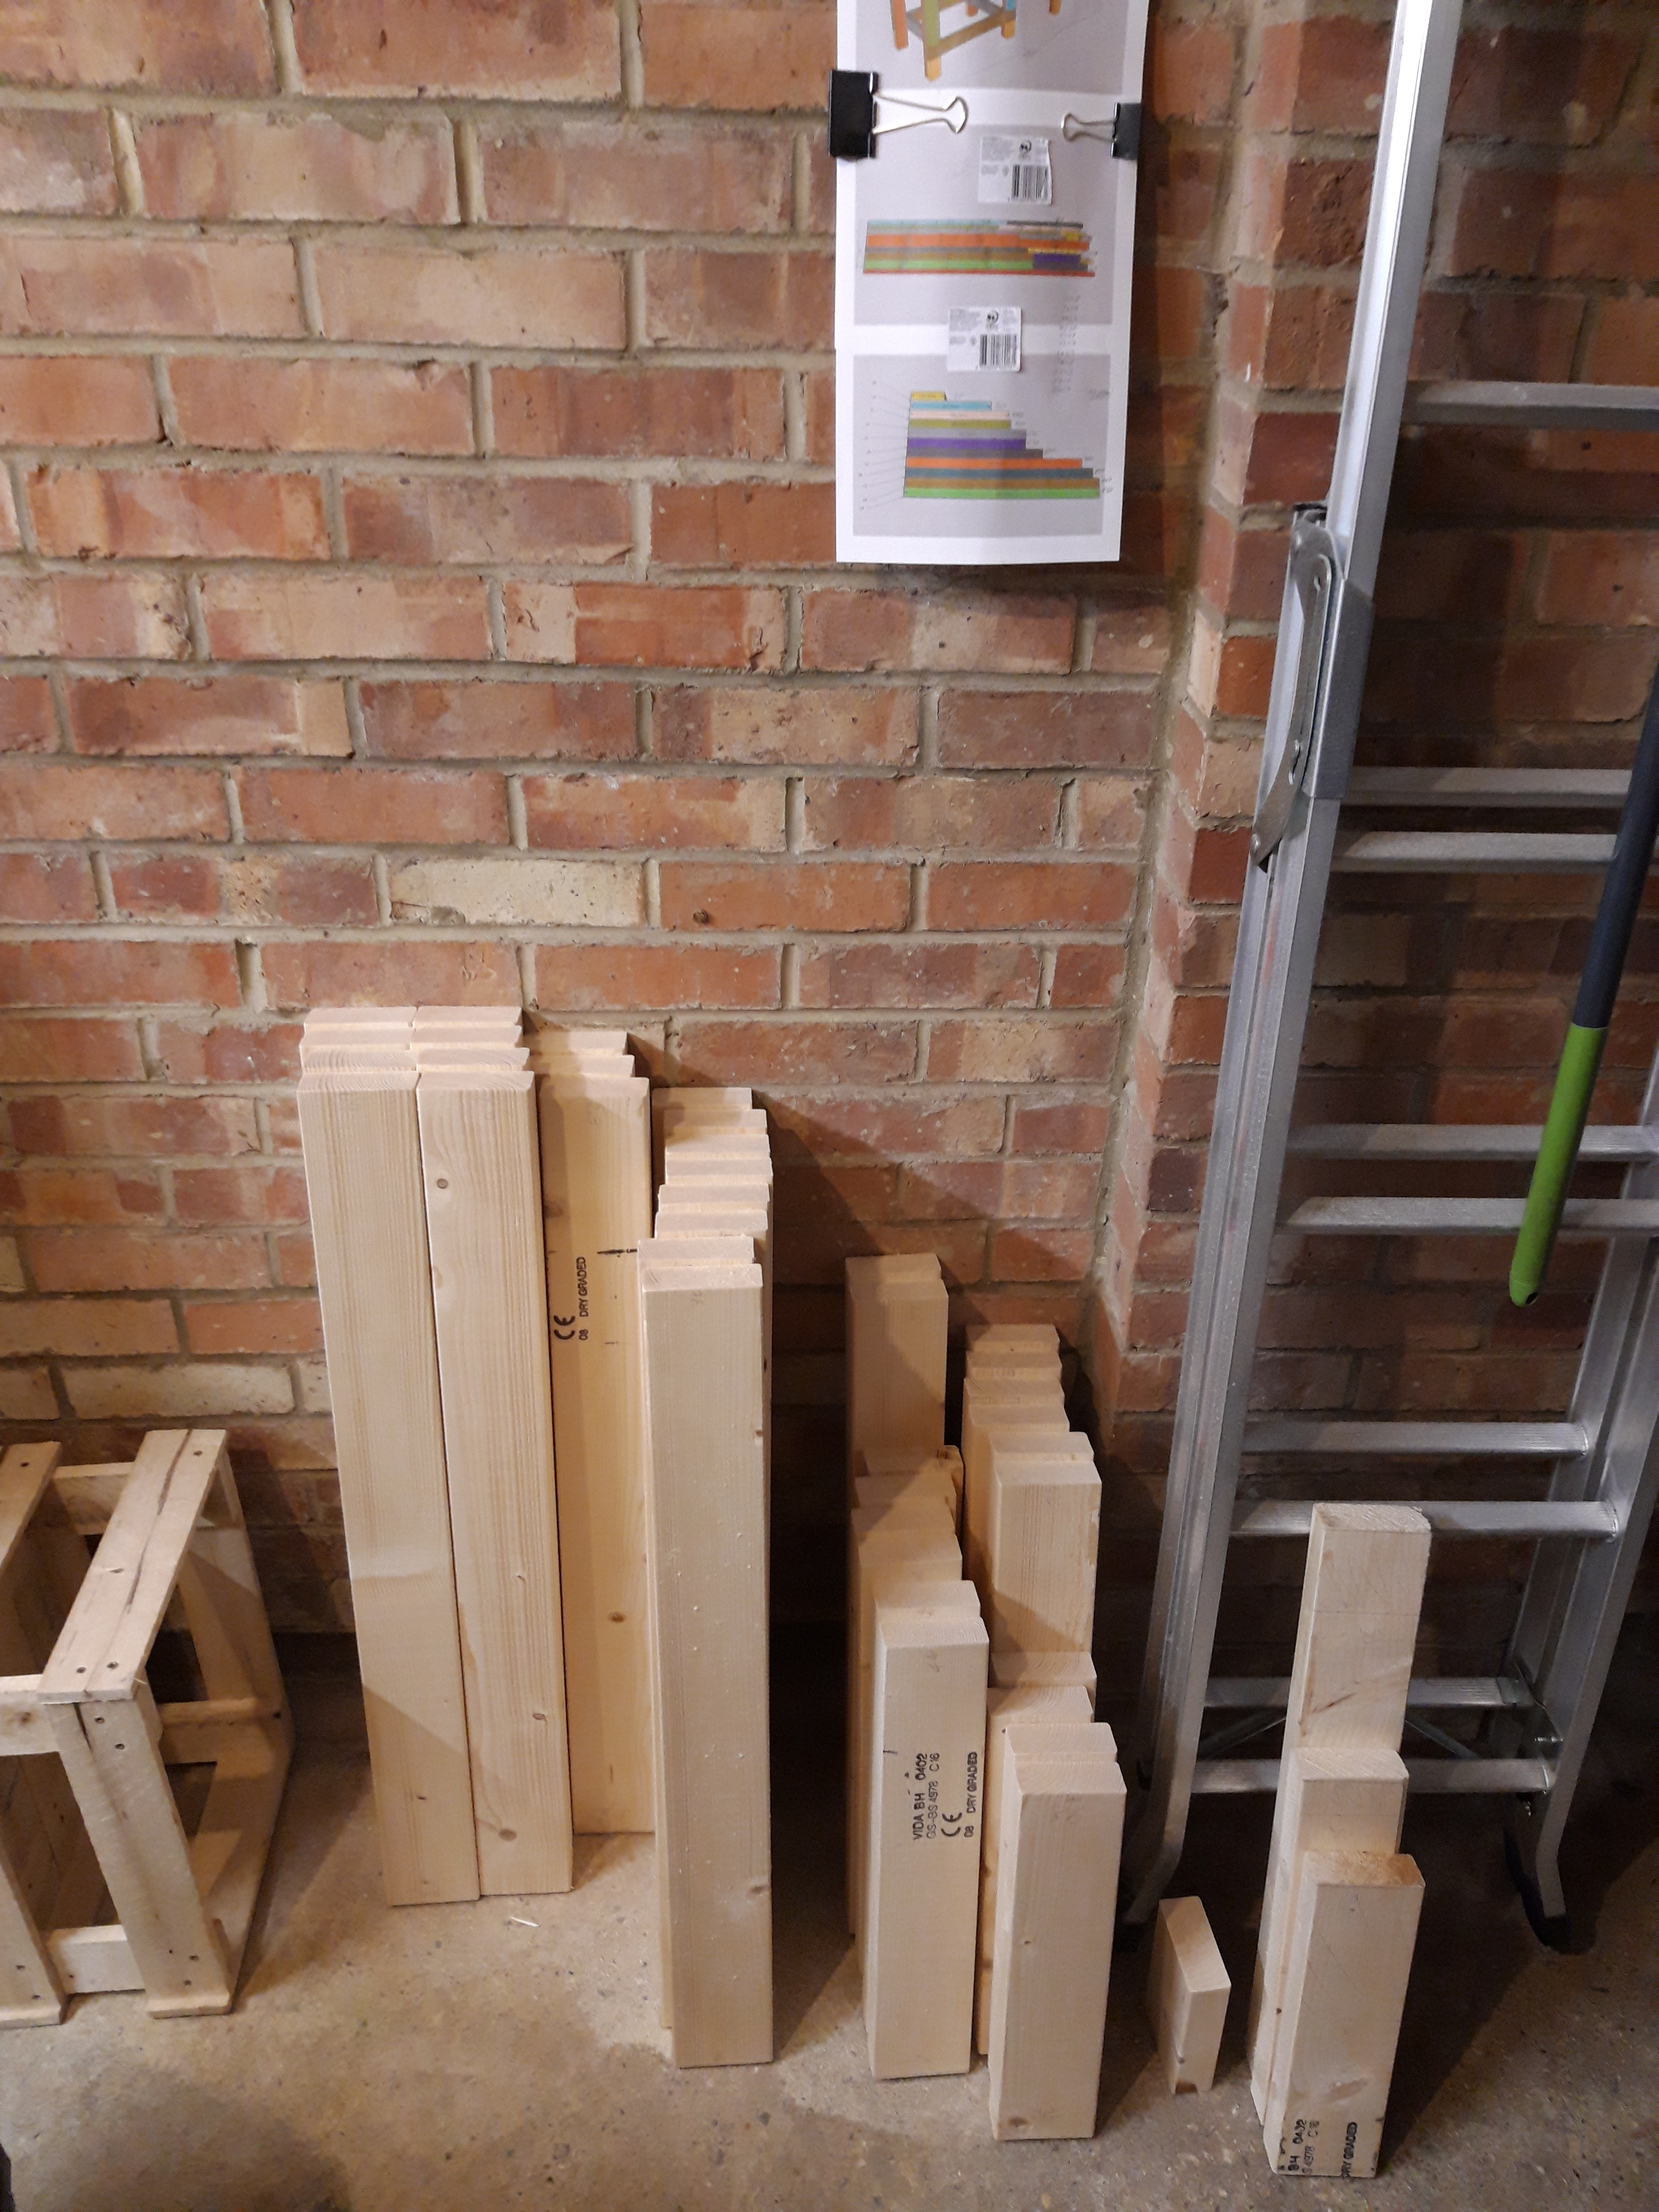
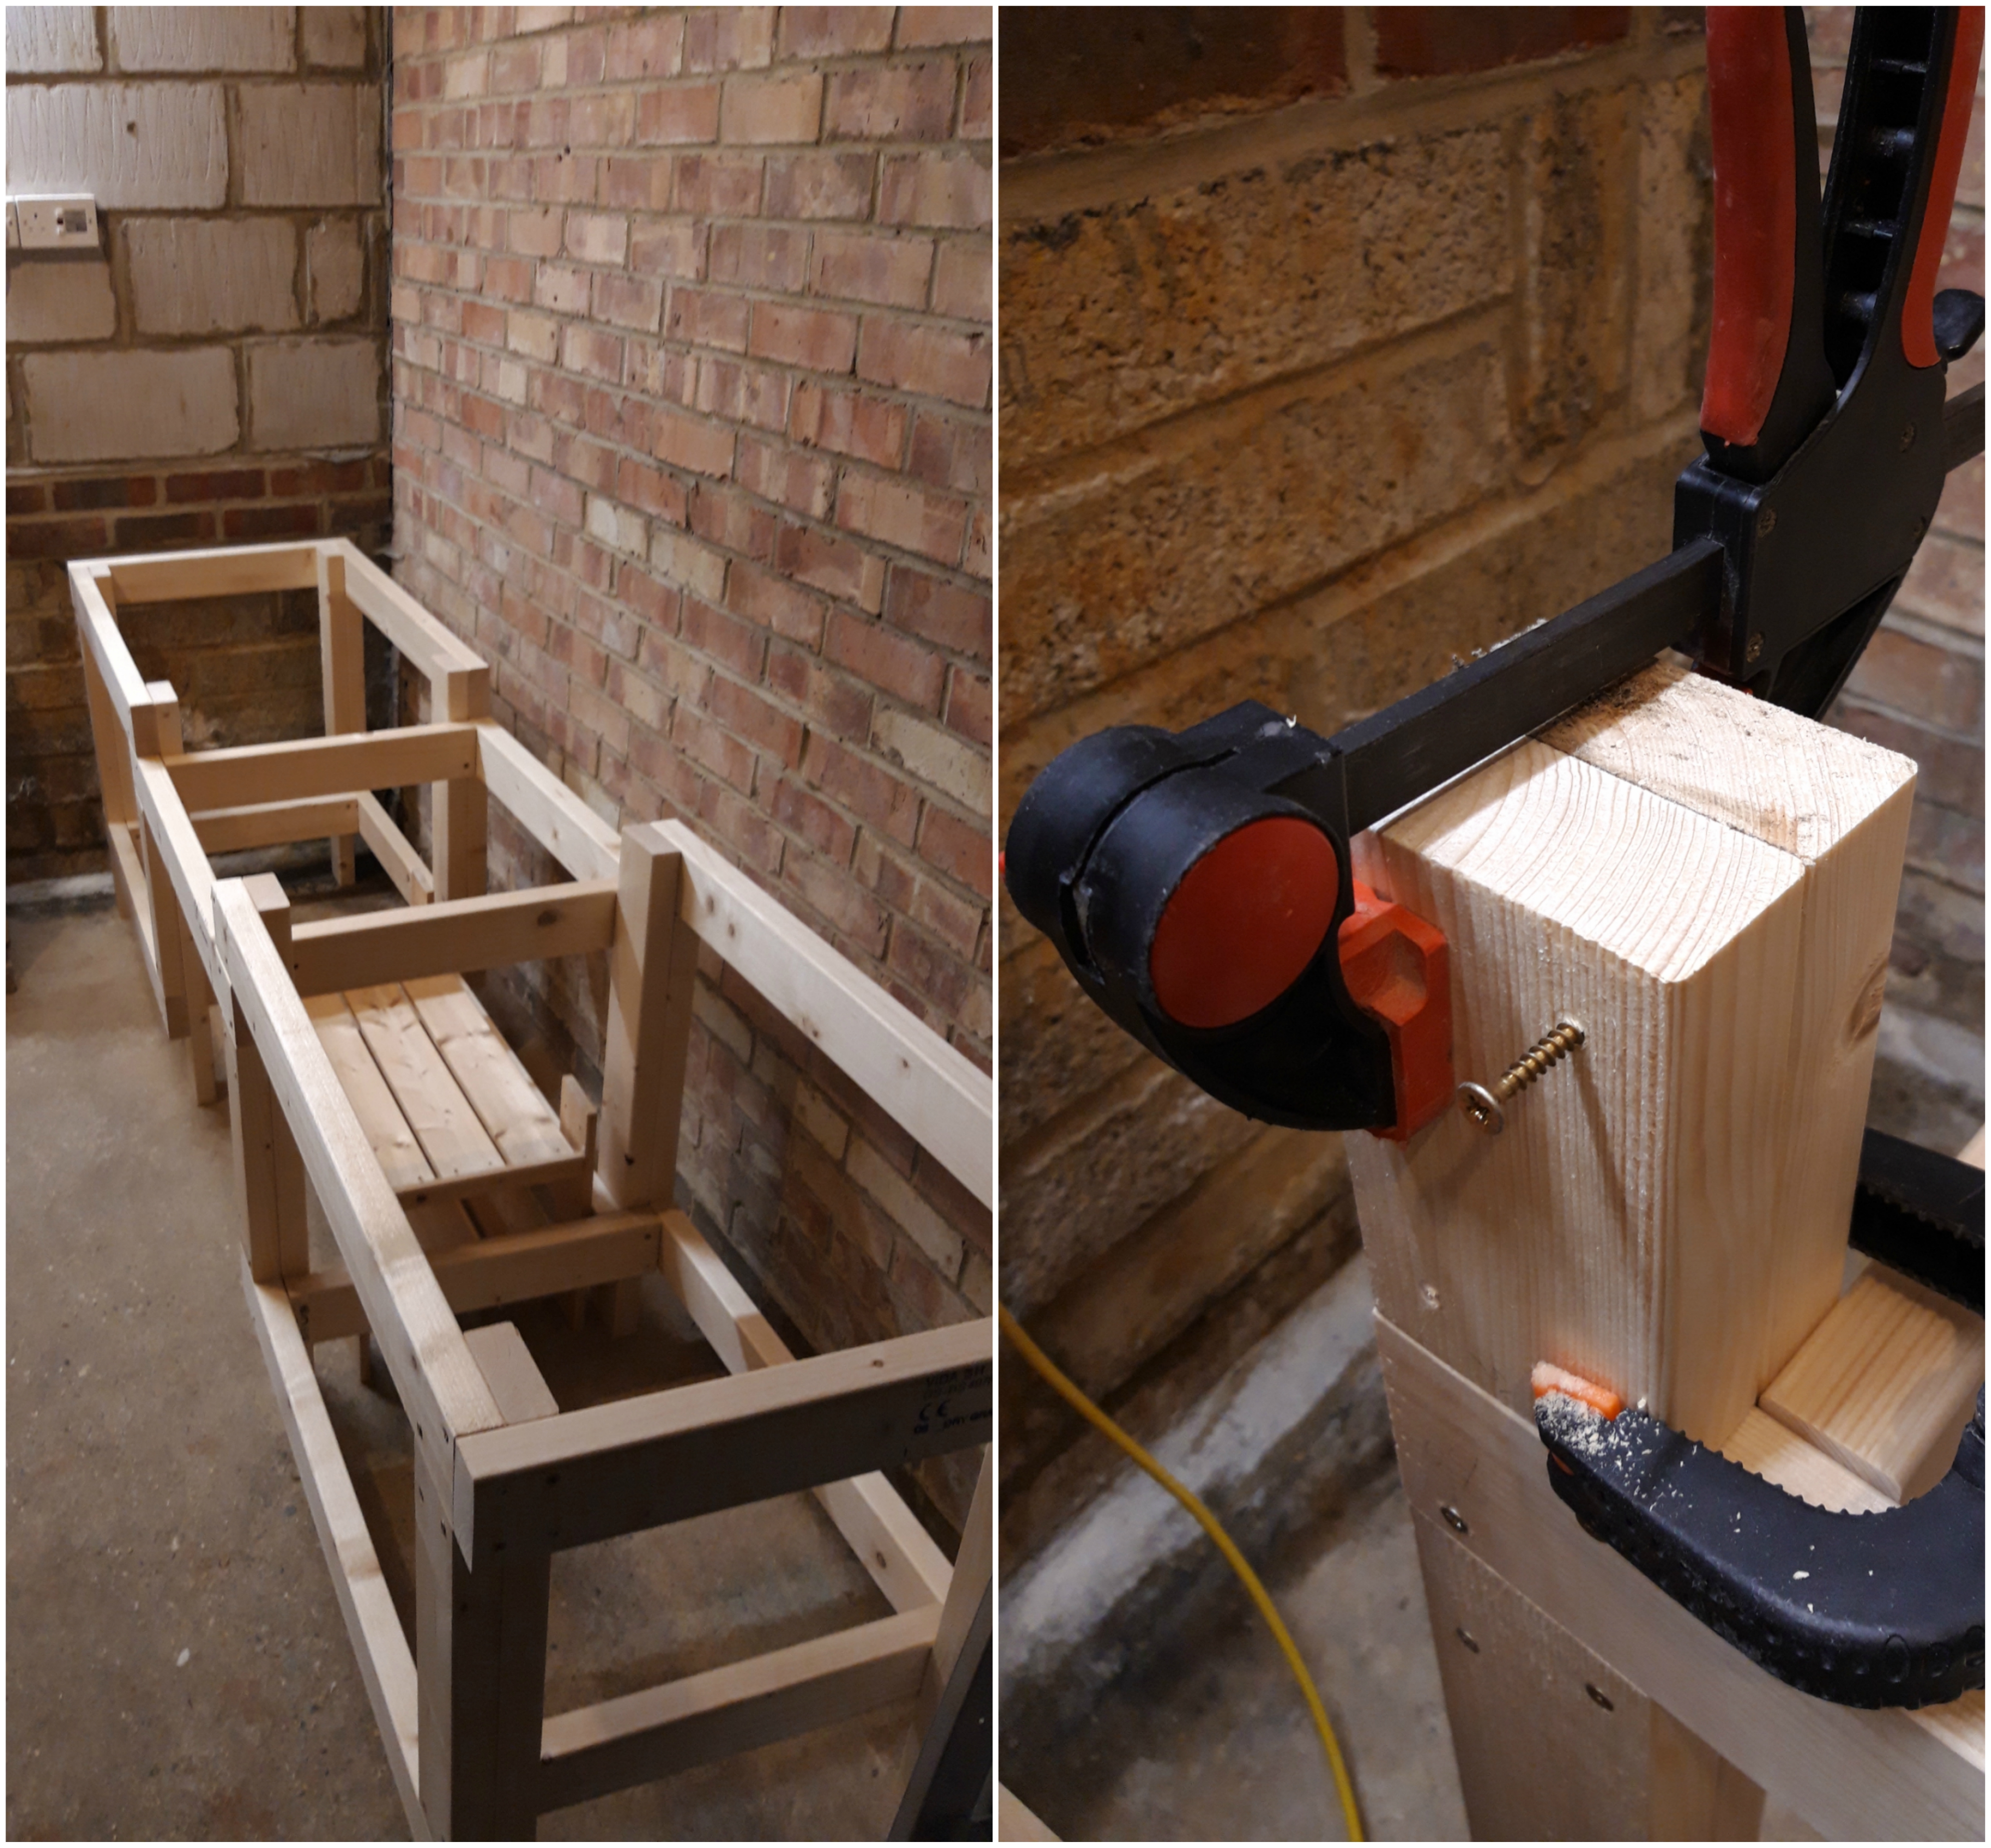
I eventually ended up with an organised assortment of multiple lengths of timber as per the plans, all ready to be fixed together. Although glue is stronger, I decided to use multiple staggered screws in each joint to give me the flexibility to take the bench apart in future if required – to allow me to rearrange the garage or for the next house move, whenever that might be! The next step was to begin assembly – I started with creating the front frame on one side and then worked my way across before duplicating the process for the back frame. I then combined both of these together to make the completed side frame. I used scrap pieces of 2×4 to help me line up the various pieces, especially where I needed to account for a crossbeam further through the build.

Once I had one side completed, I repeated the full process as an exact mirror image to make the other side. I had to do quite a lot of sorting and tidying of the garage as I went, to make enough room to lay out the pieces. I designed the bench to fit pretty snugly into the slight recess in the back right corner of the garage and had to keep moving everything round as the bench grew to give me enough space to work!
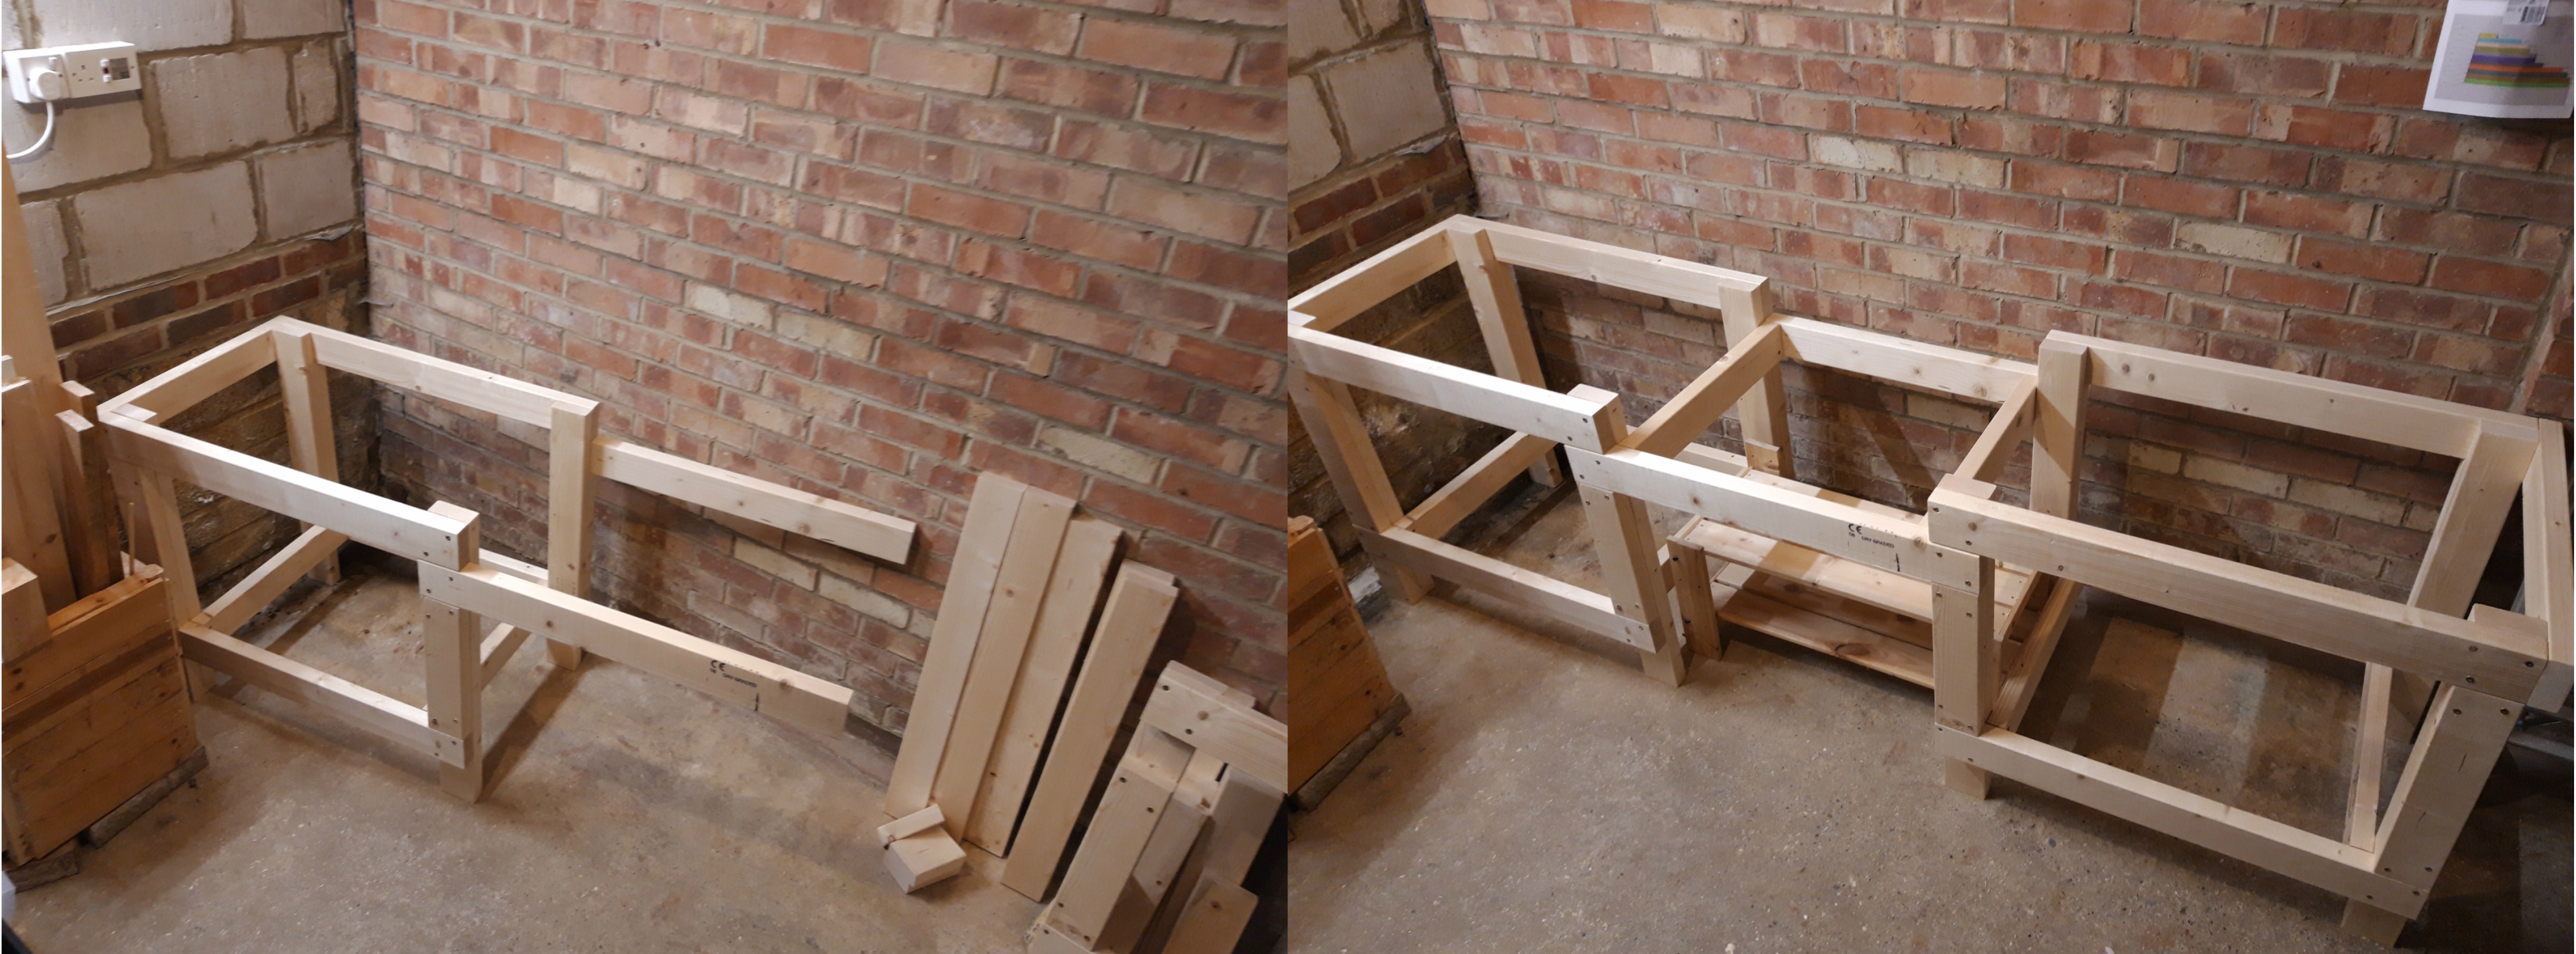
Once the top sections of the frame were completed, I turned the entire workbench upside down to use the remaining 2×4 offcuts to complete the legs.
The final stage of this part was to clamp a temporary surface in the centre section to allow me to start using the mitre saw somewhere other than on the floor!

This concluded a very exhausting weekend spent measuring, cutting and assembling the many pieces into the nice sturdy mitre saw bench frame! I still need to get some thick mdf (at least 18mm) for the bench tops but that will require another trip in the car and some measuring to confirm the exact dimensions needed for each section. I used some planks from multiple disassembled pallets to temporarily create shelves underneath, enabling me to clear the floor and make it easier to move around the garage again!
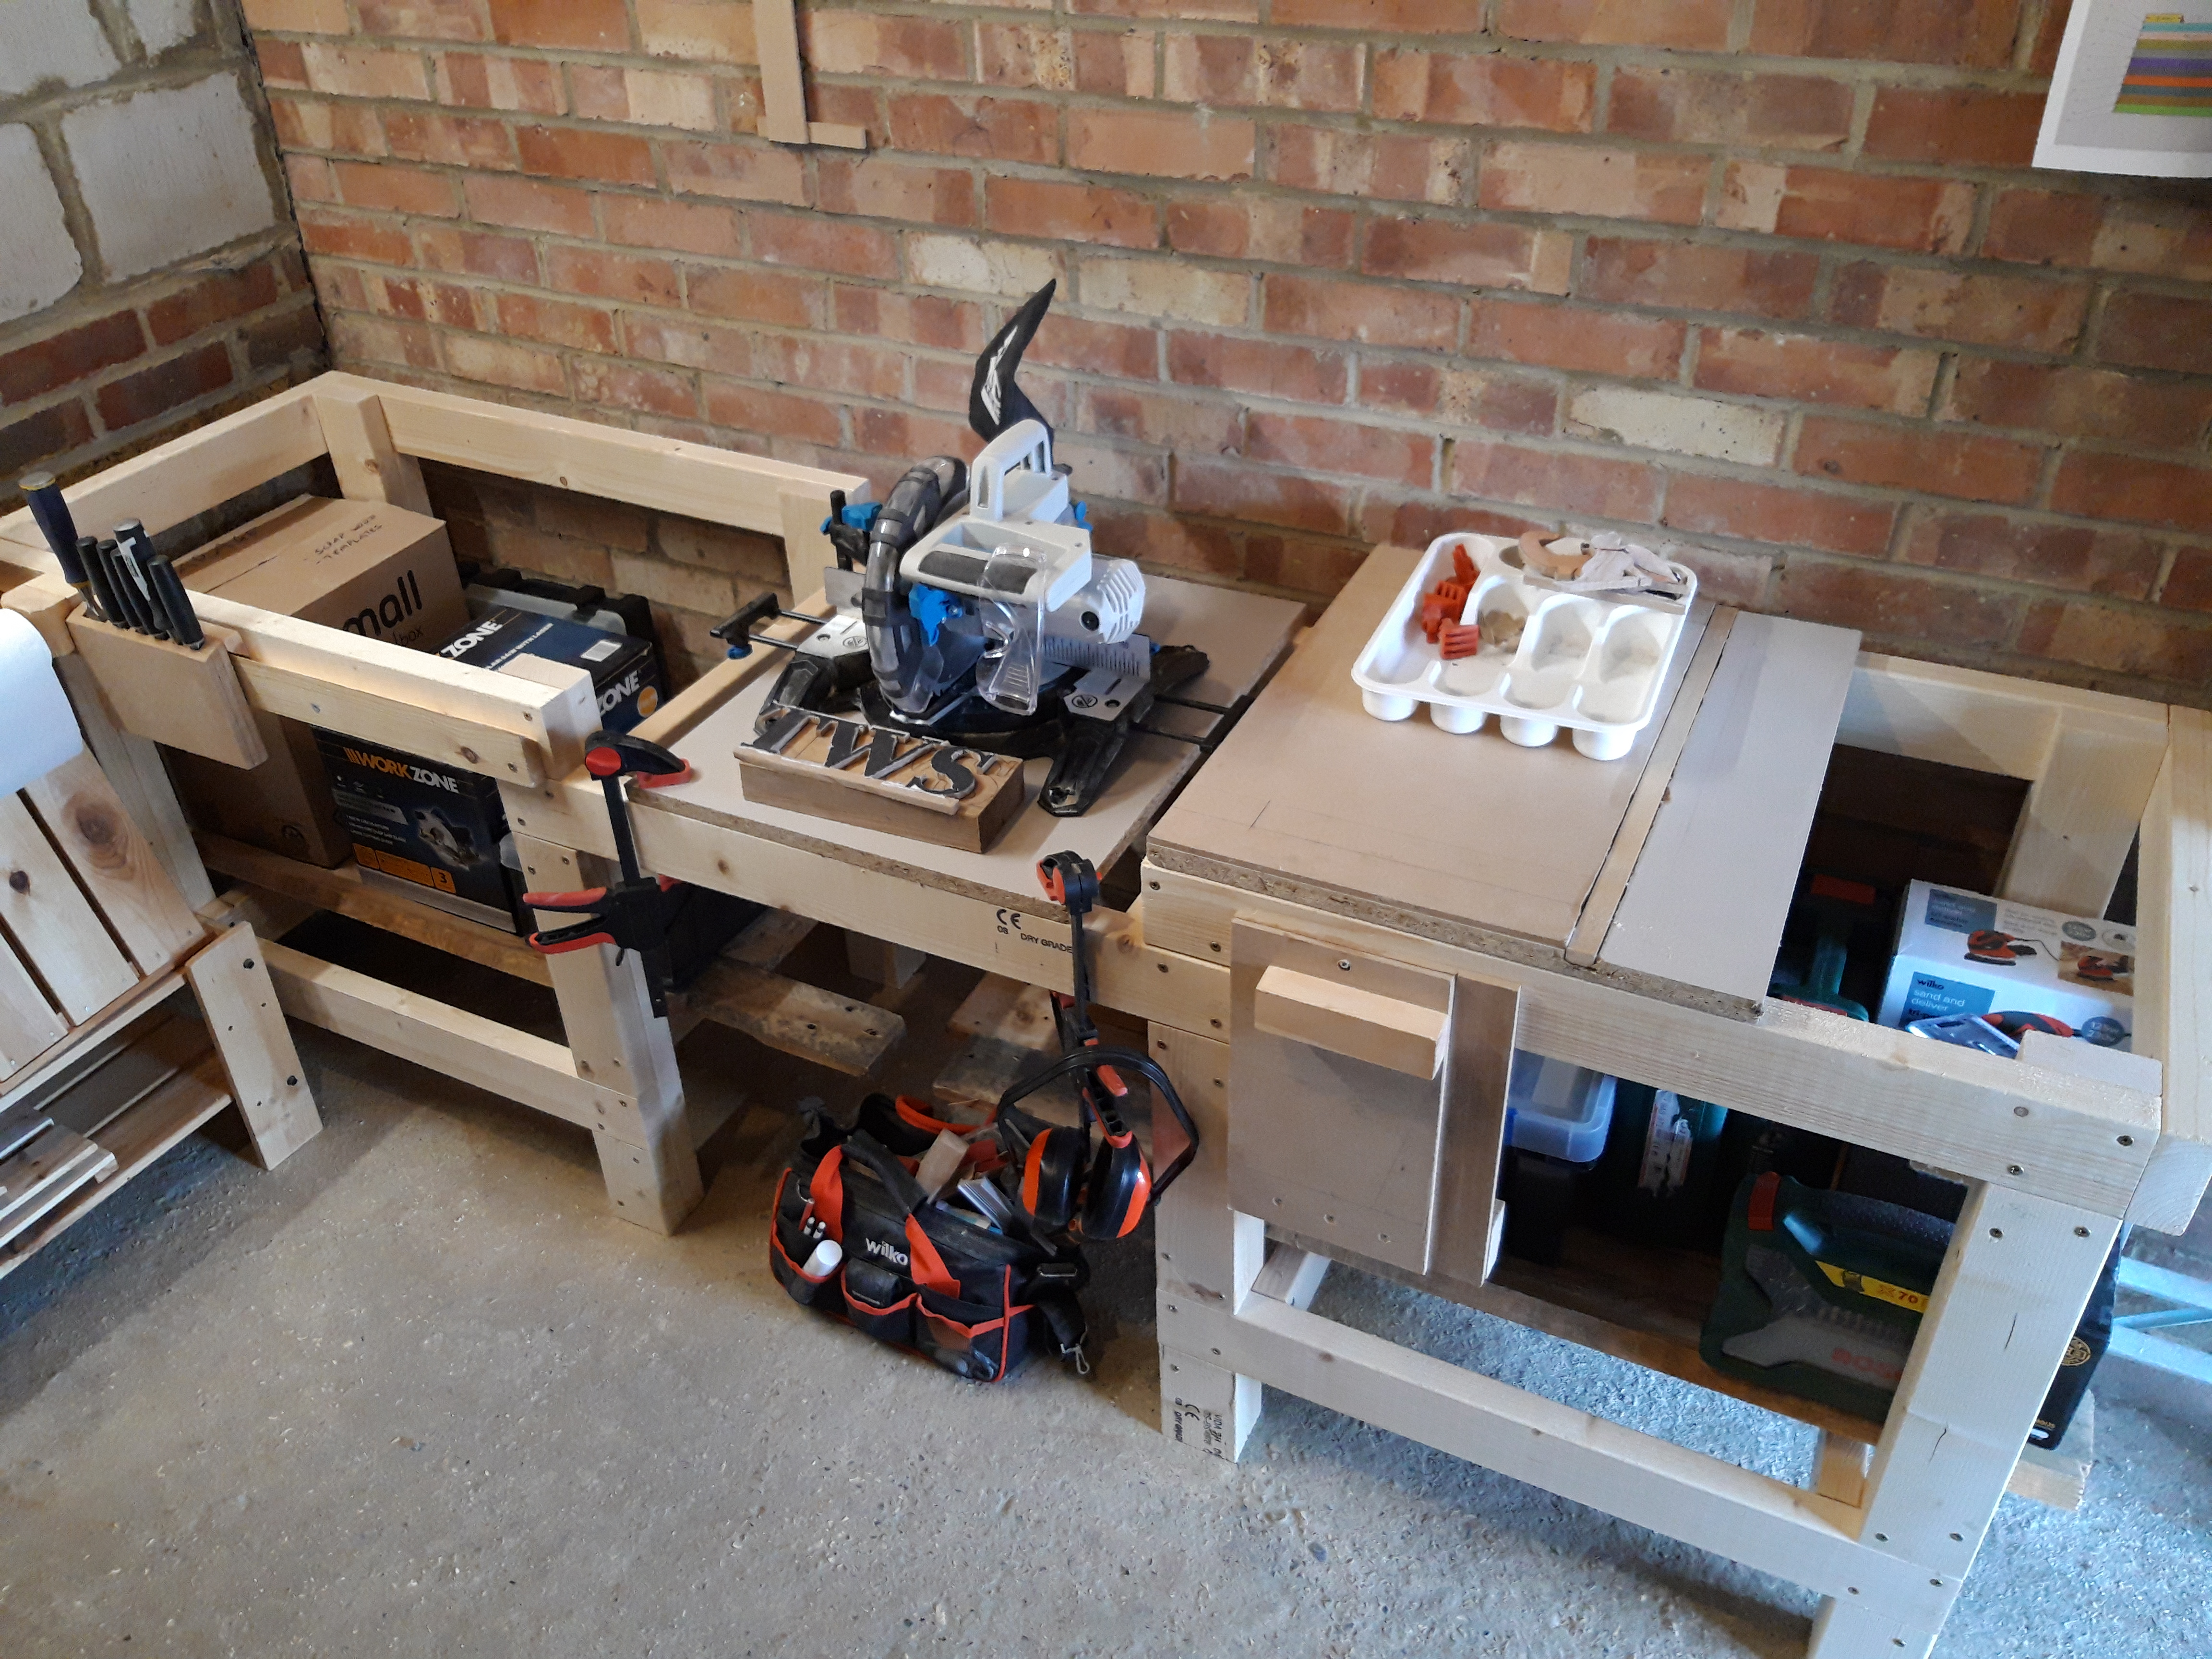
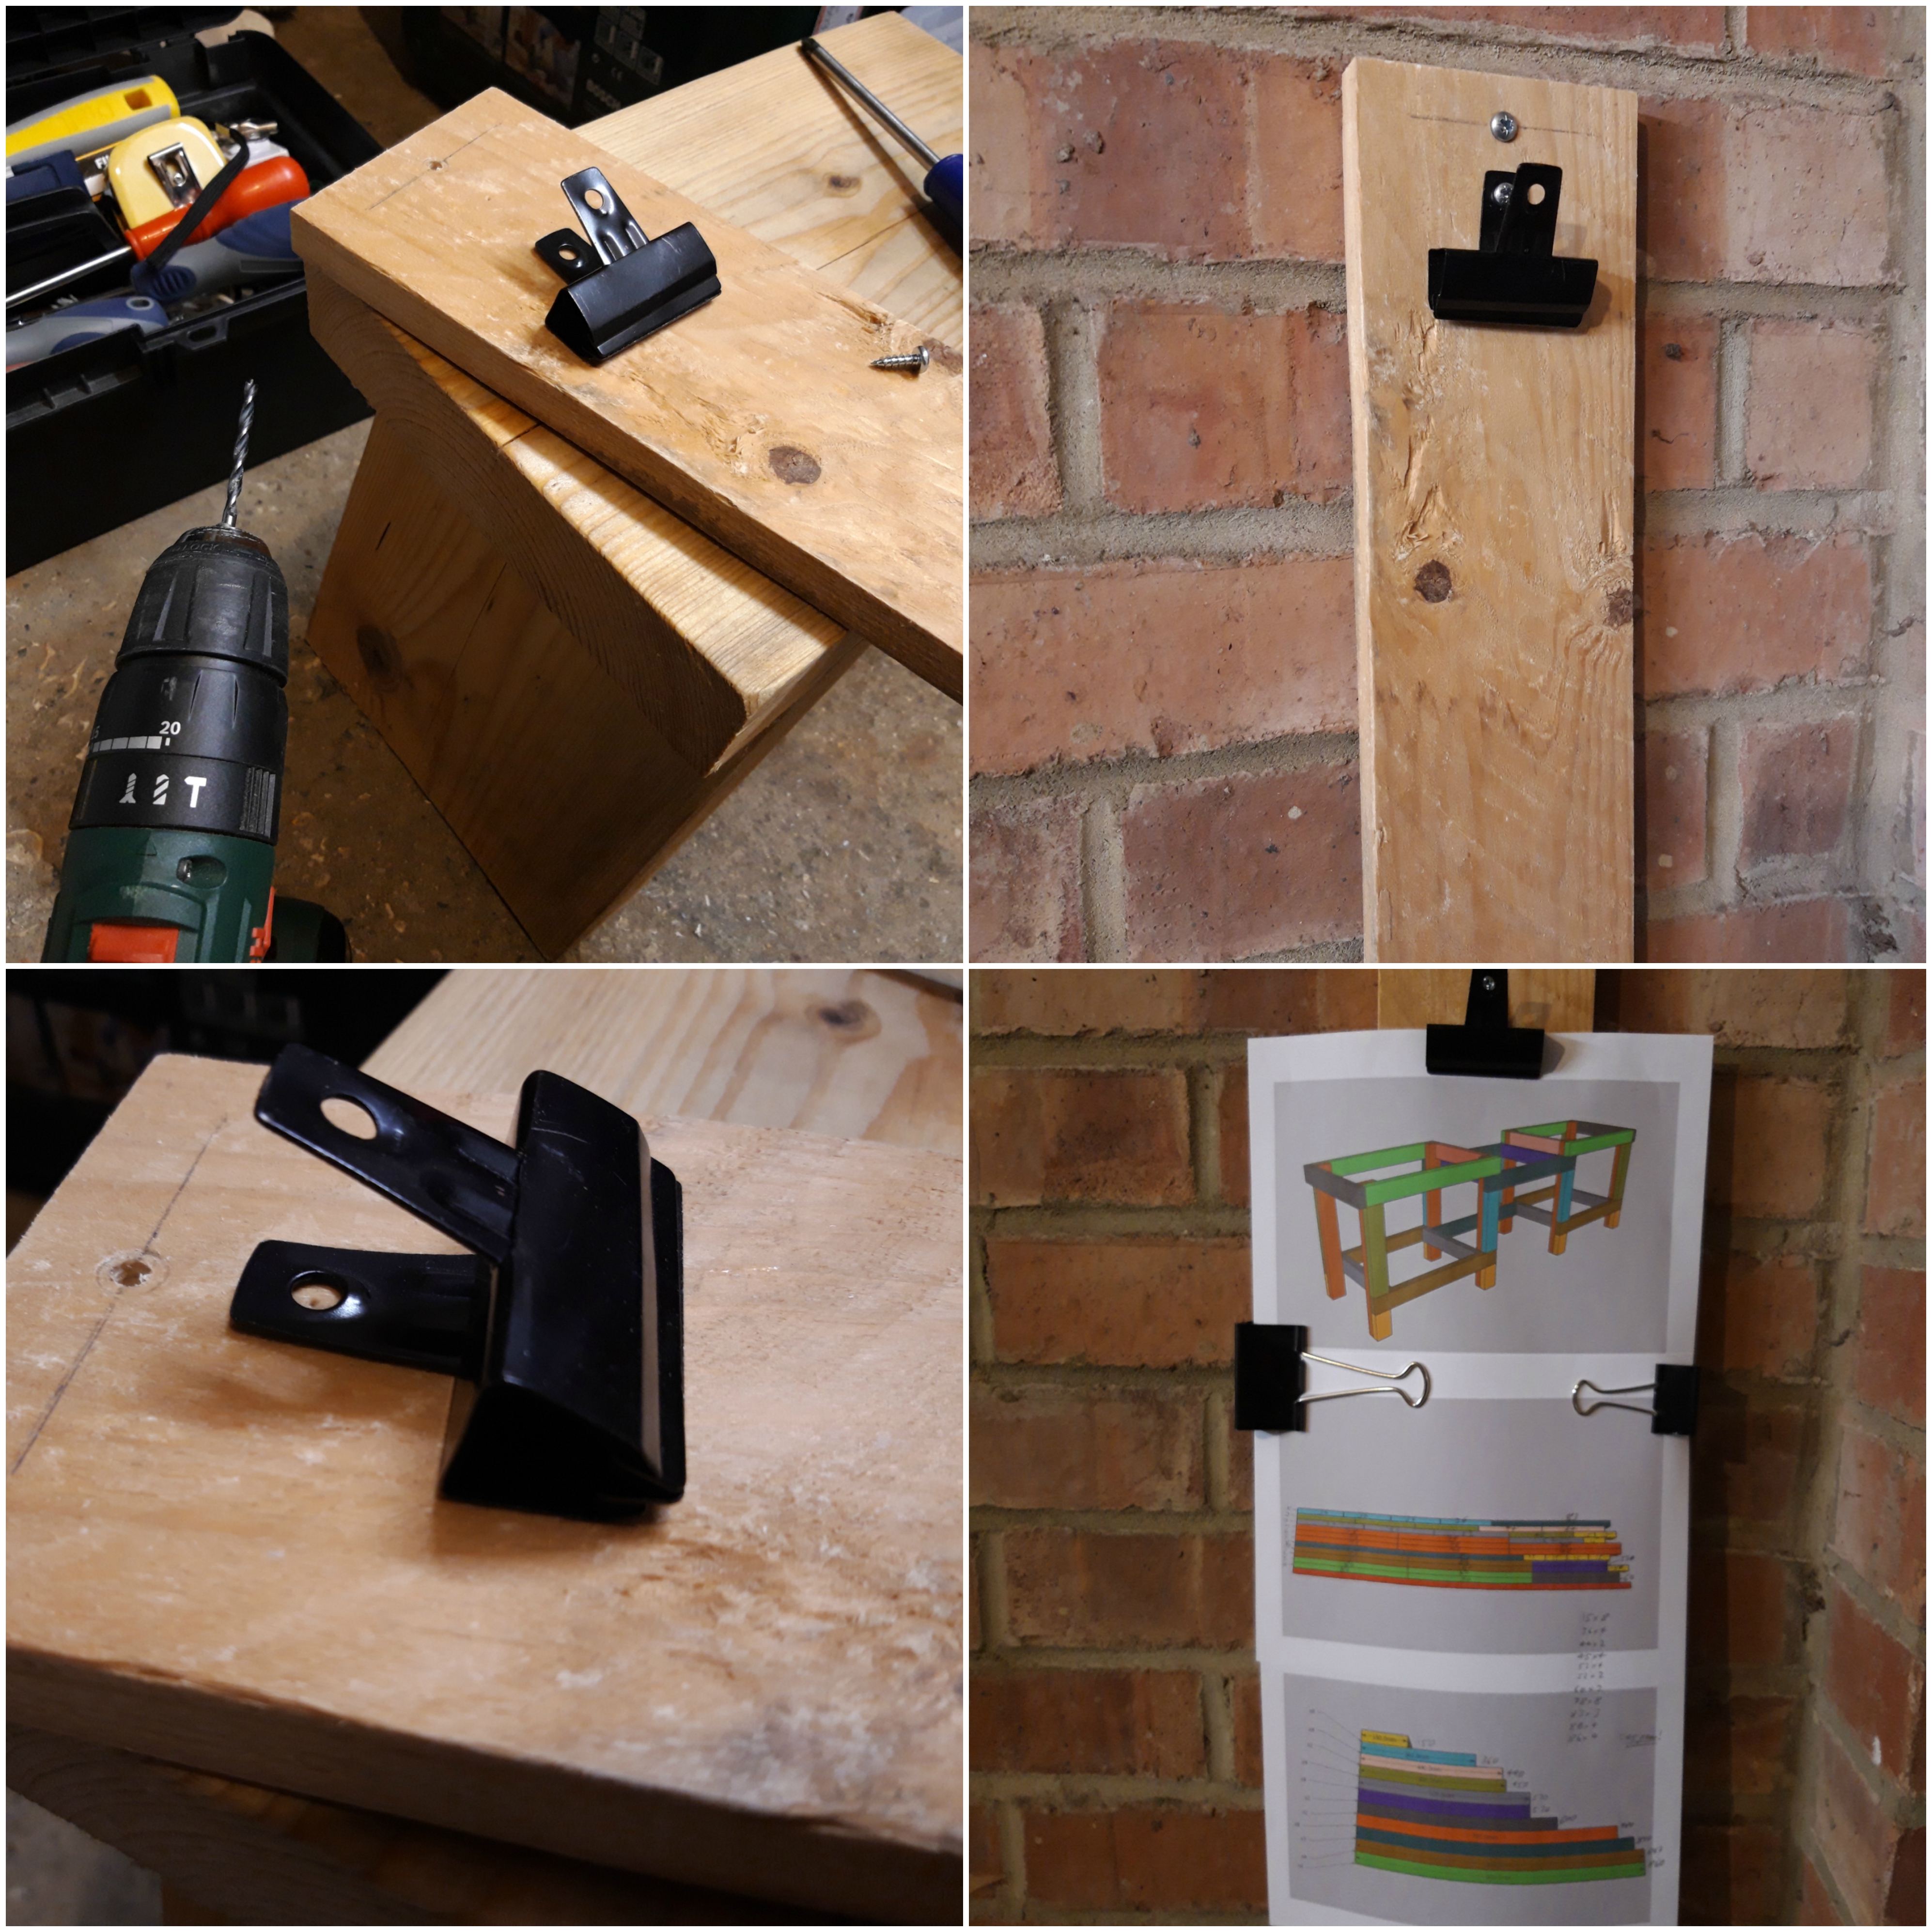
Finally I added a screw on the right hand side to hold my mitre board for making cuts with my hand saw and my french cleat so I can hang my chisels from the bench front. I am really happy with the finished frame and am looking forward to getting the bench tops in place and having a dedicated space for using my mitre saw! 🔨

6 thoughts on “Mitre saw bench – Part 1 Framing”