The next stage in constructing my mitre saw work bench involved putting up shelving above the work surfaces on either side of the mitre saw. I have previously talked about how I assembled the frame and then fixed on the surfaces, and having mounted the mitre saw to the bench, I am now in a position to start making other projects using my mitre saw a lot more easily!
I actually ran out of full pieces of 18mm mdf for a solid surface to go under the mitre saw in the centre of the workbench, but was able to use two sufficiently sized pieces to fill the space. As I included front to back support at the sides of the centre section of the bench, I ran the join in the mdf pieces from front to back too. Once this was secured in place using countersunk screws I thought about how I was going to maximise my storage above the bench and settled on some shelving.
I used the remaining shelves from an old ikea shelf unit we had in our kitchen at the old house as open sided pantry-type shelving for tins and dried foods like pasta and rice. We still have the same ikea shelving assembled in our new place, but it had to be smaller to fit in, so I had to cut it in half almost to get it under the fitted cupboards in the utility room. We don’t actually need as much extra shelf space as we used to have, as the new kitchen has significantly more fitted cupboard space! I will put on a post about our adventures with the kitchen shelving at some point.
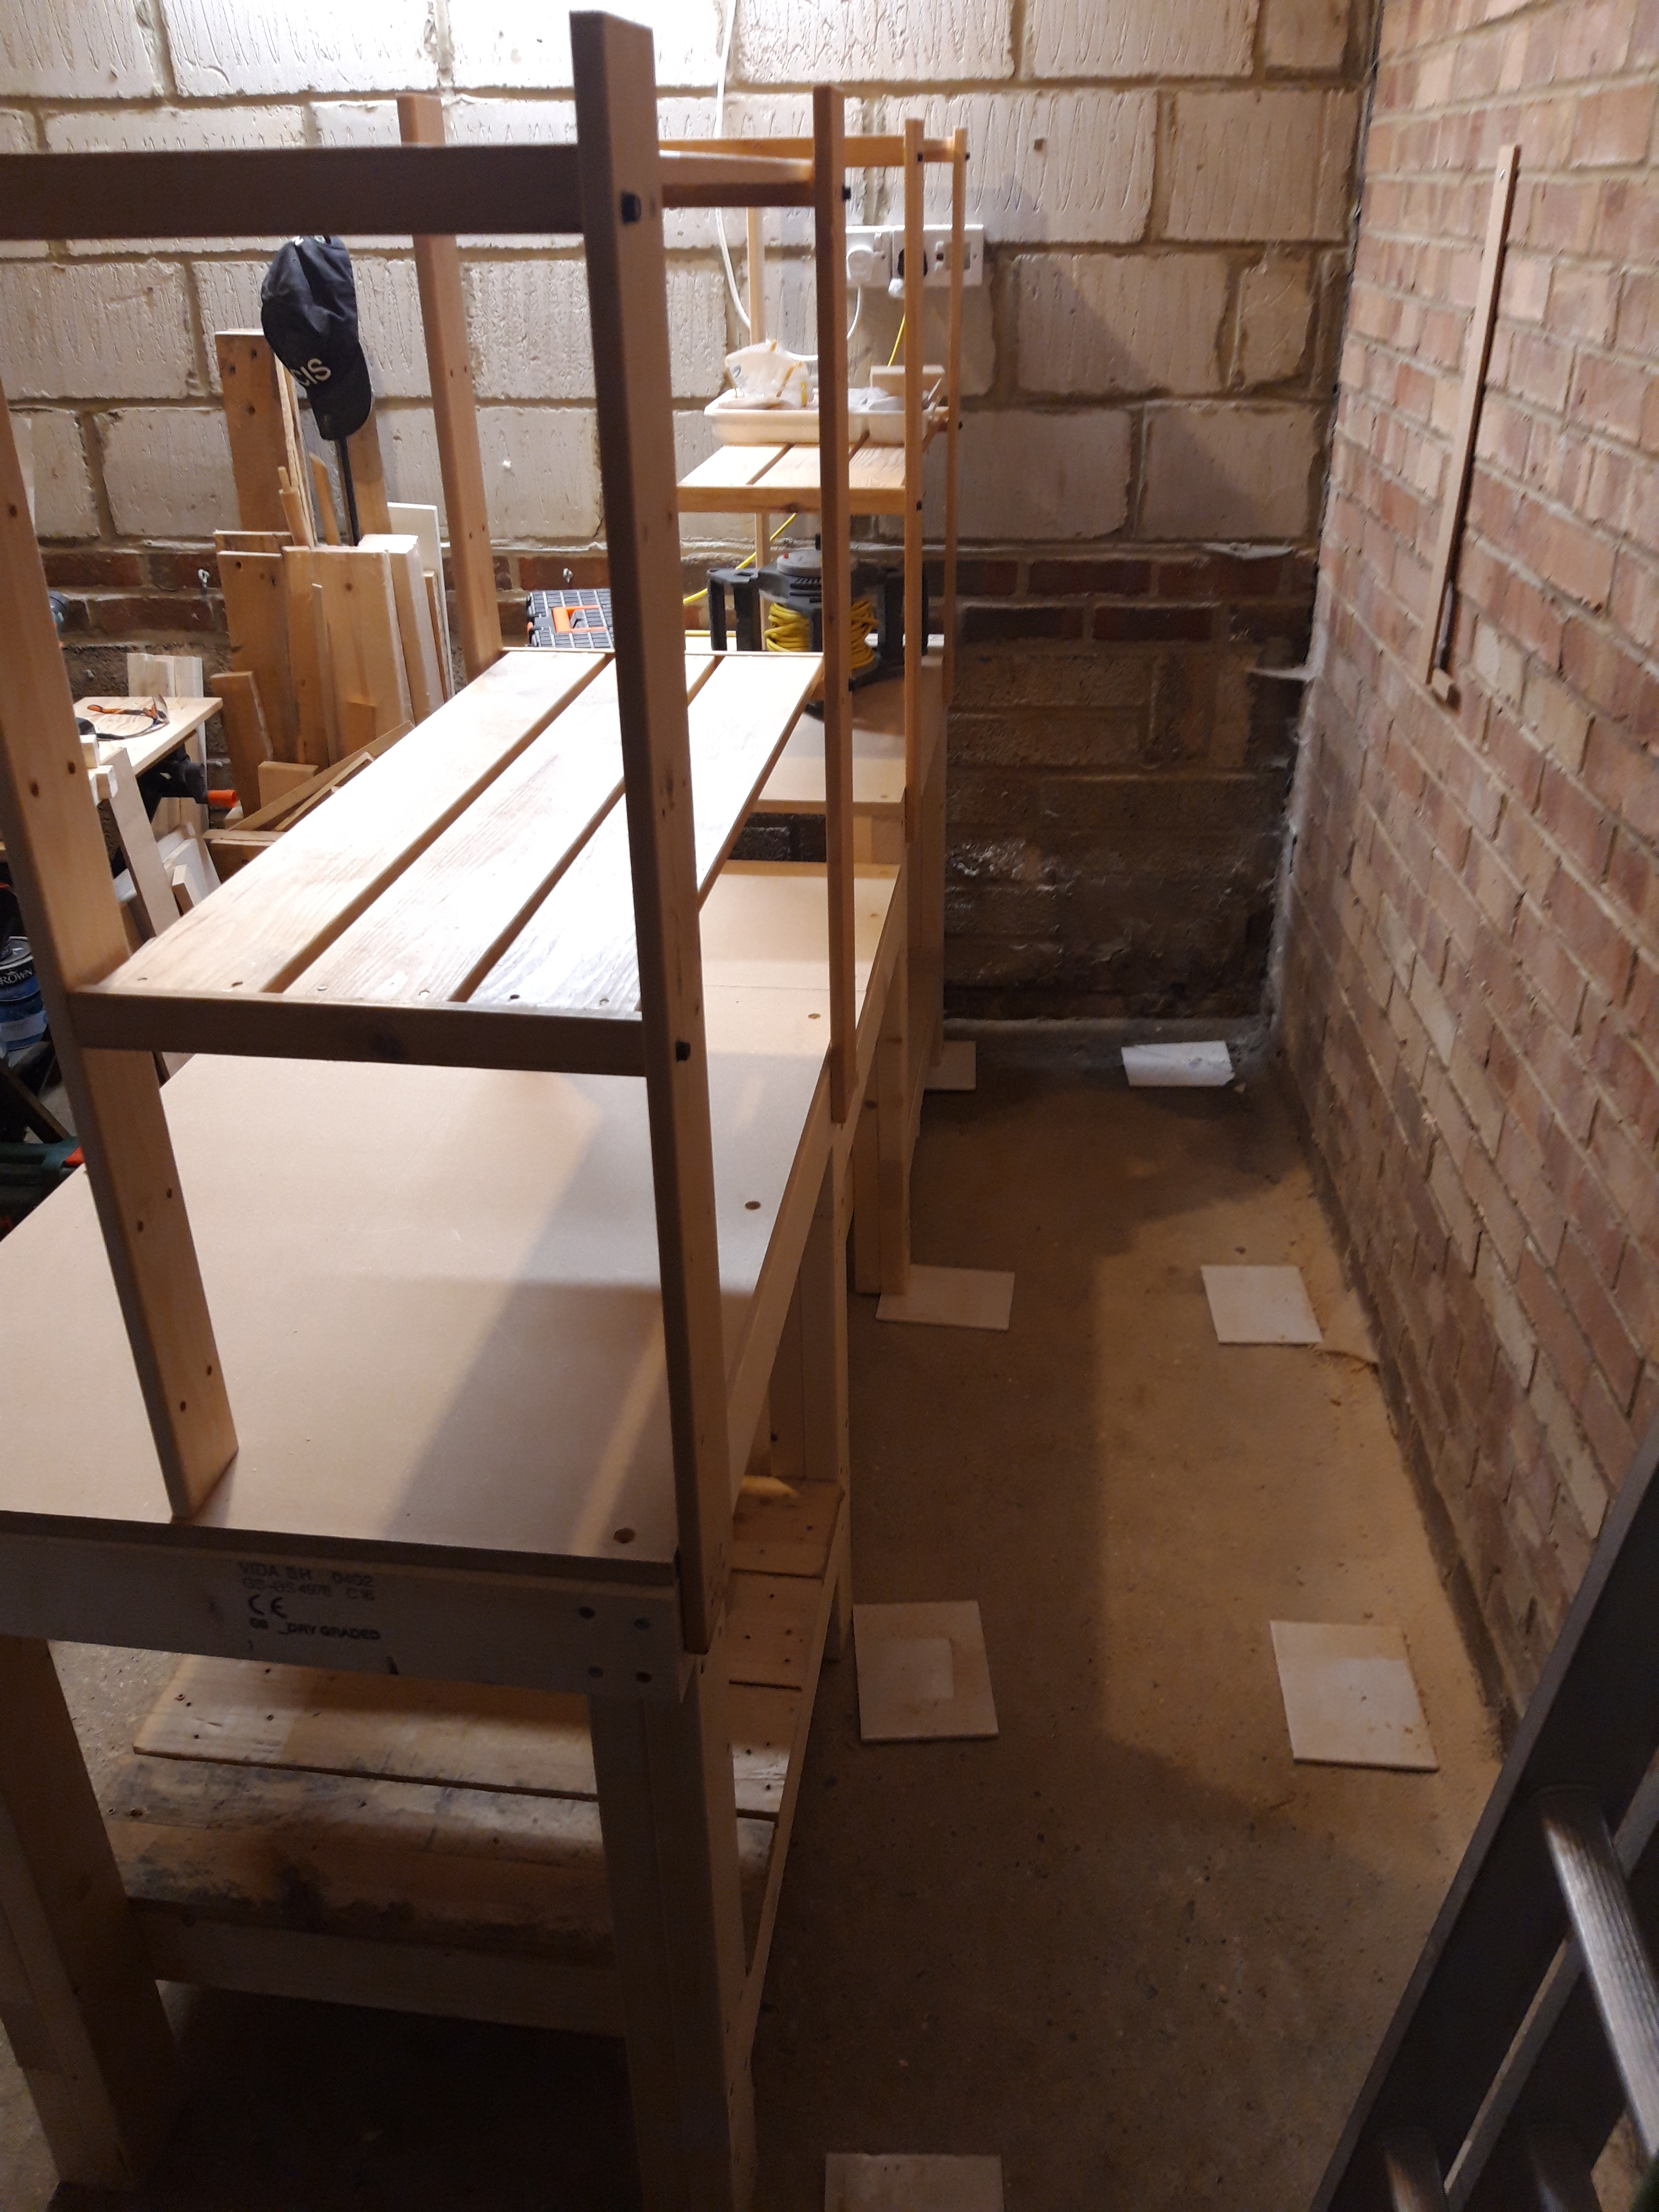
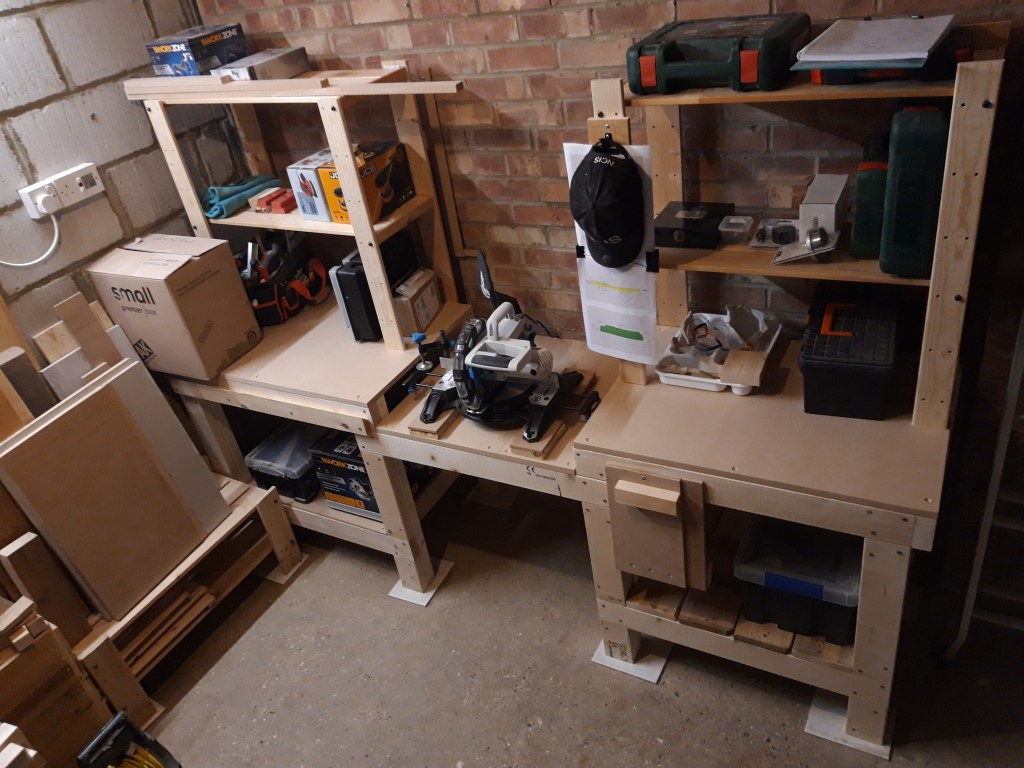
So the first step to fit the shelving to the bench was actually getting behind the workbench. I pulled it out from the wall and then worked my way along clamping the legs to the back of the bench. I have put tiles on the floor under each leg as a temporary fix, as I discovered the garage floods when it rains heavily. The ground outside slopes up past the side of the garage to a higher garden at the back of the house, which allows water to enter the garage through a small hole in the mortar in the back right corner (visible in this image). As we keep having lots of rain, I definitely need to add some casters to the bench to protect the wood in the longer term!
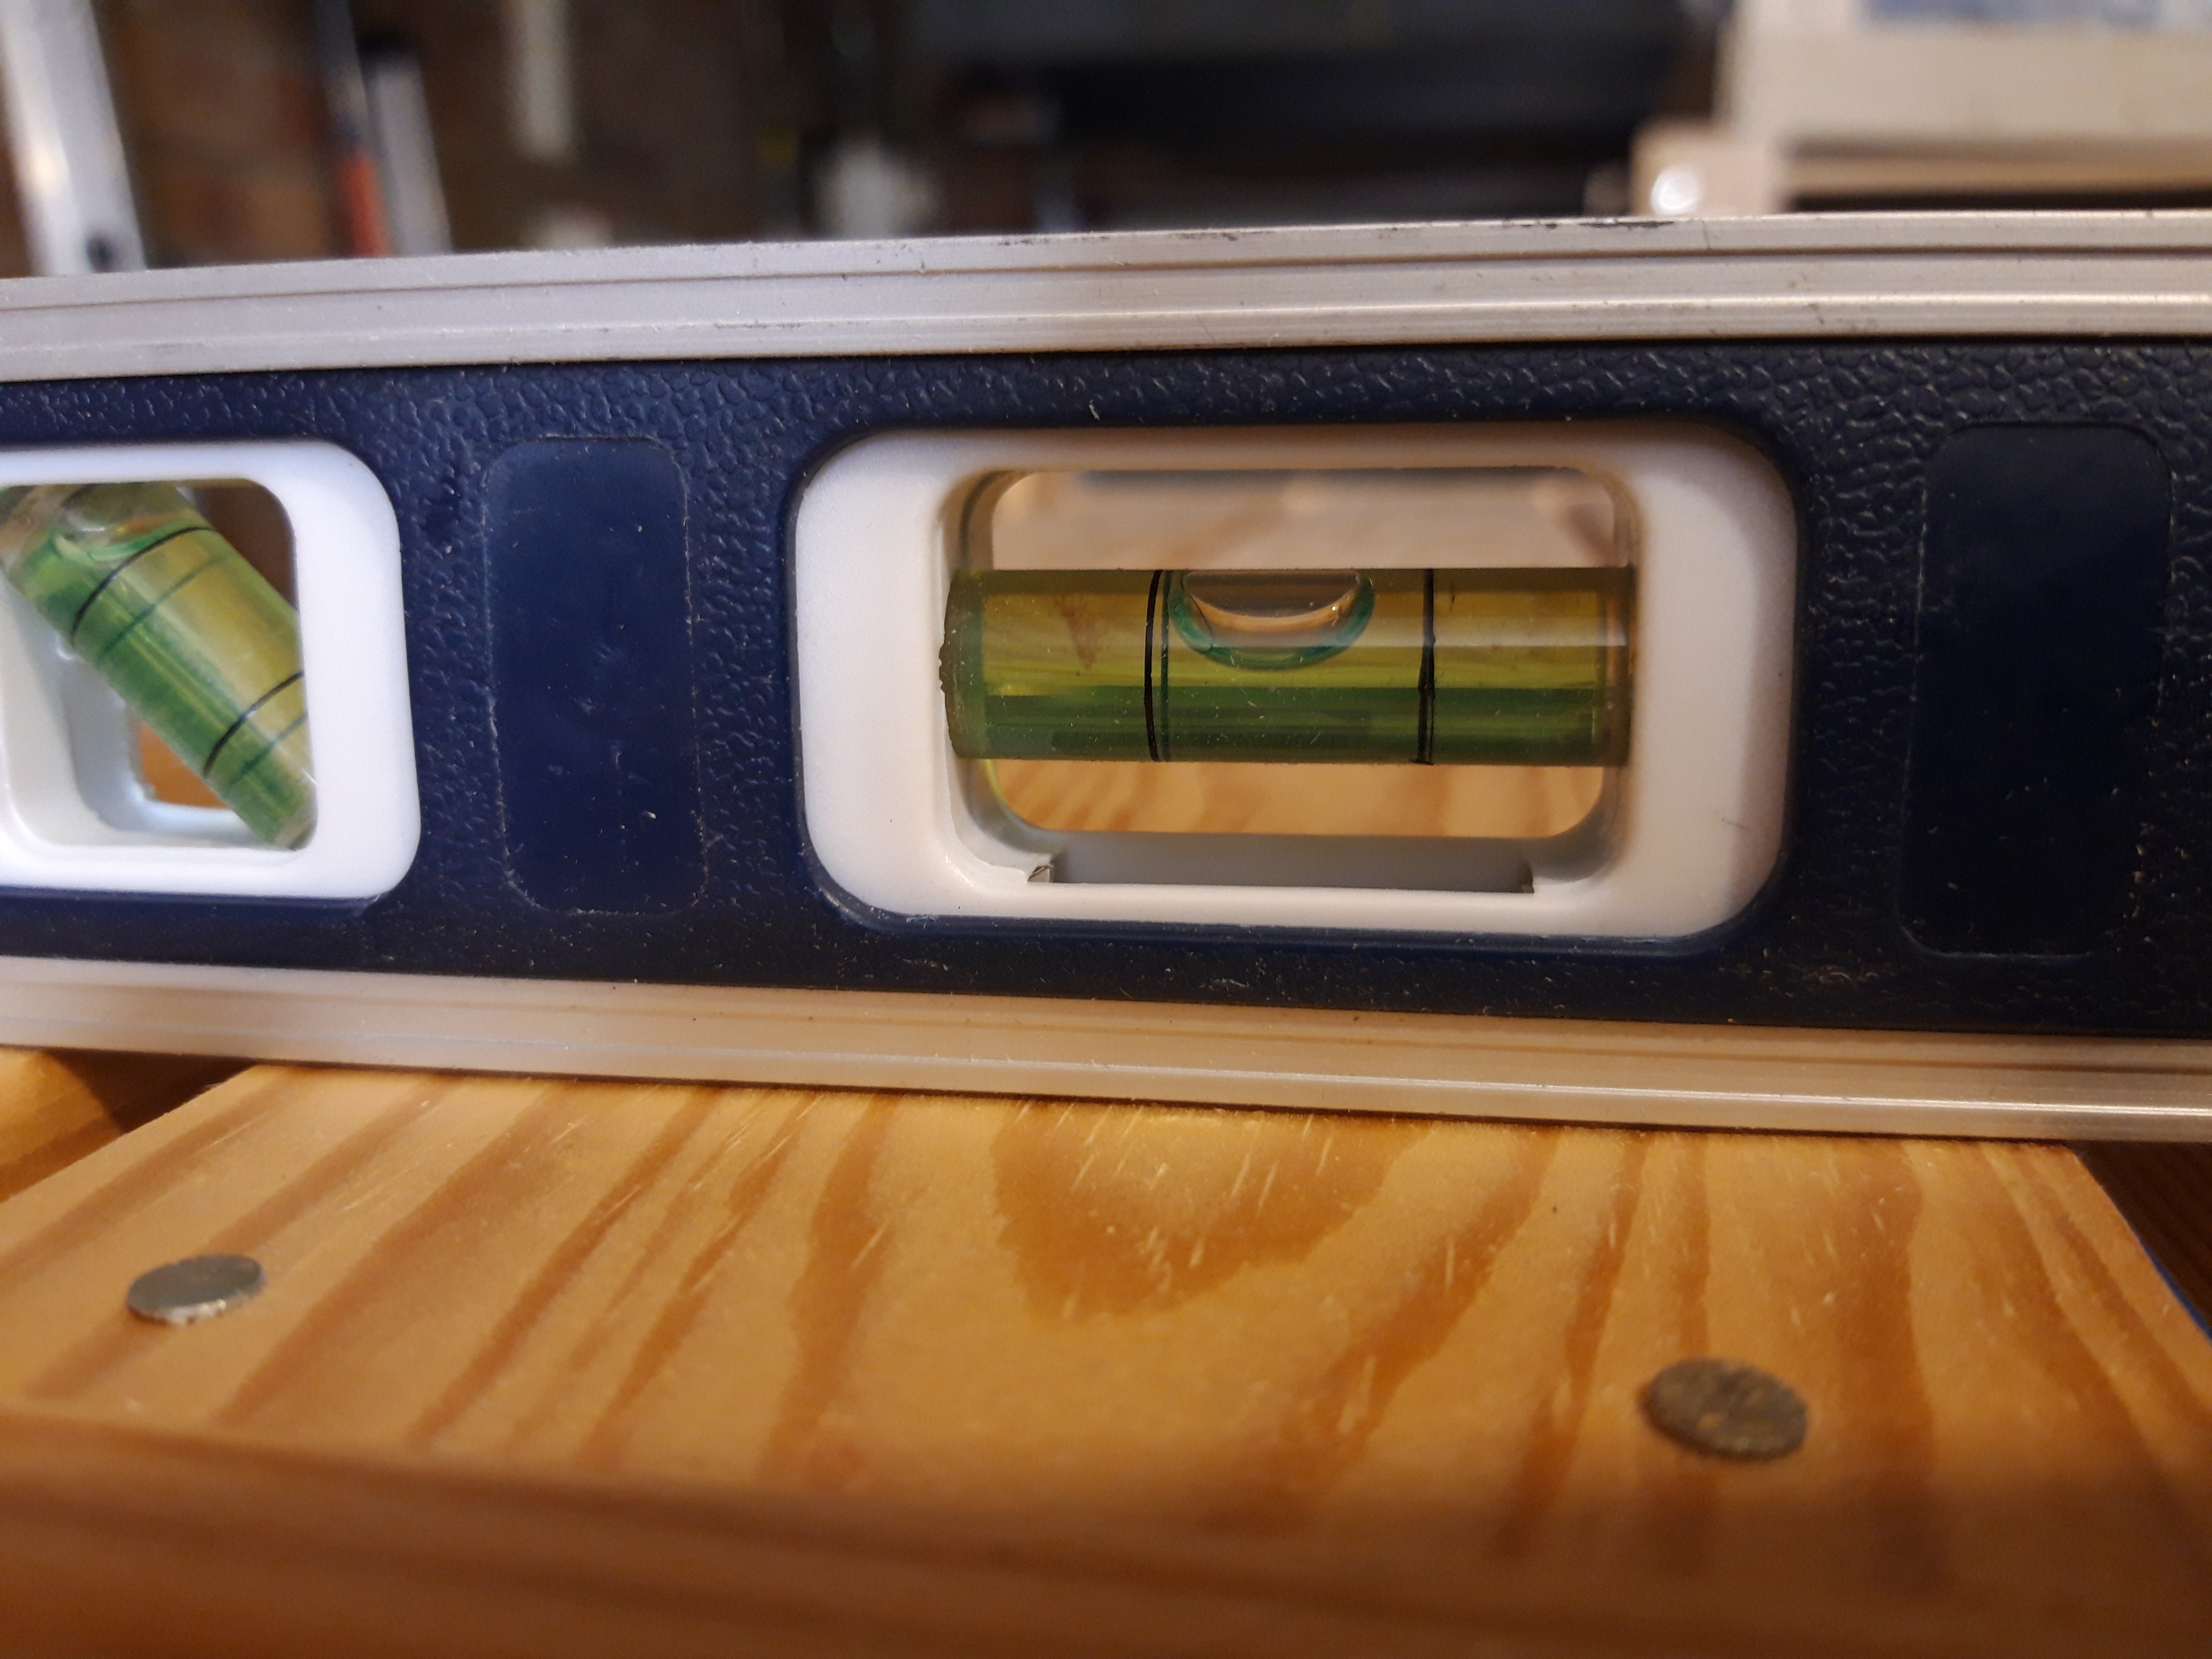
Once I had all the pieces clamped to the back of the bench and had secured the shelves into the uprights, it then took me a while to figure out how long the legs needed to be on each side. This took some thought to calculate out how much more material to leave on the rear legs compared to the front legs to ensure the shelves were not only secure but also parallel to the top of the bench. After lots of measuring and at times feeling desperately in need of a third (or fourth!) hand to hold everything together, I figured out the right dimensions needed to mount the uprights to the bench to provide good spacing of the shelves while making sure everything is flat, level and stable.
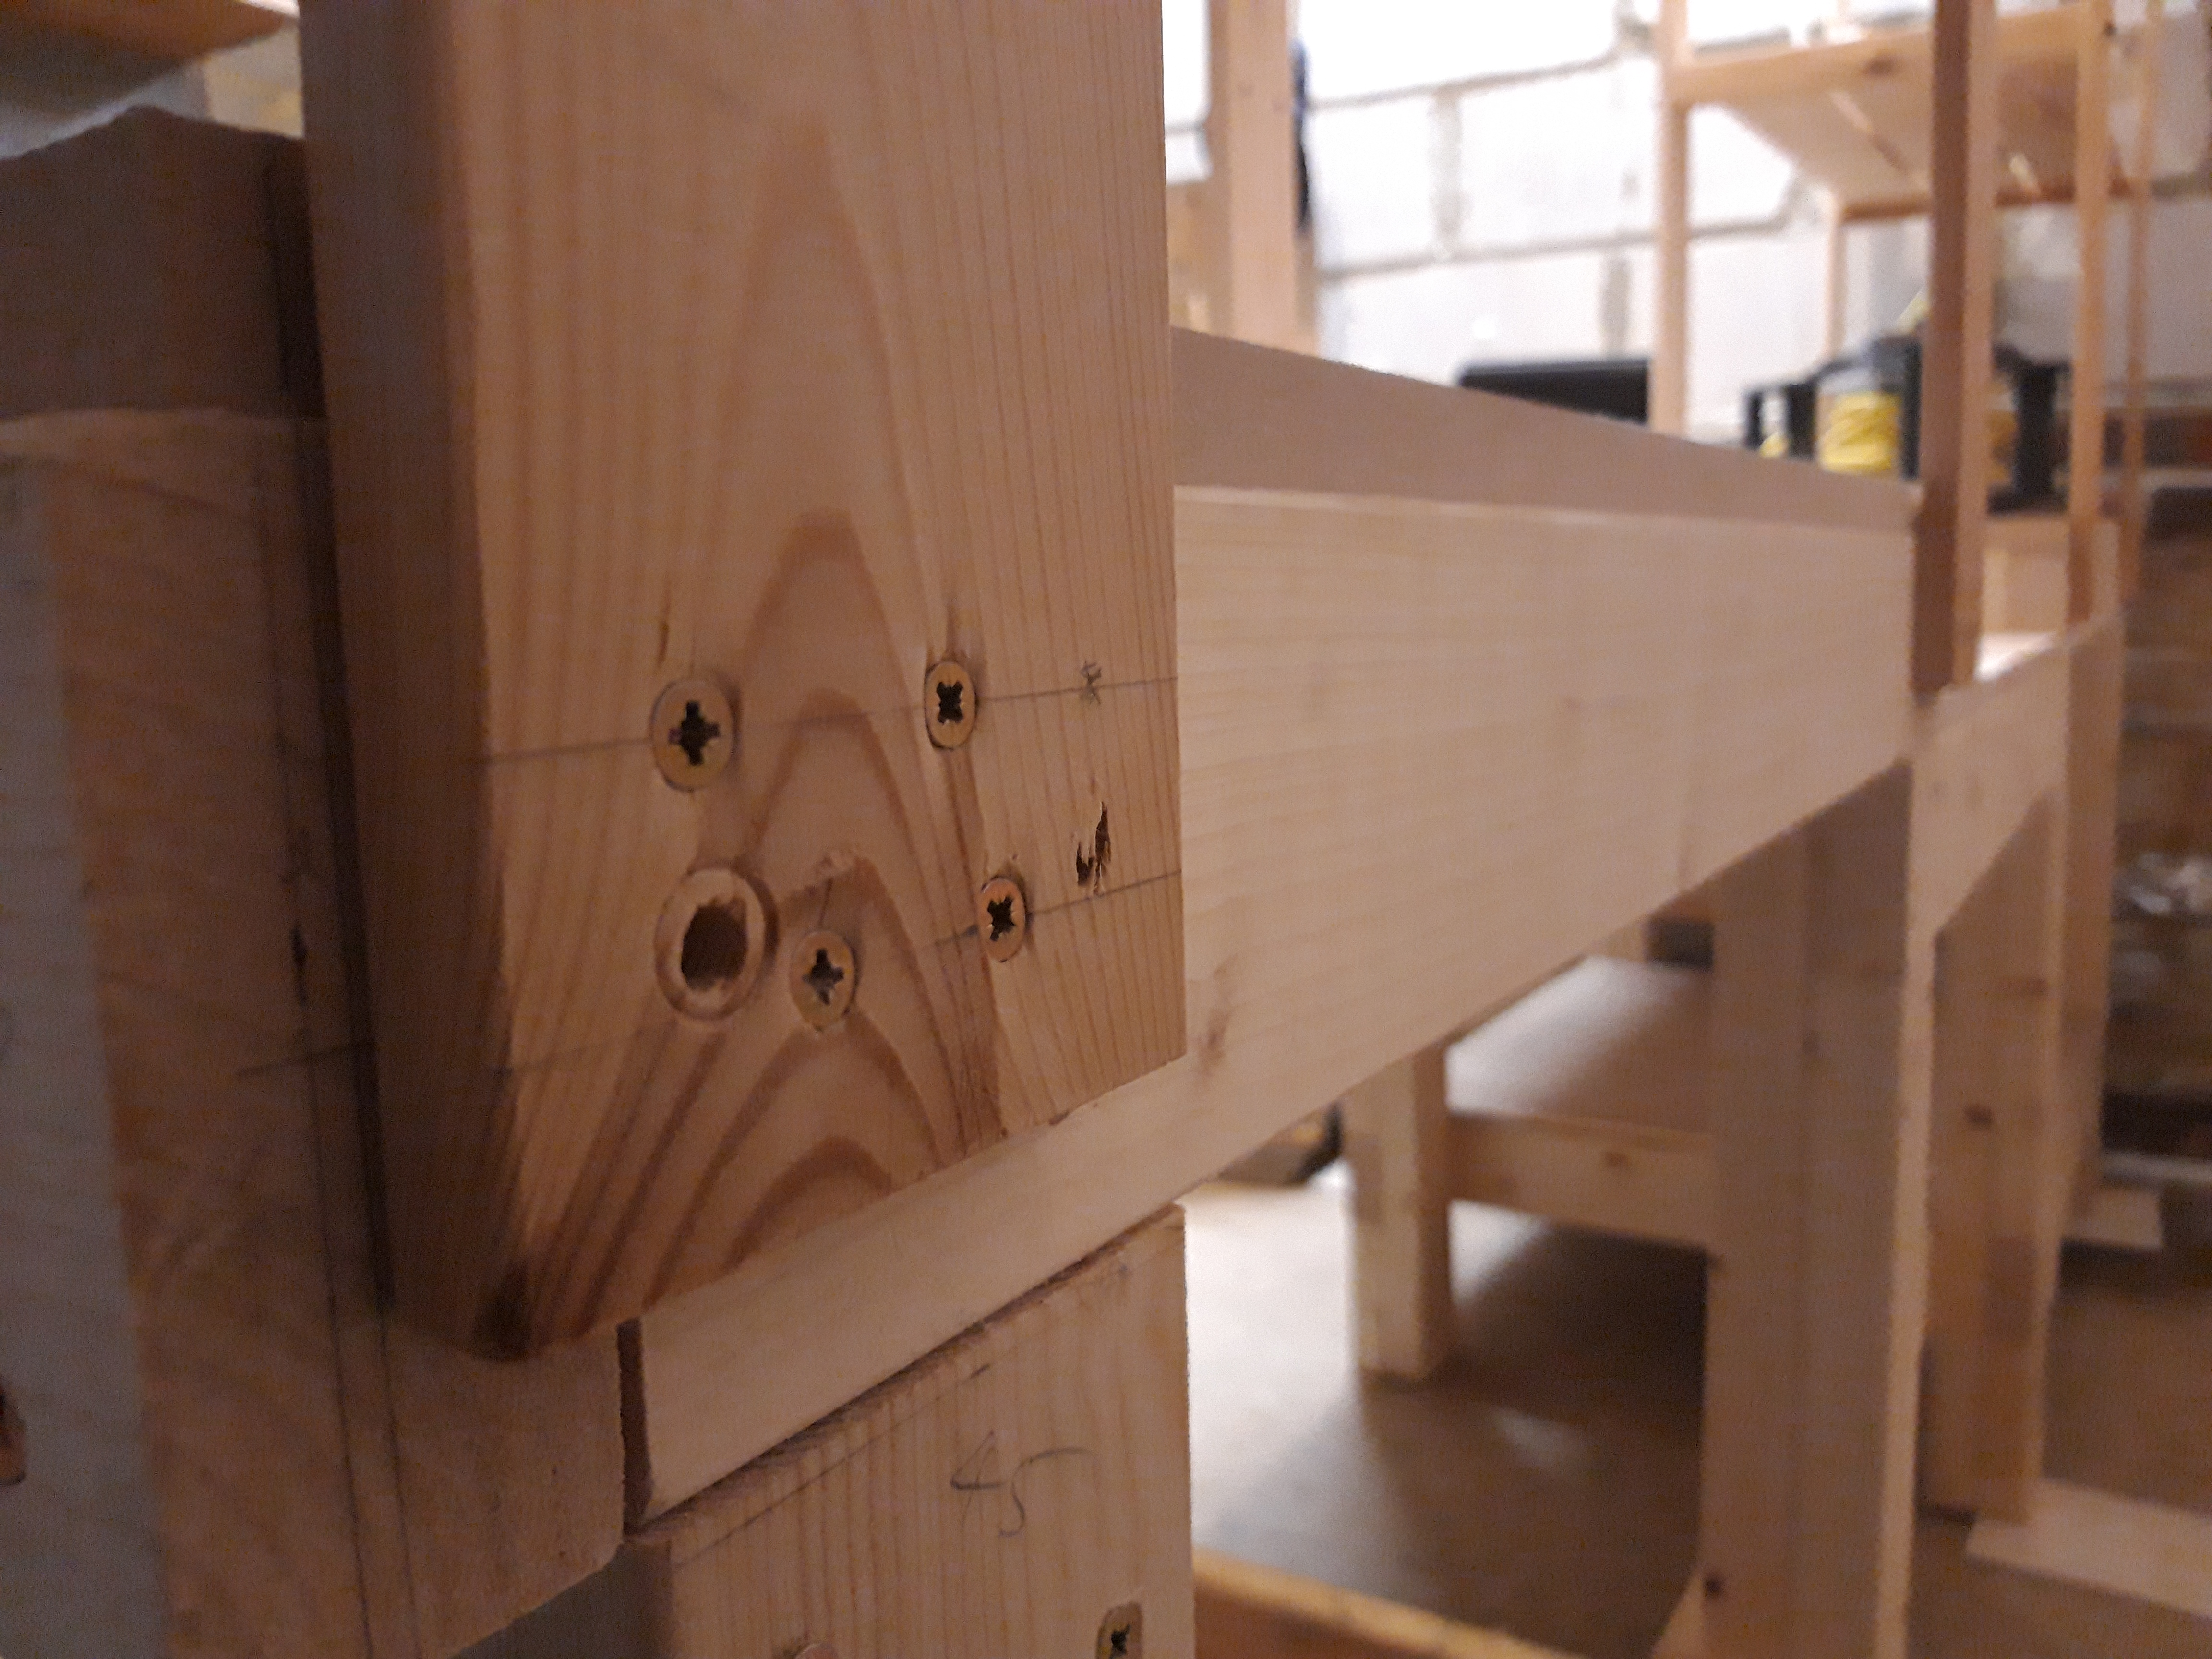
I used several screws to secure the back legs to the bench, rather than glue or any other kind of more permanent fixing, as I still want some flexibility with my shop furniture. This is in case I change my mind as to the shelf locations in future, I decide to rearrange the workshop or reconstruct the mitre saw bench in a slightly different way and can no longer have the shelving in the same place. With shop projects I think it is important to include a degree of flexibility for future ideas! The front legs just rest on the top of the bench and I am going to try out the shelving first before deciding whether to mount blocks to the bench and screw the legs into those.
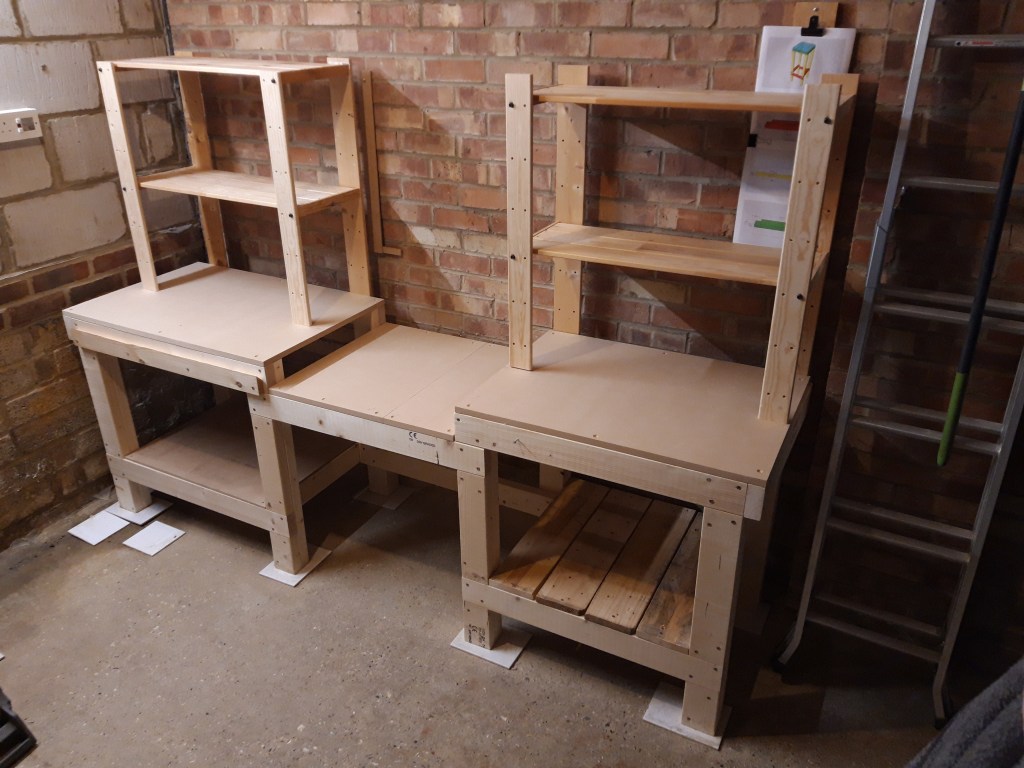
I then manoeuvred the bench back into position on the tiles (temporarily while I source some heavy duty casters) and started filling the shelves. This took a while, as I wanted to figure out where best to put everything. I also took time to secure the mitre saw in place, lifting it up to the height of the top of the bench using scrap wood under each foot. I wanted to have a bit of flexibility which is why the height of the centre shelf is not exactly the same as the mitre saw leg depth. This also makes it much easier to keep clean and clear out all the saw dust as there is enough clearance to get my hand or a small brush under the saw. It also means I can adjust the height of the mitre saw more easily in future if the wood moves or warps over time, by just adding in some different pieces of scrap. To secure the saw, I positioned it in position and then clamped it in place, before driving four long screws through the holes in each foot into the scrap wood and into the top of the bench underneath.
I expect I will move all the tools and equipment around in the shelves several times over the next few weeks/months as I develop my workflow in the workshop, but this will definitely make it easier to keep things tidy! 🔨

3 thoughts on “Mitre saw bench – Part 3 Shelving”