Having had this blog and online presence for a couple of years, I decided to make a set of letters to represent The Woodworking Scientist. That way I can put the letters in a prominent place in my workshop and they would then naturally appear in the background of images of future projects.
If you are particularly eagle-eyed, you may have already spotted the partially completed lettering in several of my previous posts, including how I constructed the frame for my mitre saw bench and how I fitted the surfaces to the bench. I often have several projects running simultaneously so I can work on one while the glue or stain is drying on another.
I started by figuring out the sizing and letter style I wanted and played around with different designs and fonts on my laptop until I had it all planned out. I wanted the letters to be large enough to be clearly read from a distance, but not so giant that they would distract from anything else in the workshop when I take photos of projects.
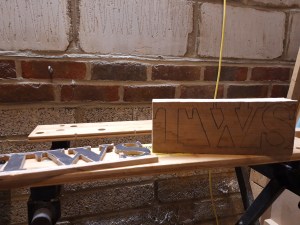
I printed out the letters and glued them to a piece of scrap mdf to test the size from a distance. As I was happy with how it looked, I cut out the letters into the mdf using my jigsaw and filed the edges to get the more intricate shapes into the template. Once I was happy that the template looked ok – by propping it up against the end wall and viewing from a distance – I traced around the letters onto a scrap piece of wood several times to leave a clean line of pencil that I could follow with the jigsaw. Due to the thickness of the wood, I was anticipating generating quite a bit of sawdust, so I made sure to put down quite a heavy pencil line for the lettering to make sure I could still see where to cut.
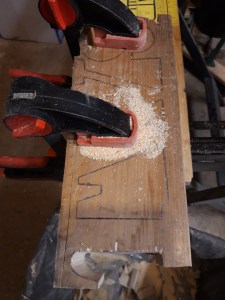
It took quite a while to cut out all the shapes around the letters as I took it steady, rotating the workpiece several times. I drilled two main holes into the wood to then put the jigsaw blade into at the base of the “W”, and then between the “T” and the left hand side of the “W”. Cutting the “S” shape was also a little tricky as I haven’t cut many curved lines before. I feel that might have been easier with a bench-mounted jigsaw for example, where I could move the workpiece instead of the saw, but the wood is probably much too thick for for the small bench-mounted jigsaw blade. A bandsaw perhaps might work, but as they can be very expensive that is still quite a way down my list of tools to acquire! So I took it steady using my jigsaw and worked my way from one end of the workpiece to the other, pausing every so often to clear the increasing amounts of rapidly accumulating sawdust! I need to investigate some sort of dust collection for the workshop, as that would definitely keep the floor and surfaces a lot cleaner and help with steps like this which generate a lot of dust but still require me to follow a line accurately. I spent quite a bit of time sweeping up all the sawdust after this step, so dust collection would definitely save time too!
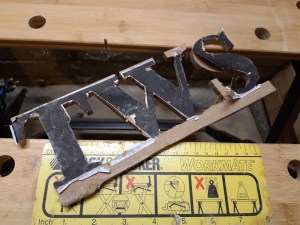
Once the letters were roughly cut out of the scrap wood piece, I went over the shape of the letters with flat and curved files to shape the letters properly. It took some time to get the curve of the “S” right and in the process a crack propagated through the grain along the top of the letters. One of the problems with using scrap wood! But I just used some glue to mend the cracks and stick the pieces back into place. This was particularly an issue with the “S” due to the small surface area holding the letter together, so I applied lots of glue in the split and then clamped the top and base of the “S” carefully and left it to dry completely.

Once the glue was fully dry I started the sanding process using my random orbit sander. I turned the workpiece to smooth each side in turn, increasing the sandpaper grit once I’d done all the sides I could get to using the orbit sander. I had to sand the inside of the letters by hand, which took quite a while due to the number of different surfaces!

Once all the sanding was done, I decided to finish the letters with a woodstain for protection as they are going to live permanently in the garage, which does get quite damp! I settled on trying out a new mahogany woodstain I had looked at previously and I figured that as this is a shop project, it doesn’t matter if it doesn’t look perfect or the stain doesn’t work so well.
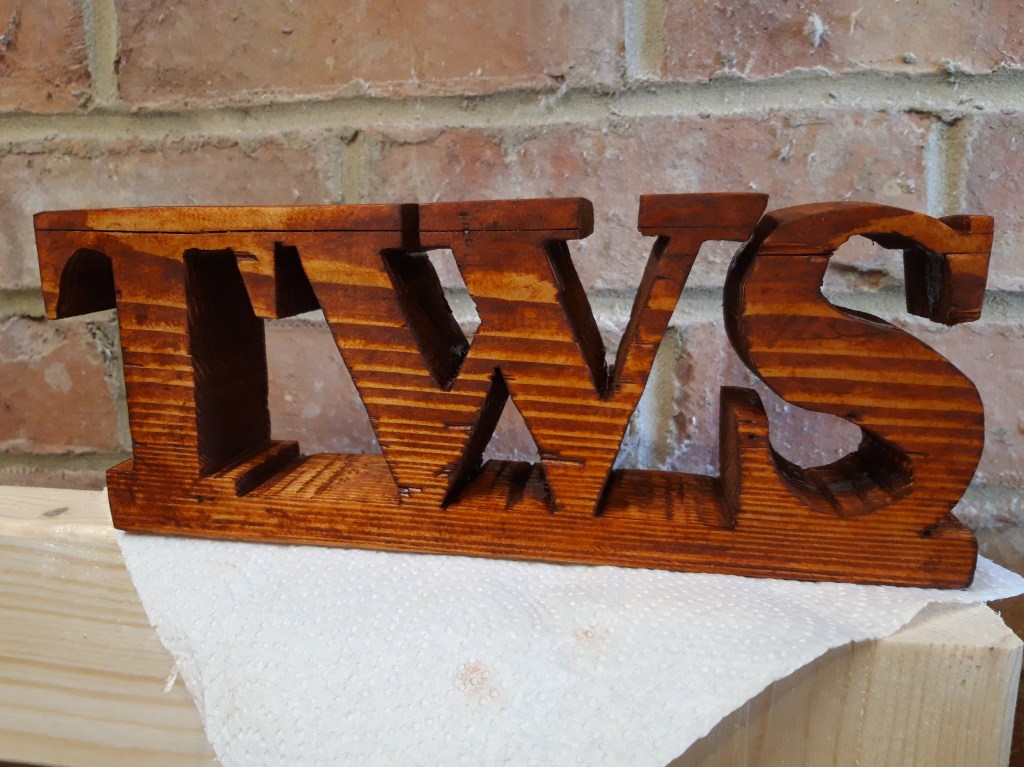
I applied two “coats”, allowing the first one to soak in for a few minutes first. Technically I should have let it fully dry, sanded and then re-stained but I decided to just try it out and see what happened. I wanted to make sure I hadn’t missed any spots, so used a piece of kitchen roll to apply the stain into the more intricate shapes of the letters. I will need to get some small paint brushes for staining workpieces in future, as that will make it much easier to apply the stain into small areas.
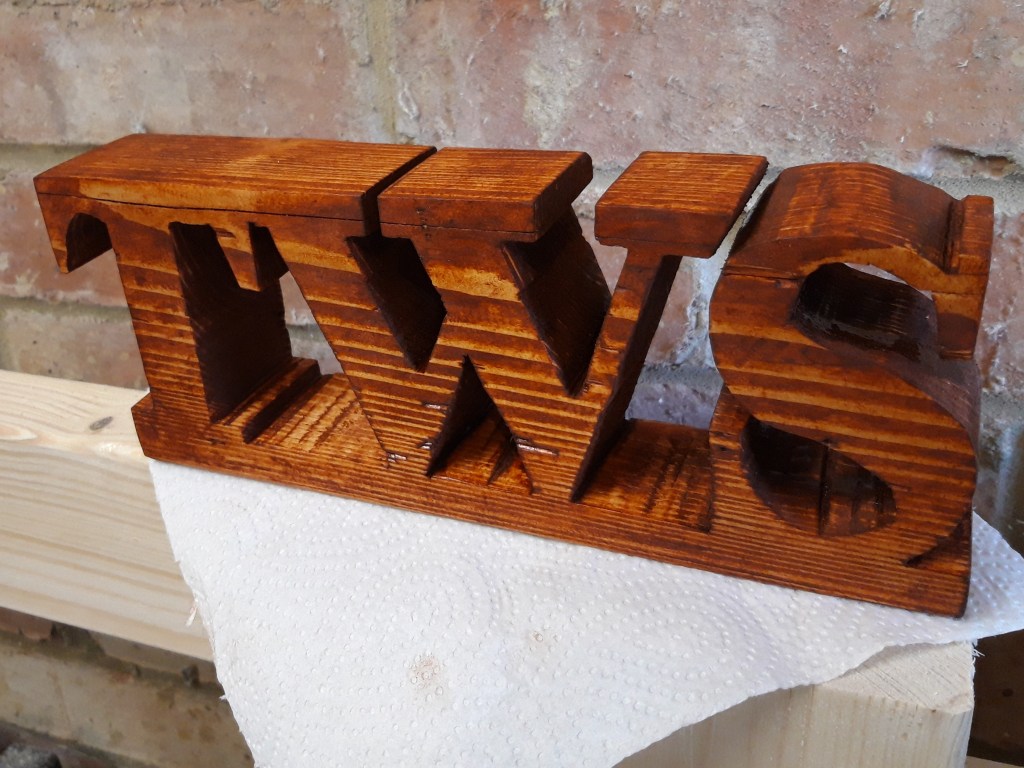
And overall I’m really happy with the result! I love how much the grain stands out and has a sort of fiery feel to it – the stripes on the front of the letters make me think of deep red clouds on the horizon across a red setting sun. And for a shop project, I don’t think it looks too bad at all. I just need to now work out where to store the letters permanently in my workshop, so they are out of the way but also on display in the background for all subsequent projects! 🔨
