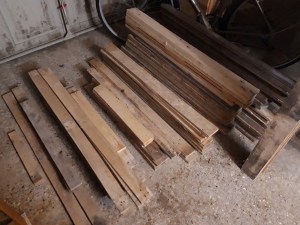
As I have continued to develop in my woodworking, the amount of lumber I have needed and the various types and shapes has increased. This has provided an interesting puzzle to solve regarding where to keep it all in the workshop! And as I’ve been dismantling pallets and actually managing to rescue the majority of the wood, I have accumulated quite a large number of pallet slats and beams which exceed my current storage setup, which I created a couple of years ago. So after spreading everything out all over the floor of the workshop to review what I had, I set about figuring out a new way to store all my wood!
I decided the best way was to split my wood into three types – sheet material, like plywood, mdf etc; longer pieces of lumber, like pallet beams, cut offs of 2x2s, 2x4s etc; and then planks, like pallet slats in assorted dimensions. I’ve also got a bucket of blocks salvaged from the dismantled pallets, although I don’t currently have a use for the sawdust blocks!
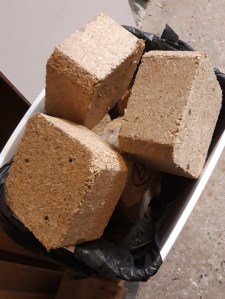
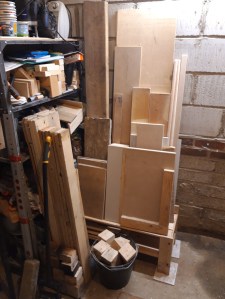
The sheet material was relatively easy to organise, as I have the offcut from a shelving unit I cut to size when we moved in two years ago at the end of the workshop. I need to do a proper sort of the sheet material at some point, but for now it is all “neatly” arranged on the shelf, which keeps it off the floor and stops it getting damp. And I currently have a bucket containing the salvaged blocks from the pallets next to it!
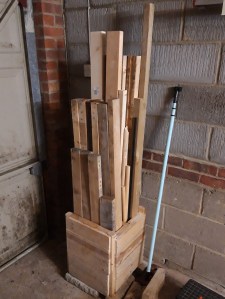
I used the wood crate I built previously to organise the longer beams and constructional lumber offcuts lefts over from previous projects. This works well to keep them all in place, and the central divider means I can have longer pieces in the back and shorter pieces in the front. As I continue to make projects, the lumber in the crate will undoubtedly change significantly, and won’t remain quite so stuffed!
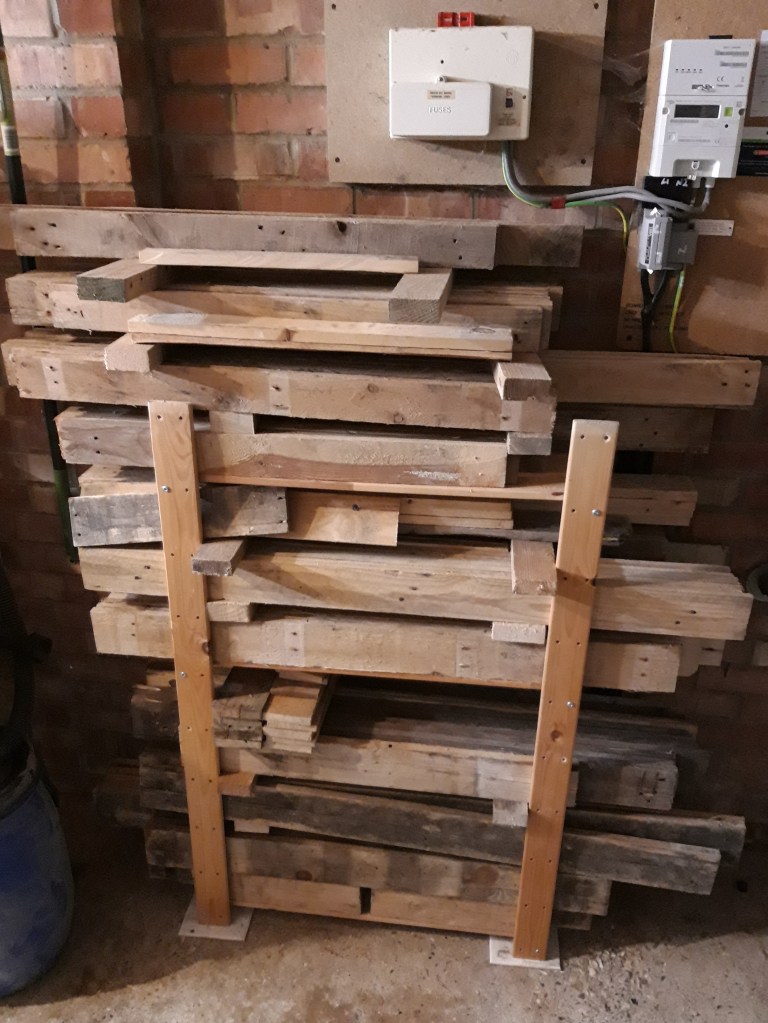
Lastly I decided to use another section of an old shelf unit we no longer needed in the house for the pallet slats. As the selection of pallets I have dismantled over the past couple of years have all been non-standard sizes, I have quite a range of planks with varying thicknesses and widths. So I spent a good 15 mins laying them all out and arranging them into some kind of order, writing the basic measurements on them to assist me with selecting lumber for projects in future.

Then it was just a case of stacking it all up in the shelf, with some dividers in between to encourage airflow and help the wood dry out. As I complete various workpieces, the lumber selection will change and I imagine I will have to keep reorganising the planks within the shelves to make sure it is not too top heavy if I use a lot of the pieces from the bottom.
So we shall see how long this setup works, although I do have several ideas for one combined lumber cart which can hold all three types in one – another future project! 🔨

1 thought on “Upgrading my wood storage – Version 2”