Last year my Dad turned 60 and I wanted to give him something really special – a large personalised wooden trunk! I began by constructing a very solid frame out of pine constructional lumber to secure everything to and once that was finished, I moved on to making the lid.
Due to the multitude of steps involved in making the trunk, I am going to be sharing it across 8 posts over the next couple of months. Links to all the associated pages below will become live as each subsequent part gets written and shared and I will put links on each page so you can go through all the posts and follow the entire build sequence from start to finish!
Part 1 Planning and sourcing wood
Part 2 Framing
Part 3 Lid (this post)
Part 4 Panels
Part 5 Corner braces
Part 6 Hardware
Part 7 Initials
Part 8 Final assembly and staining
The first step involved creating a core frame, like I did for the main body of the trunk as I wanted a solid surface to attach the top panel to. I used pine 2×4 constructional lumber again to provide a solid structure. I used rebates and half-lap joints to give me a large amount of surface area for glue up.

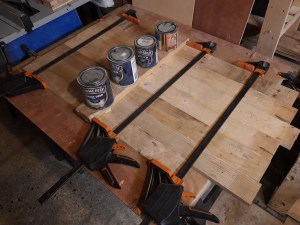
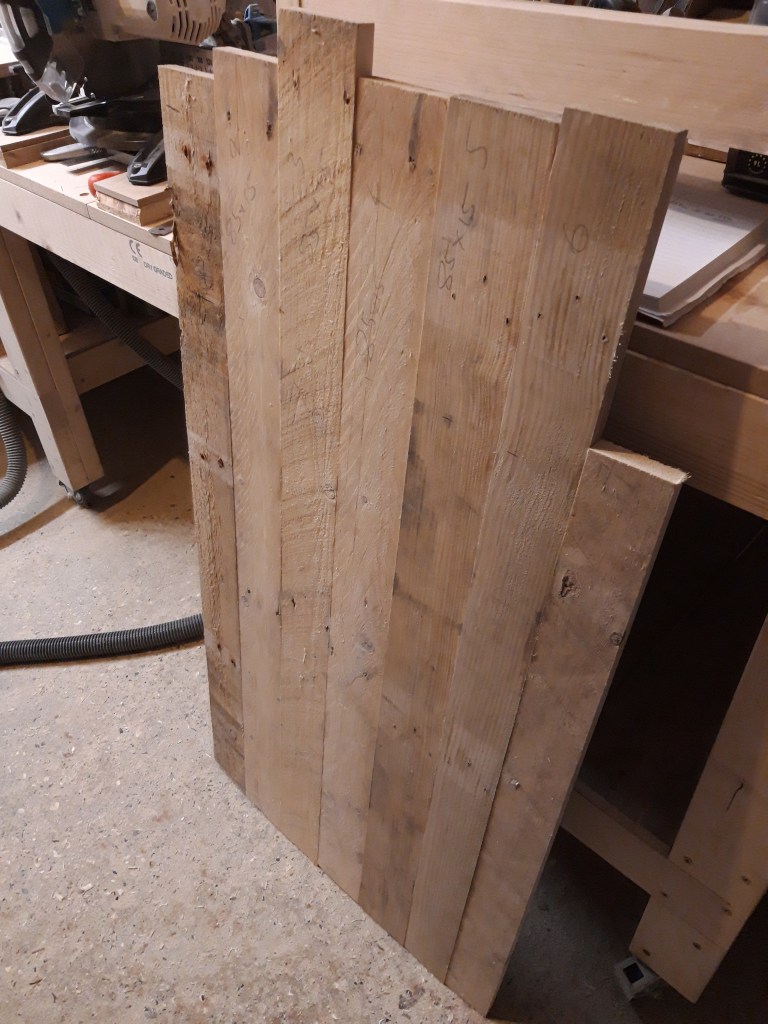
After confirming all the pieces of the frame fitted snugly together, I applied glue and lots of clamps. While the frame was set aside to dry, I selected a number of the same (or very close) thickness boards and ripped them down to remove the edges and provide a smooth and flat surface for gluing. I worked out an order that made interesting grain patterns and then used a piece of plywood on top of my workmate to provide a large flat surface area for glue up. After applying lots of glue and clamping in place, I placed a board covered in tape on top weighed down with tins of stain and paint to ensure the boards remained flat while the glue dried.
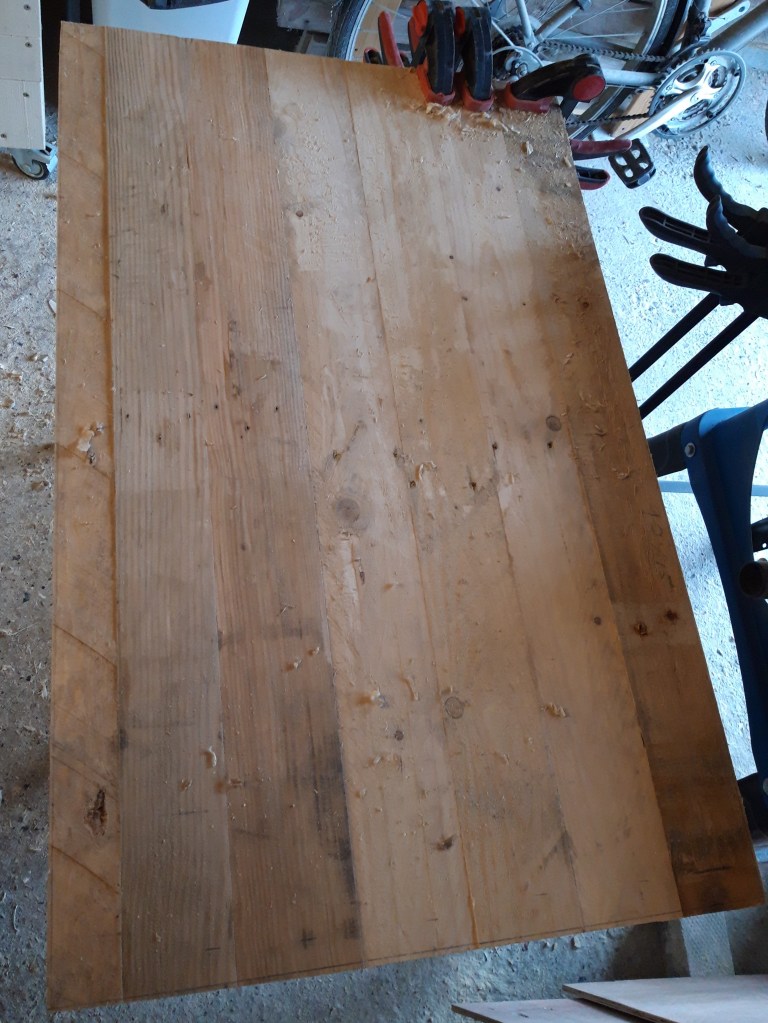
Once the glued up slats were dry I cut the overhanging sections of slats off to make a rectangle and used a hand plane to smooth the surface. This was then followed by a whole lot of sanding on both sides to make a flat surface for the slats to be glued to the frame, using both my belt sander to remove lots of material and then my random orbit sander to smooth out the rest of the surface. I also checked the frame for the lid was the right size for the frame I made previously for the main body of the trunk.

The plan is for the slats section of the lid to overhang the edges of the lid frame and cover over the end of the corner braces of the trunk. I will therefore glue the slats to the lid frame and cut it to the right size once I have made the side panels and then added the additional corner pieces – details to follow soon! 🔨

7 thoughts on “Wooden Trunk – Part 3 Lid”