Last year my Dad turned 60 and I wanted to give him something really special – a large personalised wooden trunk! After constructing a very solid frame out of pine constructional lumber and making the frame and panel for the lid, I moved on to making the side panels.
Due to the multitude of steps involved in making the trunk, I am going to be sharing it across 8 posts over the next couple of months. Links to all the associated pages below will become live as each subsequent part gets written and shared and I will put links on each page so you can go through all the posts and follow the entire build sequence from start to finish!
Part 1 Planning and sourcing wood
Part 2 Framing
Part 3 Lid
Part 4 Panels (this post)
Part 5 Corner braces
Part 6 Hardware
Part 7 Initials
Part 8 Final assembly and staining
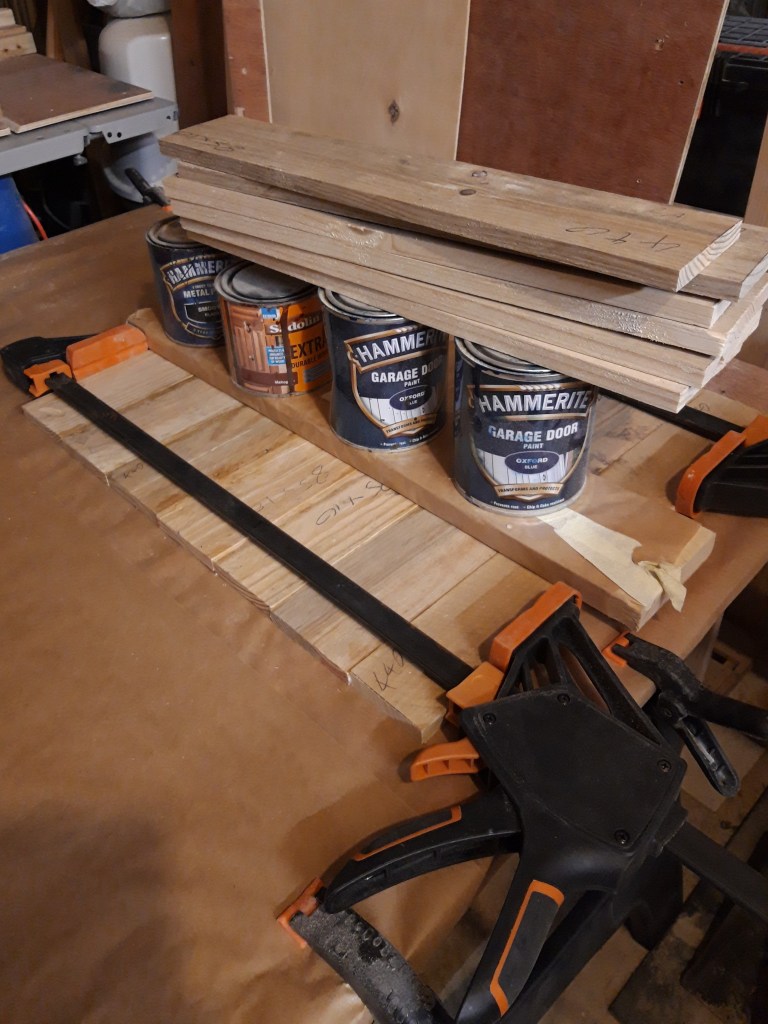
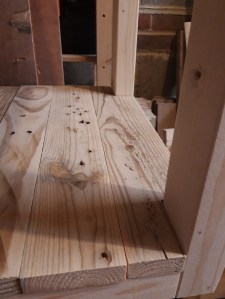
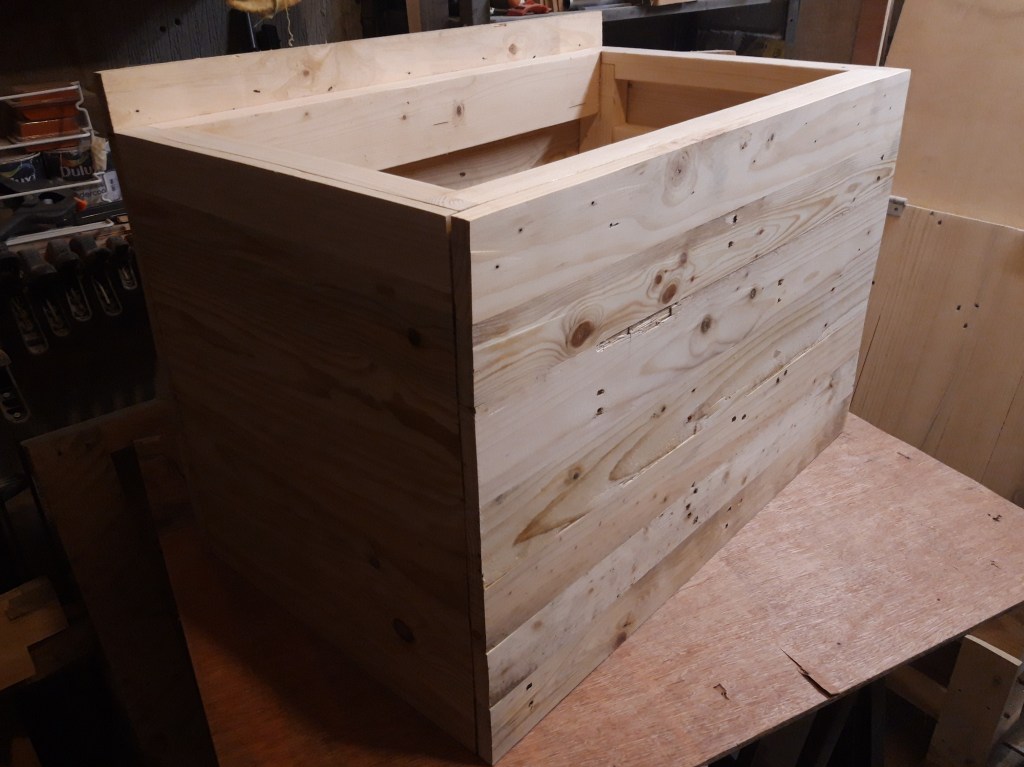
The first step was to cut a number of planks to the approximate length for the short side panels and then glue them together using lots of clamps and a board covered with packing tape and greaseproof paper to keep everything flat. Once the glue was dry I thoroughly sanded both sides of the panel with my belt sander to smooth the joints and flatten the panel. I then used my random orbit sander to further smooth the panel, increasing the grits to provide a smooth finish.
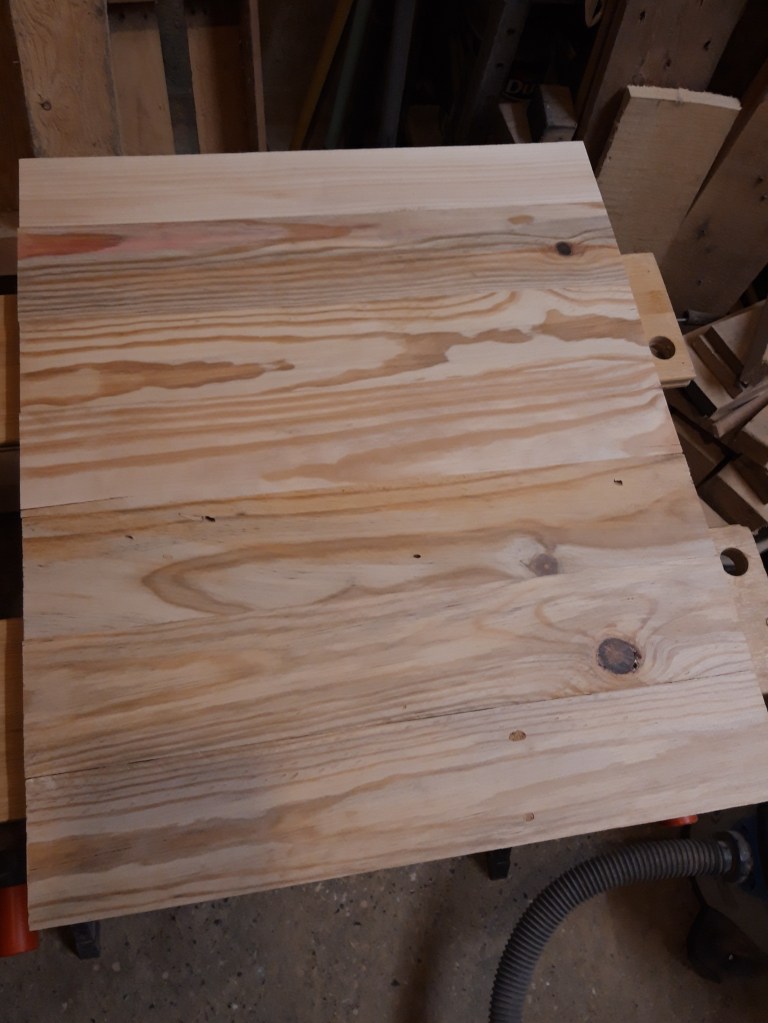
I repeated this glue and sand process to create a second short side panel and then test fitted both to the trunk frame to check they were the correct dimensions. I made all the panels slightly oversized so I could trim them flush to the exact dimensions of the trunk.
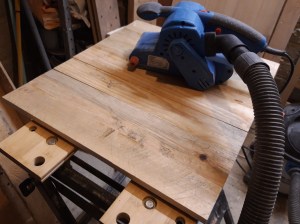
I cut more planks for the long side panels and glued those up in the same way, using a board to keep the panel flat as the glue dried. Repeating the sanding process on both sides of each panel using my belt sander and random orbit sander resulted in two more panels ready to be fitted to the trunk. This took quite a while as it was an awful lot of surface area to sand!


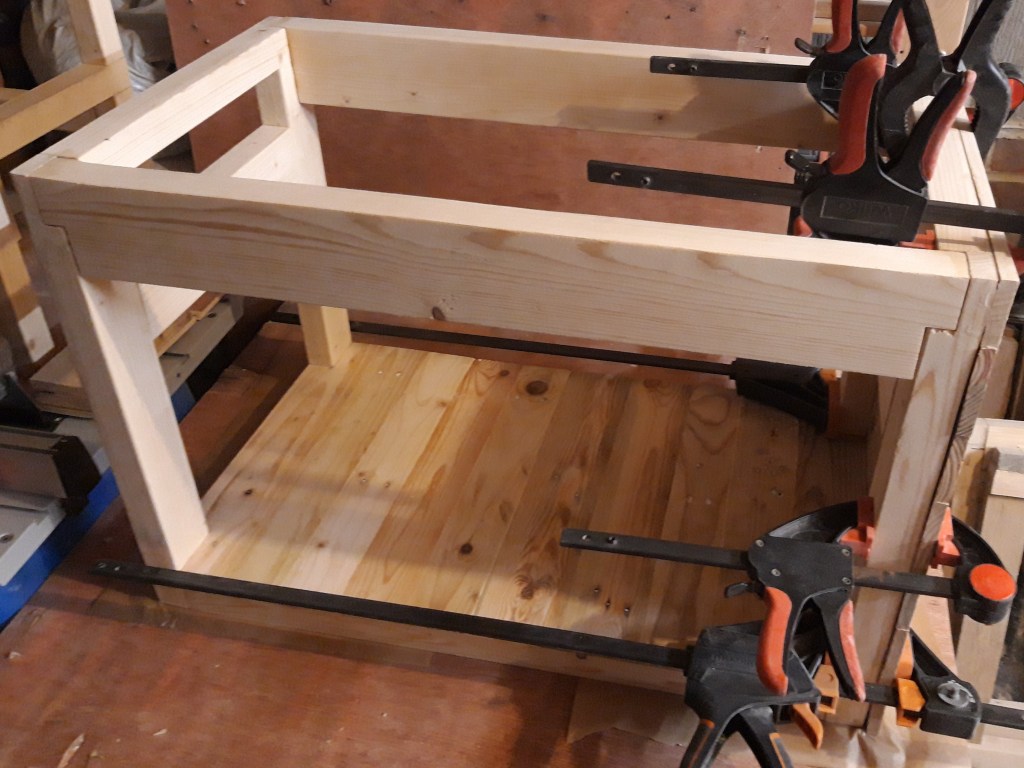
Before fitting the panels to the frame, I also glued up another set of planks for the base of the trunk. I cut out notches so the base could fit flush to the short side panels at each end and then slid the base into position and glued it down. I carried out even more sanding to flatten and smooth the base as I knew this was the easiest access I was going to have to it before the side panels were fitted.
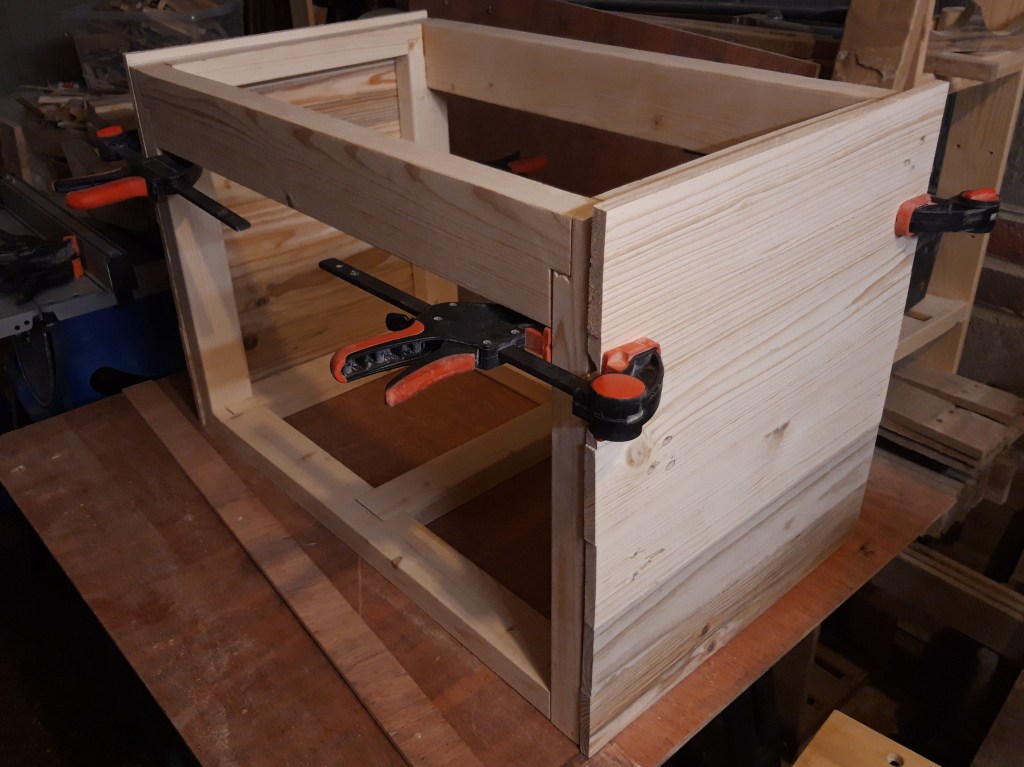
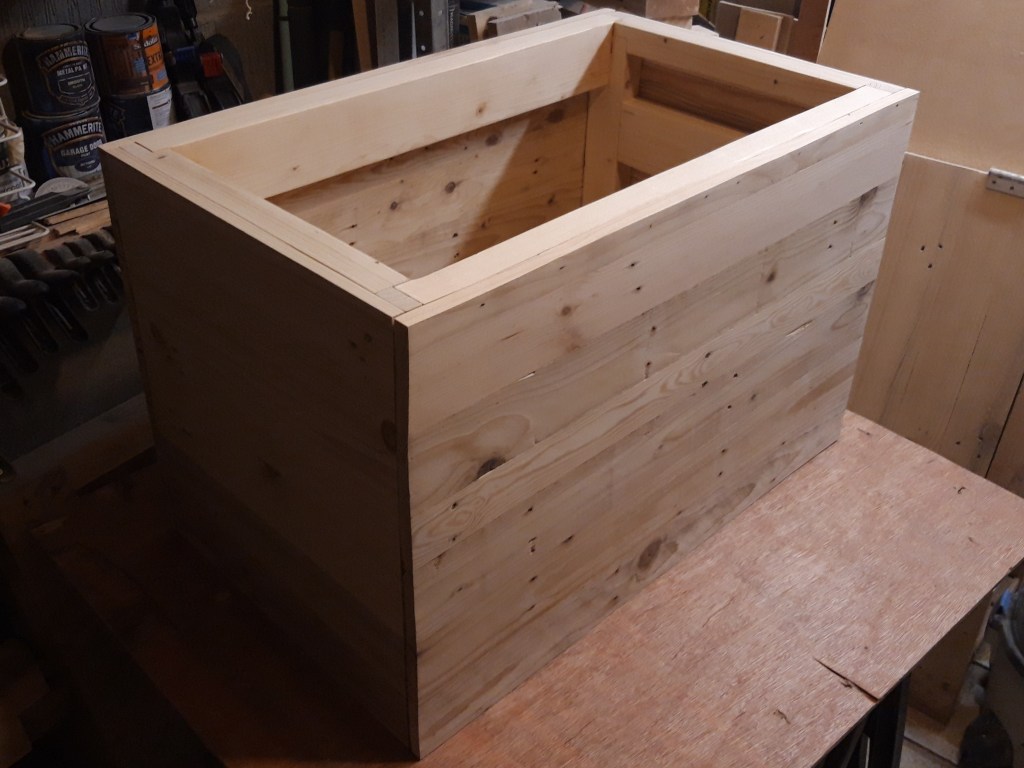
Once the base was completed, I started fitting the short side panels first, as the long side panels overlapped the edges and therefore needed the short side panels to be flush with the frame. While the glue dried I used my palm router to flush trim the edges of the base panel to the frame to allow the long side panel to also be able to fit flush to the frame.
I glued on the second short side panel and then stood the trunk on one end to use gravity as a second set of clamps for the first glued side while everything dried.

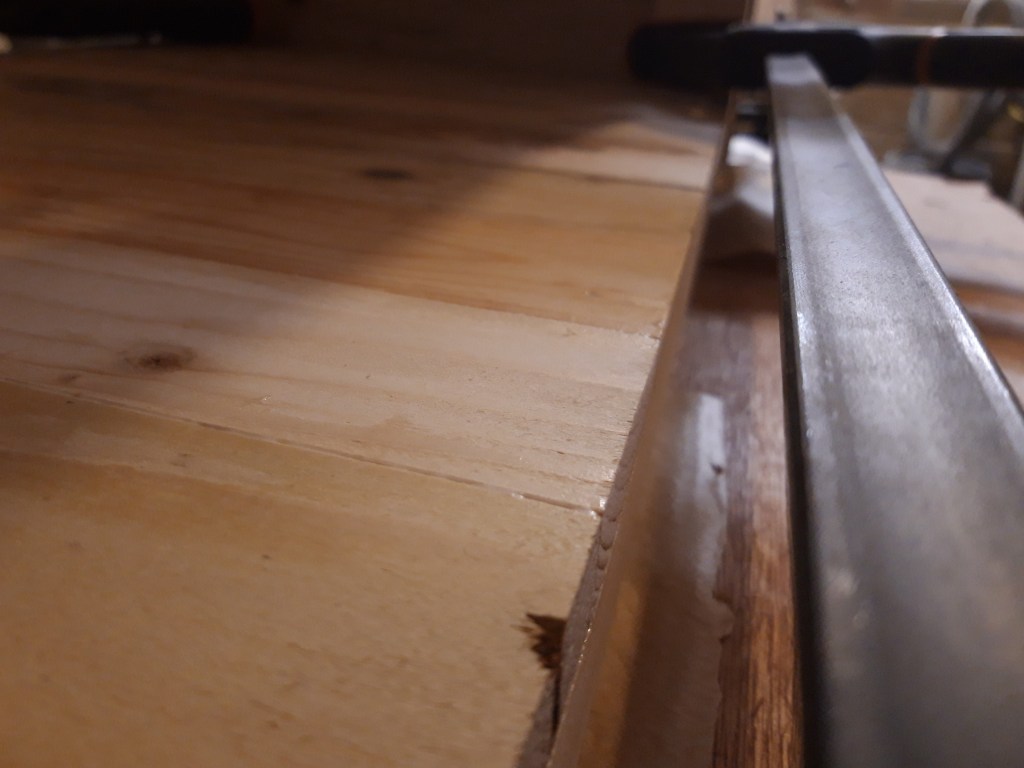
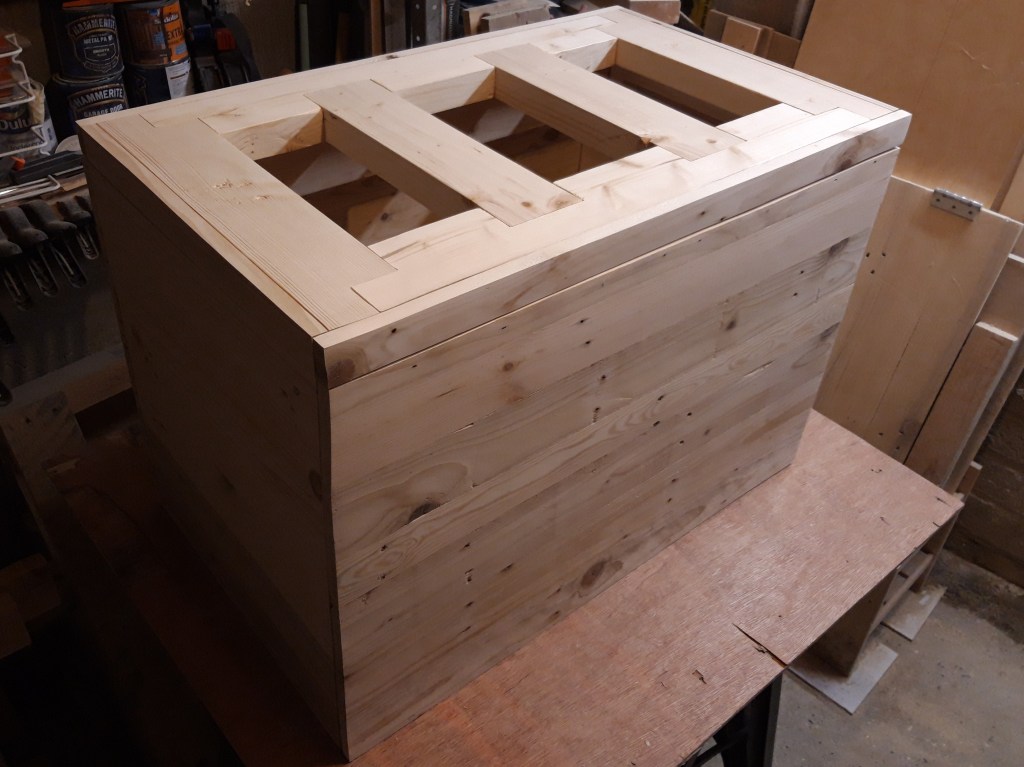
One the glue was fully dried, I used my palm router to flush trim the short side panels and then glued on the long side panels. These were also oversized and I used a hand saw to remove the excess material before again routing the edge flush with the frame using a flush trim bit with a bearing to run along the top and bottom edges of the trunk frame and the side panels.
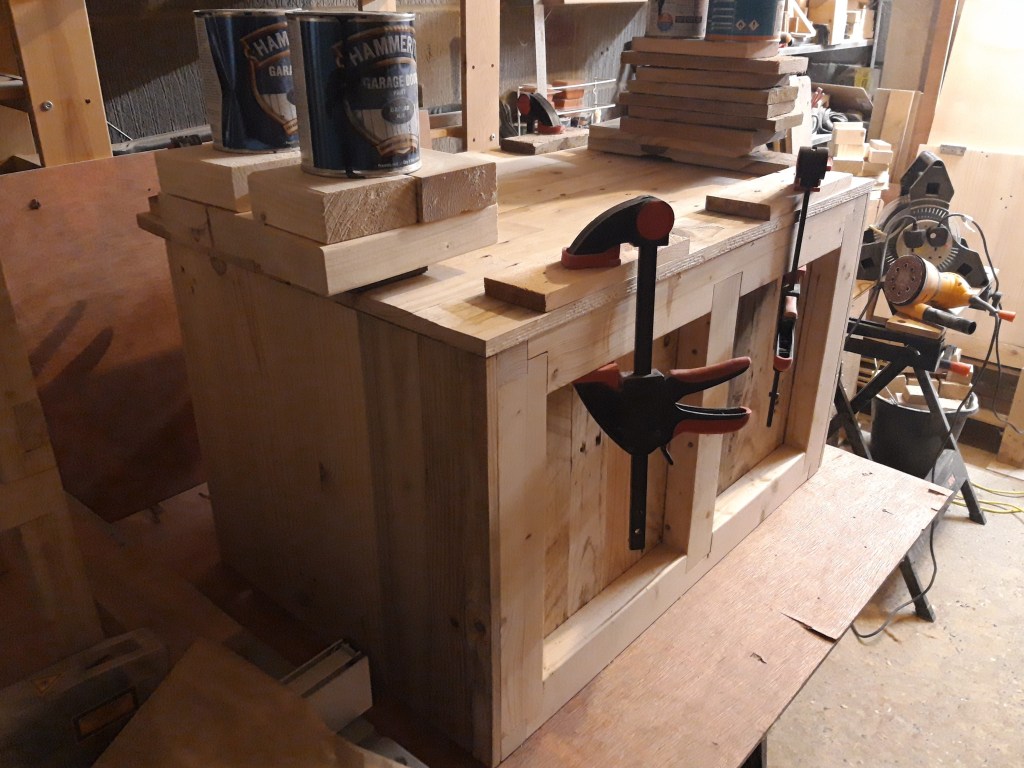
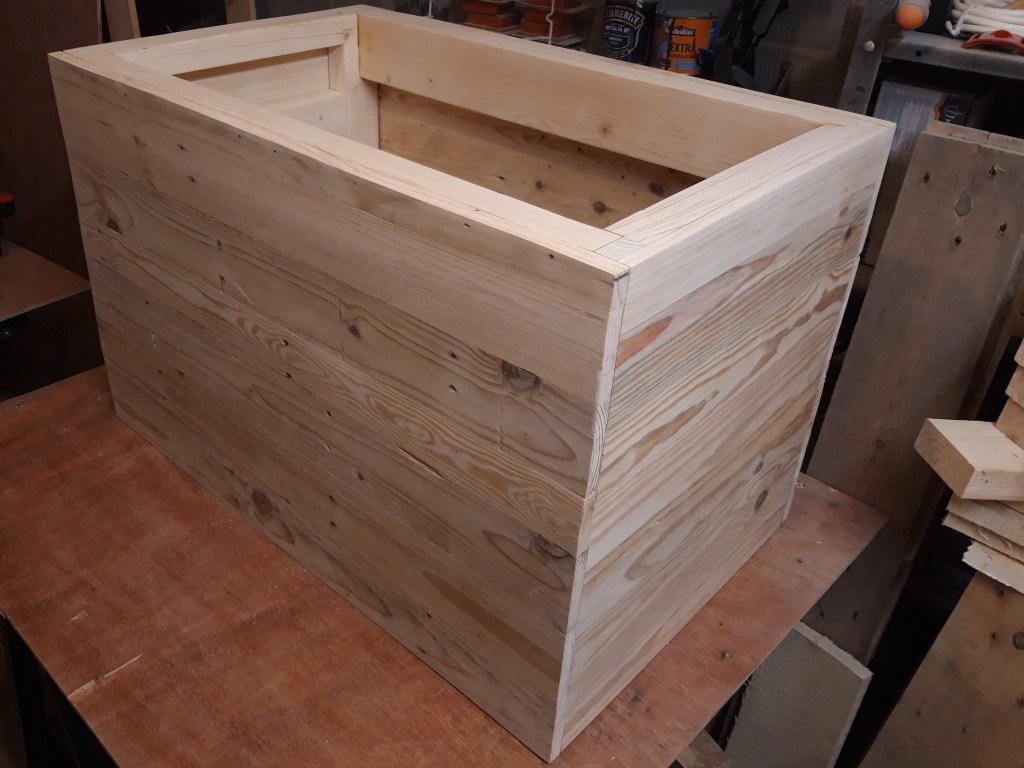
I then spent more time sanding all four side panels and the top frame to remove any glue squeeze out. I then positioned the frame for the lid on top of the trunk and glued on additional offcuts from the side panels to frame out the lid. I used the same planks for the lid as for the side so as to try and have matching grain when the lid is closed.
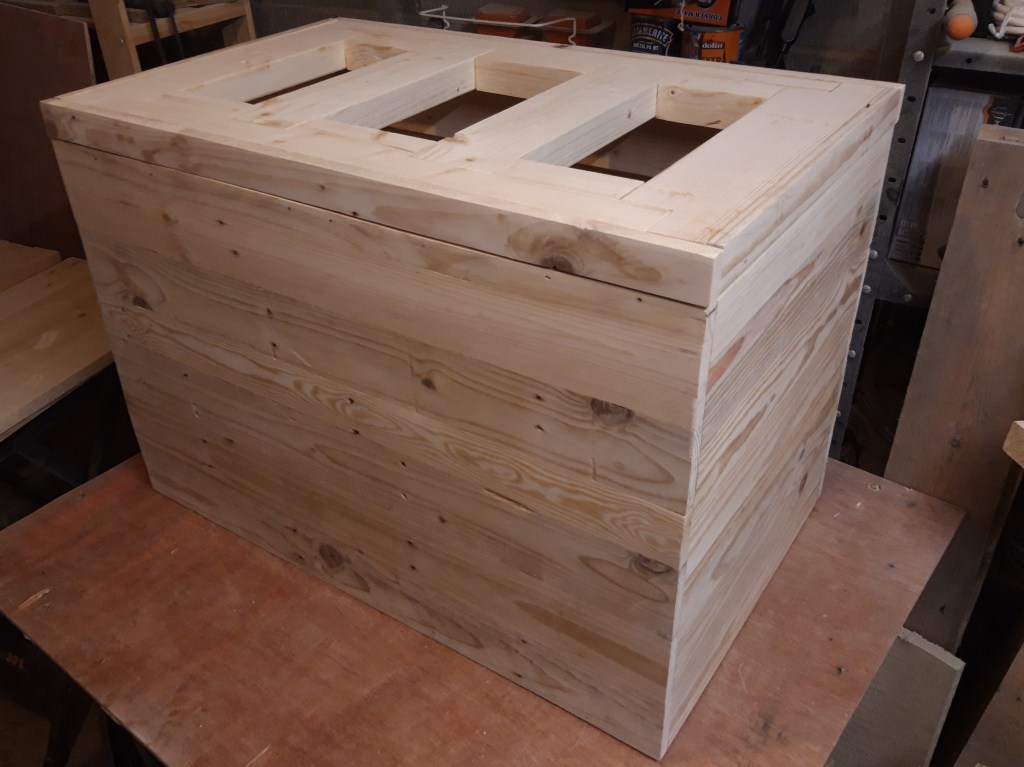
Once the small sections were fully glued into position on the lid frame and then sanded flush, the next step was to add corner braces to provide both additional strength and decoration to the trunk. 🔨

7 thoughts on “Wooden Trunk – Part 4 Panels”