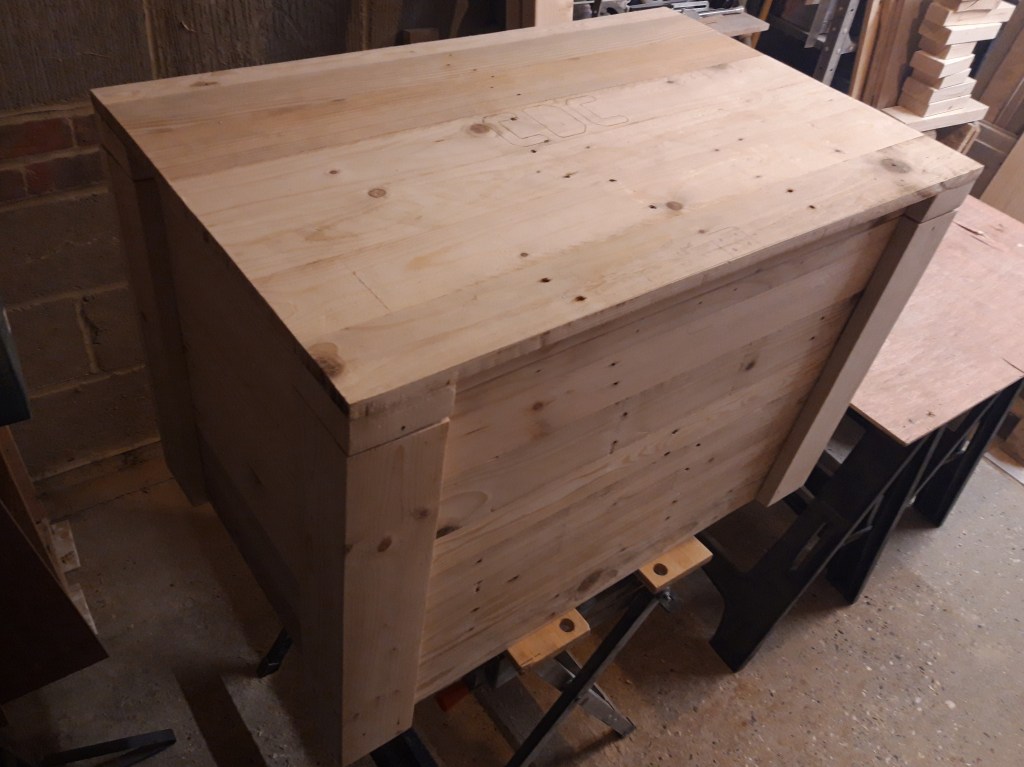
Last year my Dad turned 60 and I wanted to give him something really special – a large personalised wooden trunk! Once I had the frame and all side panels completed, I moved on to making the corner braces.
Due to the multitude of steps involved in making the trunk, I am going to be sharing it across 8 posts over the next couple of months. Links to all the associated pages below will become live as each subsequent part gets written and shared and I will put links on each page so you can go through all the posts and follow the entire build sequence from start to finish!
Part 1 Planning and sourcing wood
Part 2 Framing
Part 3 Lid
Part 4 Panels
Part 5 Corner braces (this post)
Part 6 Hardware
Part 7 Initials
Part 8 Final assembly and staining
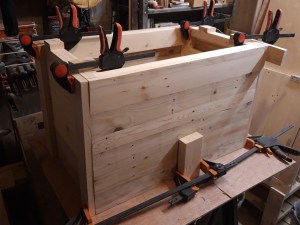
I started by cutting some planks to the right length using my mitre saw and then ripped them to the right width using my table saw. I spent some time sanding them flat and then glued the short side corner braces on first, so the long side planks would fit over the top, in the same way that the side panels overlap.
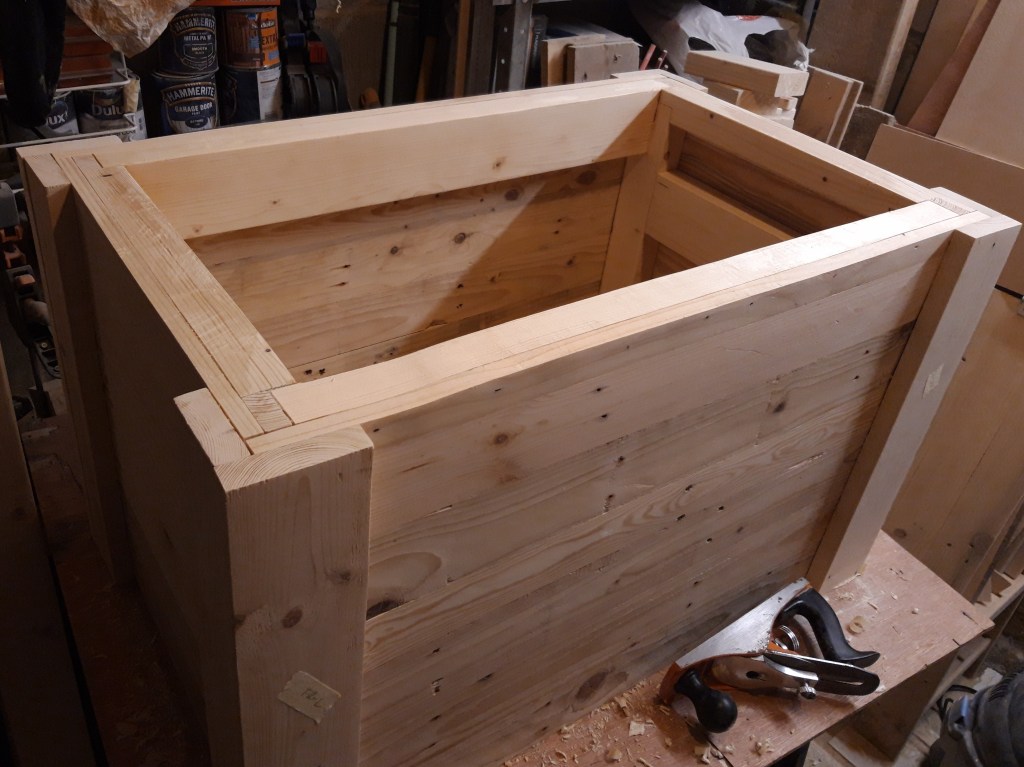
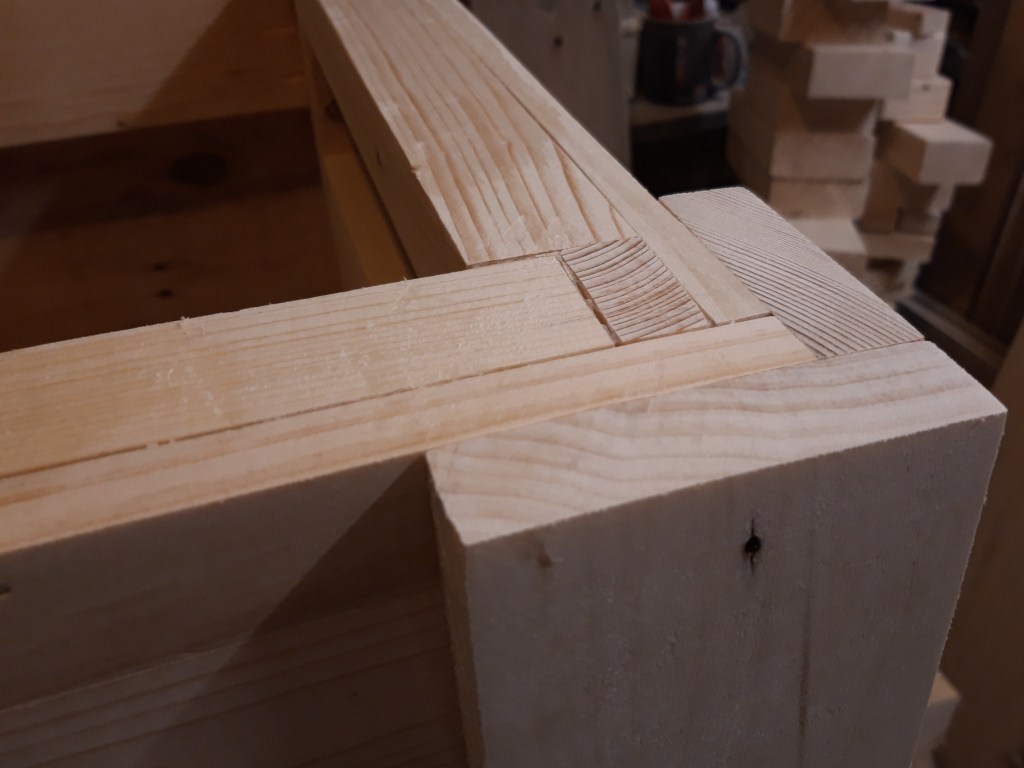
I then repeated the process for the long side corner braces and glued them into place, using clamps to hold them while the glue dried. I made sure the top of the braces was flush with the top of the frame and the side panels of the trunk using my hand plane and then sanded the top thoroughly to ensure a smooth and flat edge.
Where there was some slight overhang on the bottom end of the corner braces, I used my block plane to remove some of the extra material and then sanded the planks to make the corners flush with the rest of the trunk. I also checked the trunk still sat flat on the floor without rocking to make sure the braces were fitted correctly.
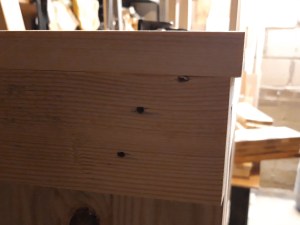
To finish the corner braces off, I added the trimmed off pieces as corner braces to the lid, so as to have continuous grain. The next step – adding hardware! 🔨

7 thoughts on “Wooden Trunk – Part 5 Corner Braces”