Last year my Dad turned 60 and I wanted to give him something really special – a large personalised wooden trunk! Once I had completed the construction of the main body of the trunk and lid, it was time to prepare and install the hardware.
Due to the multitude of steps involved in making the trunk, I am going to be sharing it across 8 posts over the next couple of months. Links to all the associated pages below will become live as each subsequent part gets written and shared and I will put links on each page so you can go through all the posts and follow the entire build sequence from start to finish!
Part 1 Planning and sourcing wood
Part 2 Framing
Part 3 Lid
Part 4 Panels
Part 5 Corner braces
Part 6 Hardware (this post)
Part 7 Initials
Part 8 Final assembly and staining
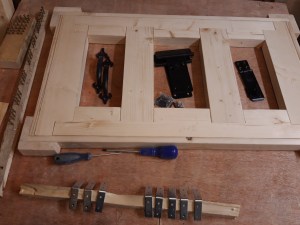
To provide additional strength to the corners of the trunk, I had corner brackets to go at the top and bottom of the corner braces on the trunk and the lid. I also obtained a latch and two large hinges for the lid. I wanted the lid to not open fully so I also got some chain so the lid could be opened and then let go and remain open.
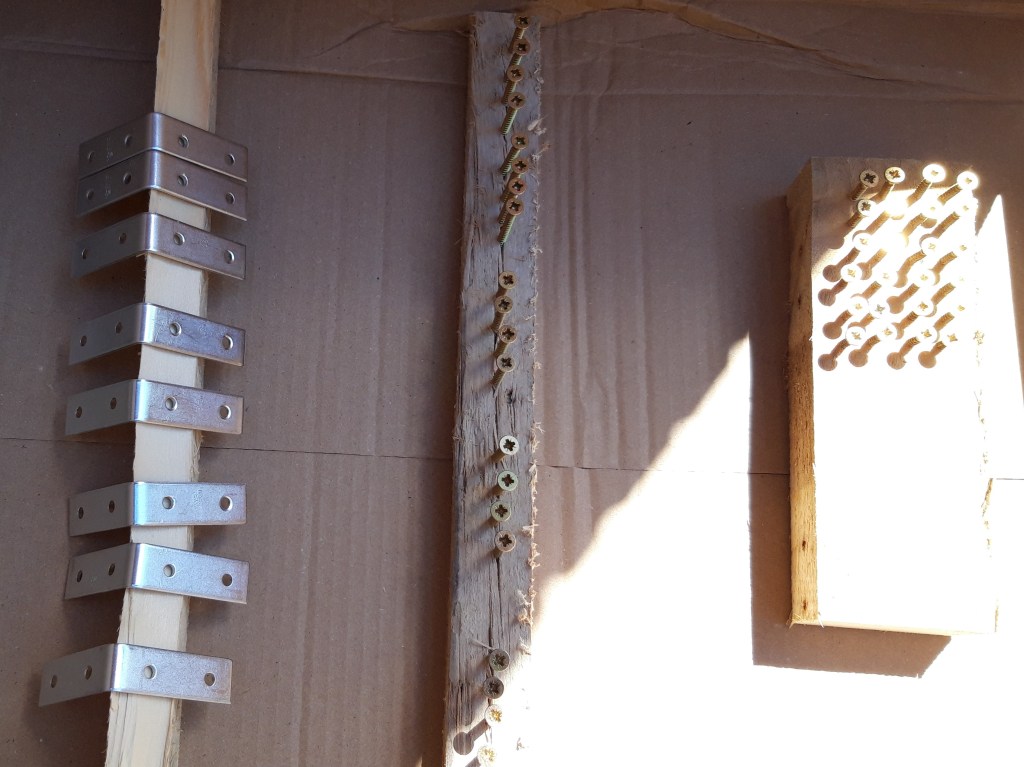
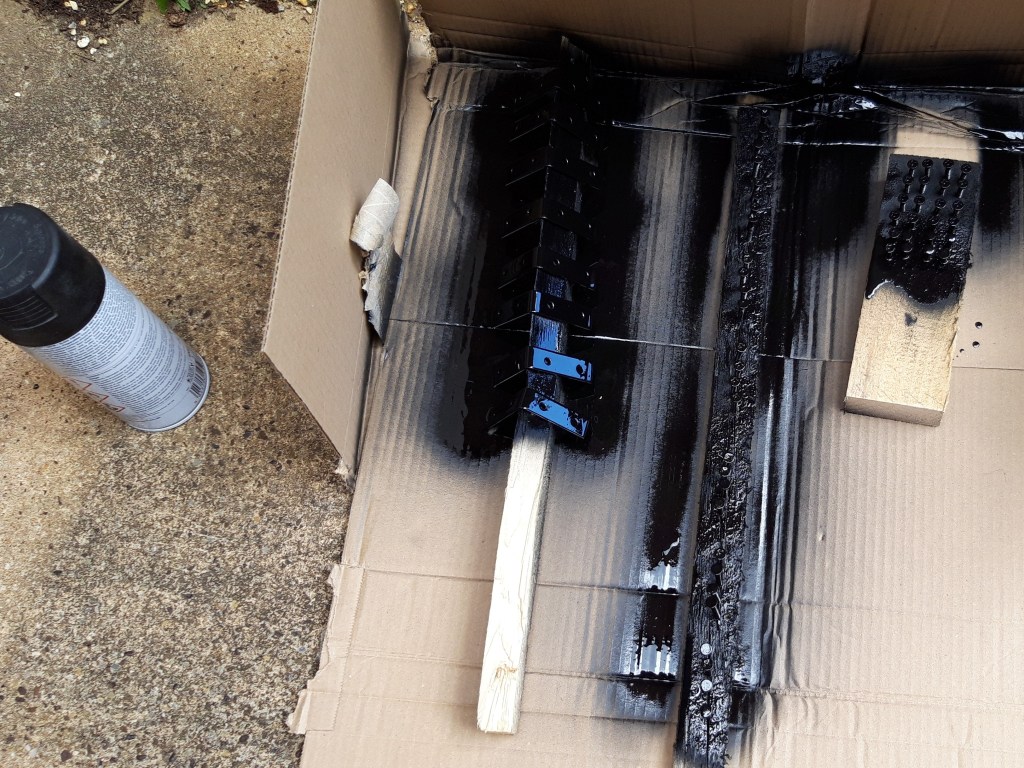
The corner brackets and screws I had were all shiny metal coloured, so I spent some time screwing a whole load into some scrap wood and then I spray painted them all with a couple of coats of black spray paint. I left them for a day to dry and chiselled out the section for the latch and the hinges so they were flush with the wood of the trunk.

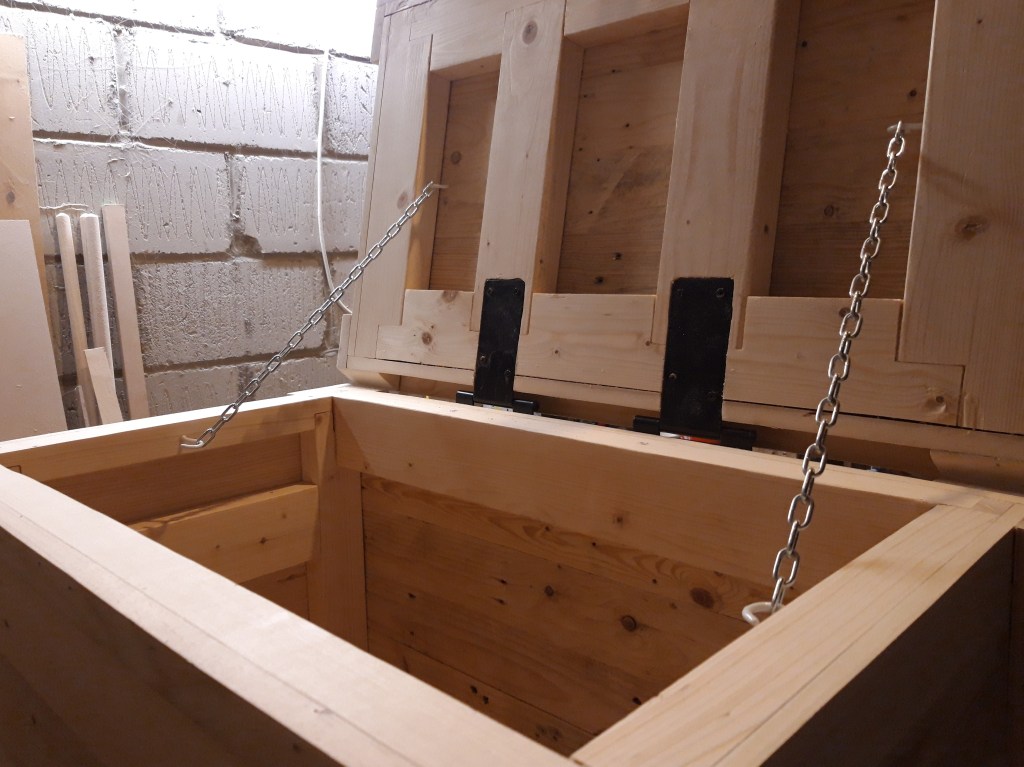
I fitted hooks to the side of the trunk and the inside of the frame of the lid and secured the chain at the right link for the lid to be leaning slightly back. I used a hacksaw to remove the excess chain links.

I positioned all the corner brackets and marked the screw holes with an awl. I can then install the corner brackets once I have stained and finished the trunk. With the hardware installed and the corner brackets ready to be added, the next step was to carve out my Dad’s initials in the lid. 🔨

7 thoughts on “Wooden Trunk – Part 6 Hardware”