Last year my Dad turned 60 and I wanted to give him something really special – a large personalised wooden trunk! Once the construction of the trunk was complete, the hardware fitted and the trunk lid personalised with my Dad’s initials, it was time for staining and finishing.
Due to the multitude of steps involved in making the trunk, I have been sharing it across 8 posts over the past few months. Links to all the associated pages are below and there are updated links on each page so you can go through all the posts and follow the entire build sequence from start to finish!
Part 1 Planning and sourcing wood
Part 2 Framing
Part 3 Lid
Part 4 Panels
Part 5 Corner braces
Part 6 Hardware
Part 7 Initials
Part 8 Final assembly and staining (this post)
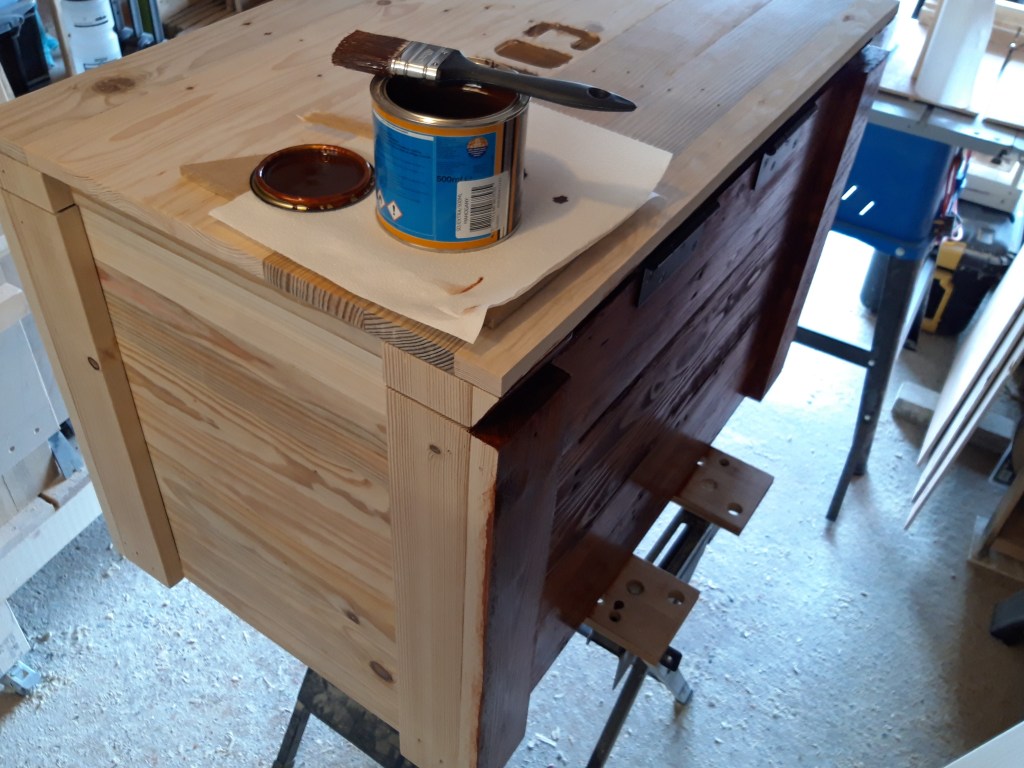
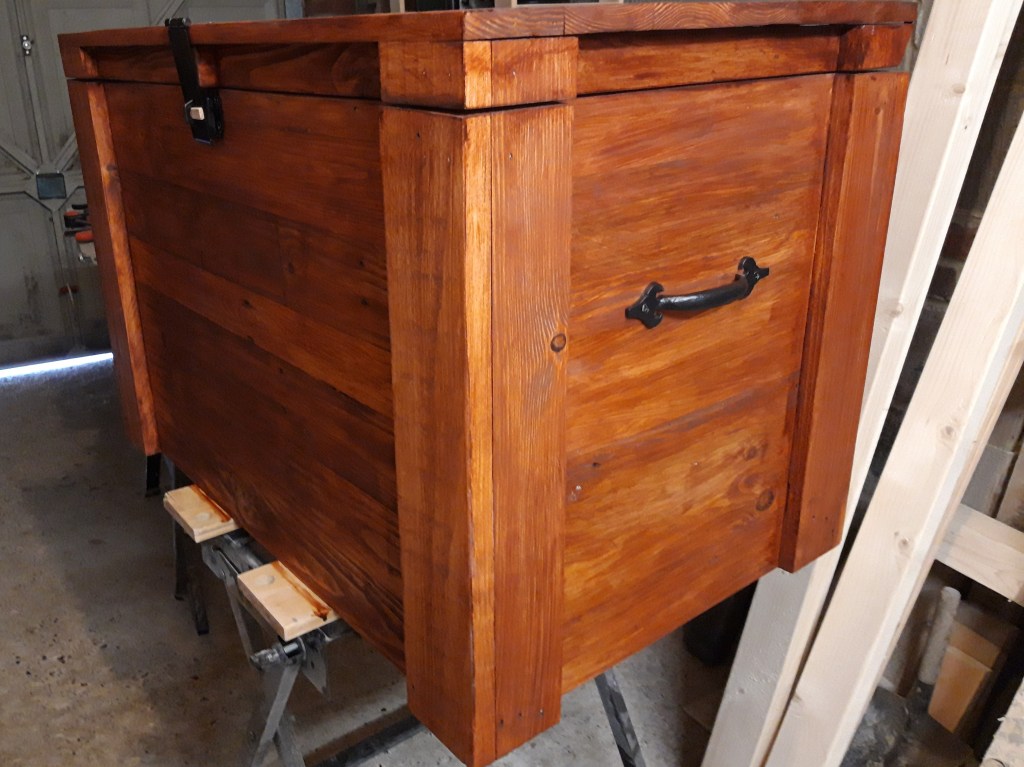
Once the trunk was finished, I gave the whole workpiece a thorough sanding both inside and out up to 180 grit. I also rounded over the edges of the top slightly to make it less sharp for putting things in and out of the trunk. To finish the trunk, I wanted to darken the wood and bring out the grain so I used a couple of coats of a mahogany wood stain. I stained the back panel first and then worked my way around the trunk and then stained the inside of the lid and the trunk. The staining took some time as I wanted to apply the stain evenly and I spent most of the day applying the stain. I wore gloves but still ended up with quite a bit on me, especially on my forearms from doing the inside of the trunk!

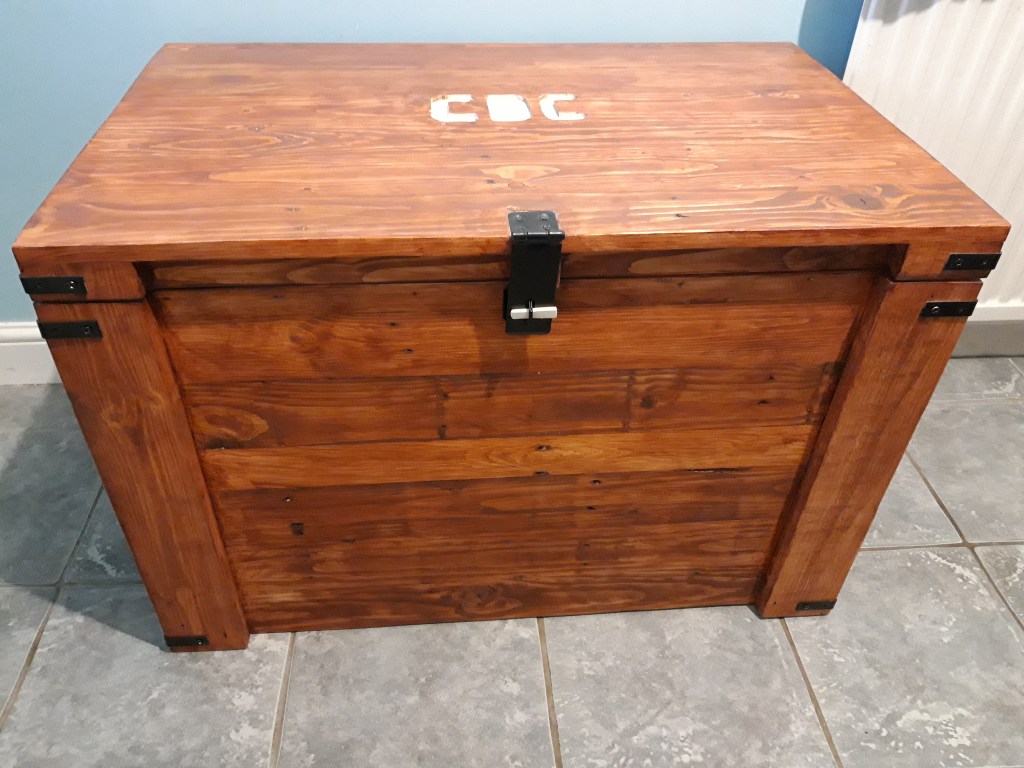
Once the first coat had dried I gave the whole trunk a light sanding by hand and then applied the second coat. I put tape down over the routed initials in the lid before I started so they would remain unstained and be more visible as light wood in contrast against the darker stained trunk. It took a bit of time to get the tape in the right places inside the letters, but it protected the initials perfectly and looked really good when I removed the tape later.
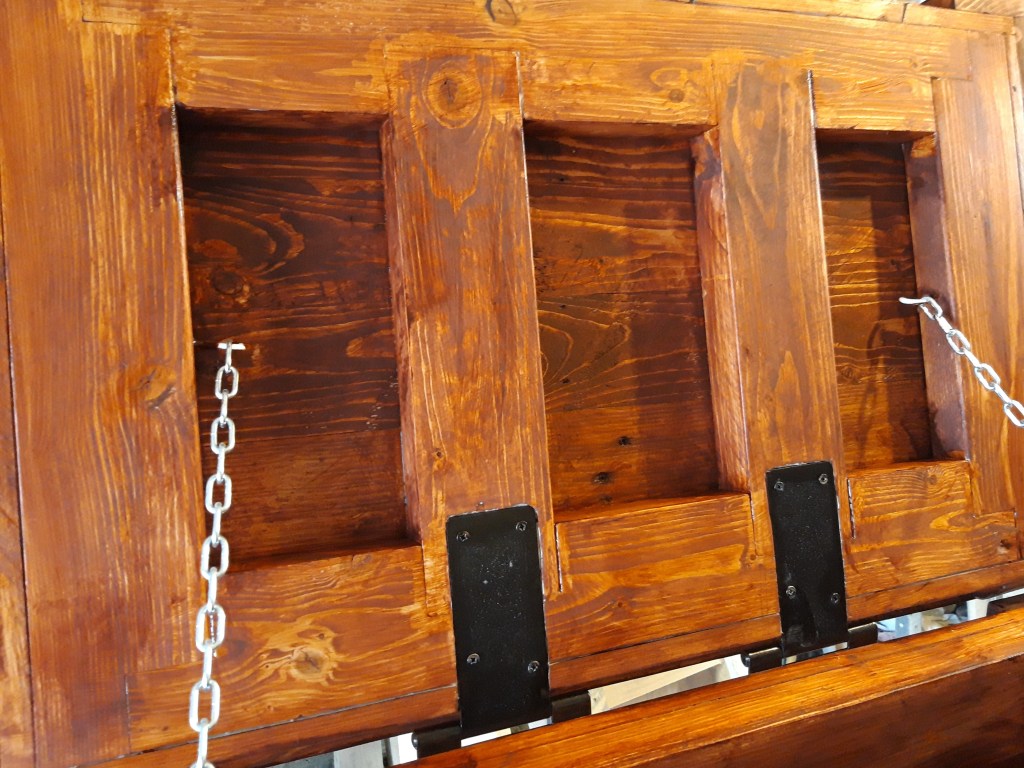

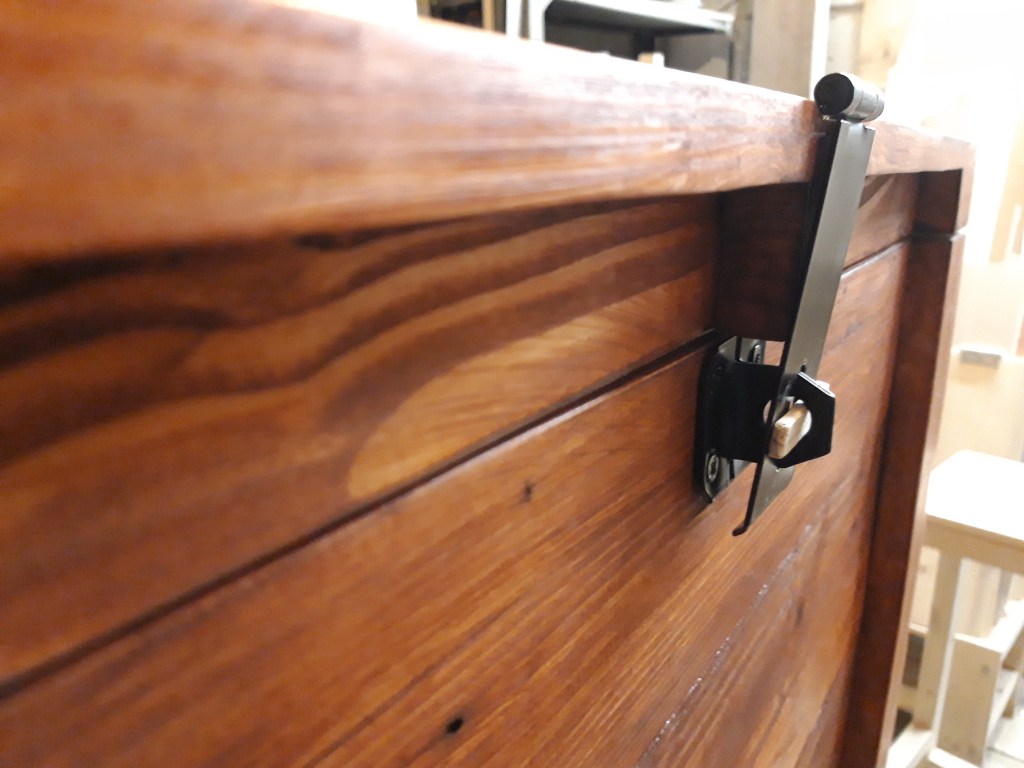
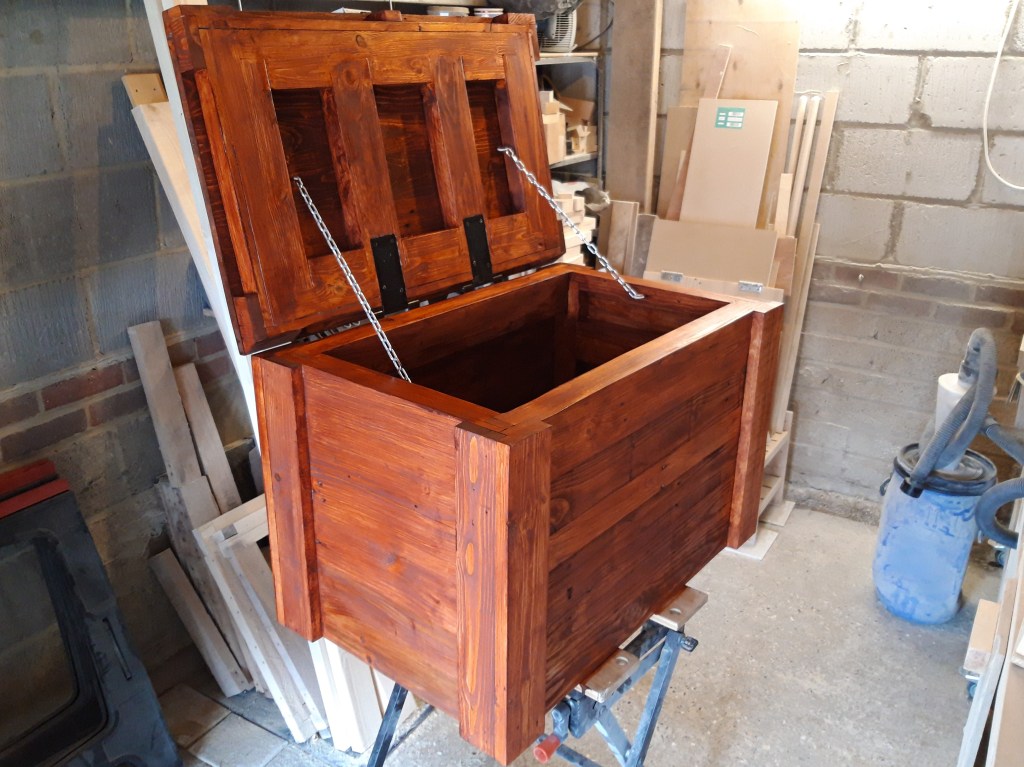
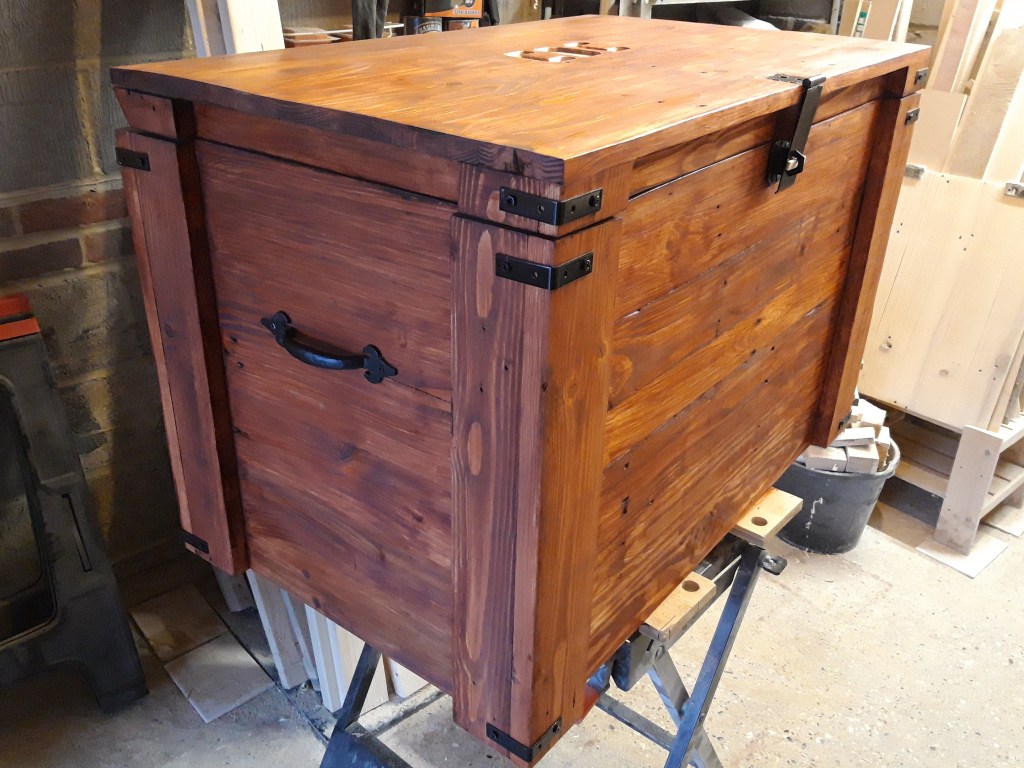
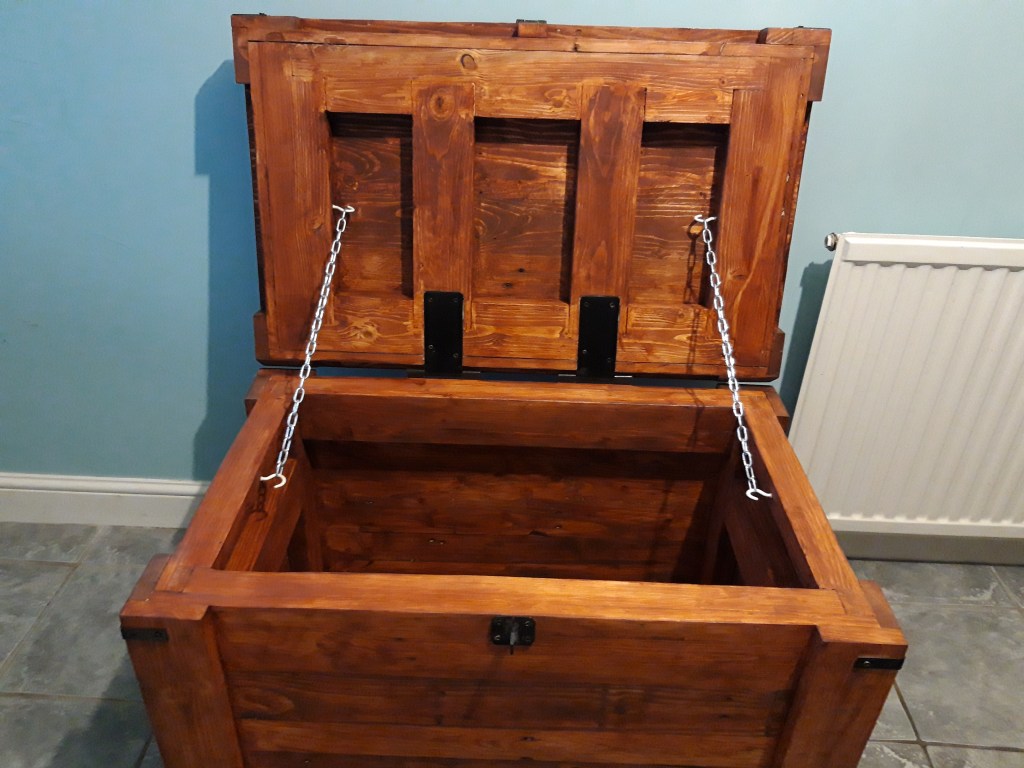
I left the stain to dry for an entire week before I then refitted all the hardware. I had already marked the holes for the corner brackets so it was easy to go round fitting them all using the screws I had also spray painted black. I refitted the chains to the hooks on the inside and then the hasp and staple to the front. I used a small sanded piece of wood in the staple to keep the hasp in place and the trunk closed. I also fitted the handles to each end and was pleased that they were able to take the weight of the trunk easily without any movement or flexing to the frame.

I was really happy with how the spray painted corner brackets looked once fitted and they matched the style of the black hasp and staple and the two handles on the ends perfectly.

I applied a little Danish oil to the initials in the lid and then left the trunk to dry again. I did consider a round/curved lid a bit like a chest in the design stage, but decided a flat surface is perhaps more useful, especially if my Dad decides to keep tools in the trunk. And with the slight overhang on the panel on the lid, he could also clamp things to the top and use it as a simple work surface if needed.
Once the stain was dry and I was happy with the surface following a final gentle sanding, I carried the now quite substantial trunk into the house. We had several other presents to give my Dad which we put inside the trunk for him to discover!

The trunk fitted perfectly in the back of our car and survived the few hours journey to my parents’ house. My Dad seemed blown away by the finished trunk and said how much he liked it several times.
This was my most ambitious project so far, and definitely the one that took the most amount of planning and time to complete. But it was definitely worth it and I am really pleased and proud with the finished result. Maybe I’ll make one for myself at some point! 🔨

8 thoughts on “Wooden Trunk – Part 8 Final assembly and staining”