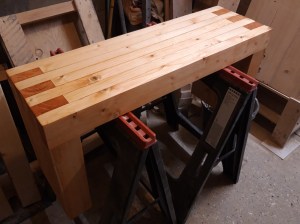
Having something to sit on when you come in from the outside makes it so much easier to remove wet and muddy shoes, particularly after being outside in terrible British weather! So when a friend moved into a new house without anywhere to sit, I was asked to make a bench to solve just this problem.
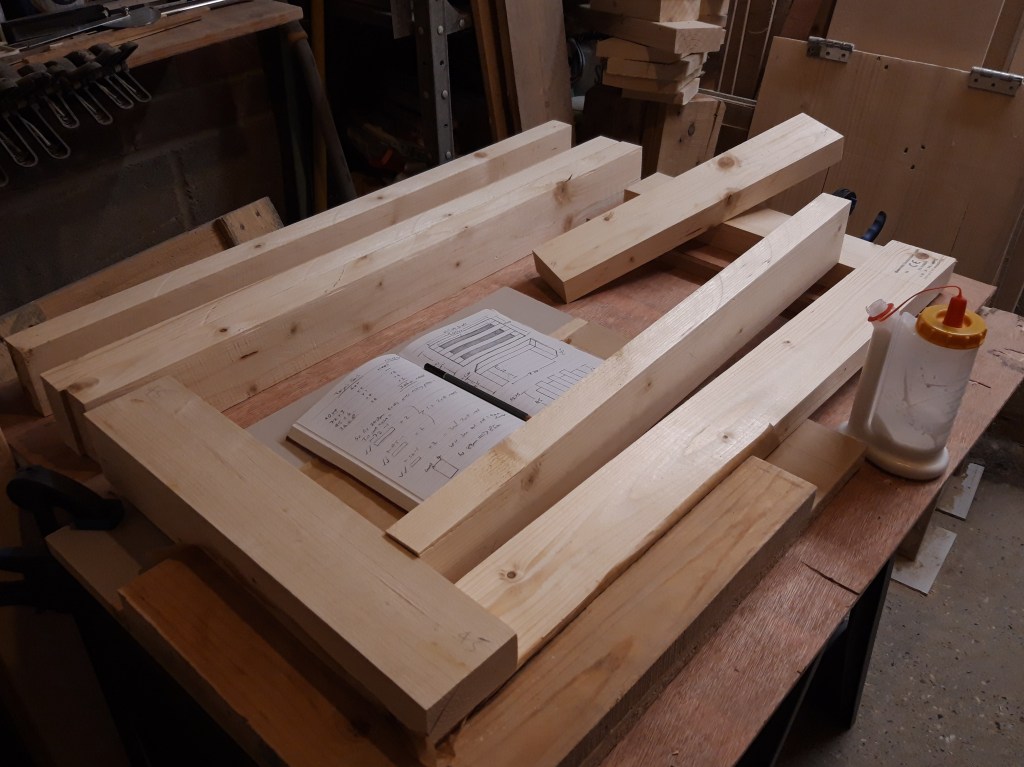
This is the third bench I have made in this style, having made one for myself and another for my brother previously, although all three have been slightly differently sized to fit the people and space required. As this one had to fit in a narrow hall, it had to be a bit narrower than the previous versions and match to the depth of an existing shoe rack if possible. I got the dimensions for the space available and then started planning.
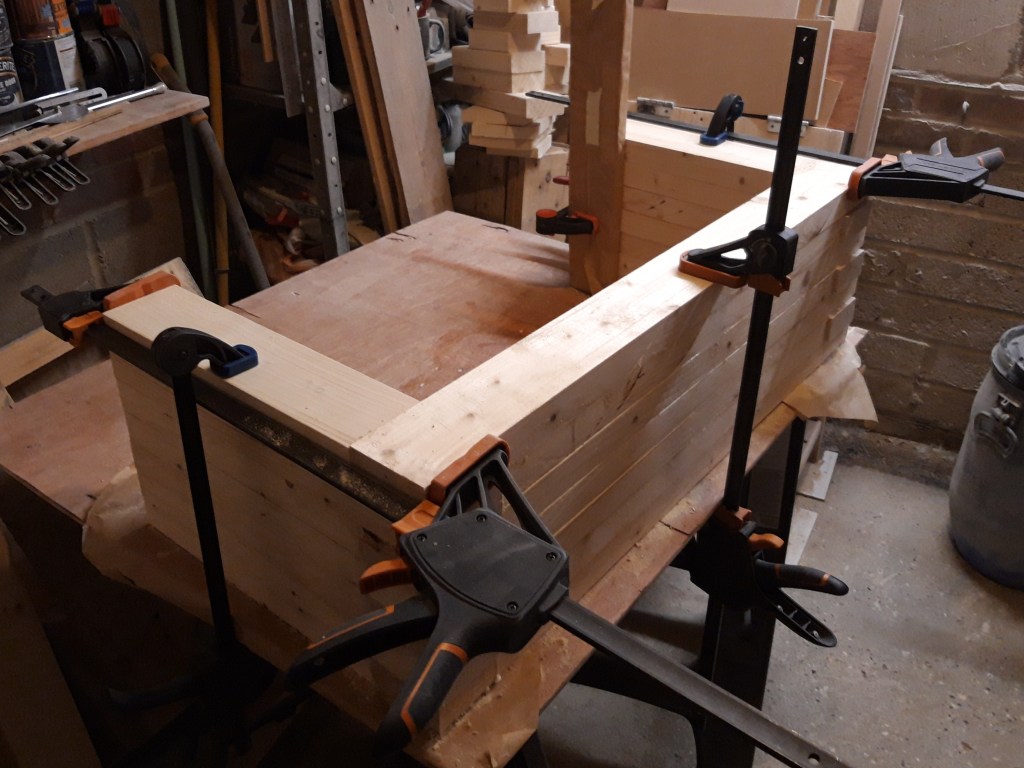
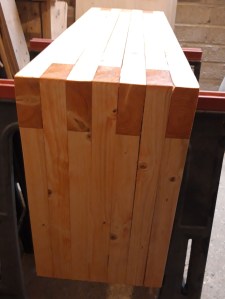
After cutting all the lumber to the right sizes and removing the round over from the 2x4s, I glued up all the pieces using clamps to hold everything in place while the glue dried.
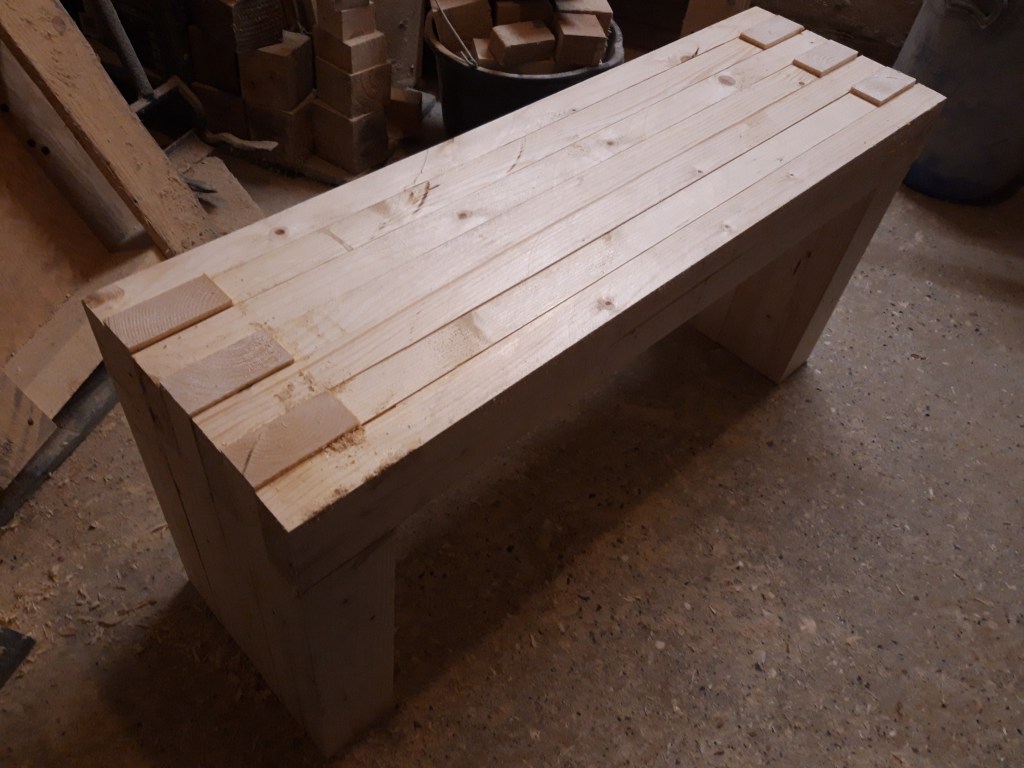
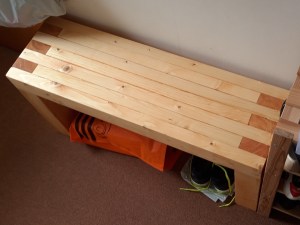
I left the bench for several days so the glue could properly dry and then used my plane to flatten the top surface where the leg pieces sat slightly proud of the surface. I then sanded the whole bench with my random orbit sander, working my way up through the grits to make a smooth and comfortable surface to sit on. I also rounded over the edges slightly to make a less harsh edge on the back of your legs when sitting on it.
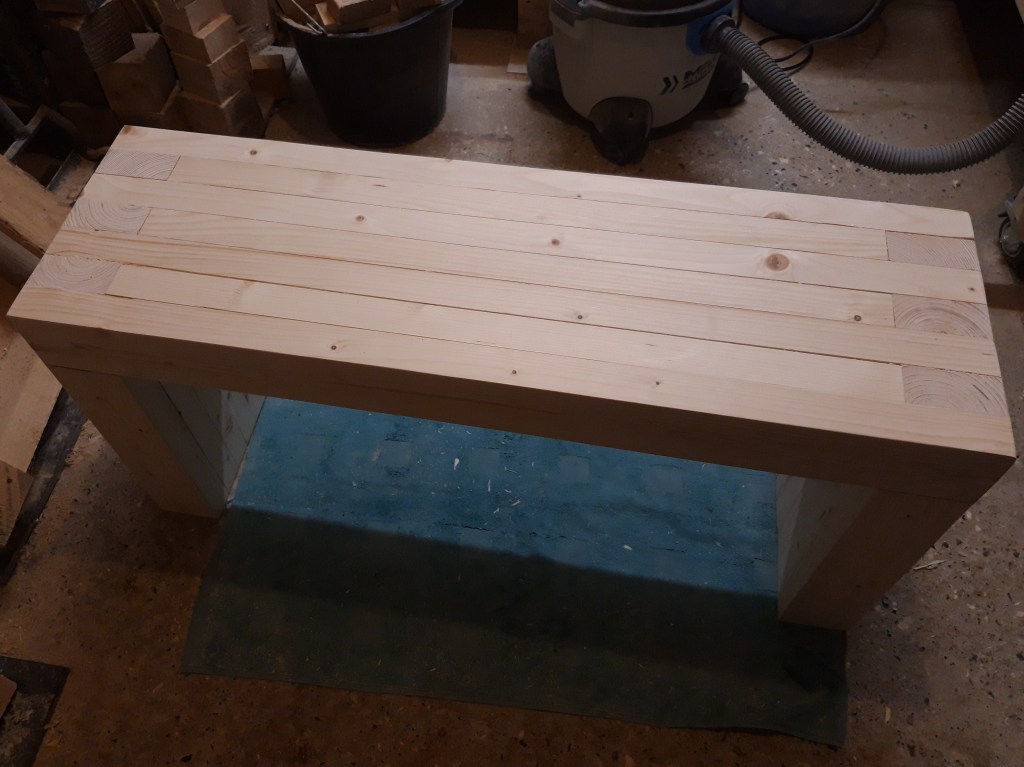
I applied Danish oil as a finish to the bench, allowing it to soak in and dry for several days. I like the way the grain is always enhanced with a finish and really enjoy the part of project creation where you can see the results of your hard work.
When I next visited my friend in between COVID lockdowns, I transported the bench firmly secured and wrapped in a blanket on the back seat of the car. Once it was in the hall, I was very pleased that my measurements were sufficiently precise – the bench had to fit a relatively limited space between a cupboard door that needed to be accessible and the existing wooden shoe rack that couldn’t be moved anywhere else due to the limited space available. It also made sense to have the shoes right next to where you would sit to put them on!
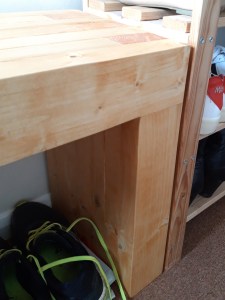
The front of the bench ended up being exactly in line with the front edge of the shoe cupboard – not an easy calculation when using 7 pieces of slightly varying sized constructional lumber cut to size and glued together! Now I have made three different sized versions of the same bench design, I have begun considering several ideas for variations to this style as well as lots of other interesting and practical projects to explore and share in future posts! 🔨

1 thought on “Bench #3”