What do you as a woodworker make for that Disney-obsessed friend nicknamed Tinkerbell? Why a wooden Tinkerbell-inspired artistic fairy decoration of course!
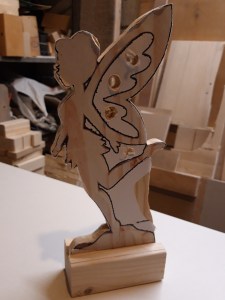
After some searching online for a suitable image and then resizing to the dimensions I wanted, I printed out a copy of a Tinkerbell-inspired fairy and stuck it to my pine board. I used an offcut of a 2×2 for the base and routed a groove the thickness of the pine board in the base so the fairy slotted neatly in.
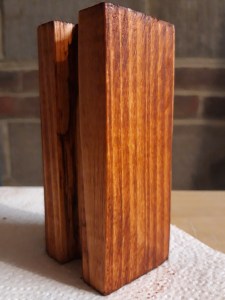
I stained the base with a mahogany wood stain to bring out the grain and darken the base down to give me some contrast with the lighter fairy design on top. I then spent quite a while cutting out the fairy shape, using my jigsaw for the outside cuts and then my coping saw by hand for all the inside shapes. I used some small files and sandpaper to refine the shape and then hand sanded to 180 grit to make sure the decoration was nice and smooth. I applied some Danish oil to the fairy design and glued it into the groove in the base, making sure to keep the oil away from the sections to be glued so I would get a strong bond.
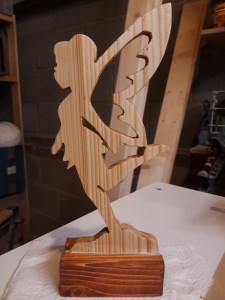
Once the glue, stain and oil were all fully dried I wrapped the decoration in bubble wrap and then in Christmas wrapping paper ready to give to my friend – who absolutely loved it! 🔨
