The old house had a log burner in the living room, which made the living room feel very cosy on cold and rainy winter nights. Consequently there was a pile of logs outside the front of the house, which looked a bit untidy and the logs weren’t particularly protected from the elements. So I decided to build a log store with a sloping roof to keep the wood dry and tidy!
Constructing the log store is split across 3 posts to allow me to share the steps and my thoughts in some detail, without one post becoming something of an essay! I will update the links as I complete the next posts so the full build can be followed from start to finish.
Part 1 – Frame (this post)
Part 2 – Roof and base
Part 3 – Side slats and finishing
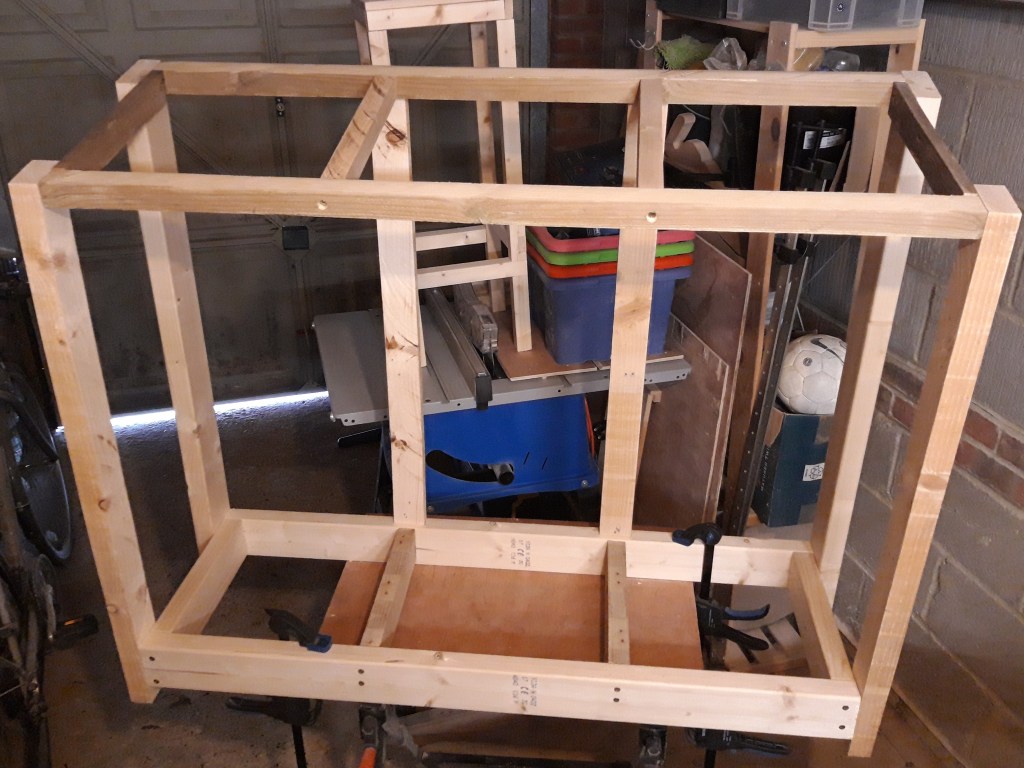
After measuring the space available at the front of the house and making some plans, the first step was to create a solid base for the logs to rest on. I used 2x4s and drilled and screwed them together using butt joints.
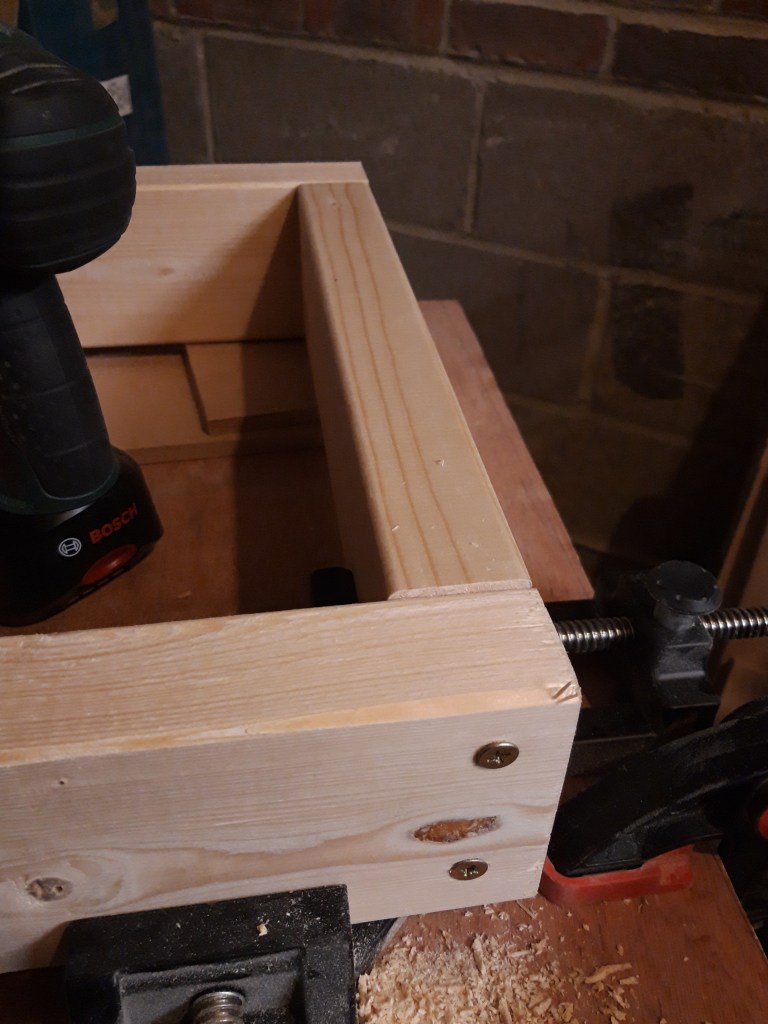
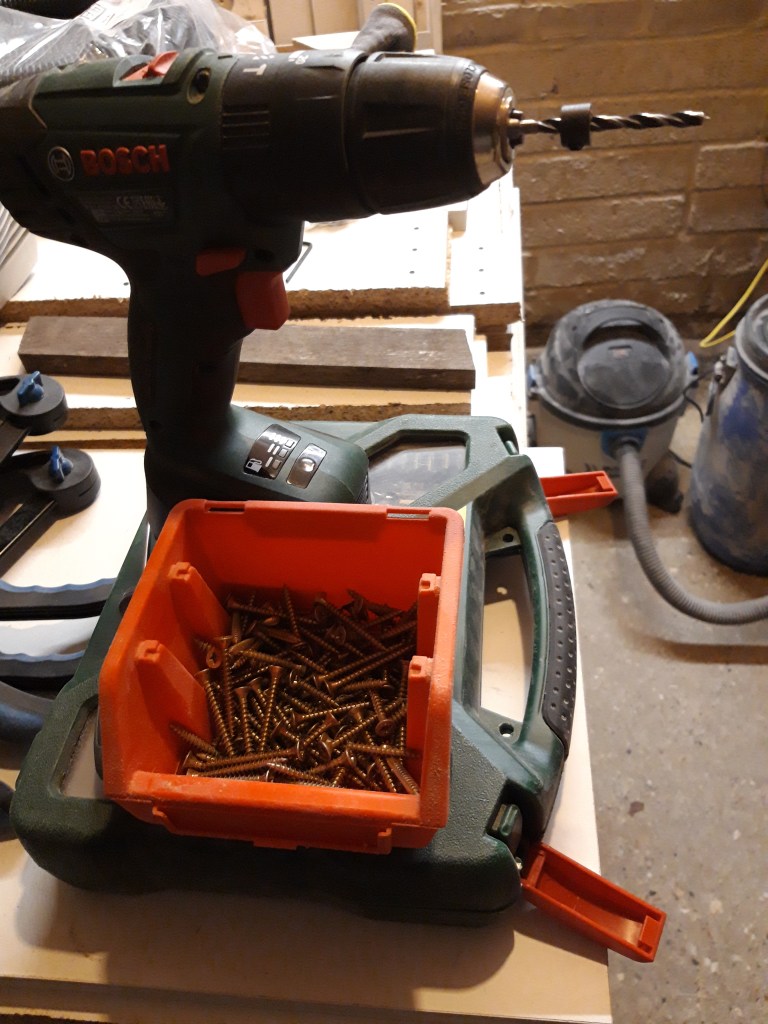
I used my corner clamp to make sure I was at 90 degrees on each corner and to assist with holding the wood in place while I drilled and drove in the screws. This was very easy to do but took a bit of time as I had to keep swapping between my drill bit and my screwdriver attachment. On my list of tools to invest in is an impact driver which will mean I can drill and screw more efficiently, simply swapping between the tools.

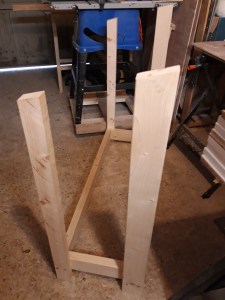
Once the base was screwed together, I cut the uprights to length using my mitre saw. I cut the top of the uprights at a 15 degree so the roof would have a decent slope to allow any rain to run off. I then shimmed the base up with some scrap wood and drilled and screwed the uprights into the base.
By elevating the base of the frame, it allows for air flow around the logs and should reduce the damp coming up from the ground hopefully.
I cut the long top stretchers to length and then drilled and screwed them into place. This made the frame a bit more stable although showed me that I needed to add additional bracing in the centre of the base and top to provide more support.
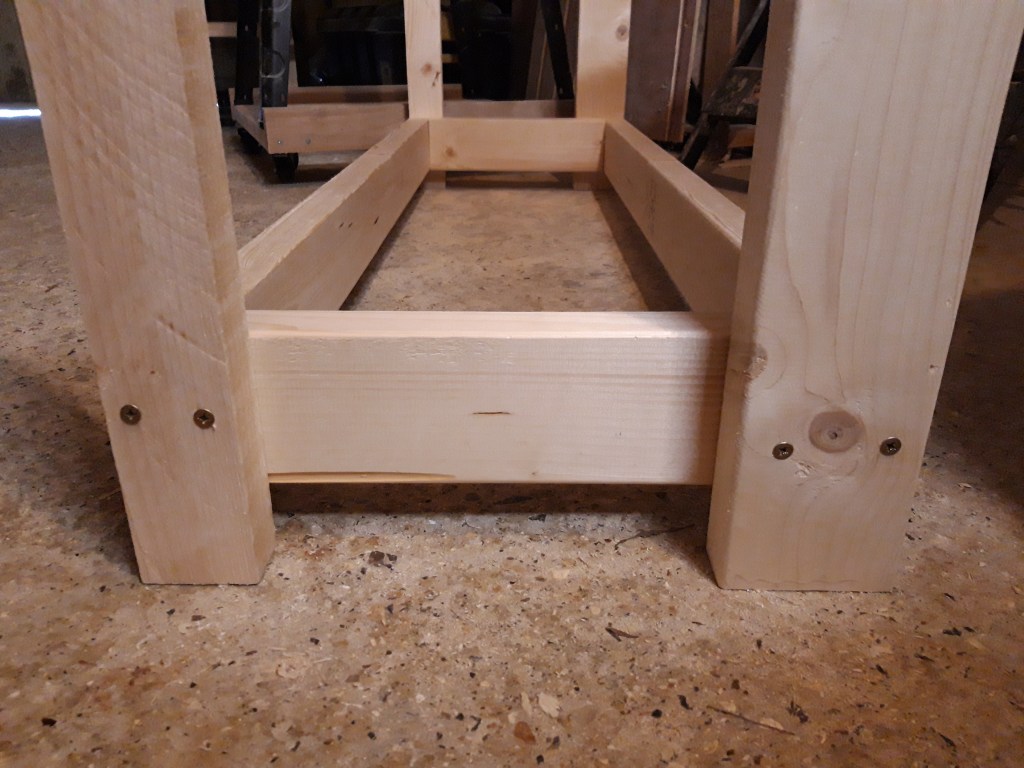
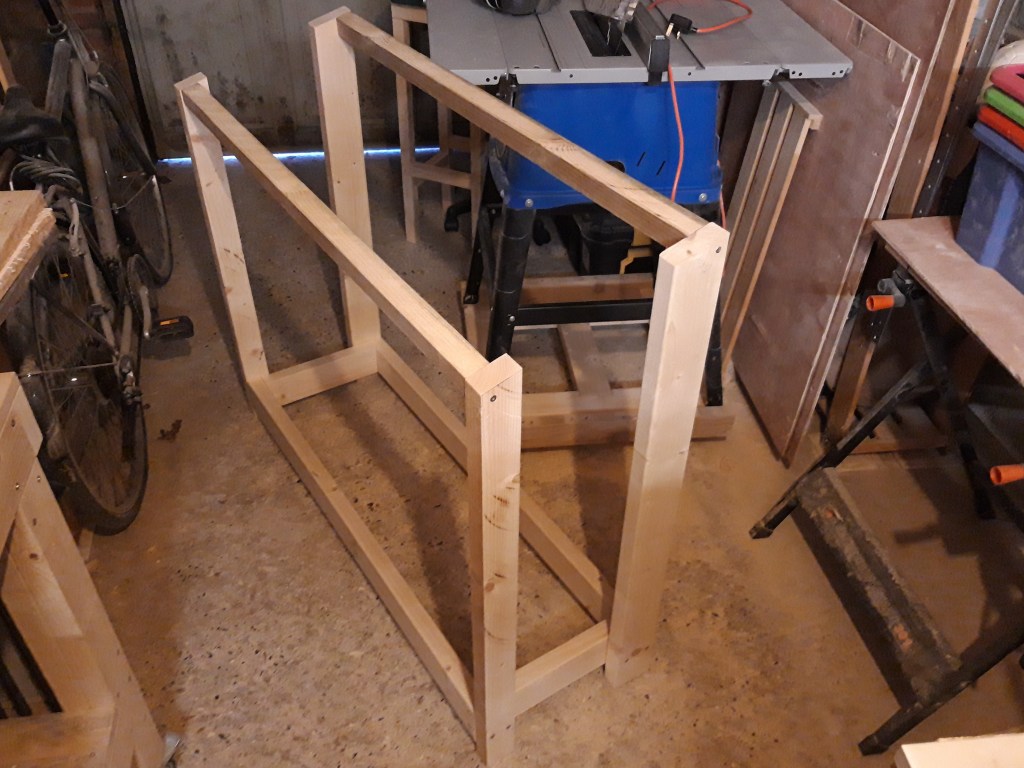
I used some pallet scrap wood to add side braces to the top and drilled and screwed these into place too. This piece holds the uprights together on each side and provides a solid surface for the roof to rest on.

Once the basic skeleton of the frame was assembled, I started adding additional supports and bracing to strengthen the frame further. I chiselled out some sections on the lower rear stretcher so I could add additional vertical bracing for the back. This would allow me to have something to secure the back slats to and also mean I could use multiple pieces to make the slats, rather than have to find slats long enough to span the entire length of the log store.

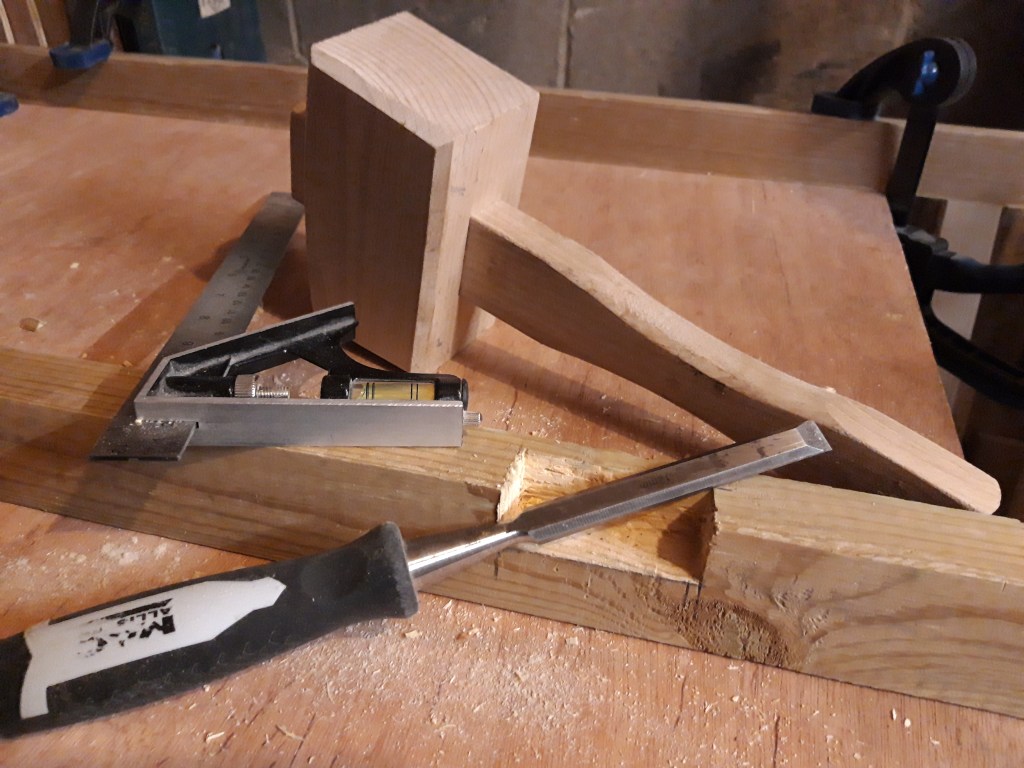
I turned the frame upside down and chiselled out a corresponding section in the top rear stretcher and then drilled and screwed in the back bracing pieces. These were quite a snug fit and should provide additional support to the roof in the centre, reducing the chance of it sagging over time.
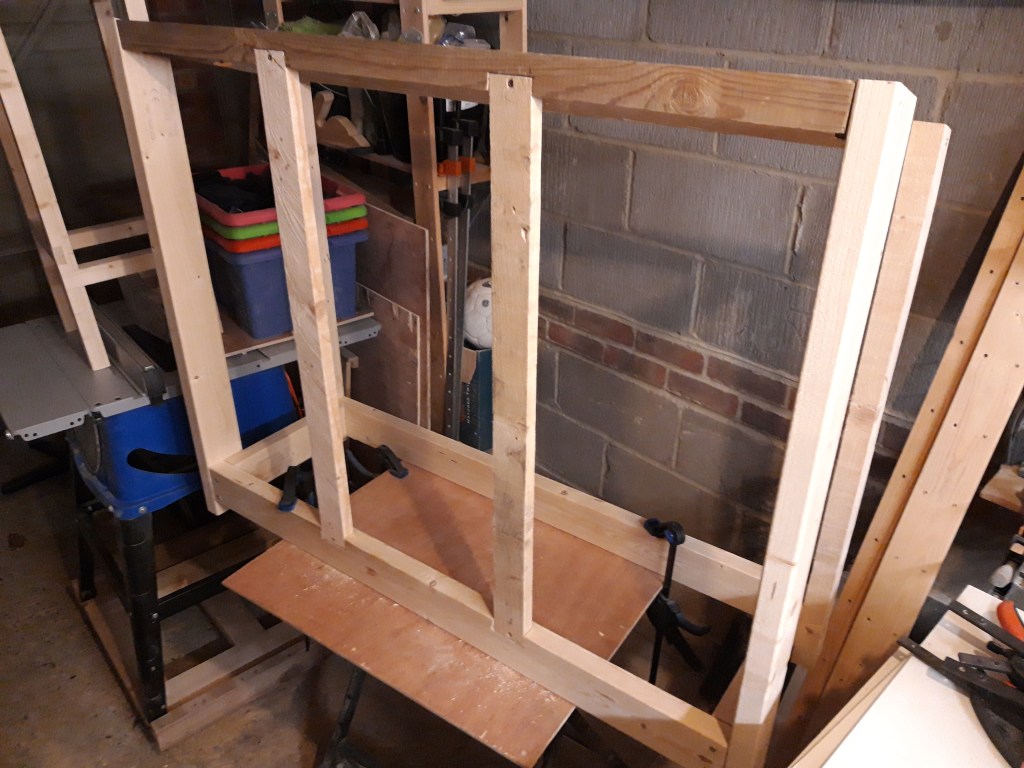

I also added additional bracing to the base of the frame with some pallet offcuts, using some scrap wood shims to raise the pieces up to the right height so they were flush with the top of the base for the surface slats to rest on.

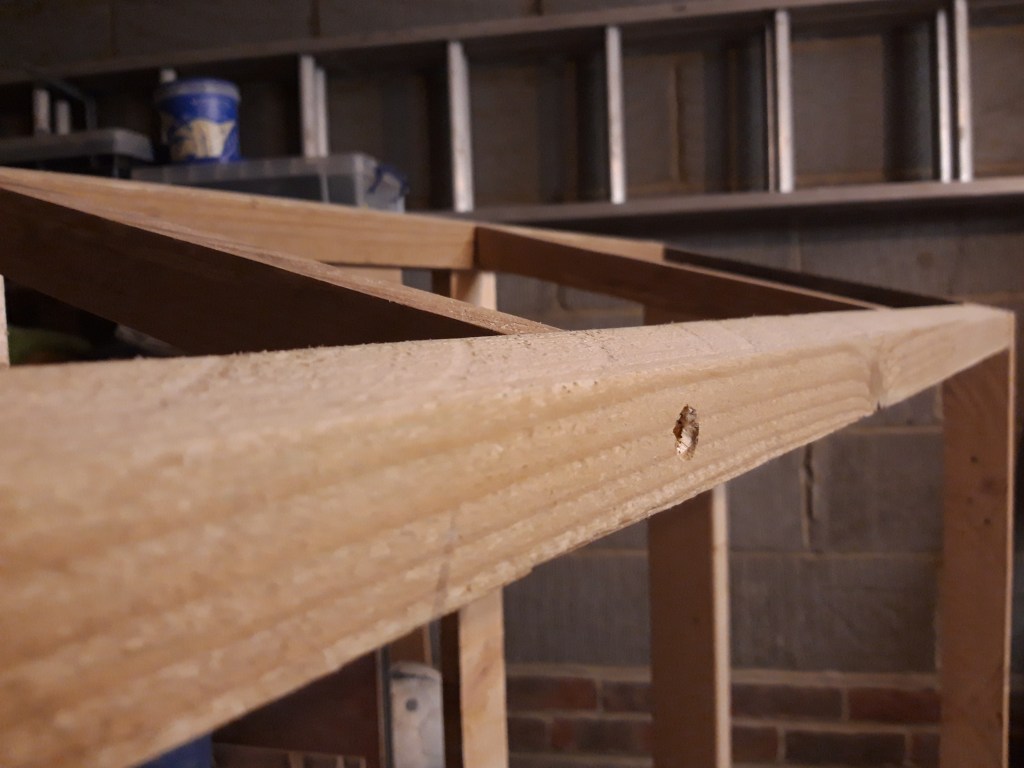
I repeated this for the top of the frame, drilling countersink holes for the screws on the front to hold the bracing. With these additional components in place, the log store frame was a lot more stable and could be picked up and moved around relatively easily without twisting or warping.
I was very happy with how this project was progressing and I could see the workpiece taking shape nicely. Now that the frame is completed, the next step is to create a solid slatted surface on top of the base frame for the logs to sit on and to add a solid roof to keep the rain off! 🔨

2 thoughts on “Log store – Part 1 Frame”