The old house had a log burner so we had a pile of logs outside the front of the house. As the logs were quite untidy and not particularly protected from the elements, I decided to build a log store to keep the wood dry and tidy. After building the frame, I moved on to constructing the sloping roof and adding a solid raised base to hold all the logs.
Constructing the log store is split across 3 posts to allow me to share the steps and my thoughts in some detail, with the construction of the frame being the first post previously. I will update the links as I complete the posts so the full build can be followed from start to finish.
Part 1 – Frame
Part 2 – Roof and base (this post)
Part 3 – Side slats and finishing
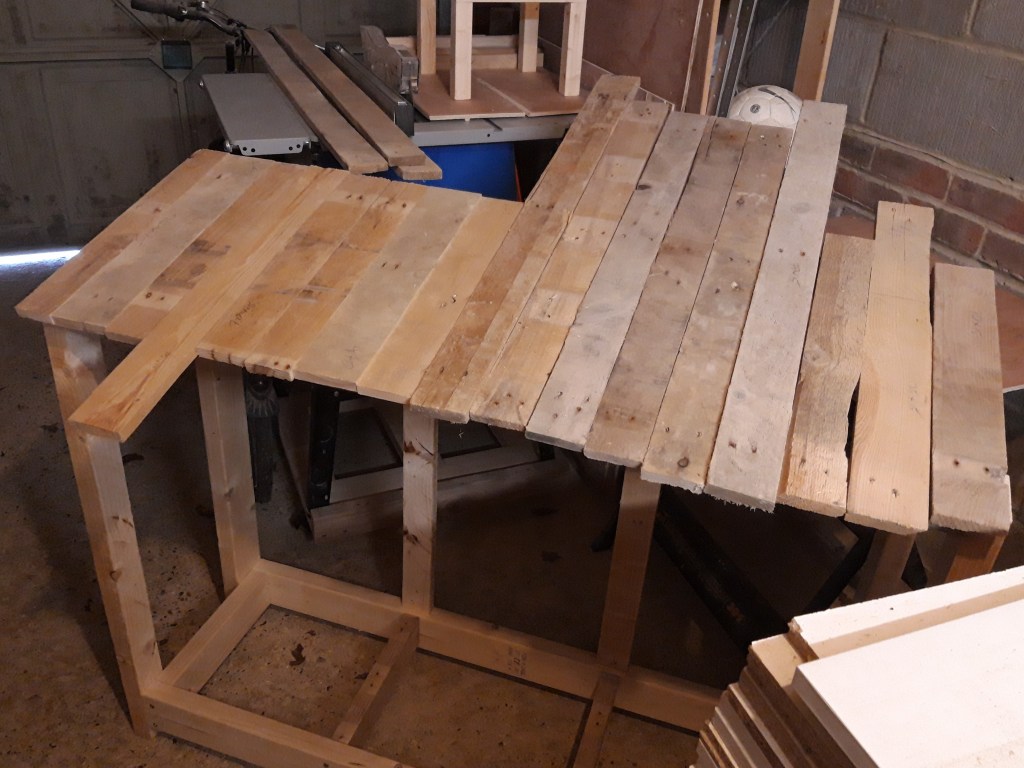
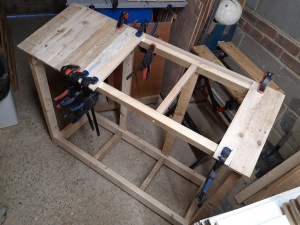
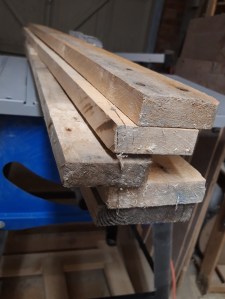
The next step was to sort through my lumber and select suitable pallet slats for the roof. I laid out all the suitable pieces to a rough fit and then ripped them to get two straight edges using my table saw and cut them all to length on my mitre saw. I sanded each side with my belt sander to remove the rough sections where the nails had been and then sanded up to 120 grit using my random orbit sander.
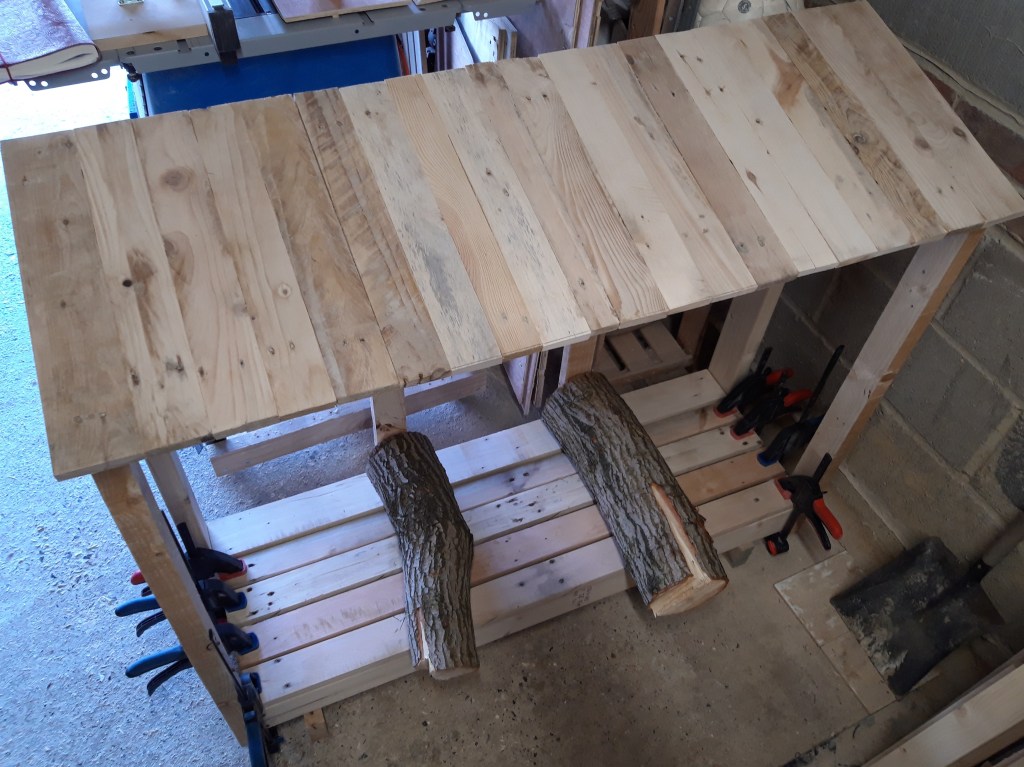
I applied a decent quantity of wood glue, positioned the first slat to provide a slight overhang on each end and then clamped them in place.
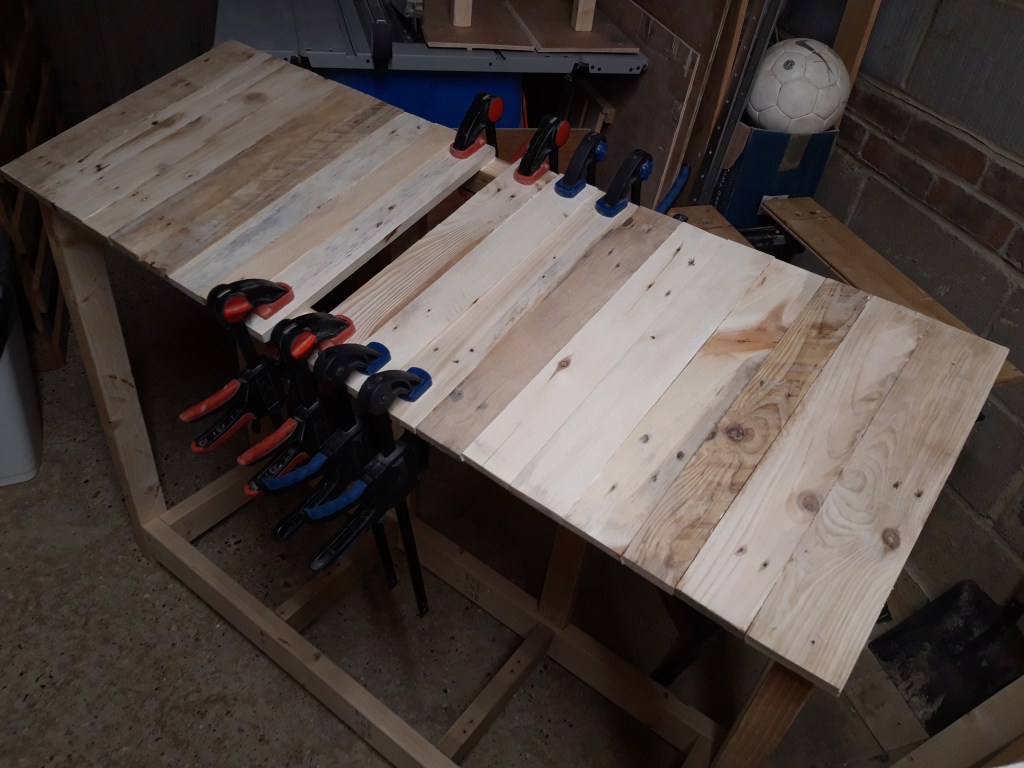
I worked my way along the roof from each end, gradually moving the clamps along to hold the newer pieces as the glue dried enough on the earlier slats.
When all the slats were glued in place only a small gap was left. I positioned the remaining slat on top of the roof and marked the dimensions exactly using a pencil. I then used my table saw to rip the slat down to the exact width required and then glued it in place, applying clamps to hold it in place.
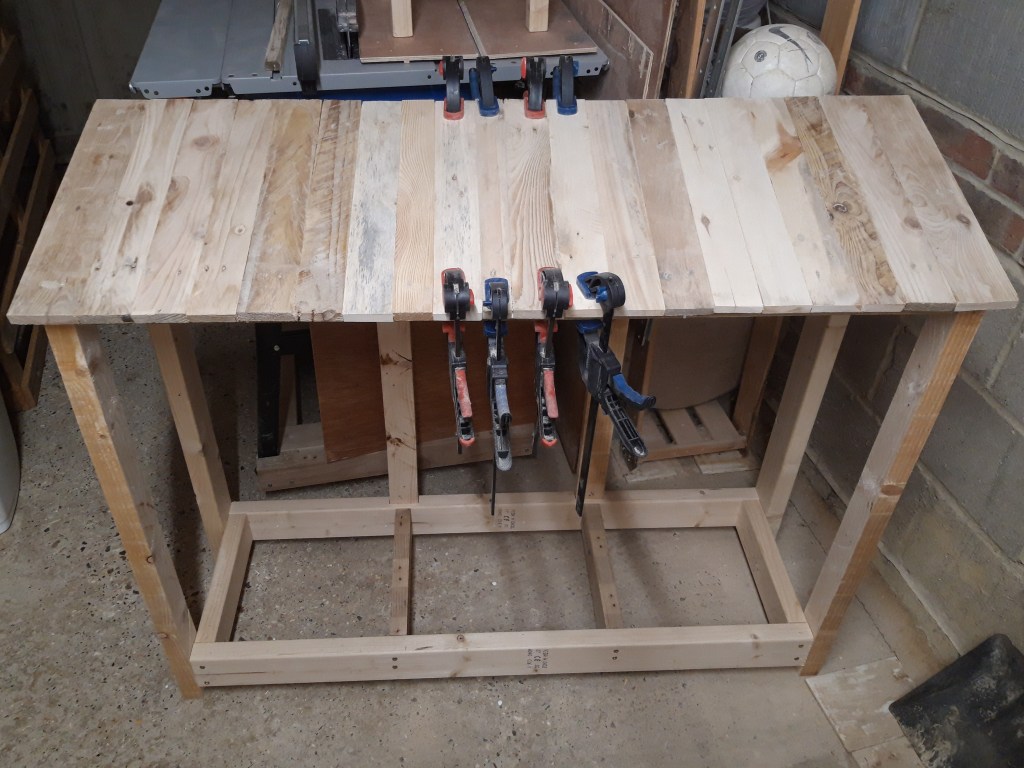
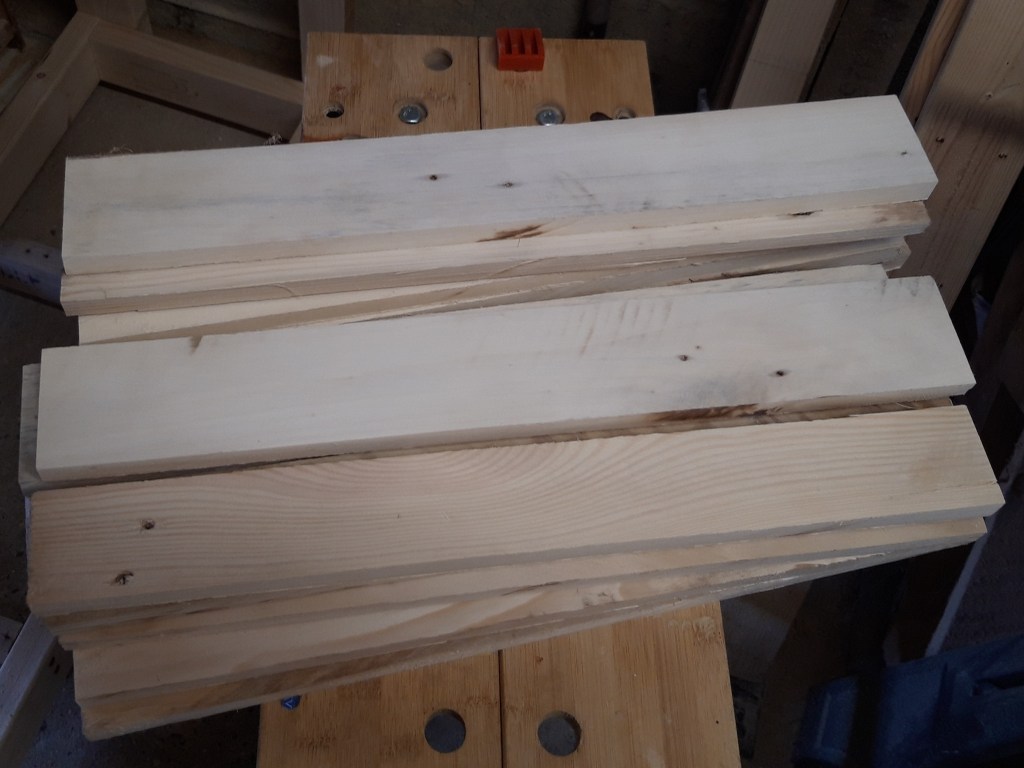
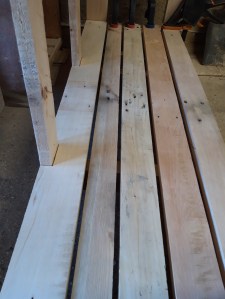
While the roof finished drying, I moved on to the base. I sorted through my scrap lumber from a number of dismantled pallets and found some thicker boards that would provide a nice sturdy platform to hold a large quantity of heavy logs.

I ran the selected slats through my table saw to get two straight edges and then cut them to the right length on my mitre saw. I sanded them all using my belt sander and random orbit sander again.
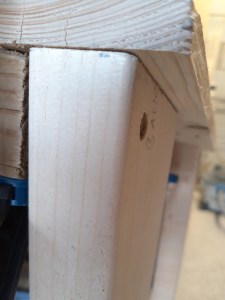
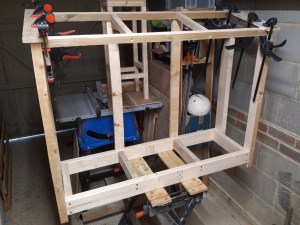
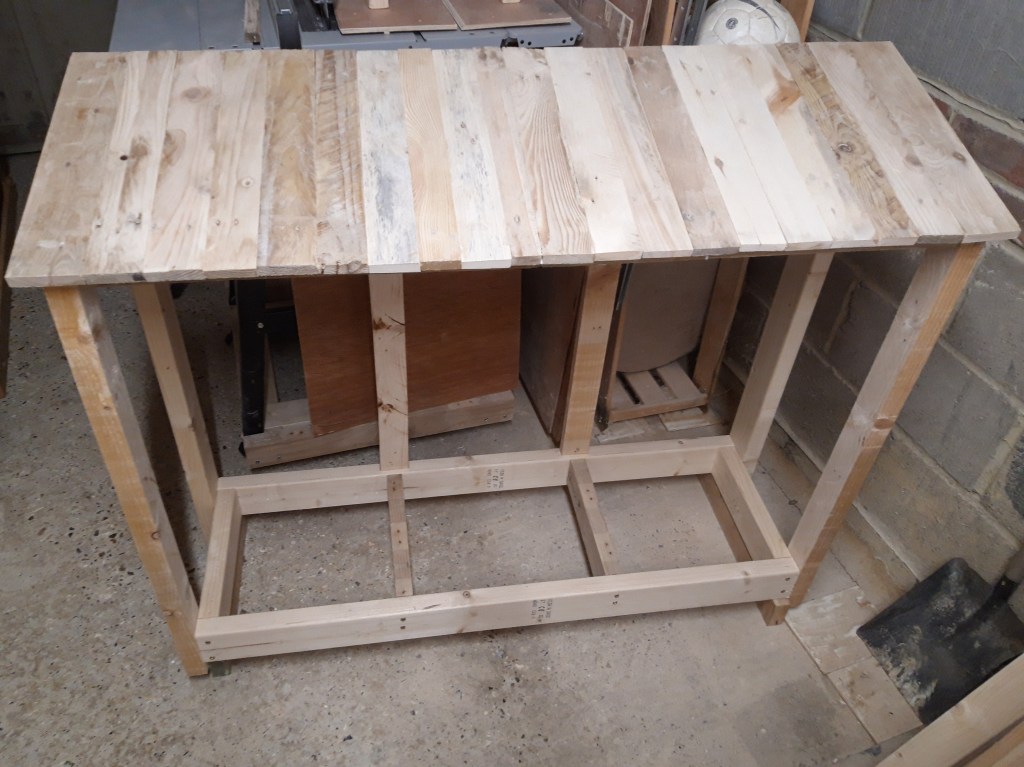
I used my jigsaw to cut out two notches in the back slat so the base would fit around the existing rear upright supports. I then glued each slat in place on top of the raised base frame I made previously, using clamps to hold the slats down firmly as the glue dried. I used a scrap piece of wood to get a uniform spacing between each slat to allow a good amount of airflow around the logs once piled up in the log store.

Once the base slats were in place, I made up a mixture of wood glue and sawdust and filled in a number of holes in the roof slats. When this was dried, I sanded the sawdust-glue mixture flush using my random orbit sander to leave a solid and smooth roof.
The roof and base are now completed so I can progress to the the final steps – adding additional slats to reinforce the back and sides and then finishing the log store with stain and varnish to protect it from the elements! 🔨

2 thoughts on “Log store – Part 2 Roof and base”