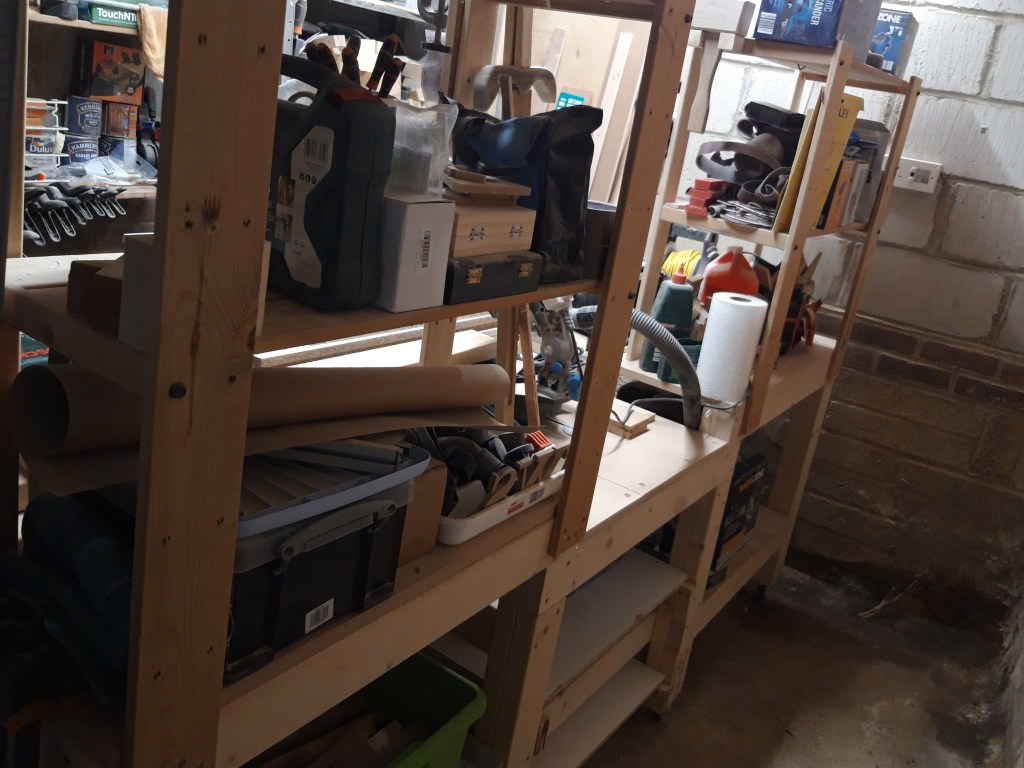
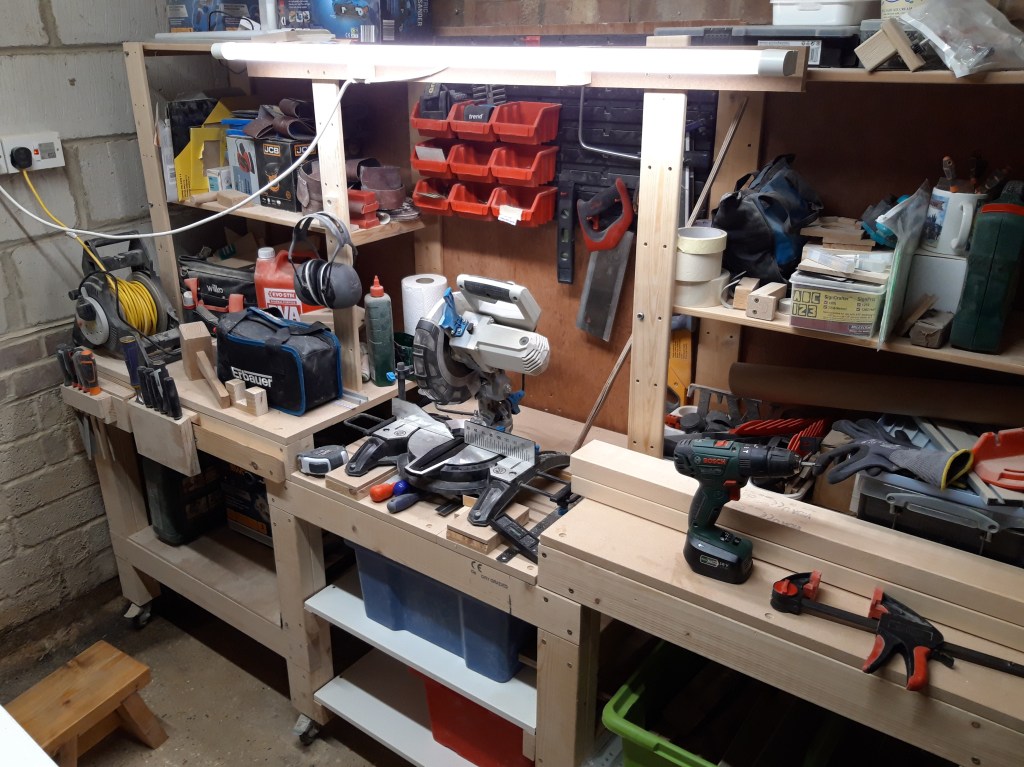
As I have acquired more tools and accessories, the shelving on my mitre saw bench has filled up quite nicely! The problem is however, that I keep losing things off the back of the shelves and off the bench itself – time to add some back panels!
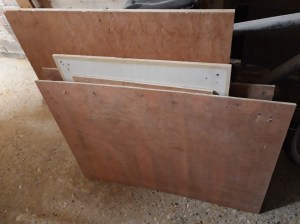
I started by sorting through my various scraps of sheets material and selected all the pieces that would be large enough. I moved the mitre saw bench out into the middle of the workshop (it’s easily movable after I fitted some heavy duty casters previously) so I could get to the back of it. I measured each of the openings I wanted to add a back panel to – the shelving above the bench on each side, the lower shelving on each side, the centre lower shelving and the central section with the mitre saw. The centre panel will also help collect some of the sawdust from making cuts with the mitre saw, as any sawdust that isn’t pulled up the hose by my dust collection setup is flung at the wall of the workshop – not ideal!

Once I had all the required dimensions for the six different sections, I went through all the scrap sheet material I had set aside and worked out which piece fitted each section the best and requiring the fewest cuts to make the most use of the available material. As this is a shop project I am not particularly concerned about it looking especially good, I am much more focused on it being sufficiently strong and sturdy!
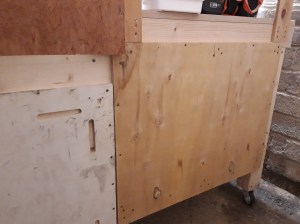
I used my circular saw and a straight edged board clamped in place to cut all the panels to the correct dimensions. This took quite a while as I had to manoeuvre the panels around the workshop and hold them in place with clamps on my workmate and the other side on my sawhorses. Once all the panels were correctly sized, I then clamped them in place onto the mitre saw bench one at a time, working from the back right hand end. I pre-drilled pilot holes through the panels and then added screws to hold them firmly in place, removing the clamps once I had driven all the screws into the panel. This was a little tricky for some of the larger panels, especially the centre panel on the top, as once I had put both the side panels on, I didn’t have any way to clamp the centre panel.
But with some lateral thinking (and my knee!) I managed to get it secured with a number of screws and the back panels were all firmly fixed in place in an interesting patchwork of colours of scrap pieces of plywood.

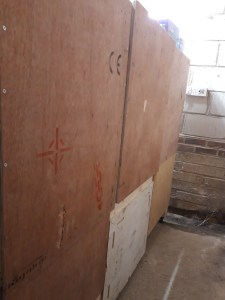
I unscrewed my adjustable storage bins from the wall of the workshop and then moved the mitre saw bench back into position against the side wall. I then screwed the back plate into the plywood panel, using some additional pallet wood slats to provide extra bracing for the screws to bite into behind the panel. This meant the back plate was held securely allowing it to take the weight of the various tools and assorted sizes of screws that I intend to hang off the panel.
This latest update to the mitre saw bench is now finished, but I have more ideas for how to improve the work bench further, including adding a new fence and a better stop block. I also want to add additional panels around the centre section behind the mitre saw to improve dust collection and give me additional surfaces for fixing tool holders for the various tools and accessories I use a lot and that are currently just lying around on the mitre saw bench without a proper permanent storage solution. Something to share in the next blog post! 🔨

2 thoughts on “Mitre saw bench – Part 6 Adding panels”