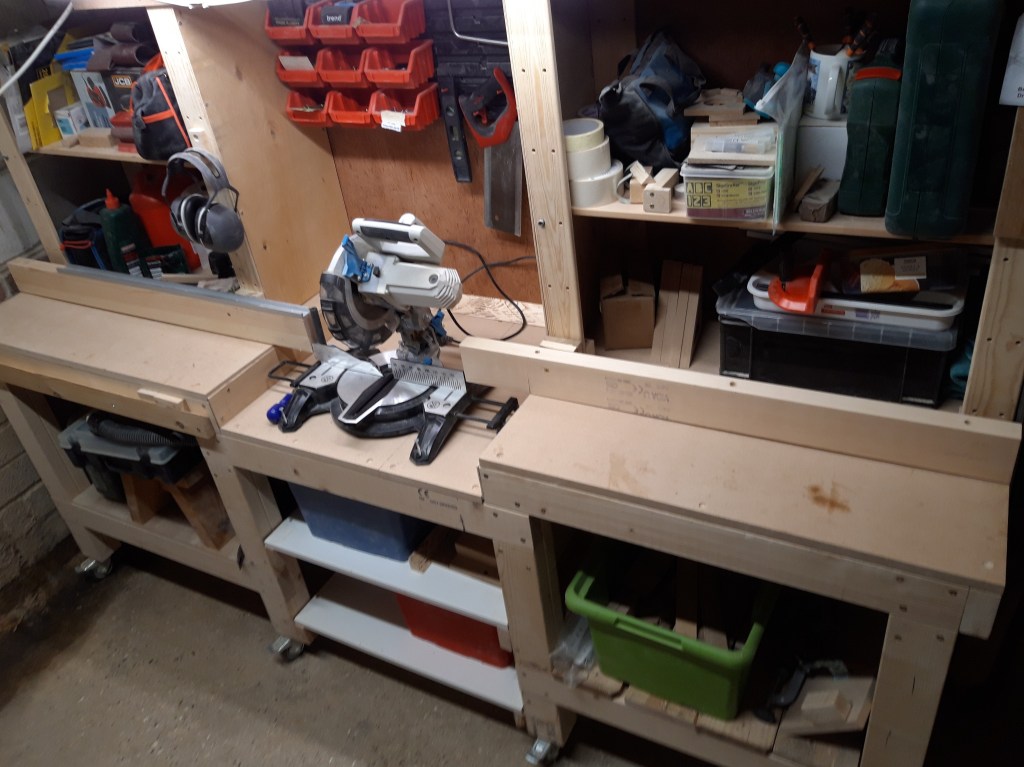
The first version of my mitre saw bench was designed without a full fence to allow me to cut different shaped pieces of wood that would not be possible with a solid fence. I haven’t really needed this however and as I’ve made upgrades to the bench, I decided to add in a new fence and a new stop block design.
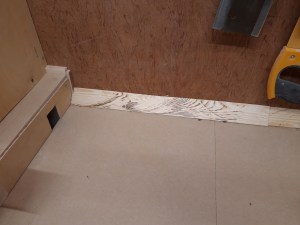
I also thought this could be a good opportunity to add additional panels around the central section with the mitre saw to assist with dust collection and prevent everything on the shelves getting covered with sawdust every time I used the mitre saw! I used some scrap plywood to fill in the gaps and cut a hole out of the left side piece to feed the vacuum hose and the plug for the mitre saw through. Lastly I added a 45 degree bevelled piece of scrap pine to the back of the bench, to direct sawdust (and anything I drop!) back onto the bench.
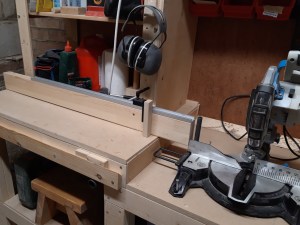
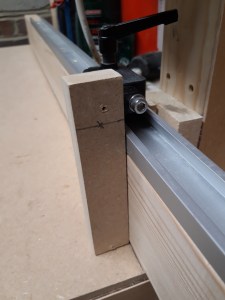
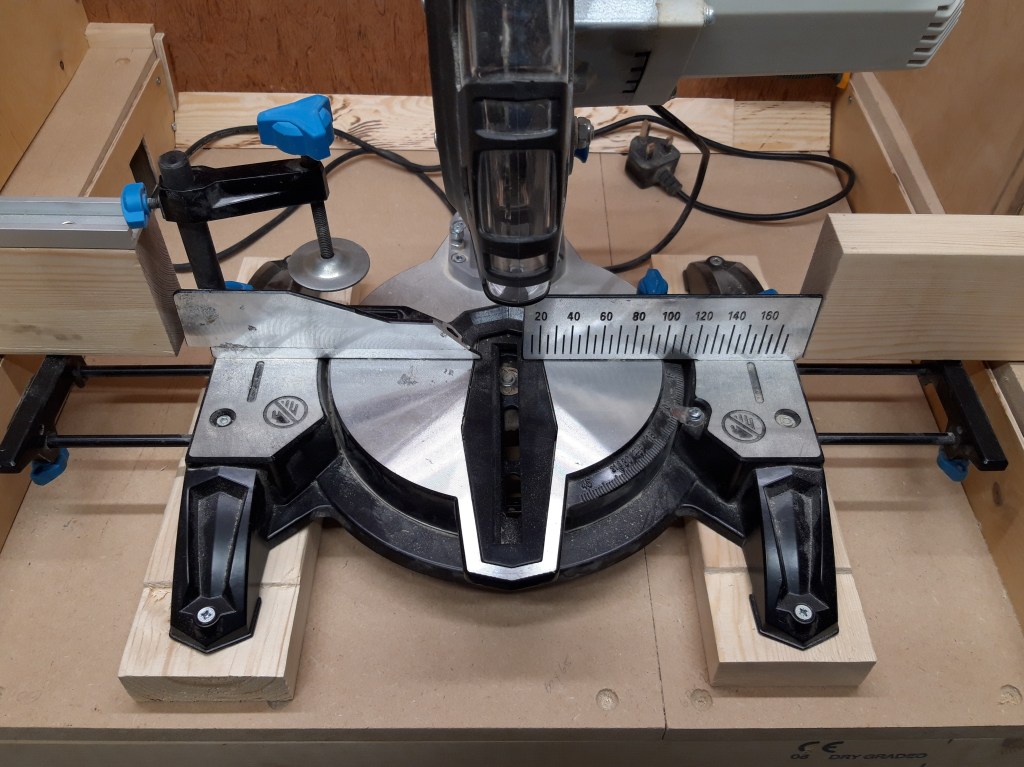
The new fence is made of 2x4s and I positioned the two sections up to the edge of the mitre saw on each side. This way a workpiece can be pressed against the fence for the full length, which makes it more stable and safer for the duration of the cut. I fitted the t-track, which was on the bench previously, up on top of the fence and then made a more accurate stop block using an offcut of mdf. I fitted this mdf piece to my plastic sliding stop block in the t-track, to increase the size of the area touching the workpiece. This new design gives me a very straight face to push the workpiece up against and reaches all the way to the bench allowing me to cut thing material that would not be reached by the plastic pre-made stop block alone.
Once the fence was firmly screwed to the table on both sides, I mounted the mitre saw back onto the bench in the position I previously marked out. I used 2x4s with sections chiselled out to raise the saw to the correct height for the workbench surface and then screwed the saw into place.
I checked the metal mitre saw fence was aligned with the new wooden fence on each side using a 1 metre long metal ruler, using the factory straight edge to confirm both fences and the saw are all in line.
Once I was happy with the position of the saw, I wired it back up again, posting the wire down through the hole I cut earlier in the side of the centre panelling. I made some test cuts to check for square and I am happy the mitre saw is now all ready for my next project! 🔨

2 thoughts on “Mitre saw bench – Part 7 New fence and stop block #2”