One of the first things to do before I could use my workshop after moving house was to clear all the gardening tools and the lawn mower out of the way. In order to do that I needed some sort of outdoor storage to put it all in.
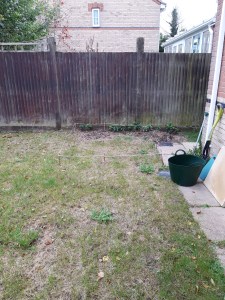
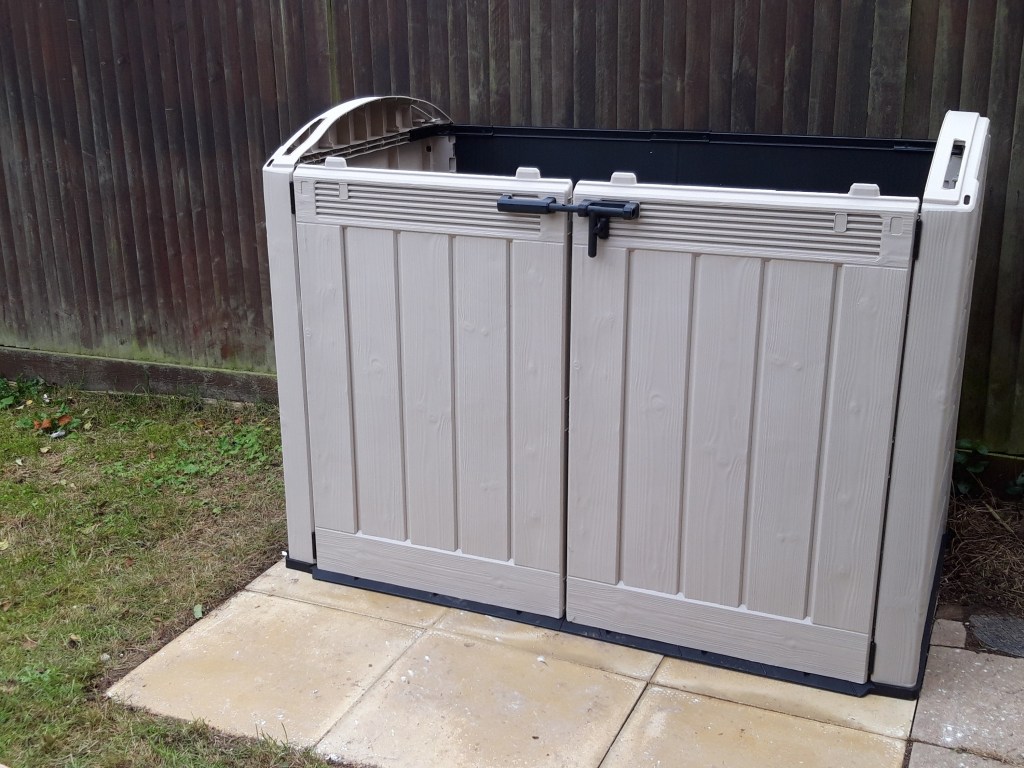
As this is a rented house, we didn’t want to put in a giant shed requiring a concrete base as the landlord would never have approved that and we are hoping to move into a house of our own within a year or so (depending on house prices!). So we opted for a plastic construction outdoor storage shelter (“not a shed”) as we could put it onto a base of paving slabs (Note: this is not a sponsored post, sharing the link for reference).

The landlord gave us permission to add extra slabs to the garden, so after some measuring and a trip to pick them all up, we marked out the area for the storage shelter to go with string. I dug up the layer of grass and topsoil within the marked area and then we positioned the slabs and levelled them off using a scrap piece of lumber with a straight edge to check the diagonals.
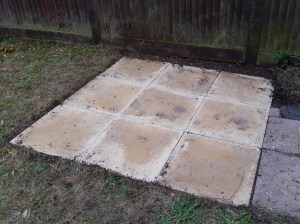
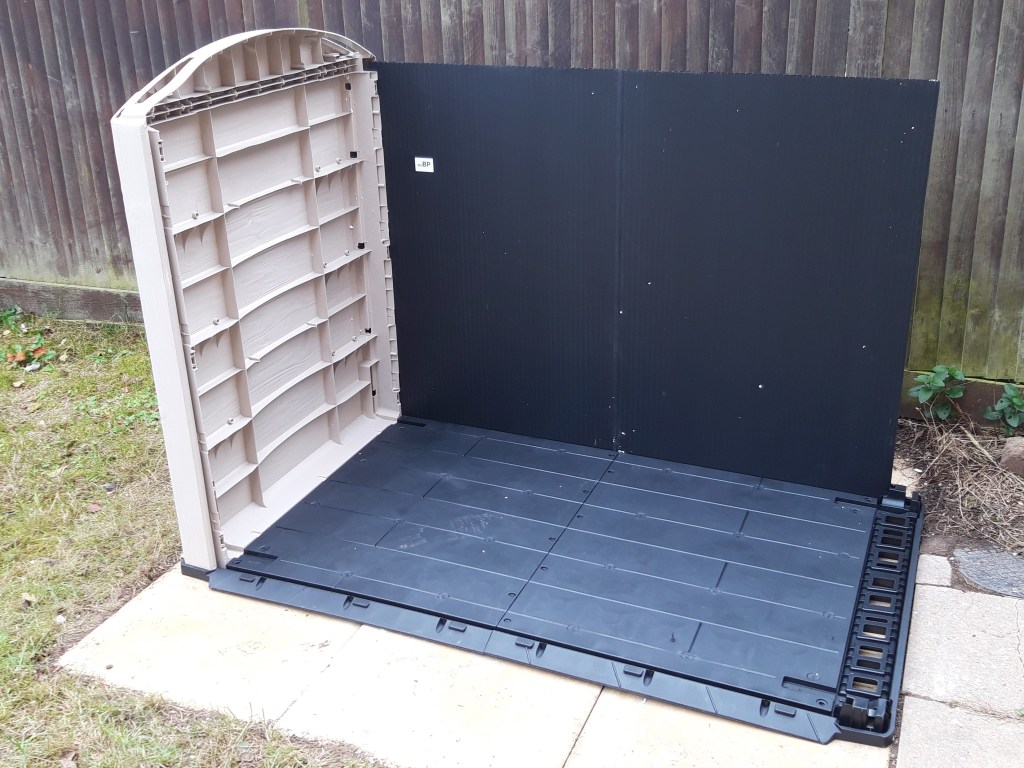
We left the slabs for a few days to settle in and bed down in case we needed to make any adjustments. Pleasingly we seemed to have compacted and flattened the soil down sufficiently as all the slabs remained solid and level despite heavy rain and me jumping up and down on them. I unpacked the storage shelter components and then started assembly before the rain arrived again!
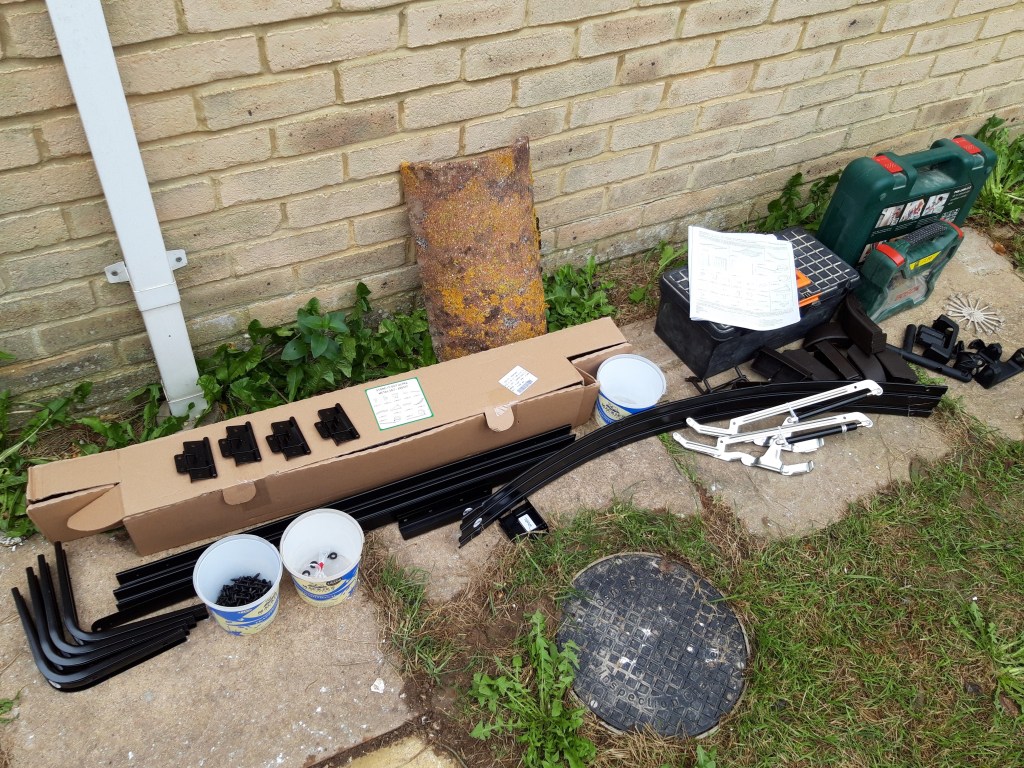
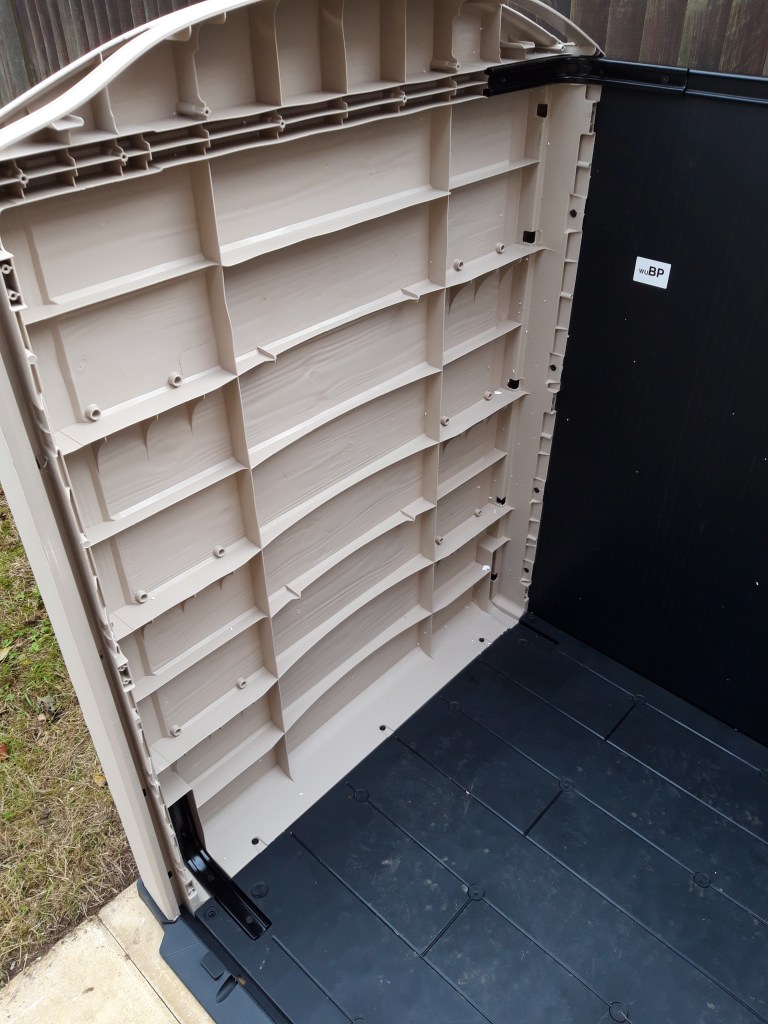
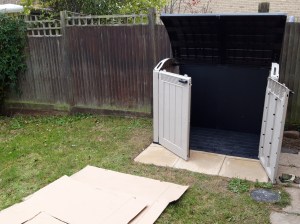
Once I had confirmed I had all the pieces, I assembled the base and then secured the side wall into the mountings. I slid the back piece into the grooves and then added the second side wall into the mountings on the opposite side.
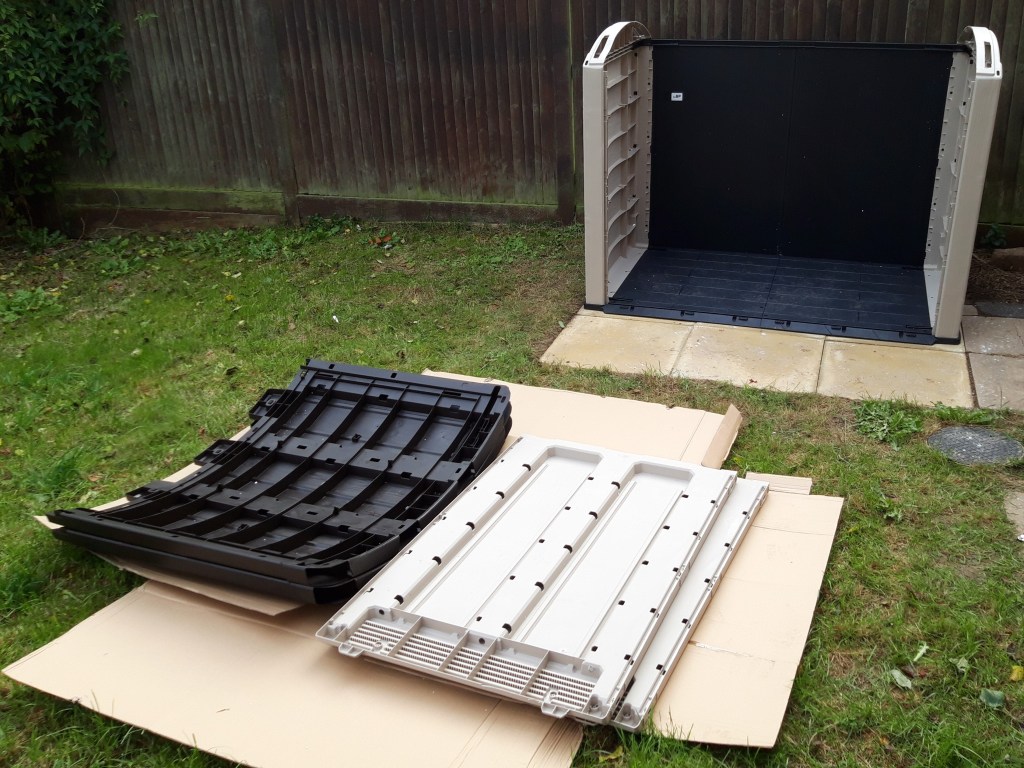
I added the metal back brace across the top of the back panel and then screwed in the metal strengthening corner brackets at the top at the back and to reinforce the base and side panels. The doors were a bit trickier to install and I used my pair of thick gardening gloves as a rest for the bottom of the door while I screwed in the hinges, to lift the door slightly off the floor and to align the screw holes.
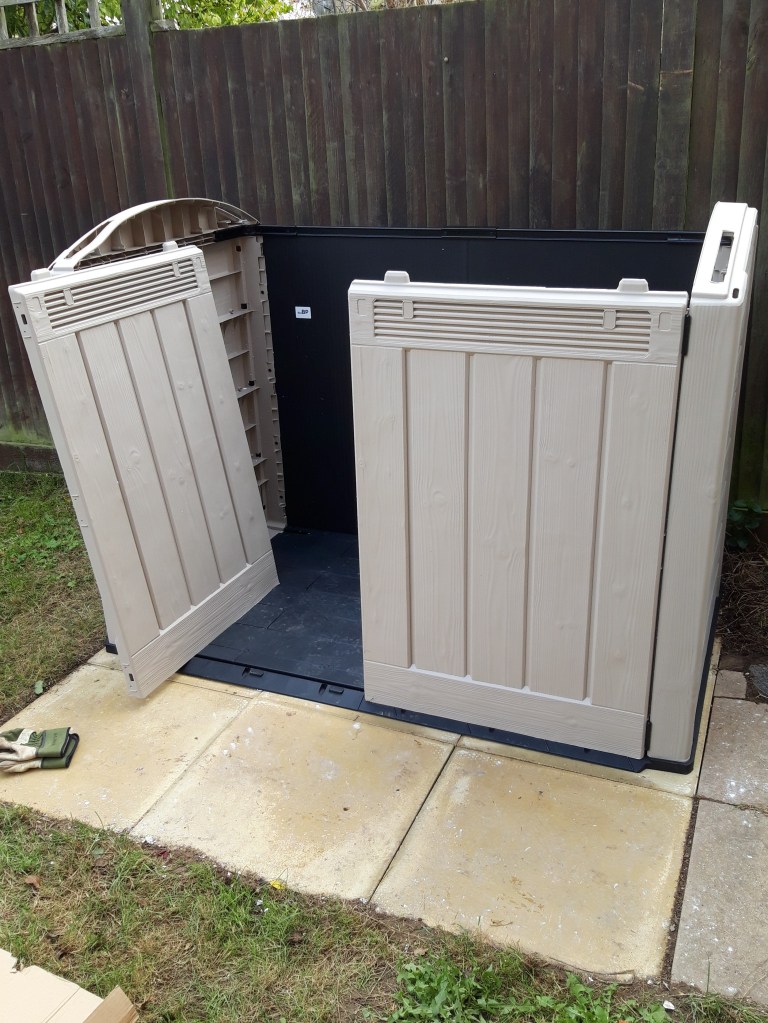
The second door was fitted in the same way as the first and then I added the door handles and the bolt to the outside. The main body of the “not a shed” was now complete. I assembled the various roof pieces on the ground and attached the piston hinges in the back corners. I used some cardboard from the delivery box under the roof to give me a surface to work on and to protect the roof from scratches from the ground – there are quite a few stones in the lawn I’ve found.
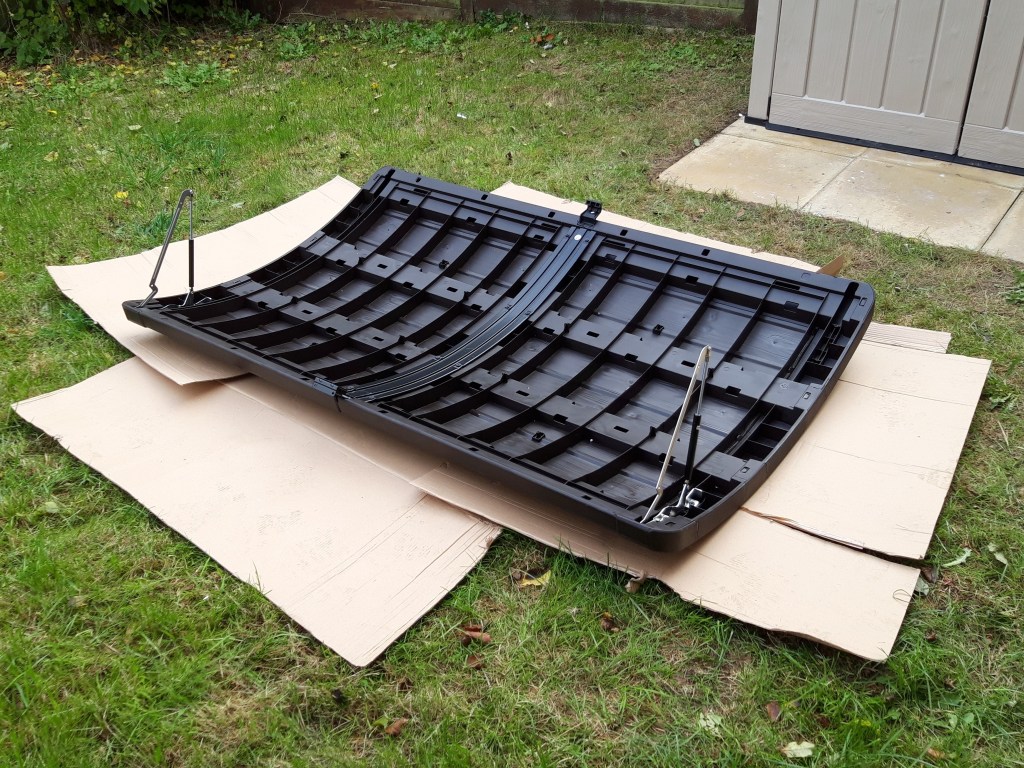
Fixing the roof to the storage shelter was one of those jobs where it would have been useful to have at least three hands to hold all the parts in place. With the cunning use of my head to wedge the centre of the roof in place momentarily however, I was able to get all the screws in, tightened up and the roof secured.
After testing the roof and doors several times and making sure that all the walls were plumb and the corners properly square, I re-checked all the screws were fully tightened and I had no pieces left over (!). The outdoor storage shelter was complete!
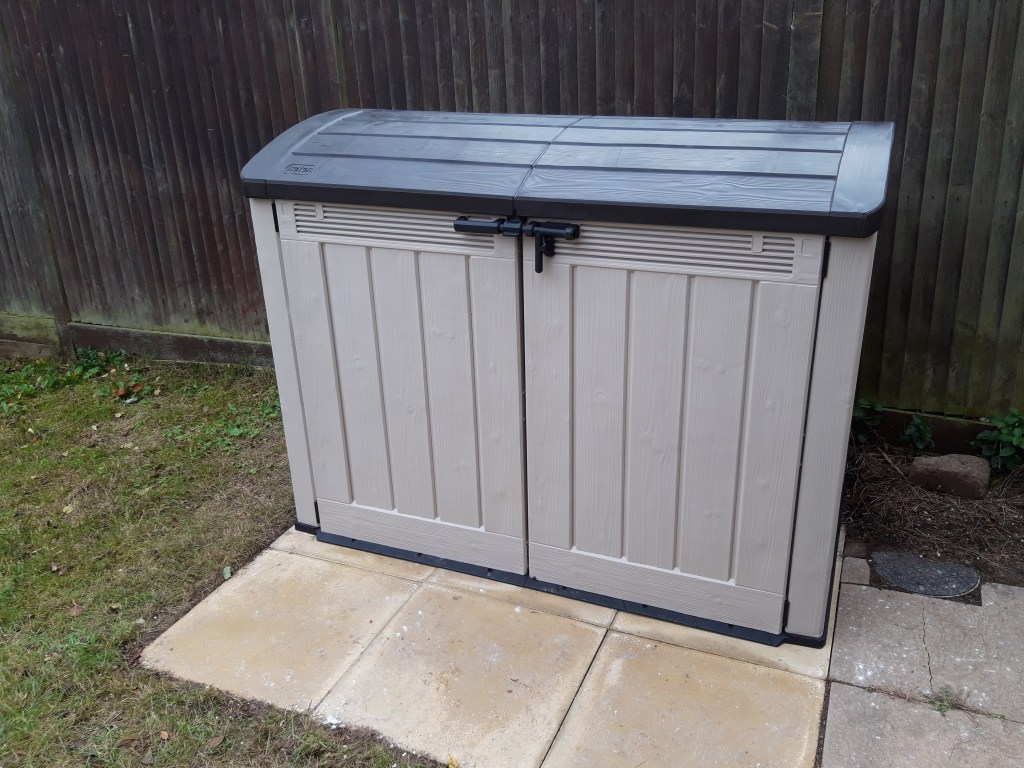
I spent the next hour to-ing and fro-ing down the side of the house with various garden tools, the lawnmower and a couple of bags of compost. The front of the garage is now clear and I can start reorganising and moving all my tools around to lay out my new workshop properly. And most importantly, I should now have space to start making some projects again! 🔨
