One of the drawbacks of moving into a house with fitted wardrobes, is working out how to fit clothes from a previous wardrobe into this one. The free-standing wardrobe we had at the old house had a number of shelves in it, which this one does not. Time to build something then!
With two dismantled wardrobes, I now have a huge amount of white melamine coated chipboard. So it doesn’t go to waste, I decided to use it to make a set of free-standing shelves to go inside the fitted wardrobe. This will give me a lot more useable storage space, especially as the bottom section of the wardrobe is empty.
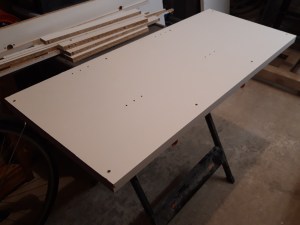
After lots of measuring to figure out the size of shelving unit I wanted, I started by sorting through all the pieces of the old wardrobe to identify the most efficient cut list. I used my circular saw and a straight edge to cut all the pieces to size, ripping them to 45cm (the depth of the wardrobe) and cutting them to the various lengths required. I decided to double up the lumber to provide additional strength to the shelving, although this did have the drawback of making it basically twice as heavy!
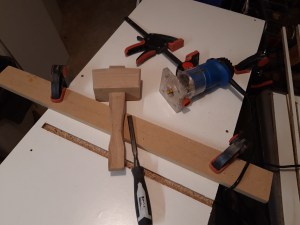
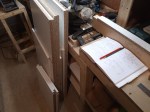
After all the pieces were cut to size, I used my palm router and a straight edge to route a number of grooves into several of the pieces. I took around half the material out in the first pass and then lowered the bit and completed a second pass. That way it wasn’t too much work for the router and minimised any chip out from the workpiece. I used my chisel to square up the end of the grooves – I wanted to have the pieces fit together using “stopped dados” so as to hide the front edge of the joint. I tested each dado with the corresponding divider and then did a dry test fit of the main support pieces using a selection of clamps to check it all fitted together correctly.
I used my coping saw to remove the corner piece of each of the dividers so they would fit flush into the stopped dados. As I have two dividers on the lower section and one on the top, I removed a corner piece 6 times until all these pieces were completed.

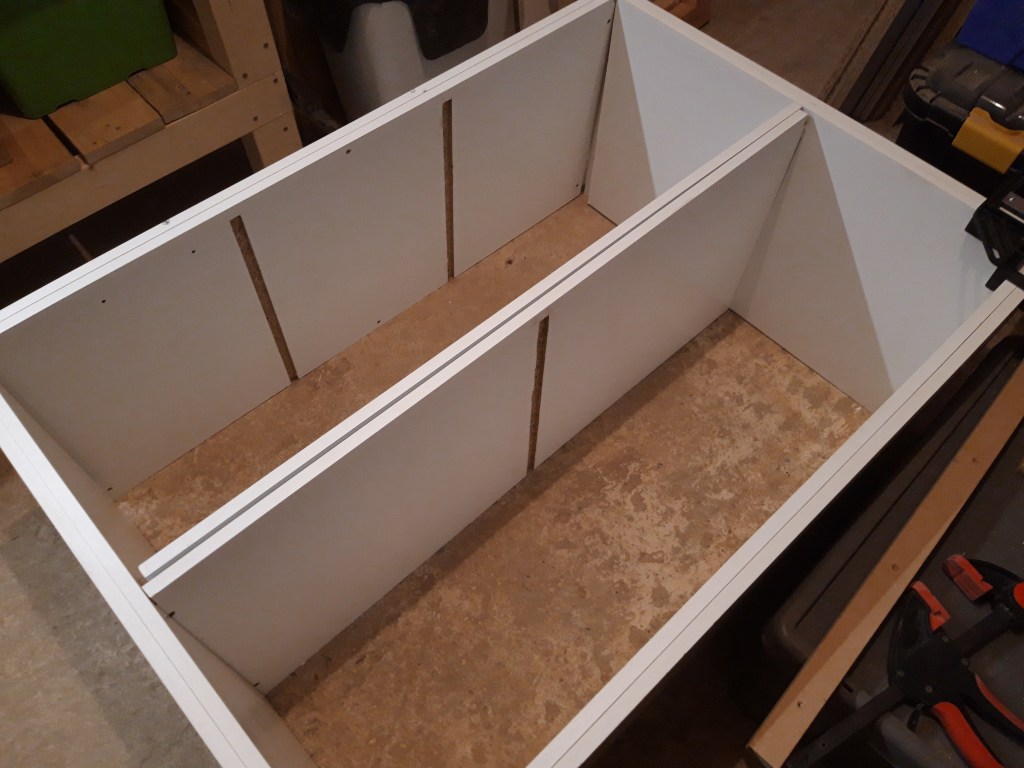
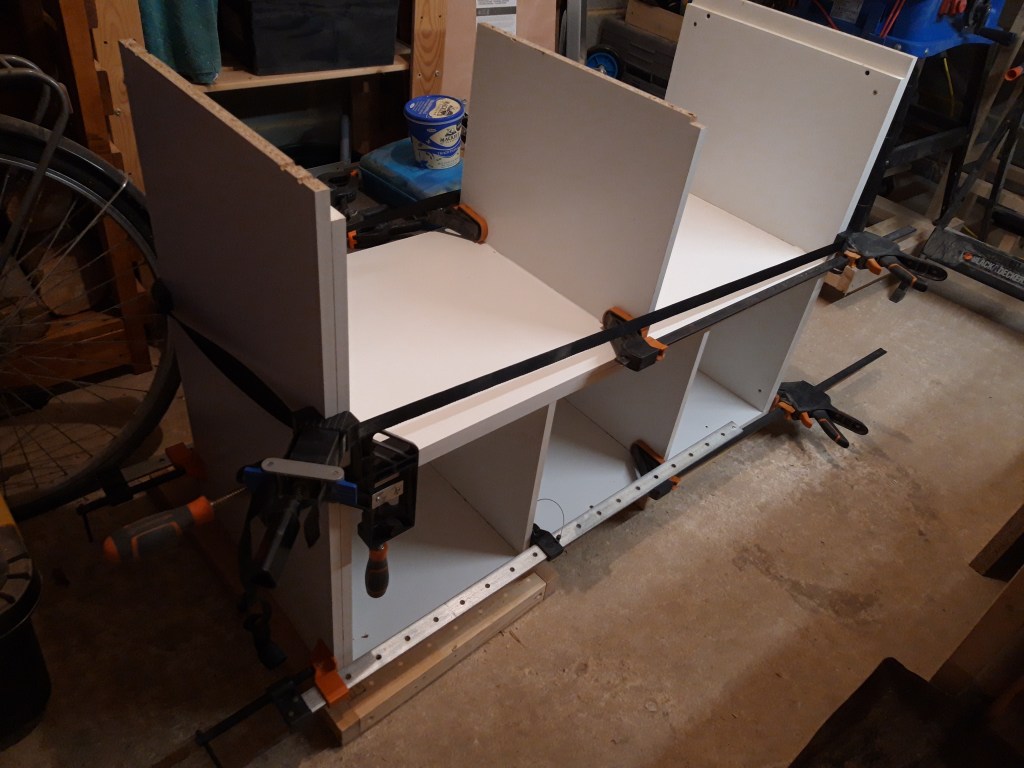
Once I had completed the final prep work, I started the glue up. I used some 90 degree hollow triangles I cut out of 18mm mdf to assist with supporting the dividers while the glue dried. These allowed me to secure clamps to ensure the dividers were kept plumb and square to the shelves.
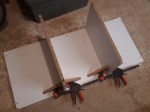

I used longer clamps to assist with pulling the joints flush for the side pieces and added glue and screws to provide a solid bond between the two inner and outer layers of the shelving unit.

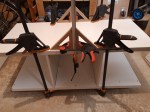
To fit the other side panel, I used a band clamp to assist with pulling all the joints tight. This proved difficult due to the number of different joints on the shelving unit, spanning 2 different directions. I took my time and with the application of clamps and a little percussive persuasion using a mallet and some scrap wood, I had all the joints properly seated and clamped in place for the glue to dry.
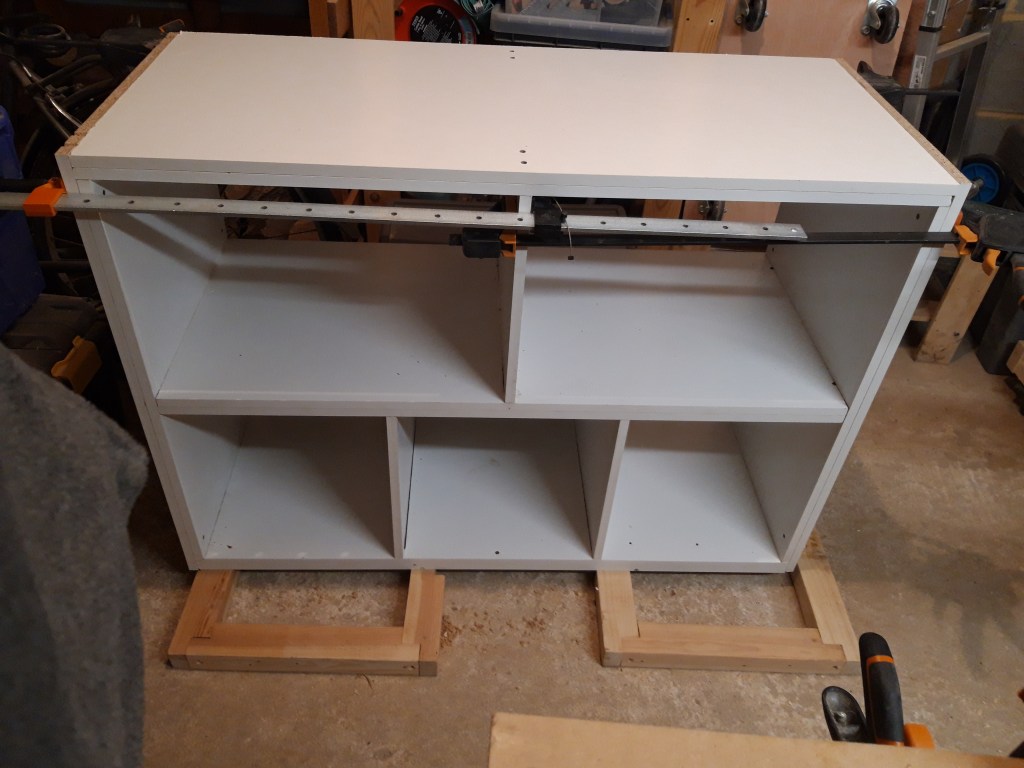
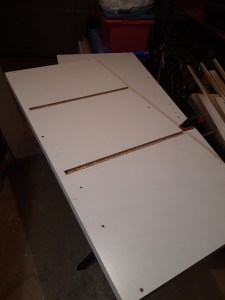
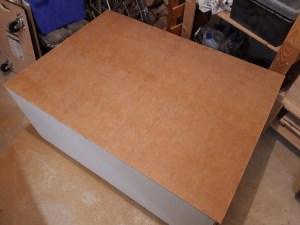
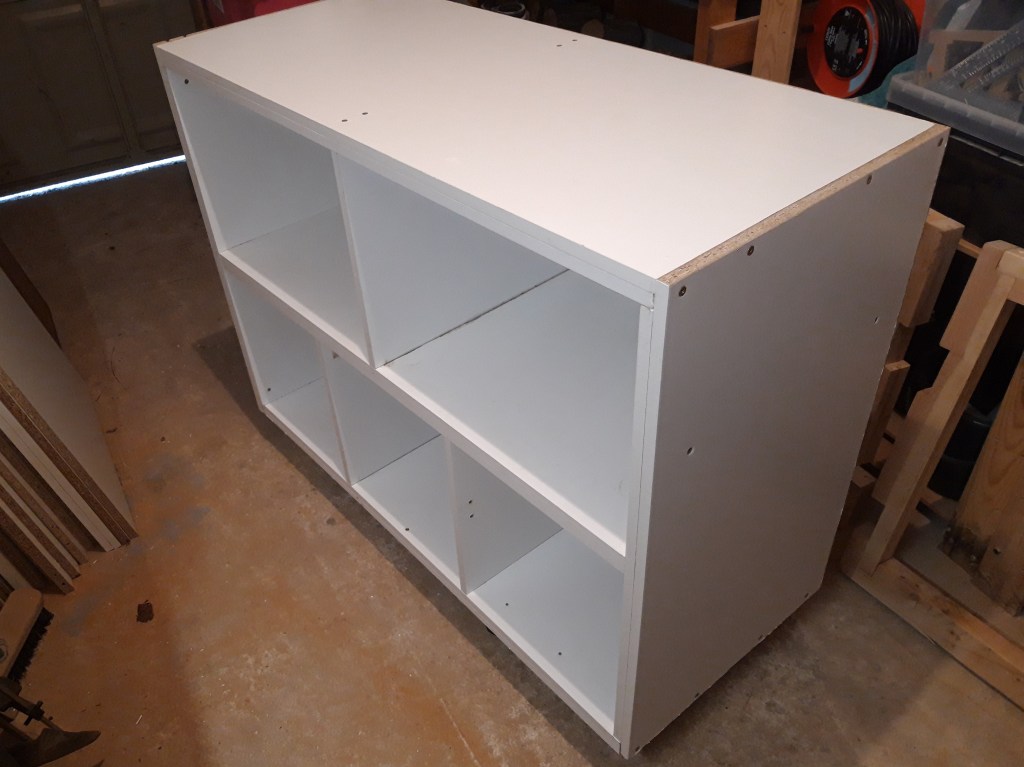
I added some large screws into the outer panels to secure the sides and the top together alongside the glue to provide additional stability to the joint. Once the glue was dry I lay the shelving unit down on the front and measured out some plywood from the old wardrobe to use as backing panels. I clamped it in place and used a flush-trim bit in my palm router to cut the plywood exactly to size.

I secured the plywood in place using tacks which I hammered through into the chipboard. I marked lines for the dividers and centre shelves to allow me to add additional tacks across the whole of the back of the shelving unit, rather than just around the edges.

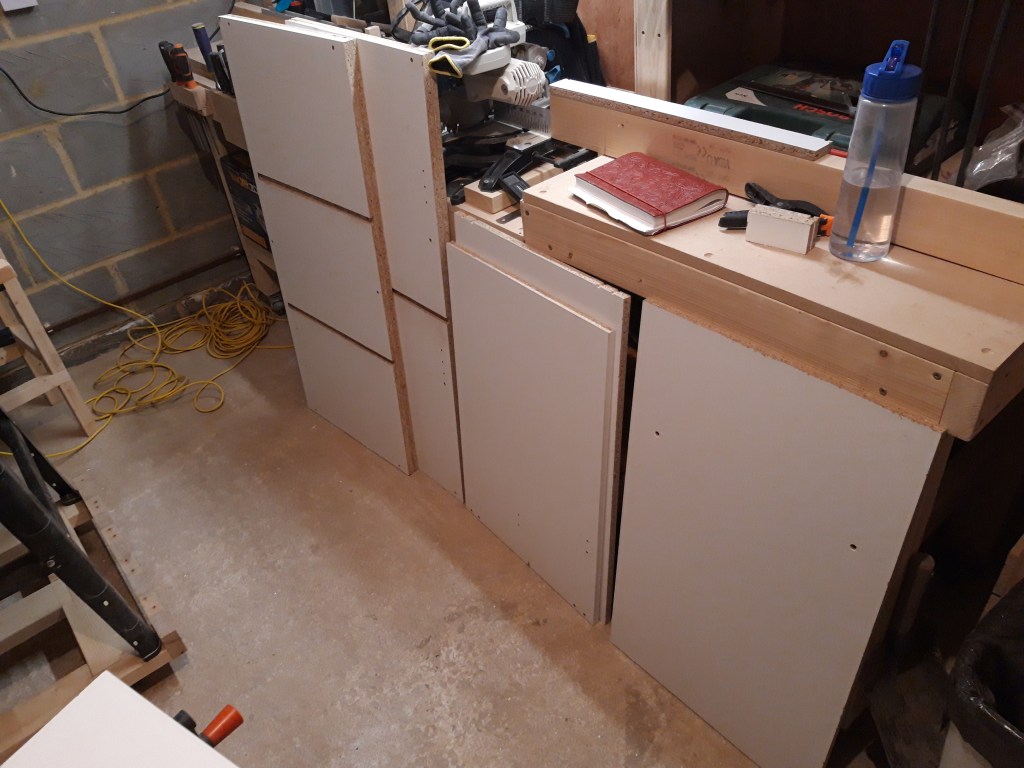
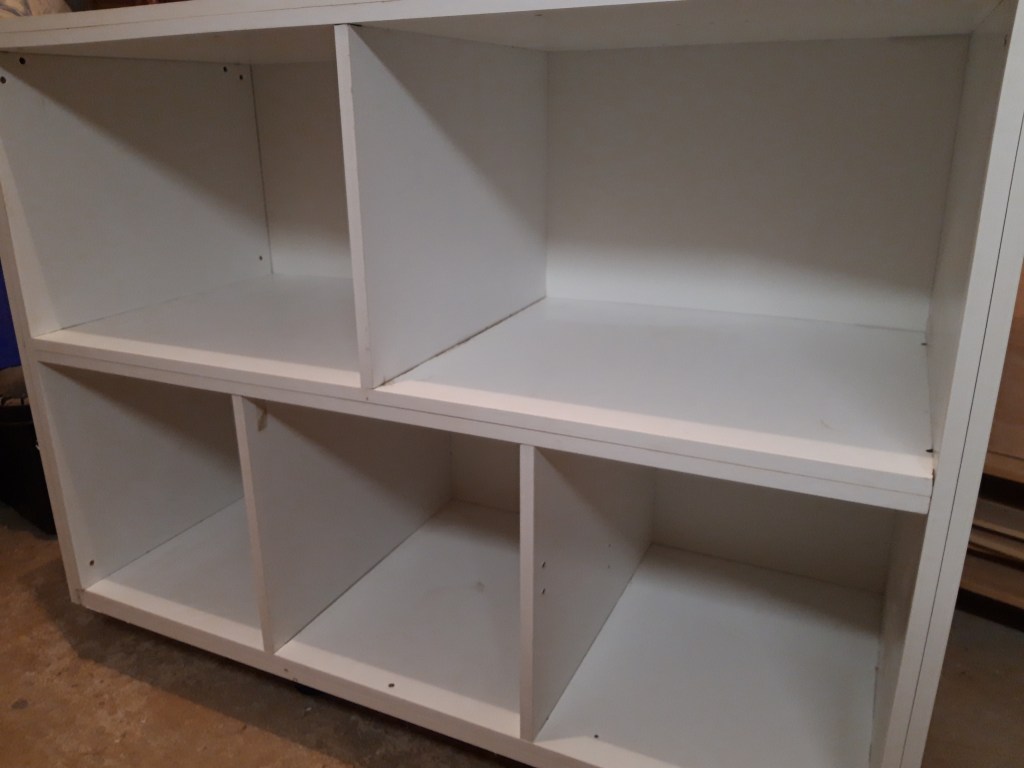
At this point the shelving unit was complete! Unfortunately, this was one of those moments where triple checking measurements would have been helpful – the fitted wardrobe was a slightly smaller size than I initially measured and the shelving unit didn’t fit! I measured the internal dimensions and planned the shelving unit to fit into these with some wiggle room. The problem was that the wardrobe runs up to the bedroom door and this means the wardrobe door can’t fully open – something I missed when doing the measuring and planning. This reduces the total width of the opening by a frustrating amount and meant the shelving unit didn’t fit! Maddening, especially as it took two of us to heave it up the stairs together due to the weight of the doubled up panels to provide additional stability and strength to the workpiece. But we adapt and overcome – I took the side panel off the right hand side and then cut the required amount off the top and bottom panels and the centre shelf so it would fit through the opening. This made the right hand side top space slightly smaller and made a narrow, almost half width space in the right hand side lower space.
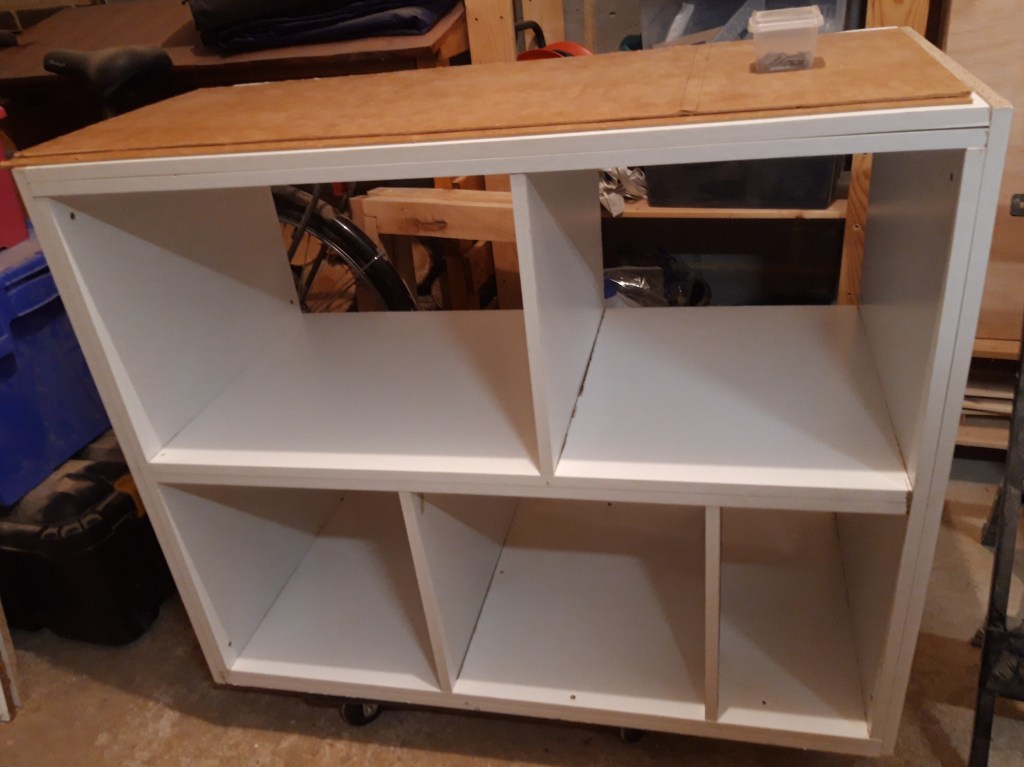
I then re-secured the side panel and re-measured the back plywood, cutting off the excess with a hand saw and again using a flush-trim bit in the palm router to ensure the back panel fitted snugly to the shelving unit.
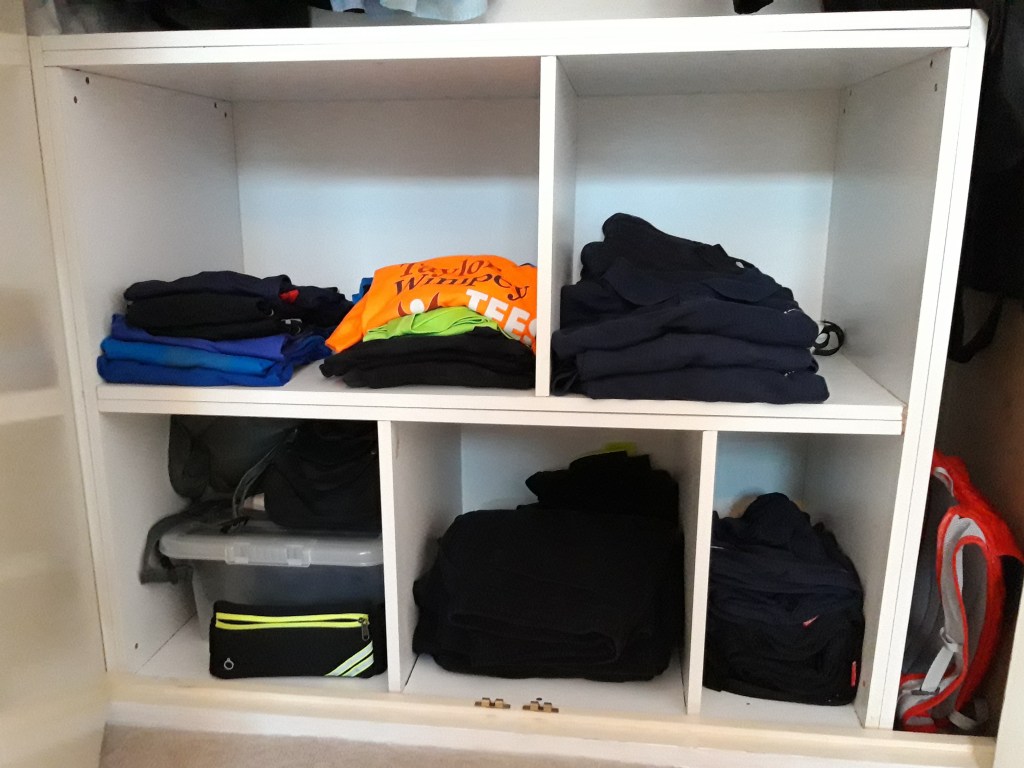
After manoeuvring the shelving unit back upstairs again (slightly lighter but still very solid!), I then re-secured the back panels. We found it easier this time to carry the shelving unit in without the back on, as it meant we could put a hand on each side to lift it more effectively. Once the panels were tacked back into place, we lifted the shelving unit into the bottom of my wardrobe and I started trying to work out what clothes could go where. I now have more storage space than I need, so will see what works best for what clothes I need at the moment eg. work clothes, what I need to be accessing regularly eg. running gear and what can be put in a less easily accessible place eg. beach gear and swim shorts. I expect I shall keep moving things around until I find the optimal layout for the various seasons throughout the year, but this will make it a lot easier to get to my various different clothes, plus space to store my running gear and water backpack (Camelbak – not sponsored!) out the way when I’m not using it. So in all, despite the slight hiccup, another successful project! 🔨

2 thoughts on “Wardrobe shelving”