We were fortunate in the old house that the landlords had also had a cat when they were living there and had fitted a cat flap to the back door. In the new house however, there was no cat flap. So after getting permission from the landlord, we fitted one ourselves.

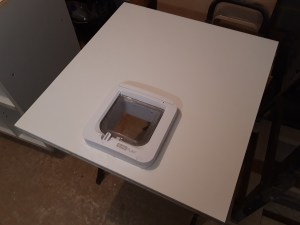
As it’s a rented property, we wanted to be able to return the house back to the original state when we move out. We therefore investigated replacement panels for the back door so we could cut the hole for the cat flap in the replacement panel and simply replace the original when we go. After some searching online and a couple of weeks wait, our replacement panel arrived!
In that time, we did a load of research into different types of cat flaps and eventually opted for a digital one that reads the microchips already in our 2 cats and will only let them in. That seemed a sensible option due to the number of other cats in the neighbourhood coupled with the advice from our neighbours who said they’d had a couple of other cats try and come in through their standard cat flap previously!

Once we had selected our cat flap and the panel arrived, I worked out the right height for the panel to be slotted into the door and followed the mounting instructions. I drilled out several holes in the panel and then joined them up with my jigsaw to make the required opening. The hole was a little snug so I used files and sandpaper to adjust the dimensions slightly to allow the “tunnel” section of the cat flap to fit through the panel easily while still being a good solid fit.
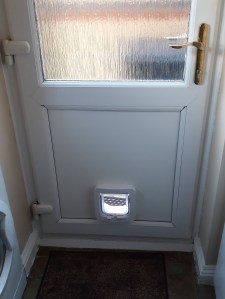
I fitted the screws through the panel to hold the two pieces of the cat flap together and then popped the screw caps over the top to hide them and protect them from the elements. We put batteries in the cat flap and then put a couple of treats in the tunnel section from the outside direction. The cats stuck their heads in to get the treats, which allowed us to program the cat flap to recognise their microchips. The flap mechanism then released every time they stick their head in it so they can get back inside. I then used a screwdriver to pry out the edge trim from around the existing door panel and removed the panel for safe keeping. Fitting the new panel was then just a case of slotting it into place and re-securing the trim around the edge.

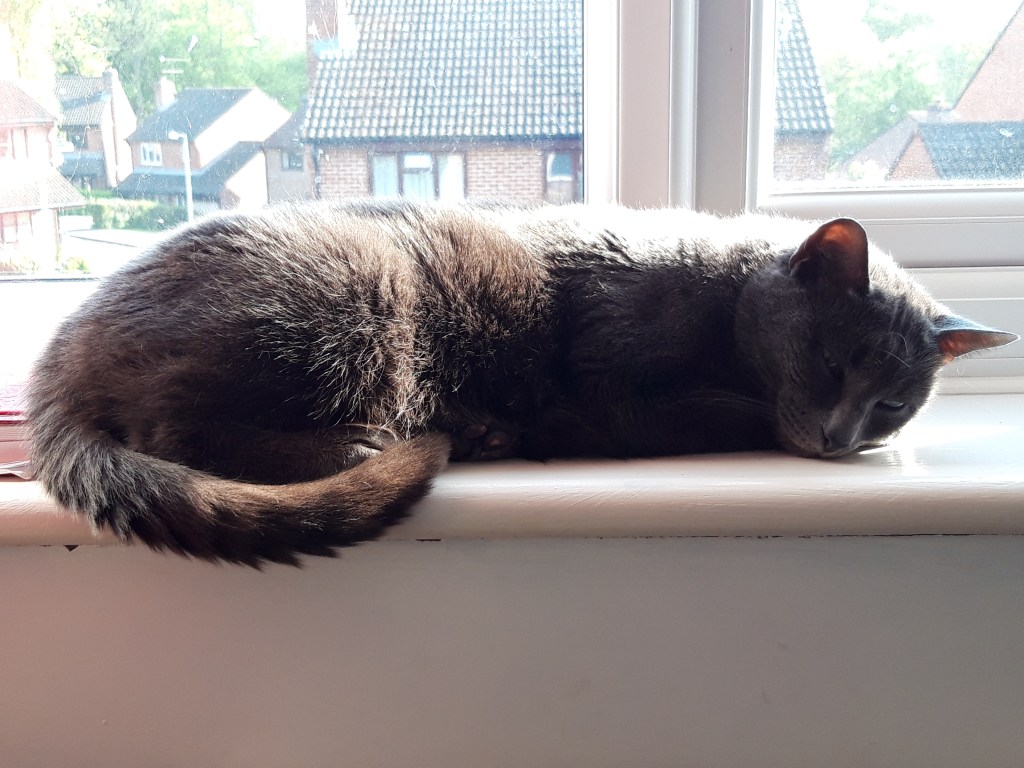
The cat flap is now fully functional and gives the boys the freedom to come and go when they want throughout the day and night. It took them a little bit of time to get used to it, but once they figured it out, they charge in and out quite rapidly now! The flap reads the chip only in one direction so lets any cat out but only our two cats in by reading the microchip in the tunnel section. It is also quite practical as you can adjust the dial to prevent the cats from going out at all, let them go freely in both directions, or only go out or go in. We’ve got it set to let them go in both directions currently but I think it will definitely be useful to lock it next time we need to take them to the vet, to prevent them from running off and hiding! 🔨
