To keep the workshop tidy, every tool needs a specific place to go. That makes it a lot easier to find the right tool when you need it and keeps the surfaces clear to put things down on when you have your hands full, or to actually work on a workpiece. As I had a pile of hammers and mallets on my mitre saw bench, I knew I needed some form of storage to tidy them up!
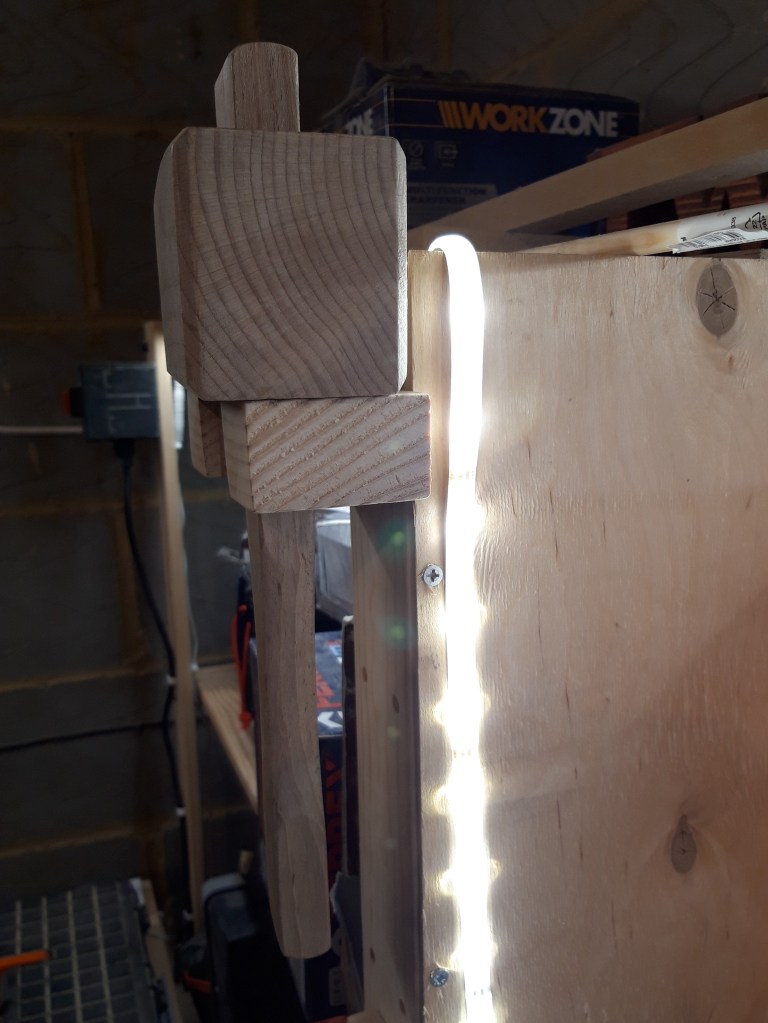
Wooden mallet
The wooden mallet was the simplest to create a holder for – with the square head and square handle, I simply cut a notch out of a scrap piece of pine. I smoothed the sides and rounded over the edges slightly with sandpaper. I then predrilled holes for screws and mounted the holder to the shelving on the mitre saw bench, making sure the screws sat below the surface of the workpiece..
The holder is deep enough that almost all of the head of the mallet is supported and the depth also makes it really easy to simply grab the mallet when I need it. Plus I use the mallet a lot when using my chisels, so this will make it a lot quicker to make progress on a project as I don’t have to hunt around for where the mallet is under assorted other items.
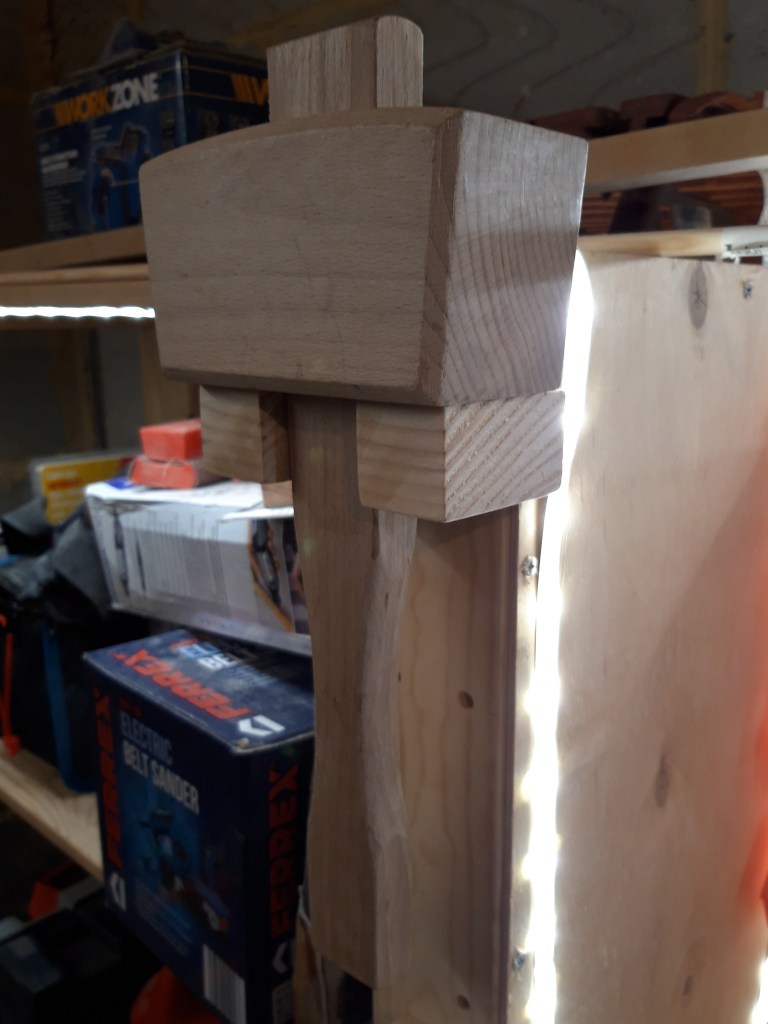
Rubber mallet
Due to the round design of the head and handle, I went for a similar design to the wooden mallet, with the block simply rotated 90 degrees. This provides a longer surface for the mallet handle to lie against, which provides additional support to keep the mallet in place.
Very simple but extremely effective!

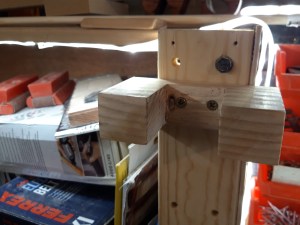
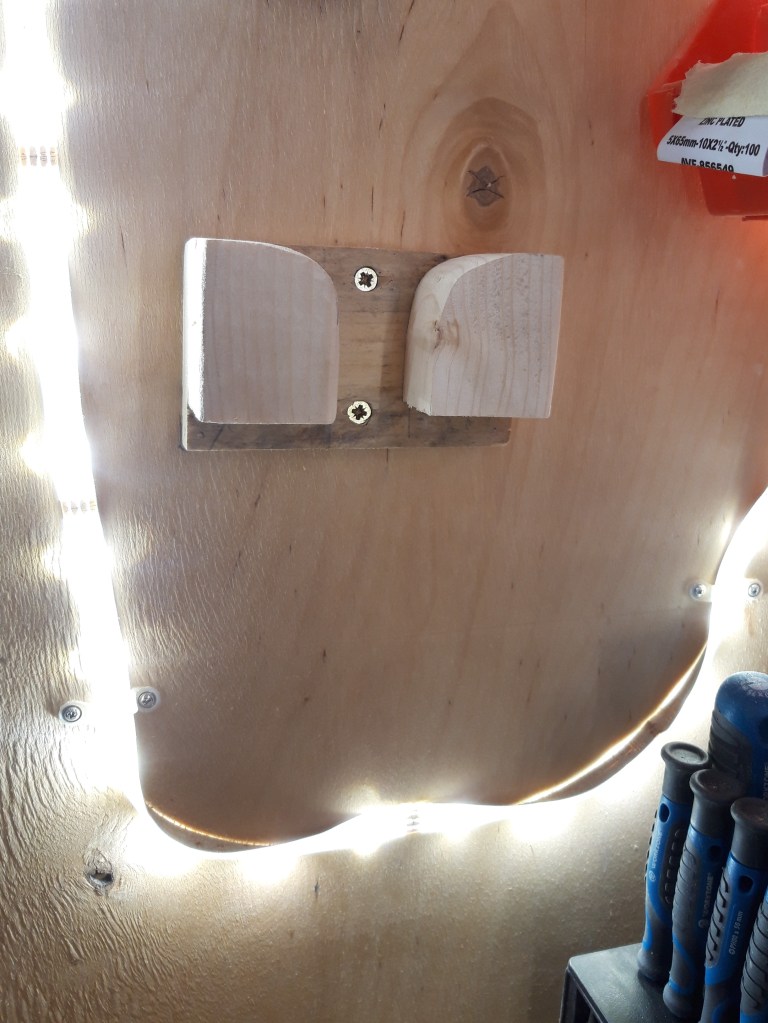
Deadblow mallet
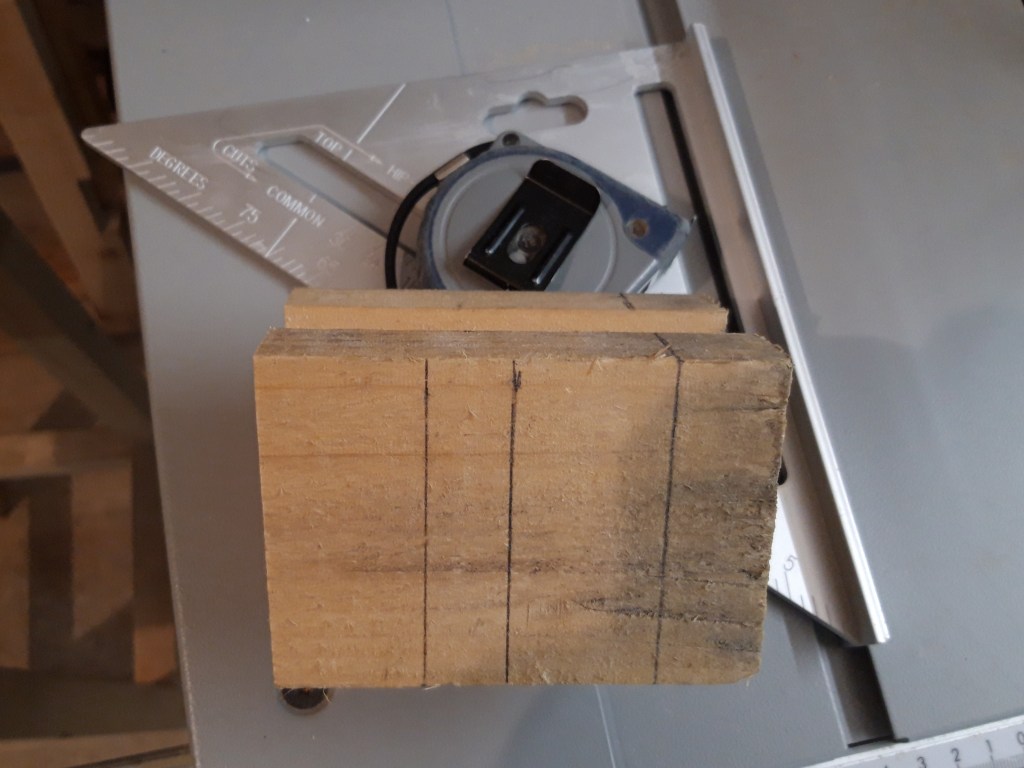
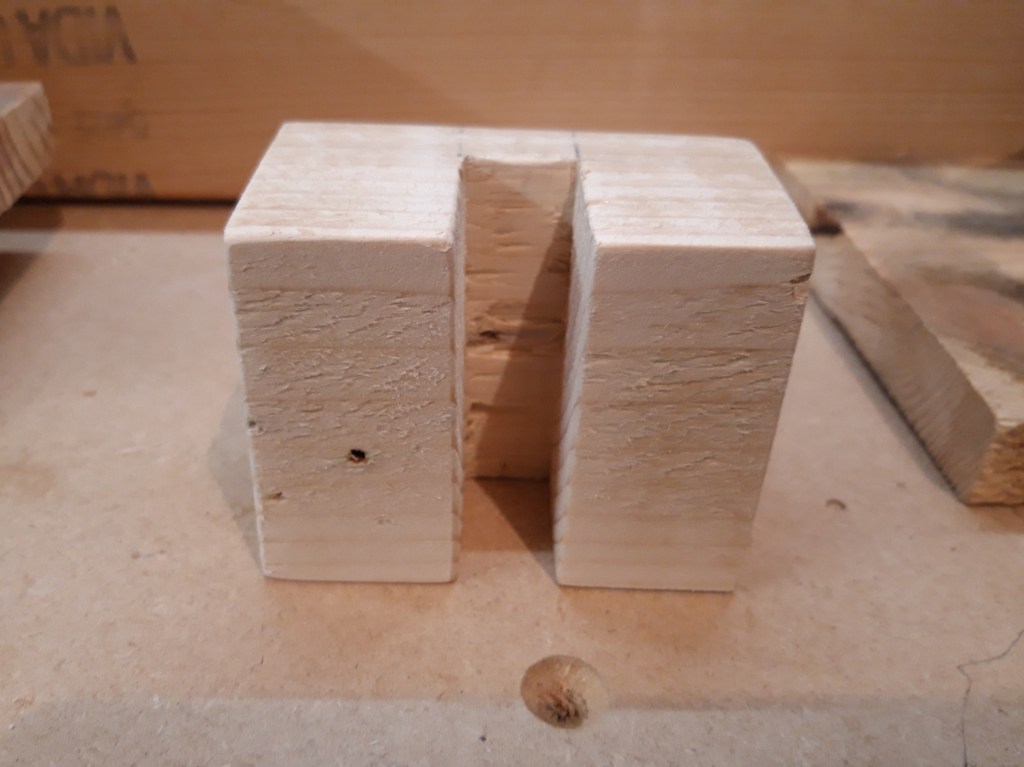
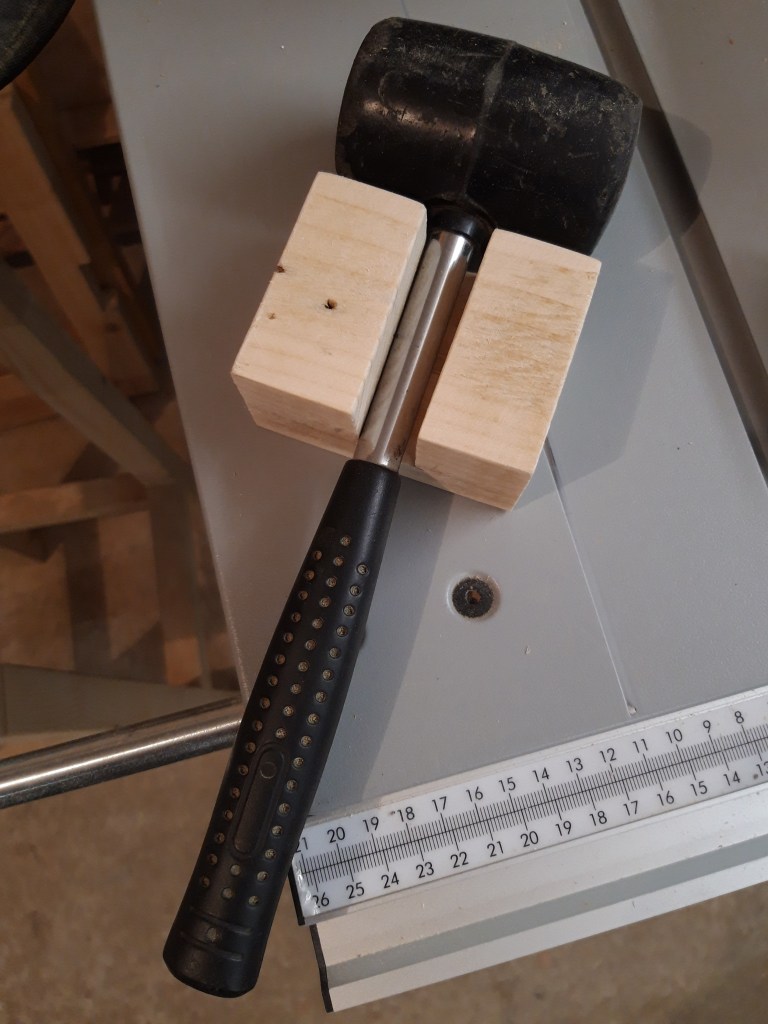
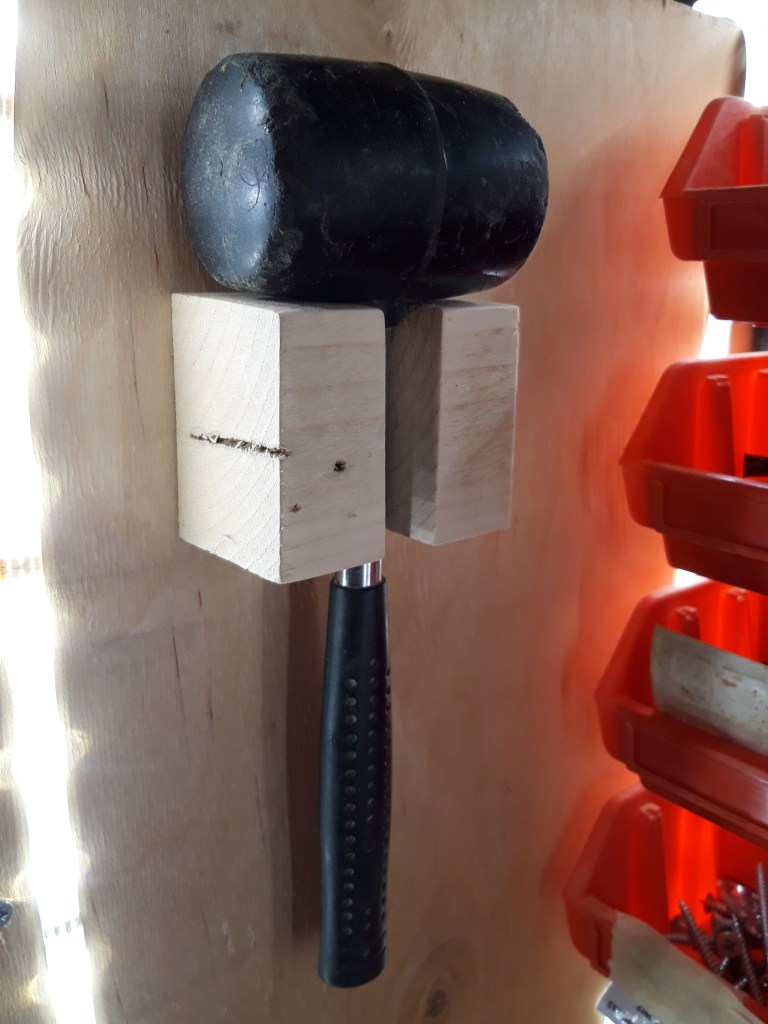
This was a a relatively new purchase and came in very useful when I needed to drive the ground spike for the outside rotary clothes airer into the lawn. I started by examining the shaped of the head of the mallet, as the handle tapers out into the head. This made it slightly more complicated to design the holder shape but I opted for a simple design where the mallet simply rests on top of the holder. I drew round the underside of the mallet head onto some scrap wood and then cut out the shape using my coping saw. I sanded all the parts and secured them together using glue and clamps while the glue dried.
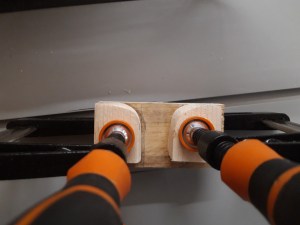
I predrilled holes for screws and mounted the holder to the shelving on the mitre saw bench, making sure the screws were below the height of the surface of the wood to avoid any resistance when putting the mallet in and out of the holder.

All three mallets are used quite regularly so this will be immensely useful to be able to just grab the one I need straight away. I’m sure I will keep updating and moving furniture around in the garage workshop, so I expect to redesign the tool holders at some point over the next year or so.

Until then, I will make good use of these three holders and make sure to put the different mallets away again when I’m done using them. This way I will manage to keep the workshop clean and tidy and also means I can find the tool again easily when I need it in future! 🔨
