I love making gifts for people that fit their hobbies and interests. As a birthday present for my older sister’s husband who enjoys camping, hiking and generally being outdoors lots, I made him a folding camping stool. This was quite a complex design, so I made 2 versions – a prototype first out of scrap wood and a final version out of nicer dimensional lumber, which I gave as a present!
The idea for this came from Steve Ramsey – a great YouTuber I watch with an excellent channel and website called Woodworking for Mere Mortals. It is one of the channels that first got me into woodworking many years back and he not only shows the things he’s made in a fun light-hearted and approachable way, like the design for this folding stool, but also shares instructions and sometimes SketchUp plans too through a linked blogpost. Thanks Steve!
Prototype version
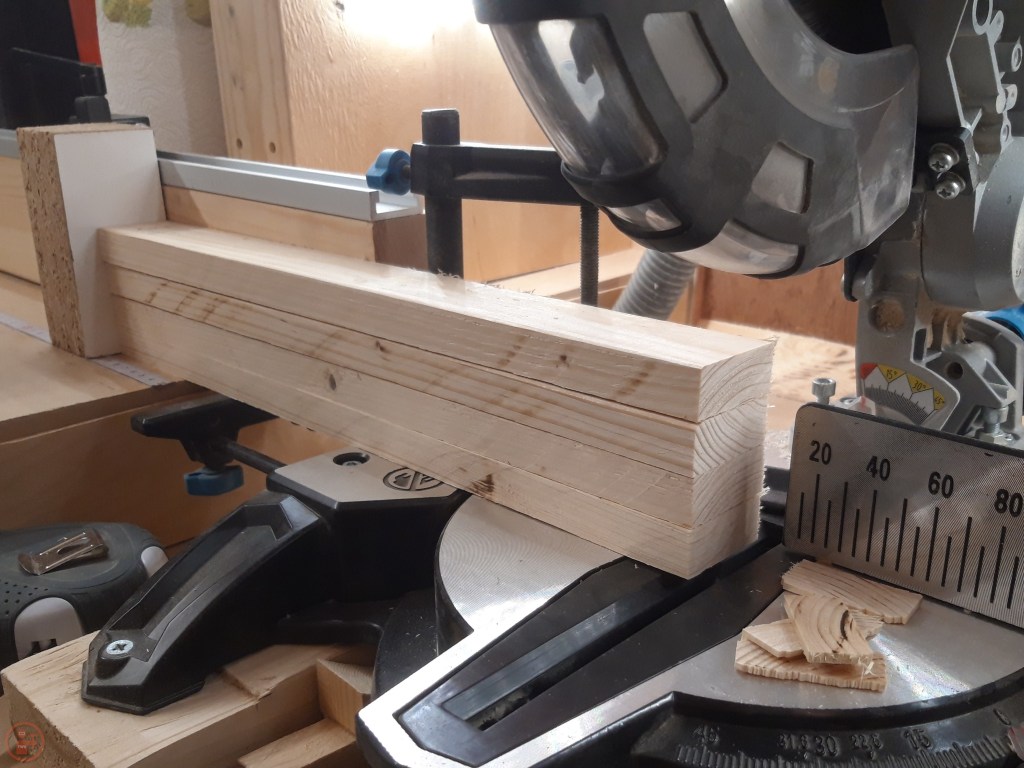
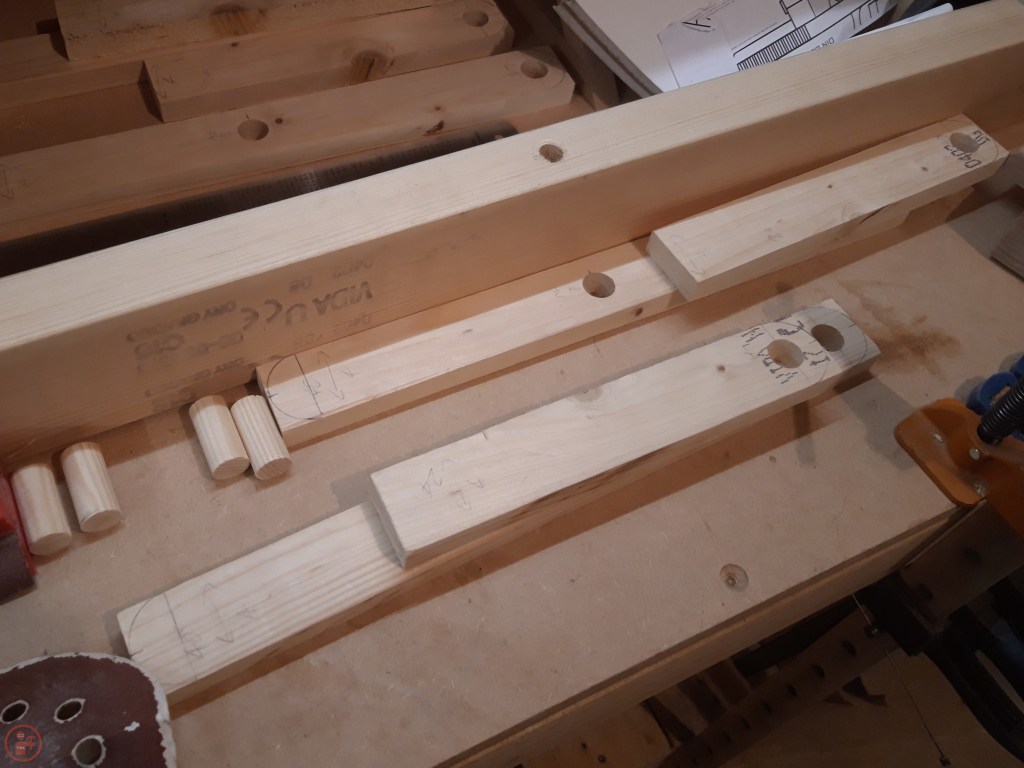
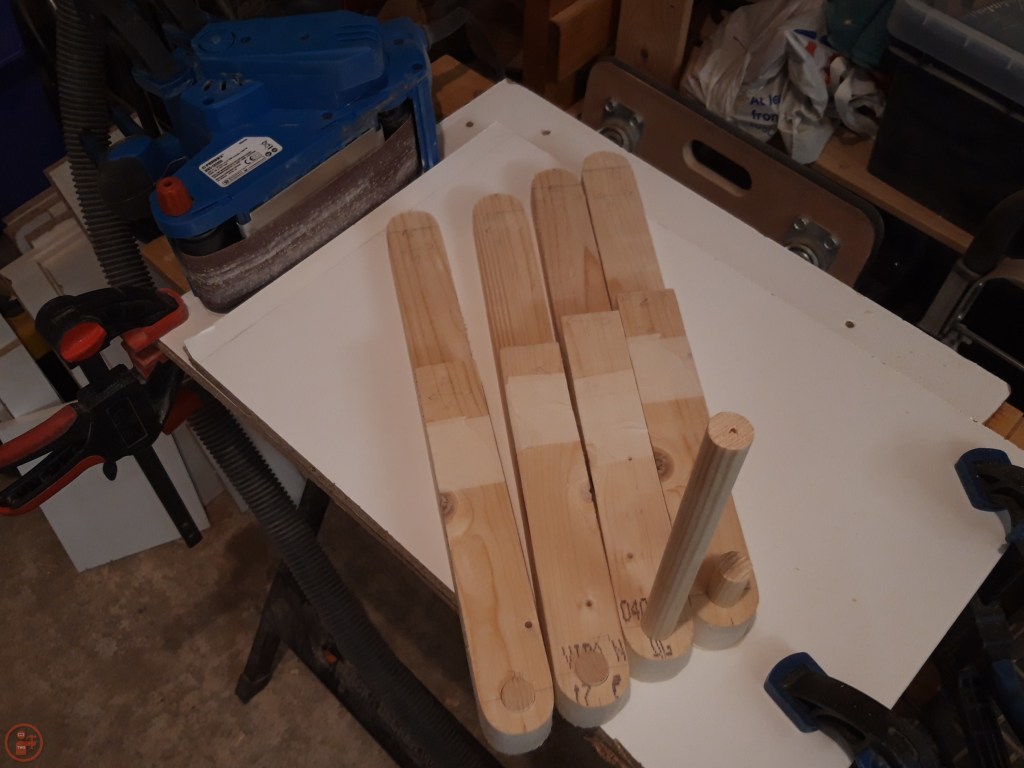
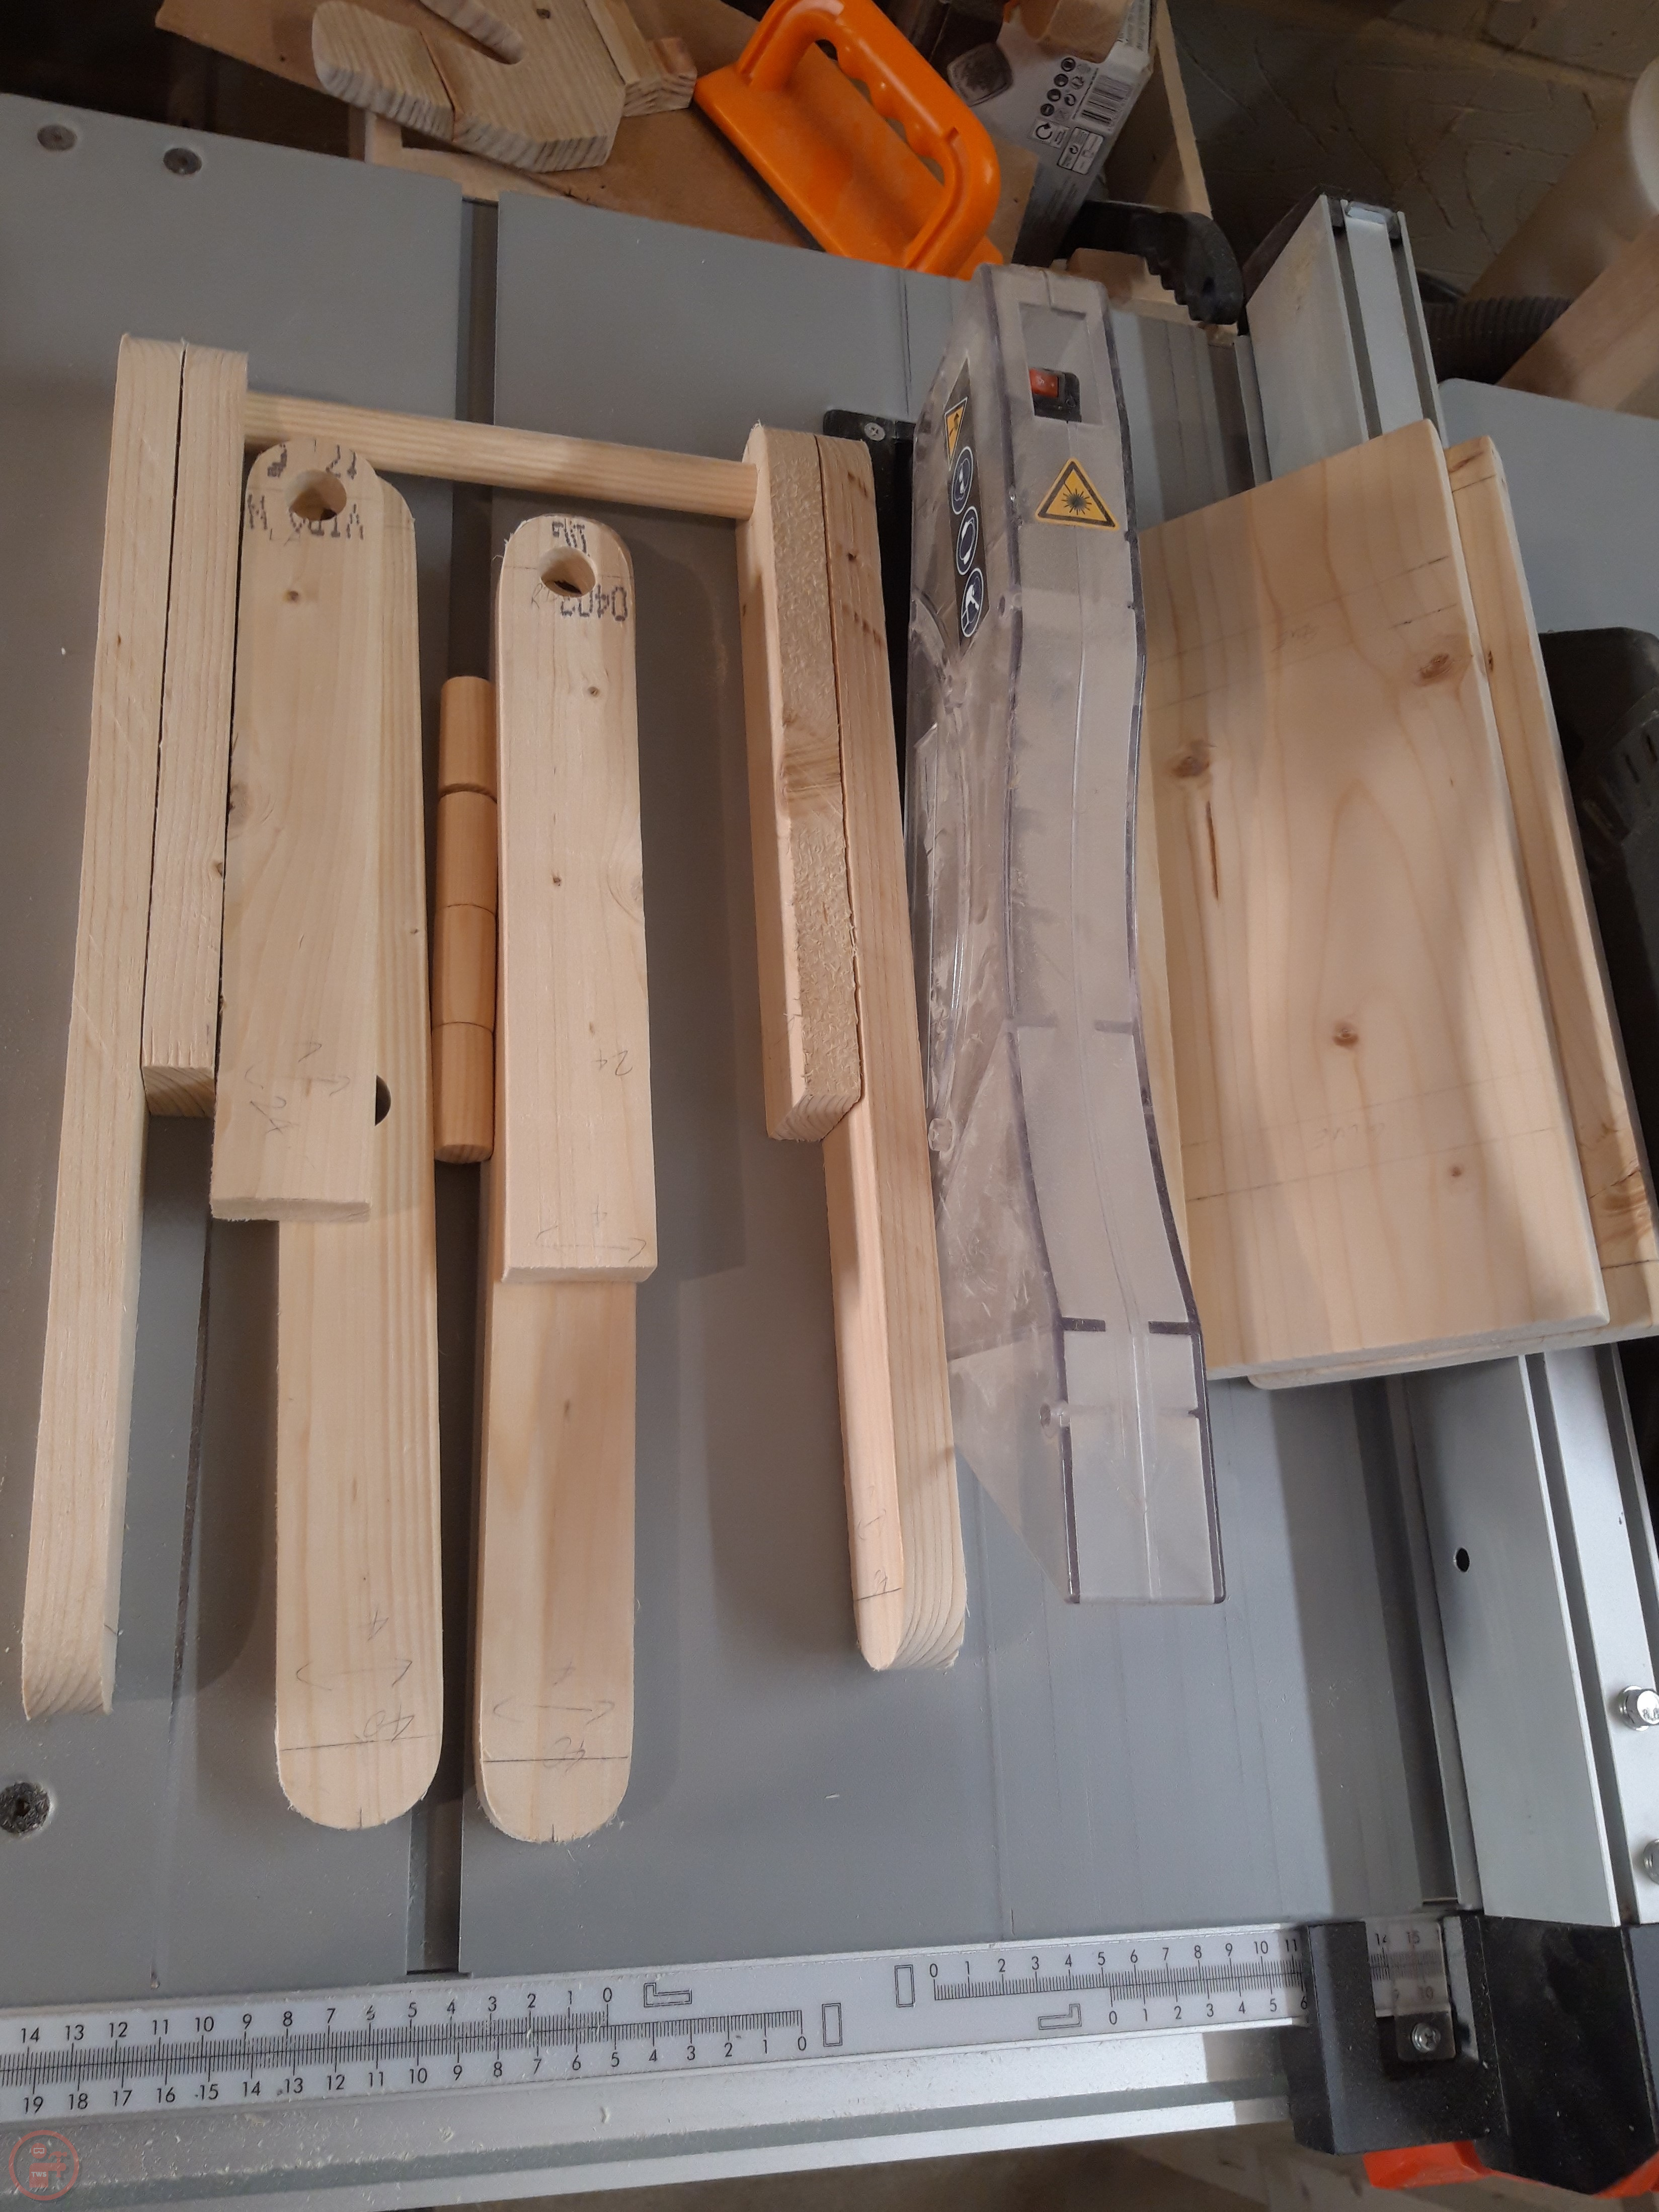
I raided my scrap collection and after finding some suitable rough sizes of lumber, I cut them to length on my mitre saw and then ripped them to width using my table saw. I measured where I wanted to drill the holes for the dowels to go through and used a circle template in the correct size to draw the curve on the end of the various leg pieces.
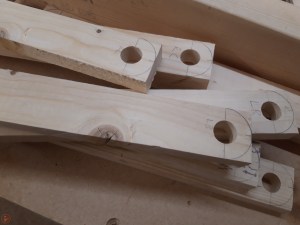
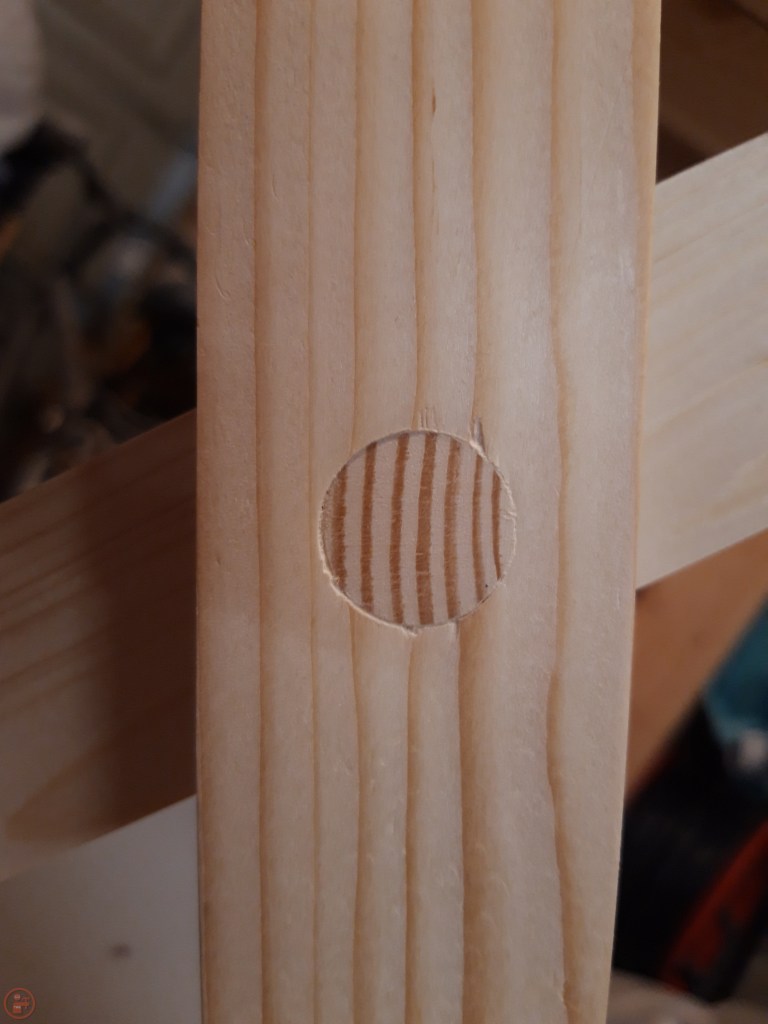
I then drilled out the dowel holes using a Forstner bit – this was quite tricky as I had to try hard to keep the drill at exactly 90 degrees so as to make sure the dowels would fit at the correct angle to allow the pieces to pivot freely once attached. This would have been much easier with a drill press but that is still on my list of “nice to have” tools at the moment!
I used my belt sander clamped to my workmate at a 90 degree angle to round the corners of the legs. It worked surprisingly well and was a good substitute for a disc sander. It meant I could use a piece of white melamine coated chipboard as a flat surface and that allowed me to make sure the side faces remained perpendicular to the front faces as I rotated the leg pieces.
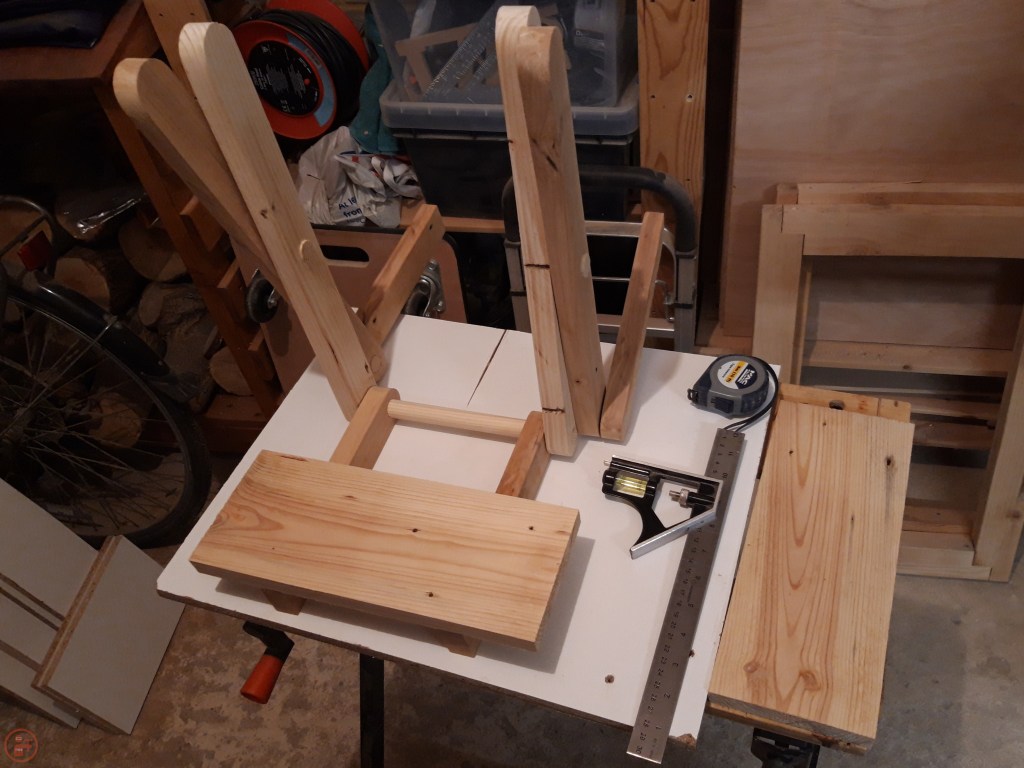

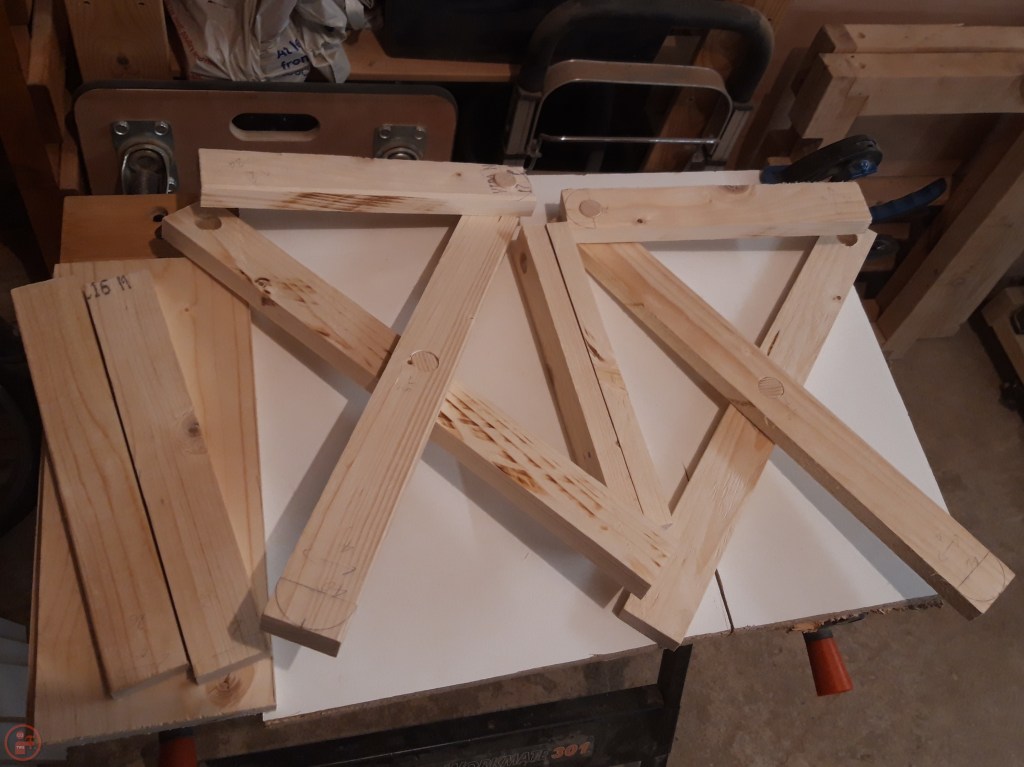
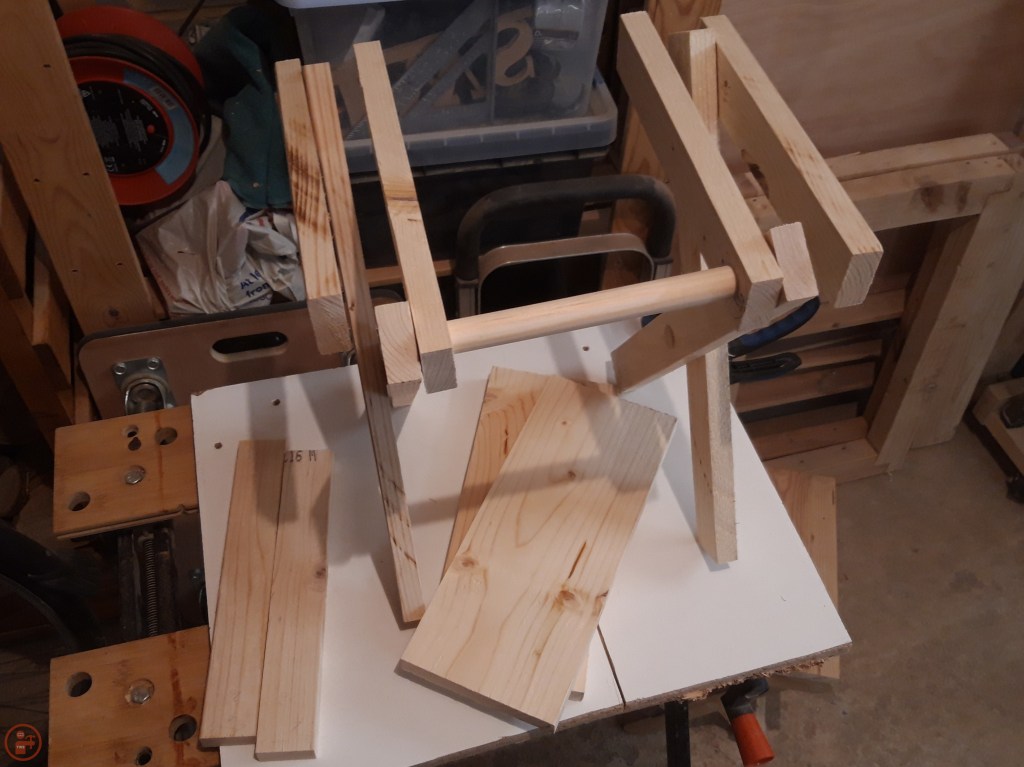
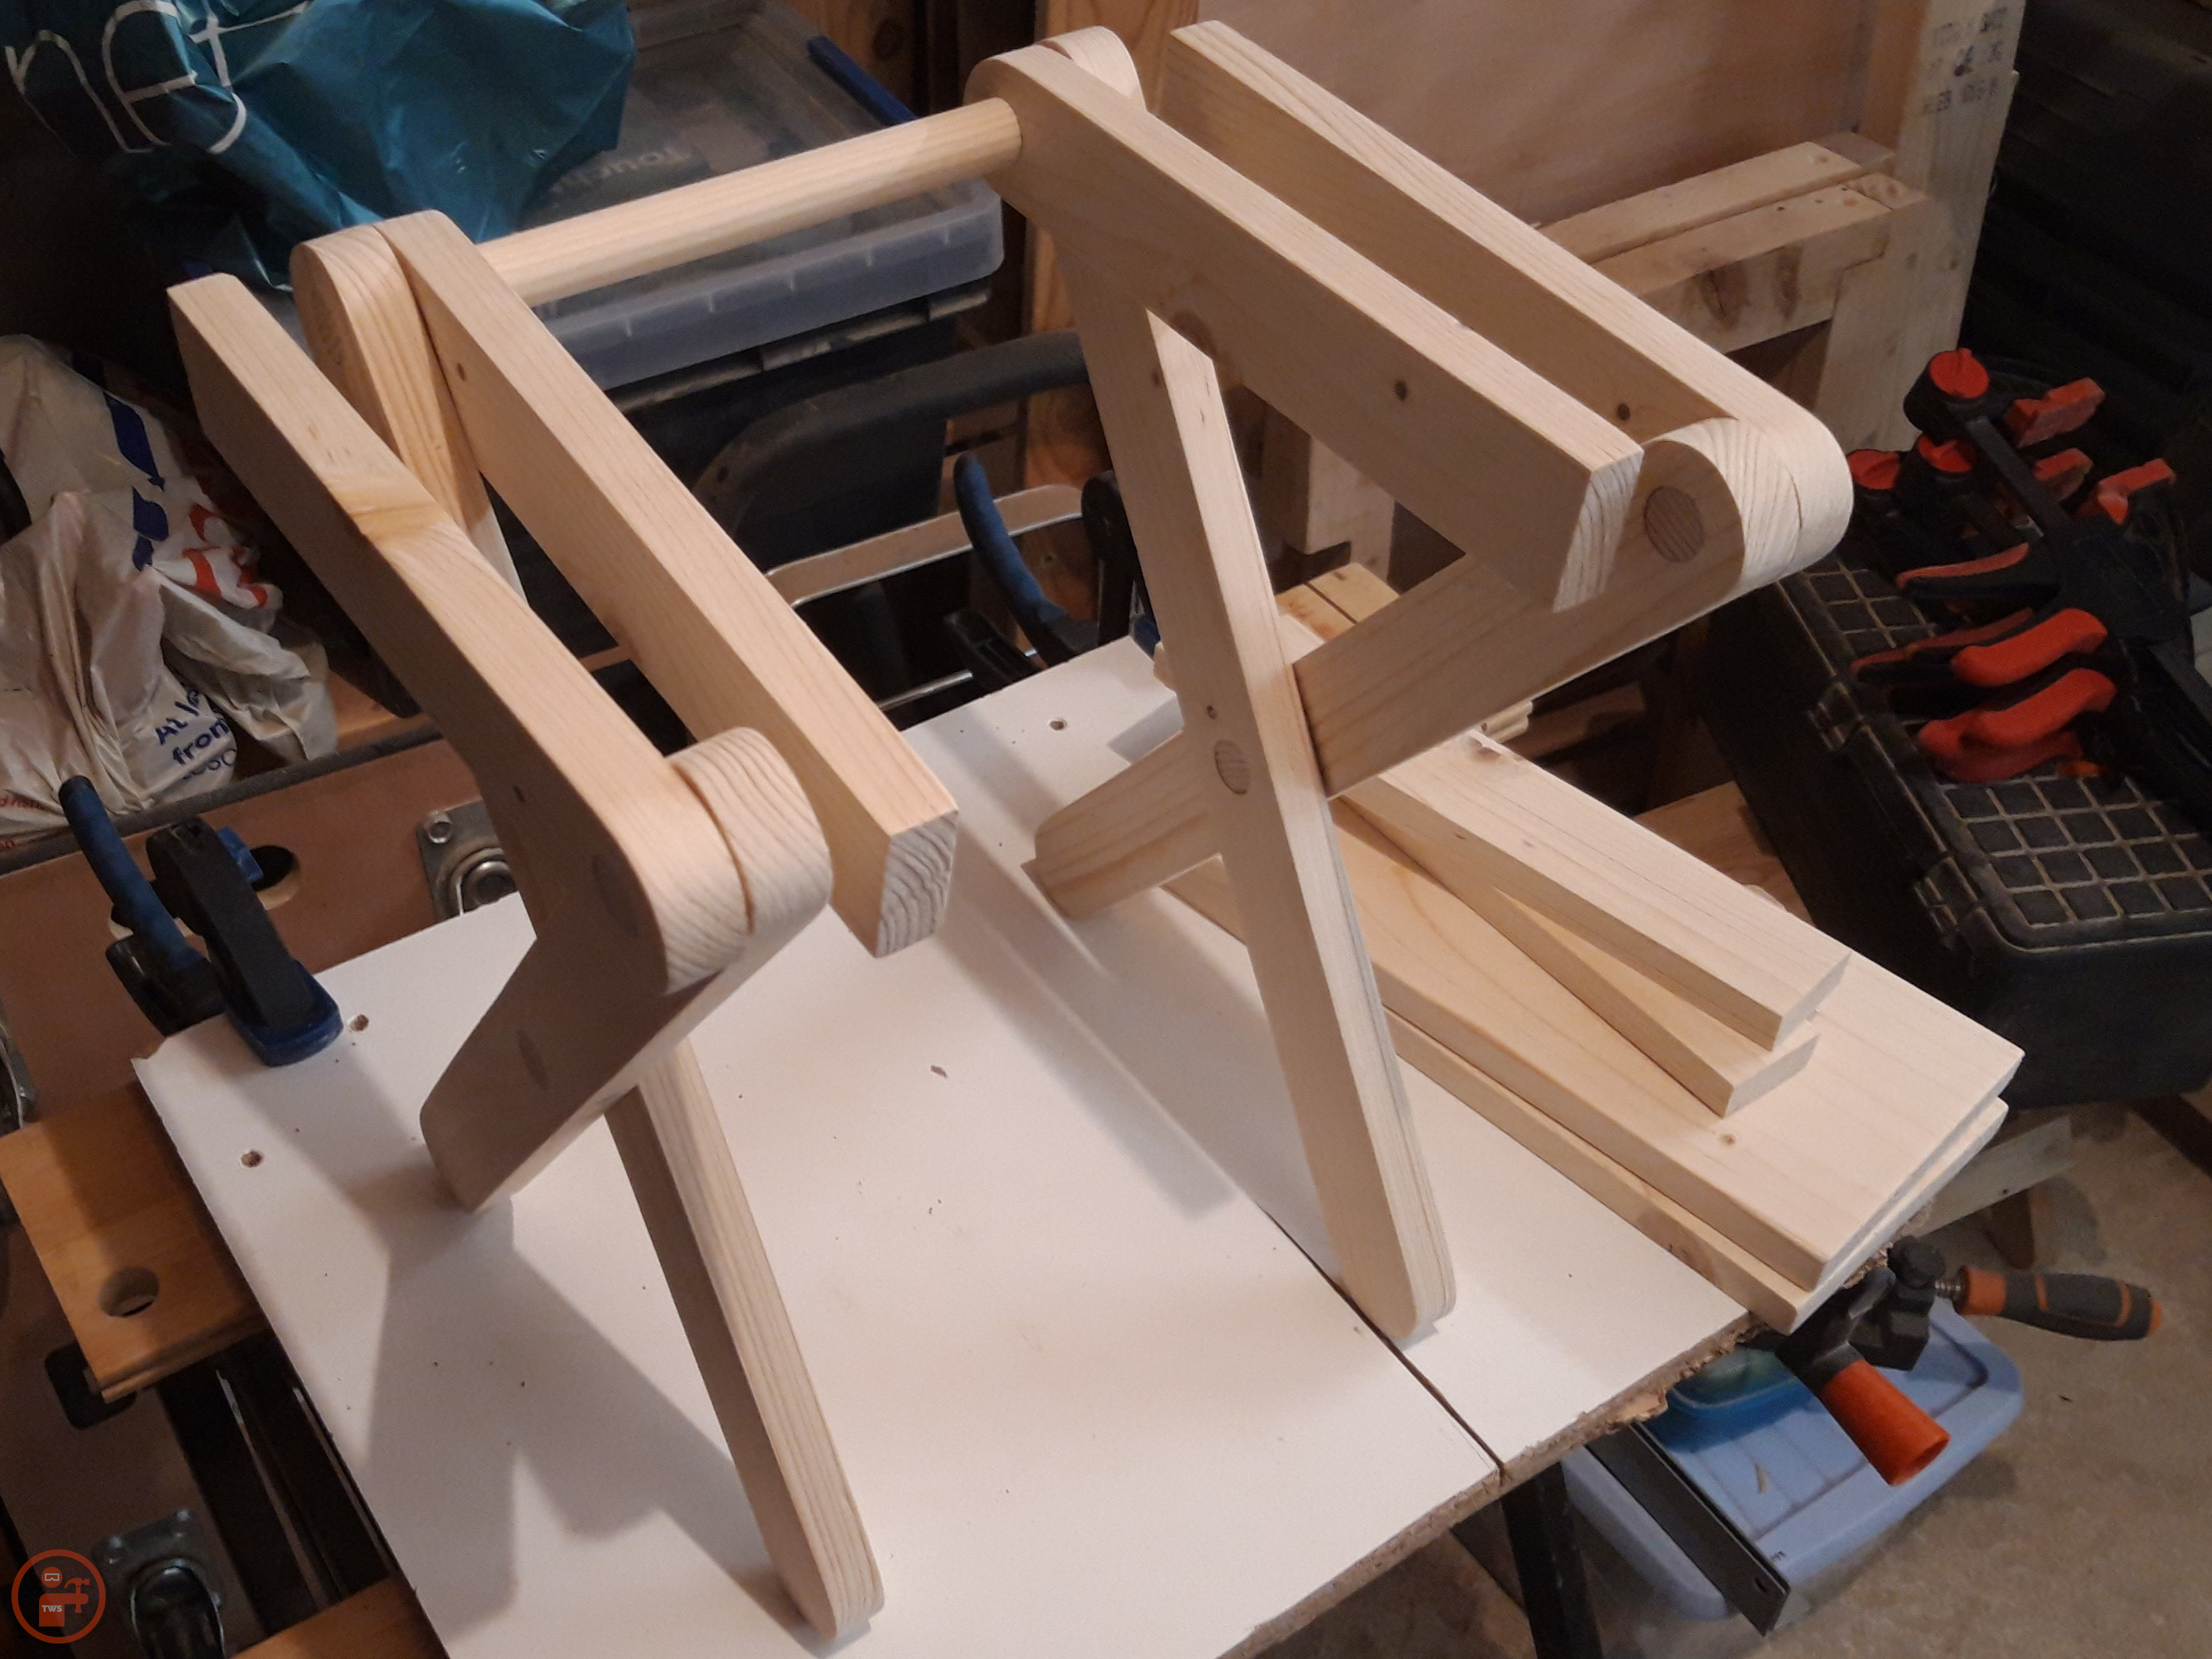
I slid the dowels into the drilled holes with some gentle persuasion using a rubber mallet and assembled the legs and the longer central dowel to test fit all the pieces. There was a bit of variation in the legs due to the imperfect holes I had drilled and because the scrap lumber, despite my efforts, had some twist and cupping to it.
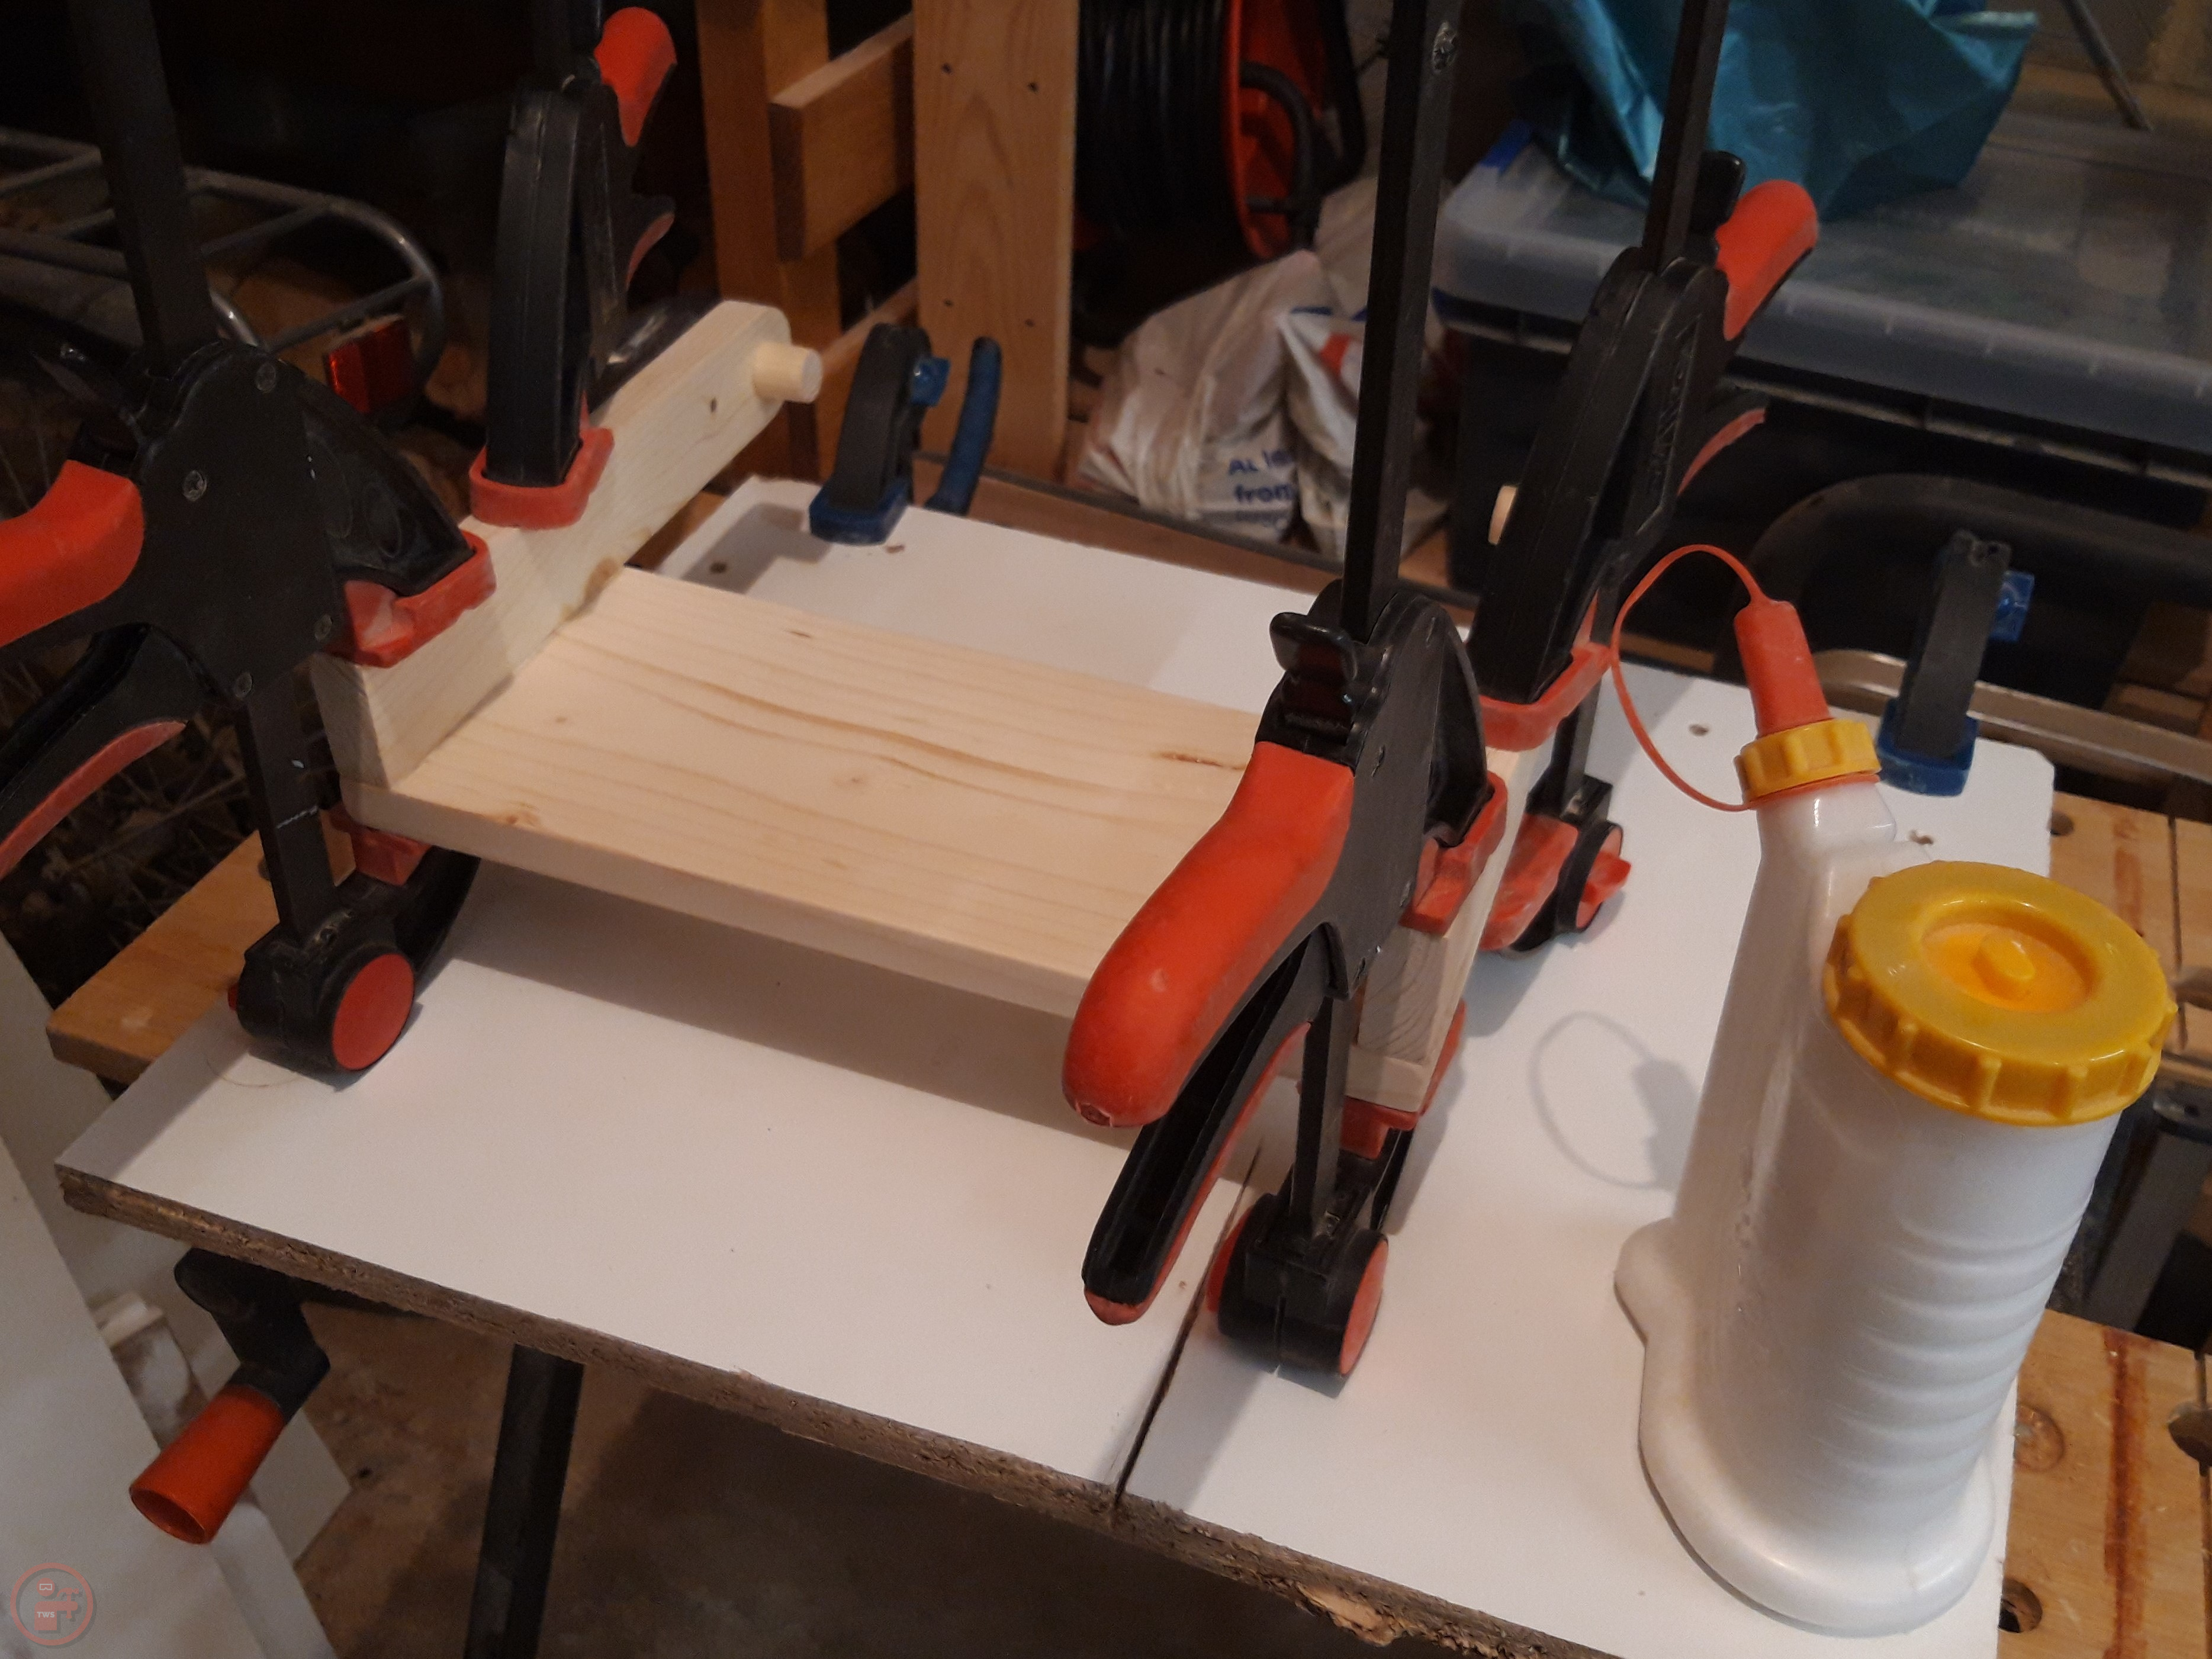
I glued on the seat pieces and the lower braces, which were held with clamps while the glue dried.

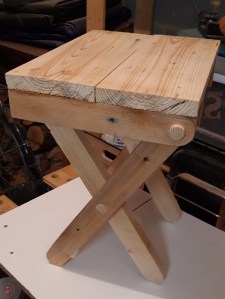
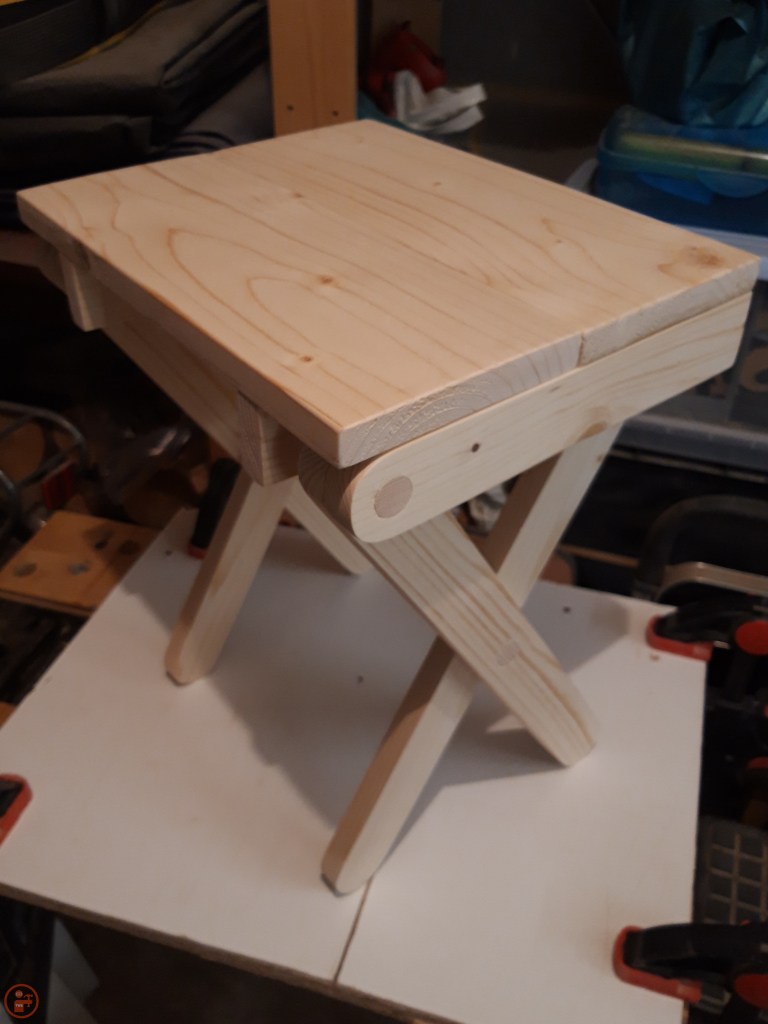
The finished prototype showed me that the idea was possible, but that I needed to drill more accurate holes and to make time to fully ensure the lumber was dimensionally stable and without any twists, bowing or cupping, as that prevented the folding from working smoothly where the legs rubbed against each other. Also, despite cutting the legs to the same length, due to the bowing on one of them, the stool was slightly lopsided!
Final version
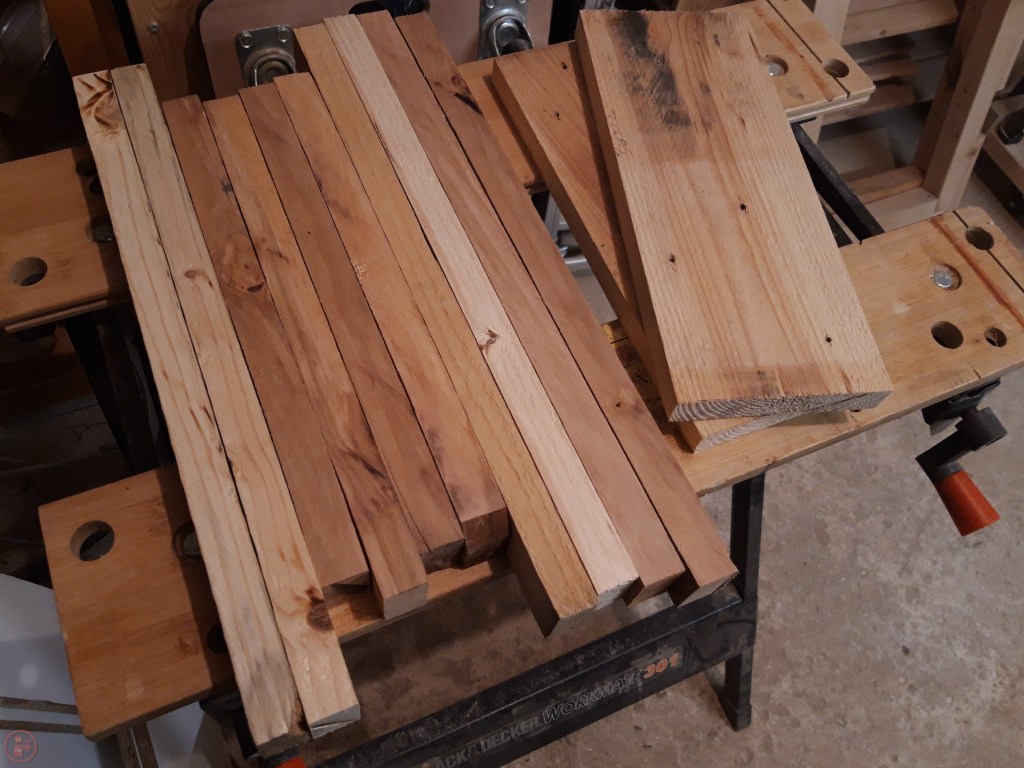
For the final version to be given as a present, I therefore opted to use dimensional lumber. I had an offcut of a 2×4 left over from a previous project and purchased a new 2×6 to use for the flat seat pieces. I ripped the 2×4 into thinner pieces using my table saw and then cut them to length using a stop block on the mitre saw. This meant I could ensure all the legs were exactly the same length.
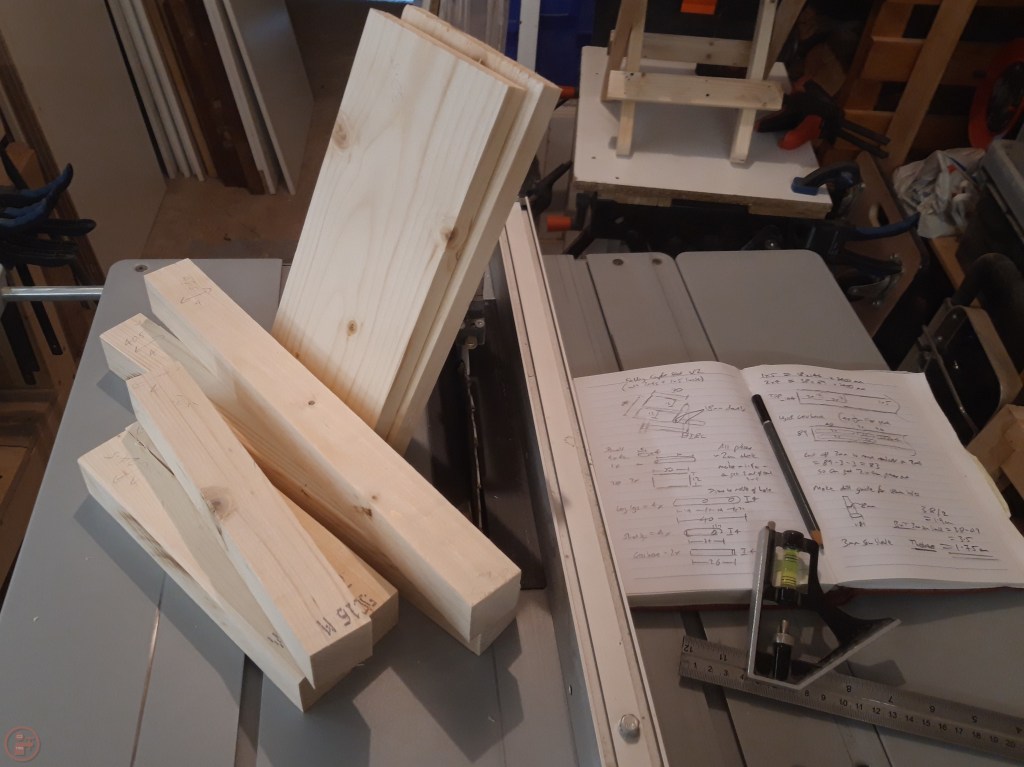

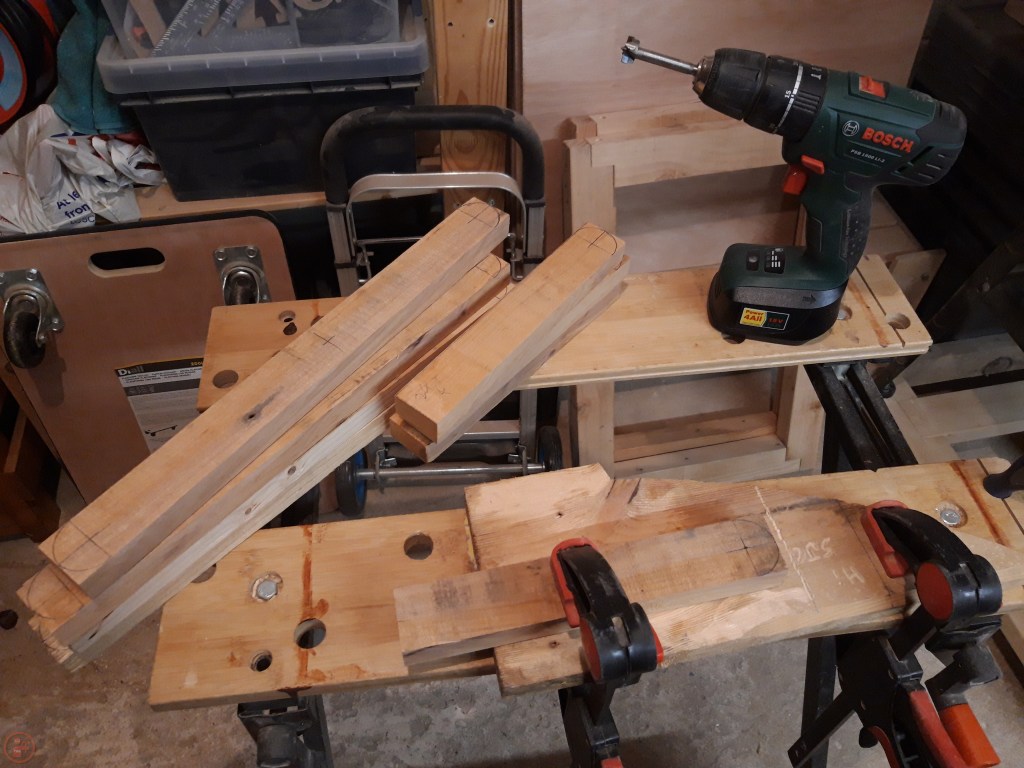
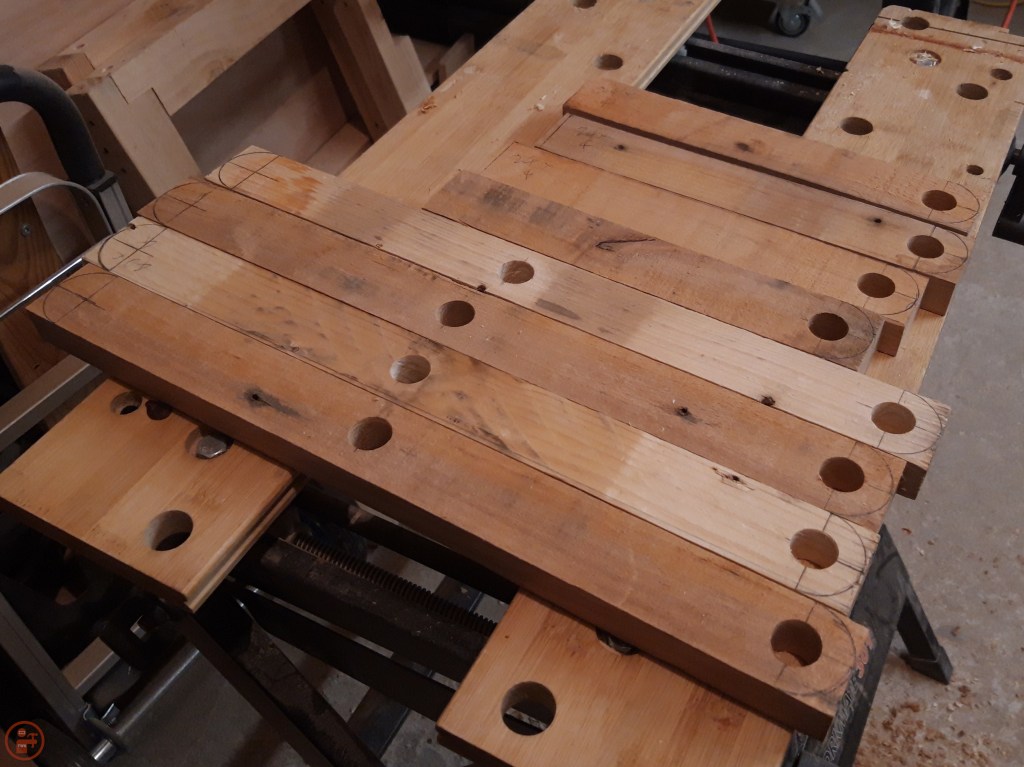
I measured the location for the dowel holes on the leg pieces, drew on the curves using my circle template again and then taped the pieces together in the pairs that would be connected with the dowel pins. That allowed me to drill more accurately and made sure the holes lined up perfectly for all the connected pieces.
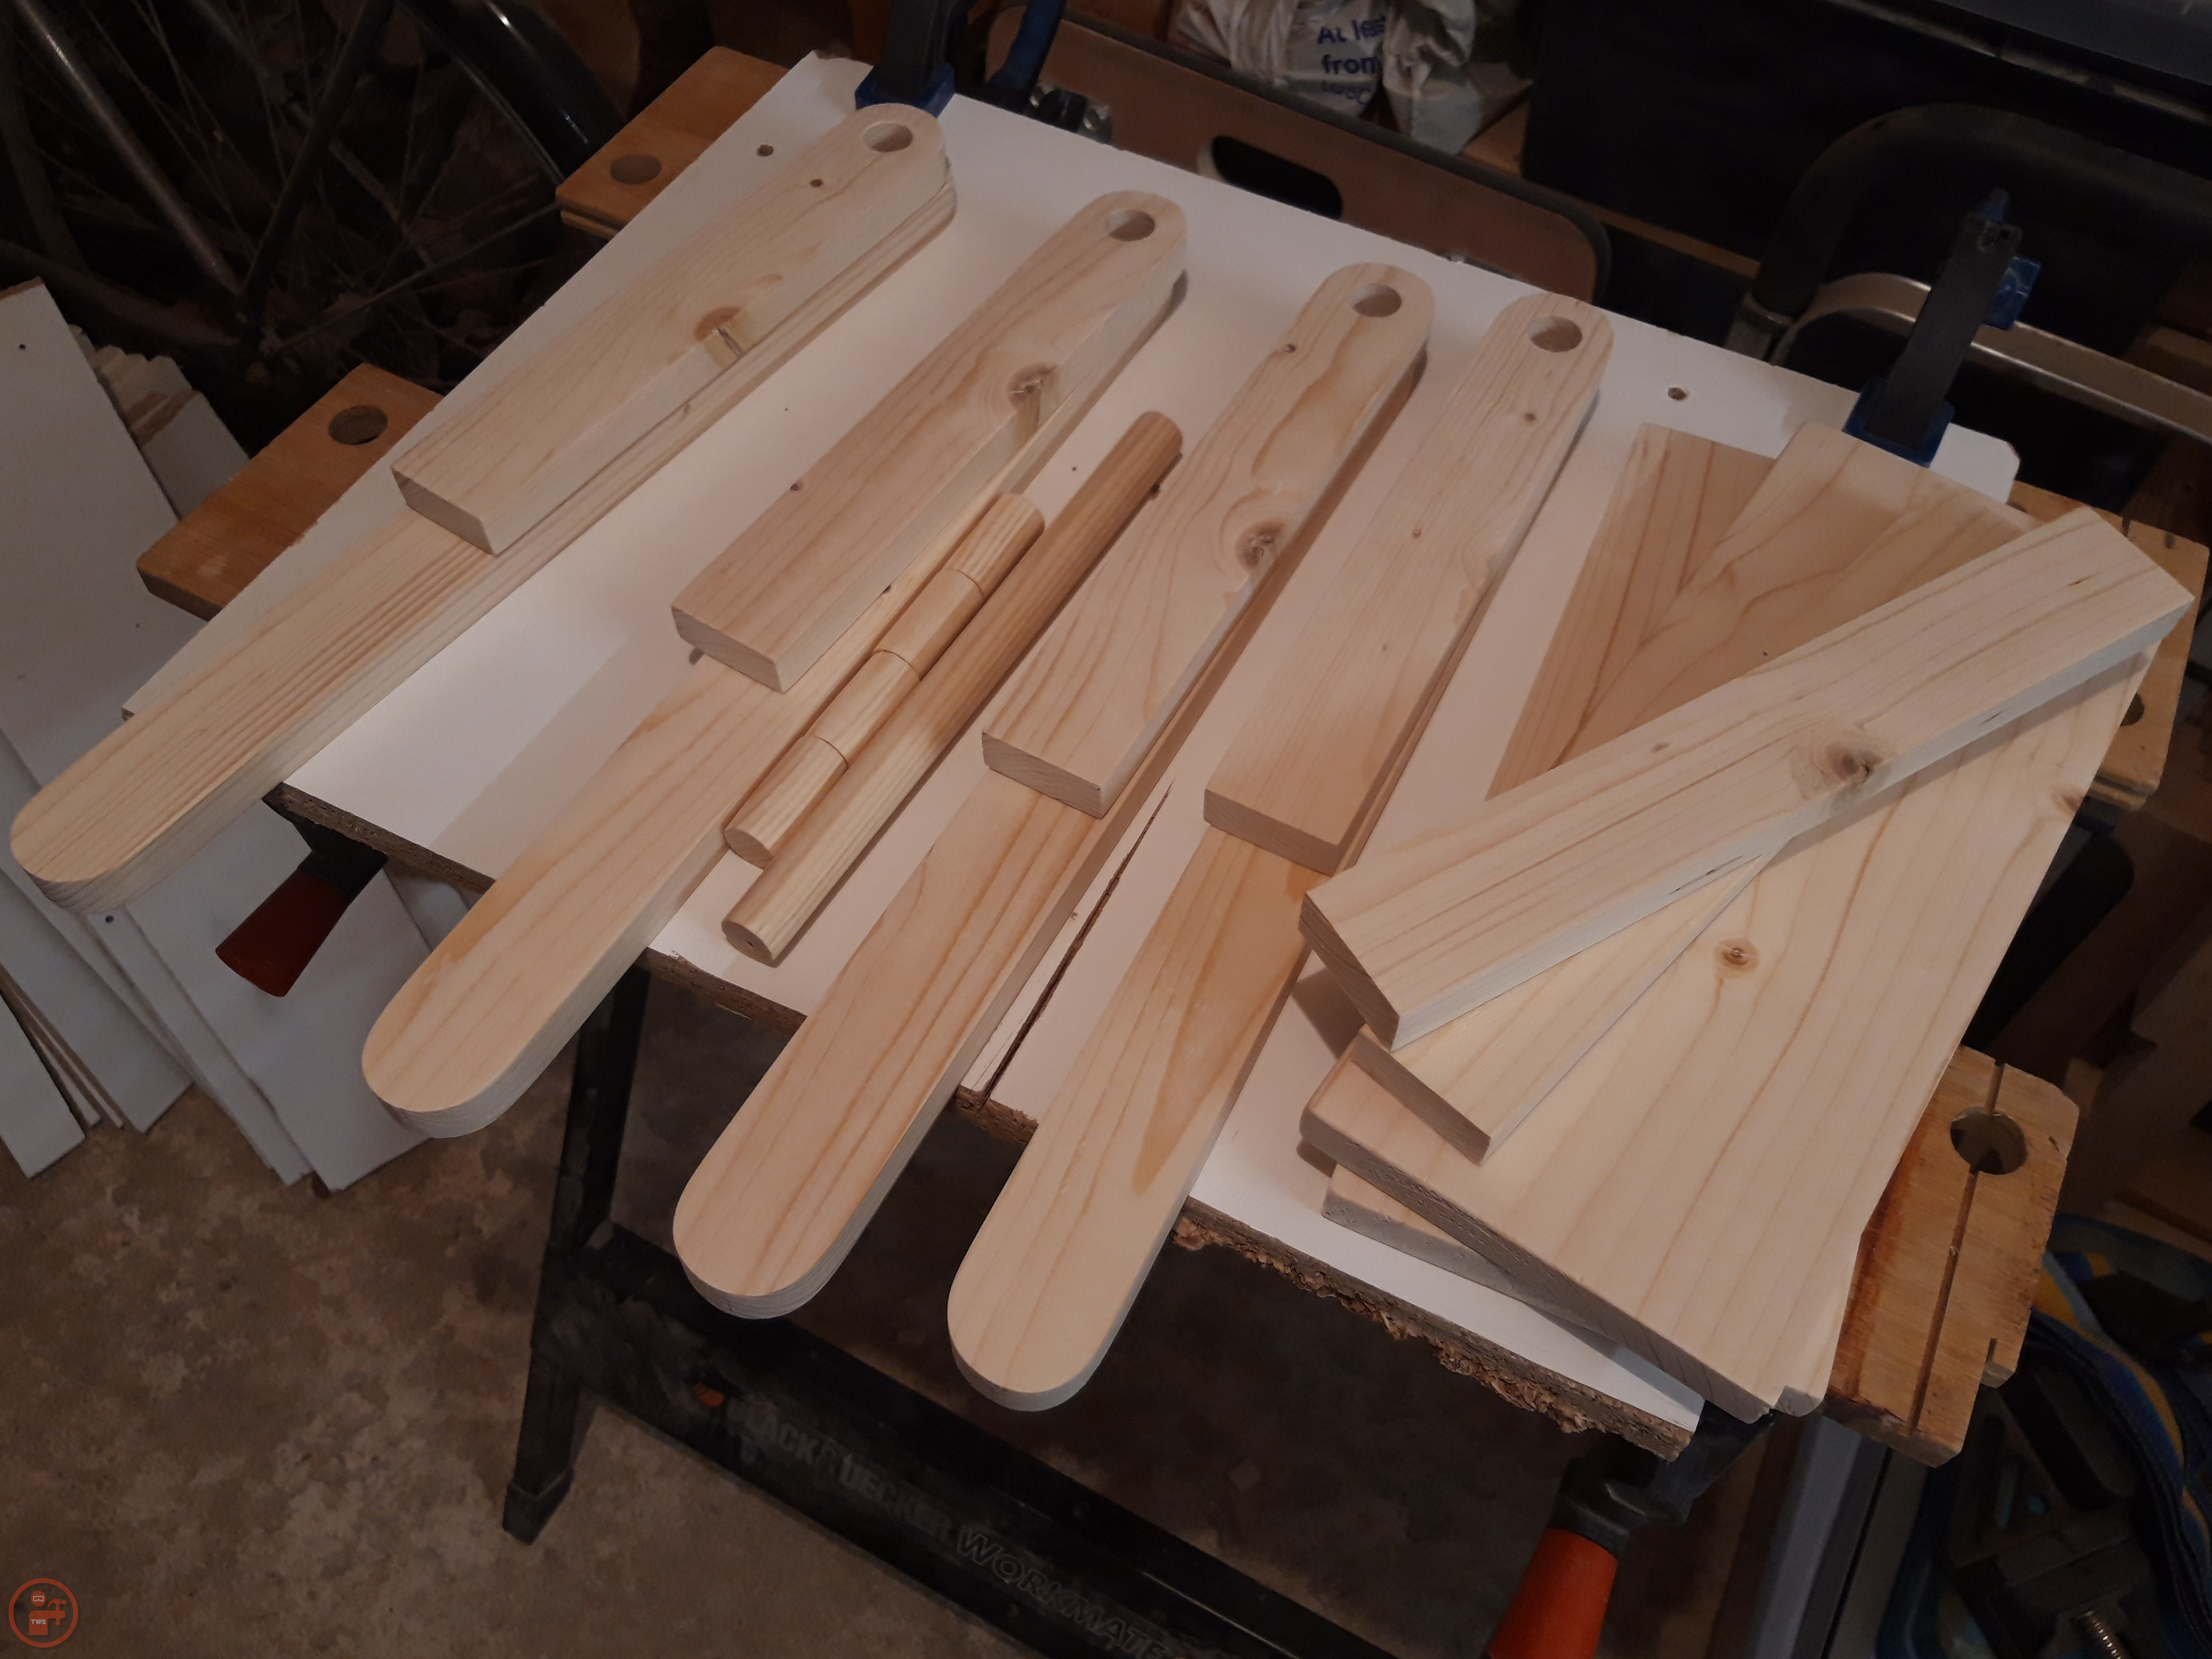
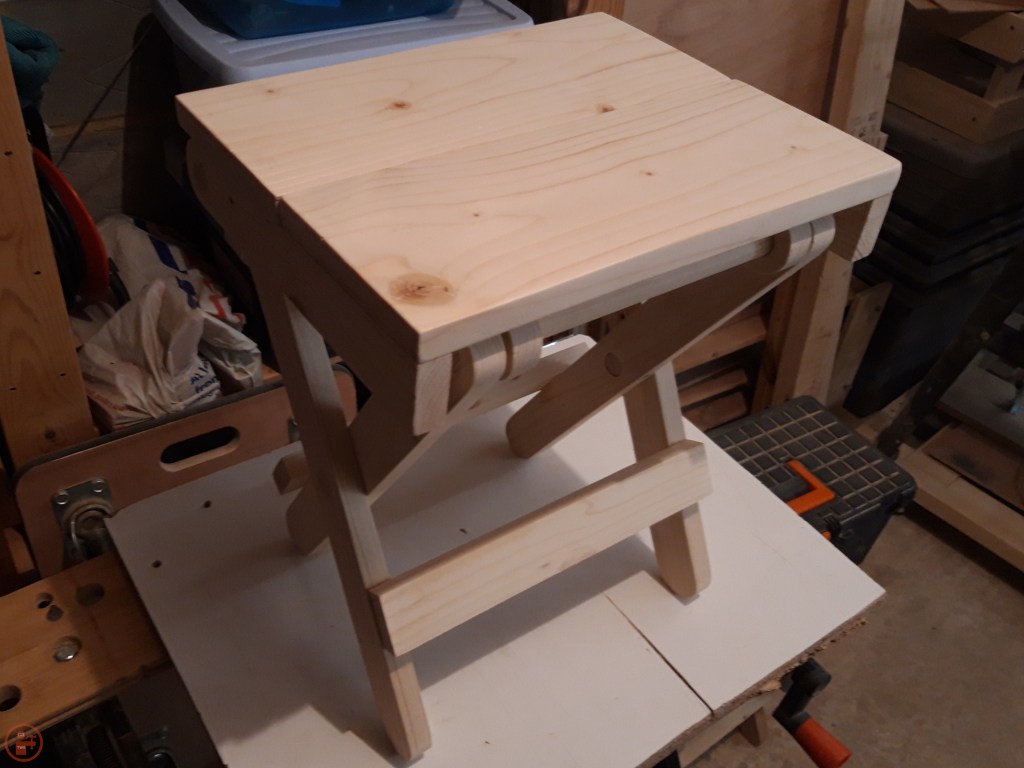
I cut the 2×6 to the right length on my mitre saw and then laid out all the component pieces for a dry fit. I wanted to make sure the dowels fitted correctly and to check all the seat and brace pieces fitted together well.

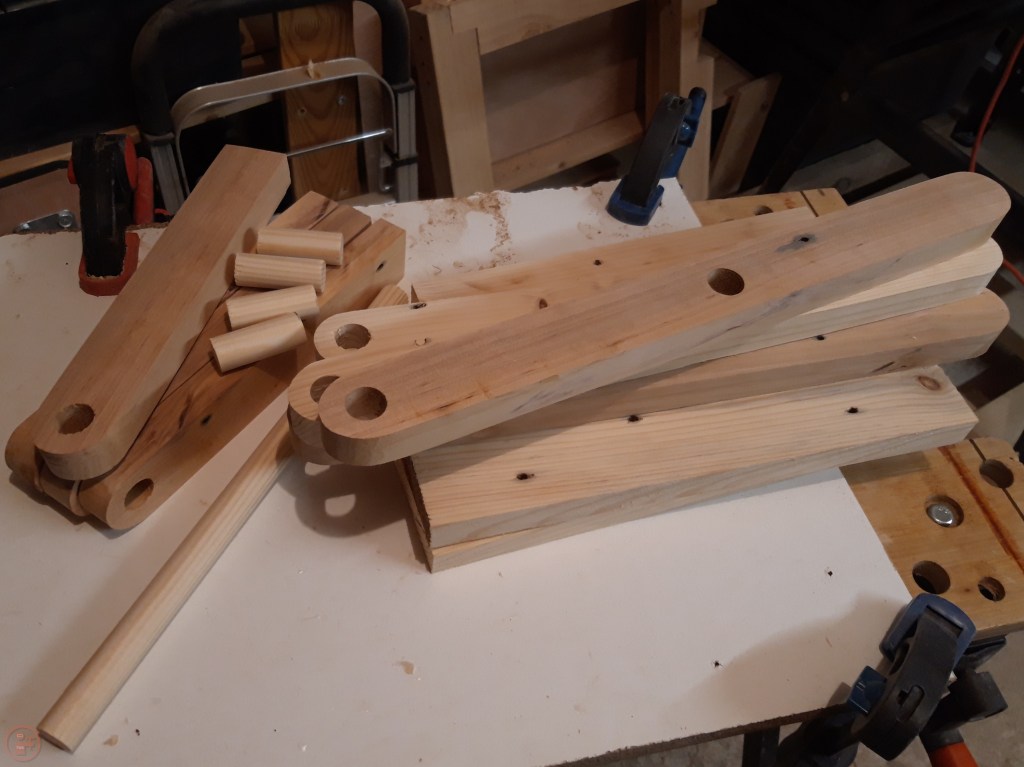
I used my belt sander again to round the ends of the legs into the curved shape and made sure they allowed the stool to pivot between assembled and folded flat. I kept the pieces taped together and rounded them over in pairs, which gave me a greater volume of material to hold onto while rotating the pieces against the belt sander, resulting in a more uniform curve on each piece.
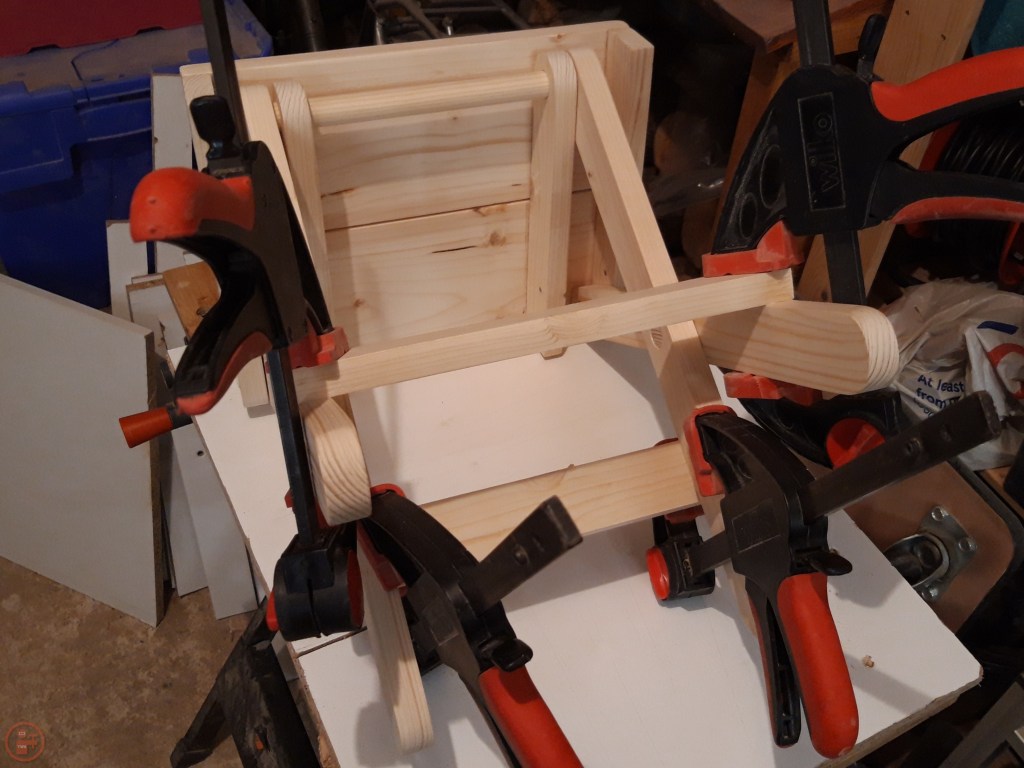
I used my random orbit sander to sand the various pieces up to 80 grit to remove any rough areas or splinters and then started assembling the stool. I slotted the dowels into place with a small amount of glue on one side of the dowel to hold them in place while freely rotating in the other side, allowing the stool to pivot and fold. I also glued the seat panels onto the upper “arms” and held them in place with clamps overnight until the glue had dried.
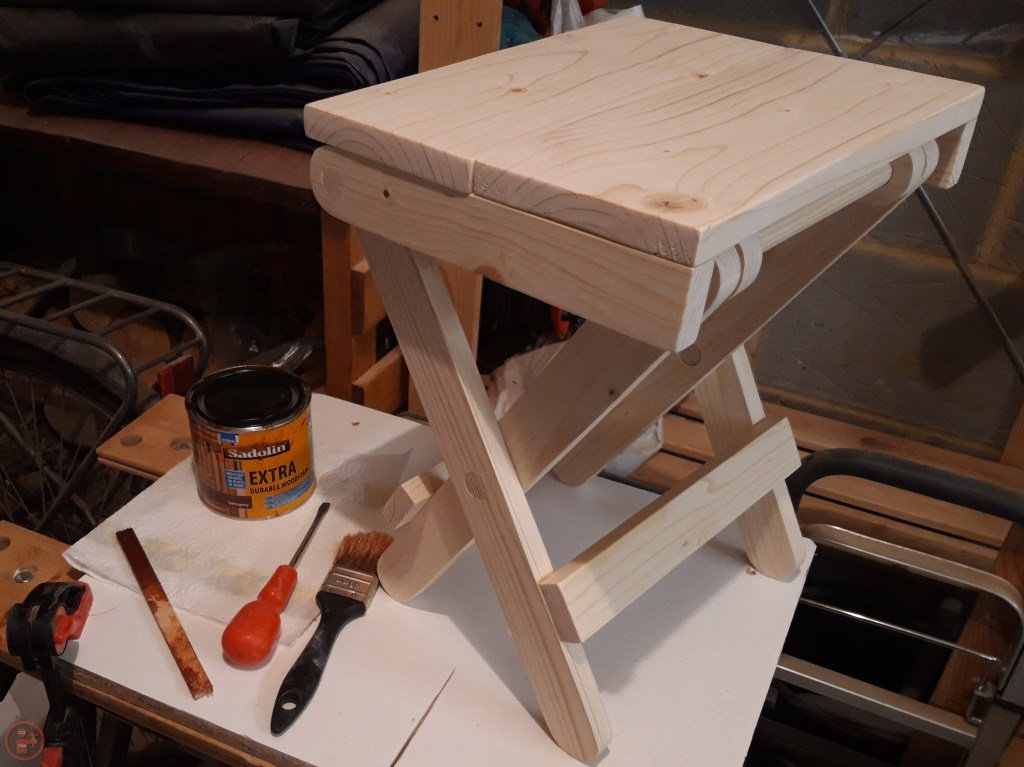
Once the seat panels were dried, I assembled the pieces and sanded the dowels flush with the surface of the legs, again using 80 grit sandpaper in my random orbit sander. I glued and clamped the lower braces in position and left the stool overnight to finish drying completely. I sanded up to 180 grit using my random orbit sander and rounded over the edges of the seat slightly by hand, so as to make it more comfortable to sit on. I also sanded the exposed sections of dowel by hand too, to make sure there were no splinters and it was comfortable to hold to carry the stool when it is folded flat.
To finish the stool and give it some protection when used outside, I decided to use a mahogany wood stain to bring out the grain on the seat. I used a couple of coats, letting it soak in for several hours before wiping off any excess. I then applied an oak wood stain to the legs and supports to provide some protection to the rest of the stool, but allowing the amazing grain patterns on the seat to be the focal point and to stand out as a feature.
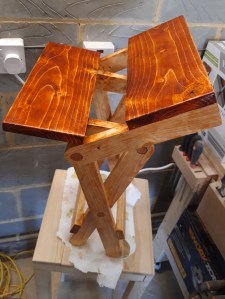
The grain in the dowels was an excellent contrast to the legs once stained and the two-tone effect works really well to highlight the grain in the seat, which really stands out, whether the stool is folded flat or opened out.
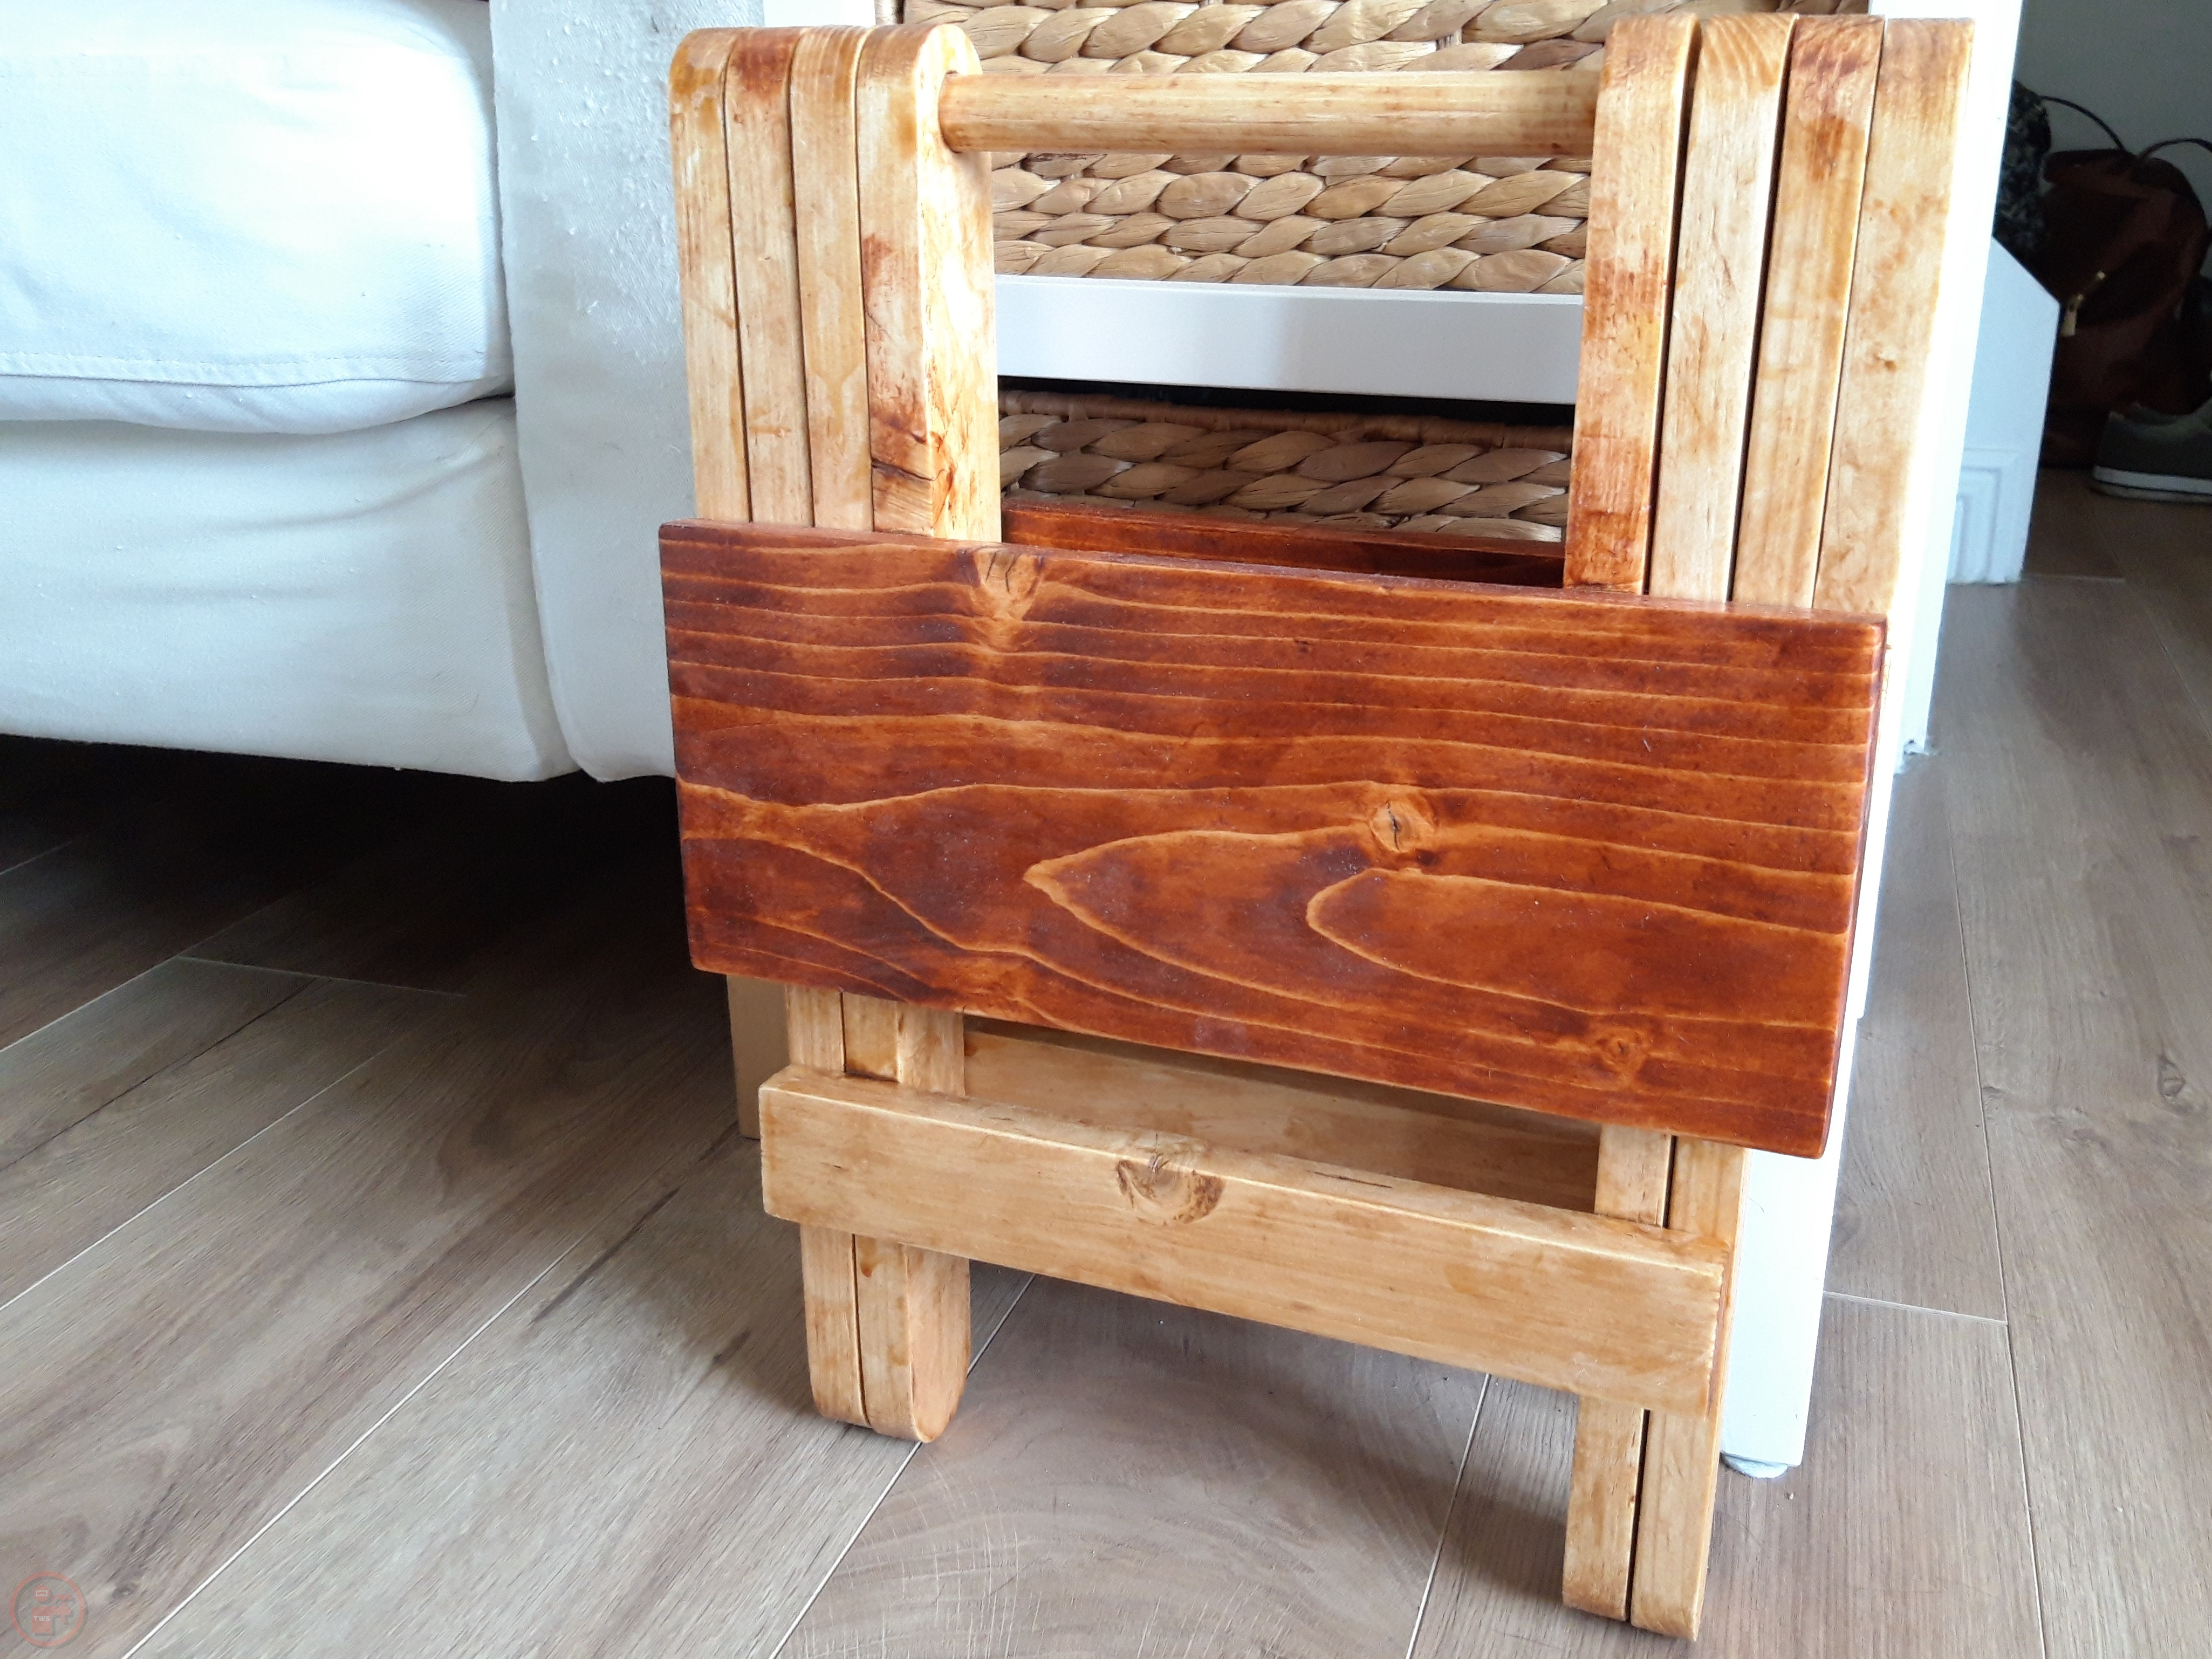

I am really pleased with the end result – it has really turned out very nicely and I am happy with how well the final version fits together and easily folds from flat to assembled. It definitely helped to make a prototype version first to allow me to troubleshoot issues and figure out solutions to the biggest challenges, including how to drill the dowel holes plumb and to ensure flat and stable lumber! And that’s one of the great things I love about woodworking – the plans were not my original idea but I still had to do a lot of thinking to work out how to create the pieces I needed using different tools to those used in the plans by Steve. I’ve learnt most projects can be accomplished with very few hand tools, it’s just generally quicker (and often easier!) to have a dedicated power tool to speed up that part of the process or allow the cuts or holes to be made more accurately. And part of the fun and challenge is to visualise what you want to create and work out how to get to the end product with the resources and tools at your disposal.

My sister’s husband really liked the stool and hopefully he will get a lot of use out of this present, as a camping stool, folding outdoor table, or a variety of other potential uses – happy birthday! 🔨
