Having made a simple slab from a log previously, I decided to try something a little more complex with my new chainsaw!
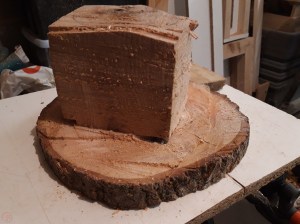
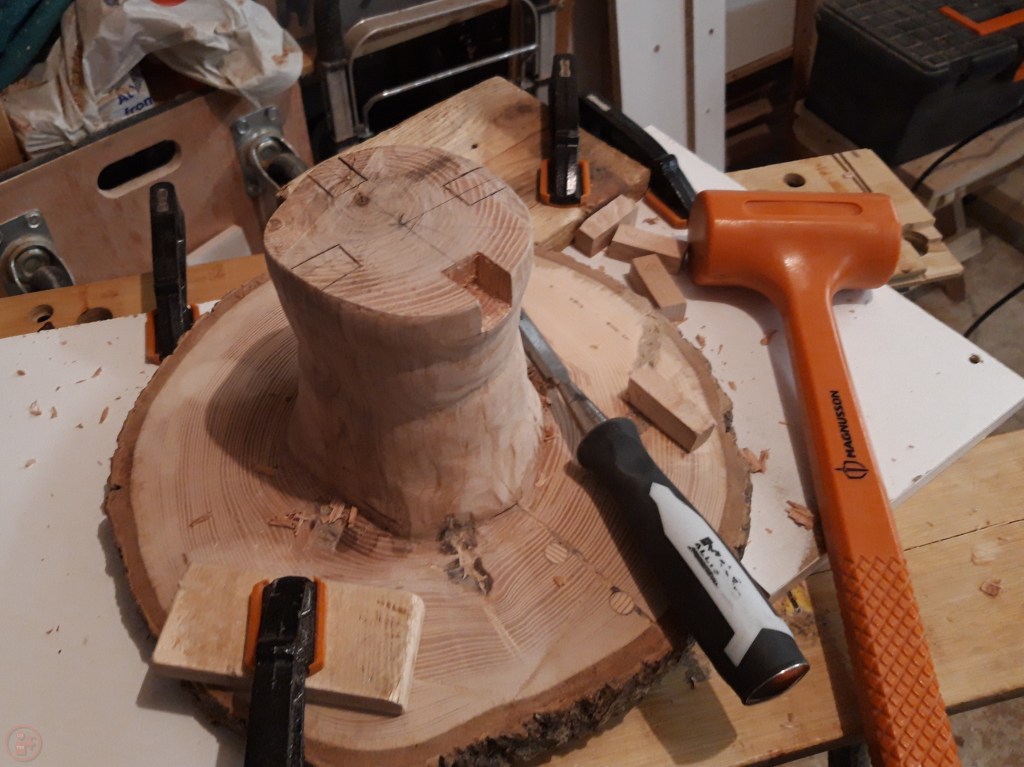
I gained a large piece of log when a tree came down in heavy storms and used it to make a cake platter/slab. I used my chainsaw to cut off another section of the log, quite a bit larger this time. I measured a set thickness for the top of the stand and made shallow cuts around the marked line. I then made vertical cuts to thin down the majority of the piece to make a central pillar for the main support for the stand.
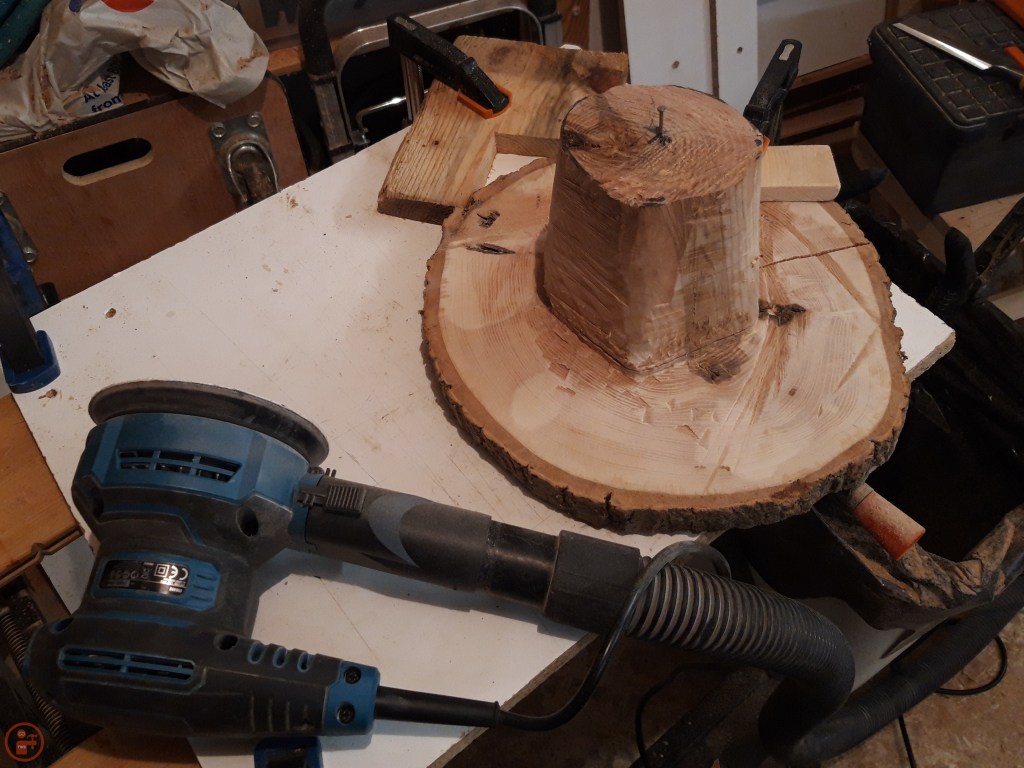
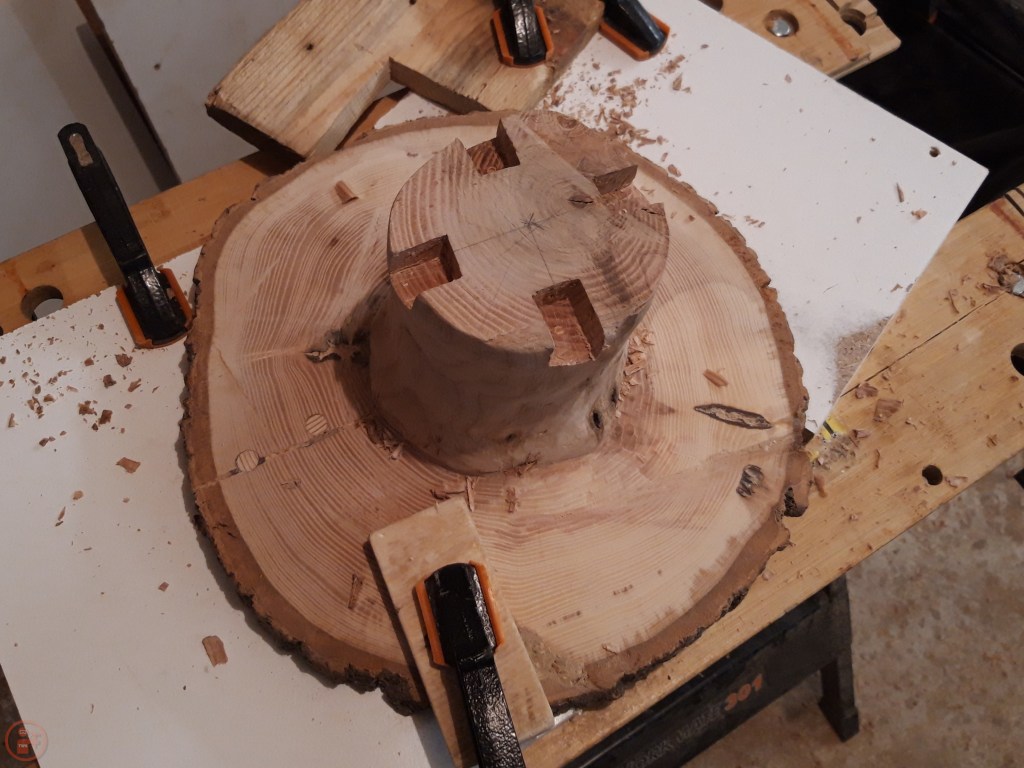
Once I had removed as much material as I felt able to using my chainsaw, I used my chisels to refine the shape. I hammered a nail into the centre of the base so I could use it to ensure an accurate shape for the stand.
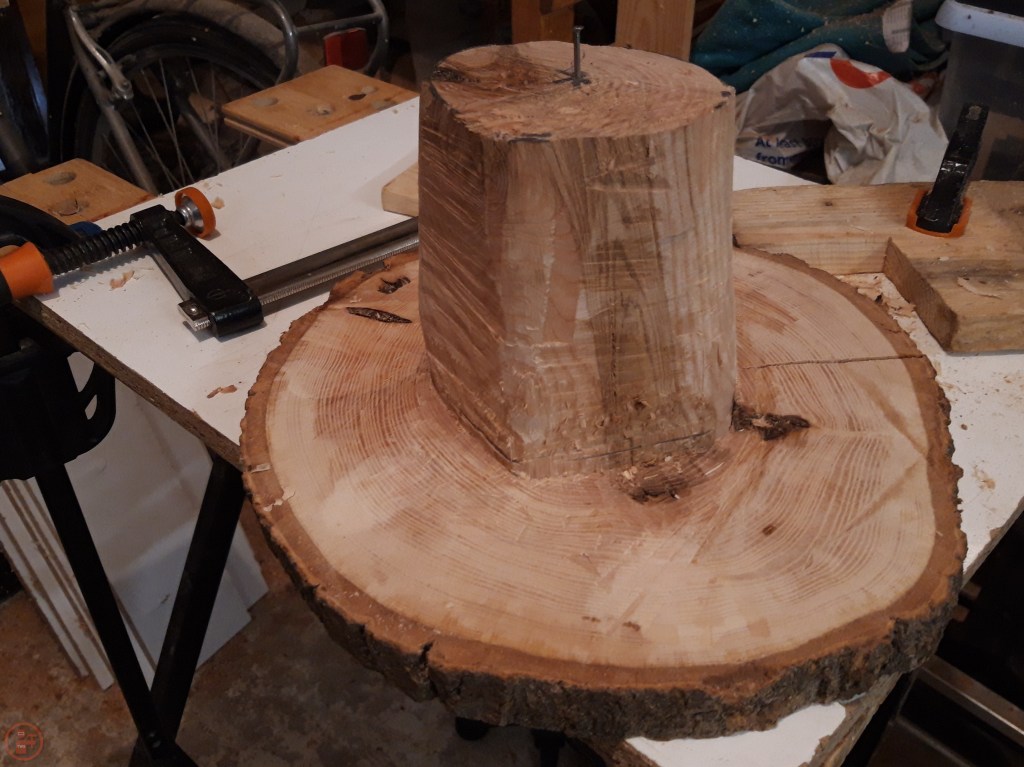
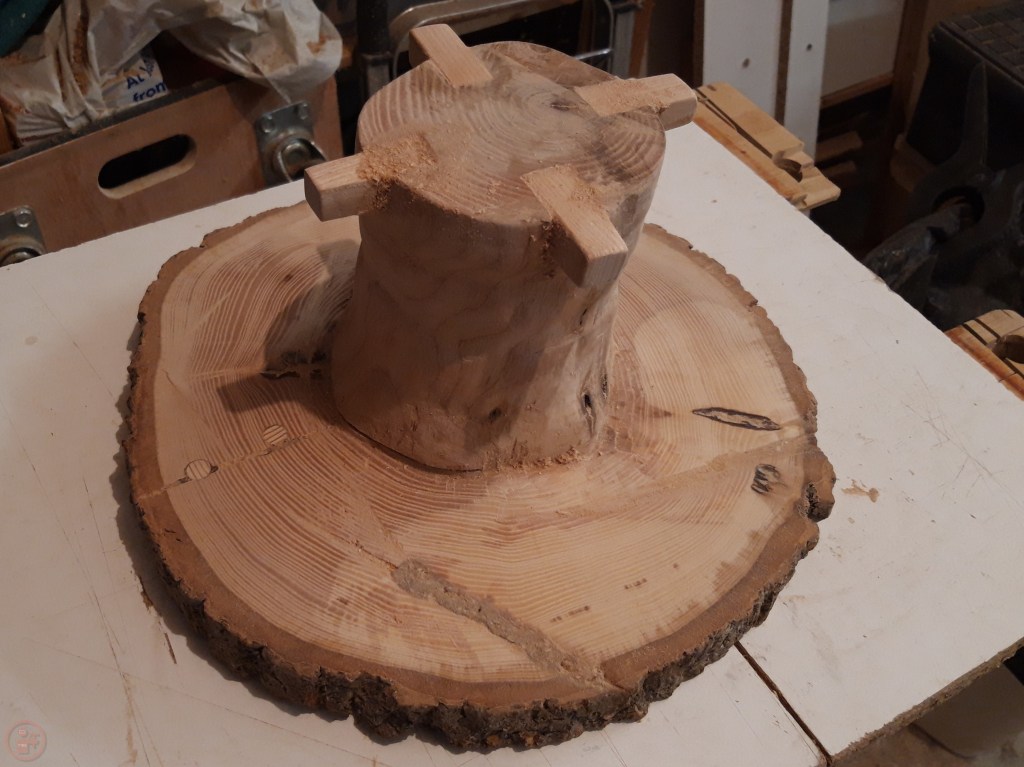
I used hand planes to level out the underside of the top of the stand and then switched to my random orbit sander to smooth the surface and remove the saw marks as much as possible. This took quite some time as the wood was quite dense!

After a considerable amount of sanding, I crosscut the bottom of the stand using a hand saw to give me a solid and flat base to the stand. Once I was happy the stand was solid and could stand up, I turned my attention to the top surface.
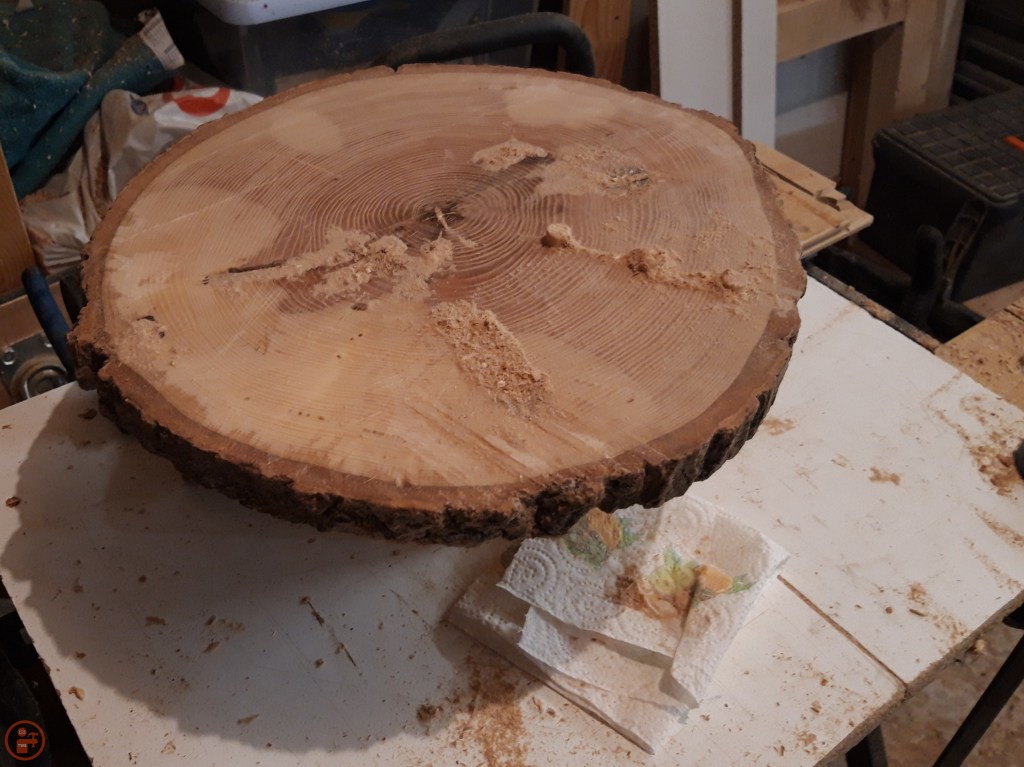
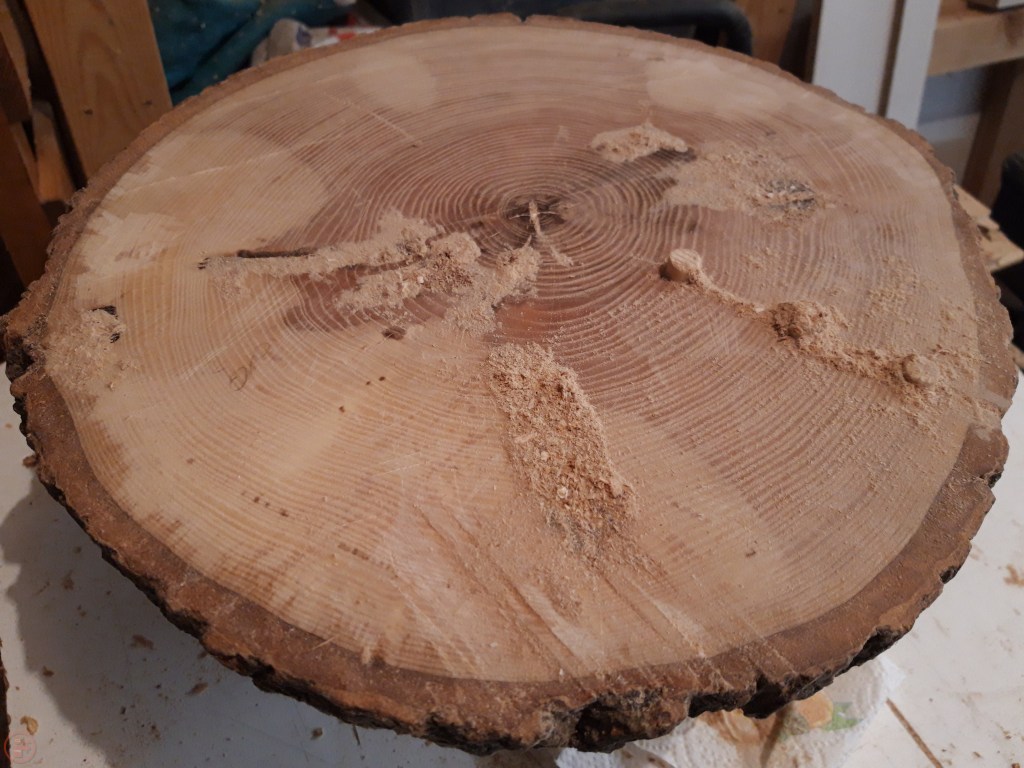
There were a few imperfections in the top, as well as a small crack running from the edge almost to the centre. I drilled three holes and used some dowels to provide some additional stability to the stand. Once the glue had dried, I did a whole load more sanding up through the grits to end up with a very smooth surface.
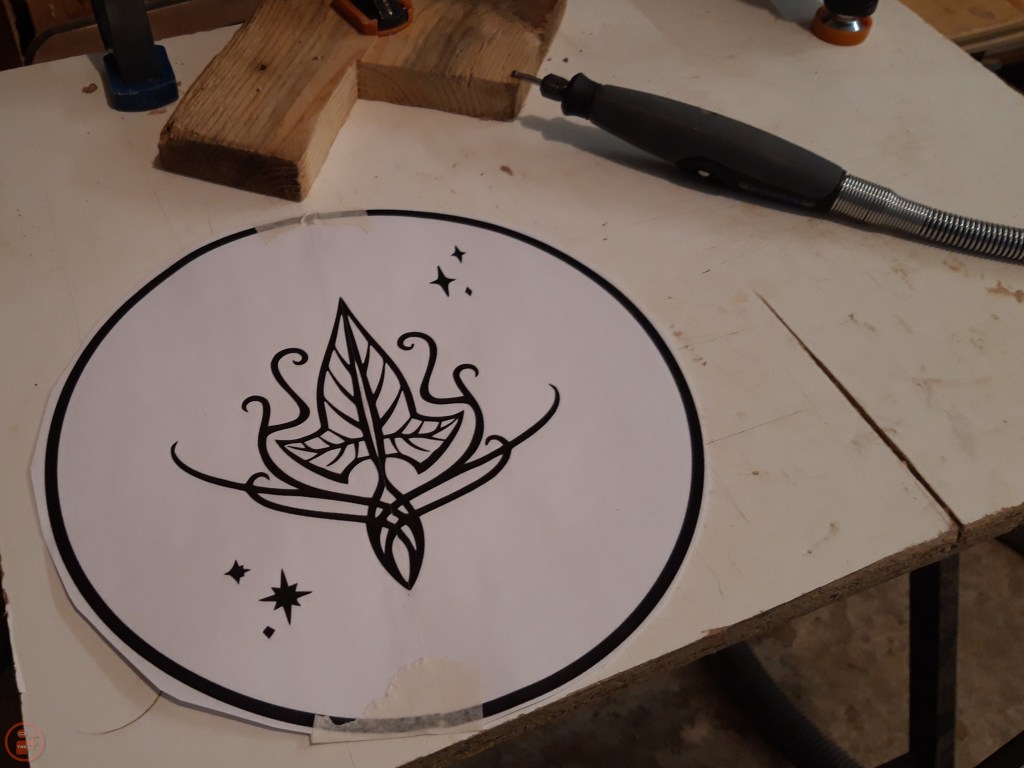
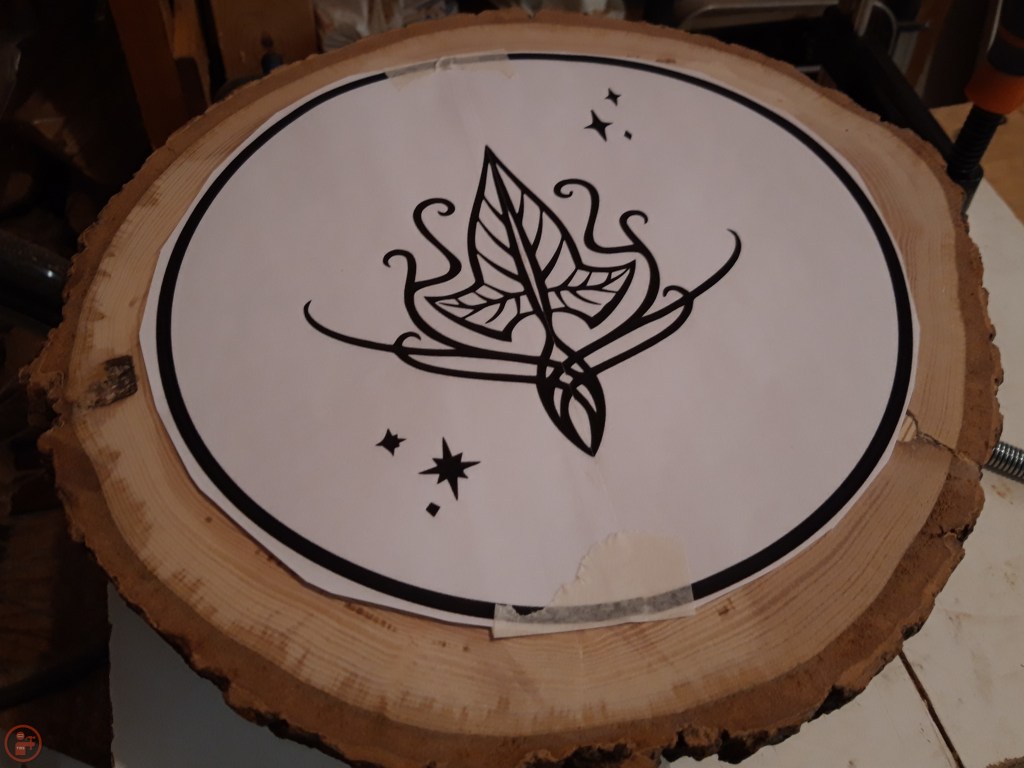
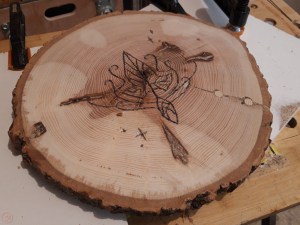
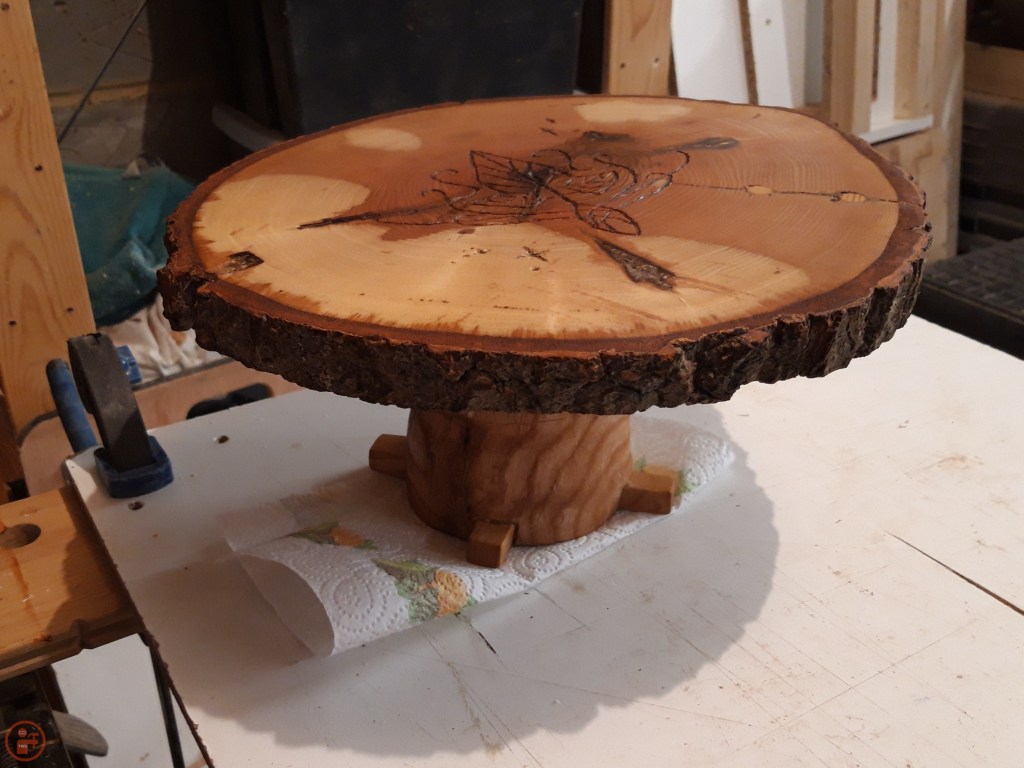
I wanted to add some decoration to the top of the stand, and as my wife really loves Lord of the Rings, I decided to add an elven leaf to the top. I found some images online and made a template of a suitable size. I printed it out and after sticking the pieces of paper together with tape, I secured it temporarily on the top of the stand. I used my Dremel to follow the template, resulting in a nice decoration on the top.
I added some small feet to the base of the stand to provide some additional stability. As this was my first attempt at making a cake stand I recognised that an idea stand would have a wider base, such as through a flared out design. As that was beyond my abilities with a chain saw however, this worked as a simple solution for this version!
Once the extra stabilising feet were in place and the glue had dried, I gave the whole stand another sanding, both with my random orbit sander and also by hand, to make sure the stand was thoroughly smooth and had a good flat top surface.

I applied multiple coats of food-safe mineral oil to the stand both to give it some protection and also to bring out the grain and highlight the fantastic colour of the wood. I really like how the heart wood (darker colour) and the sap wood (lighter colour) pop with the oil. You can clearly see that the majority of sap wood growth was predominantly only on one side of the tree, which might have been why the tree came down in the storm?

I let the mineral oil soak into the wood before applying additional coats, repeating this during an afternoon to give the wood a thorough layer of protection and to seal the surface from any moisture.
I left the cake stand to dry for multiple days before bringing it into the house. I gave it to my wife who happily used it to present some delicious baked goods she’d made that afternoon!🔨

1 thought on “Log cake stand”