One of the challenges of fitted wardrobes is they don’t always have the right amount of shelves needed for all your clothes – time to make something to fix that!
I previously made a slightly larger shelving unit for my side of the wardrobe, but my wife only needed a 2×2 version, so I could make this one slightly less complicated and use the various lessons I had learnt from making the previous one!
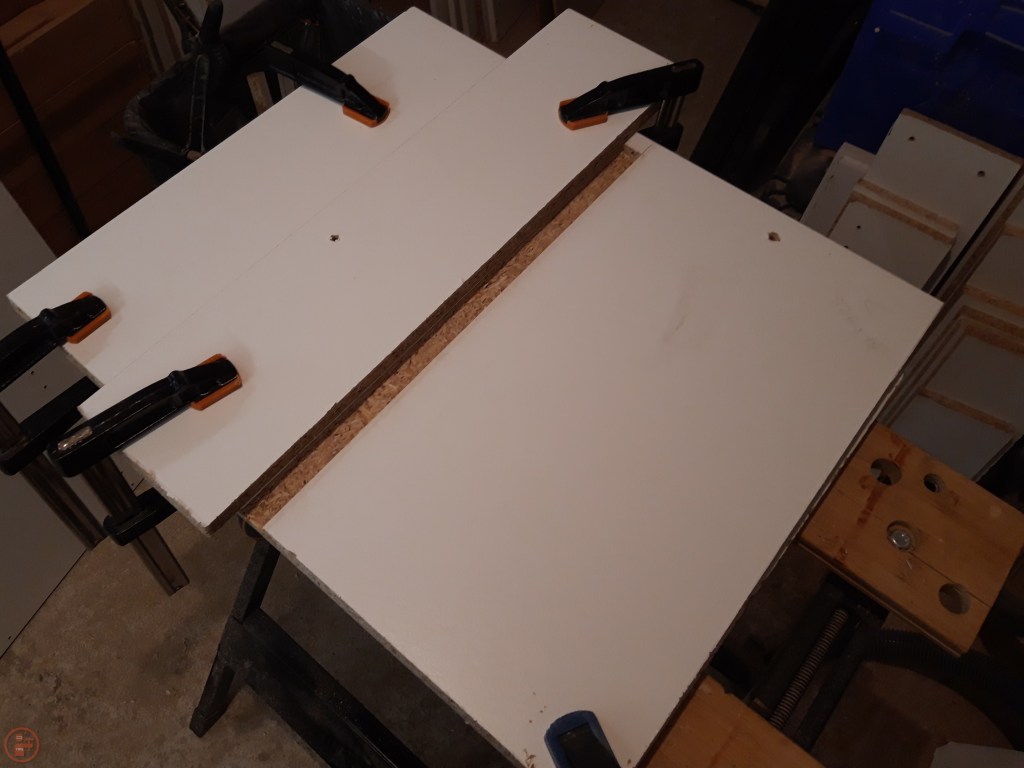

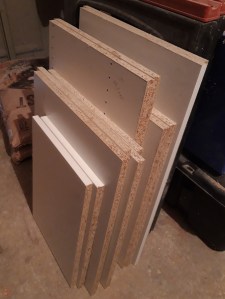
I still had some white malamine coated chipboard left over from our old dismantled wardrobes, which I cut to the right size using my circular saw. I glued the pieces together and used my palm router with a straight bit to route a rebate in the centre of the base. I then slide the centre piece in place, using glue and screws to secure it and clamping a 90 degree triangle brace out of a scrap piece of mdf to hold it upright while the glue dried.
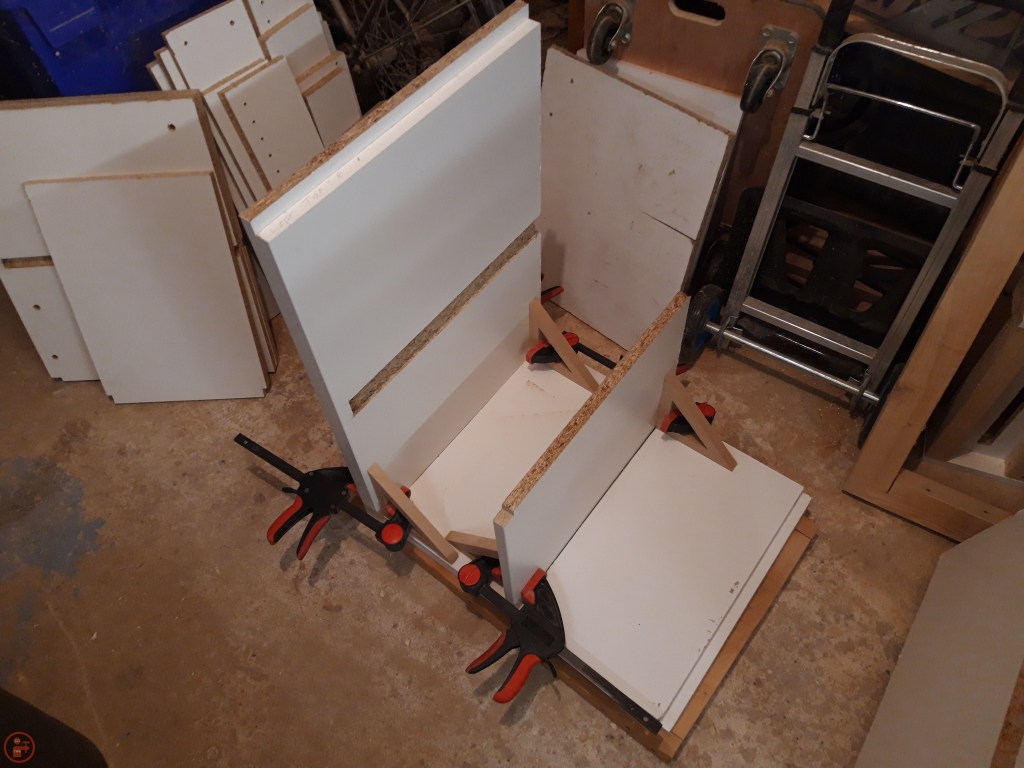
I repeated the process to route a groove in the side pieces and centre shelf. I secured the side piece in place and then slid the centre shelf into position, aligning the routed rebate with the centre upright and slotting the shelf into the groove on the side piece. This means each piece has a larger surface area for glue contact than a simple butt joint and also makes the shelving look a bit smarter I think.

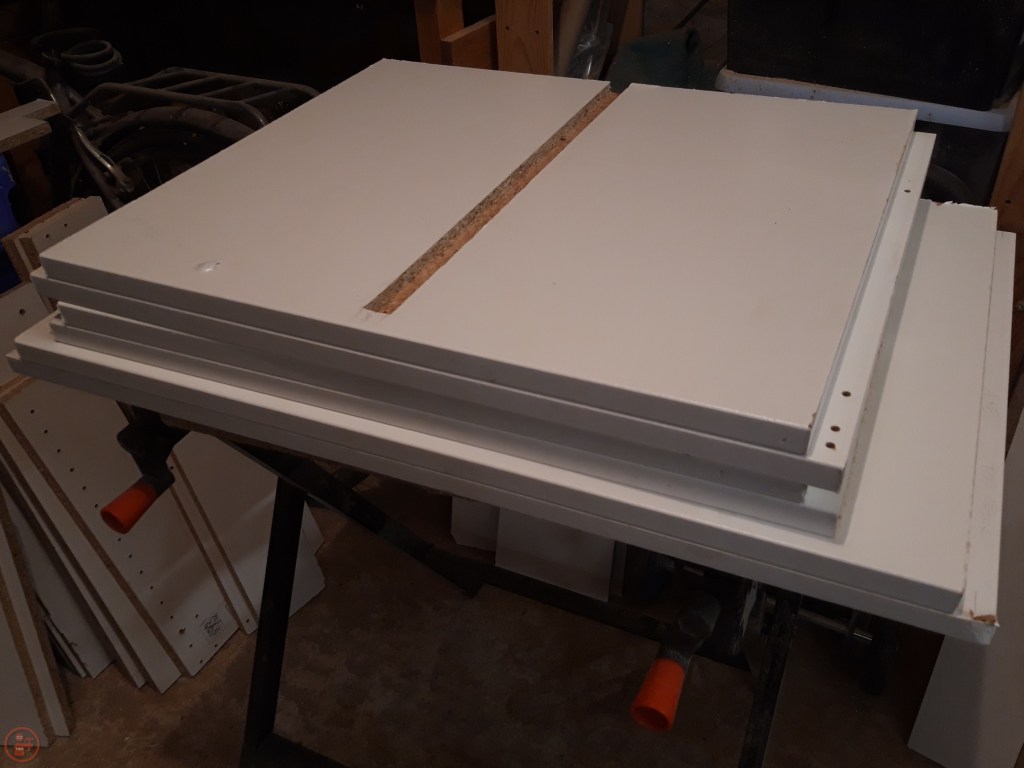
I repeated these steps again for the righthand side piece and then glued and screwed on the top, aligning the top centre divider with the routed rebate in the top as well.
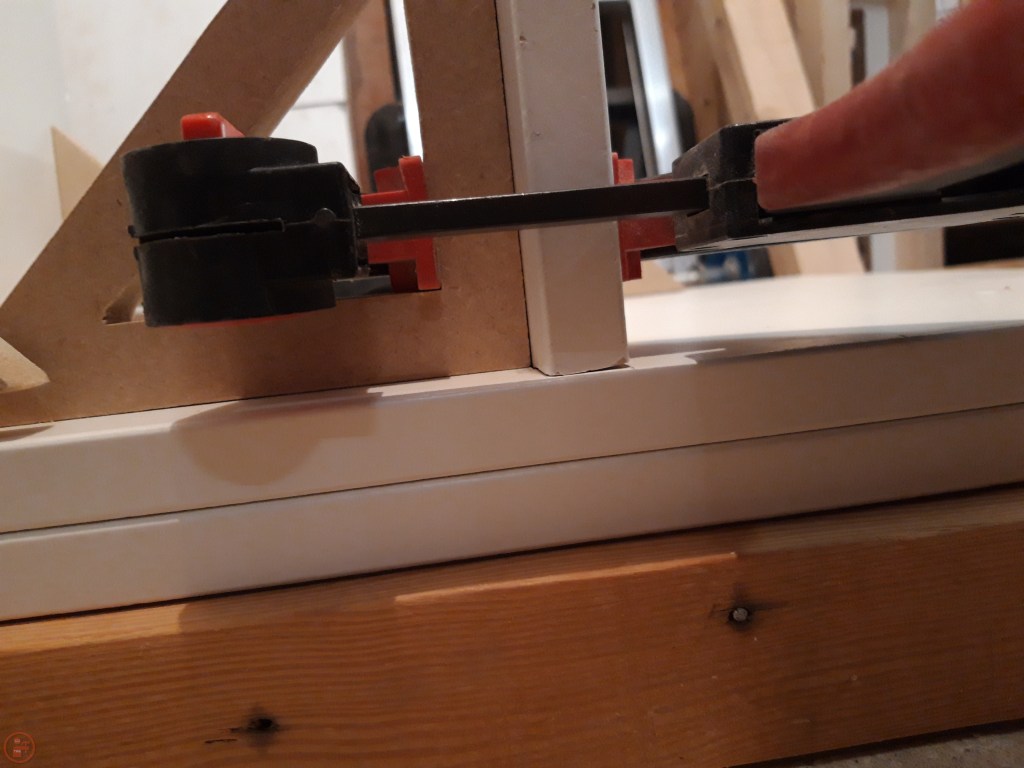
I used a whole selection of bar and squeeze clamps to keep the shelving plumb and square while the glue dried, checking the dimensions from corner to corner of the unit while applying tension to the clamps so I could adjust the pressure as needed to pull the workpiece into shape accordingly.


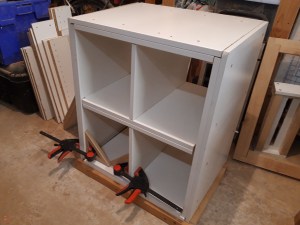
I left the shelving unit to dry fully overnight so the joints would be secure and survive being handled. I then carried the shelving into the house and upstairs. I fitted the back panels in the bedroom, as, I discovered last time, this made it much easier to carry it up the stairs!

I secured the back panels of hardboard in place using a large number of small nails hammered into place around the edges and across the centre shelf. I was quite pleased to have cut the hardboard sufficiently accurately that the join of the two pieces aligned perfectly with the centre of the shelving, so was completely hidden from the front.

Once the back panel was fitted, the shelving unit was complete! I lifted it into place in my wife’s wardrobe, ready to hold an assortment of clothes.
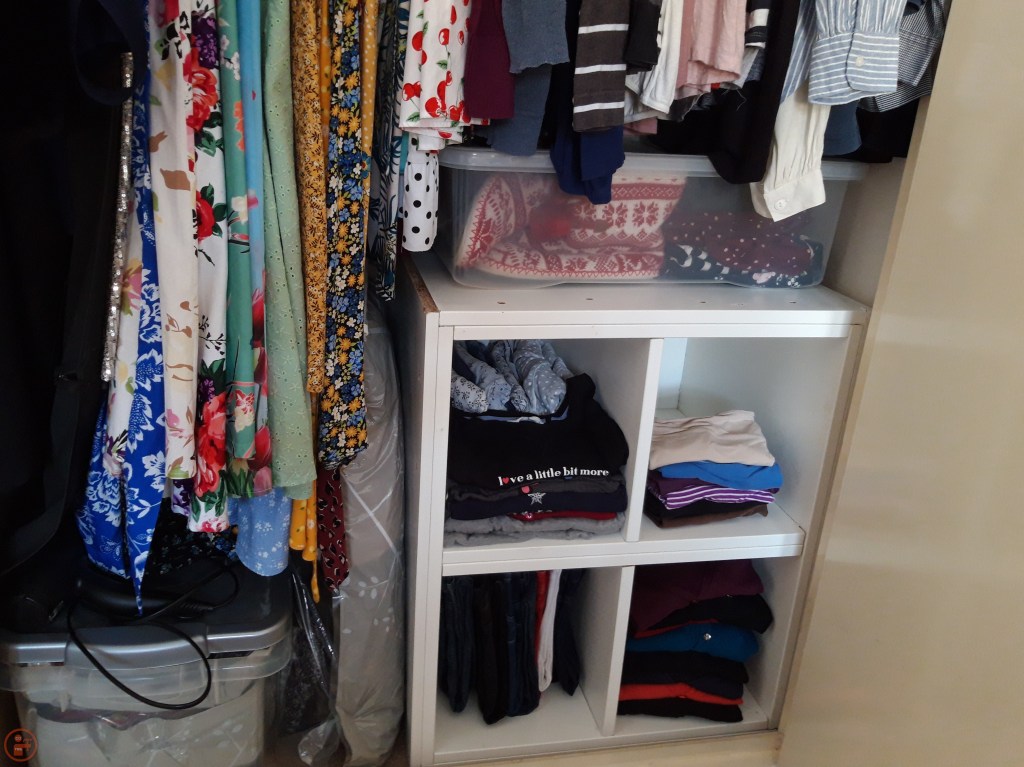
This has been an incredibly successful project as the shelving unit is wide enough to provide a useful storage solution for the wardrobe while still allowing for full-height hanging of longer dresses and other items. The shelves are deep enough to hold quite a number of clothing items, and the top surface is large enough to easily store boxes for longer term storage of less-commonly used items, like Christmas jumpers! This makes it much easier to search for items rather than having to root around in the bottom of the wardrobe to find clothes stored in boxes. Another successful project – on to the next one! 🔨
