My parents love candles and also enjoy travelling in their campervan. How to have candles safely while on the road? Electric candles and some modern candle holders!
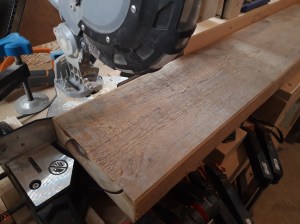
I started with a nice chunk of (unknown) wood from my lumber pile. I worked out dimensions from my sketched plan – I tend to design all my builds in a dedicated woodworking notebook – and then cut the wood to rough dimensions on my mitre saw.
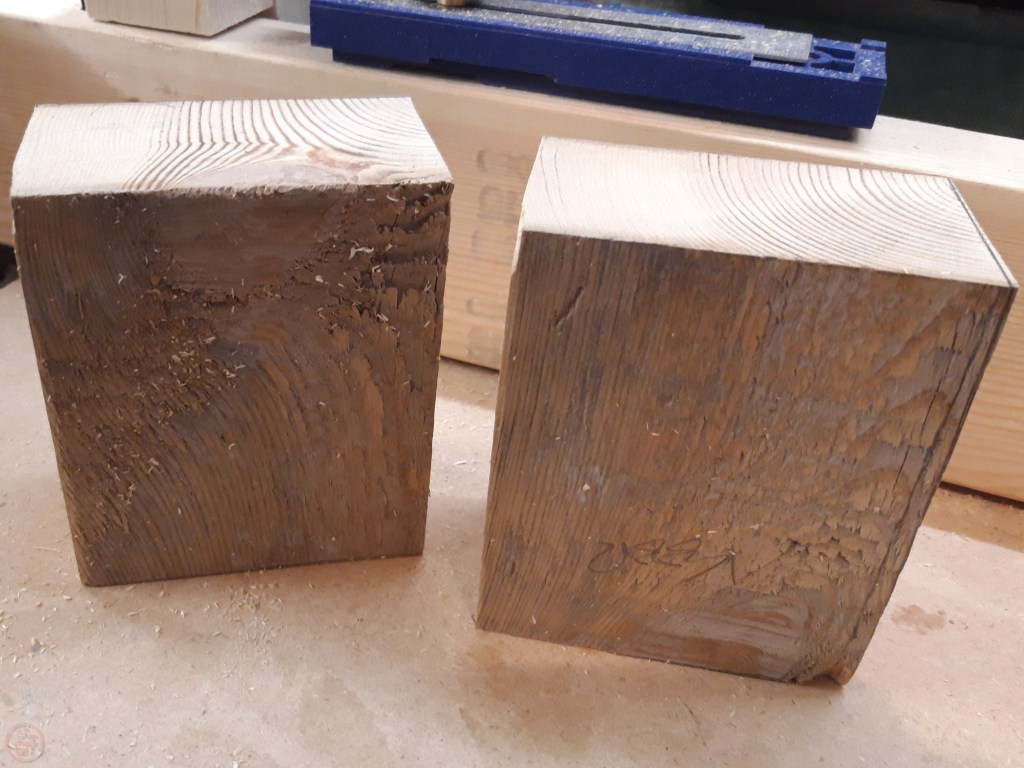
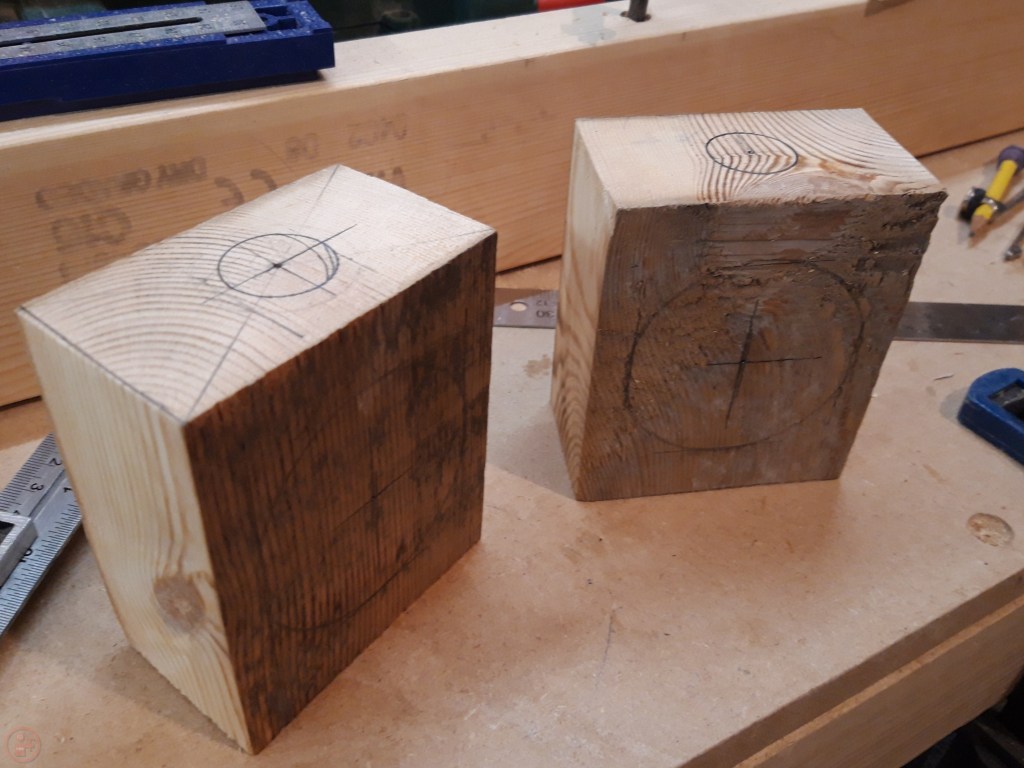
I marked the side where I needed to cut out a large hole, and marked the top where I would drill the hole for the candle to slot in. Using the mitre saw made sure I had parallel faces on the top and bottom (and sides) so the workpiece sat flush and solidly on the workbench.

I used my drill press setup and a forstner bit to drill holes through the workpiece, using a sacrificial board underneath to prevent tear-out from the drill breaking through the other side of the workpiece.
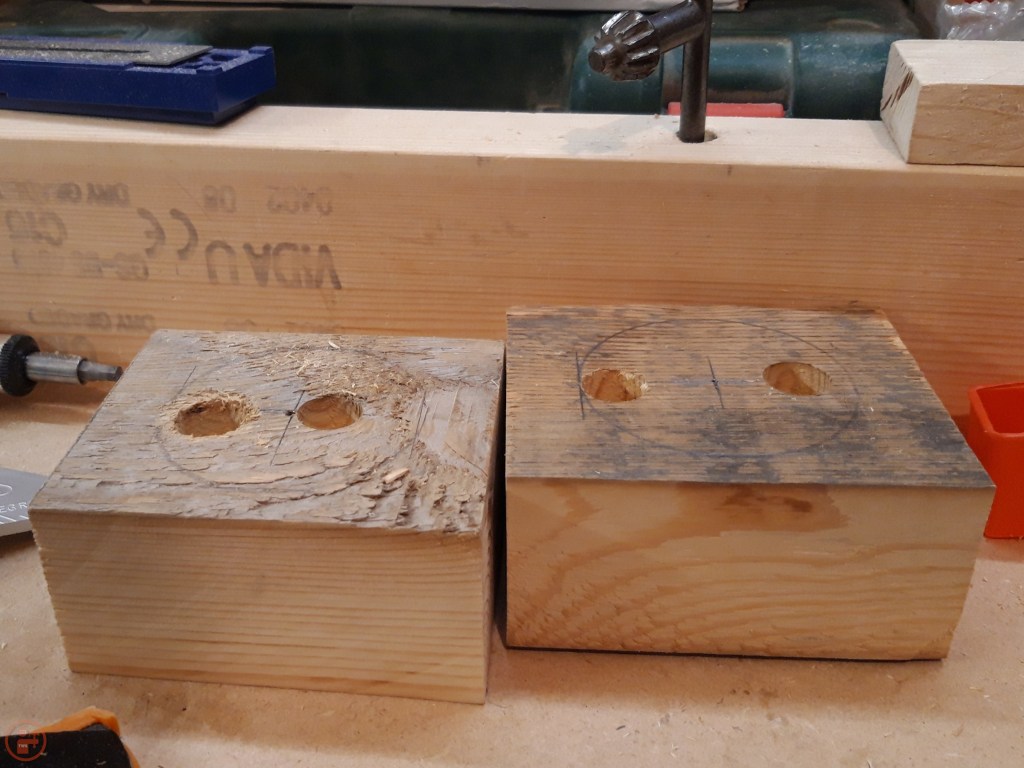
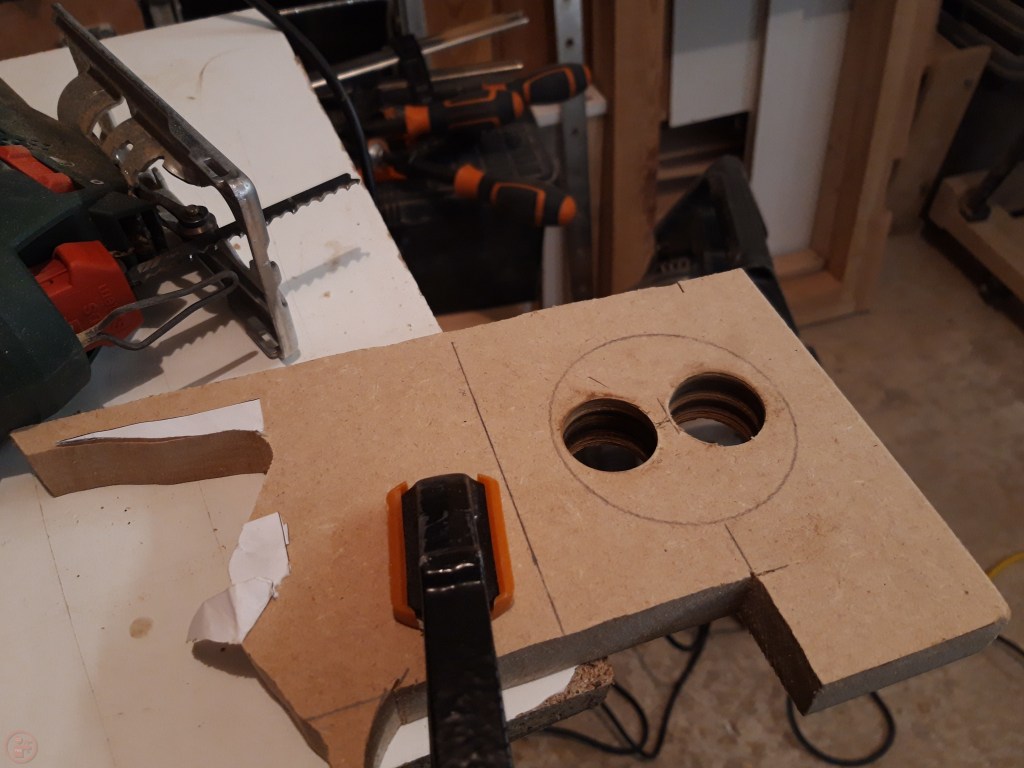
I drilled two holes in the sides of the holders and then made a jig out of some scrap mdf so I could size the hole on the side correctly.

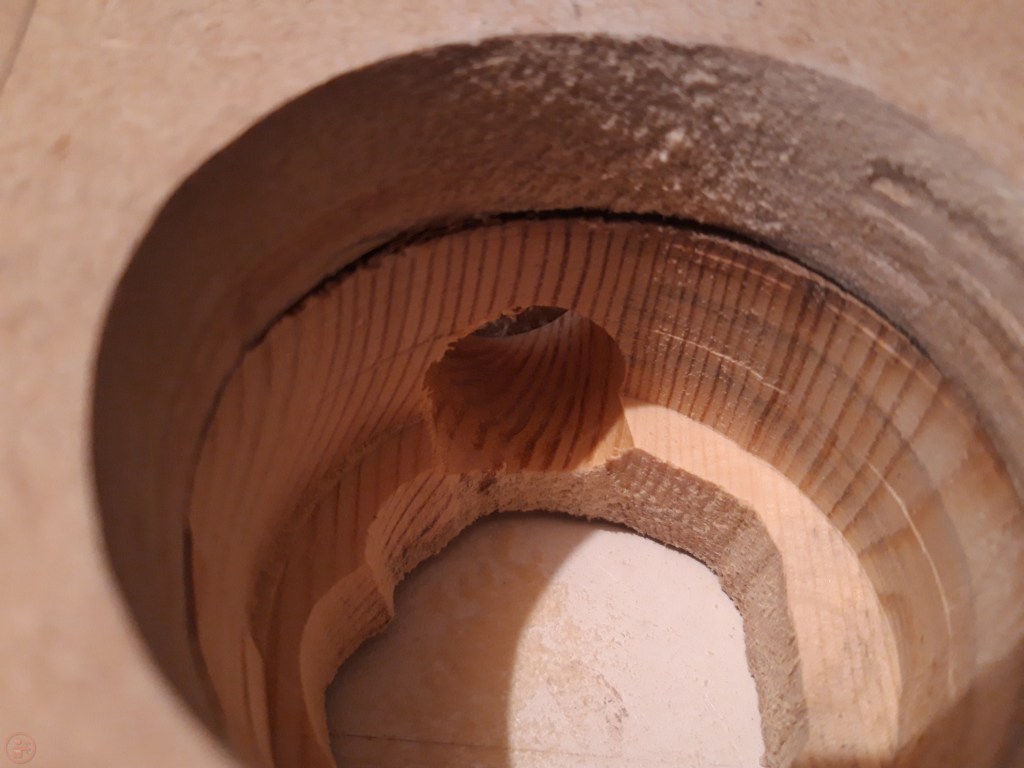
I used a forstner bit in the drill press to make a neat hole for the candle in the top, alternating pressing down and lifting the drill again to remove the waste and prevent the bit from getting stuck.
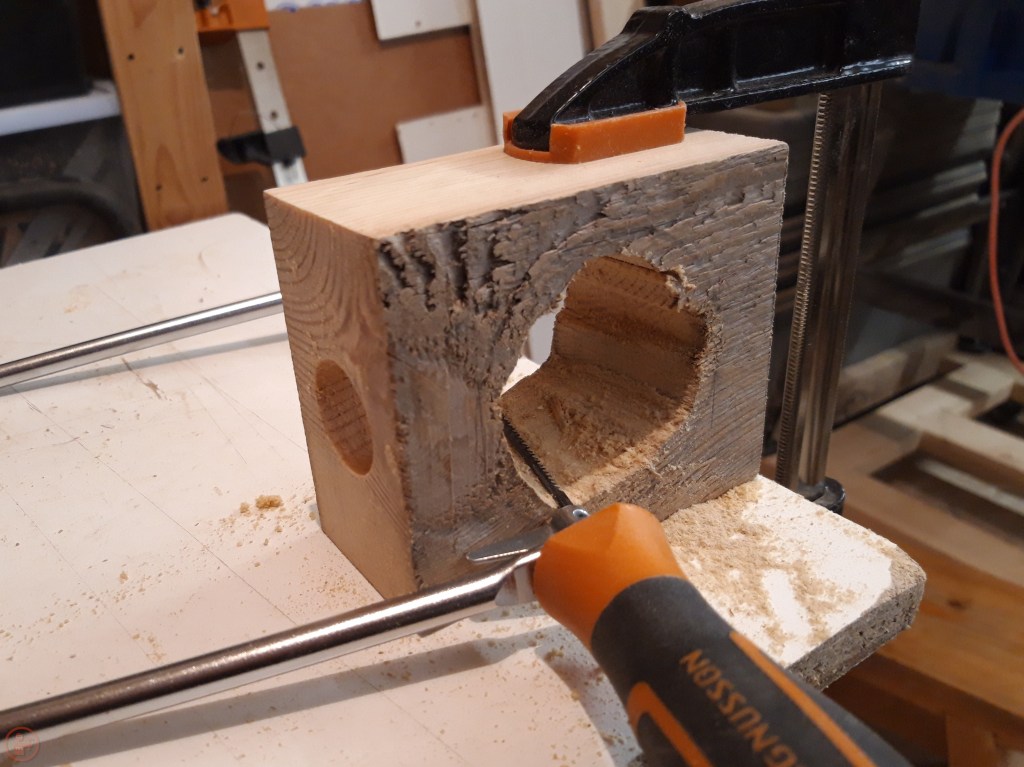
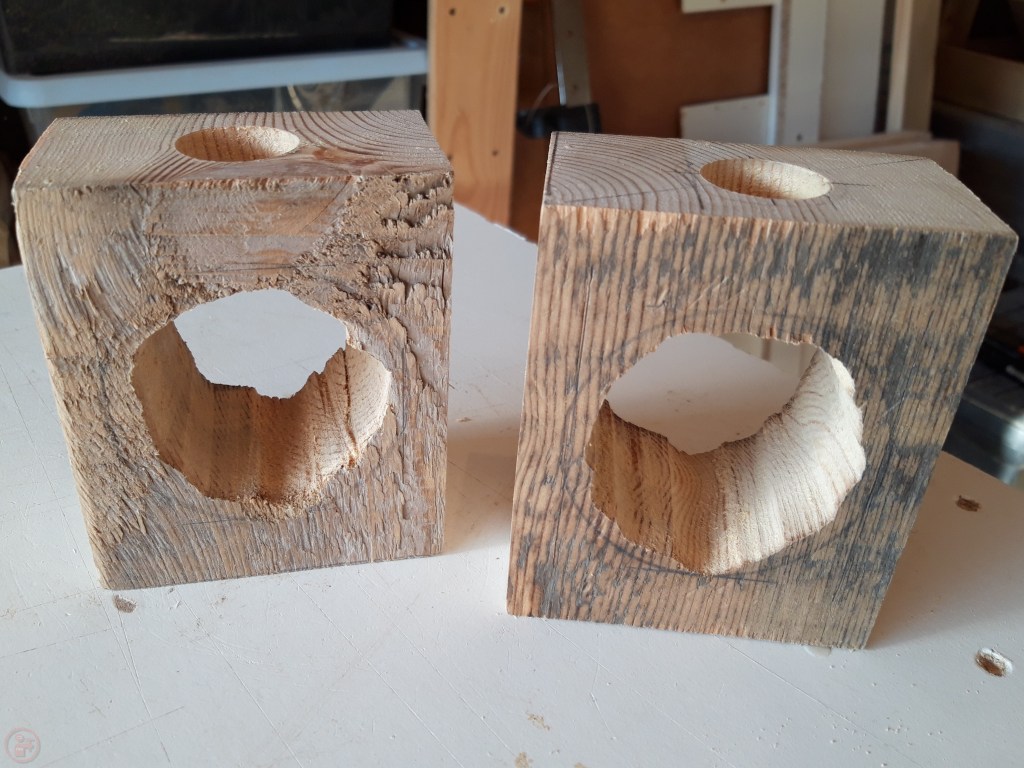
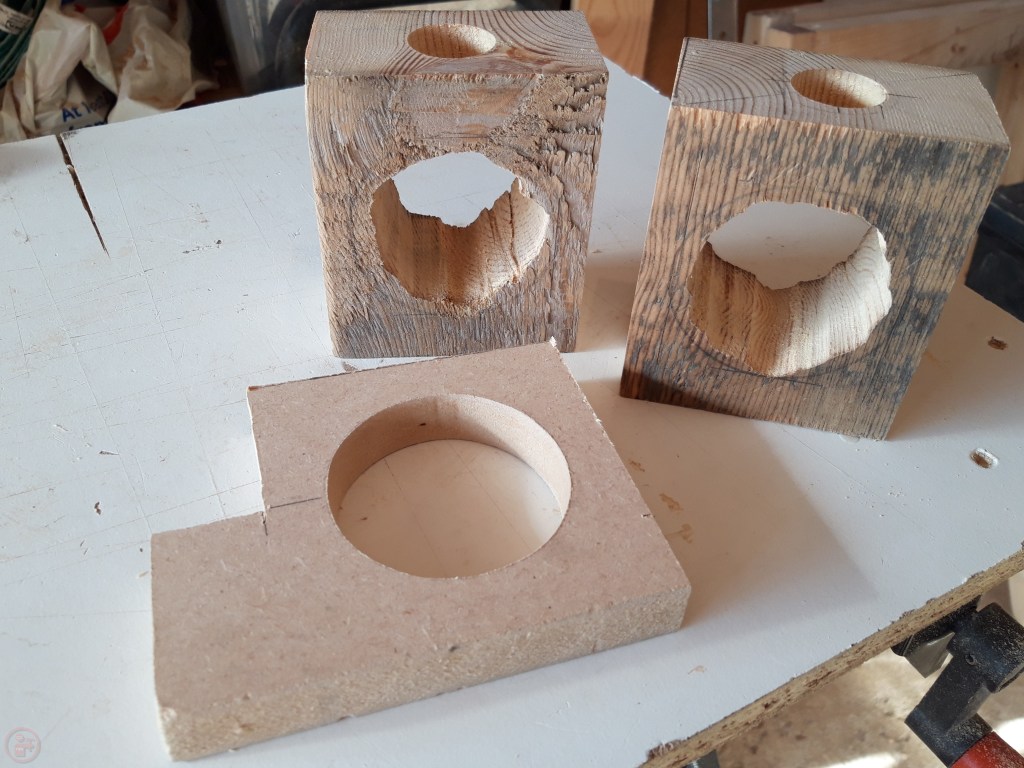
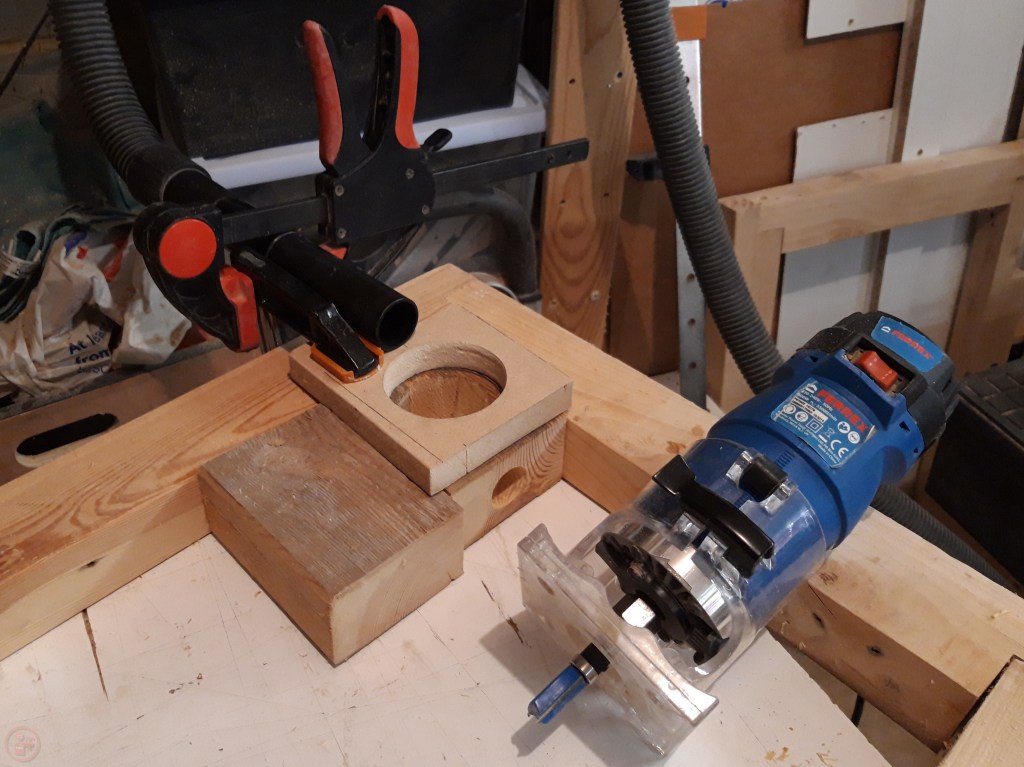
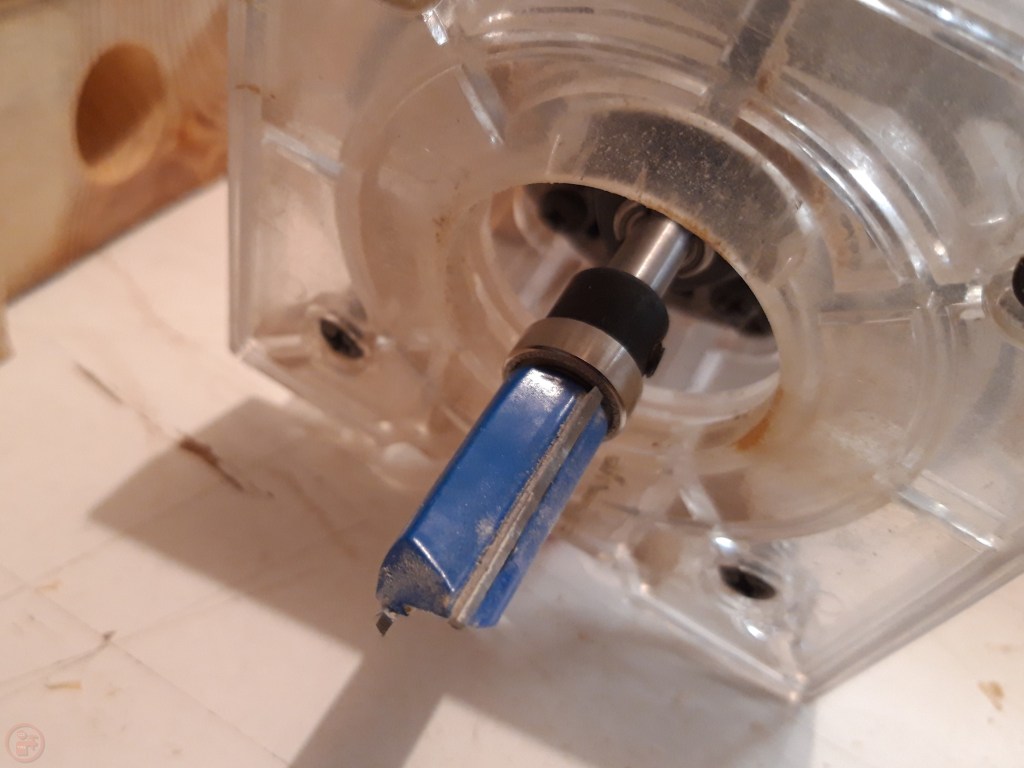
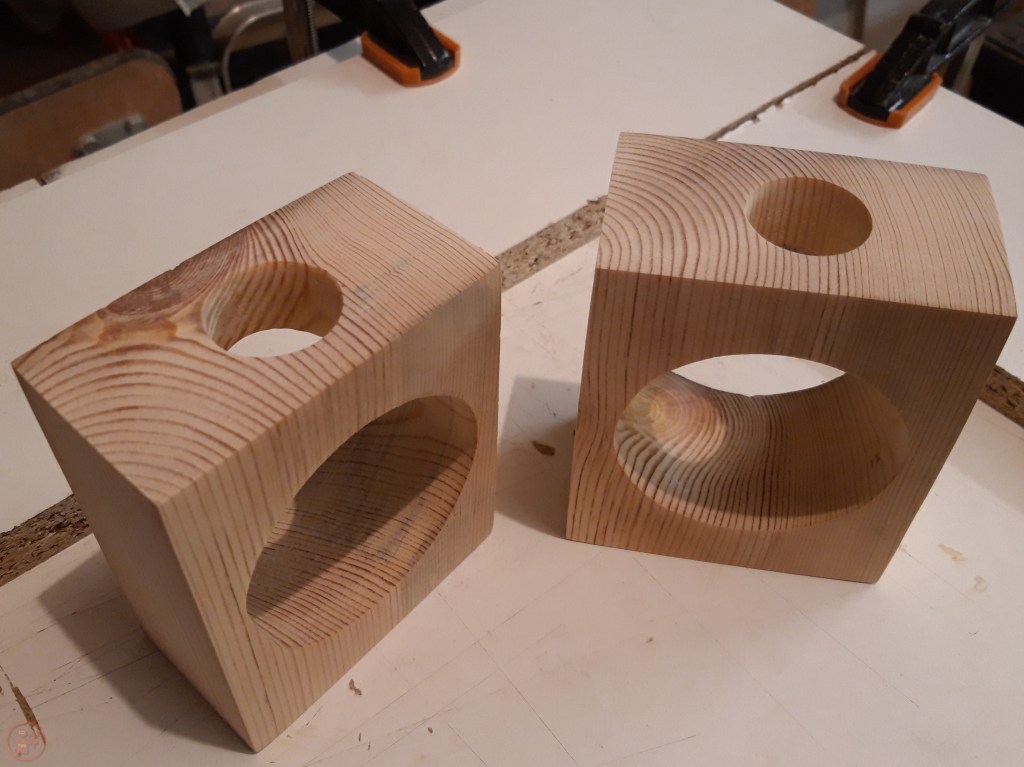
I refined the hole in the side using a coping saw to remove the bulk of the waste, getting close up to the marked line. I then used the mdf jig and a flush trim router bit in my palm router to follow the template. This left me with two workpieces with identically cut-out holes in the sides and the insertion holes in the top.
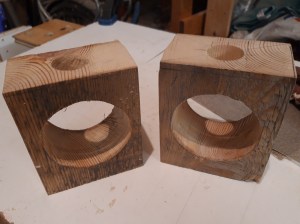
Now the rough shape was completed, it was time to do some refining and sanding to generate a finished product.
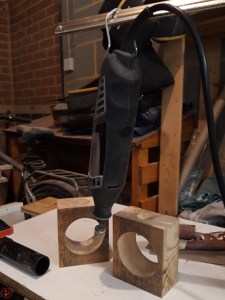
I fitted a small sanding drum to my Dremel [not sponsored] and used that to sand the inside of the holes, removing any roughness from the router bit. I have a couple of power tools for sanding, but the Dremel is my only way of sanding the inside of a curve at the moment. For small workpieces like these it works really well, but I may need to invest in something larger if I were to make larger projects with curved surfaces or to batch-produce multiple versions of a project!
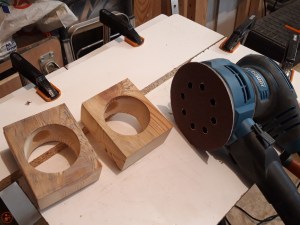
After sanding the inside of the holders, I used my random orbit sander to smooth the outside. I worked my way up through the grits to 180 grit, which left me with a lovely smooth surface and showed off the hidden grain for the first time.
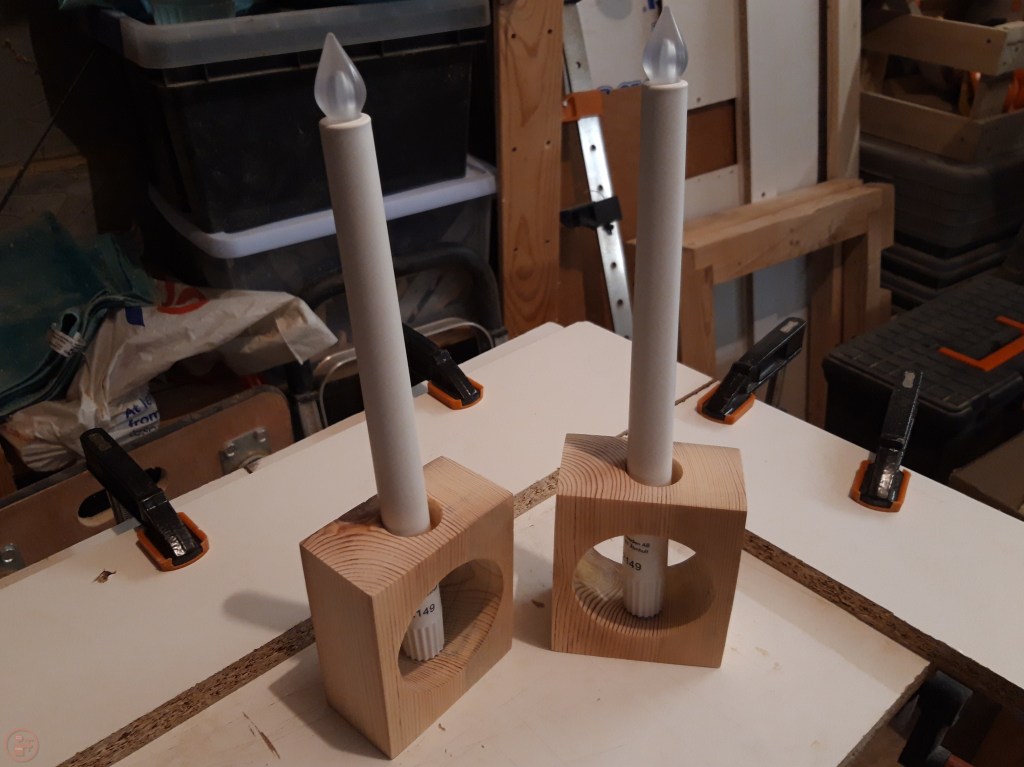
After confirming that the electric candles I picked up in Ikea [not sponsored] fitted nicely into the candle holders, I selected Danish oil to use as a finish. I wanted something to give the holders some protection from being handled as well as a finish that would really highlight the natural features of the wood and make the grain stand out!
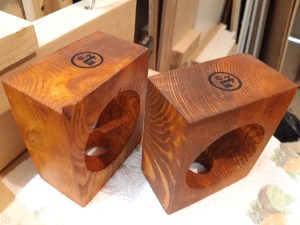
I applied two coats, letting the oil soak in thoroughly between each and then wiping off the excess. I added my logo to the underside (of course!).
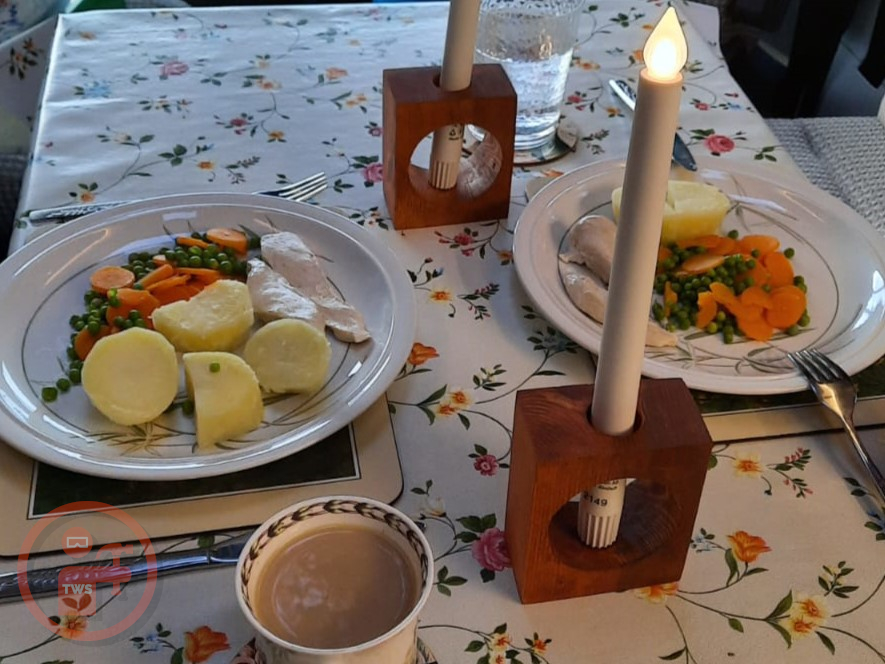
Here they are in situ in my parents’ campervan, providing some atmosphere for their dinner! And my parents were both very happy with the gift, which is the most important thing!
So this was another project completed successfully – this was a fun and relatively easy gift to make and I think future variations could have different shapes cut out on the sides, such as stars or a Christmas tree for a festive variation! 🔨
