I love coming up with new ideas for fun personalised gifts. I had the chance to make another gift for my Grandfather – a retired marine biologist specialising in whales, so I decided to make a personalised whale-themed box for him out of some nice hard wood.
I previously made a Whale doorstop for my Grandfather a couple of years ago which he really liked. I decided a nice hard wood box would be both useful and personalised. I started with selecting the lumber to use – a collection of assorted hard woods I had left over from a pack of assorted hard woods I was given as a gift previously.
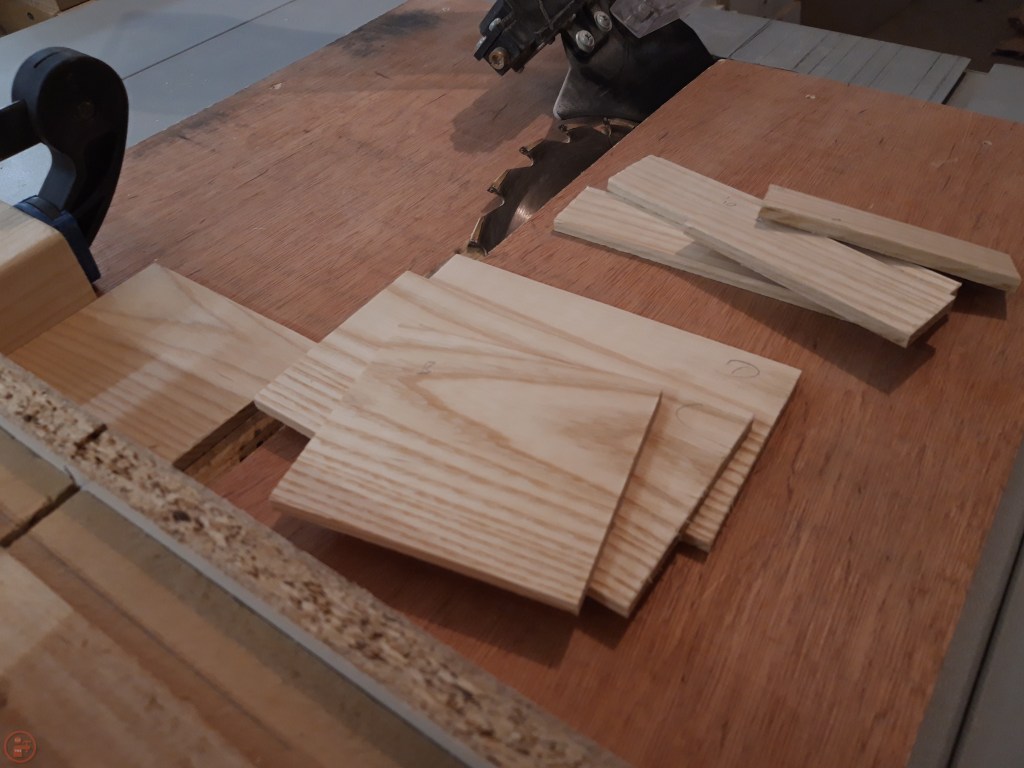
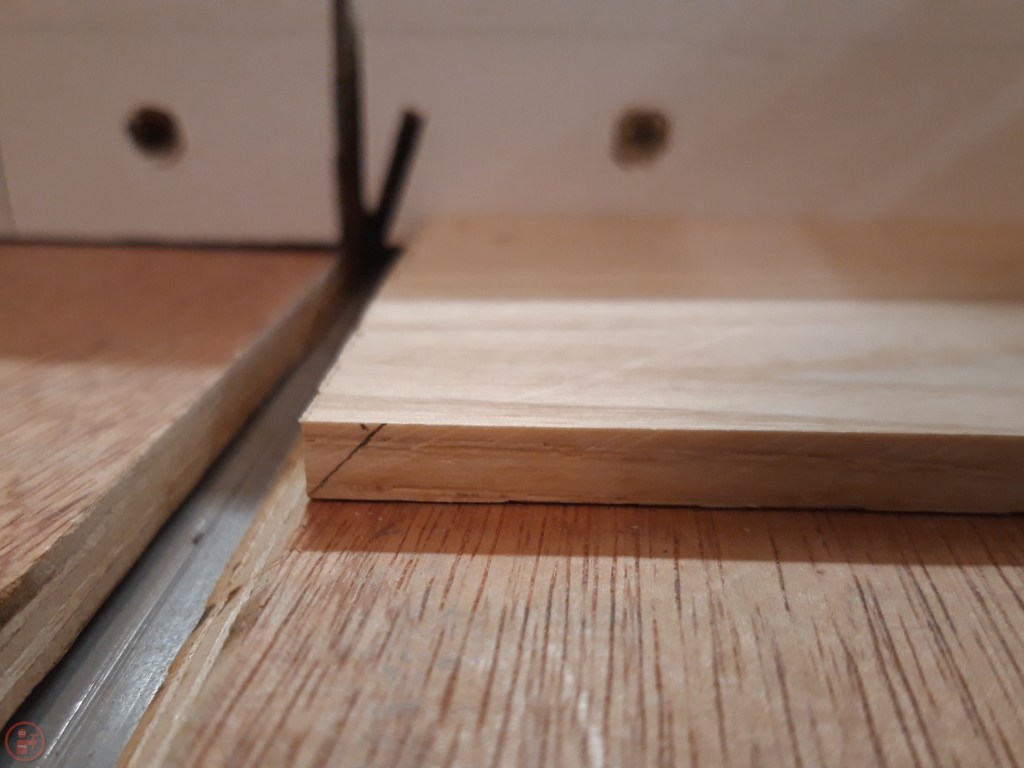
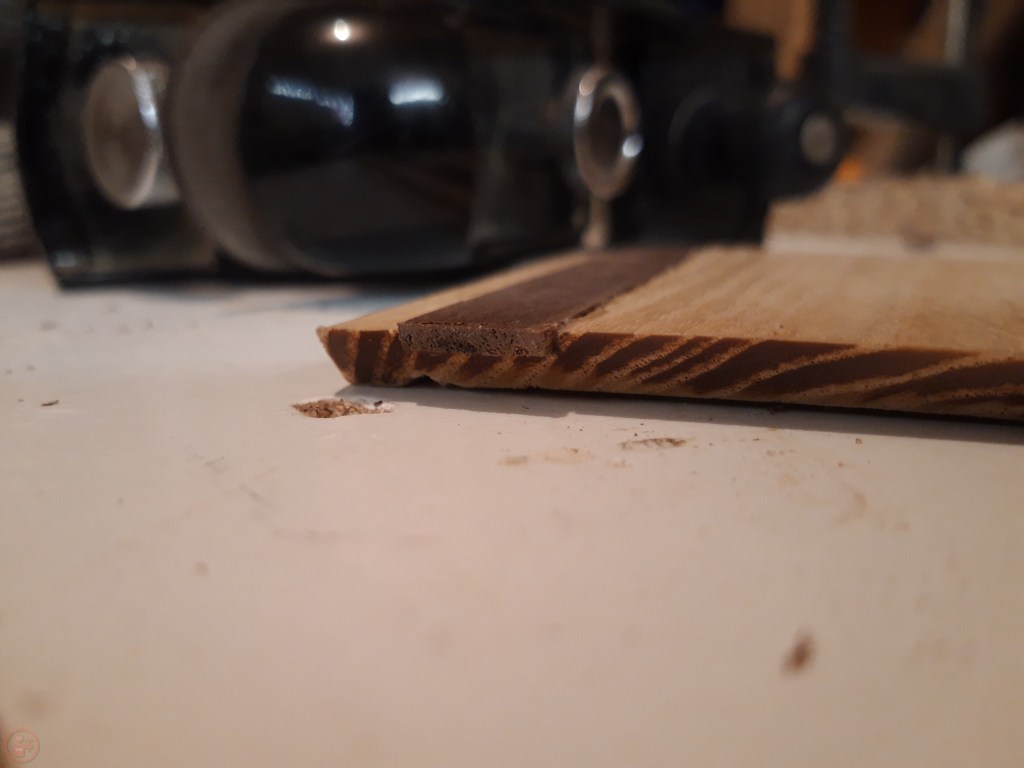
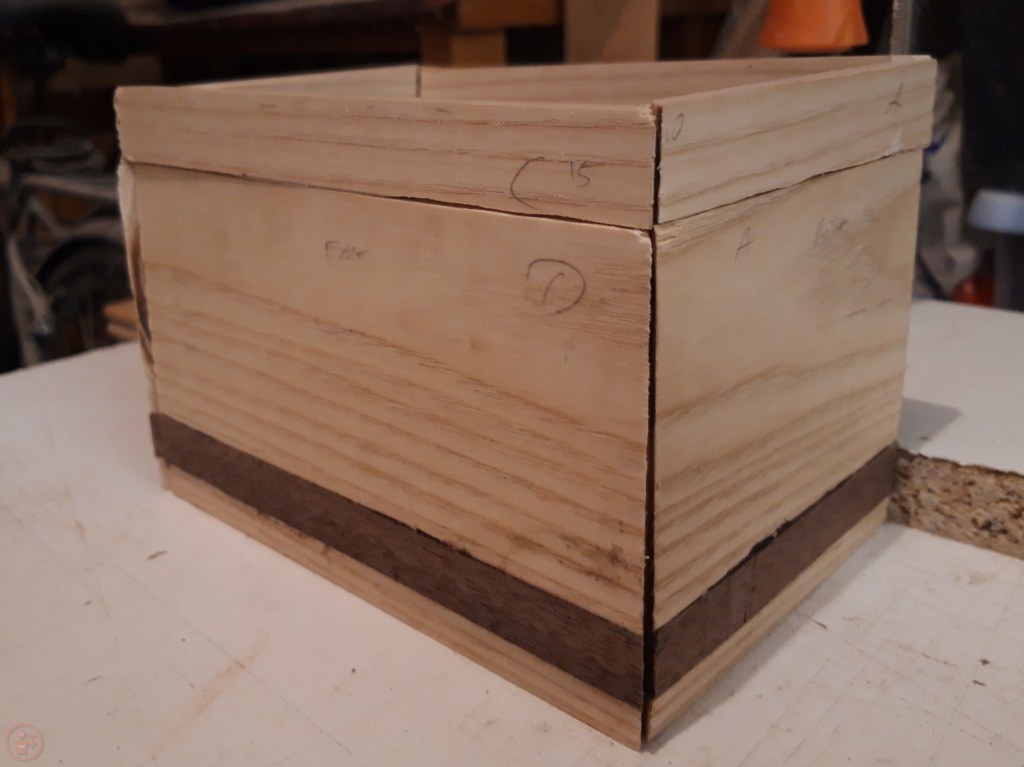
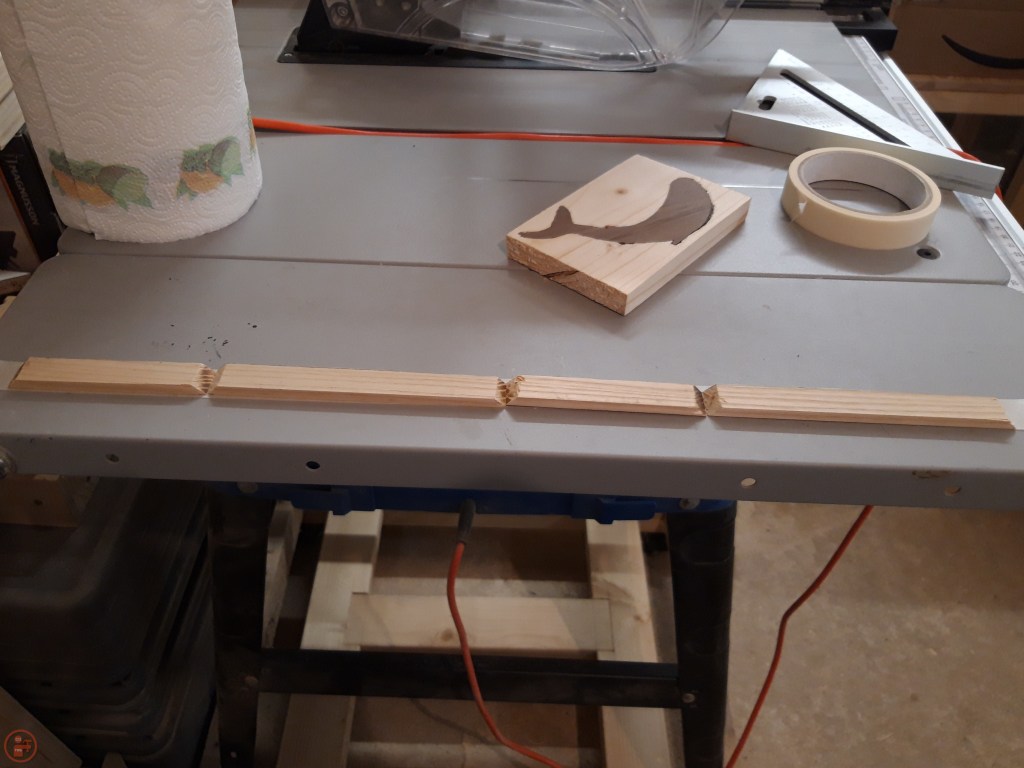
I selected some oak for the sides and base and selected some walnut to use as an inlay for decoration on the top and sides. I cut the pieces to the right dimensions on my table saw, adding 45 degree mitres to the short sides to form the box. I also carved a channel a short distance up from the base of each side to hold some decorative walnut trim.

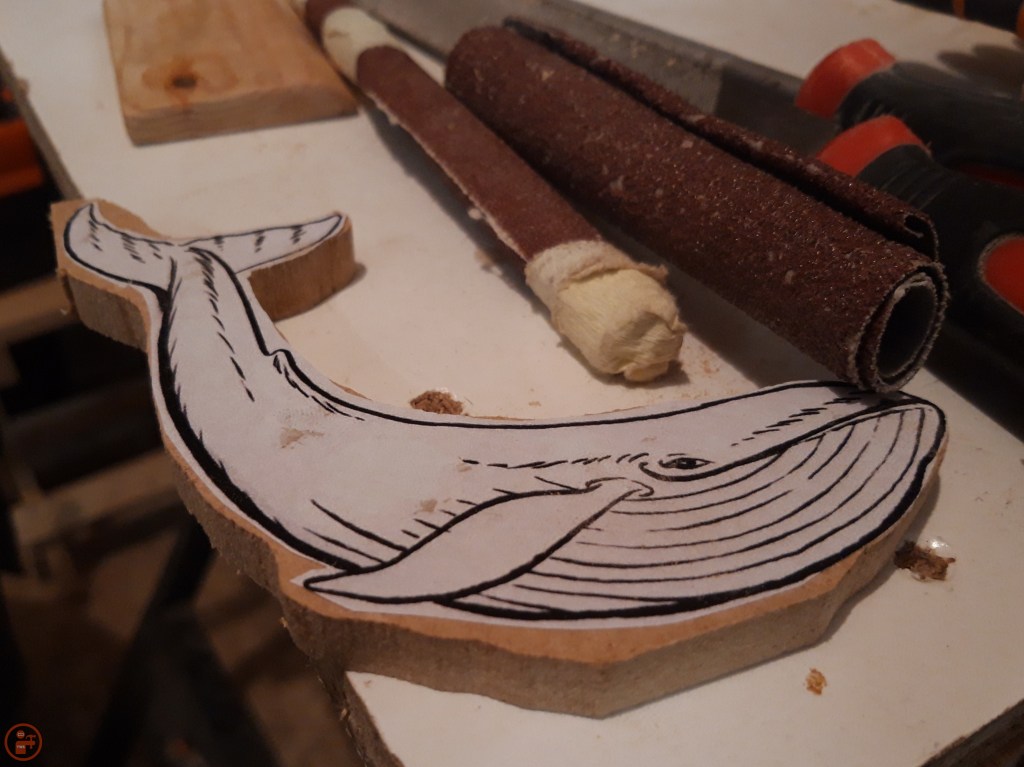
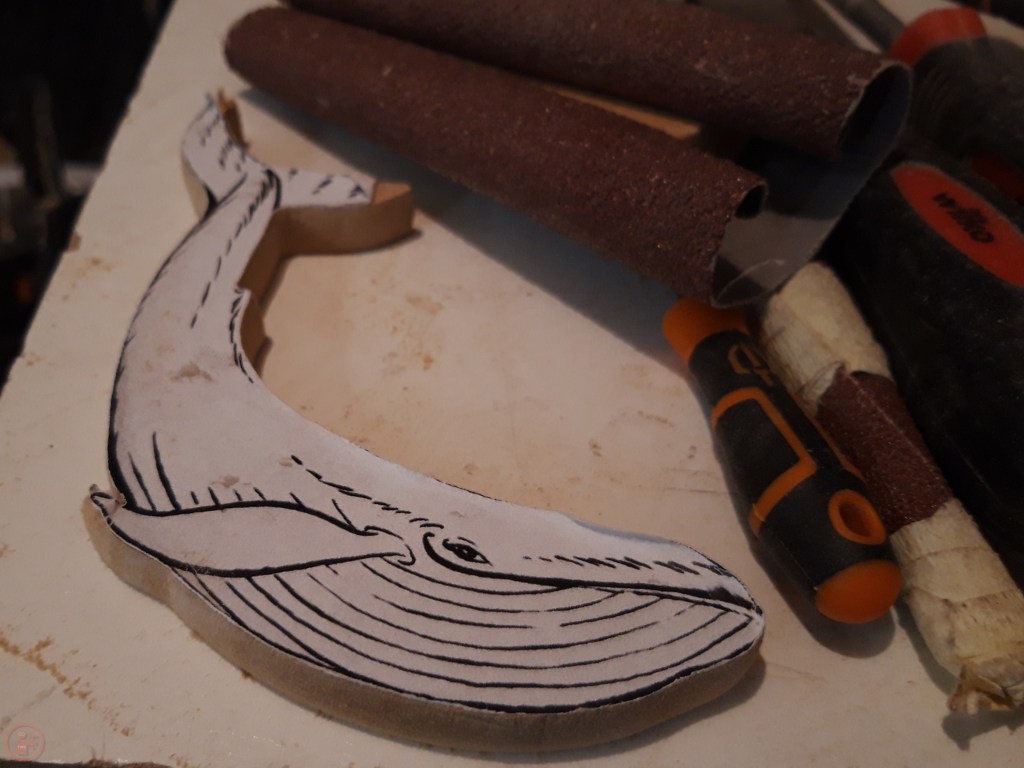

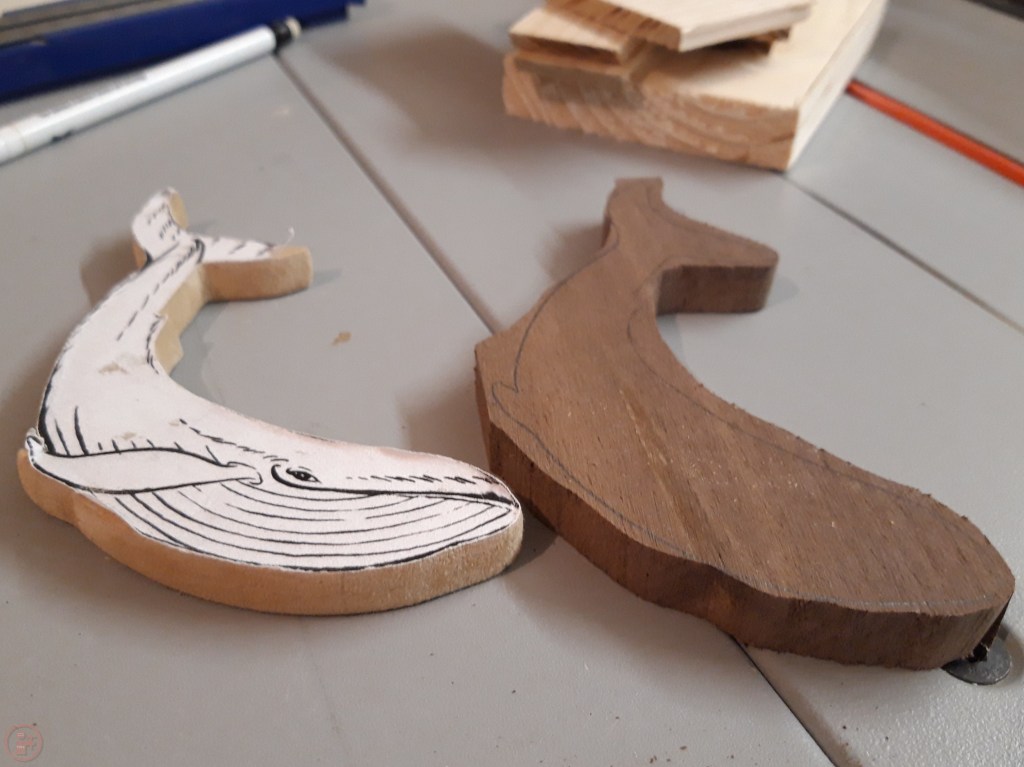
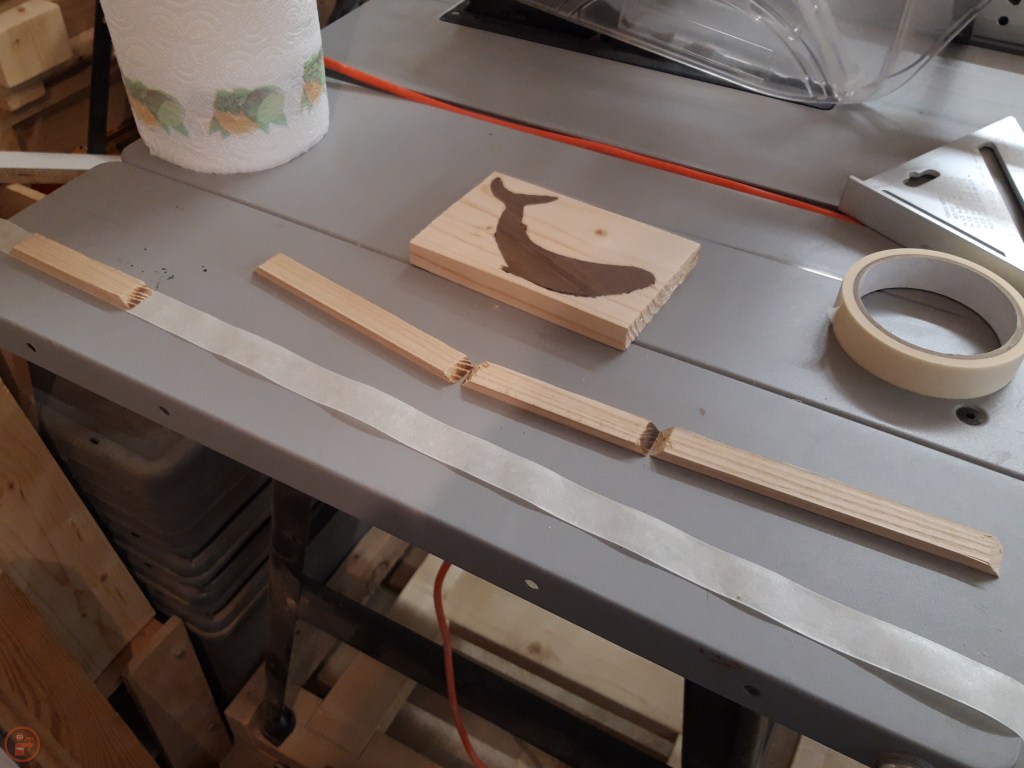
I printed off a template for the whale design I wanted to use and glued it to some mdf to use as a template. I generally always use mdf to form a template to give me the option of making designs again without having to print out another copy of the image. After finishing the mdf template by sanding flush to the lines with some 40 grit sandpaper wrapped around a pencil to effectively sand inside the curve of the tail, I traced the design onto the walnut. I rough cut the shape using my coping saw and then repeated the sanding to end up with the whale design ready for the box lid.

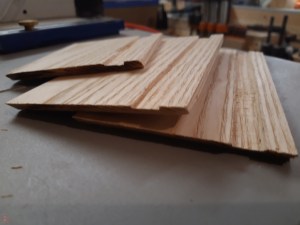
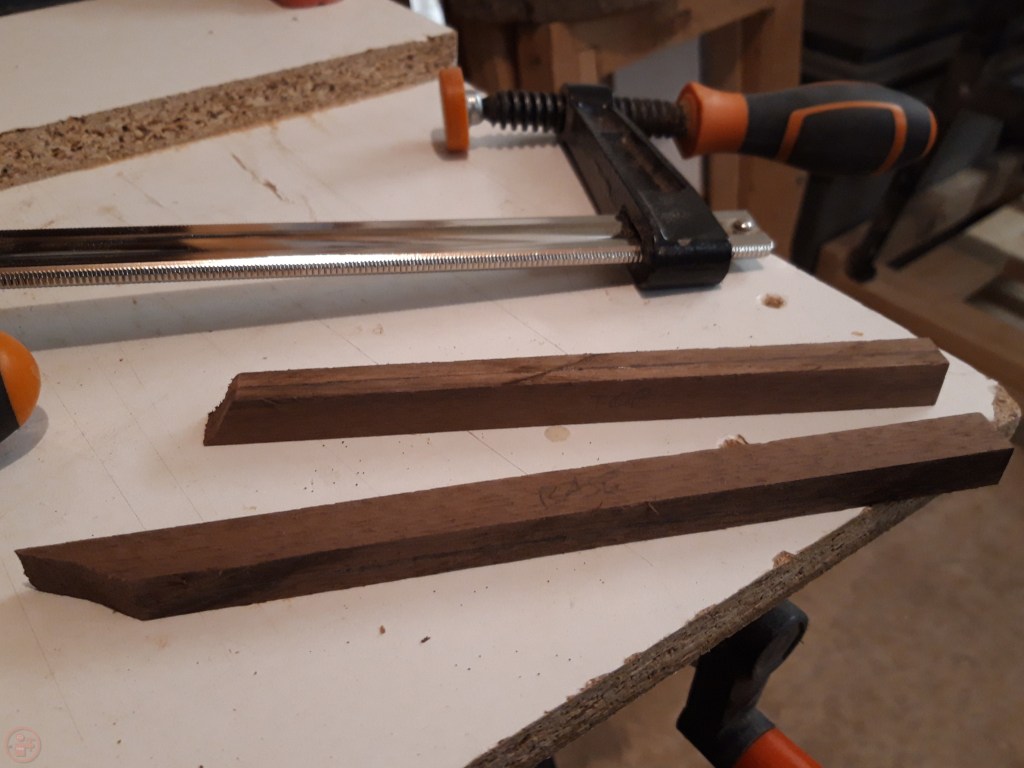
I also ripped some longer pieces of walnut into thin strips, carefully using my coping saw to cut along the length rather than using the table saw to reduce the amount of waste lost due to the blade kerf of the table saw.

I fitted the walnut trim pieces into the oak sides and then cut them flush to the mitres. I planed and sanded the surface smooth to ensure the walnut sat flush with the surface of the sides.
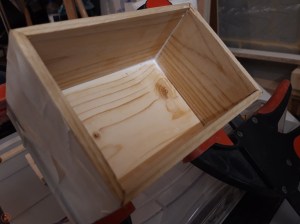
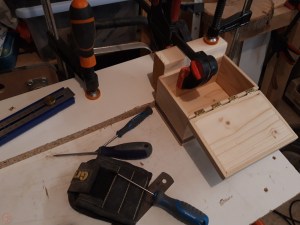
After a test dry assembly, I glued up the box, using a selection of clamps to hold it together while the glue dried. I used the base to help keep the box square. I also cut some extra pieces of oak to frame the lid of the box, continuing the grain around the box.
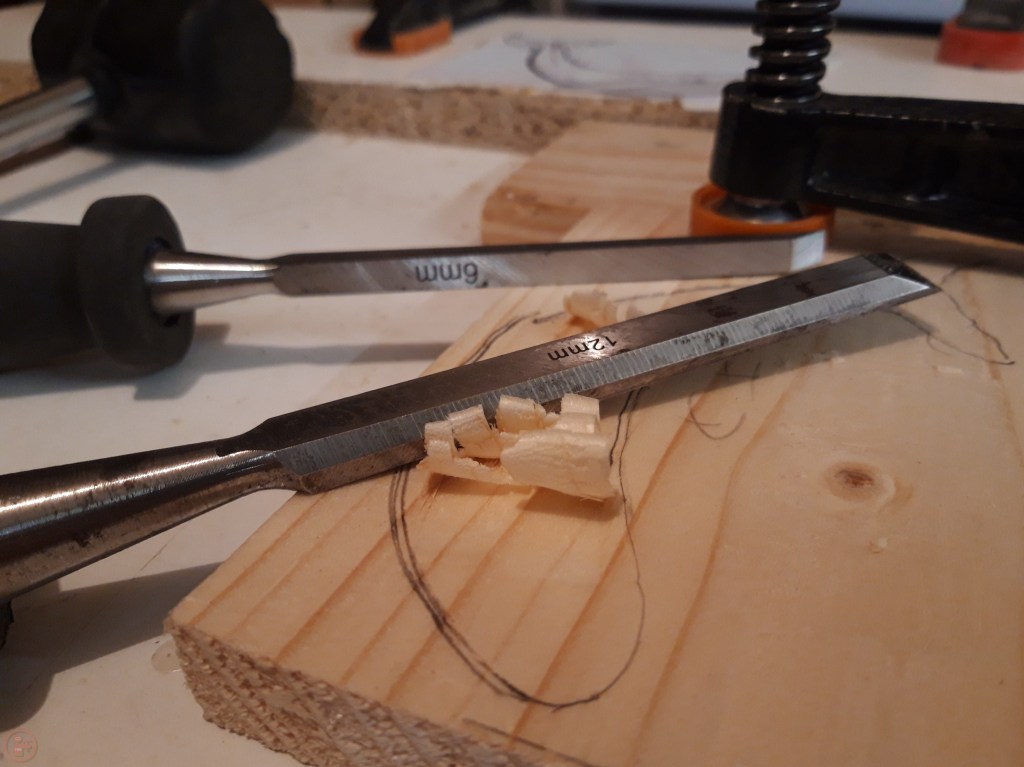
While the glue dried on the box itself, I turned my attention to the lid. I decided on a piece of pine for the majority of the lid, as being a softwood would be much easier to carve. I traced around the walnut whale shape and then used a selection of different sized chisels and some carving tools to remove the material. This took some time and was a bit of a challenge due to the intricate nature of the design. Since I made this box, I have purchased a Dremel multitool (not sponsored) which would have made this much easier – something I can do differently for future designs!
I glued the walnut whale into place and then used some tape to help complete the glue up of the oak trim around the pine.
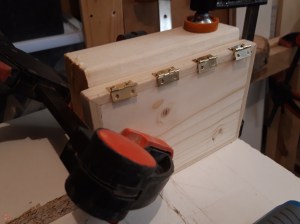
Once the glue had dried, I fitted some small hinges to the lid of the box, using a very small drill bit to make pilot holes to assist the screws penetrating the hard wood trim.

I also used a small amount of wax on each of the screws to make it easier to screw them in and reduce the stress on each screw head – something I learned previously!

After a good while fighting with some very small screws due to my not brilliant hand-eye coordination for small movements, I had the hinges all attached to the box and the lid!
I added my stamp to the bottom of the box (of course!) and then selected Danish Oil as a finish, to protect the box and bring out the fantastic grain of the different types of wood.
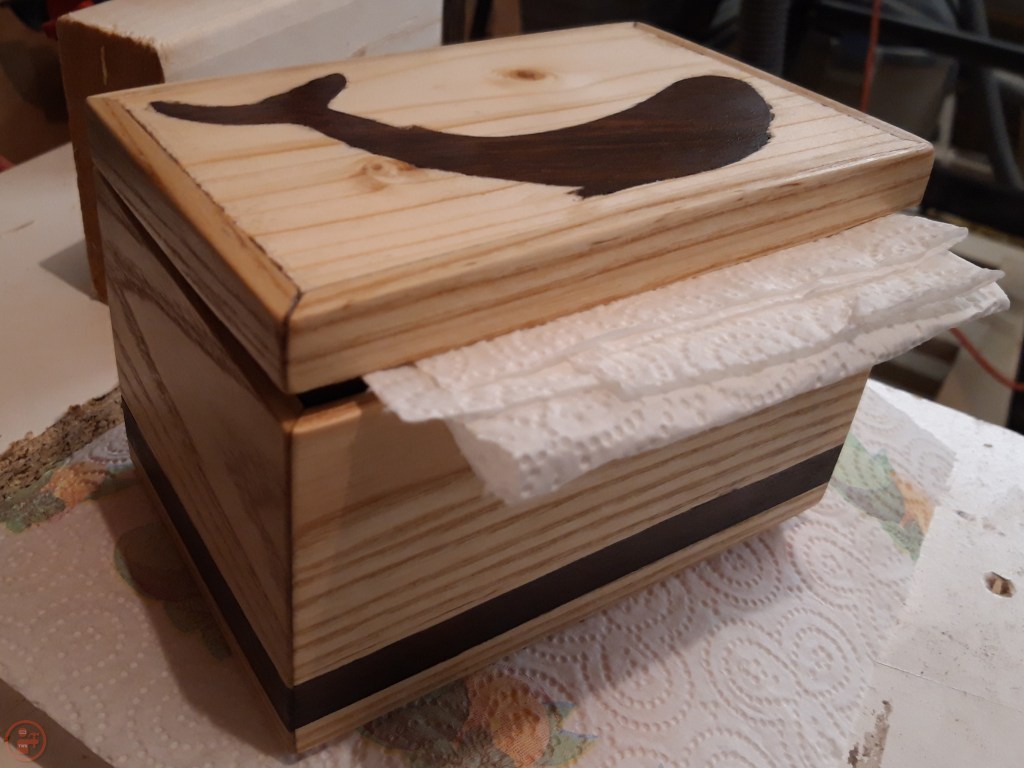
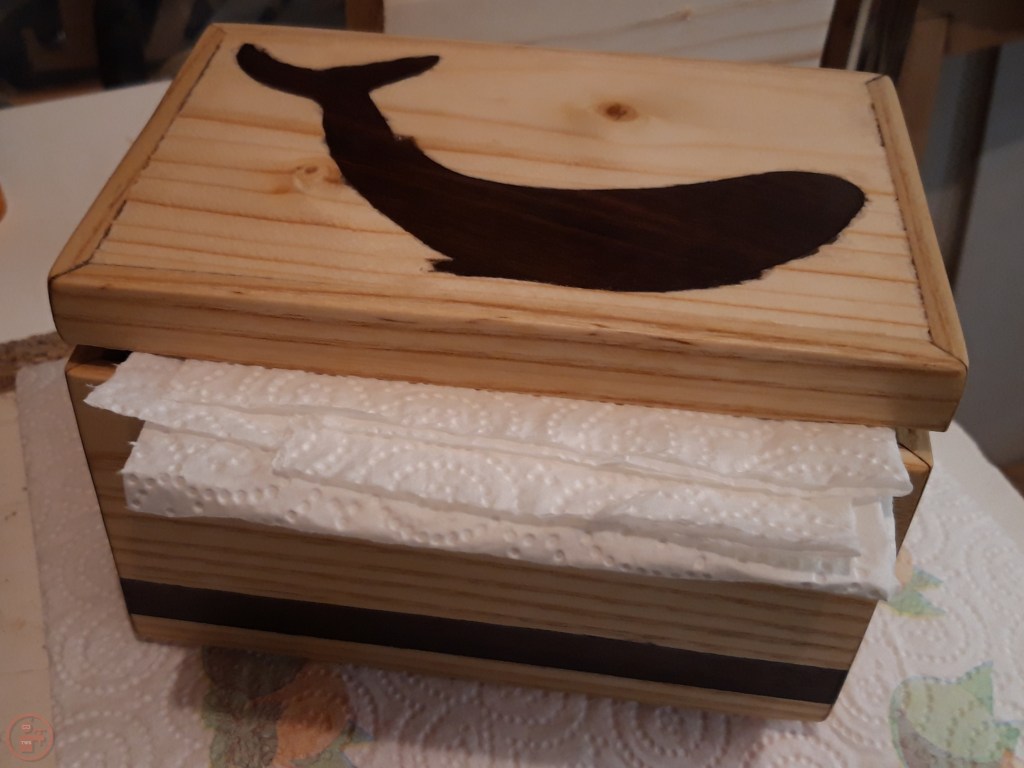
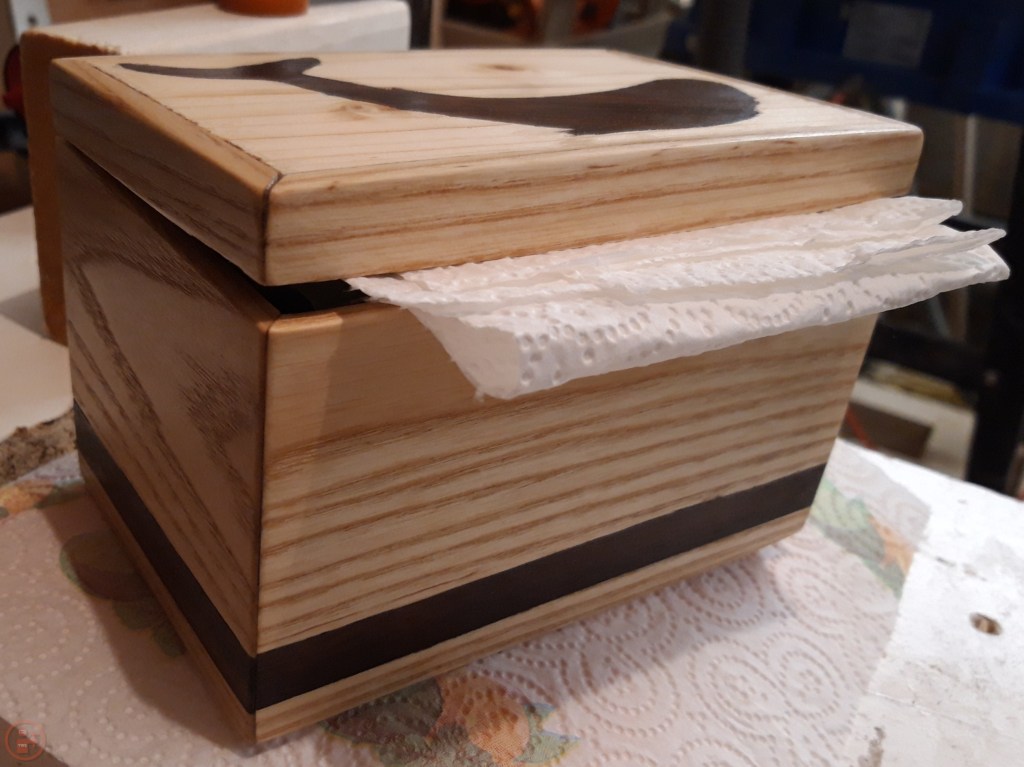
I used a piece of kitchen roll in the box lid to keep it propped open while the oil dried and then gave the box a thorough wipe over, both inside and out.
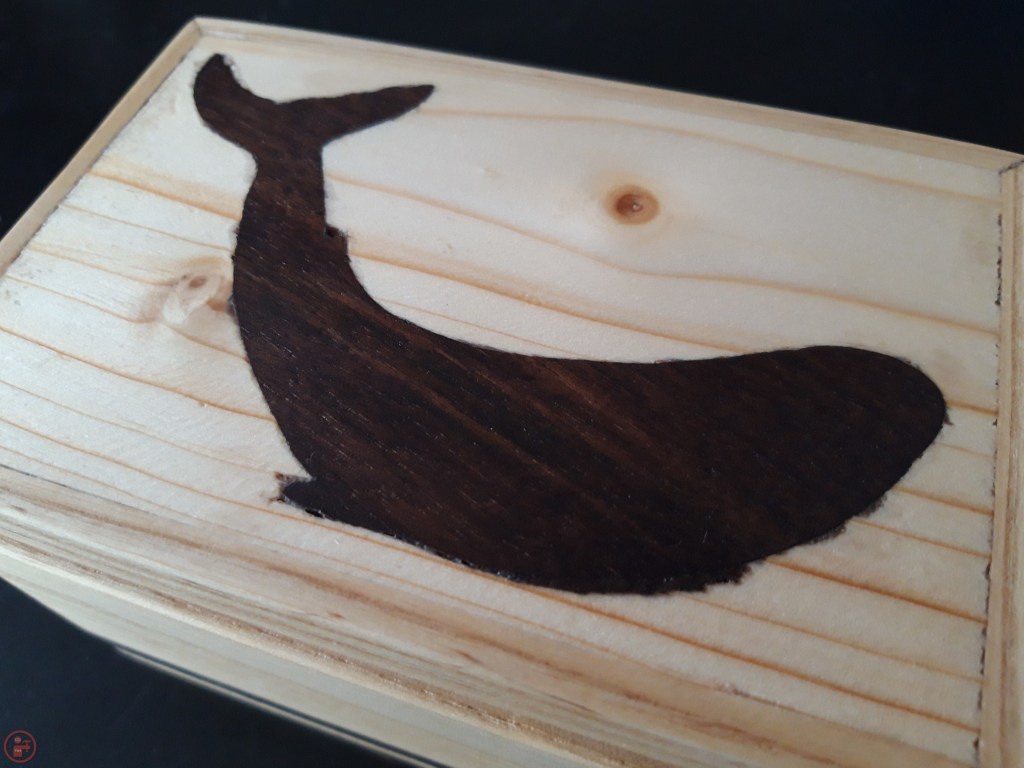
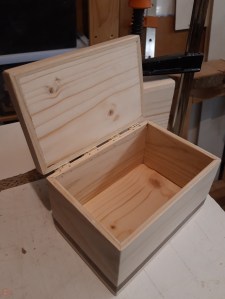
I am really pleased with how this turned out – the inlaid whale was quite fiddly to fit and could have been a little neater, but I think the grain of the pine is fantastic and very representative of the sea! I love how the knot at the top looks like the sun and the horizontal grain looks like waves on the sea. This was one of my first projects using multiple different types of wood, learning about each of their properties and how easy they are to cut, sand, glue and their receptiveness to finish. I definitely learnt a lot for future projects. And most importantly, my Grandfather was very happy with the gift! 🔨
