Using a router is a great way to add a range of shapes to wood. One of the challenges of using a router safely however, is when the workpiece is particularly small. For that, a router table is ideal!
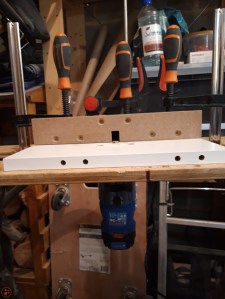
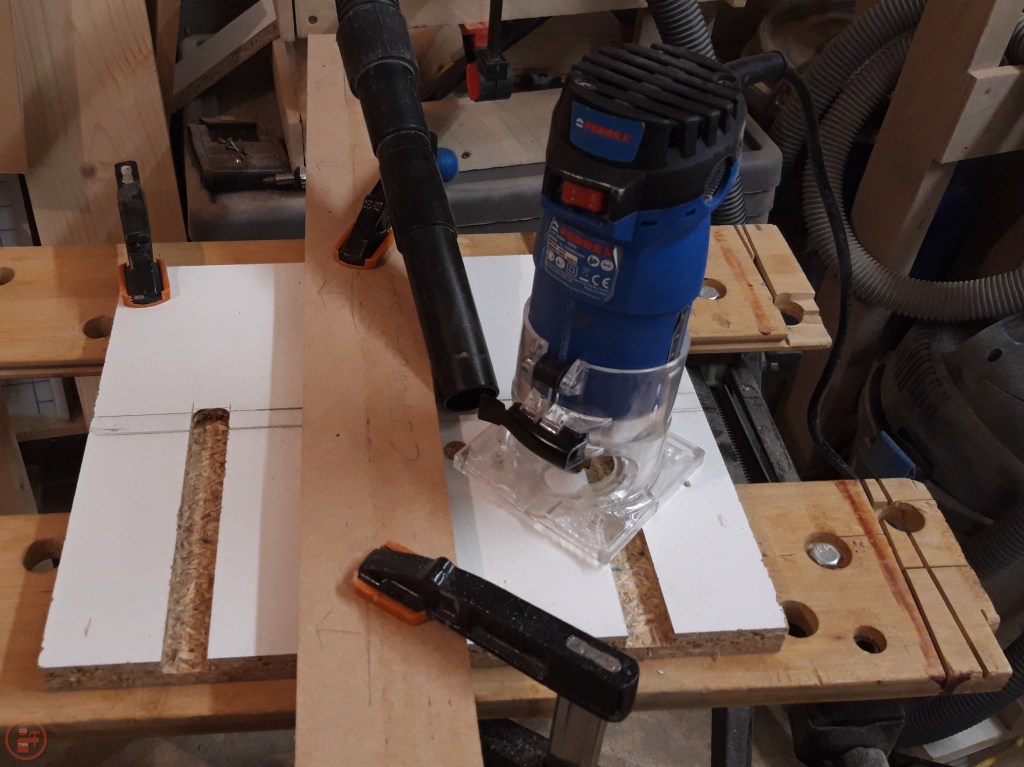
I used some white melamine coated chipboard as a base and mounted my router upside down in the centre, giving me a section on each side to secure within my workmate. I made a fence using some 18mm mdf and mounted an additional piece of mdf with a hole cut in it for the dust hose, so I could have dust collection at the router bit.
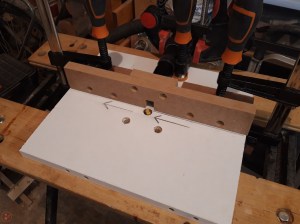
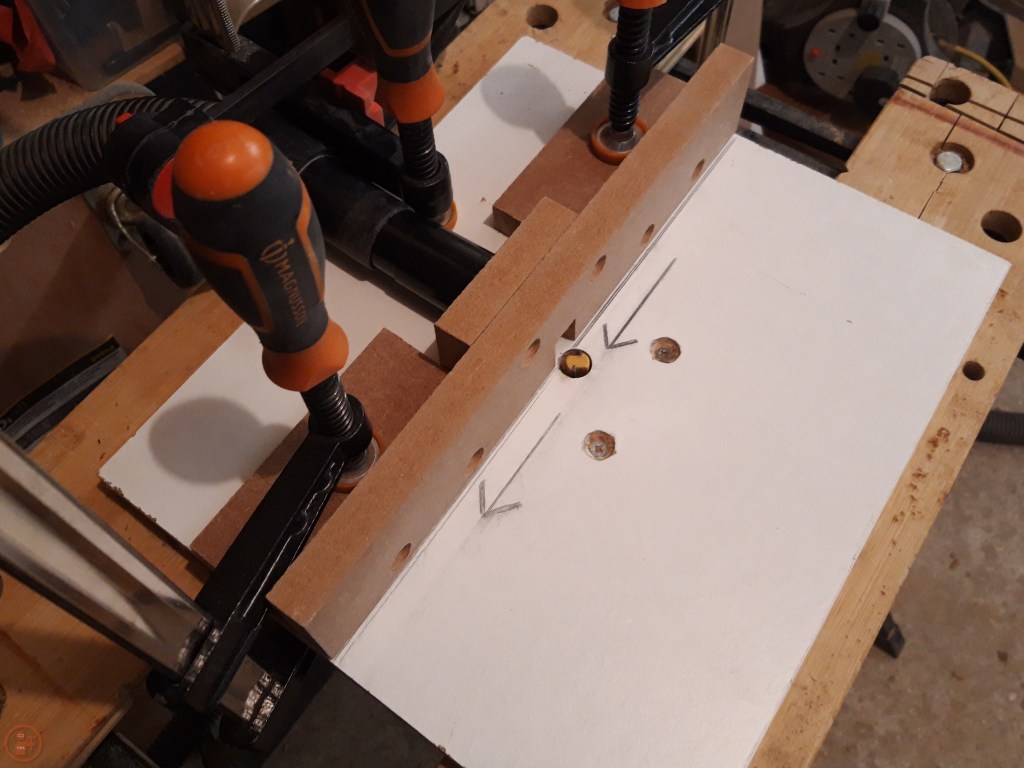
I recessed all the screws in the fence so a workpiece could slide across easily, as well as recessing the screws holding the router in place.
I started with a small hole for the dust collection but expanded this due to the hole being unsuitable for larger and different shaped router bits. I also used clamps initially to hold the fence in place, but this was a bit of a pain as it took a while to adjust the fence each time and also made it a challenge to get the fence perfectly parallel to the router bit.

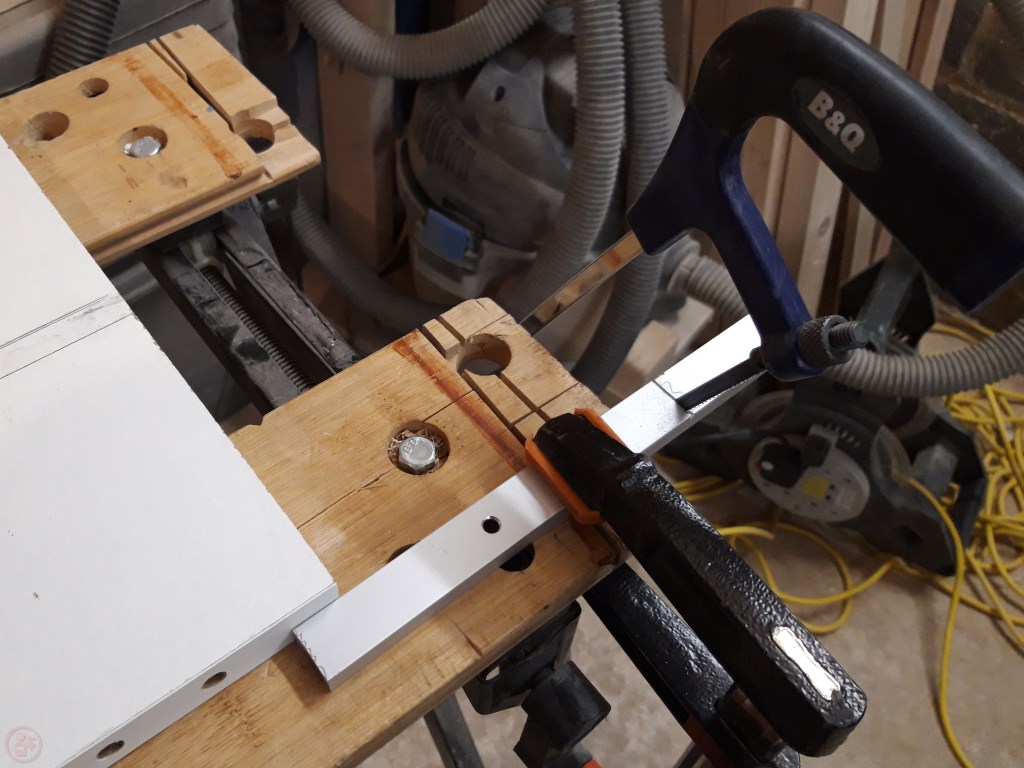
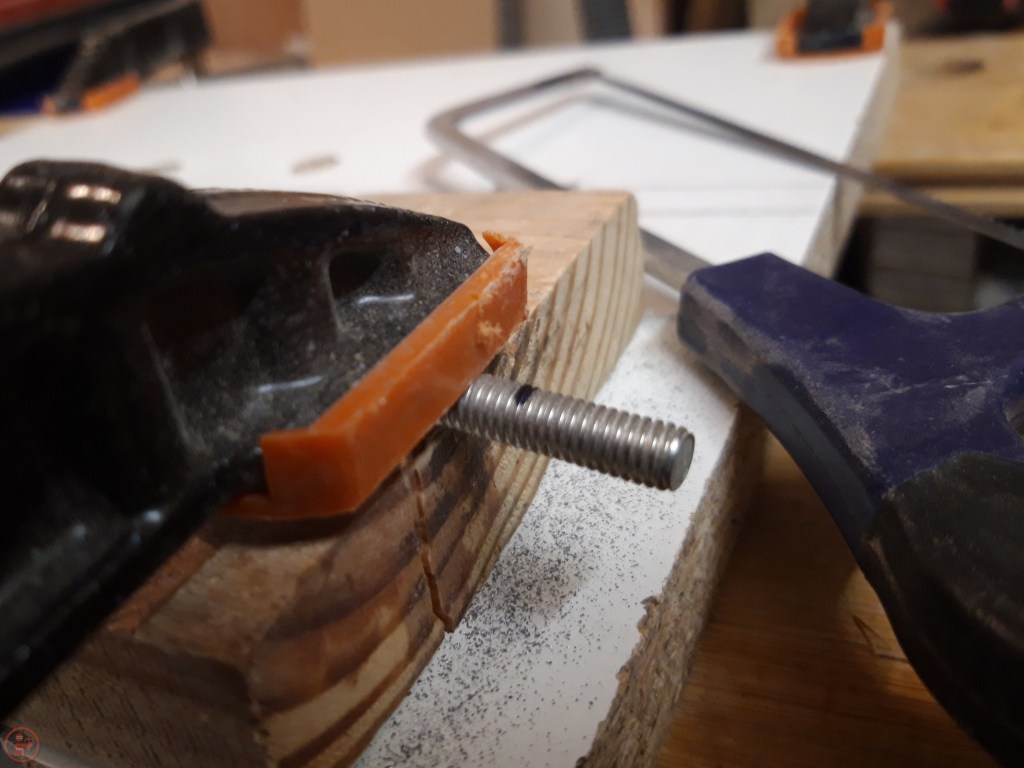

To solve that I used my router to add grooves into the back half of the white melamine and fitted some t-track. I cut some t-bolts down to size and then fitted some star-shaped hand knobs to the bolts.
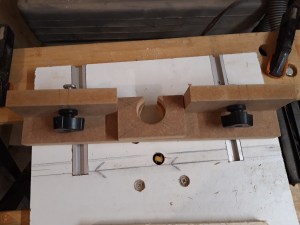
I slid the t-bolts into the track and then clamped the whole router table setup down to the workmate.
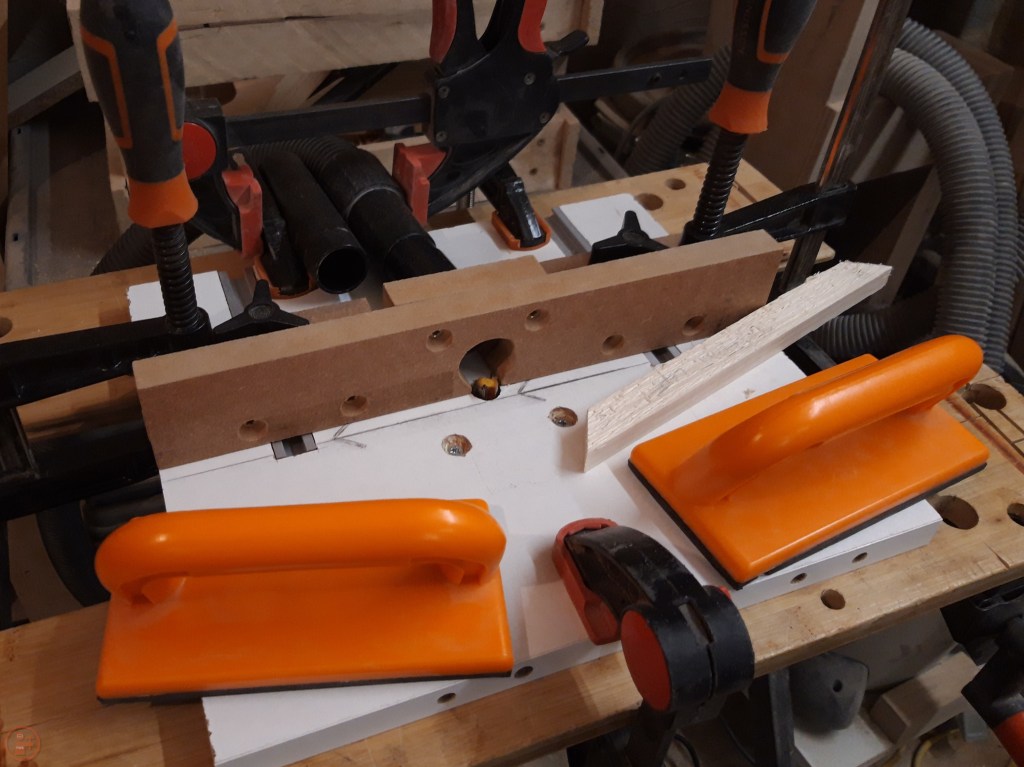
This was a nice quick build that has given me a lot of additional functionality, including the ability to add grooves and rebates to small workpieces without risking my fingers! I have two push blocks I am using to keep my fingers well away from the router bit and the dust collection works really well to minimise the amount of dust being sprayed around the workshop. On to the next project! 🔨

1 thought on “Router Table”