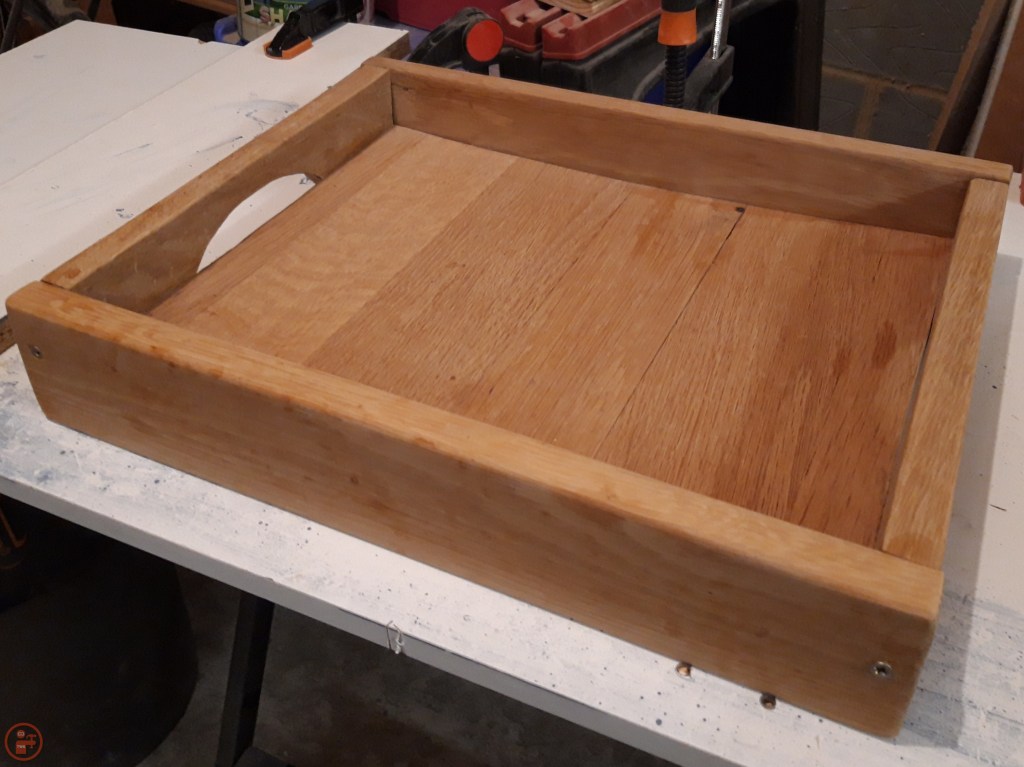
Improving previous projects to make them better is a good sign that you are improving and developing your skills in a hobby!
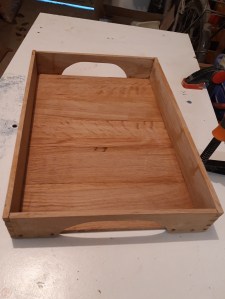
I previously made a very solid butler’s serving tray, which was chunky enough to probably do someone a serious injury if you dropped it on them! When we did a sort of things on the counters in the kitchen, I decided it was time to improve the tray by making it more refined and a lot less clunky.

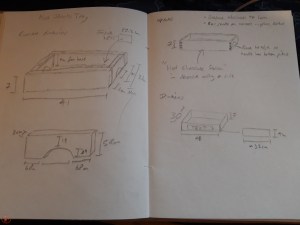
I drew out some plans for rough dimensions in my planning notebook and then started with disassembling the tray. As I had only secured it with screws and some glue, it was not too much of a challenge to pry the pieces apart. I then taped the long side pieces together and the short side pieces so I could cut them to the exact same size on my mitre saw.
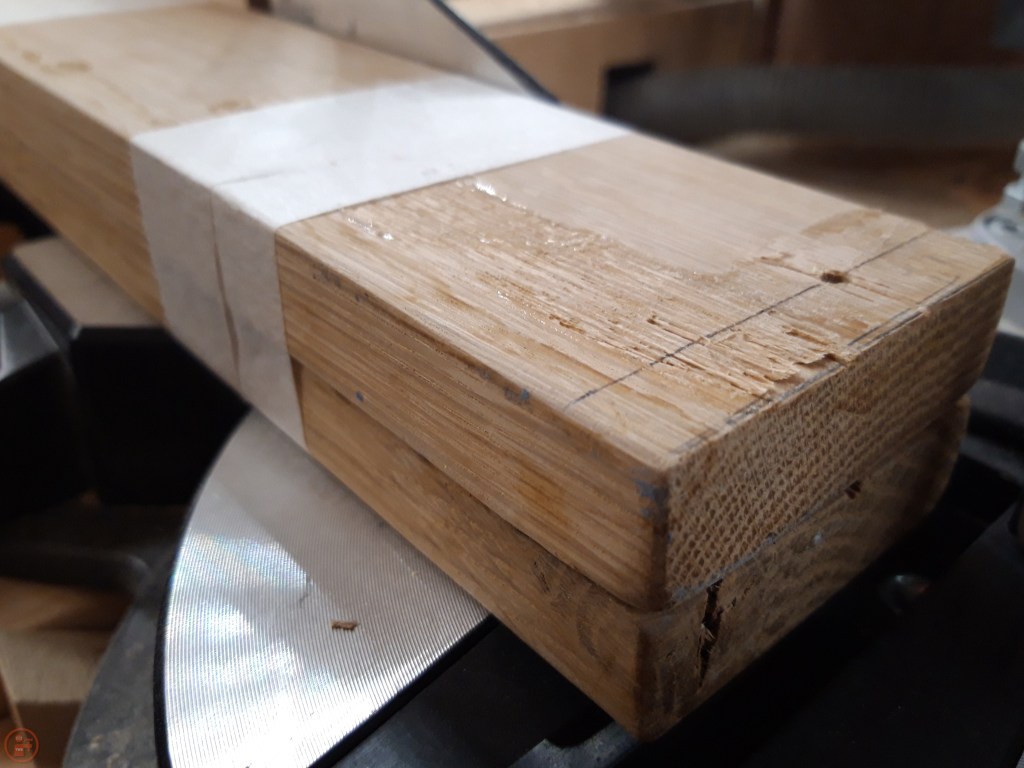
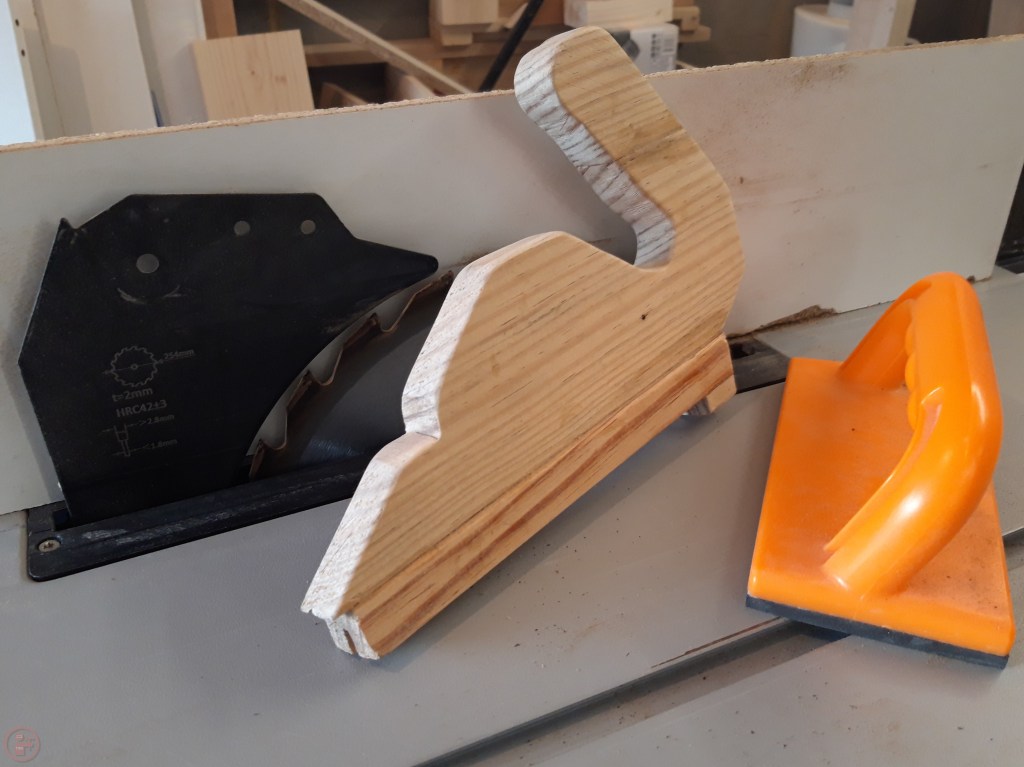
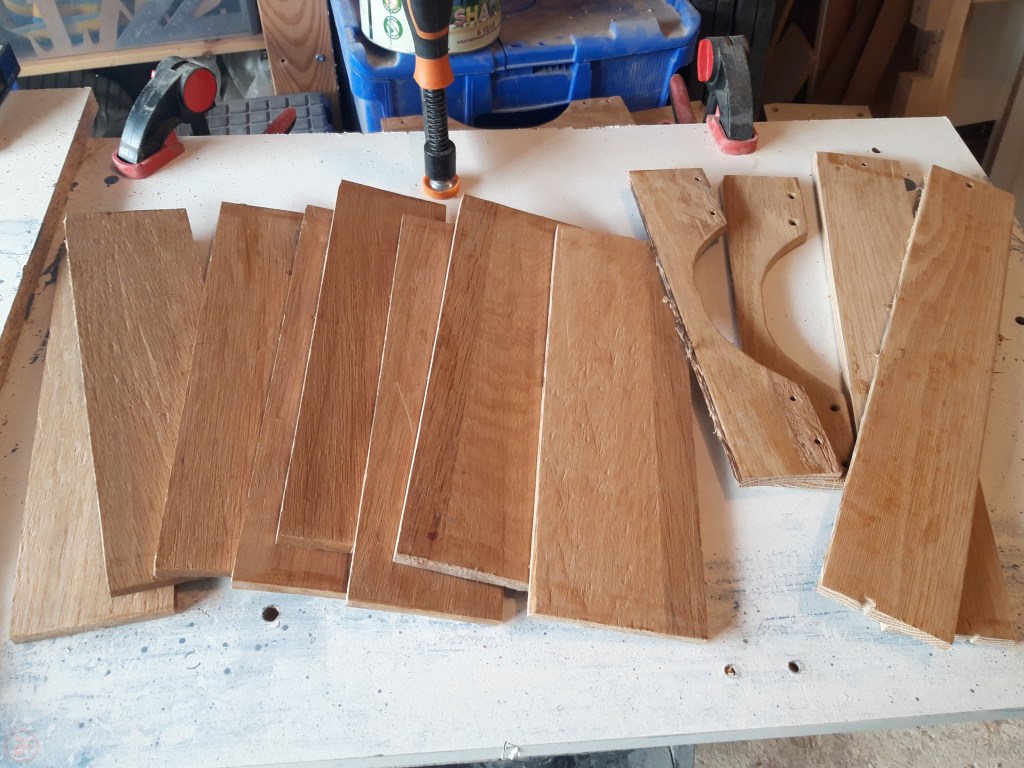
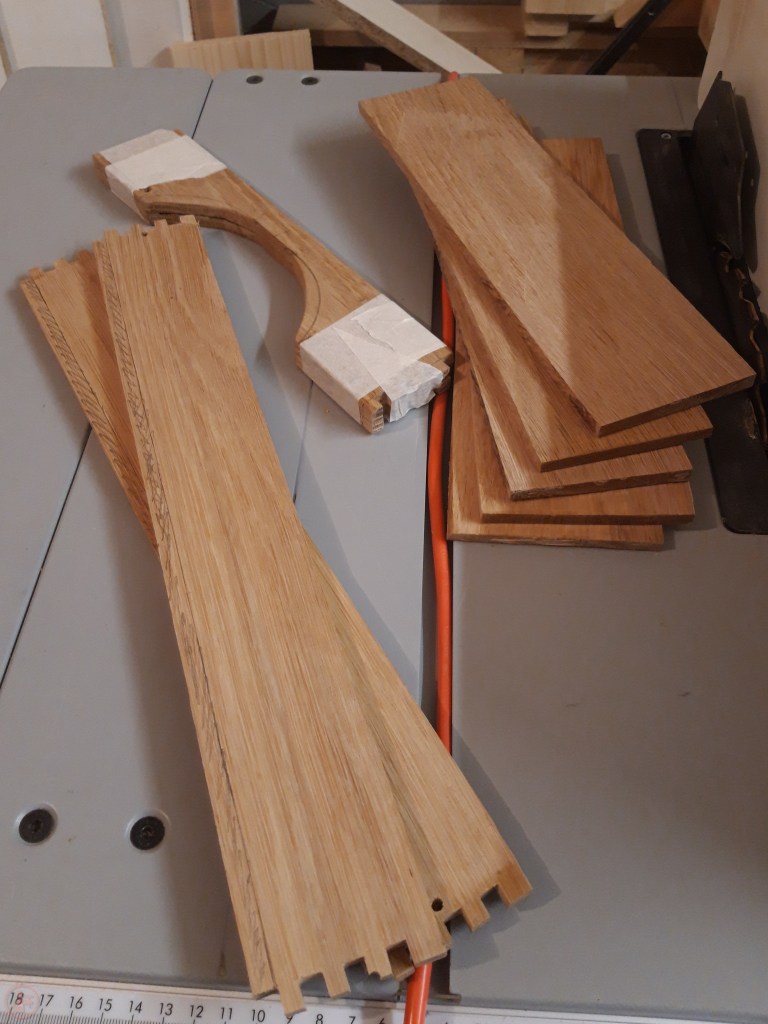
I then pushed all the pieces through the table saw to rip them down to thinner, more delicate pieces. I only did this with one of the long sides and one of the short sides, as I could then both of the new pieces for each side.

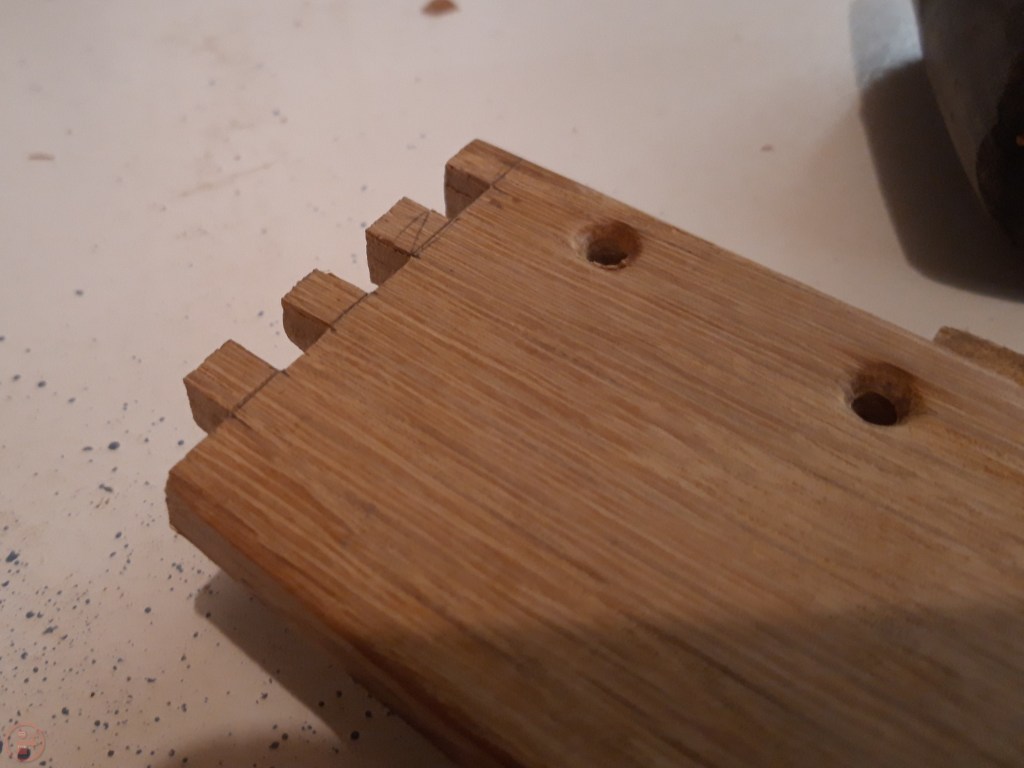
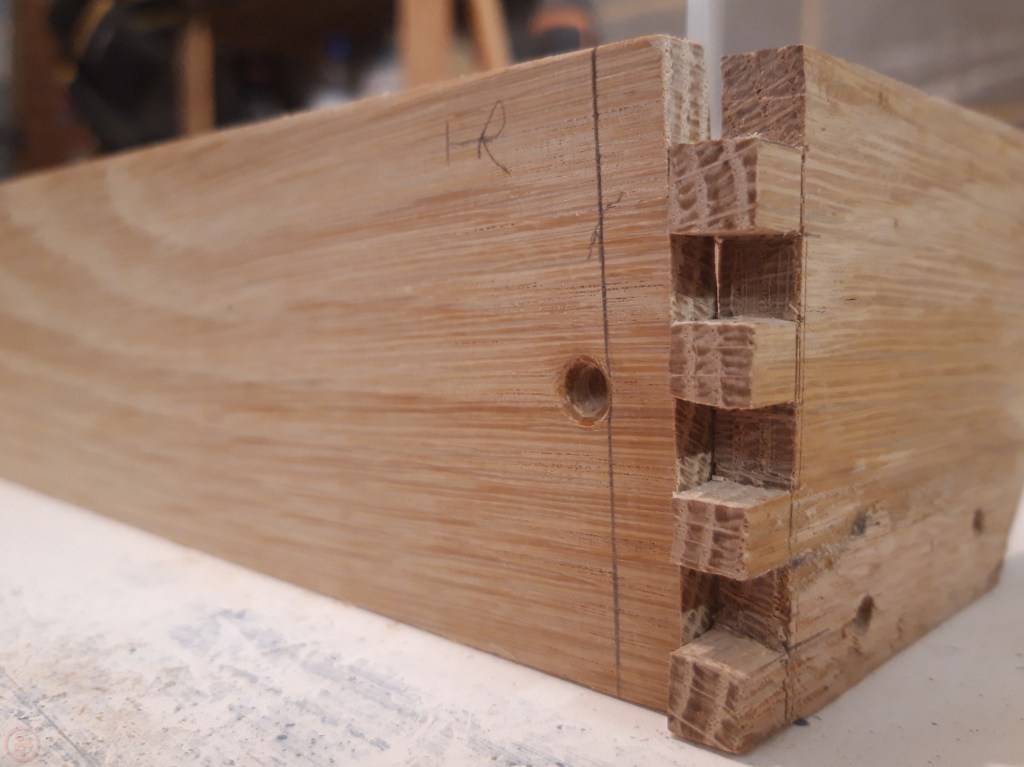
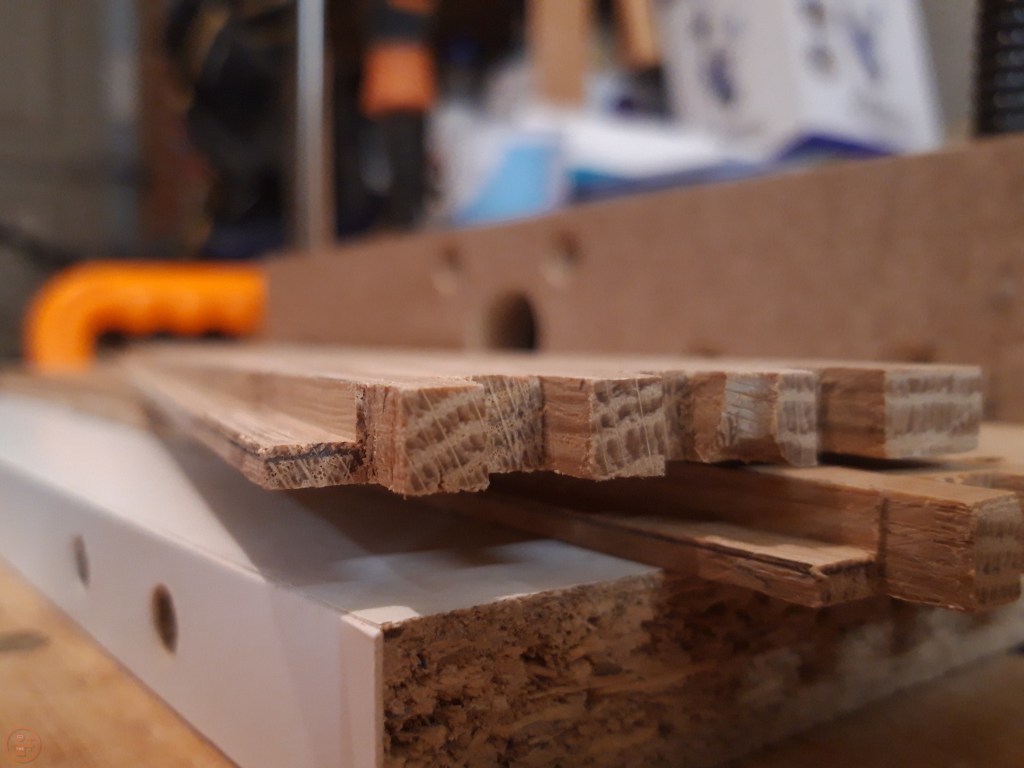
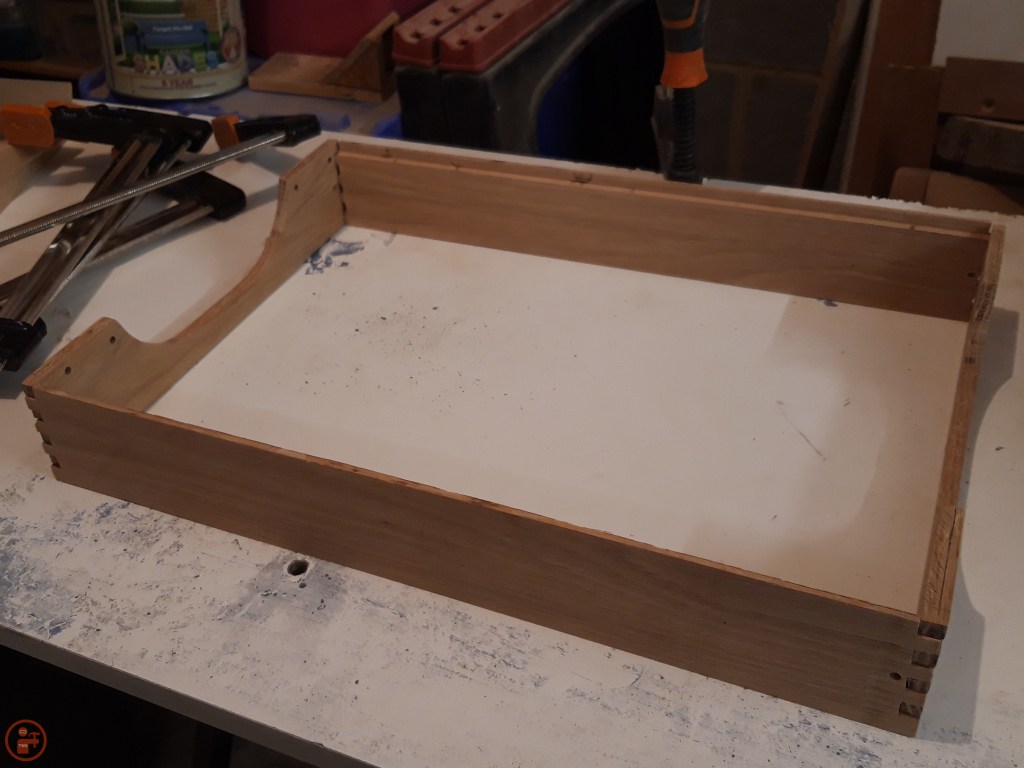
As my skills have improved over the years, as well as the selection of tools I have access to now as my workshop has grown and evolved, I decided to do some comb and finger joints for the corners, to provide a solid connection through a large surface area for glue.

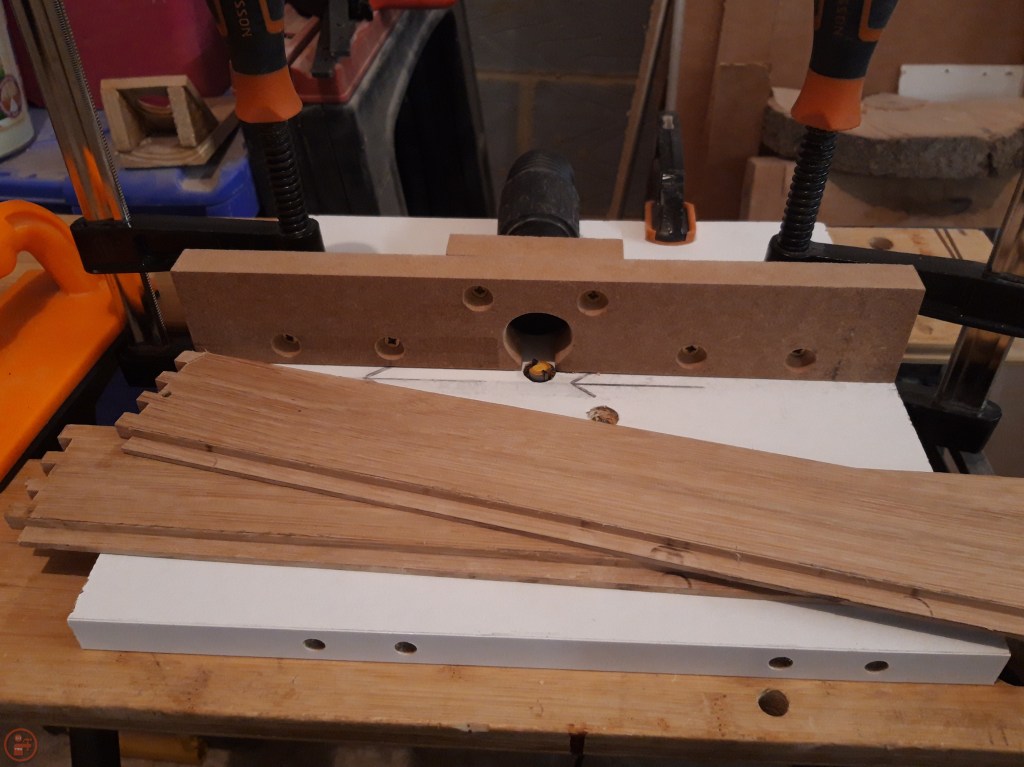
Once I had finished all four corners, I did a test dry fit (without glue) so I could check the dimensions and work out the size of the base pieces in the new version.
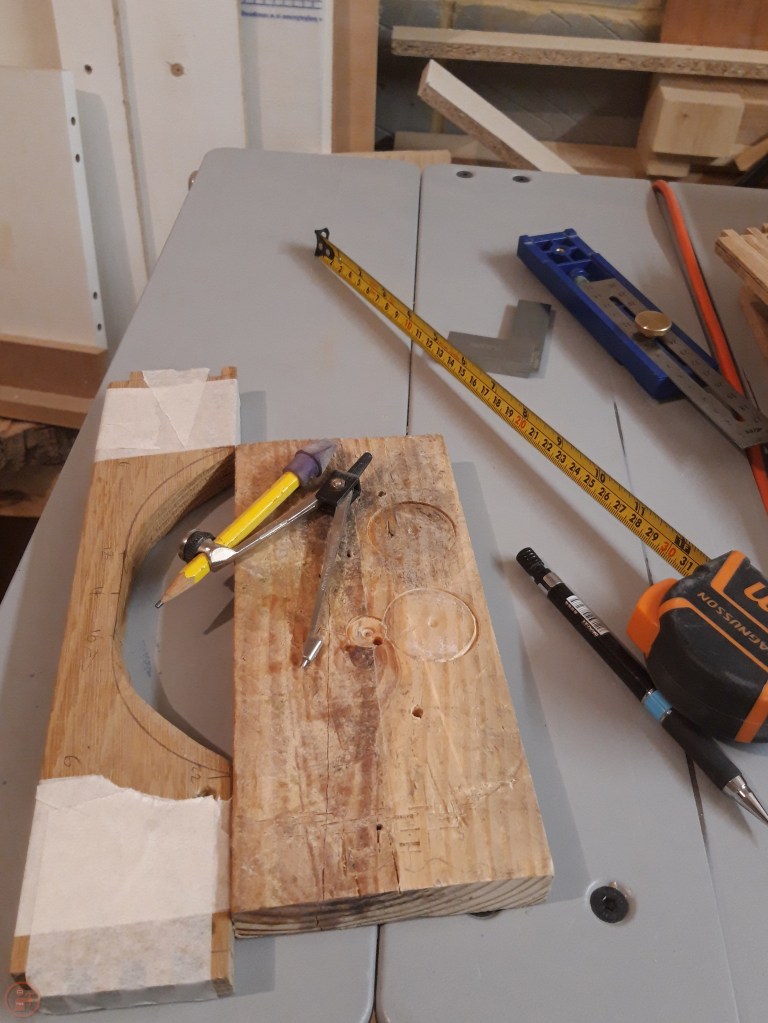
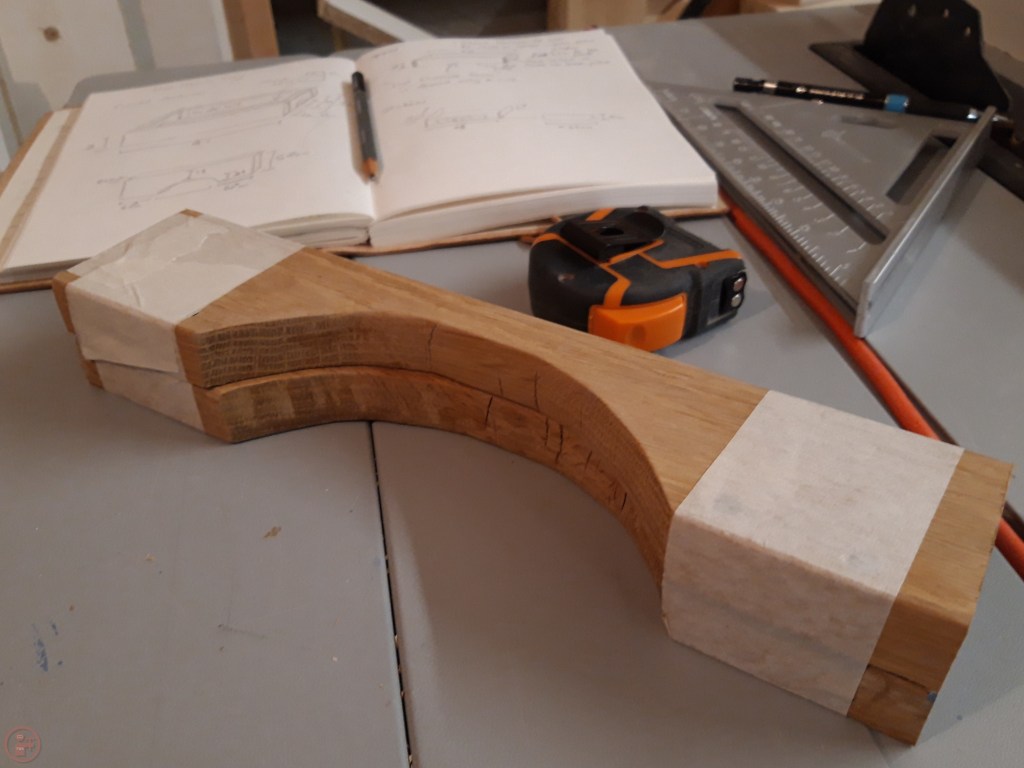
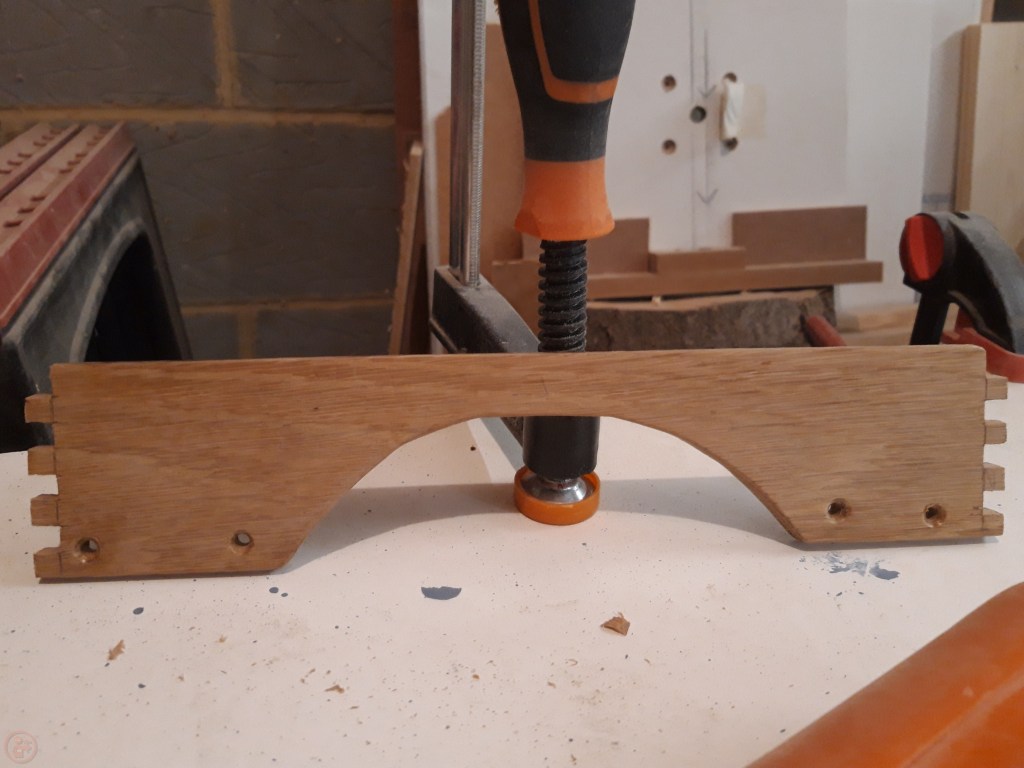
I redrew the arc for the handles and cut those identically on both short side pieces by taping them together. I used a pair of compasses and a scrap piece of wood to hold the point while I drew the arcs. I also marked out how much material I need to remove from the bottom of the long and short side pieces to make a rebate (groove) for the base to slot into.
I used my router table to do this, using a straight bit and adjusting the height of the bit and the position of the fence to remove the amount of material needed from the workpieces.
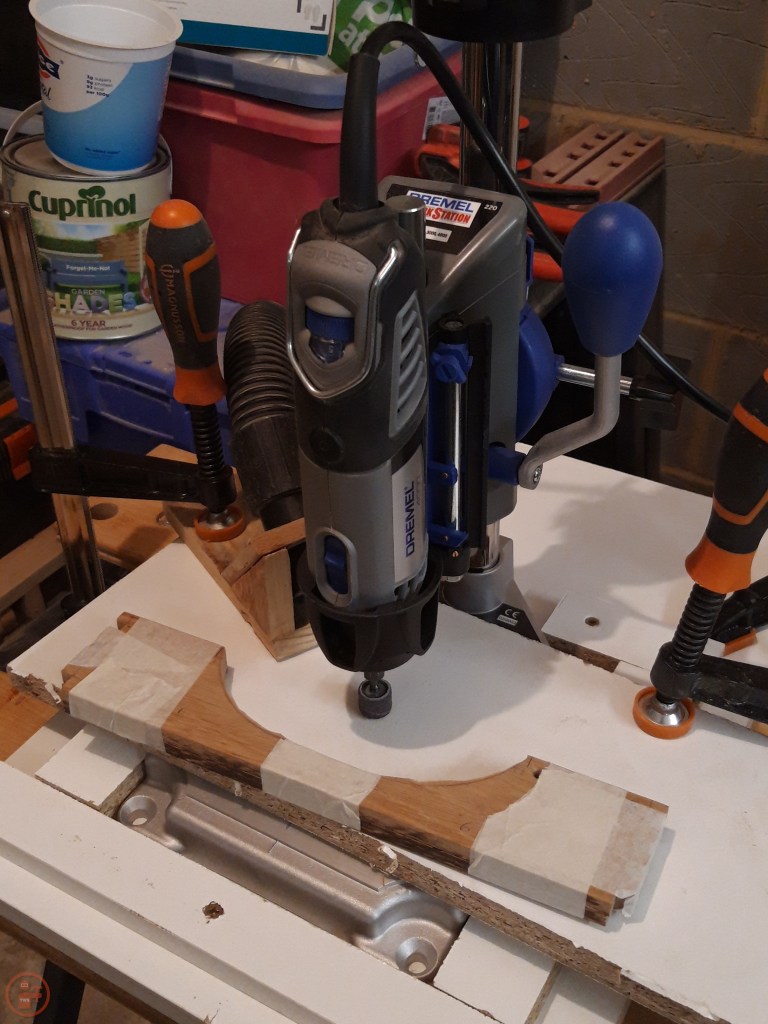
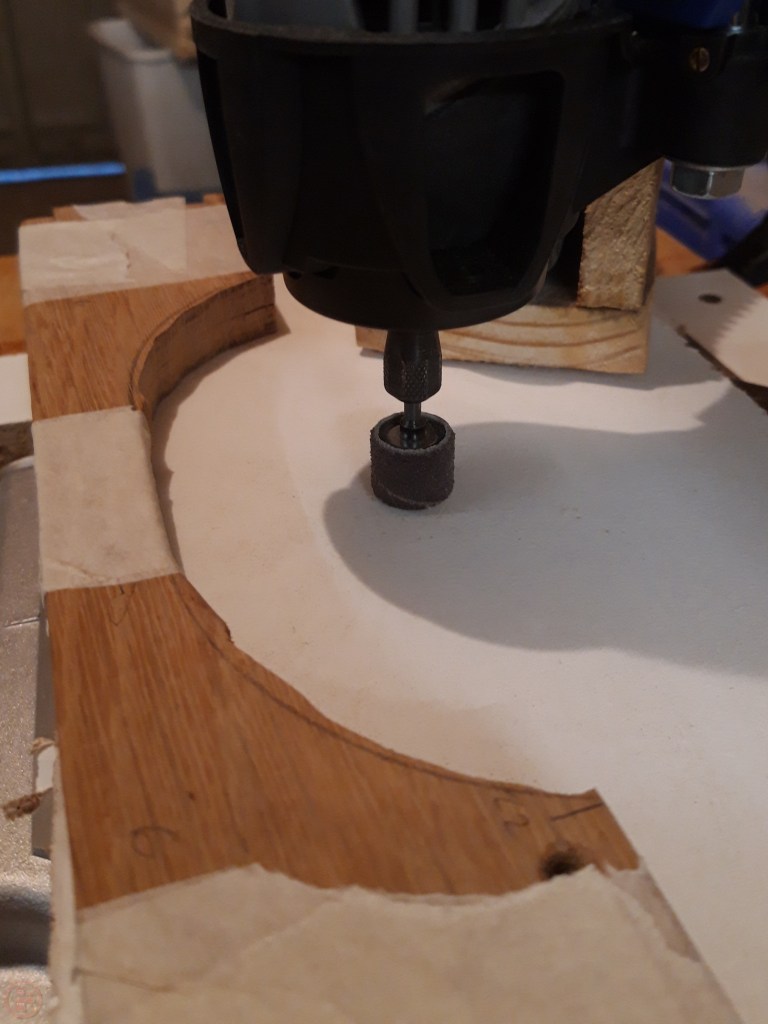
I shaped the handles of the tray using a small sanding drum in my Dremel rotary tool in the stand. This allowed me to apply even pressure at exactly 90 degrees to the short side pieces, making sure the handles were not uneven. This was my first time trying out such a setup and I’m really pleased with how the handles came out. I will have to remember this for future projects with internal curves.
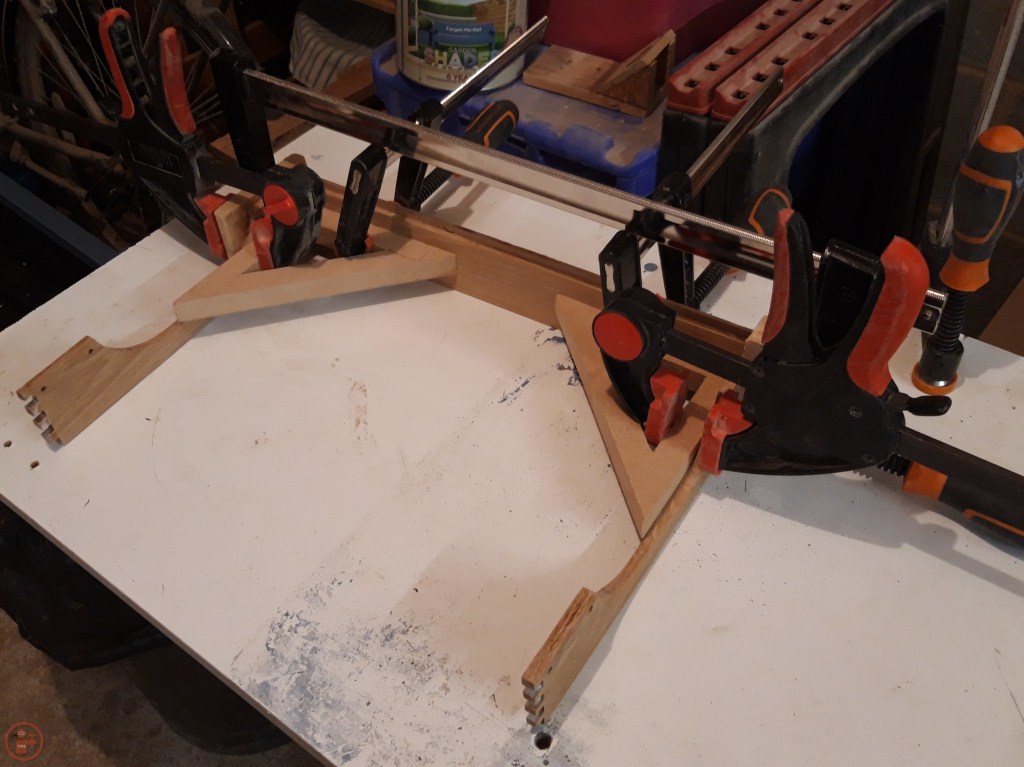
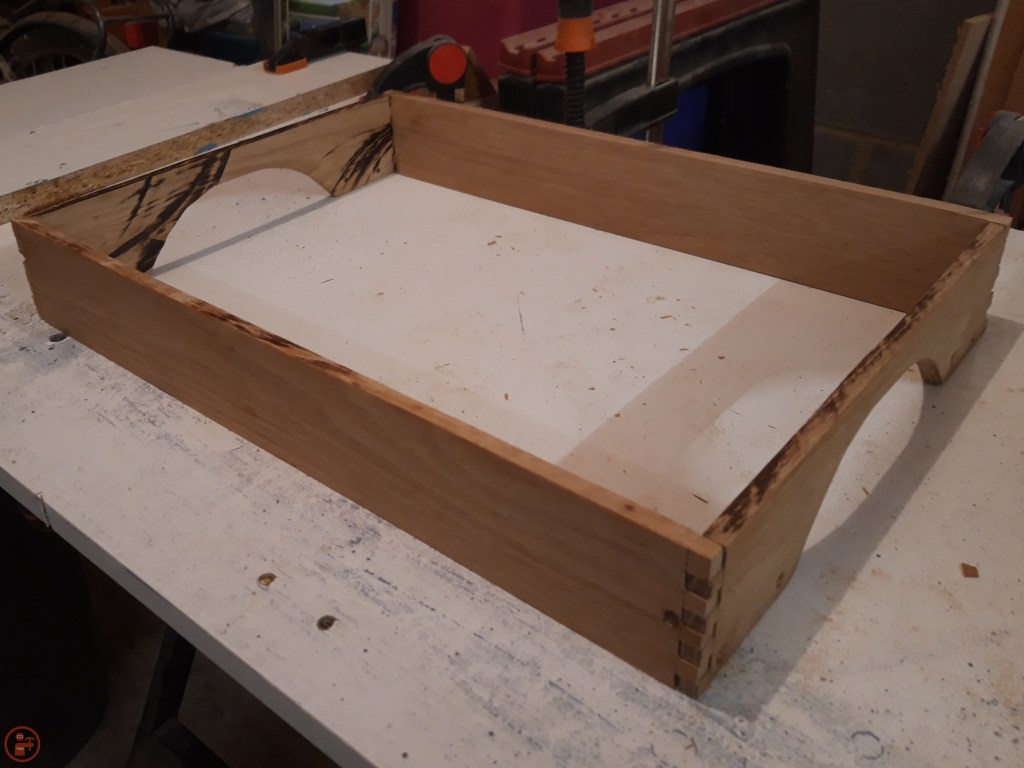
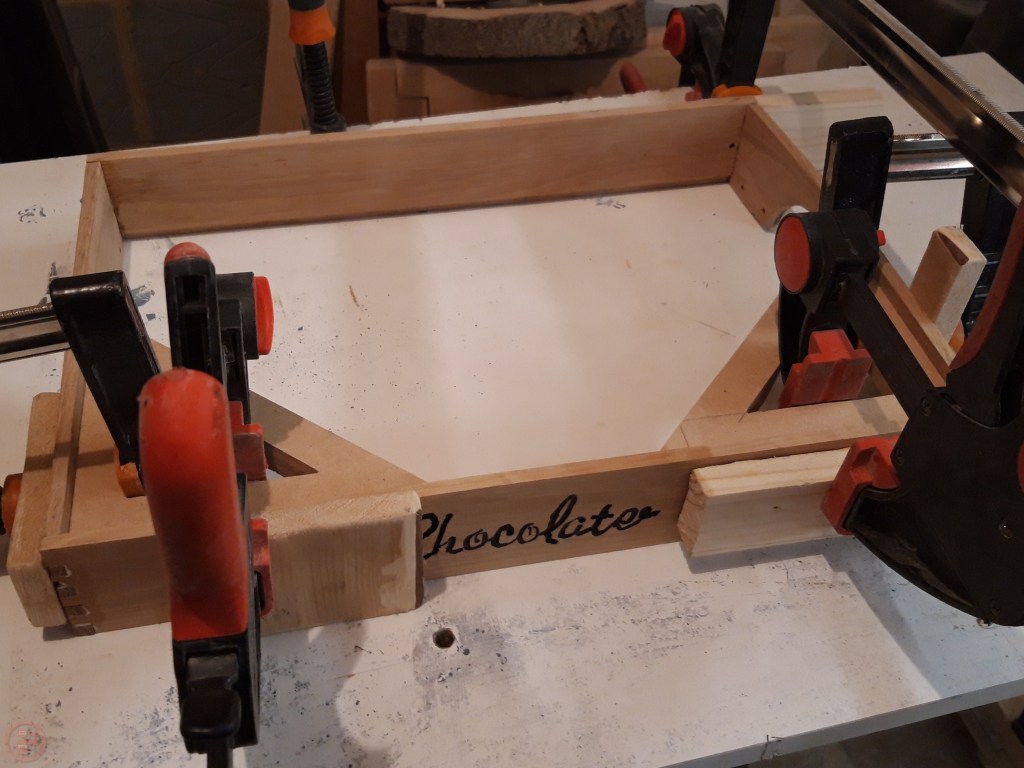
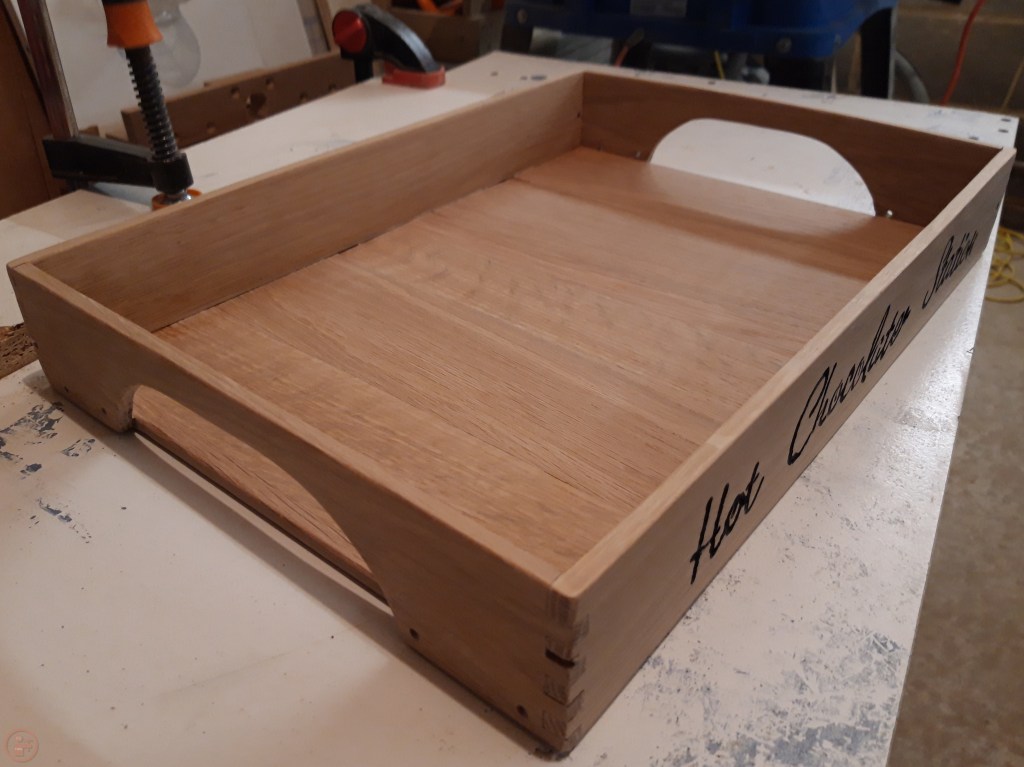
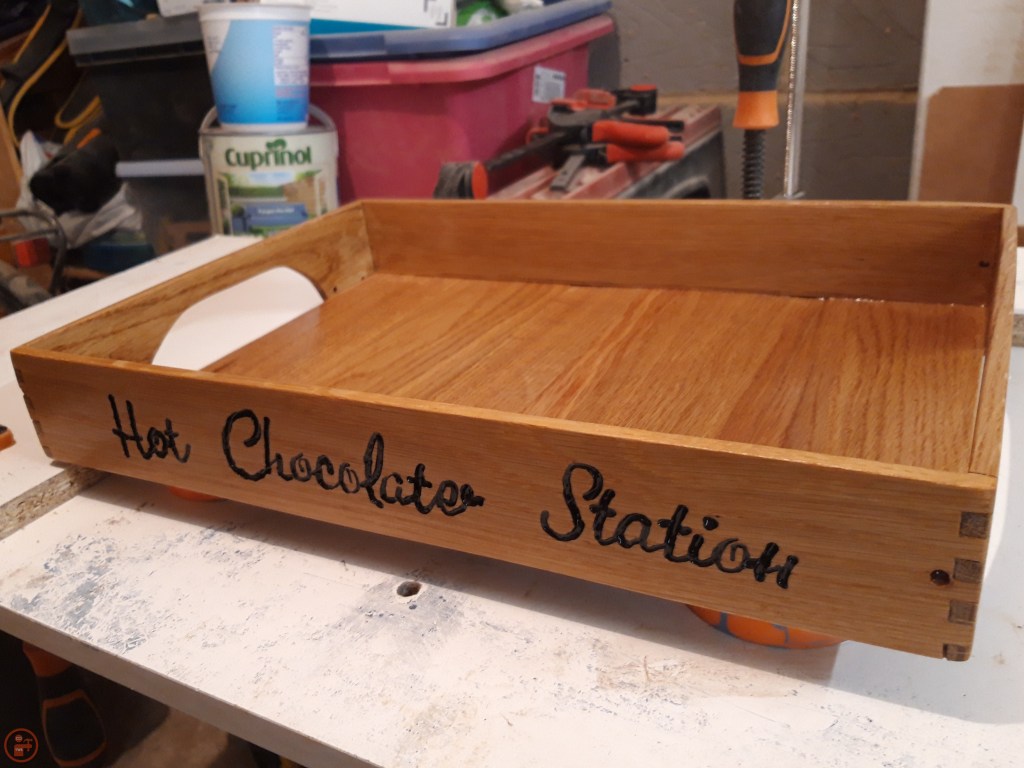
With the four side pieces correctly dimensioned and the handles reshaped, it was time for glue-up. I used some triangular corner supports to assist with getting an exact 90 degree corner and glued up three of the pieces first. This allowed me to work on a design on the final side, while the other two joints were drying.
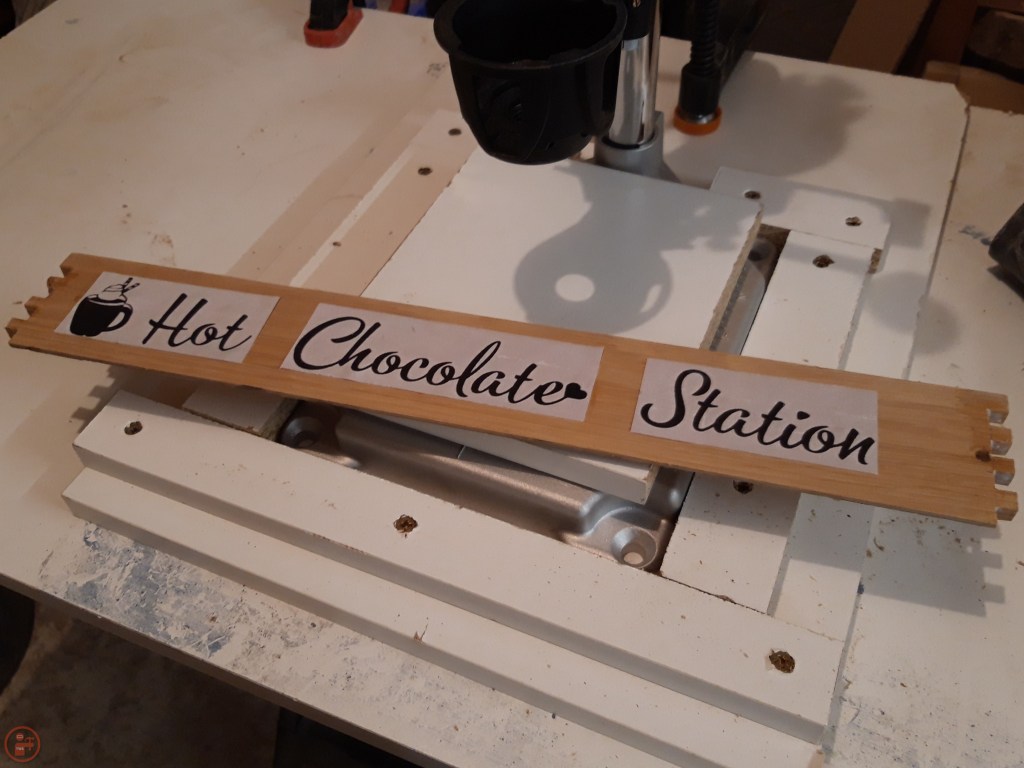
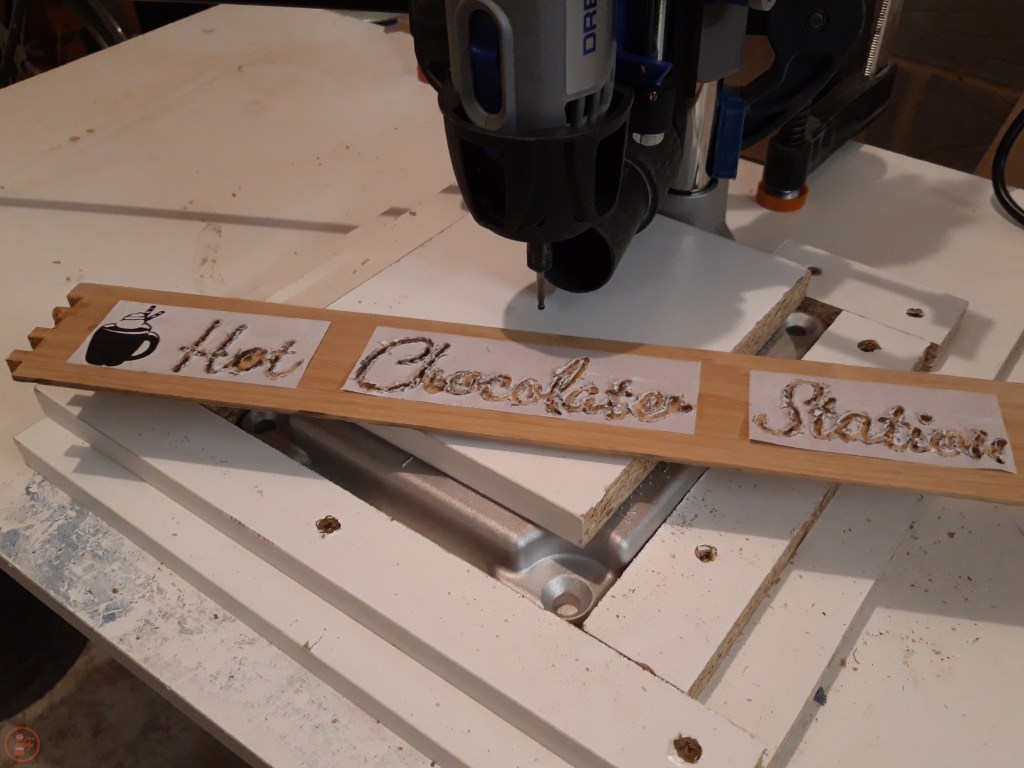

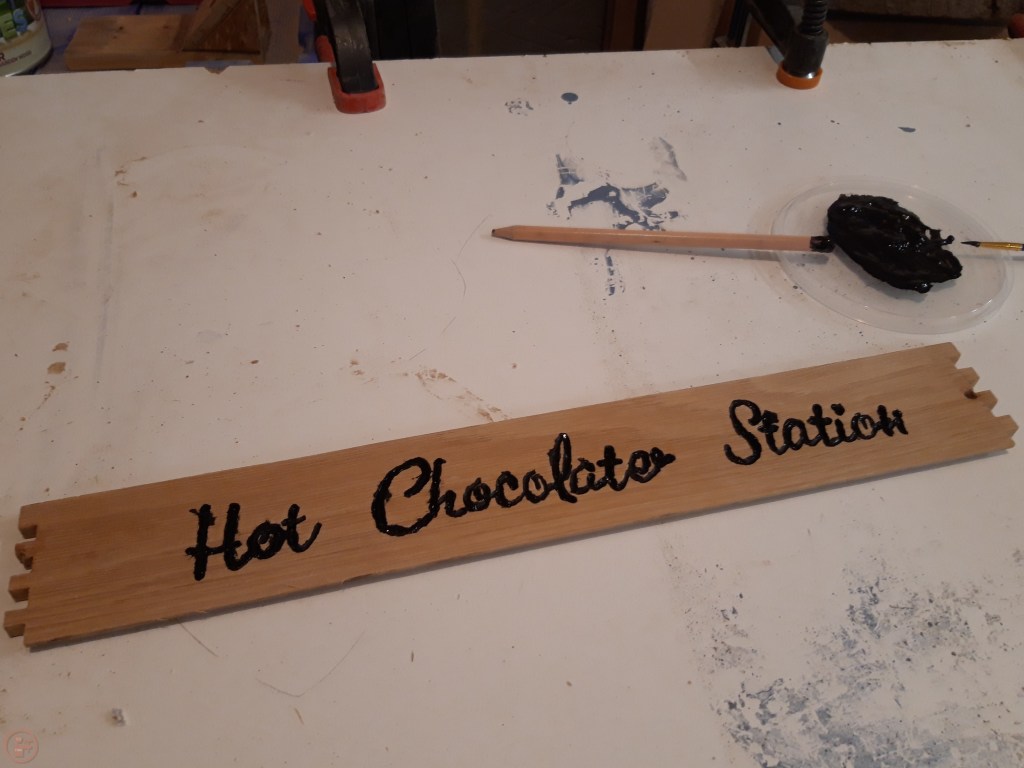

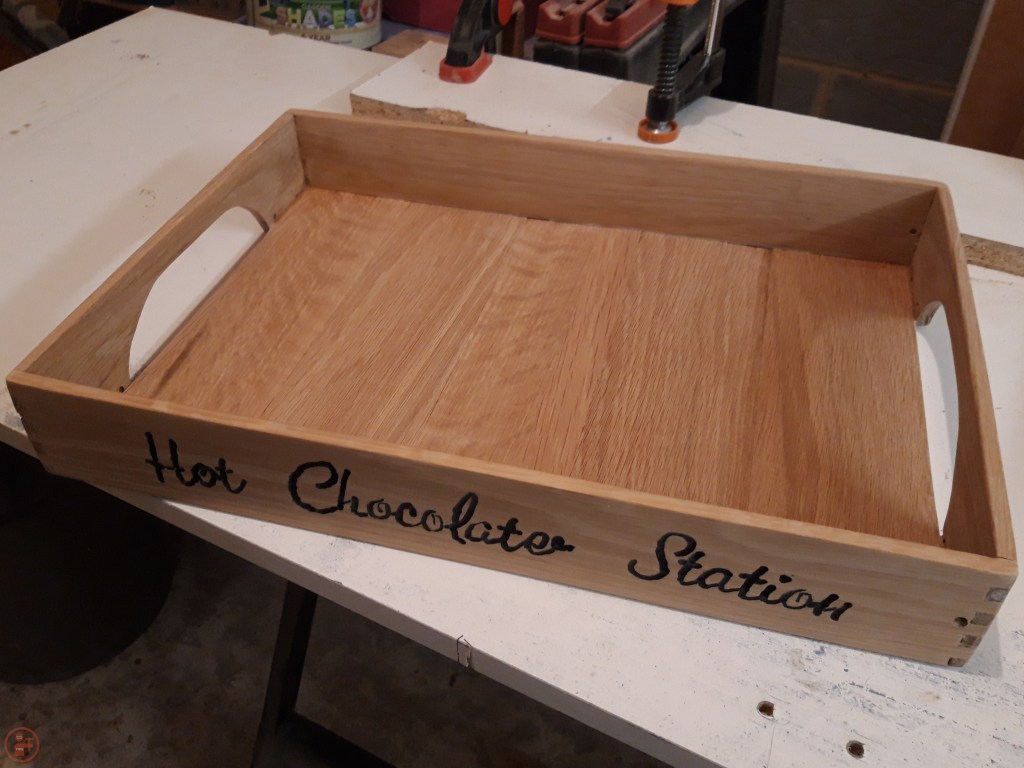
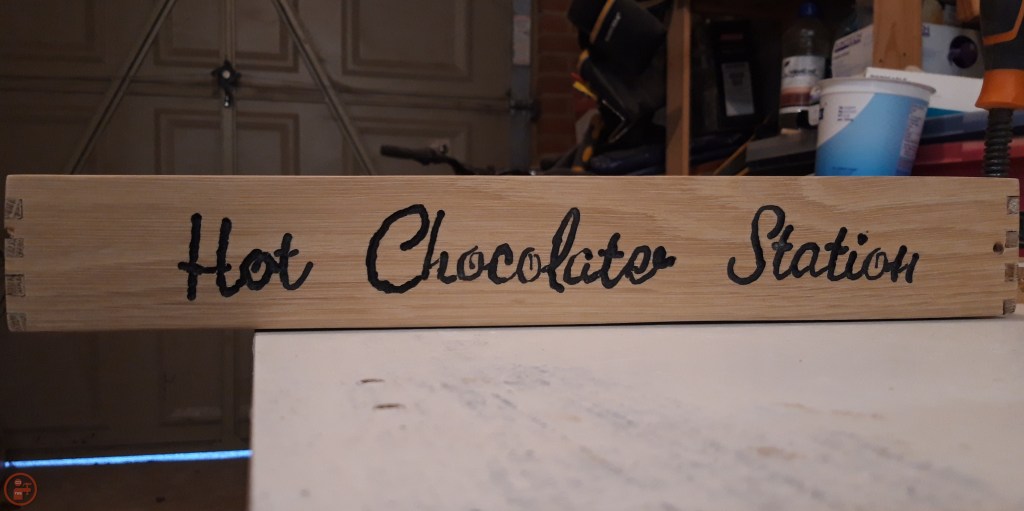
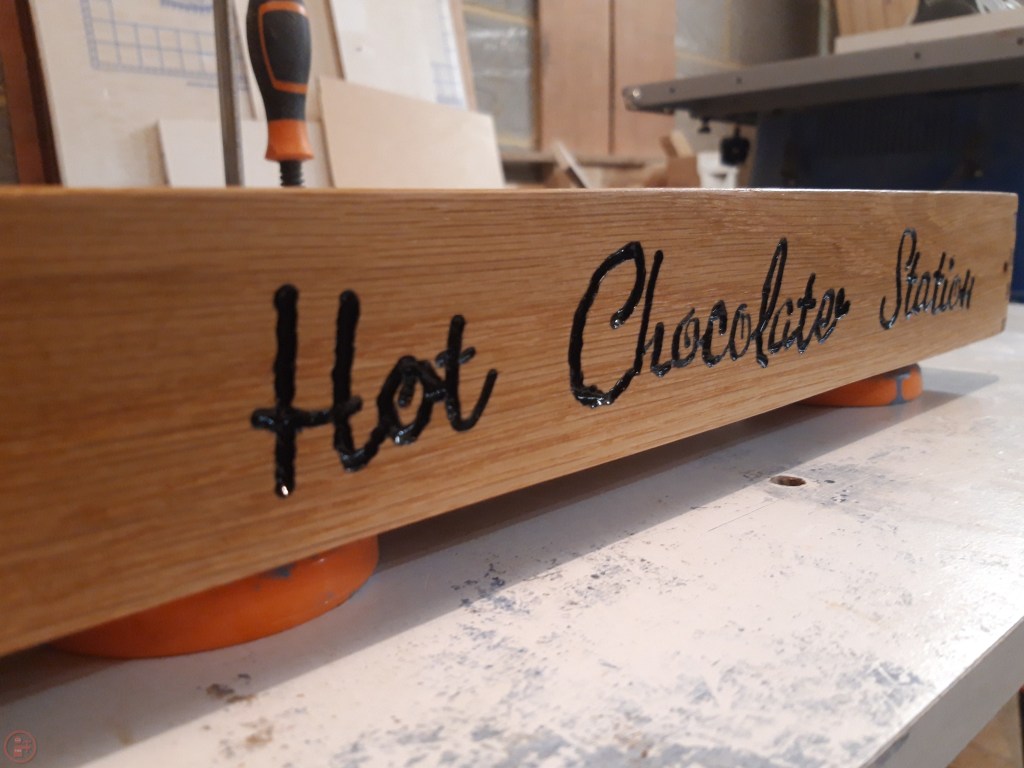
To make the tray a bit more special, I wanted to add a design to the front of it – the tray has become my wife’s hot chocolate station, complete with a whole selection of different flavours and her velvetiser-device. I found a font that I liked and printed out some larger lettering to use as a template. I also printed out a small image of a mug, but decided against including that in the end . I used a small cutting bit in my Dremel mounted in the stand, and then slowly worked my way across the letters. I took my time doing this as I didn’t want to make a mistake or even worse, have to remake the entire front side piece! Fortunately, it all went smoothly and I was able to complete all the lettering successfully. I gave it a light hand sanding with some 120 grit sandpaper to remove any burs around the letters and then painted it with some black acrylic paint. I left it to dry and then glued the side piece into place, making sure the routed rebate was on the correct side!
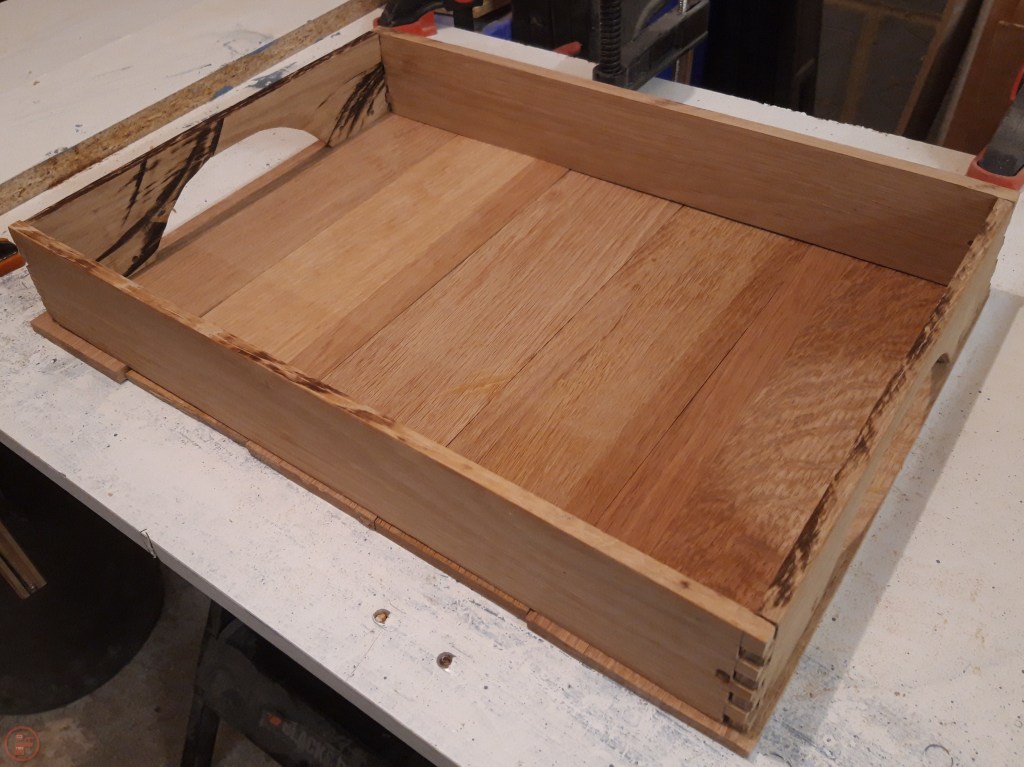
While the complete frame was drying, I turned my attention to the base pieces. I rough cut these to length at the mitre saw and then used my plane and shooting board to dial in the pieces to exactly the right size. I then glued these into place, using lots of clamps and additional boards to assist with not marking the workpiece.

After leaving the tray overnight to dry, I then gave it a thorough sanding on all sides and faces, to remove any rough areas as well as remove some minor burn marks that occurred when ripping the pieces into thinner sections at the table saw.

Sanding also tidied up the front face where there was a little overspill of the black acrylic paint. I went up to 180 grit to leave the tray really nice and smooth to the touch, without going too high and risking filling the wood pores with super-fine dust meaning they wouldn’t take a finish so well.
I finished the tray with a satin varnish I had in the workshop, as I wanted to protect the wood from any spills and make it easy to clean with it living in the kitchen. I applied a couple of coats to give it good protection and put my logo on the bottom.

Once the varnish had fully dried, I gave the tray a final wipe and brought it into the house.
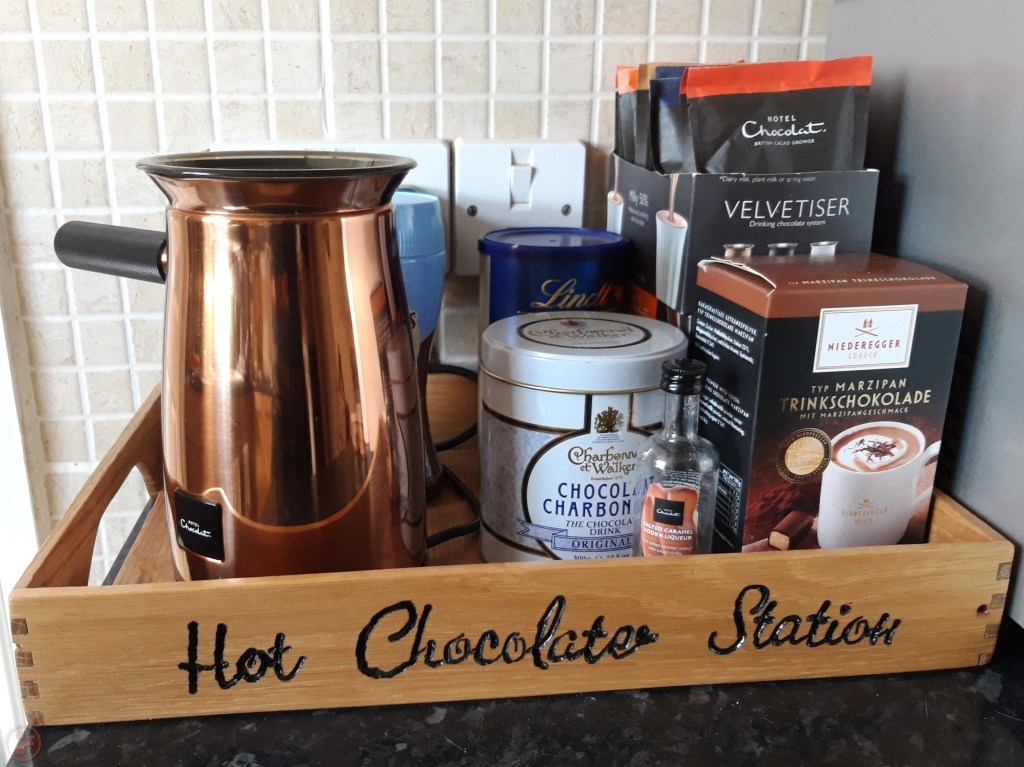
My wife really loved the tray – she was really surprised by the engraved lettering as I kept that as a surprise! The tray now sits proudly on our kitchen counter and has been noticed by a number of family and friends who have visited since I finished it! 🔨
