My work team and I were recognised for our great work and won an award for our efforts. When the certificates were handed over to me to give out to the team, in order to make it an extra special event, I decided to make some custom picture frames to hold the certificates, so everyone could put them on display.
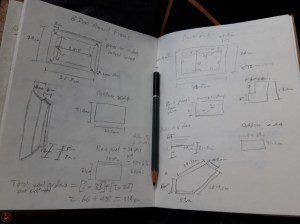
I started by working out the dimensions for the frame – I wanted to make it out of oak with mitred corners and with a rebate around the inside to hold the transparent plastic “glass”, then the certificate and a hardboard back panel.
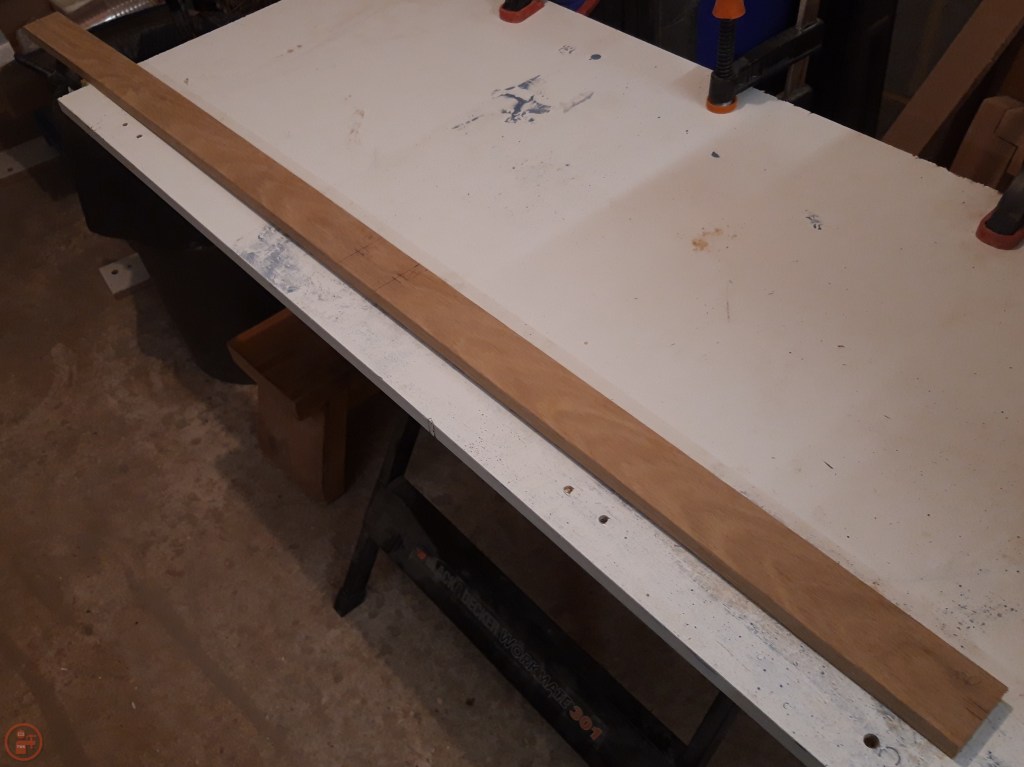
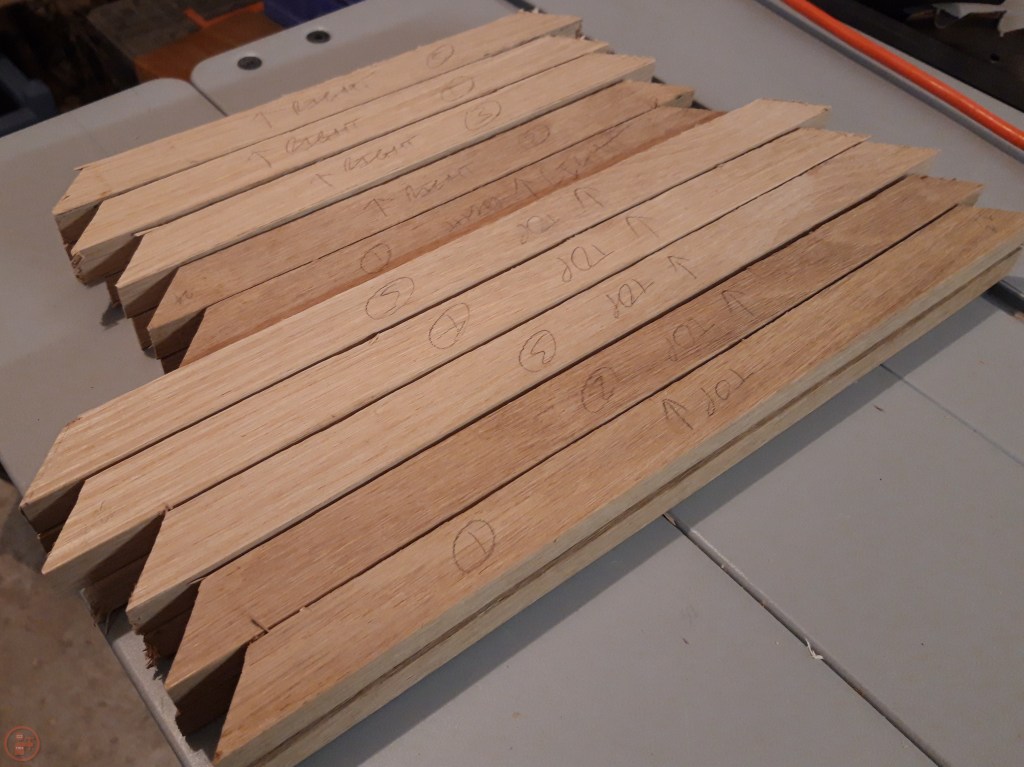
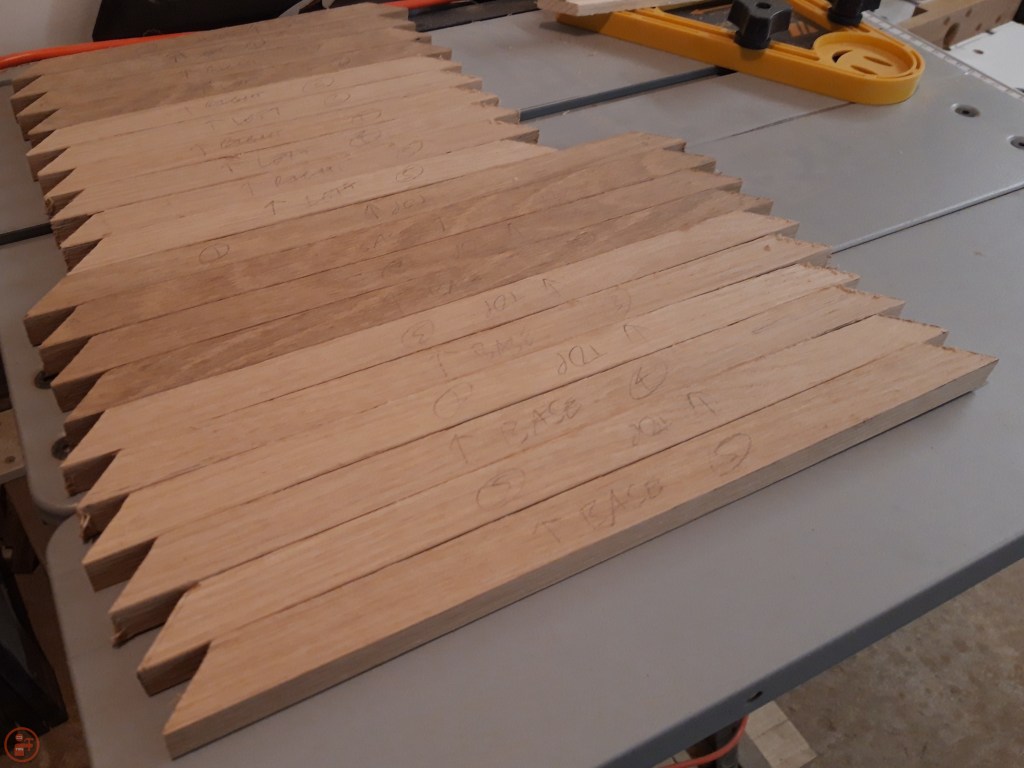
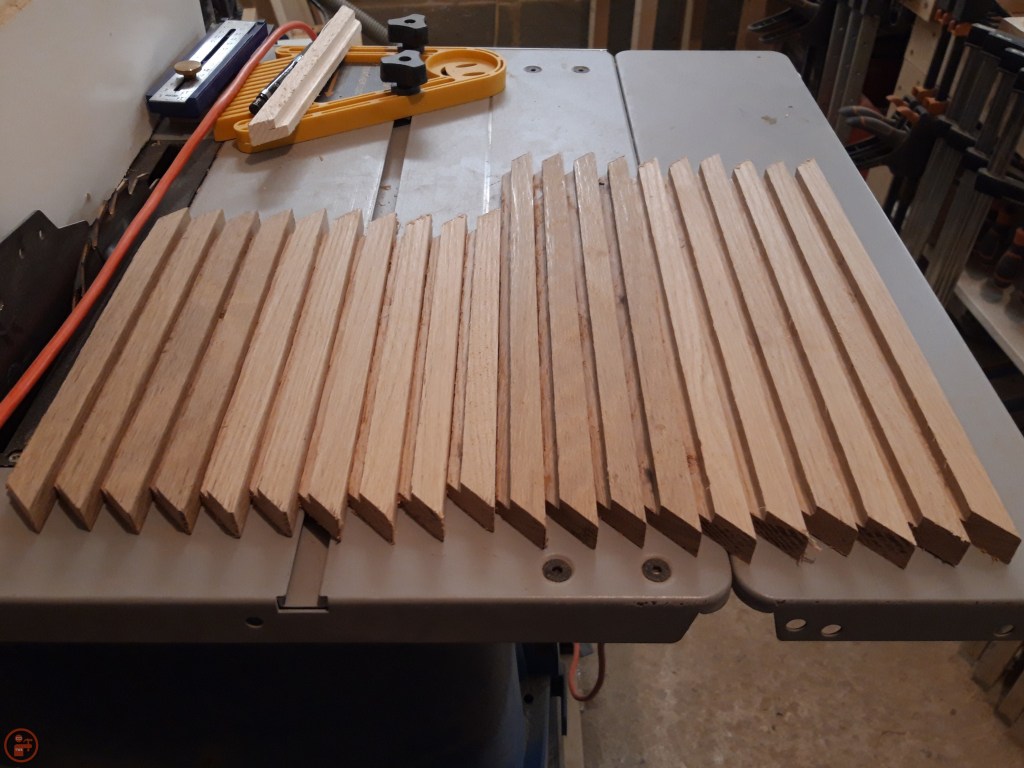
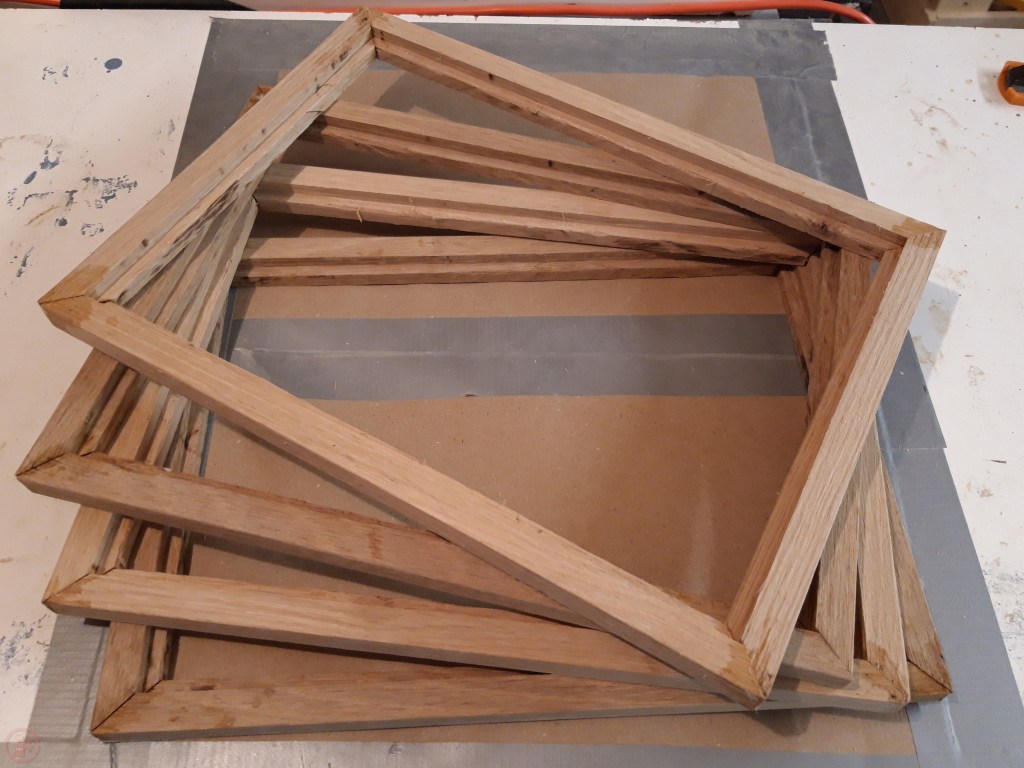
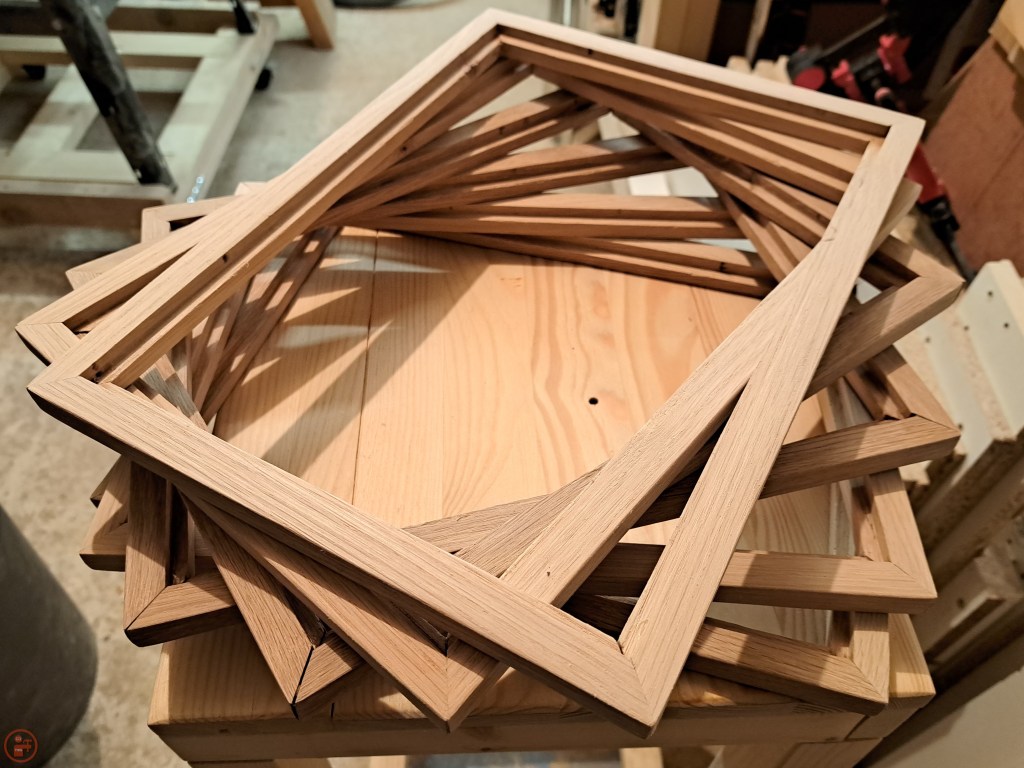
Once I had planned out the design, I started making the frames. I cut the pieces to the required lengths, making two pairs of short and long sides for each frame.

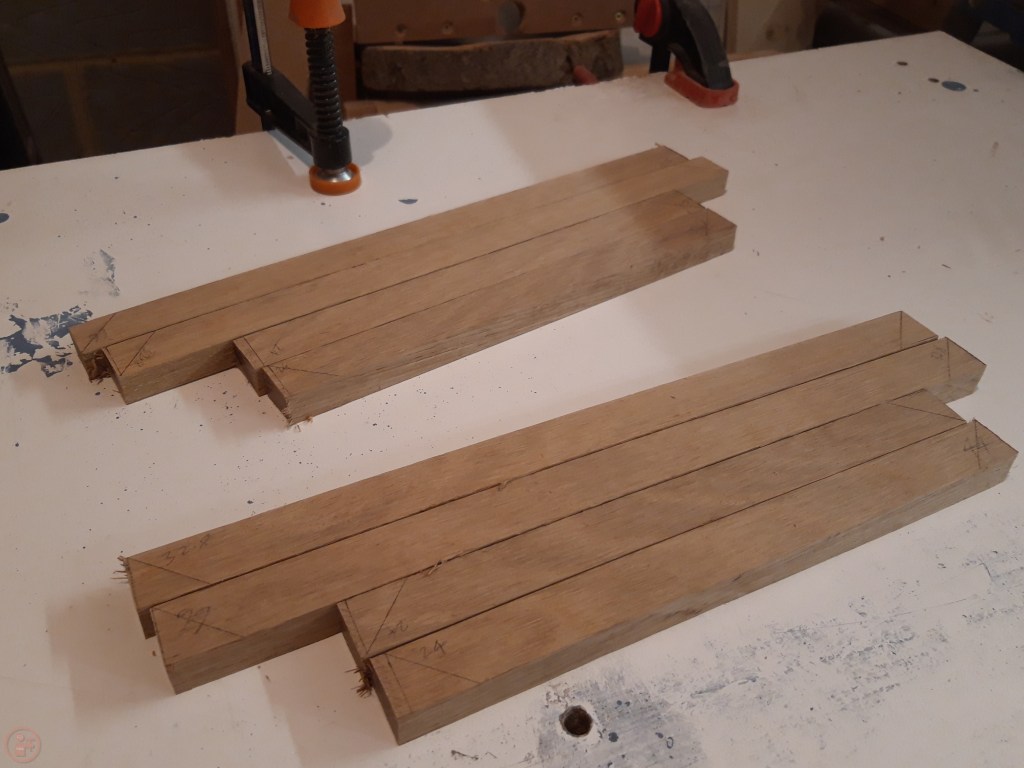
I used my router table to cut a rebate into the pieces, running each short and long side piece through the router several times, gradually raising the router bit to remove more material until I got to the required depth.
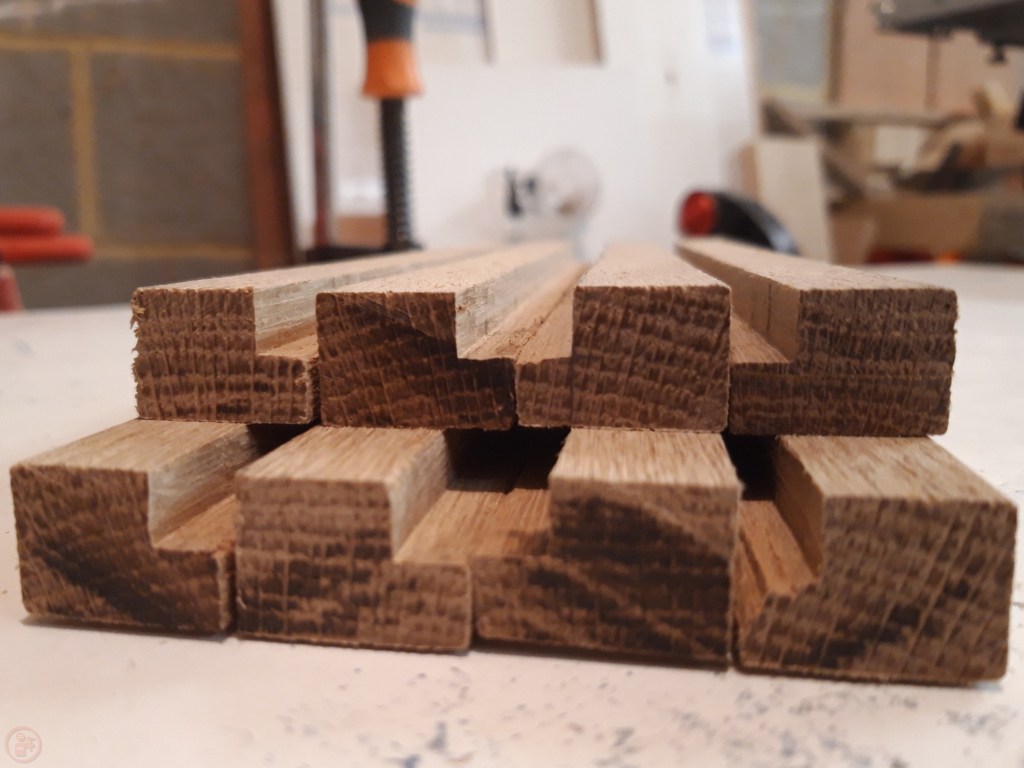
I designed the rebate to be deep enough to hold the two panels and the certificate, with still a little space to spare for adding framing tabs to hold it all in place.

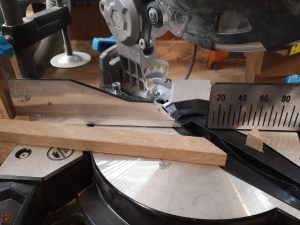
After a quick check that the rebate was sufficiently deep, I then cut the 45 degree mitre corners using my mitre saw. This required concentration as I had to make sure each piece was cut in the right orientation, as with the rebate already cut, there was no way to flip the piece if I cut the end off in the wrong direction!
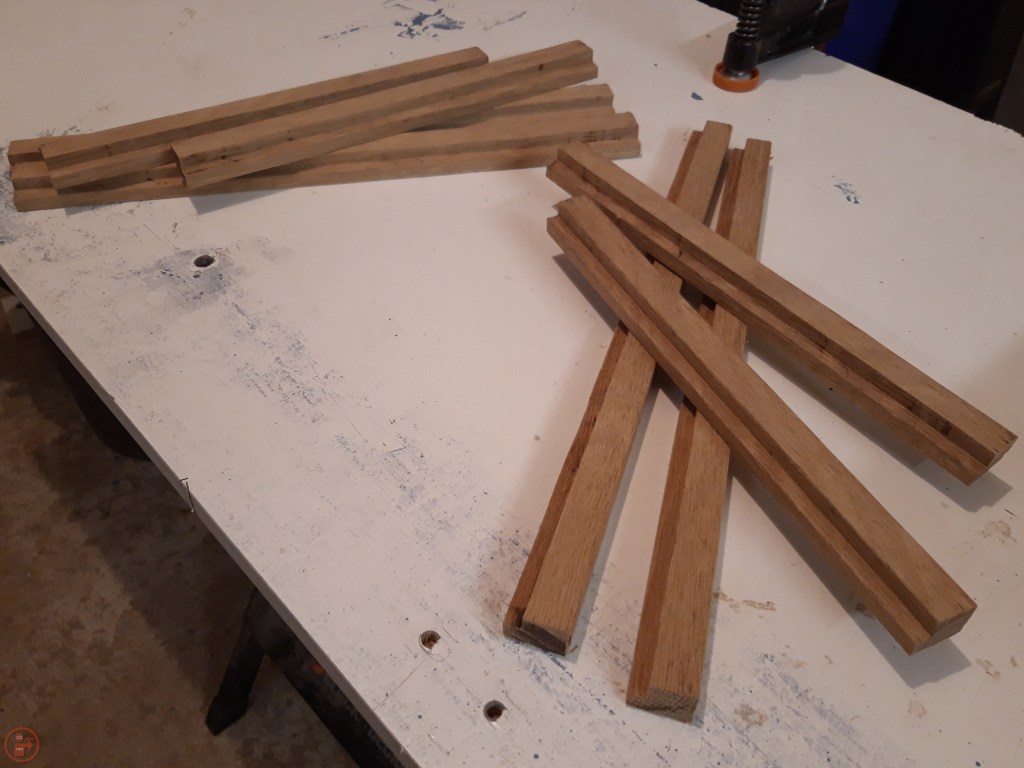
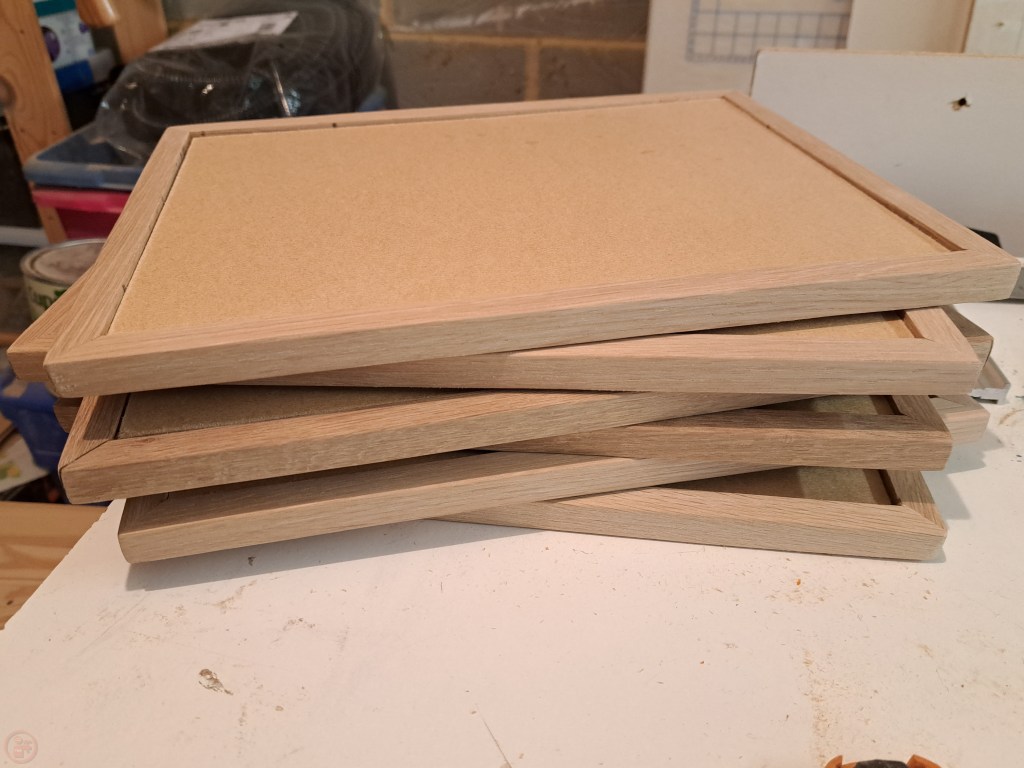
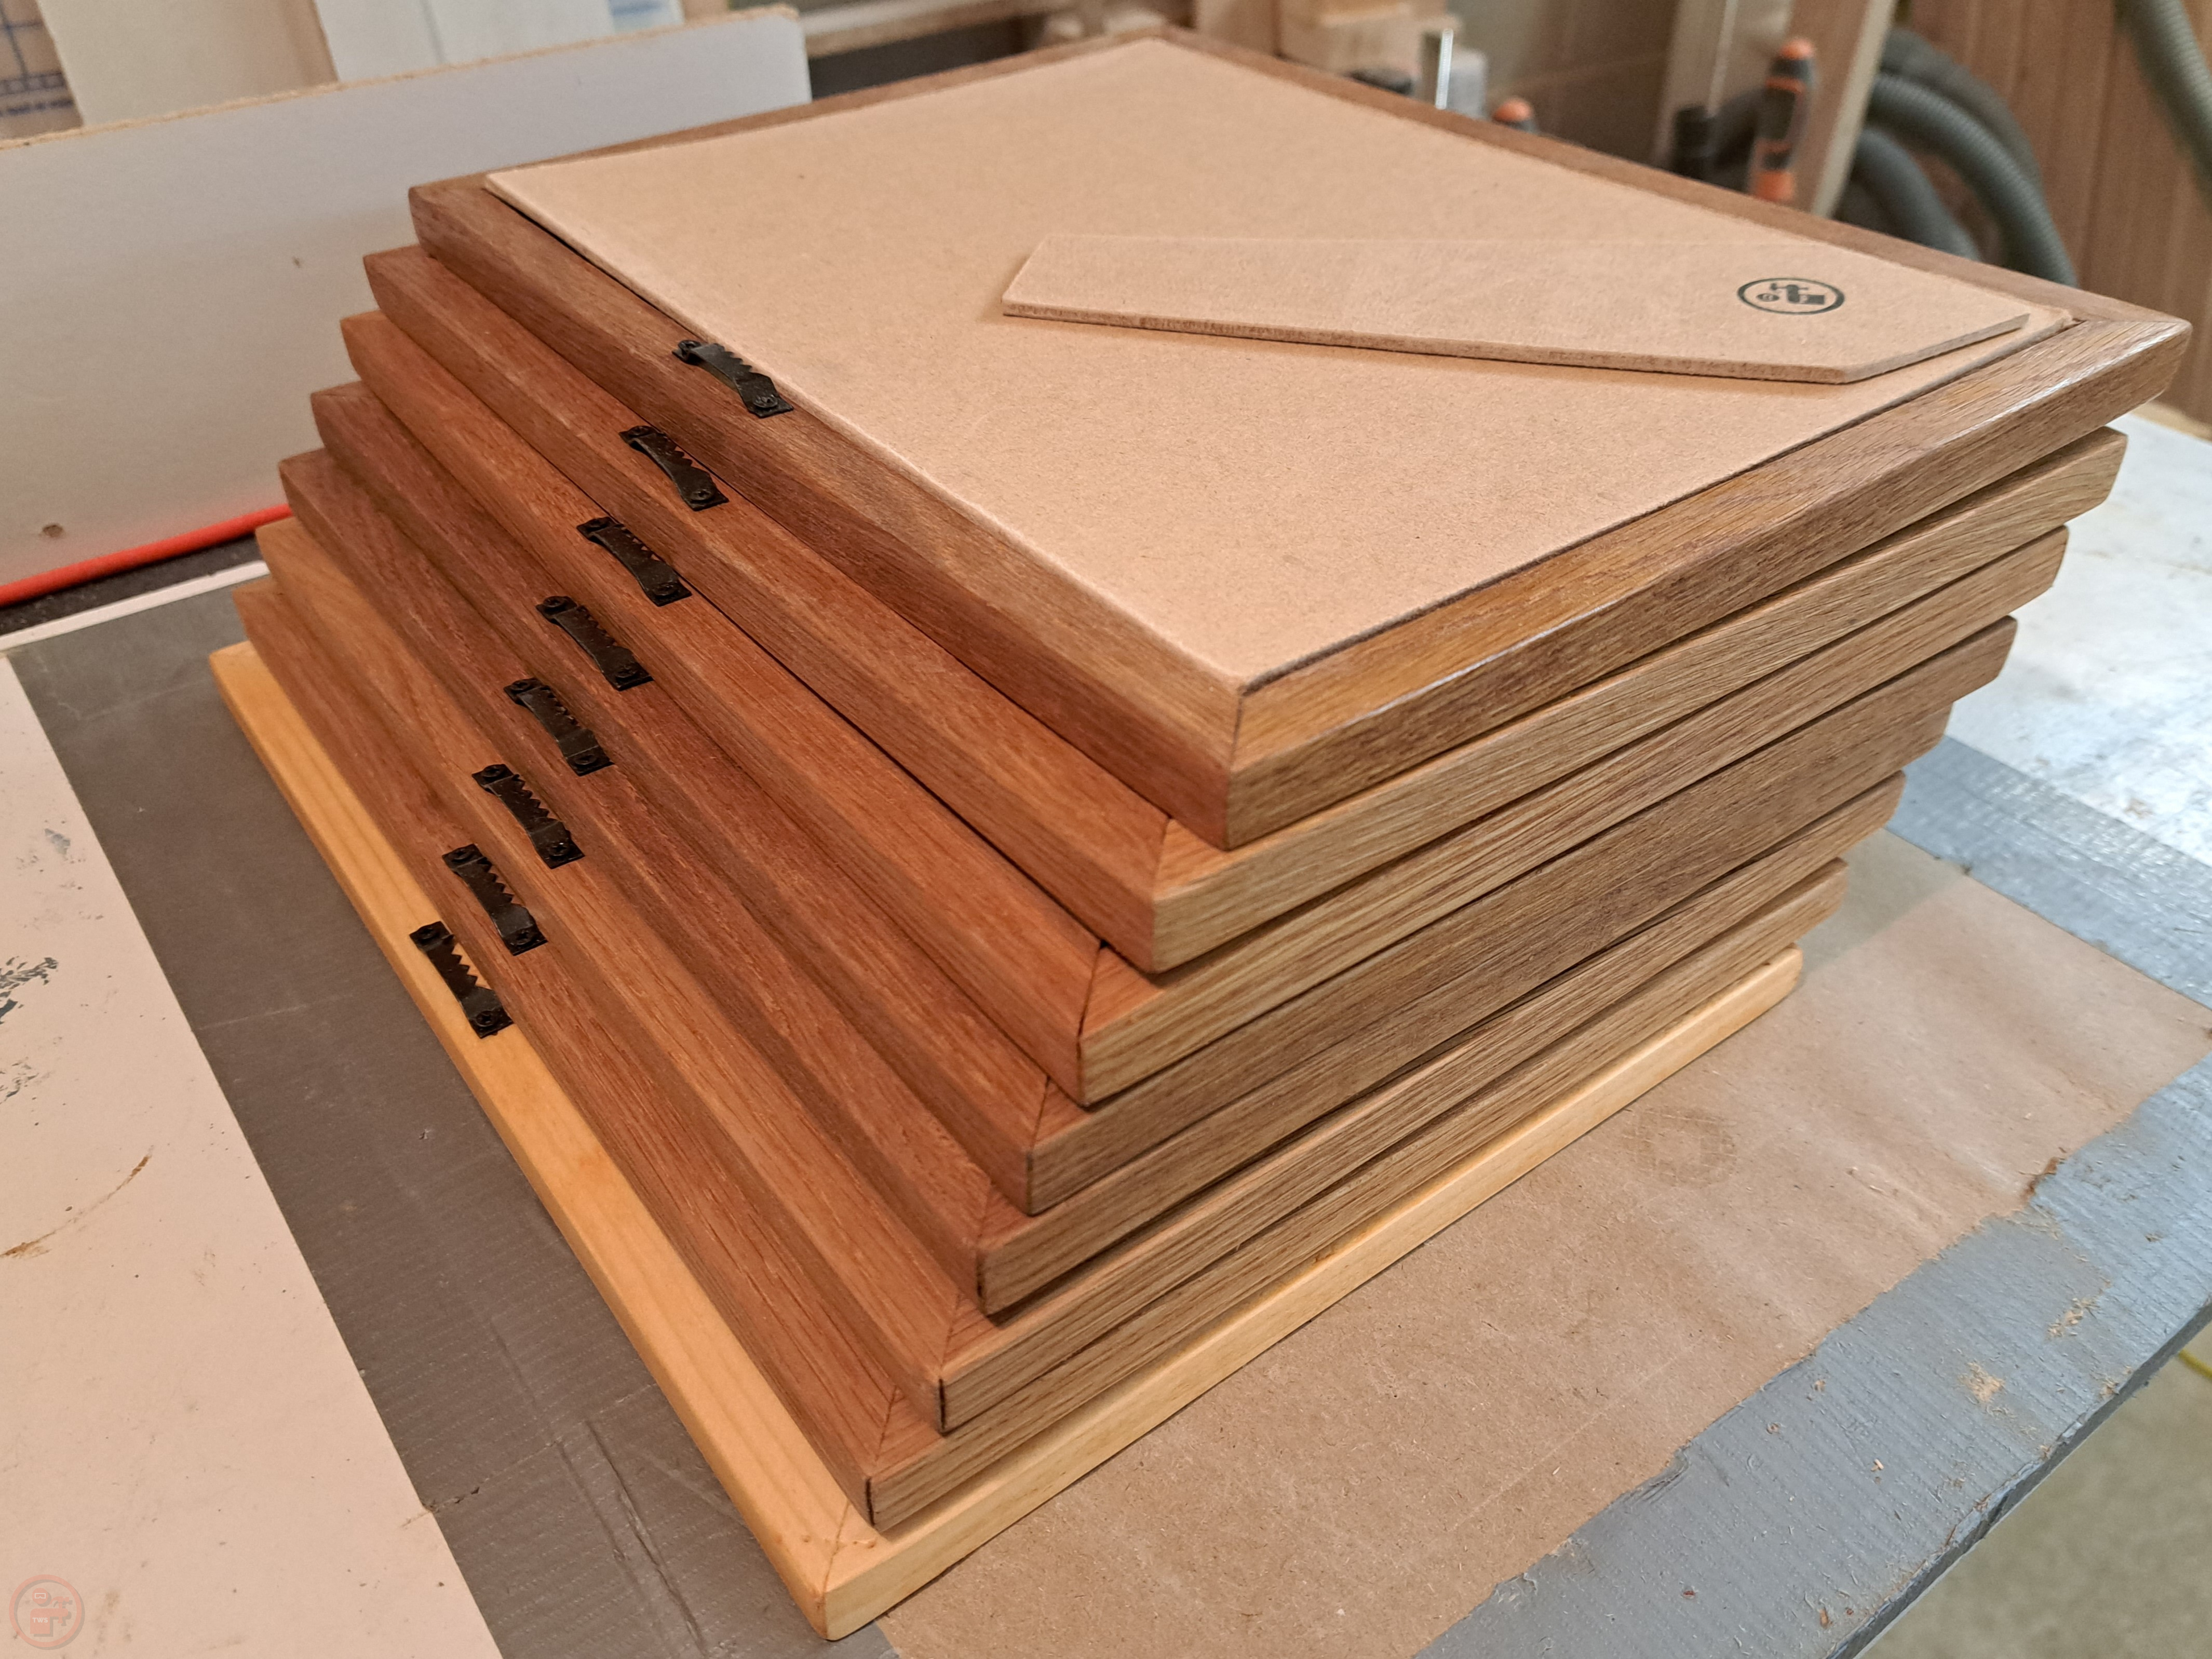
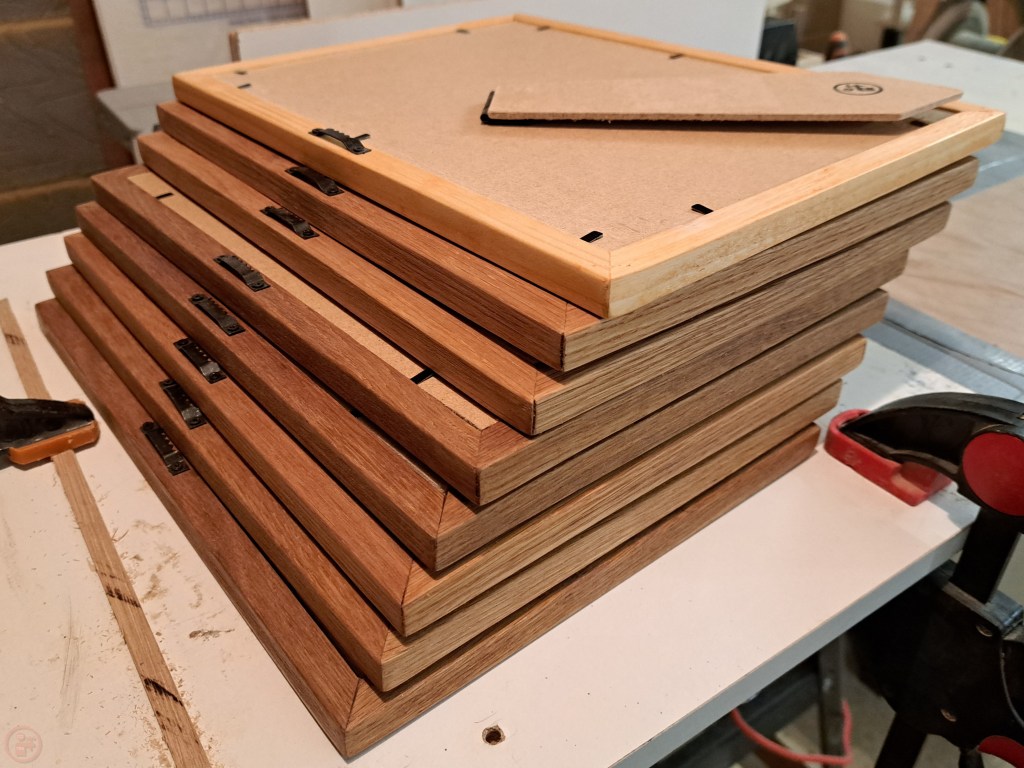
Once I had the pieces cut for the first frame and was happy with the size and design, I then repeated the process multiple times to produce a whole batch of frames for my team, including cutting the hardboard back panels to size.
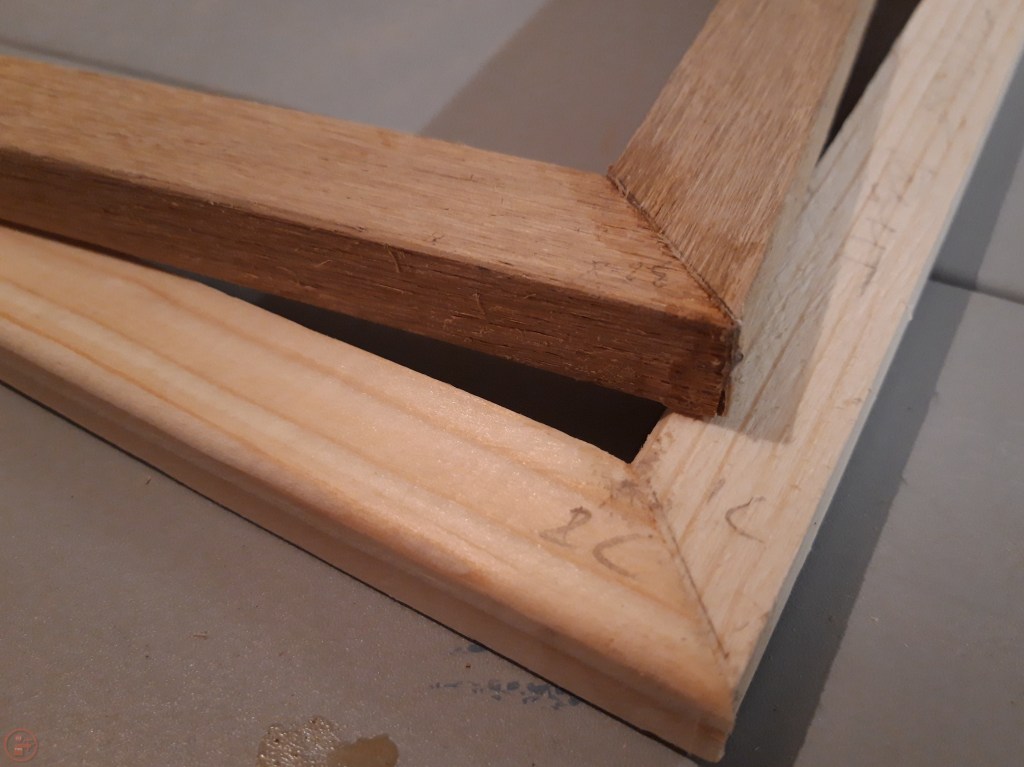
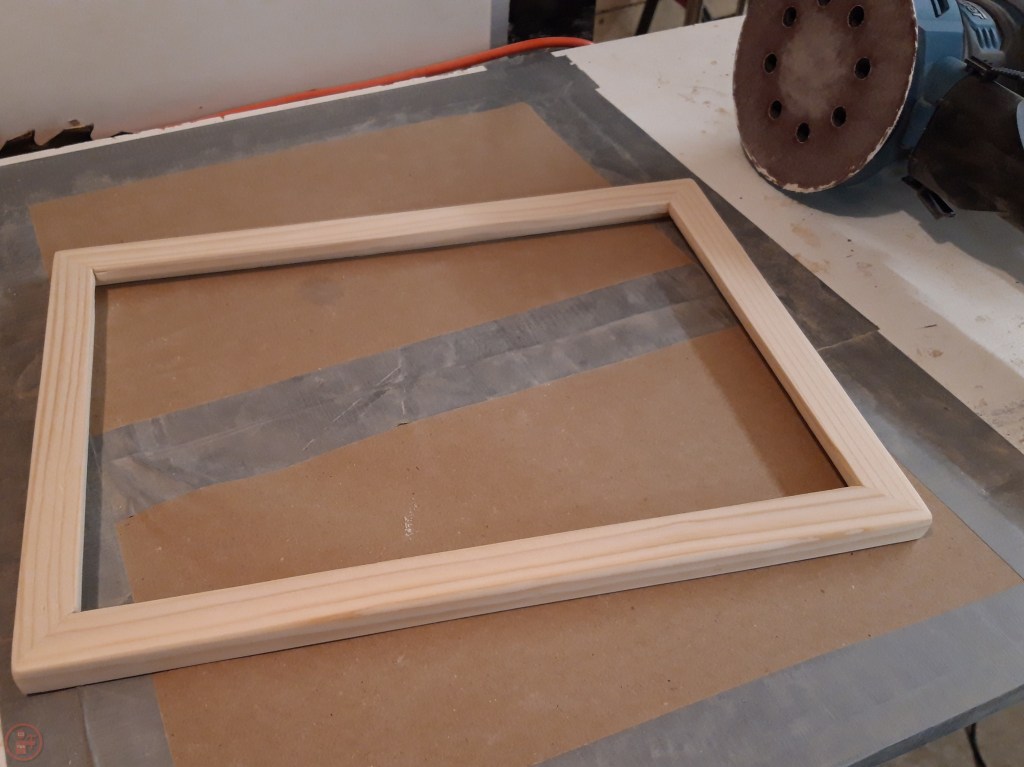
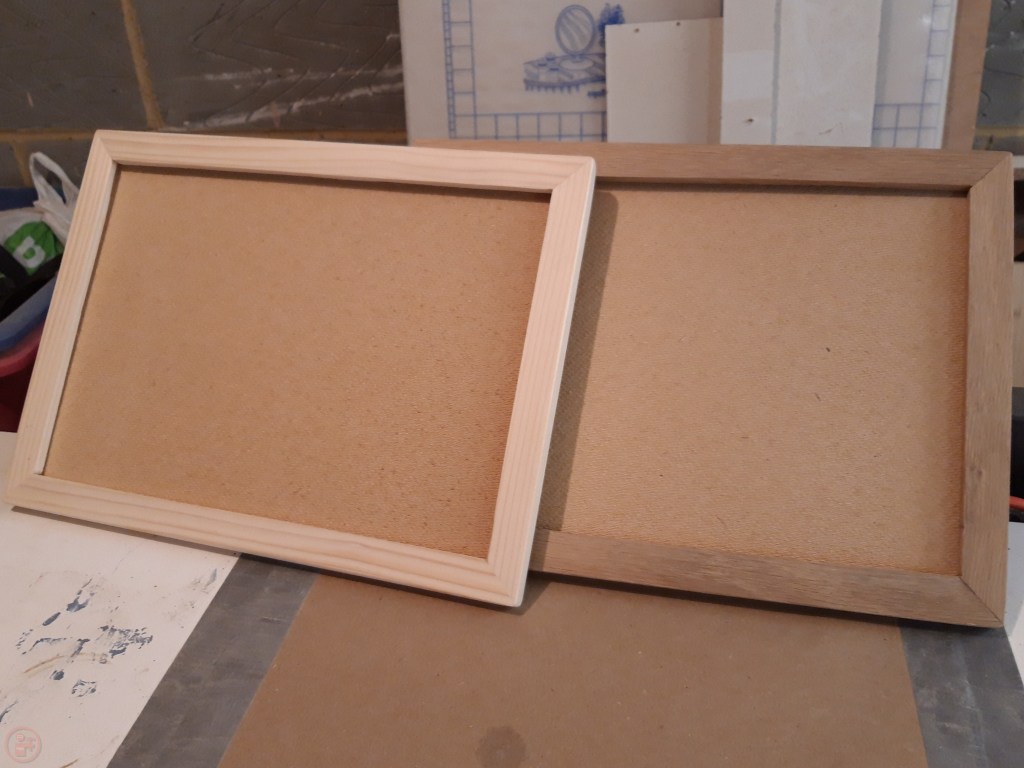

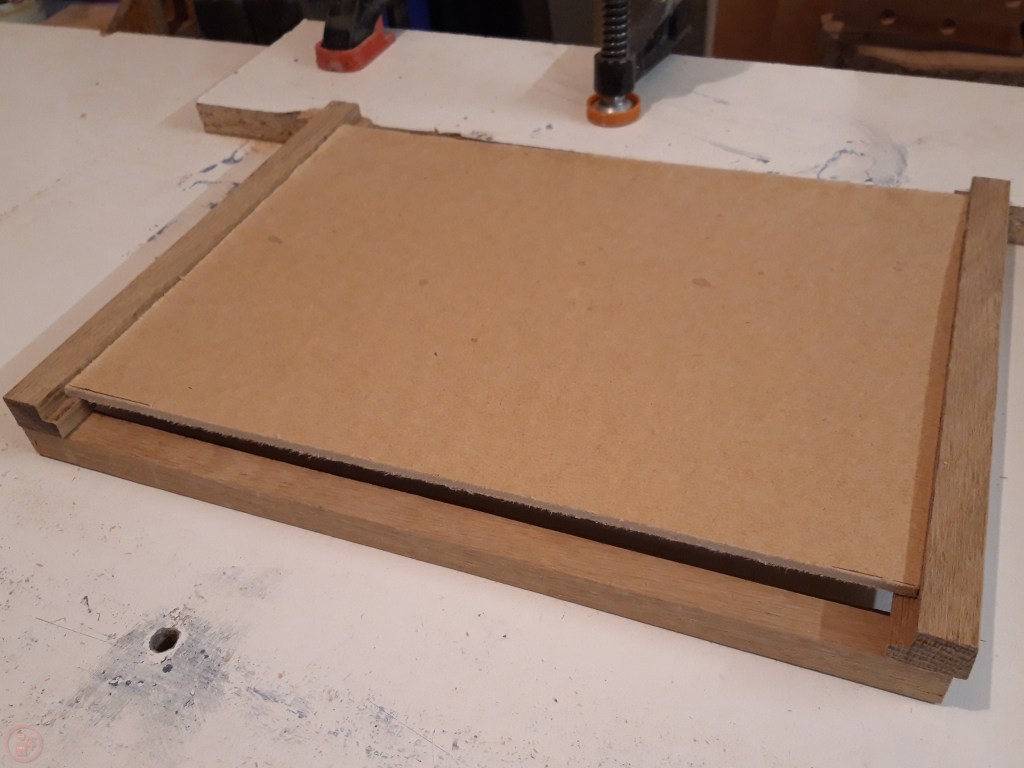
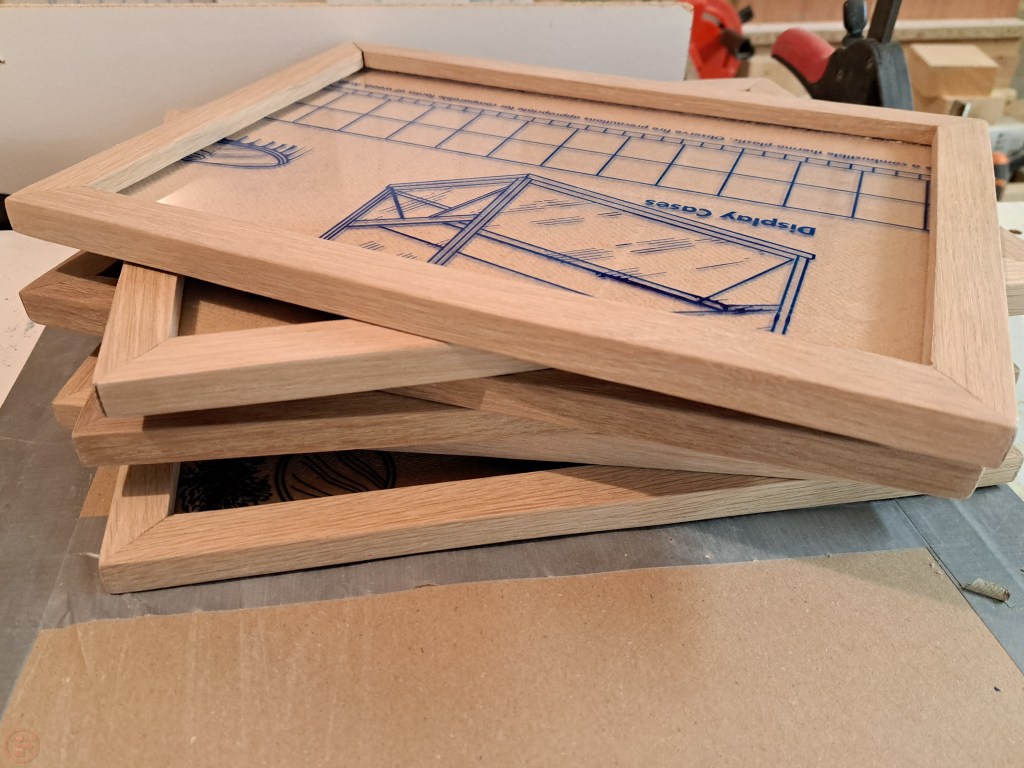
I made a quick test frame out of pine scrap so I could get my mitres dialled in tightly. I measured out and cut all the transparent plastic pieces to size, using a scrap piece of mdf as a fence, as my table saw fence has a slight gap at the base to allow sawdust to escape, which was perfect for trapping the plastic! Rather than risk any of the pieces getting stuck and potentially kicking back at me from the saw blade, I thought it safer to eliminate that possibility and used a temporary fence that sat flush to the table saw surface. As a result, I managed to get all the pieces cut without any getting caught and exploding on me!
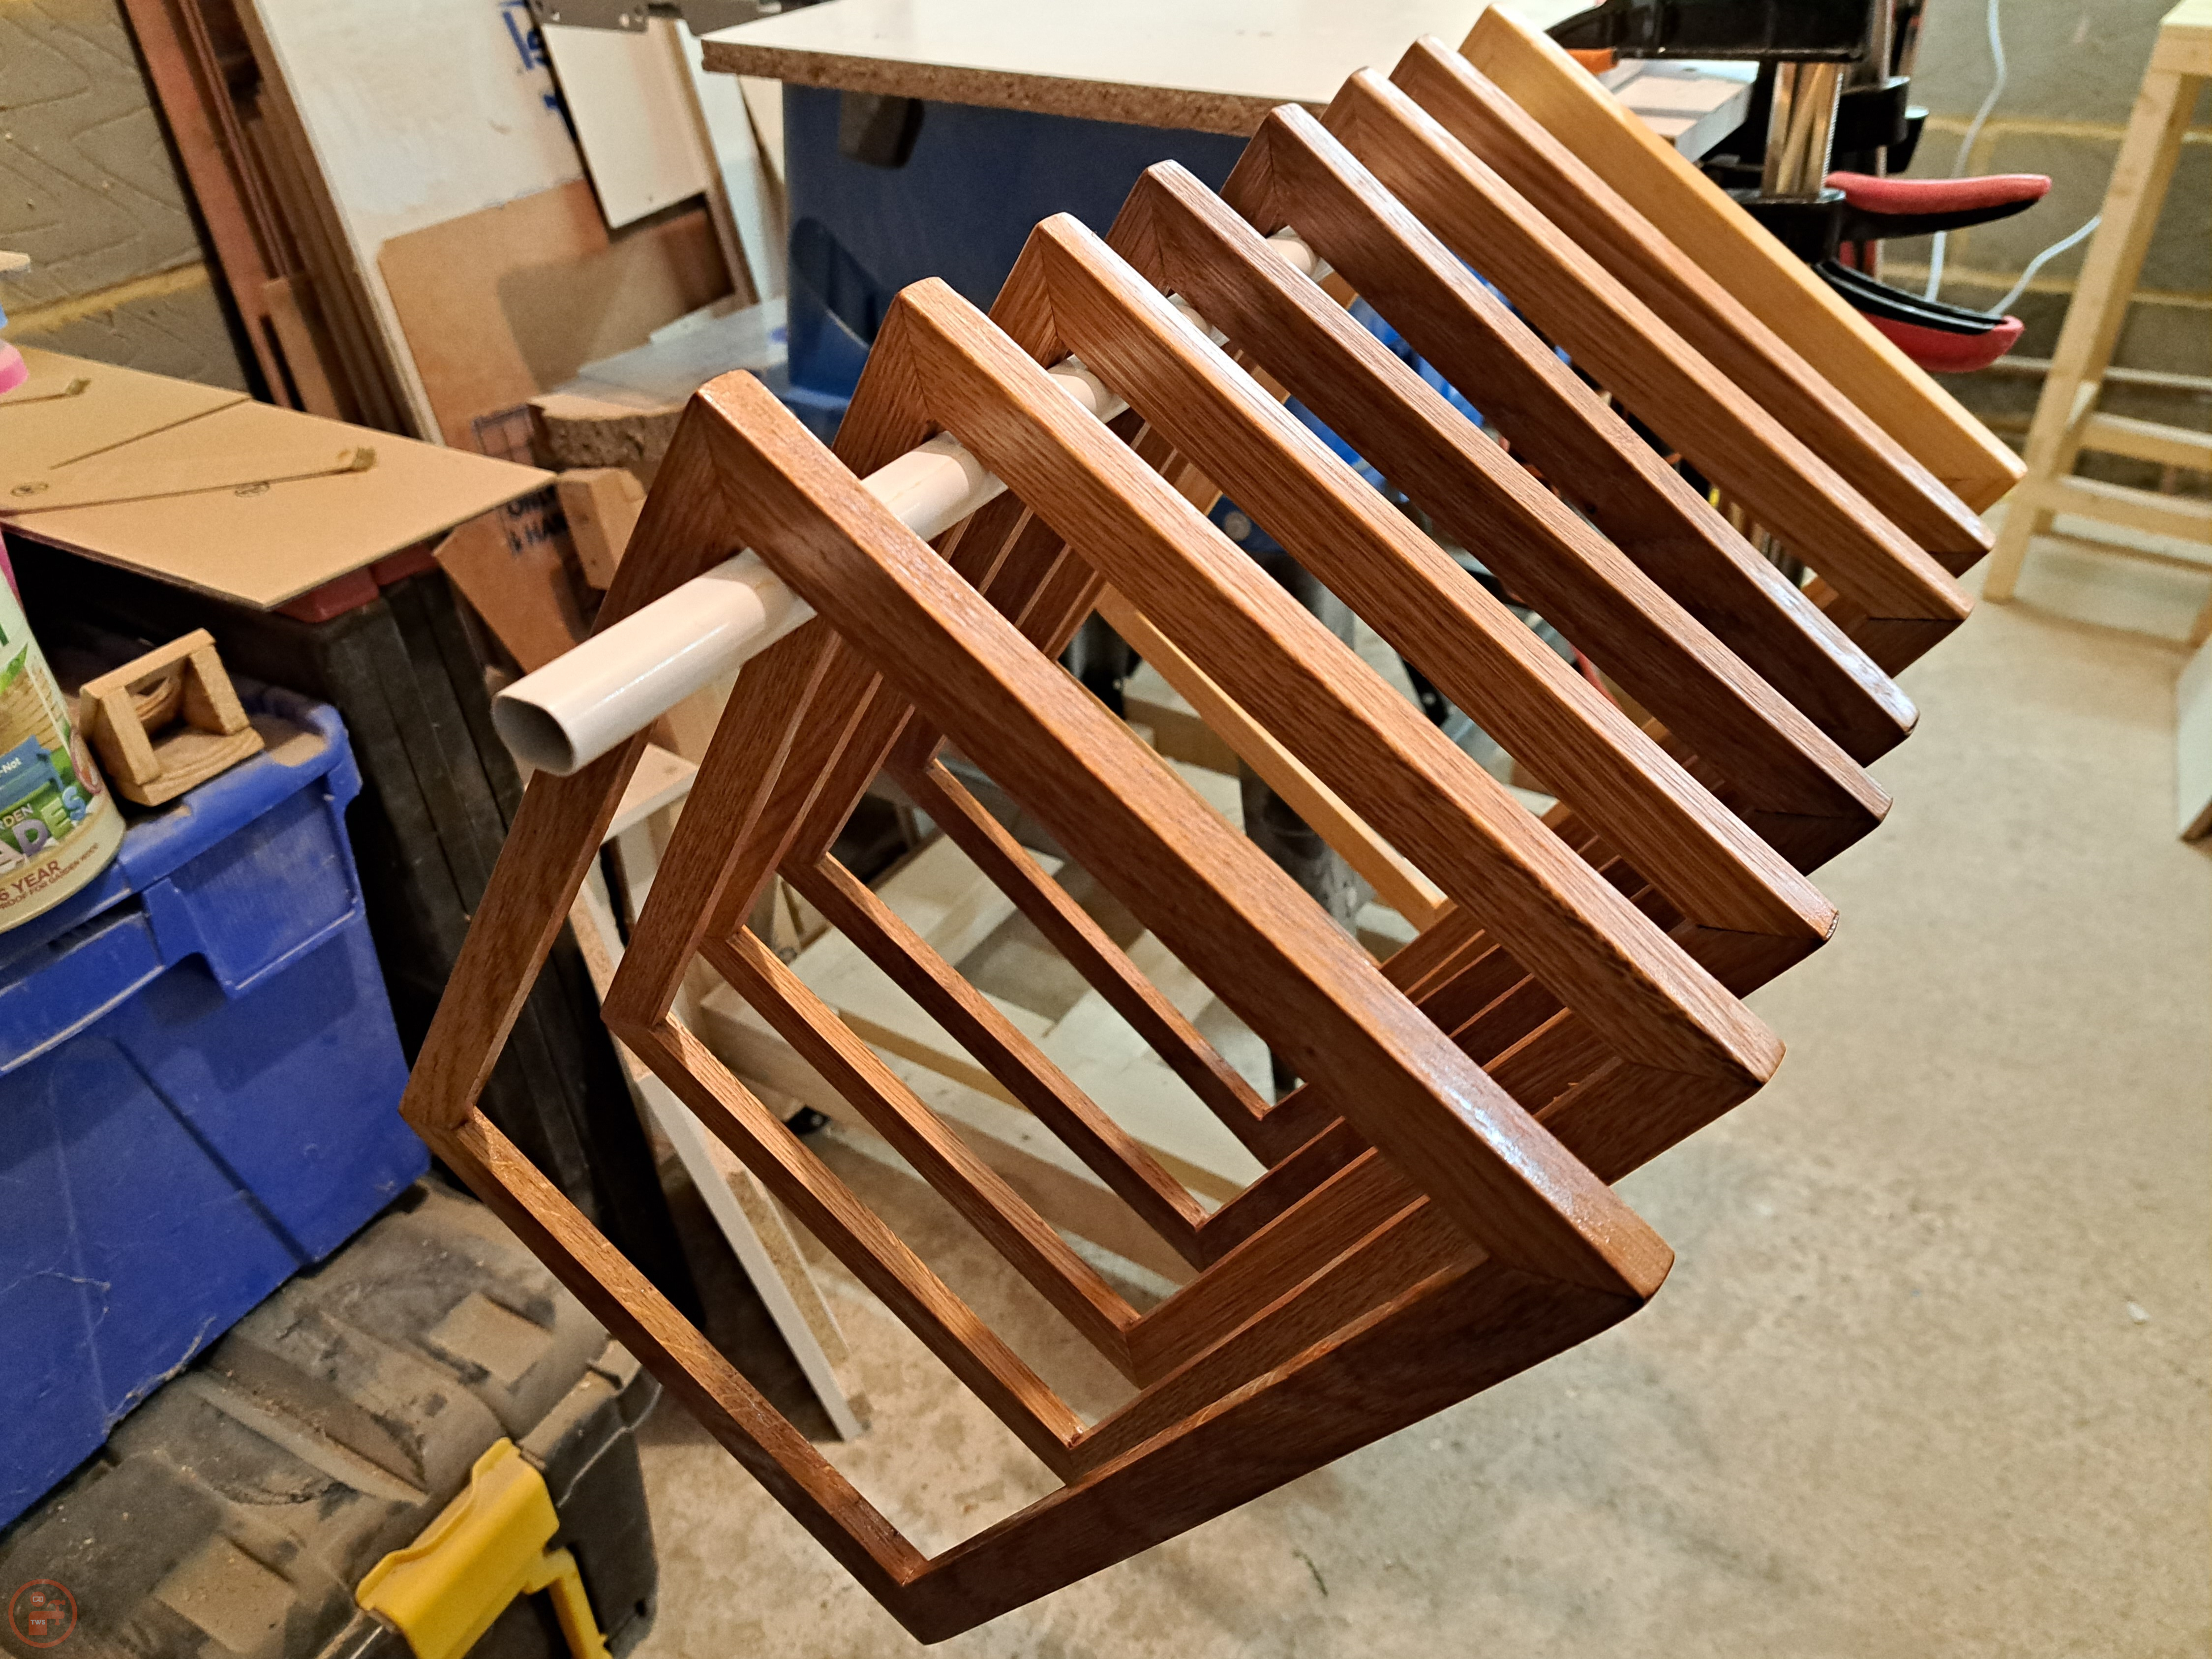
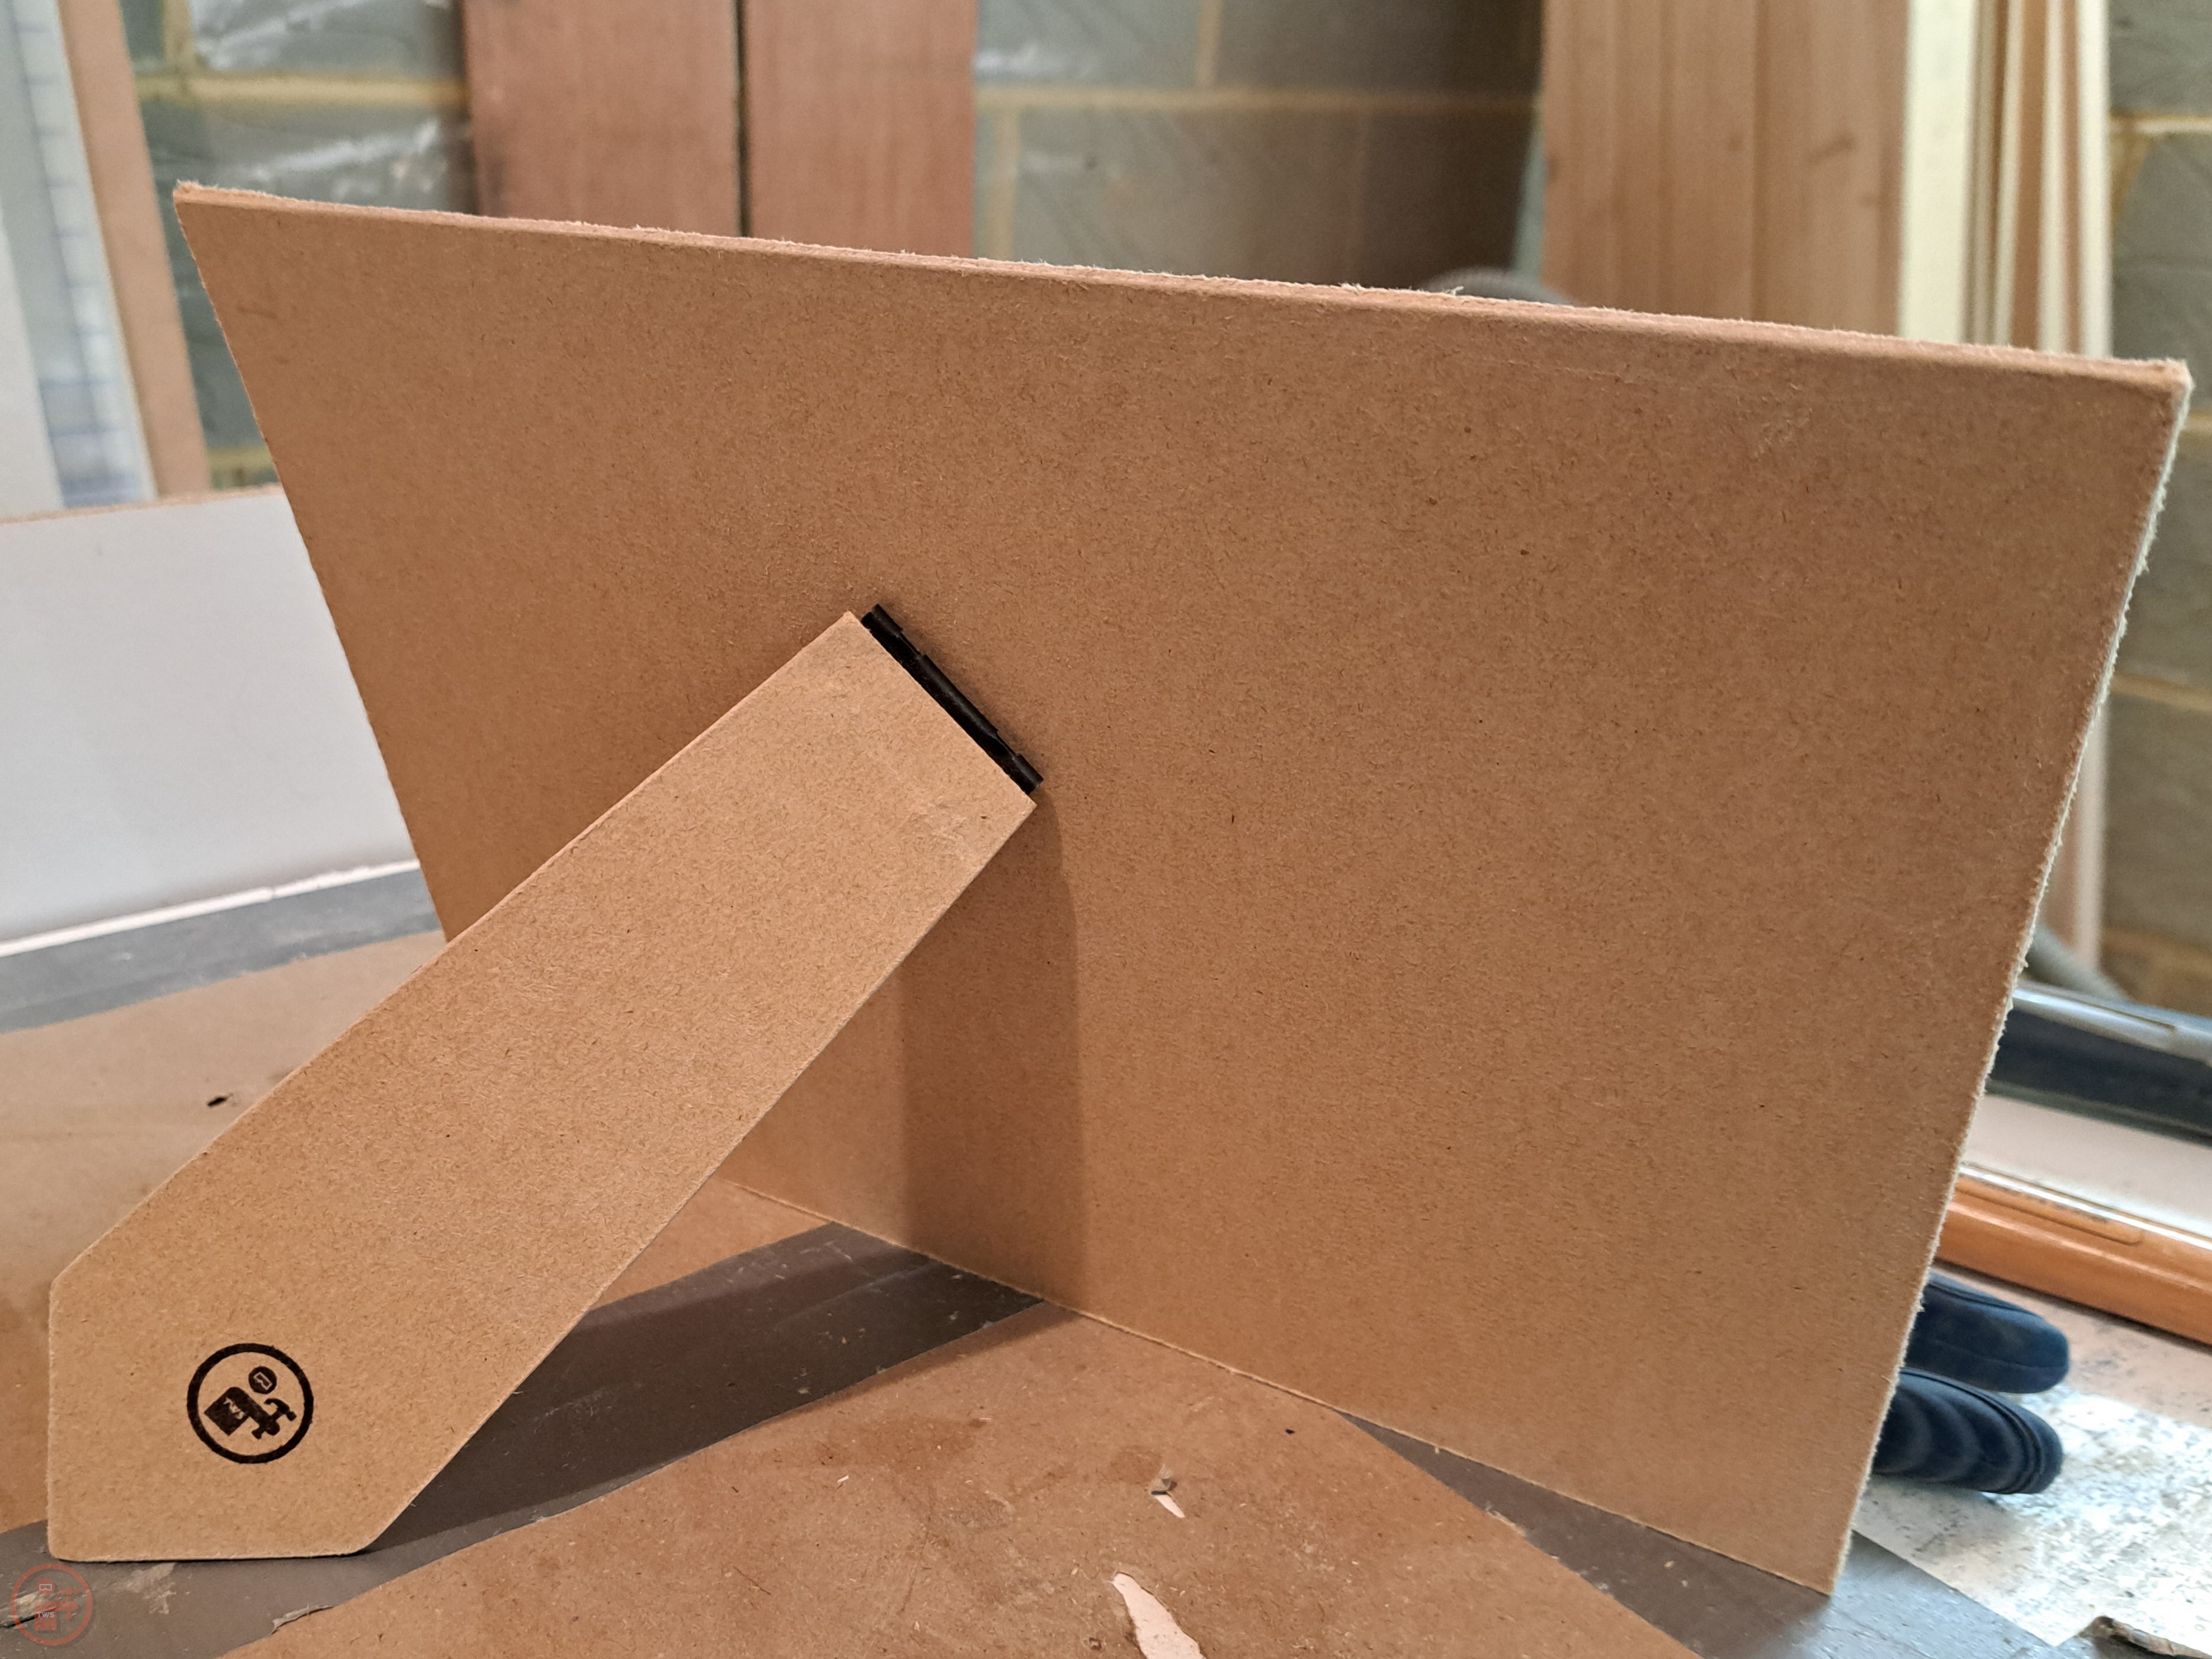
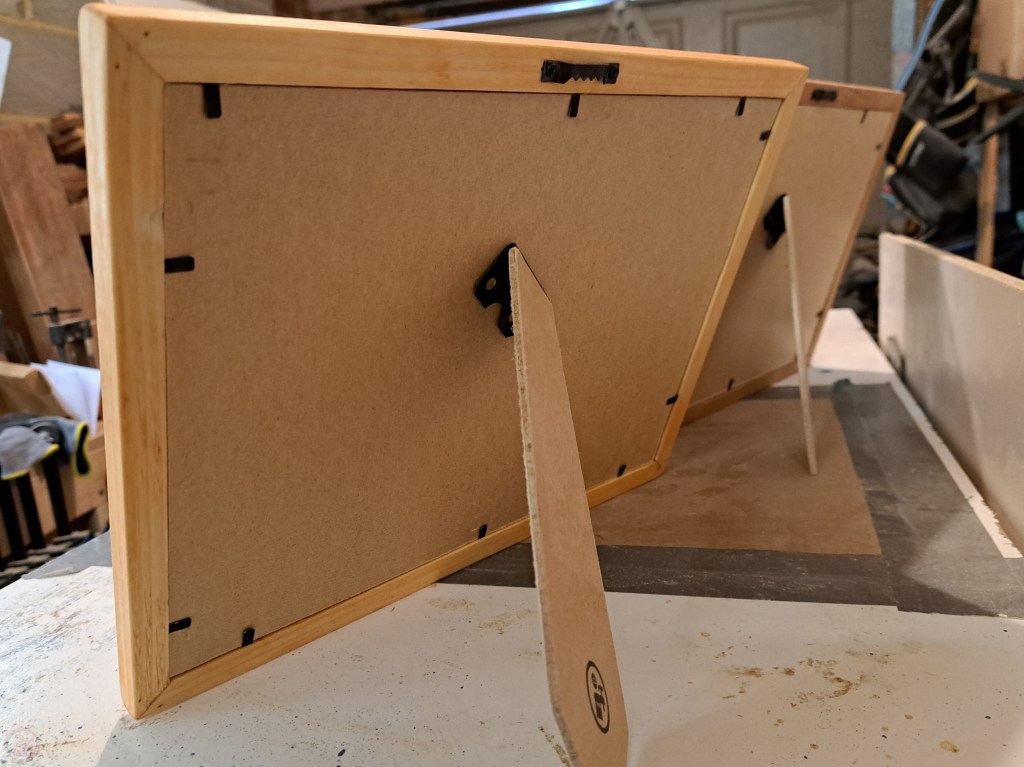
With the transparent plastic and the hardboard back panels cut to size, I moved on to the hinged strut to sit behind the frame, allowing people to stand the frame up on a desk, table, shelf etc. I worked out the best angle for leaning the frame and then made a template. I used the template to layout out multiple struts on the remaining pieces of hardboard left over from making the back panels.

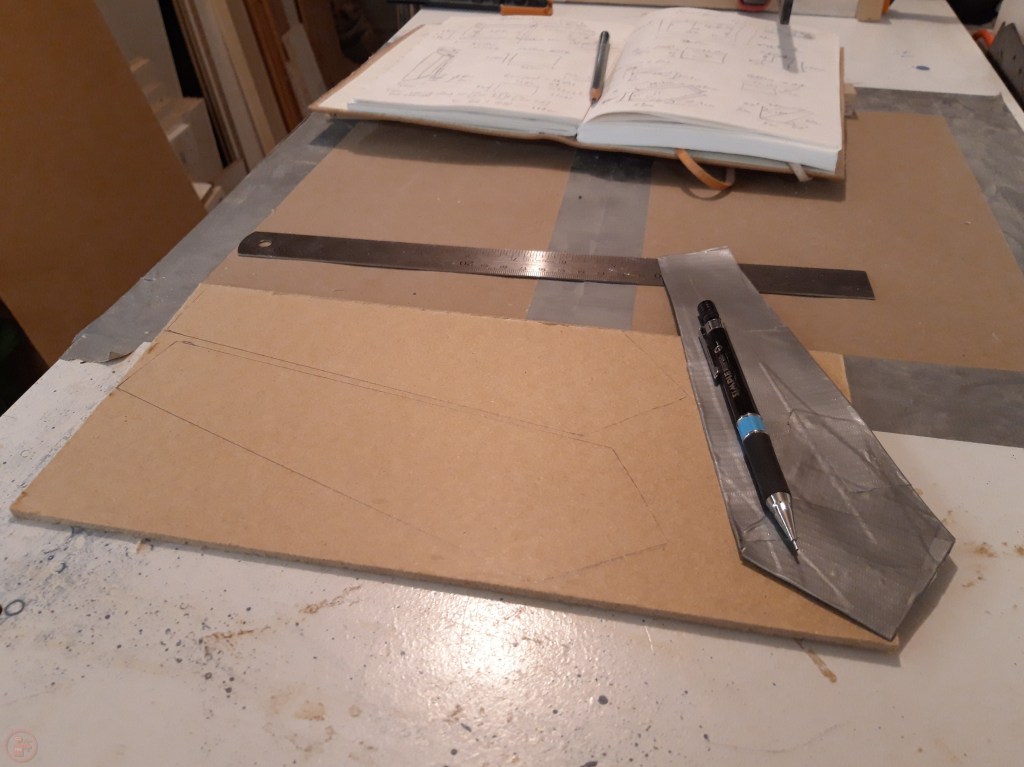
I cut the struts out using my jigsaw and then hand sanded the edges slightly to remove any burrs.
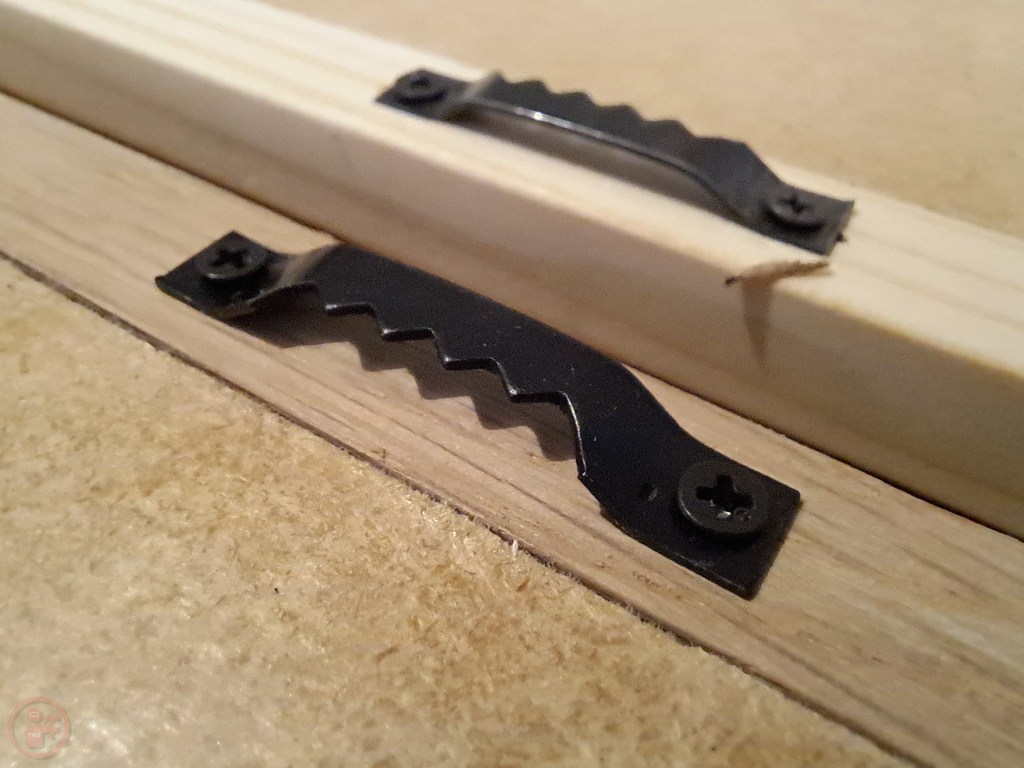
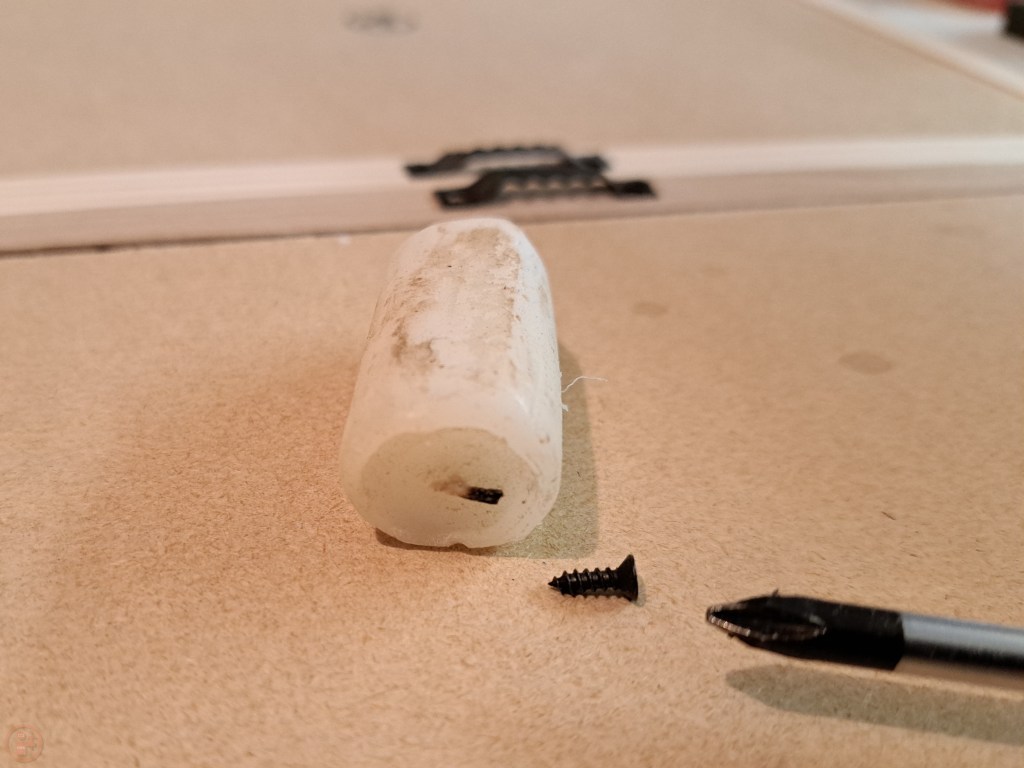
I also gave the frames a thorough sanding with my random orbit sander, increasing through the grits up to 180 to provide a nice smooth texture to the frames. I hand sanded the inside of each of the frames, which took quite a while! I also fitted a sawtooth picture frame hanger to the back of each frame – I used a small amount of candle wax from a used up candle stub to assist with driving the small screws into the wood. I have found this really helps with preventing the screw head from snapping off, especially with really small screws that may not be very strong.
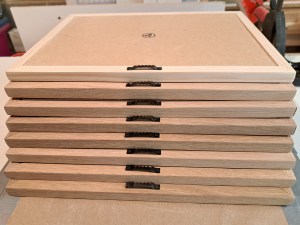
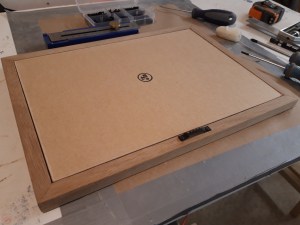
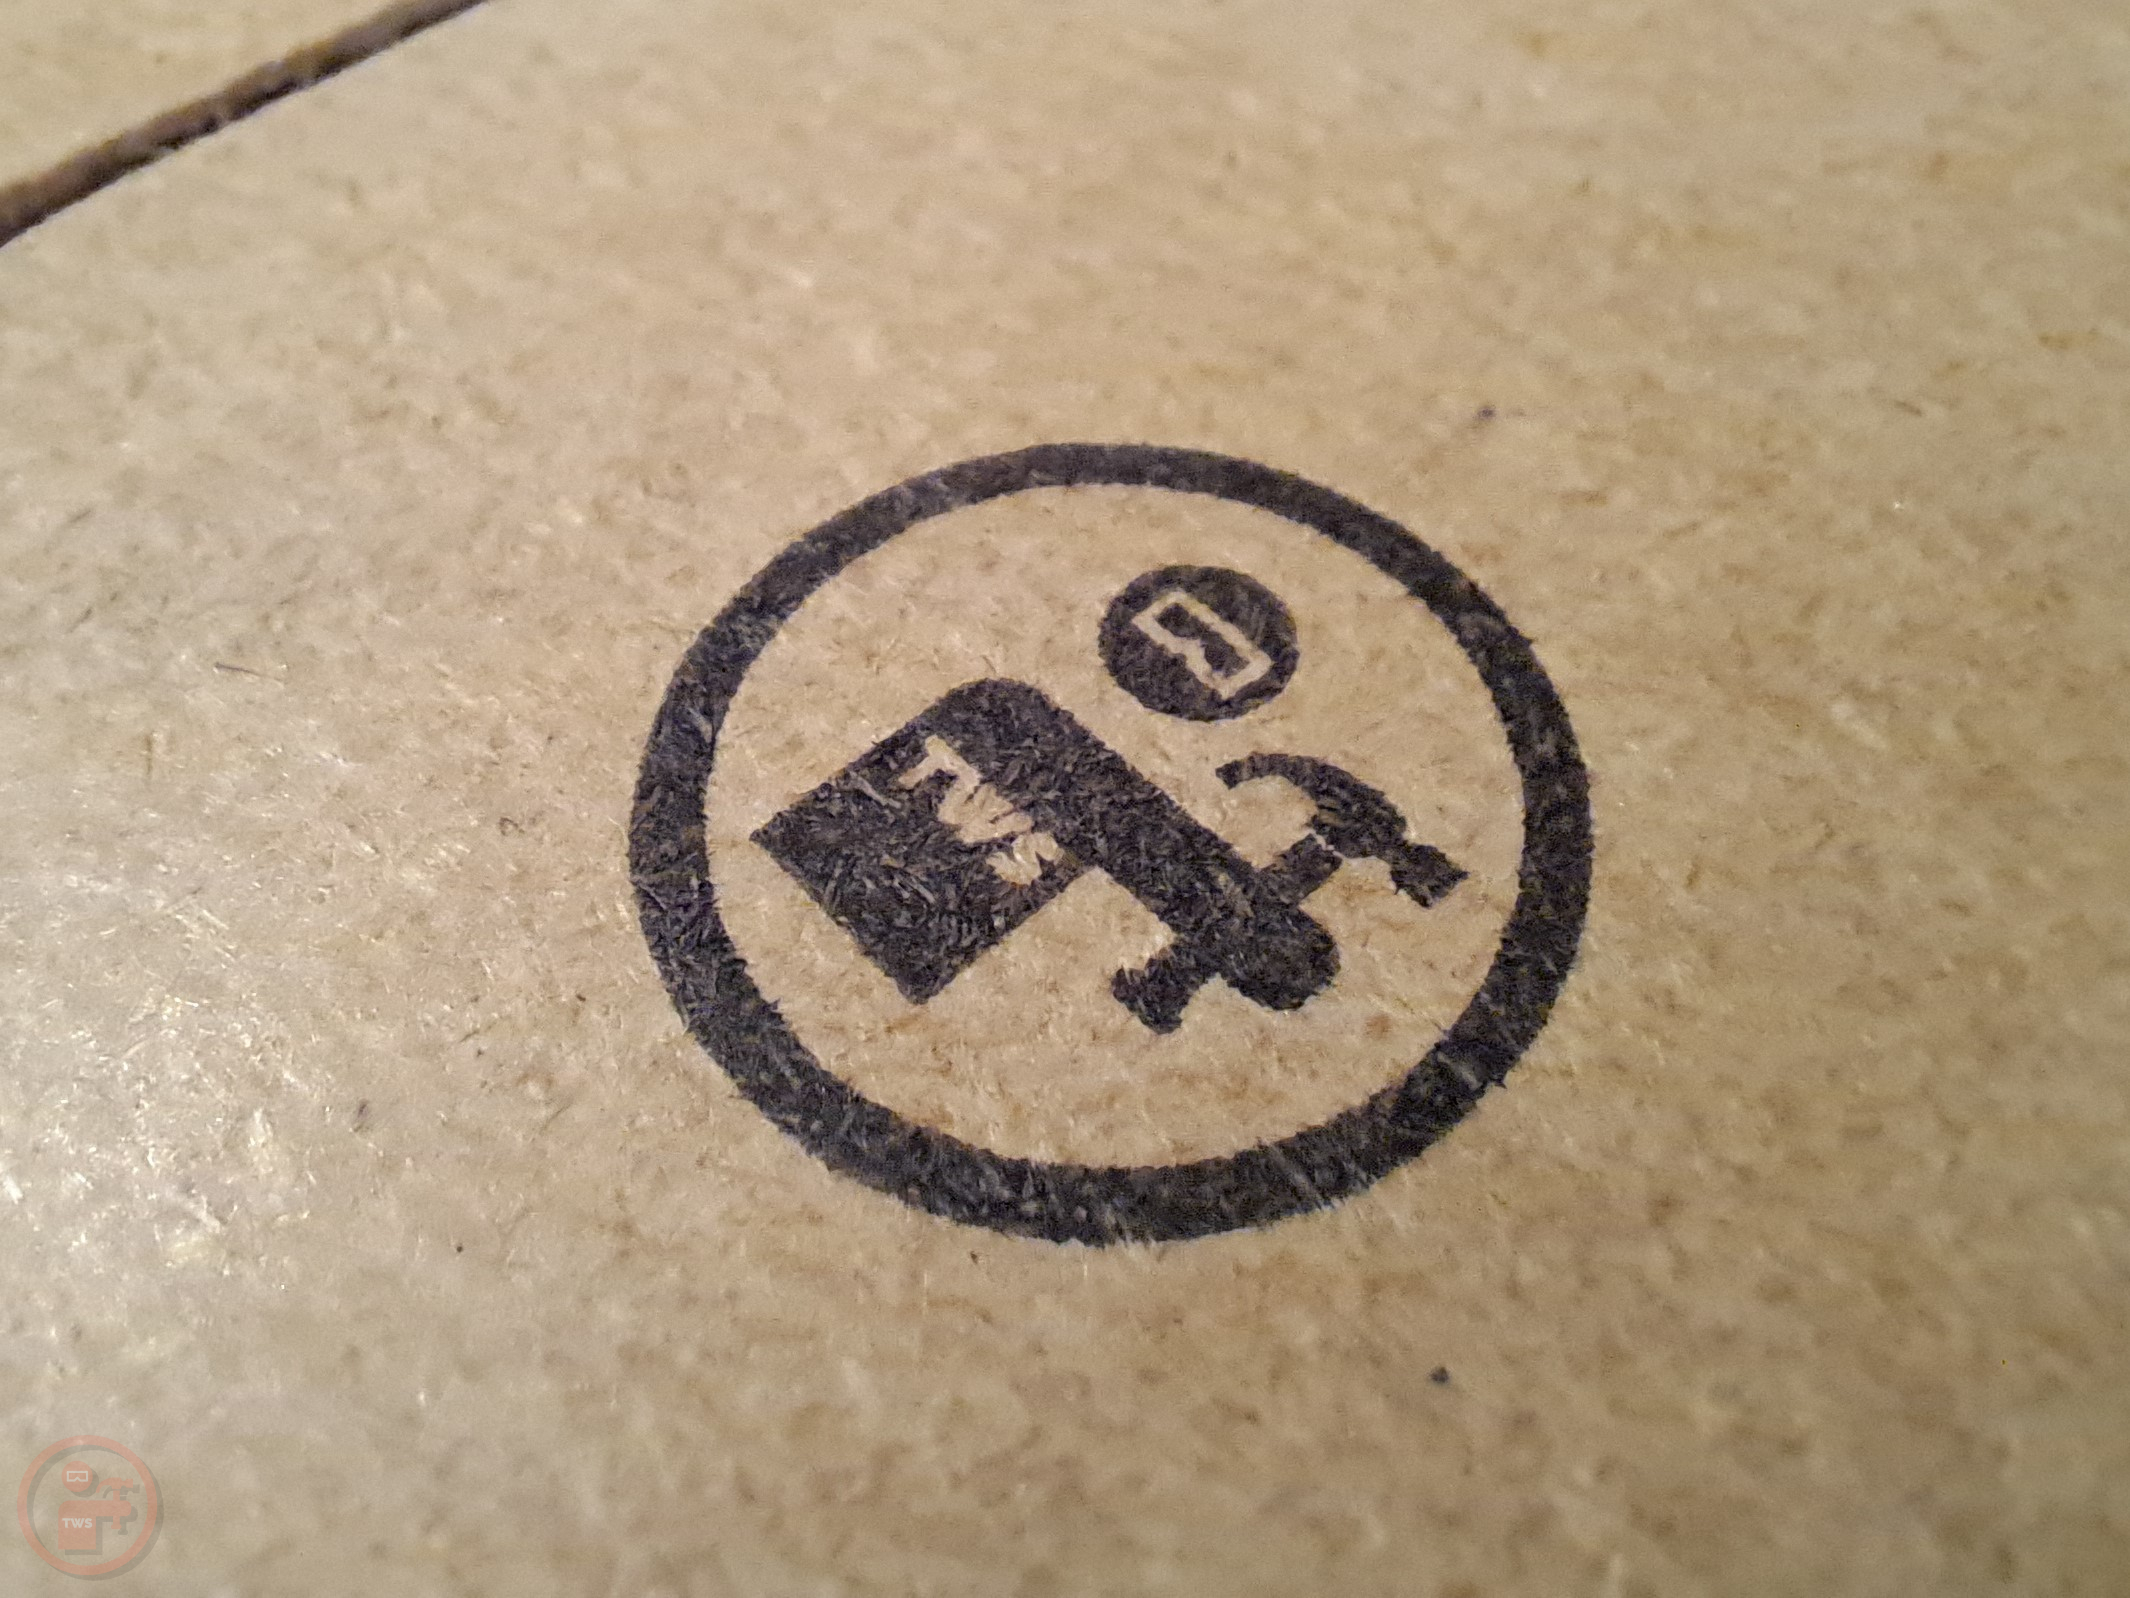
With the sawtooth hanger fitted to each frame, and my logo stamped onto the back, all that was left to do was fit the struts to each frame, giving people multiple options for how to display their certificate.

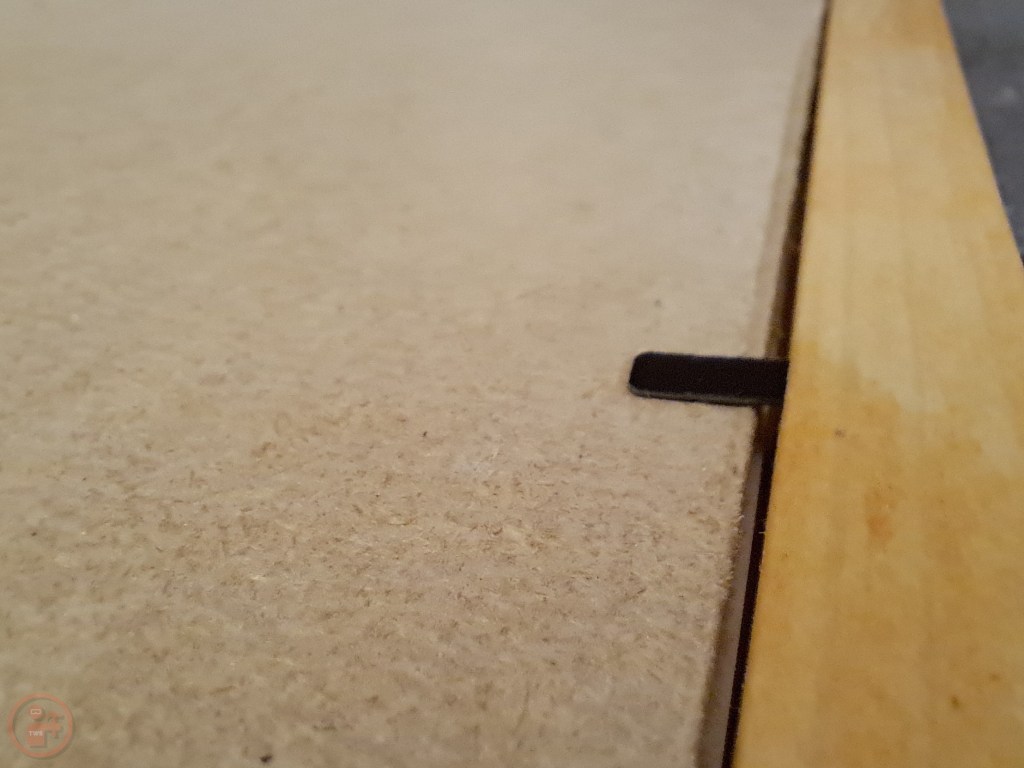
I applied two coats of Danish oil to each frame, letting it fully soak in between each application. While the frame bodies were hanging up, I fitted the strut to the back panel using some specially designed hinges with teeth to grip into the hardboard. I also removed the protective plastic from the transparent plastic panels, which was very satisfying!

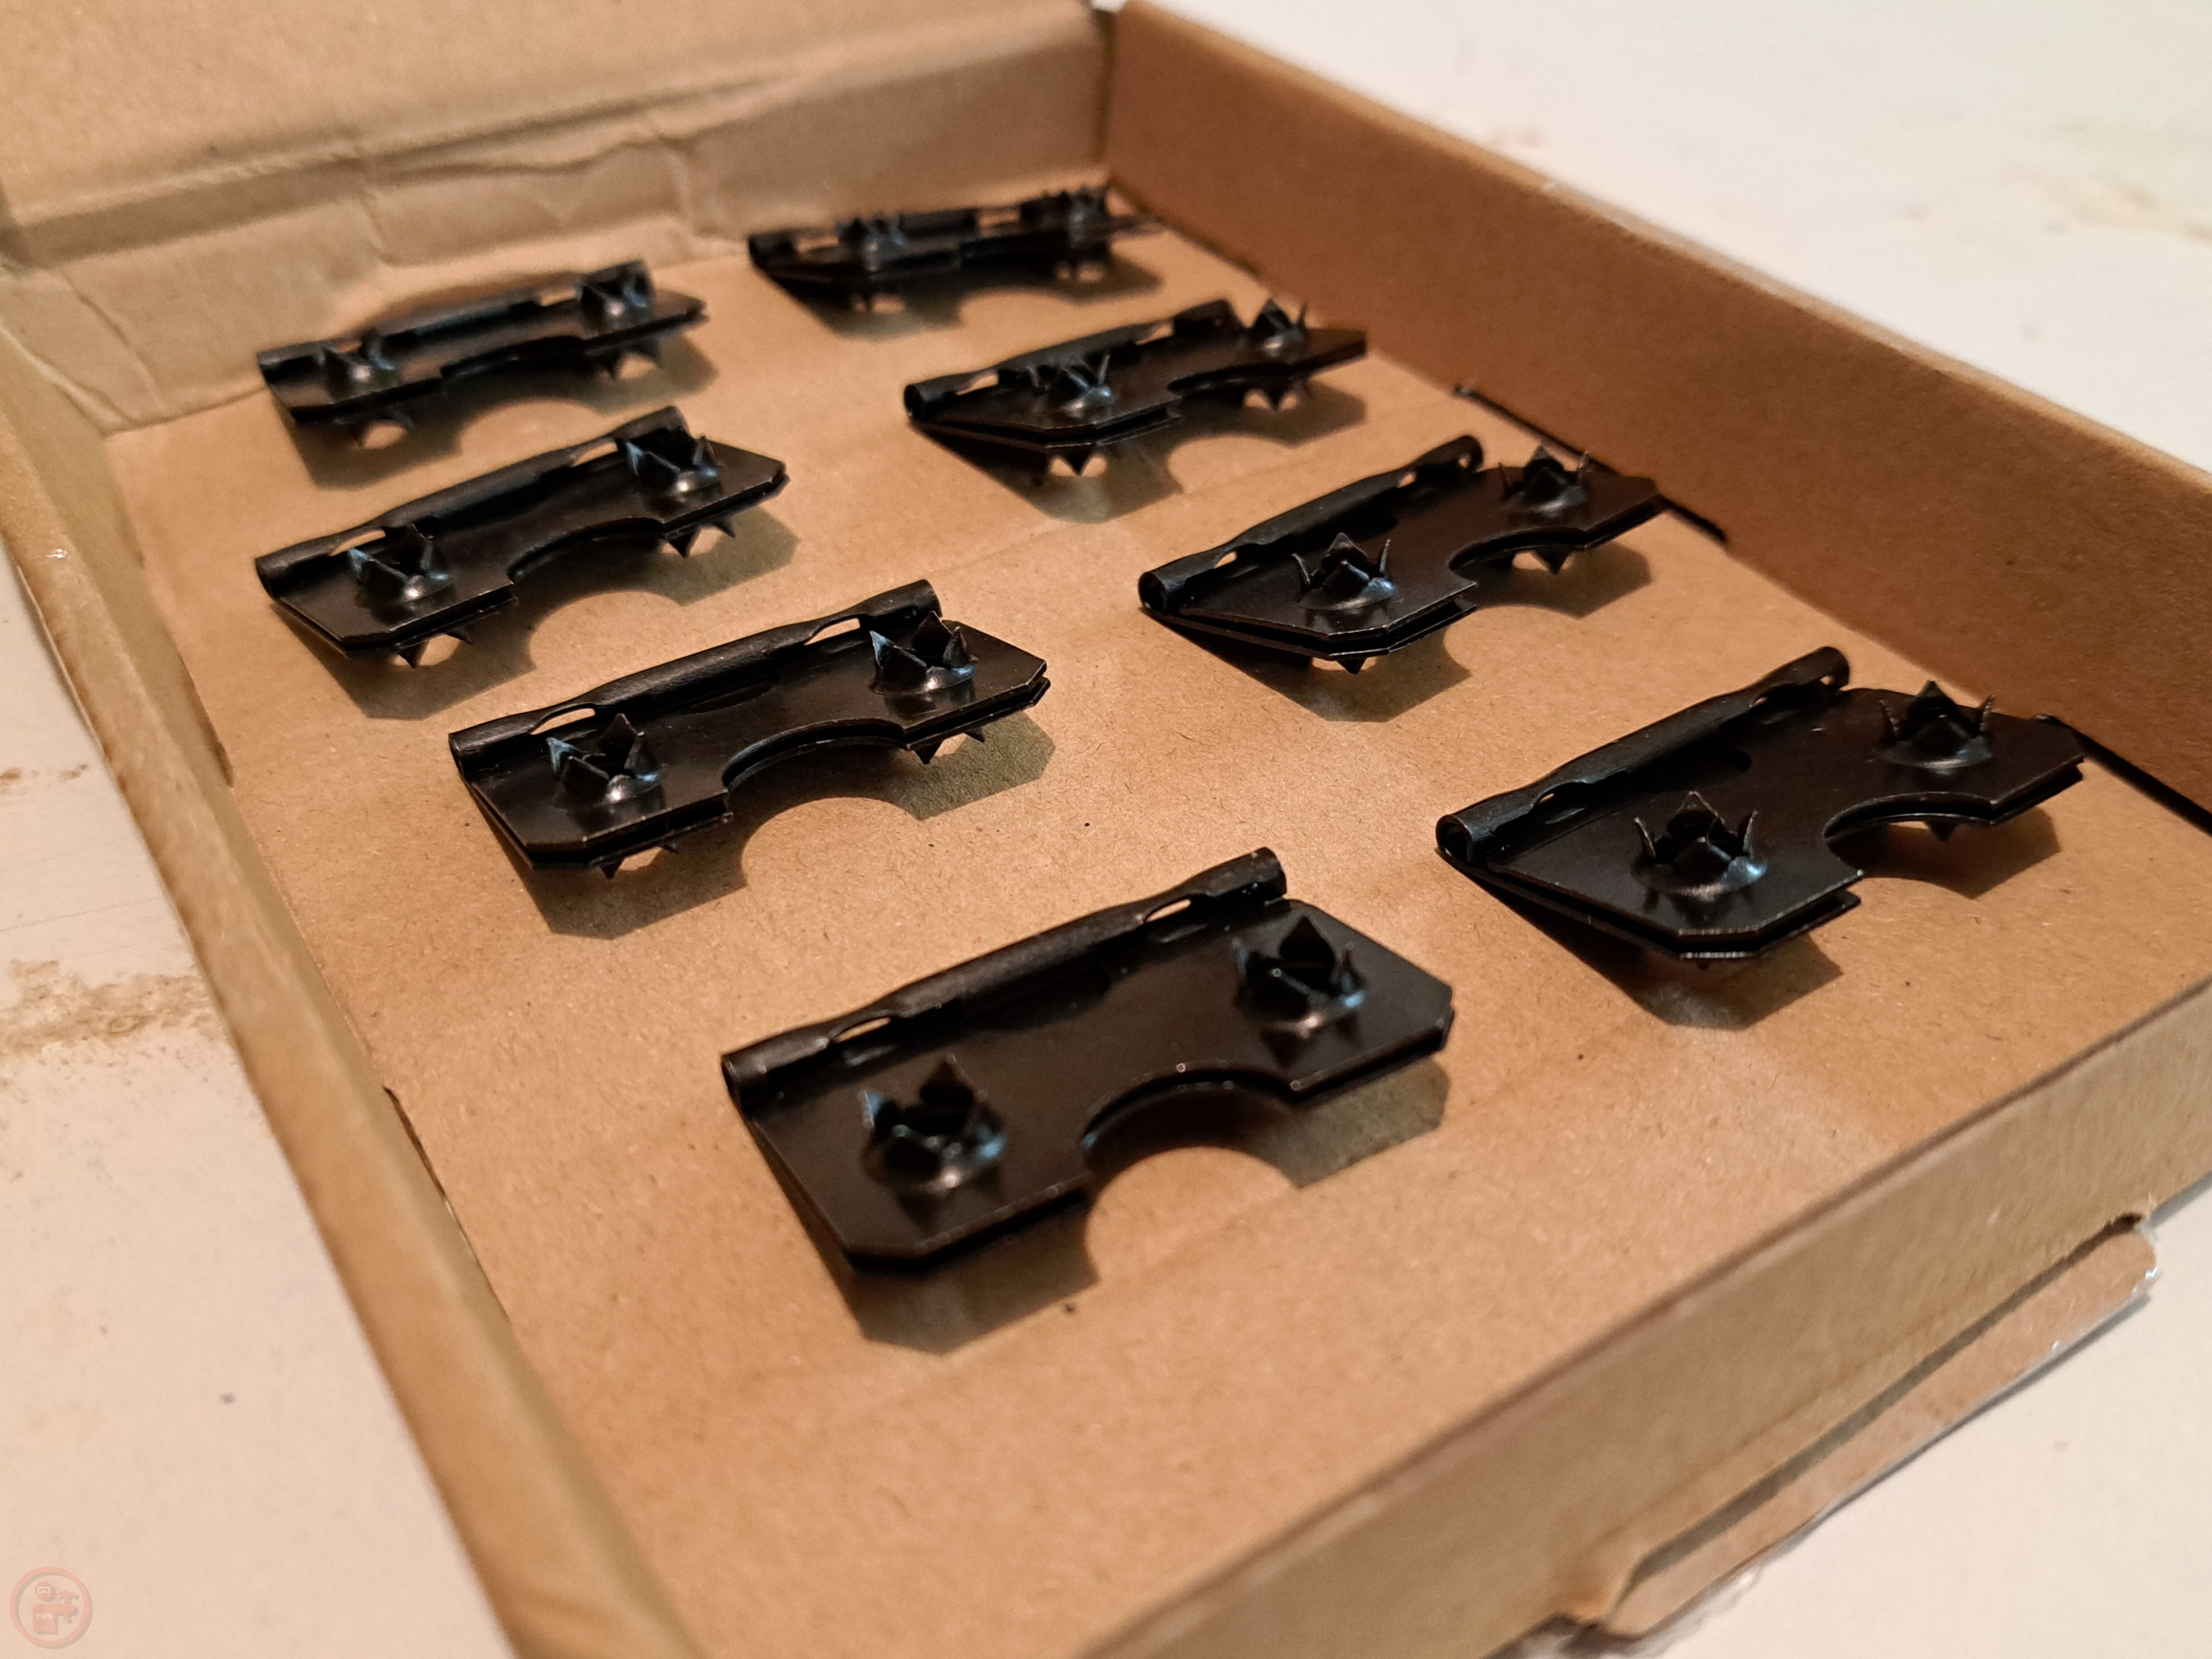
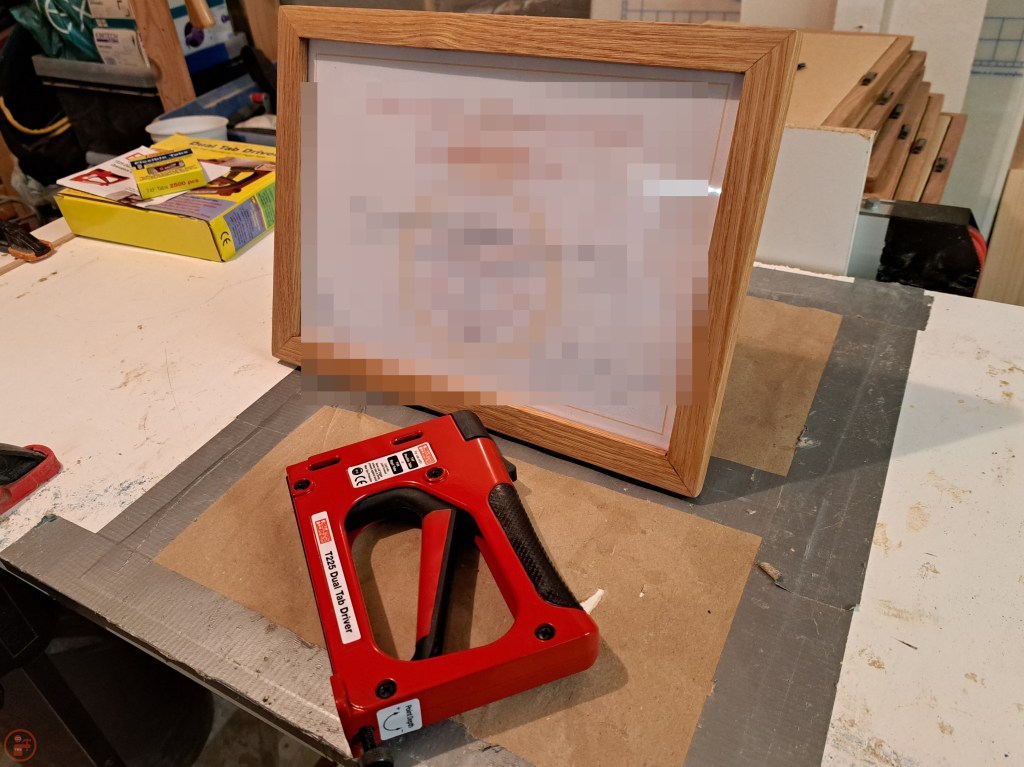
Once the frames were fully finished drying, I then assembled all the components to finish off the frames. I used a framing stapler to push flexible tabs into the edges of each frame, two on each short side and three on the long sides, to hold it all together. This was my first time using the framing stapler, which I had got as an investment after reading a load of advice online. And it was definitely worth it – I managed to insert ten tabs per frame for all eight picture frames, totalling 80 tabs, in only a matter of minutes and without any issues!
With the frames fully assembled, I gave them a final wipe over to remove any sawdust and then packed them up carefully to take into work for my team.
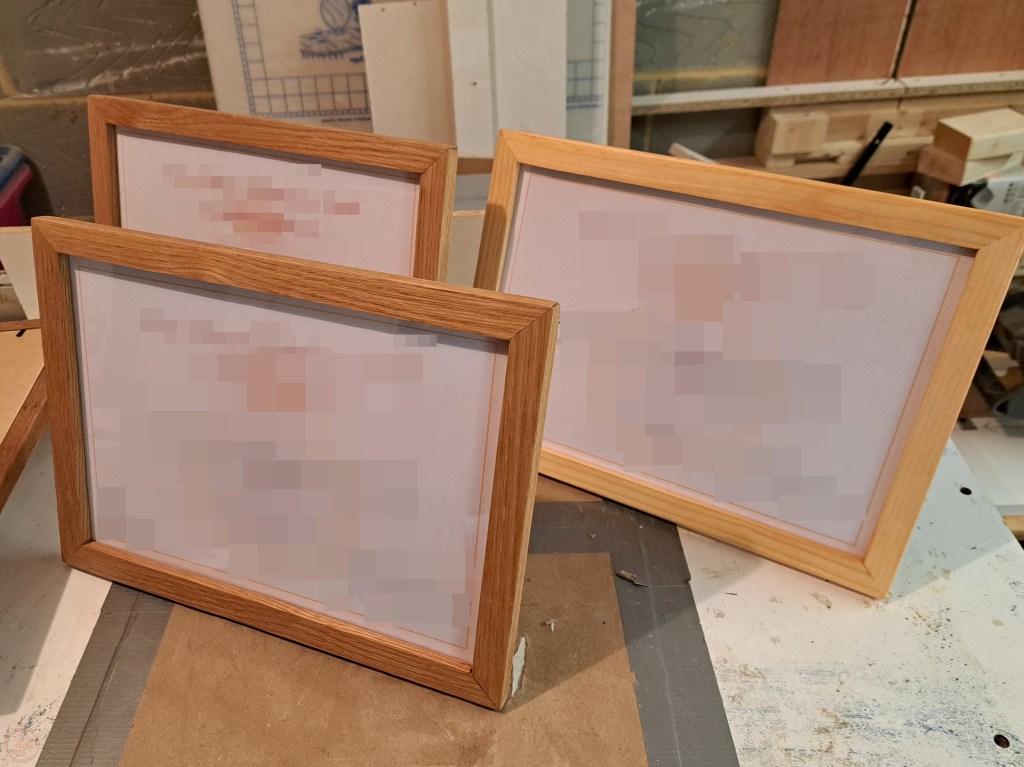
I’m really pleased with how these turned out – the oak grain really pops with the Danish oil finish and the mitres have all turned out very crisp looking. I like the pine version as a fun contrast against the darker oak frames, but the finished oak is definitely my preference. The frames also showed me how relatively easy it is to make a picture frame, so I shall definitely be making more in future, especially as the framing stapler makes applying the flexible tabs so easy!
When I gave these out to the team, everyone was really pleased to not only have the certificate as recognition of their efforts and hard work, but also to have a really nice custom frame for it as well. I hung mine up in my home office so I am reminded of the achievement and my woodworking each time I look at it! 🔨

1 thought on “Picture frames for Award certificates”