When we first moved into this house, there was no light pull on the end of the string in the main bathroom. This was particularly annoying in the dark, as the string was really difficult to grab. I recognised an opportunity to solve a problem!
I had an offcut of oak left over from making some picture frames, so decided it would be perfect for making into a light pull. I worked out the rough dimensions and made a mark using an awl in the centre. I then used a pair of compasses to draw a circle, which would be the edge of the light pull.

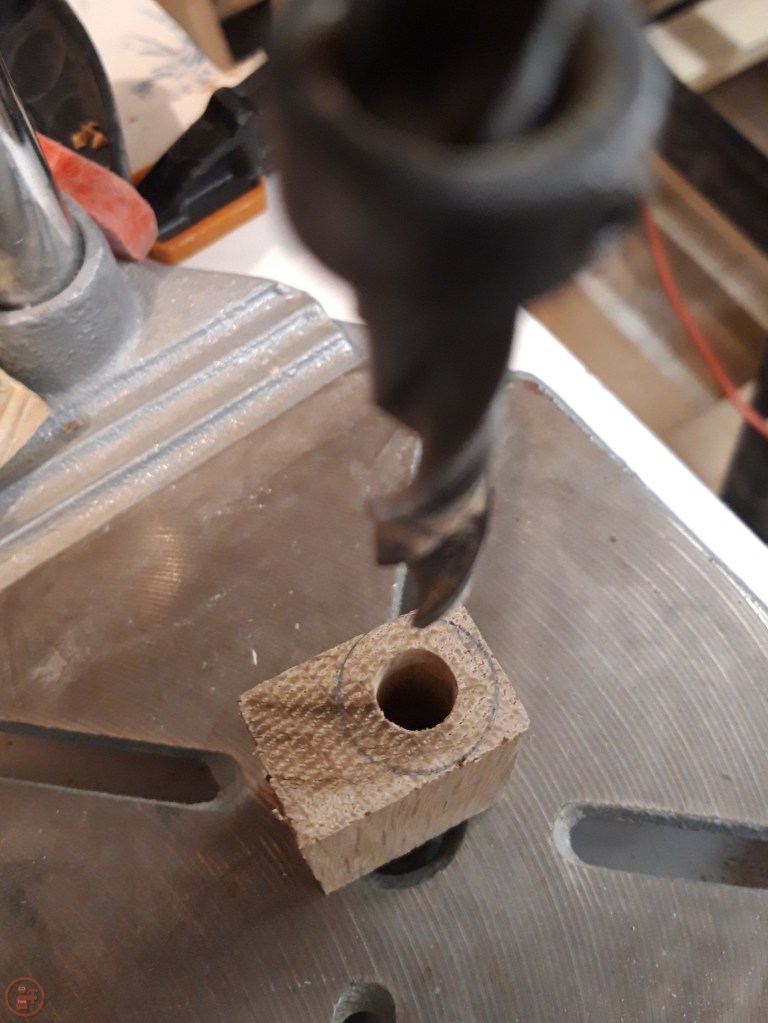
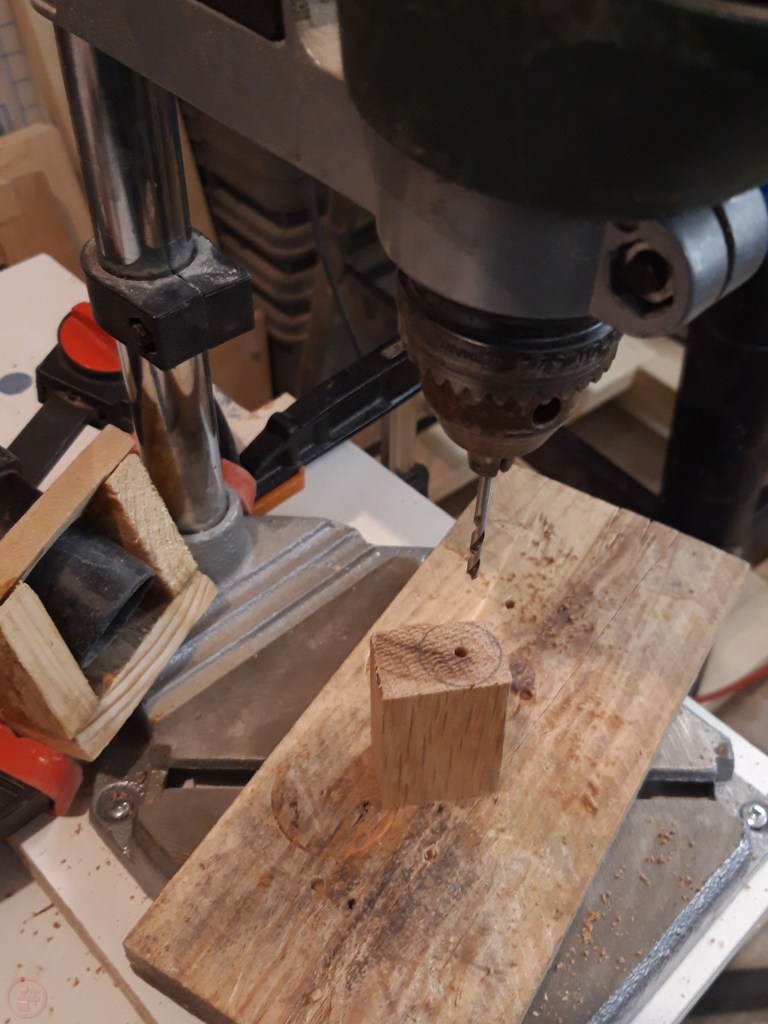
With the workpiece still as a solid block, I decided it was easier to drill the required holes now, as I could hold and clamp it more easily. I used a large 10mm drill bit to drill a hole about halfway through the workpiece. I then switched to a smaller 4mm drill bit and drilled a hole from the other end, through which the string will be fed. The larger hole allows for the string to be knotted and hidden within the light pull.
With the holes completed, I cut the block down to the approximate 2cm black, ready for shaping. If it were a light pull for a really modern set up, I suppose you could leave it as a slightly rounder-over square shape, but that wasn’t the look I was going for.

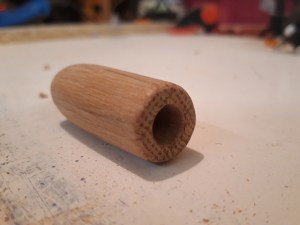
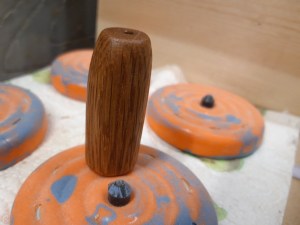
As the workpiece was now quite small, and I value my fingers (!), I applied some tape to the end of a pencil and then wedged that into the hole in the light pull. I used my belt sander clamped upside down with a 40 grit belt to carefully shape the light pull. I did the shaping in stages, gradually reducing the block into a rounded over block, then turning each corner into less of a sharp angle, until I was left with a round smooth cylinder-type shape.

I added a slight taper to the top of the light pull and then hand sanded up to 180 grit to make the light pull really comfortable to touch. I wanted to give the oak some protection from repeated handling, so applied some boiled linseed oil.
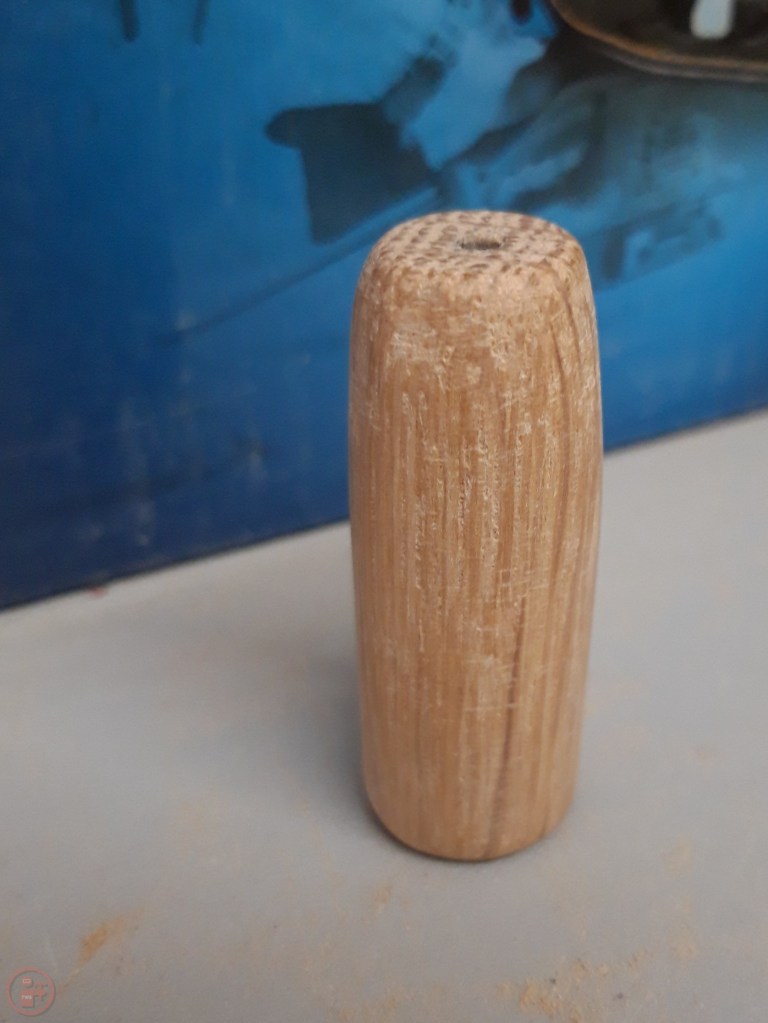

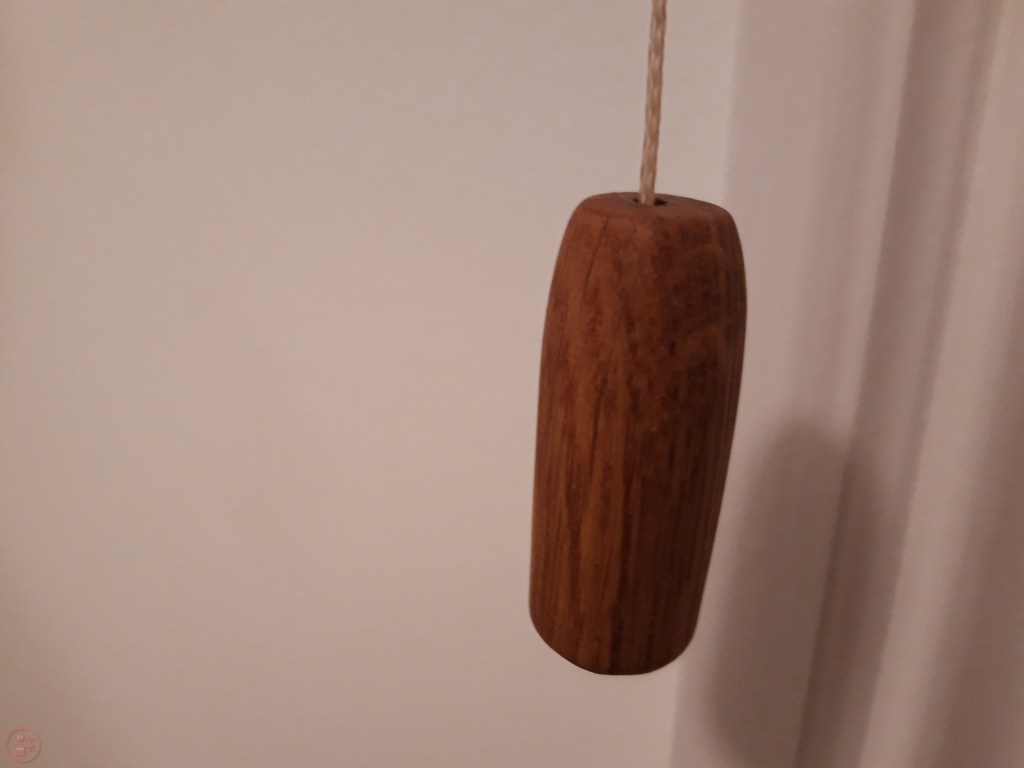
The linseed oil darkened the light pull and really brought out the grain of the oak. I left the light pull to dry for several hours until it was fully dry.
I took the new light pull into the bathroom and untied the existing knot. I threaded the string through the small hole in the top of the new light pull and kept posting it through until it came out the end. I tied a firm knot and then dropped the light pull down into place, with the knot being neatly concealed inside the light pull.
I have tested this multiple times since I made it and each time it makes me pleased – both because I can now turn the light on and off a lot more easily, and also because this is another quick win of a project, which has actually turned out looking really good! 🔨
