My sister’s fiancé really likes elephants and requested a custom doorstop to assist with wedging the door between the kitchen and the hall in their new house. Maybe there was a way I could combine both of these?
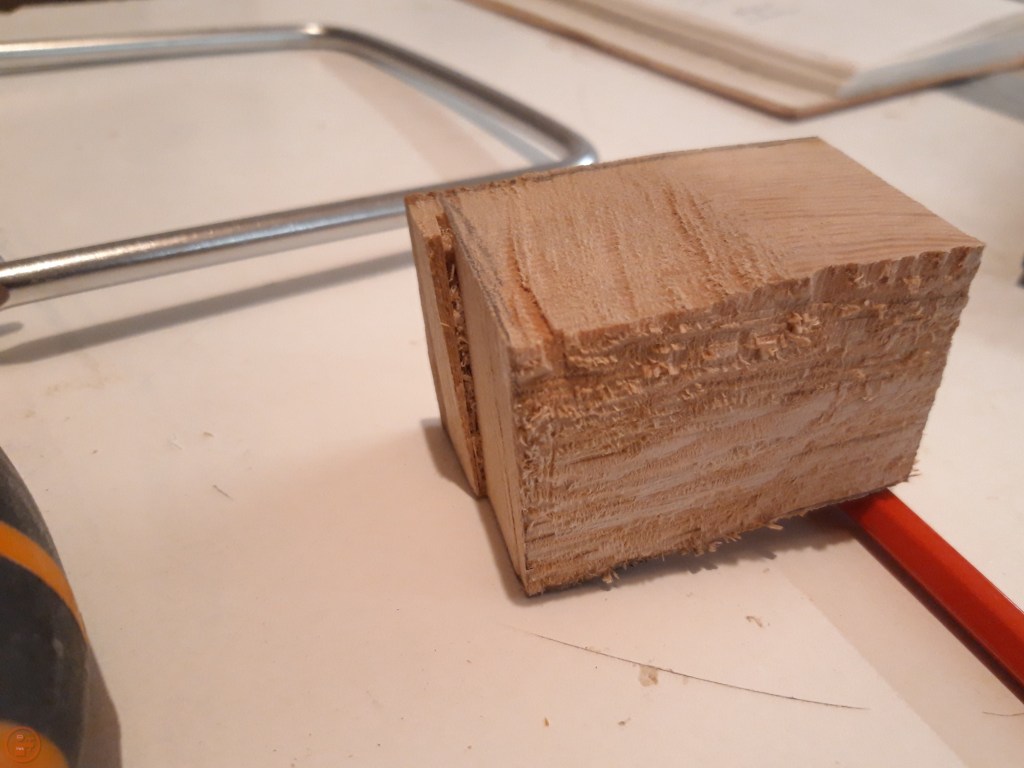
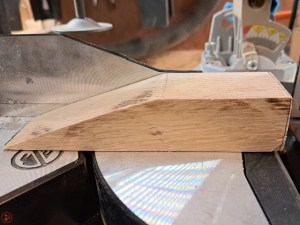
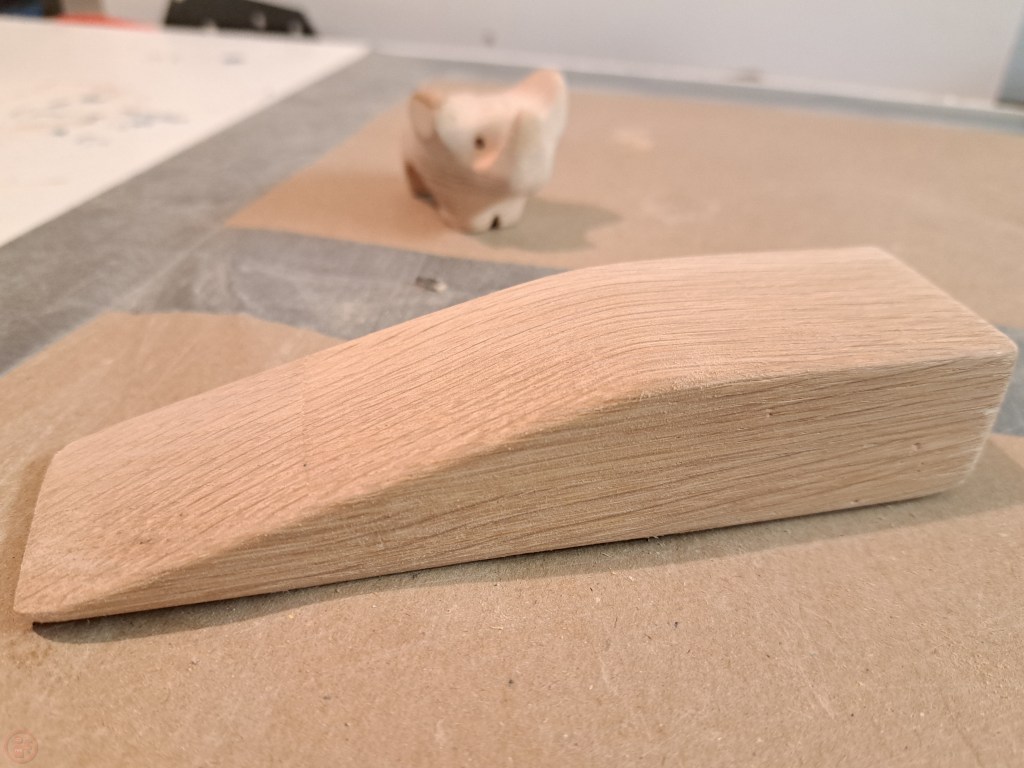
I started by gluing two pieces of oak together to make a larger block for the wedge. While that was drying in clamps, I selected another piece of oak to shape into the elephant.

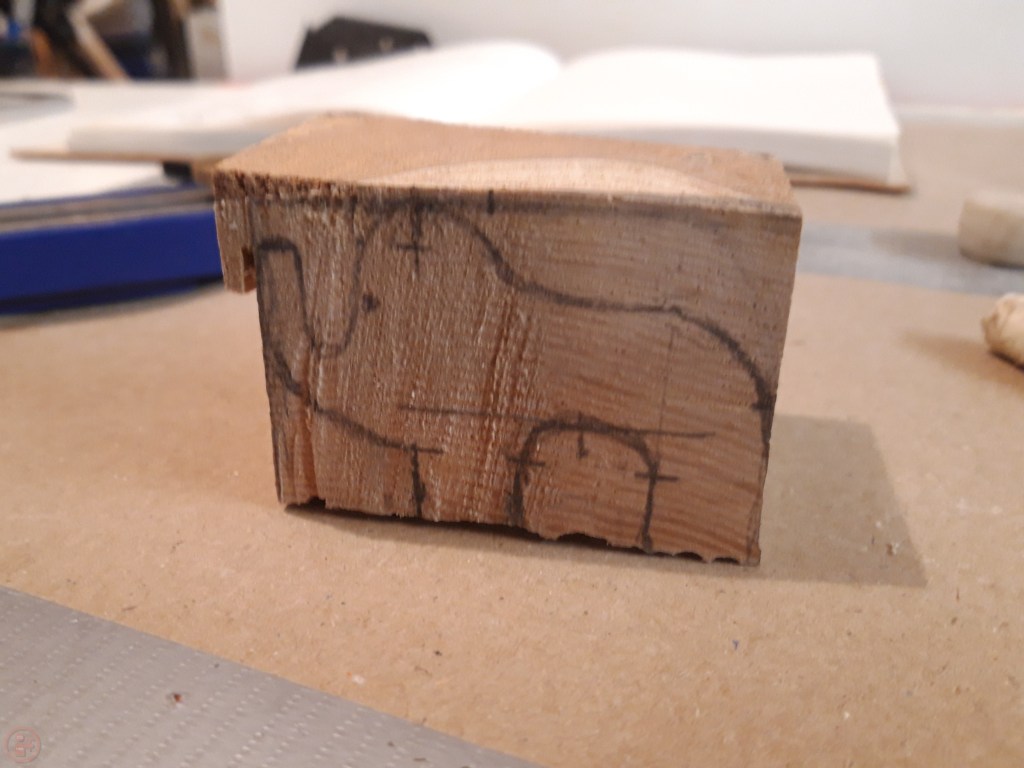
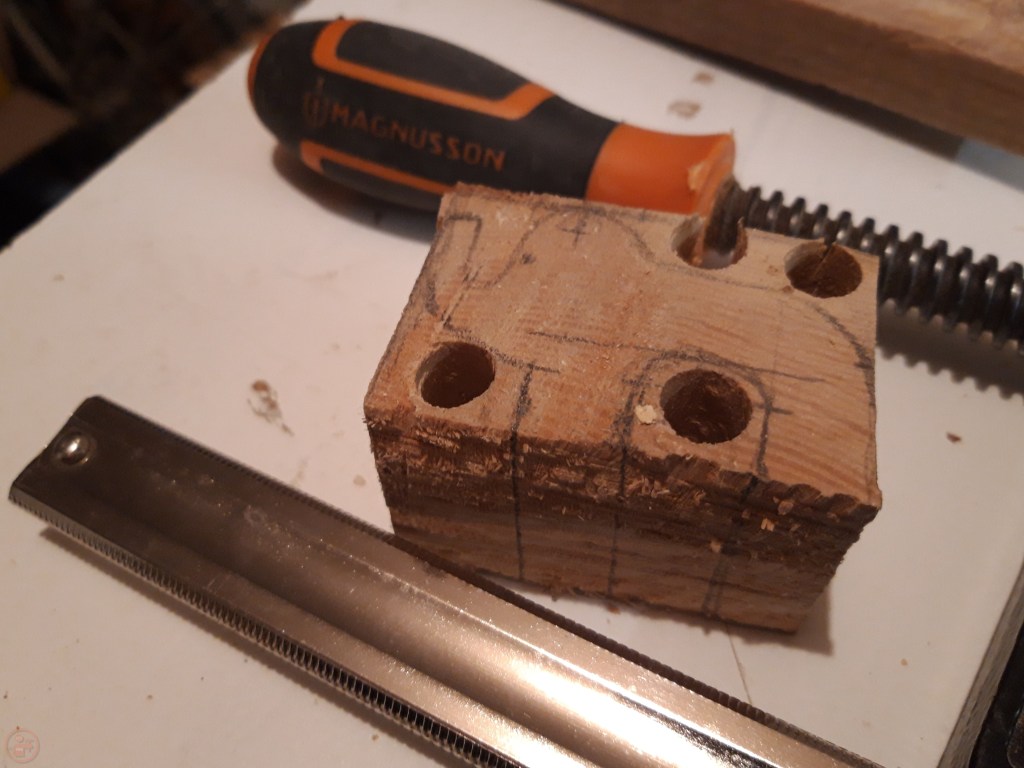
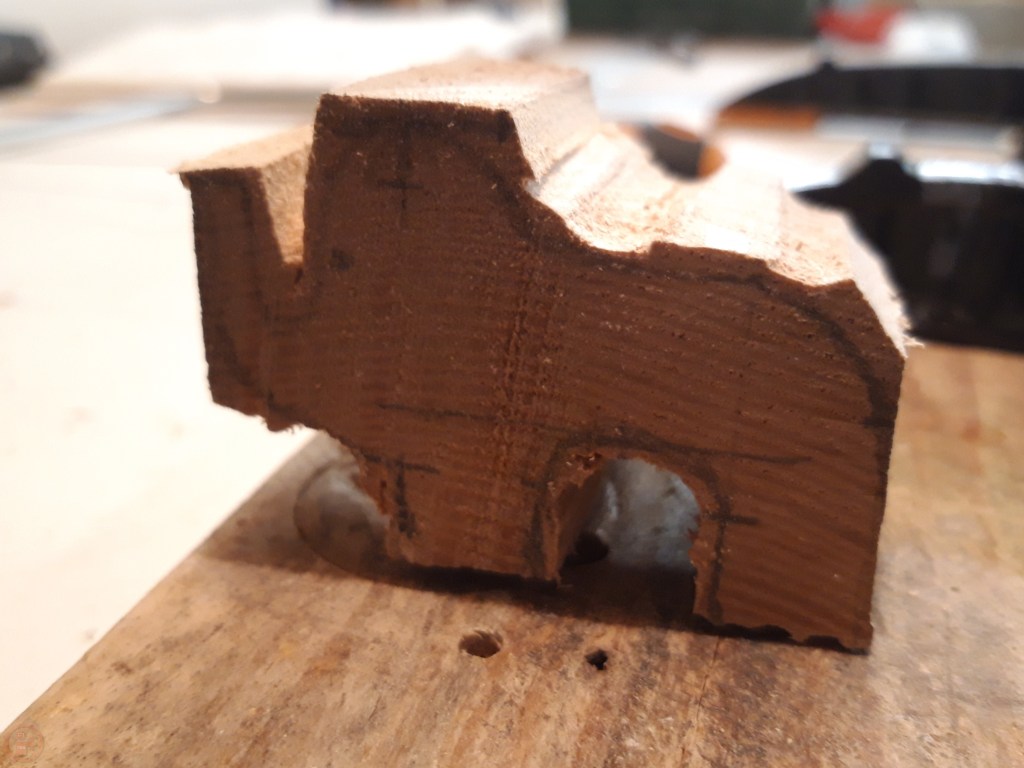
I drew out the rough shape and then drilled out strategic holes at four locations around the drawn out elephant body. I then used these holes to assist with cutting away the wood outside the lines.

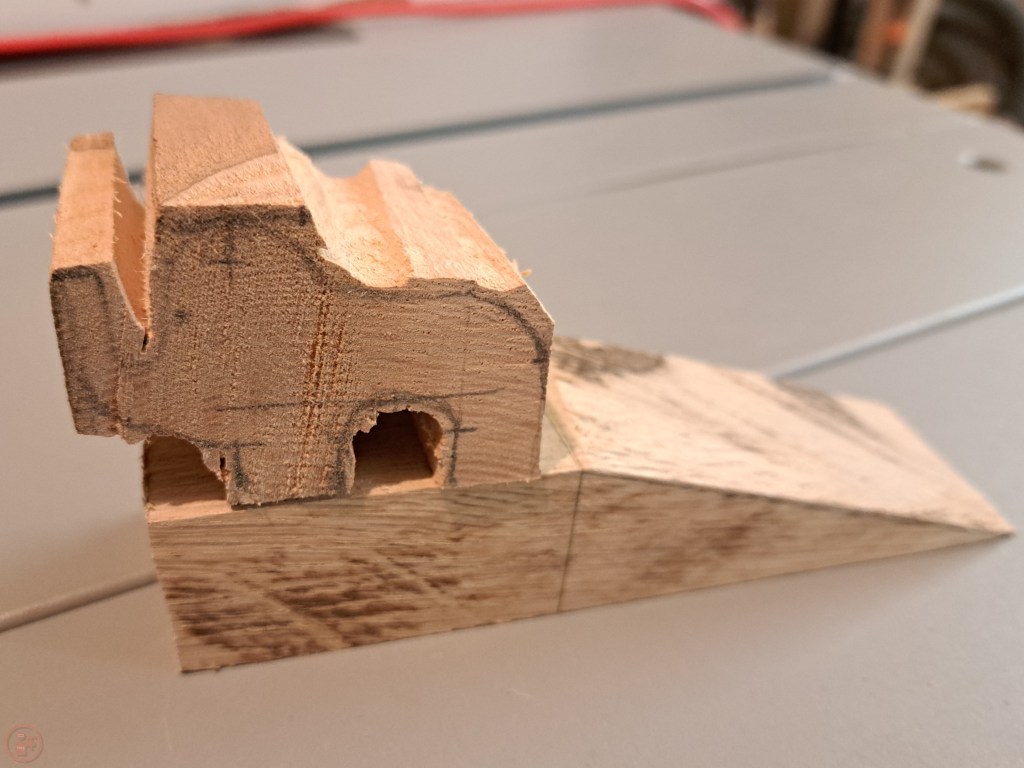
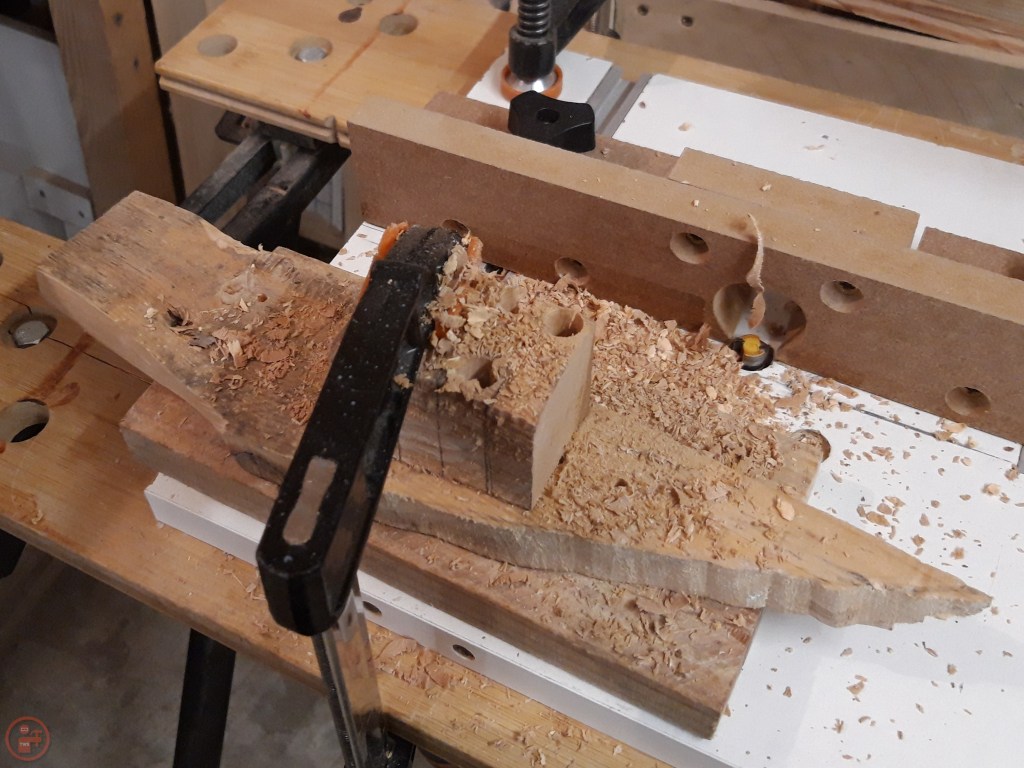
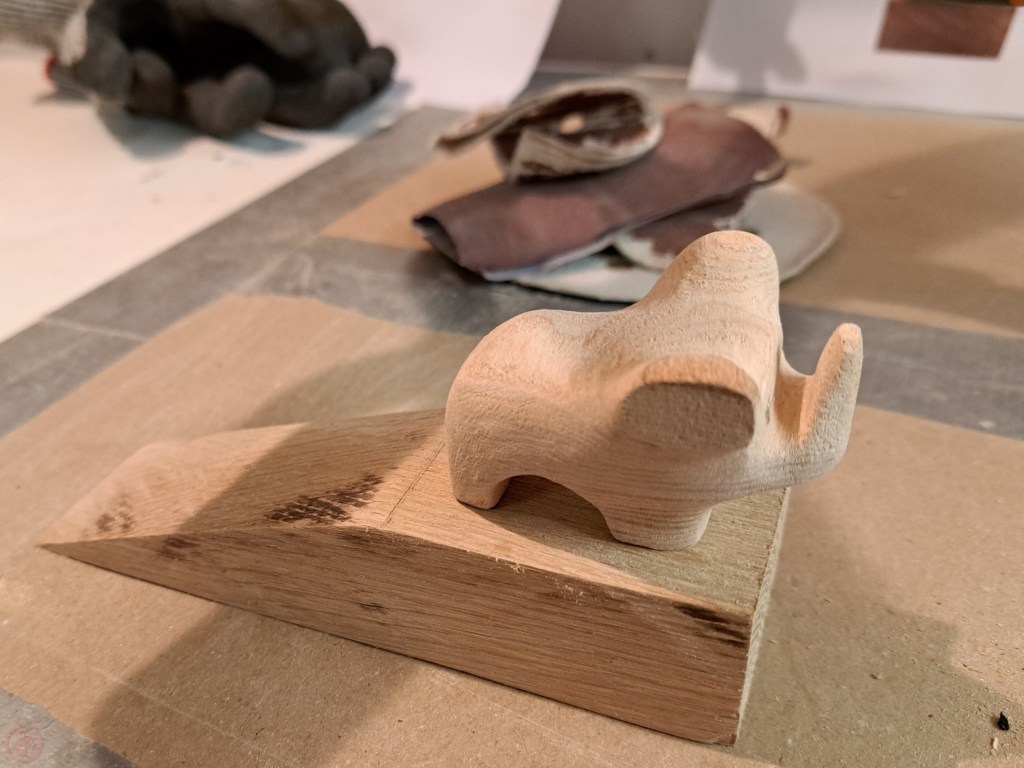
Once the first block for the wedge was dried, I cut the wedge shape so I could make sure the elephant would fit on the top before I spent ages shaping it! Pleasingly my approximate scale for the elephant was good, so I used my mitre saw to flatten the end of the wedge flush and then turned my attention to carving the elephant.
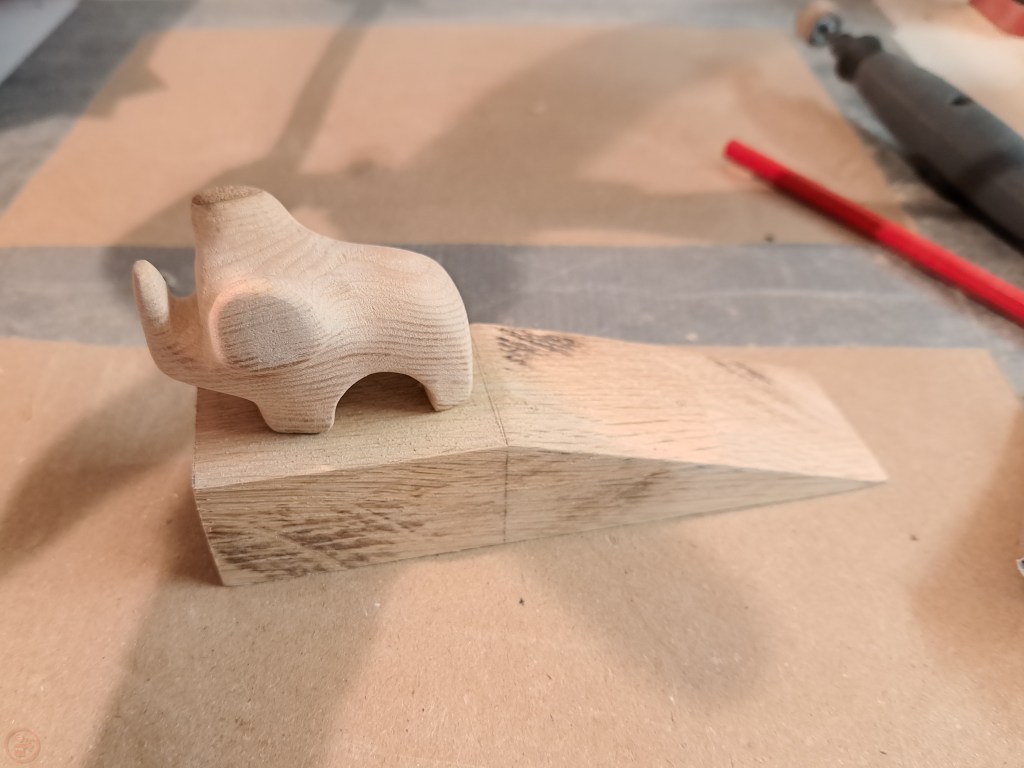
I used my Dremel to shape the elephant, gradually removing more material to round over the edges and make a smooth body shape.
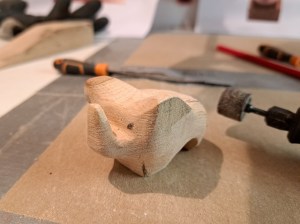
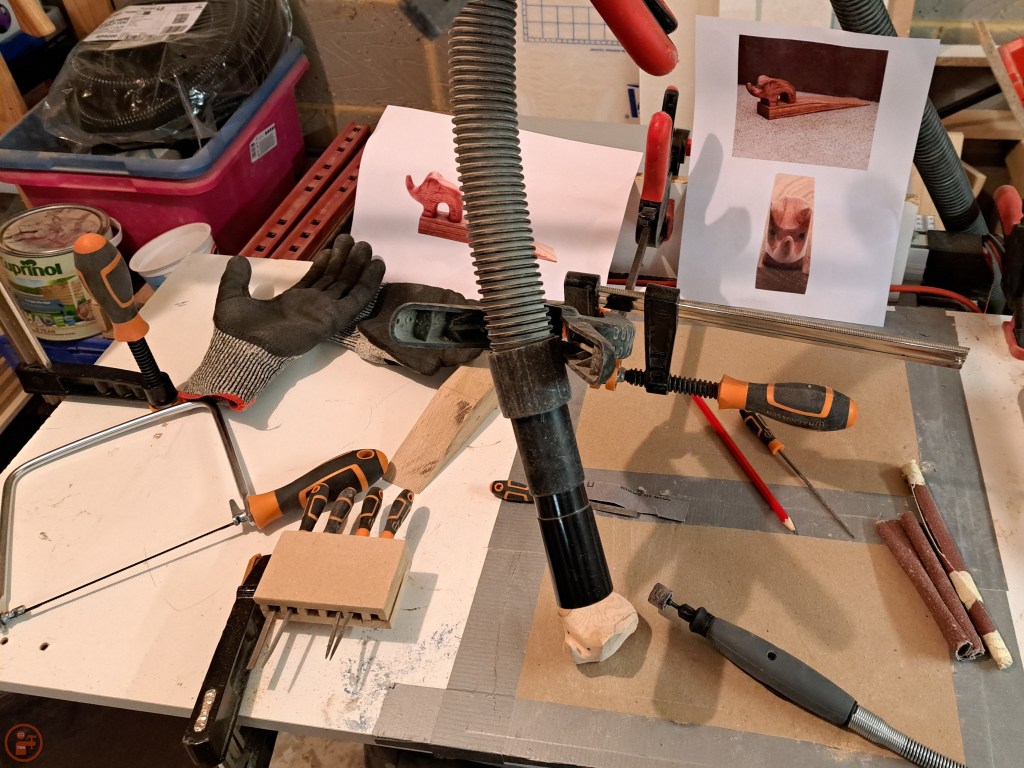
I set up my vacuum hose to assist with removing the sanded away saw dust to prevent me from breathing it in and make it easier to see what still needed removing from the body shape. I kept checking the overall shape against the wedge to make sure it was still in proportion.


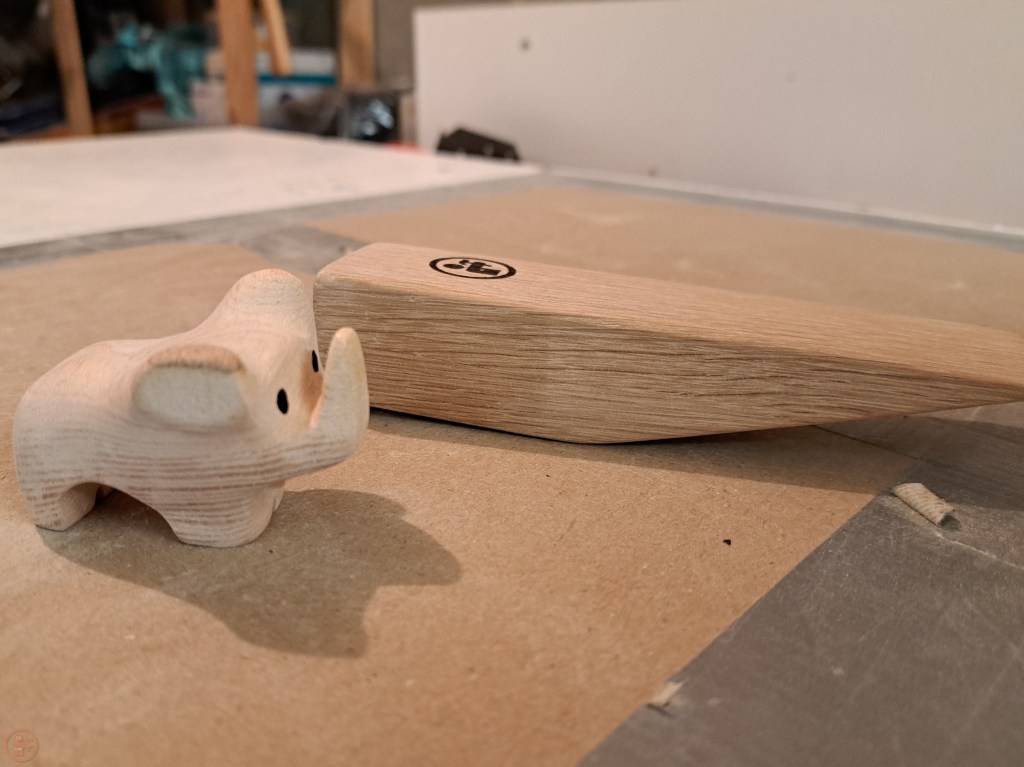
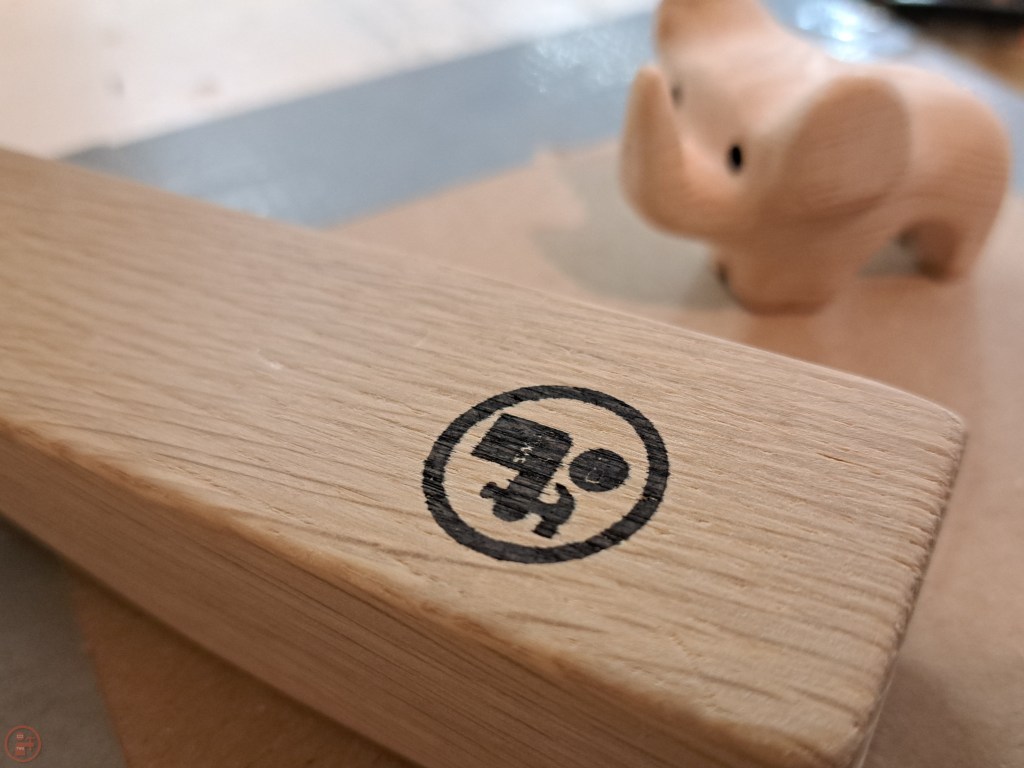
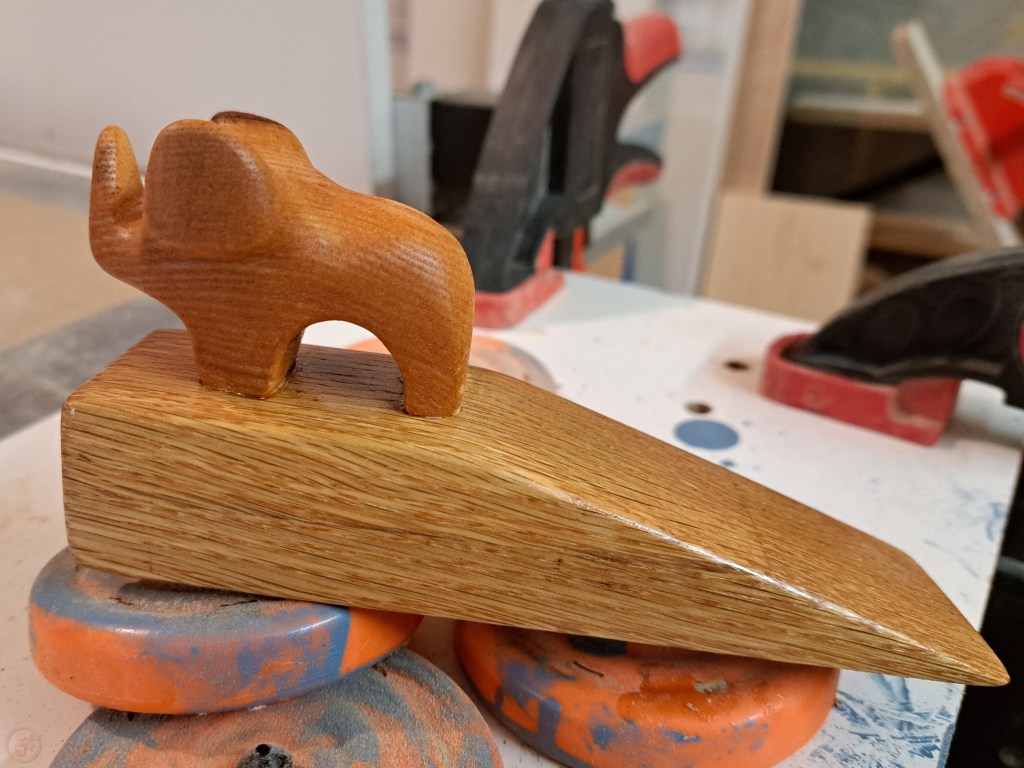
Once I was happy with the elephant model shape, I sanded both the elephant and the wedge by hand up to 180 grit. I also rounded over the edges of the wedge slightly, as the oak corners were quite sharp! I made some small holes for the eyes and then painted them with black acrylic paint to make them stand out. I added my TWS logo to the bottom of the wedge using my custom stamp. I glued the elephant into place on the wedge and left it to dry, using gravity as a clamp (how do you clamp an elephant?!).

Once the glue was fully dried, I sprayed the doorstop with water to raise the grain and resanded up to 180 grit. This prep stage ensured that when I applied the finish, the workpiece remained lovely and smooth.
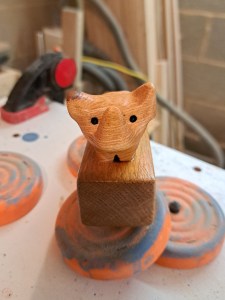
I decided on Danish oil as a finish, to bring out the grain as well as provide some good protection to the doorstop if it is going to be handled and moved around quite a bit.
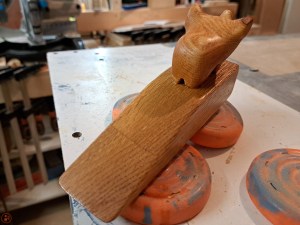
I left the doorstop to fully dry and then gave it a wipe down to remove any excess oil that hadn’t soaked in.
I have started experimenting with filming some of my projects, mostly short clips, but may increase the amount I film for some workpieces where I am particularly pleased with the results and want to record what I’ve made for my own memories and looking back in subsequent years! Feel free to check out what I’ve produced and shared on my YouTube channel so far – https://www.youtube.com/@thewoodworkingscientist.
I’m really pleased with how this doorstop turned out and more importantly, my sister’s fiancé absolutely loved it too!
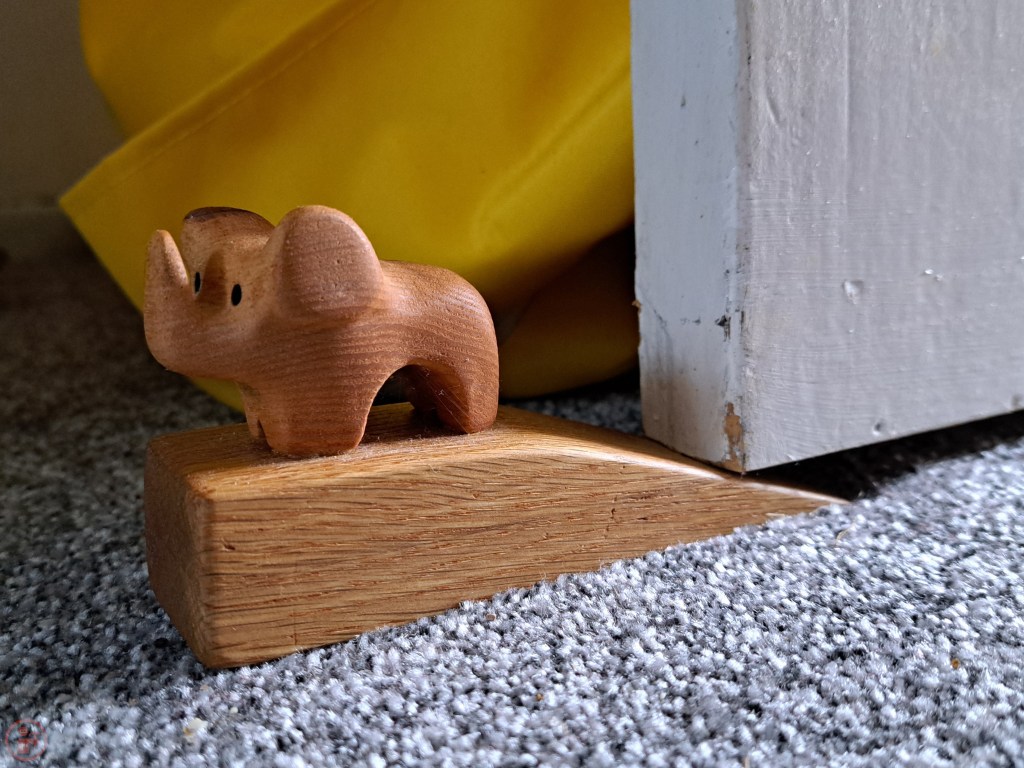
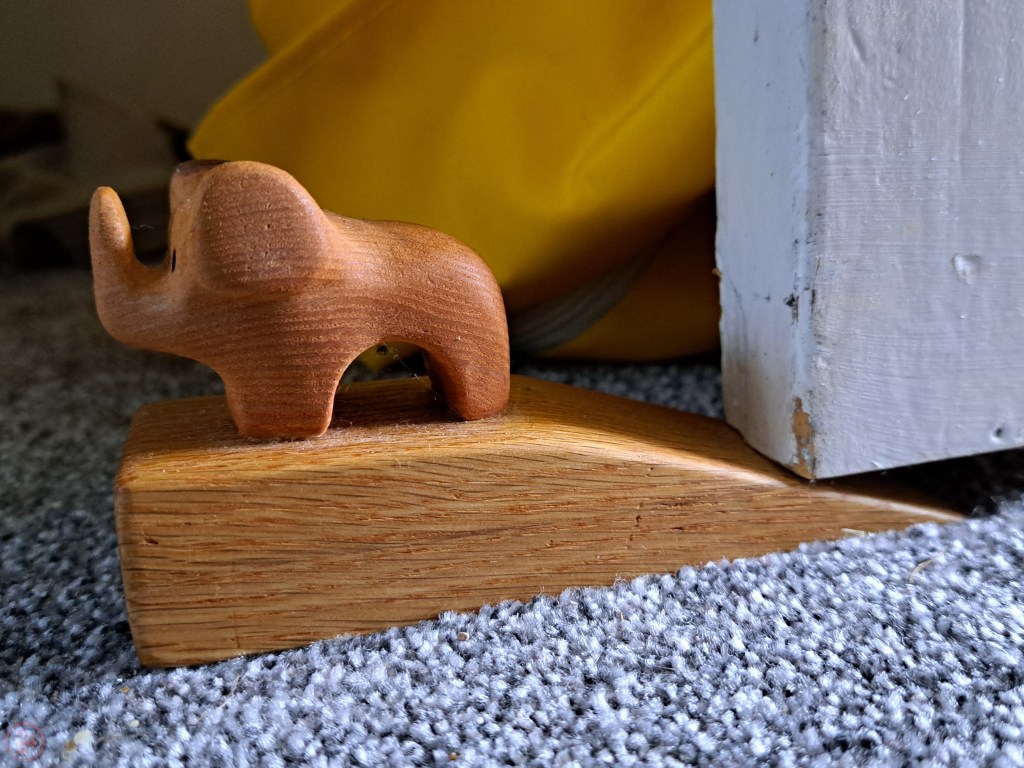
The doorstop has apparently been talked about by a number of visitors to their house, including my 1-and-a-bit year old nephew, who proudly exclaimed “nelly!” when he first saw it – I’m taking that as a ringing endorsement! 🔨
