As my workshop has grown and the types of projects I have been working on has evolved, so has the type and amount of lumber I have been storing. Let’s continue with my new design for a lumber cart!
As this is a particularly long build, I have split the process into two blog posts:
- Planning and making the skeleton frame (previous blog post)
- Making the shelves, dividers and panels, as well as loading up the finished lumber cart (this blog post)

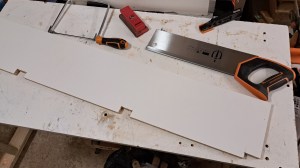
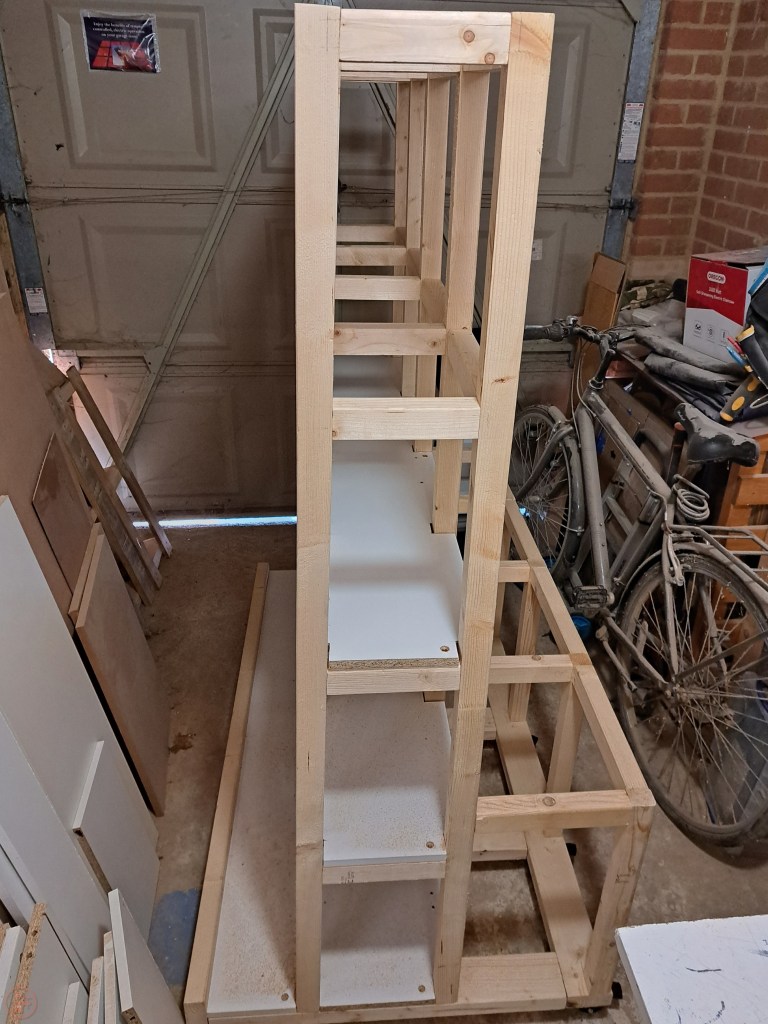
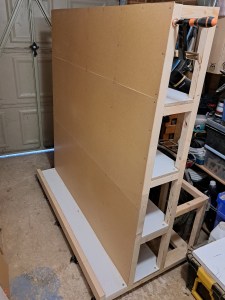
Having completed the skeleton frame previously and added casters, the next steps were to add the various dividers, shelves and panels to turn it into a usable lumber cart.
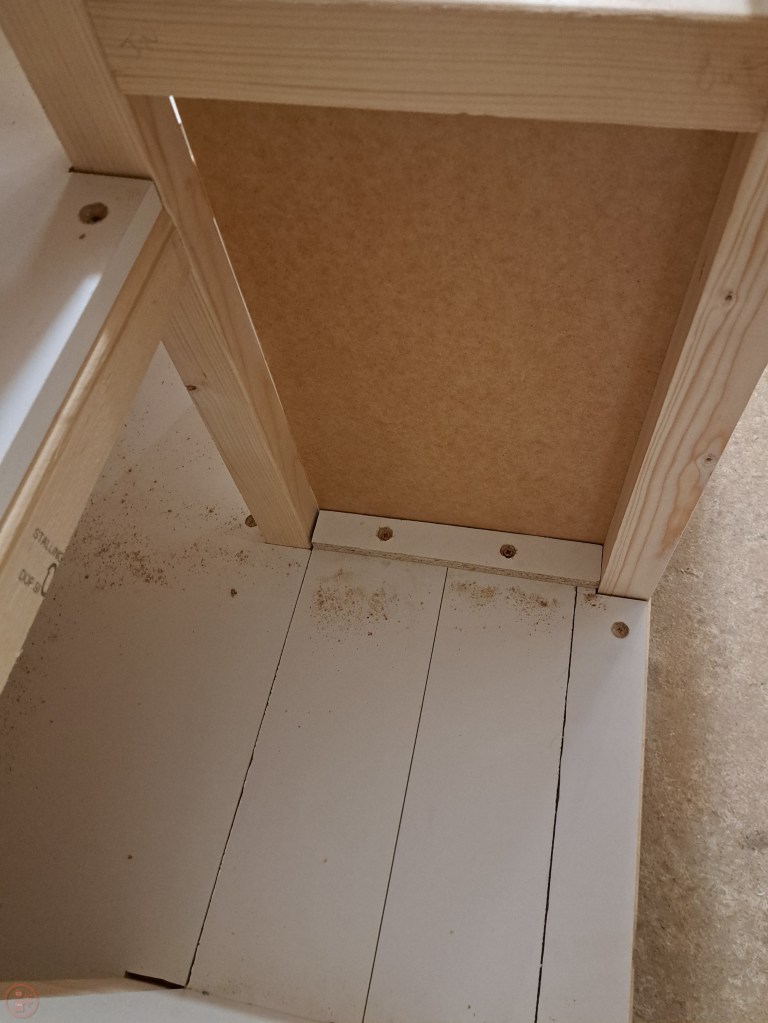
I started at the bottom and worked my way up, adding the outside base surface first. I still had a load of white melamine coated chipboard left over from a dismantled wardrobe, so decided that would be perfect for the lumber cart as:
- It’s not brilliantly strong so isn’t great for many projects generally, so I’m quite happy to use a lot of it on this shop project
- I already have it so don’t need to go out and buy a load of plywood or other material, and
- It has a nice smooth surface so should make it easy to slide wood along it to assist with adding and removing material from the cart, as opposed to rough-textured woodgrain.
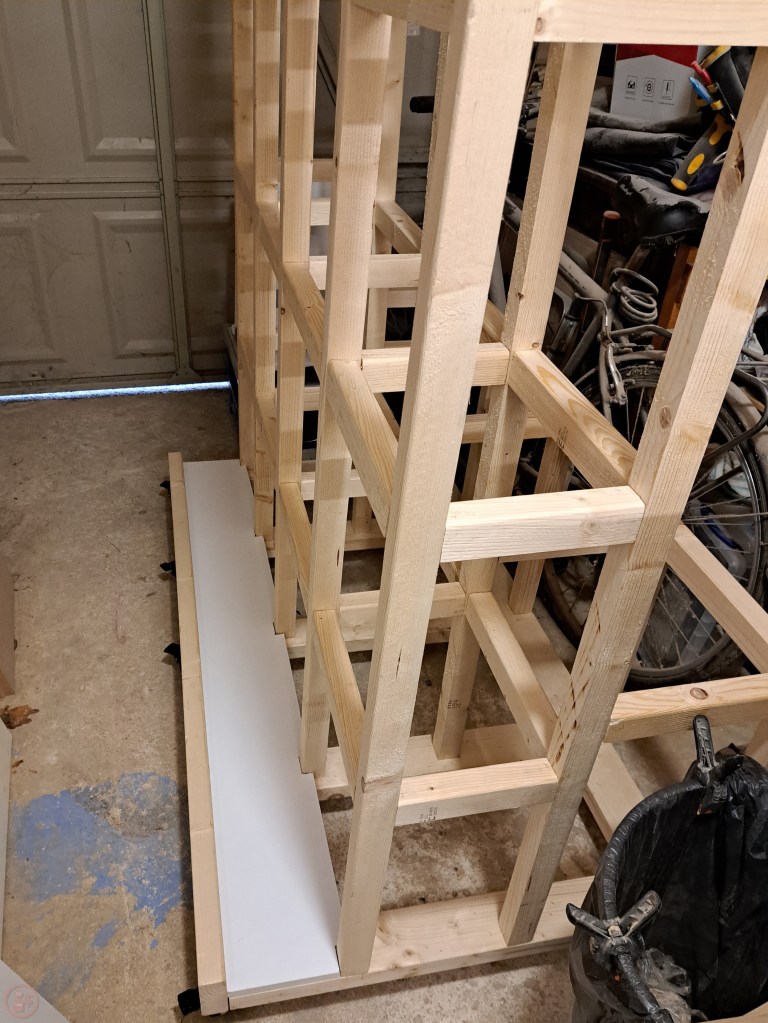
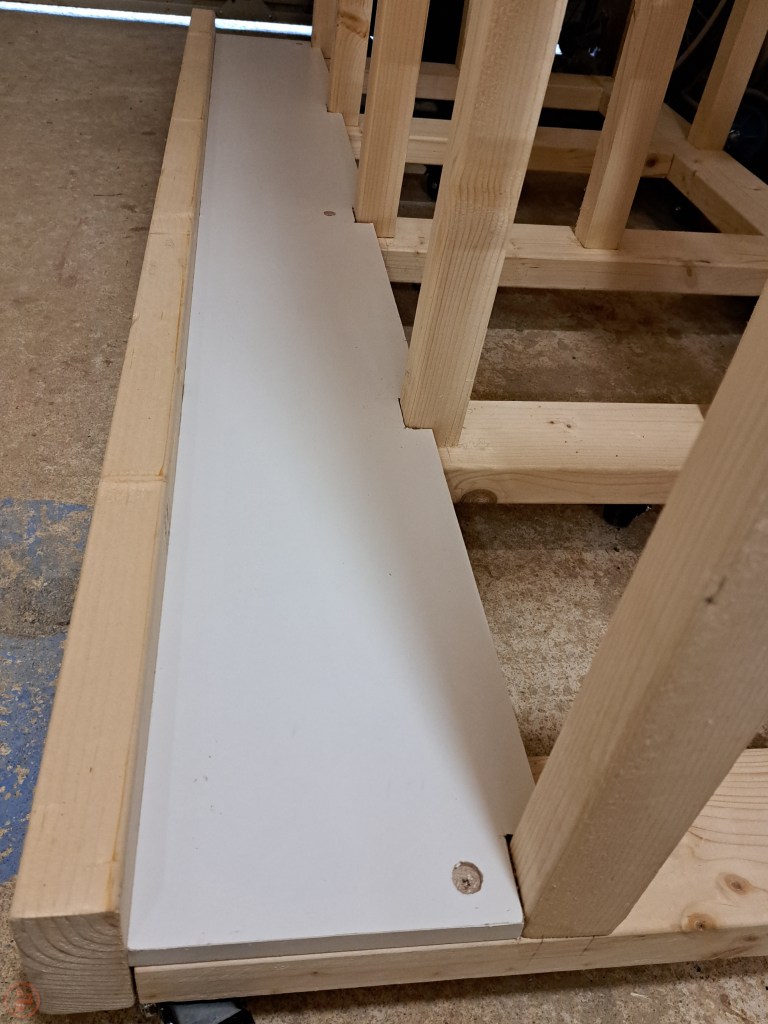
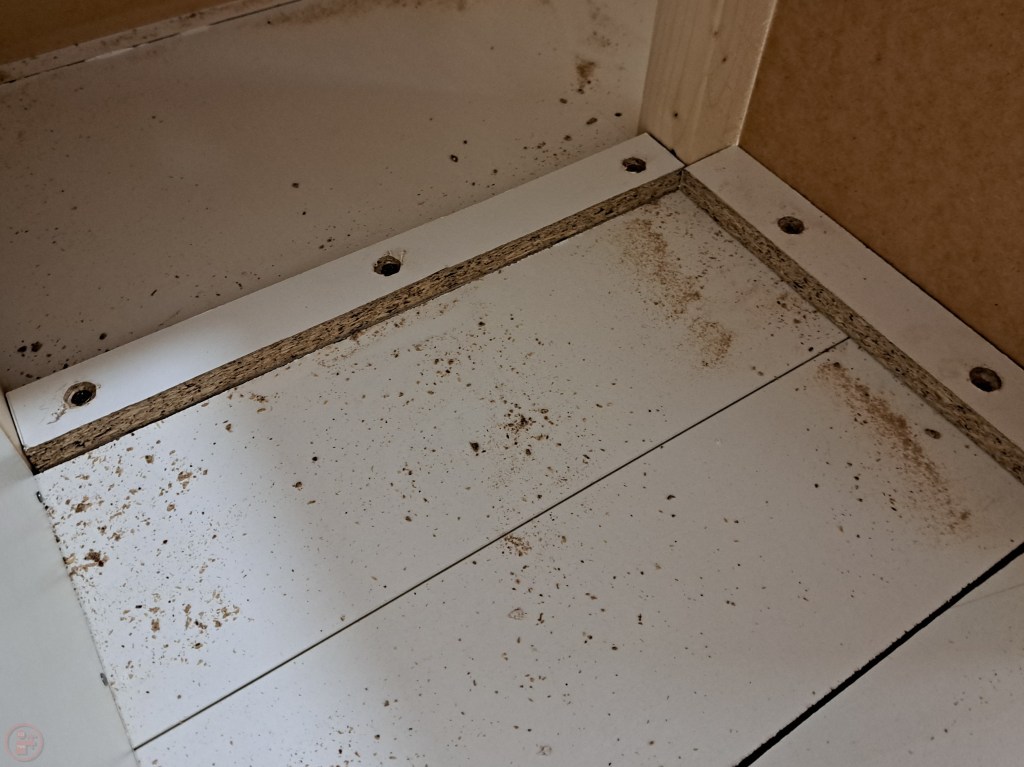
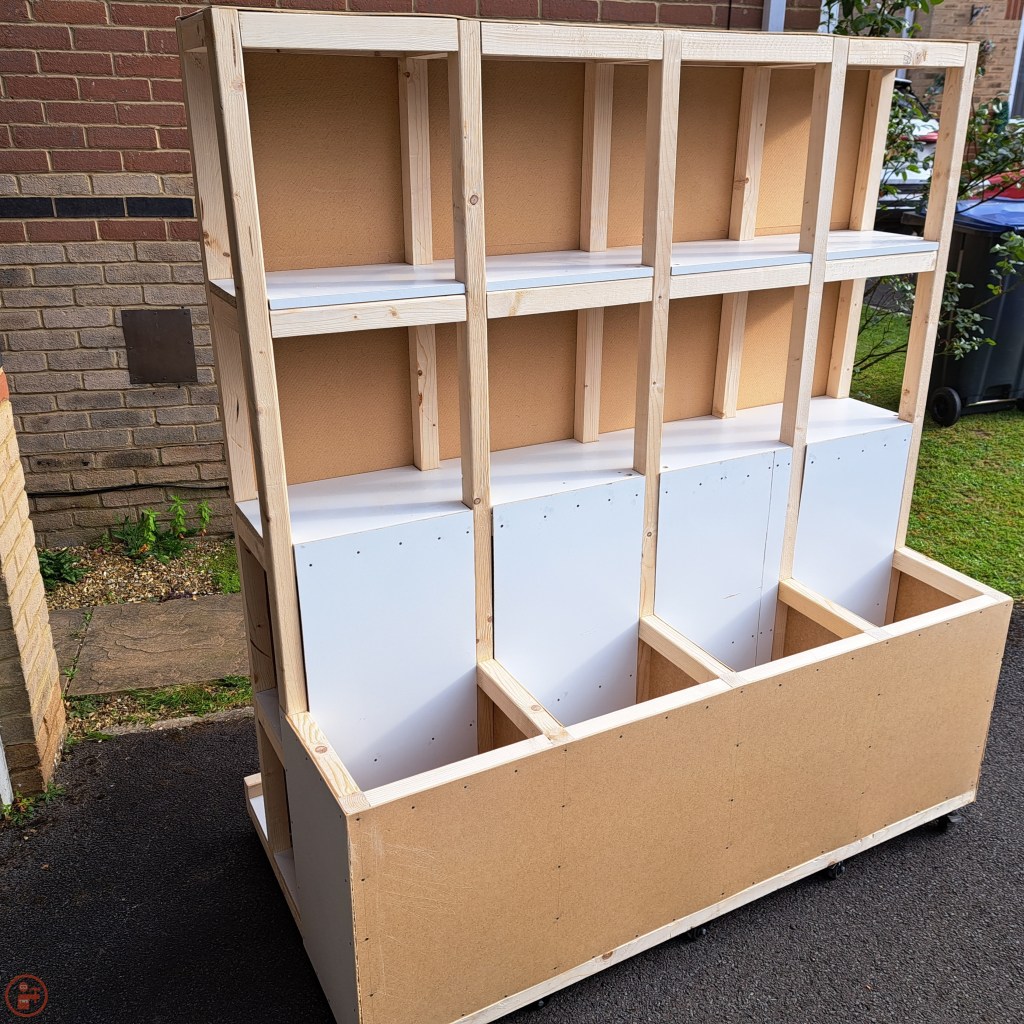
I cut notches out of the side of the sheet material base next to the central posts and then slid it into position, using some gentle persuasion taps with a rubber mallet. I drilled pilot holes and counter sunk some screws into the base to hold it in place. It didn’t need loads of screws to secure it, plus the weight of everything on top once it’s in use will keep it pretty securely held anyway!

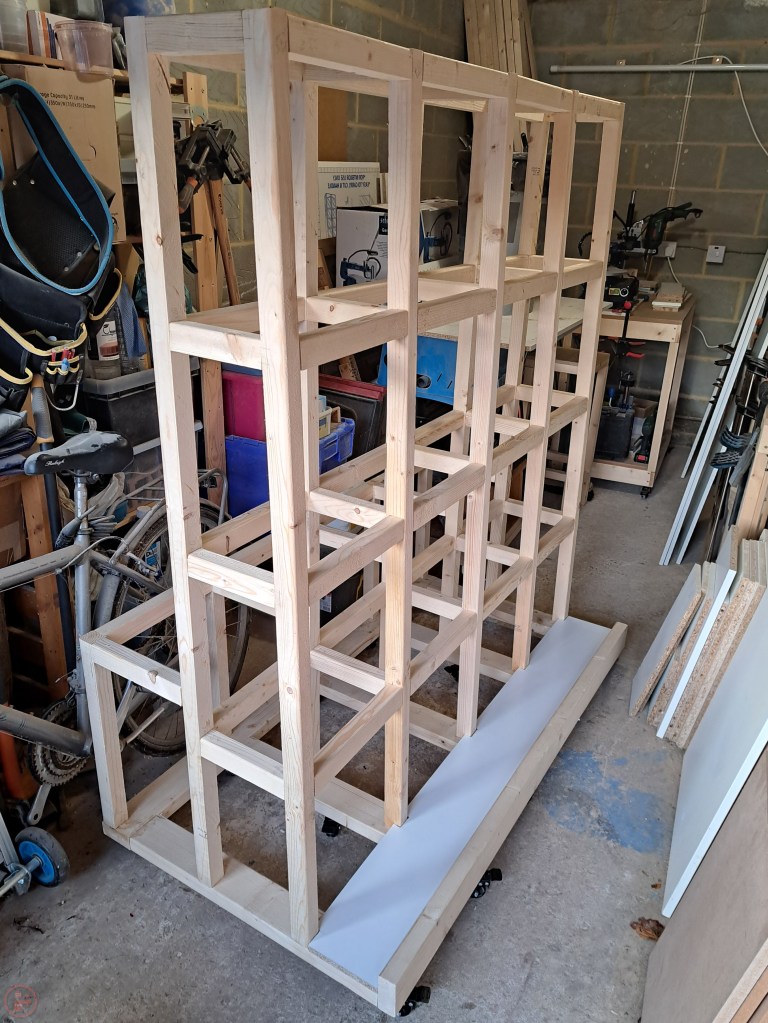
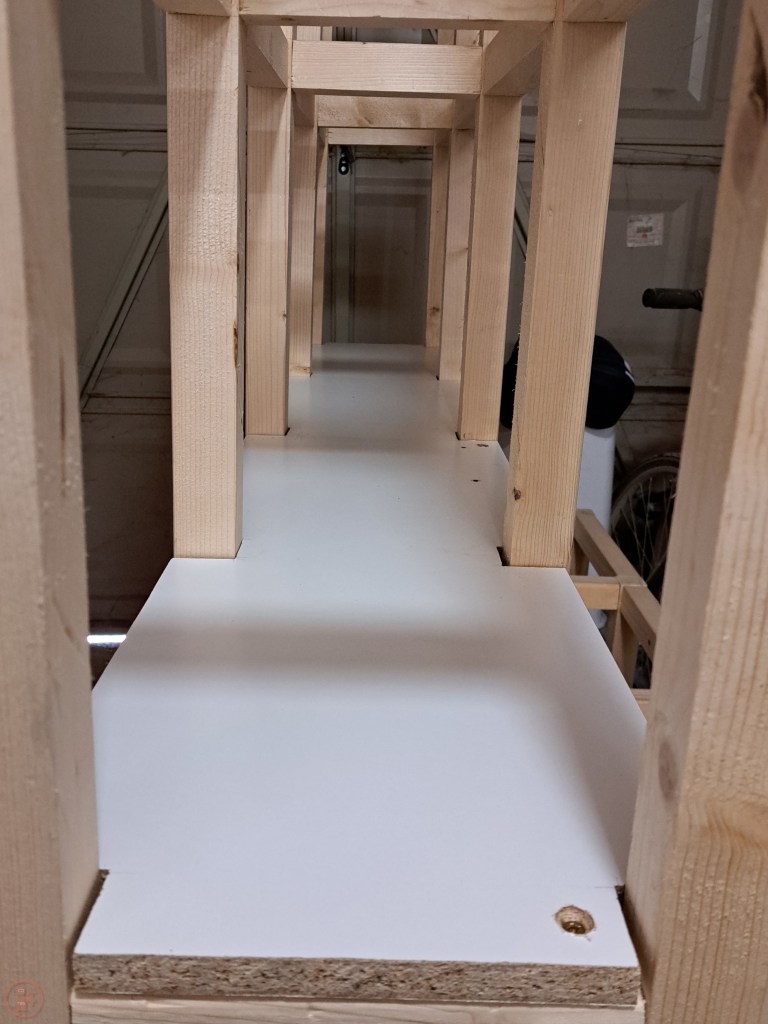
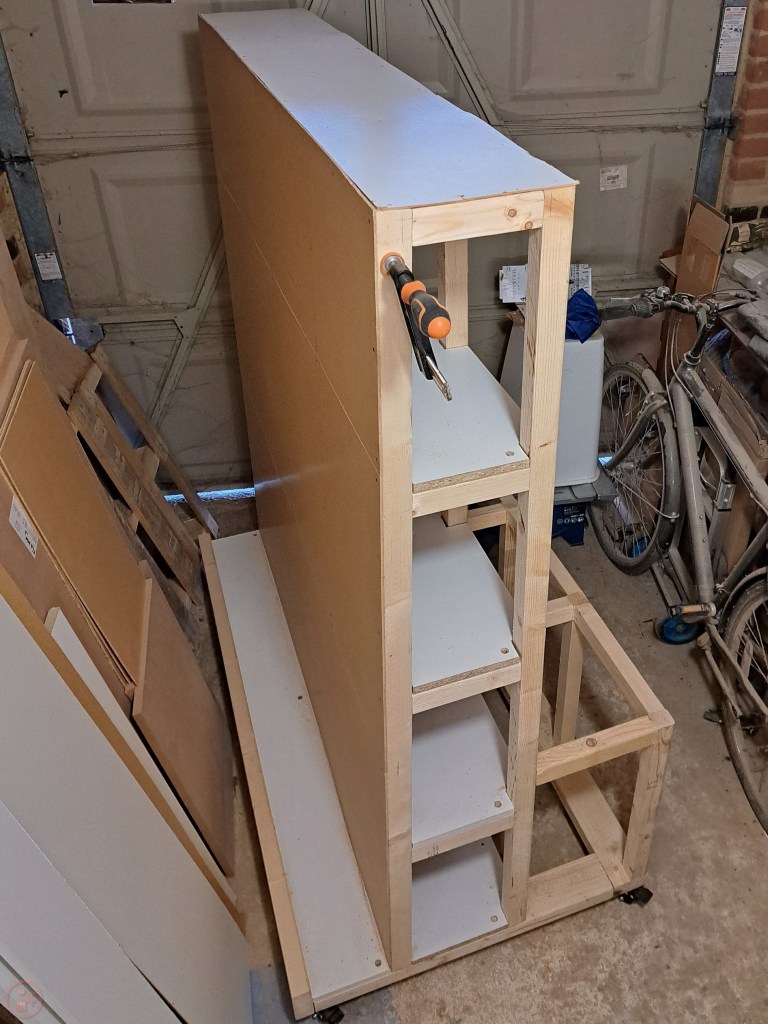
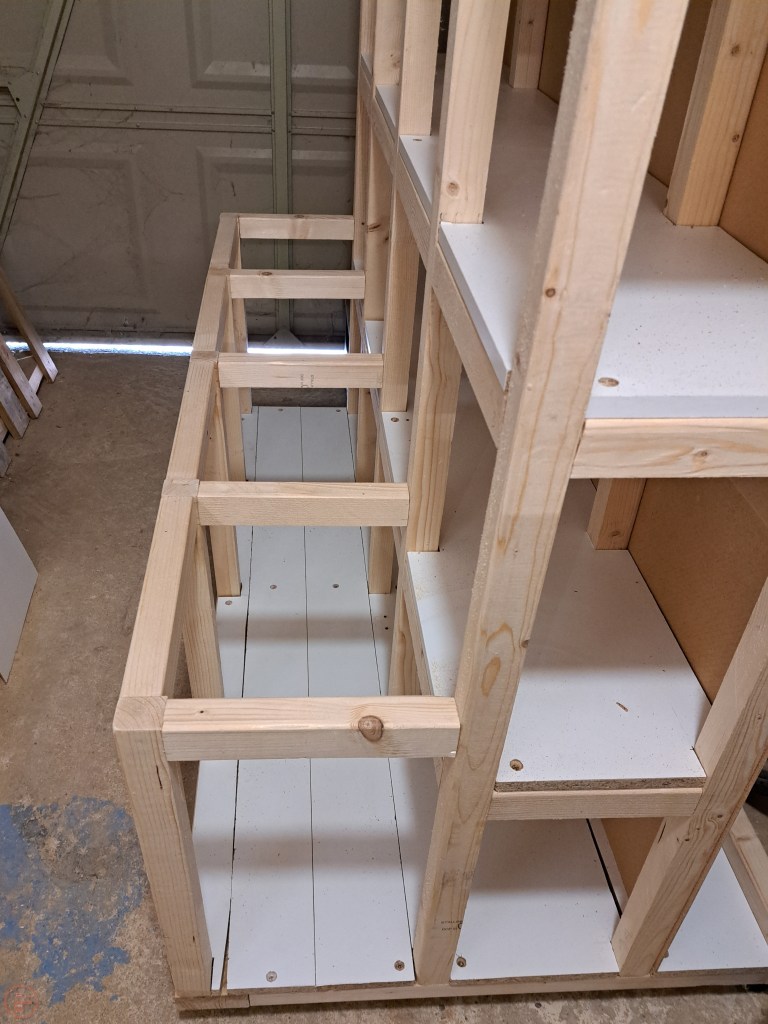
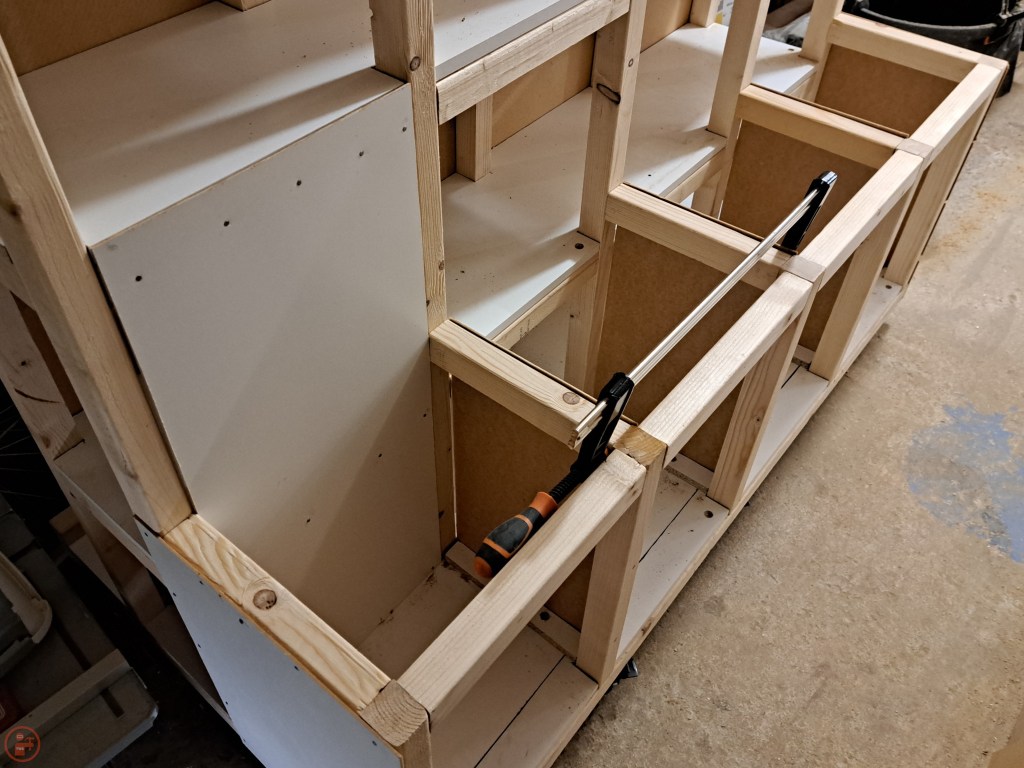
I moved onto the more fiddly middle shelf space, which required each shelf to be notched on each side to fit into the space between the various upright posts. This was quite fiddly and took a little bit of time going back and forth between the cart and my saw horses to get the fit dialled in correctly. Again, some gentle taps followed by drilling and screws to hold it in place and the centre base section was complete.
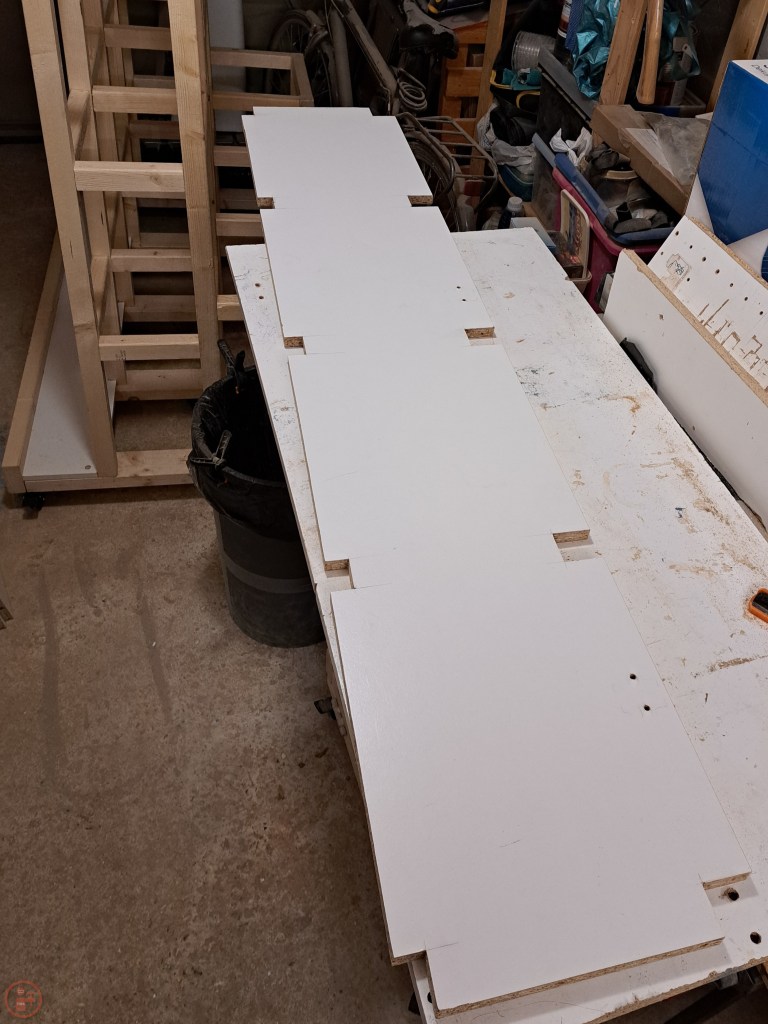
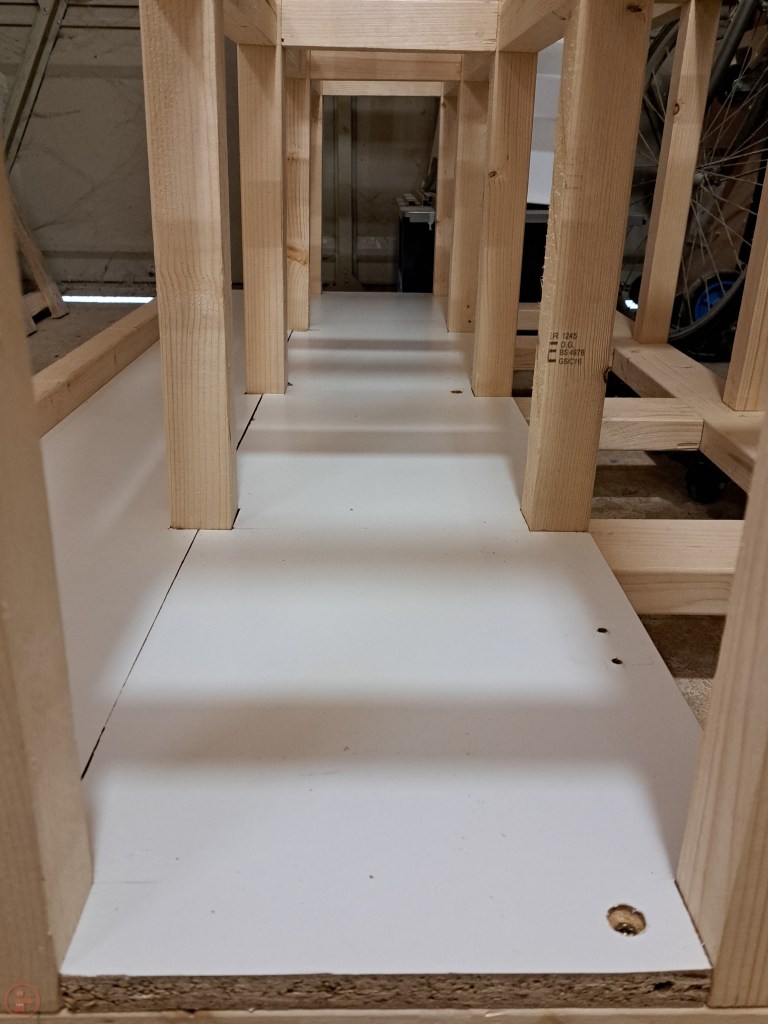
I repeated this process for the next shelf up, having to make each shelf custom, as the 87 degree angle on the sheet material side of the central A-frame, means the shelves get narrower further up the lumber cart. I’m good at making things delightfully complicated it seems!
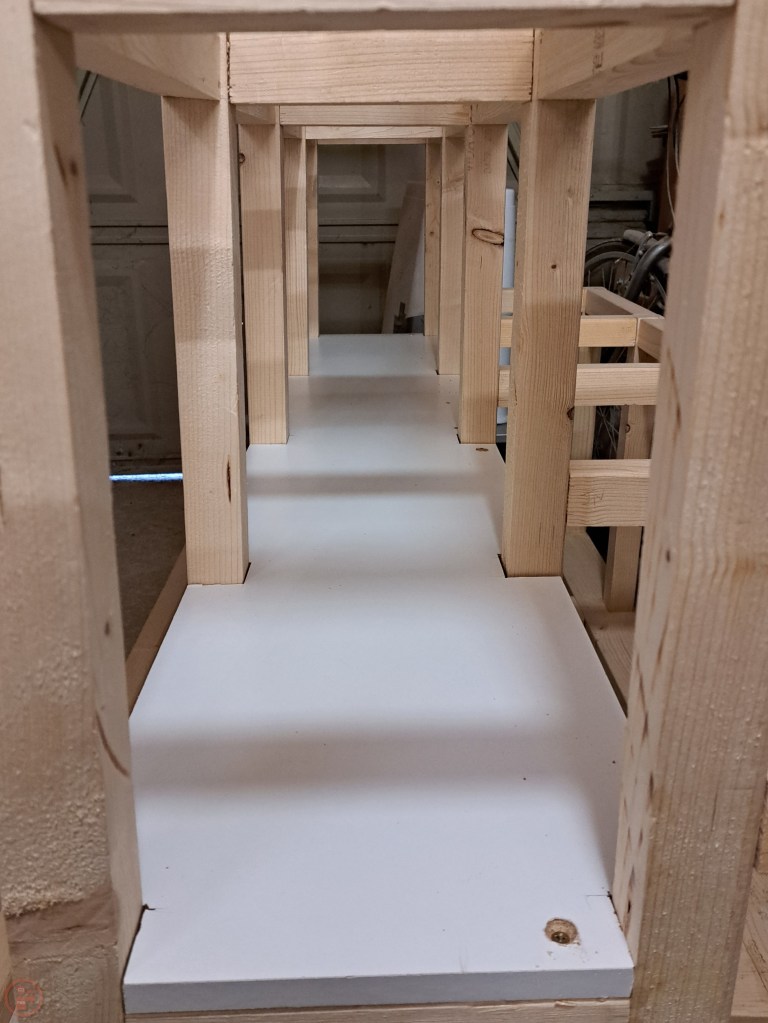
I kept working steadily up the centre frame, notching out the shelves to accommodate the various uprights and repeating the process of sawing, sanding and adjusting as needed.

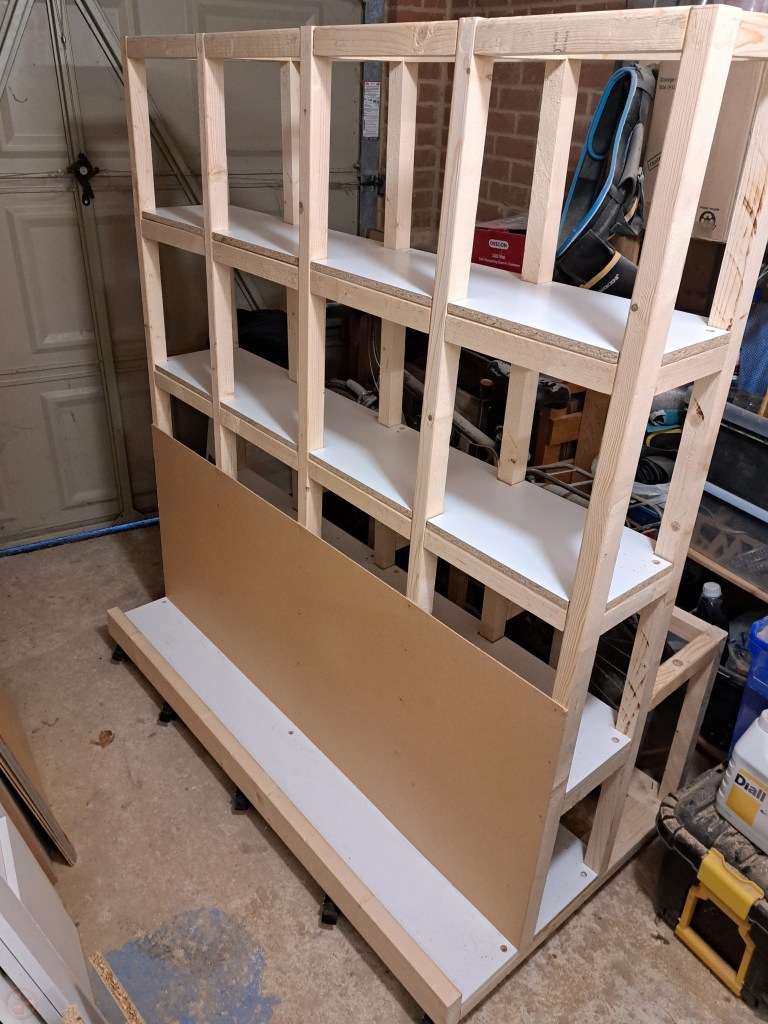
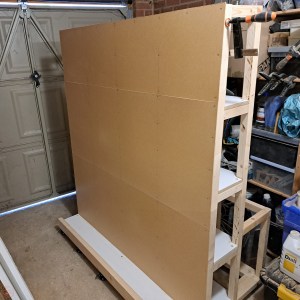
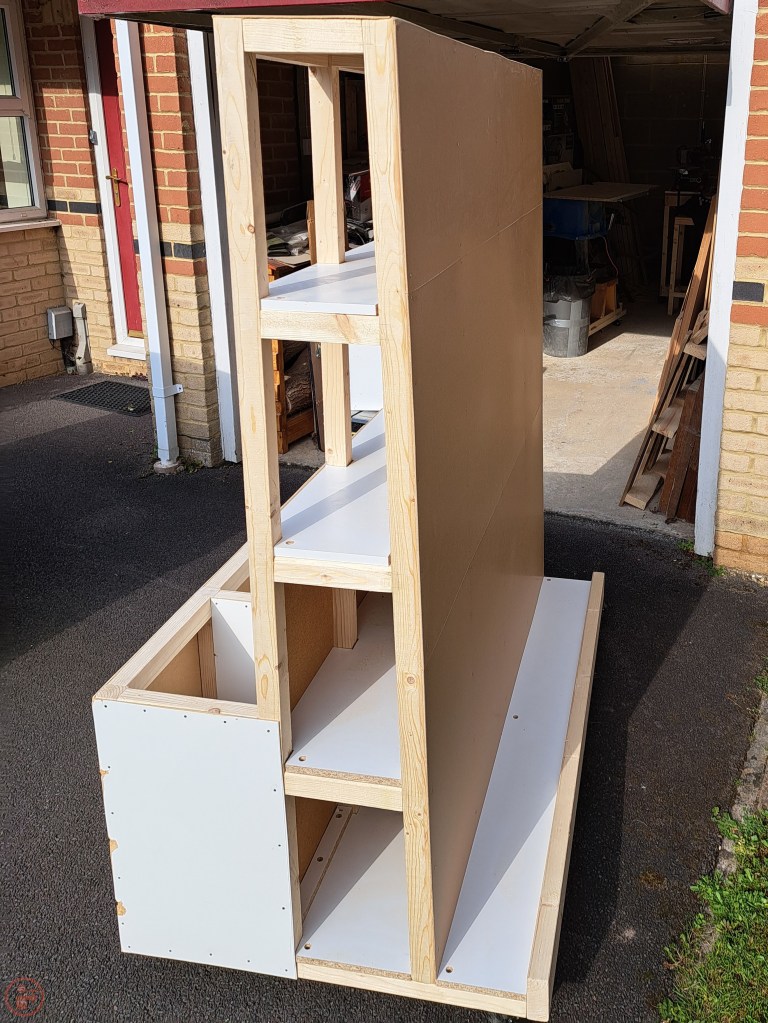
Once I had all the four centre shelves completed, I moved onto the sheet material side. I didn’t want this support face up the A-frame to be particularly thick, so I wouldn’t lose storage space between the A-frame and the raised stop. I was also conscious to avoid adding unnecessary weight higher up the lumber cart and risking making it unstable when pushing it around. I therefore used some thin hardboard to run the length of the cart, which addressed my two concerns. The weight of sheet material leaning on that side is held up by the central (very solid!) A-frame so I wasn’t concerned about needing something more sturdy. The hardboard was lightweight and also sufficiently thin to make minimal difference to my storage space for sheet materials.
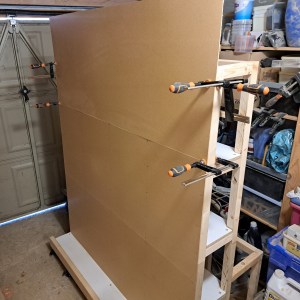
The final piece of hardboard stuck up over the top of the cart, so I clamped it in place and marked where to cut it to fit to run flush with the top (plus a little extra for the top surface). I used my circular saw to cut the hardboard to size and then clamped it back into place and used tacks to secure the final panel into place on the side.
I used the off-cut of hardboard on the top of the central A-frame to provide another surface for storing things – I haven’t determined the exact use yet, possibly some boxes to hold smaller pieces of wood I want to keep, like dowels; or a particular assortment of one wood species eg. lots of oak scraps?
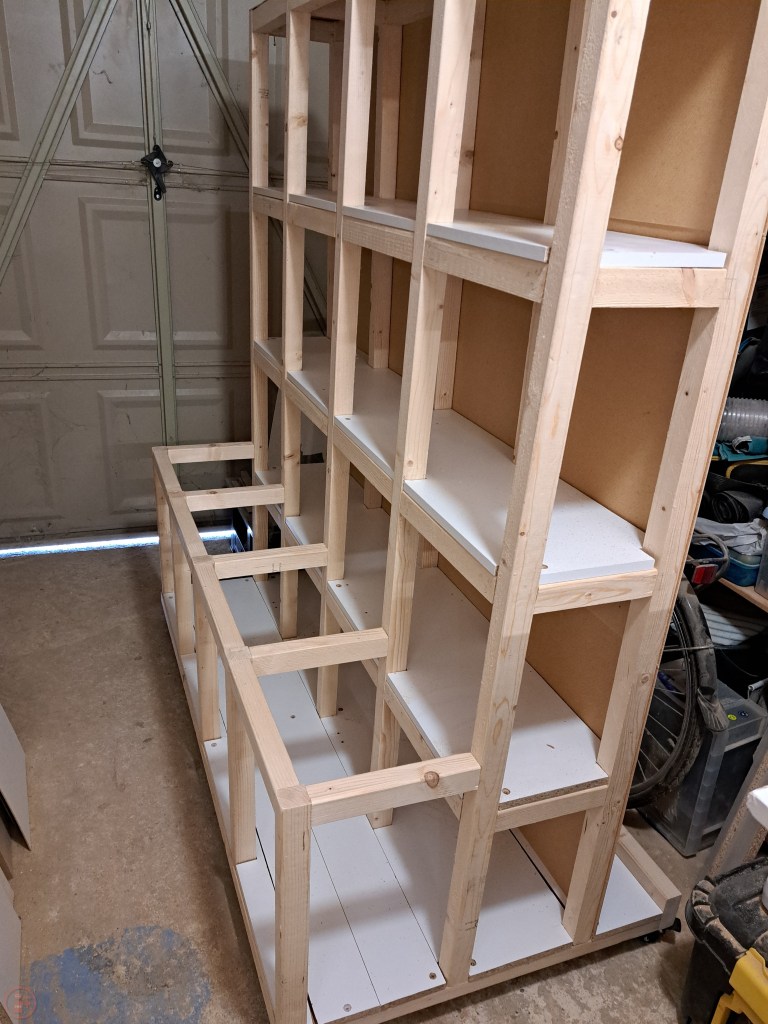

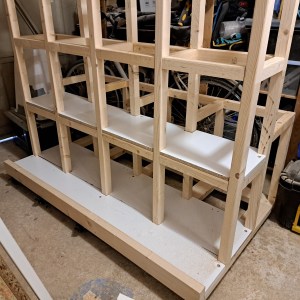
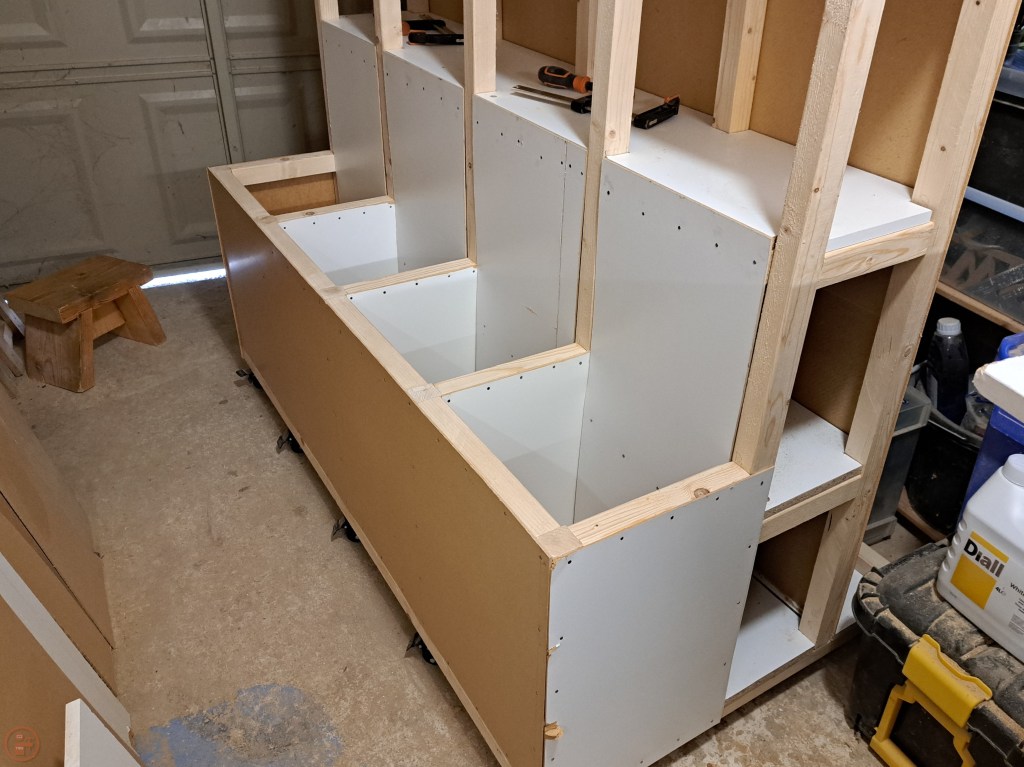
With the sheet material side and the centre shelves finished, I moved to the dividers side, which I will use to hold varying lengths of planks and beams. I used more white melamine coated chipboard to provide a base surface, using my remaining thinner offcut pieces together spanning the length. I added some additional blocks to the base between the dividers to give me a lower brace to tack the hardboard panels to. I also did the same with the back panels for each of the divider spaces, which I cut to fit inside each of the frame pieces and finish at the height of the third shelf of the A-frame in the middle.
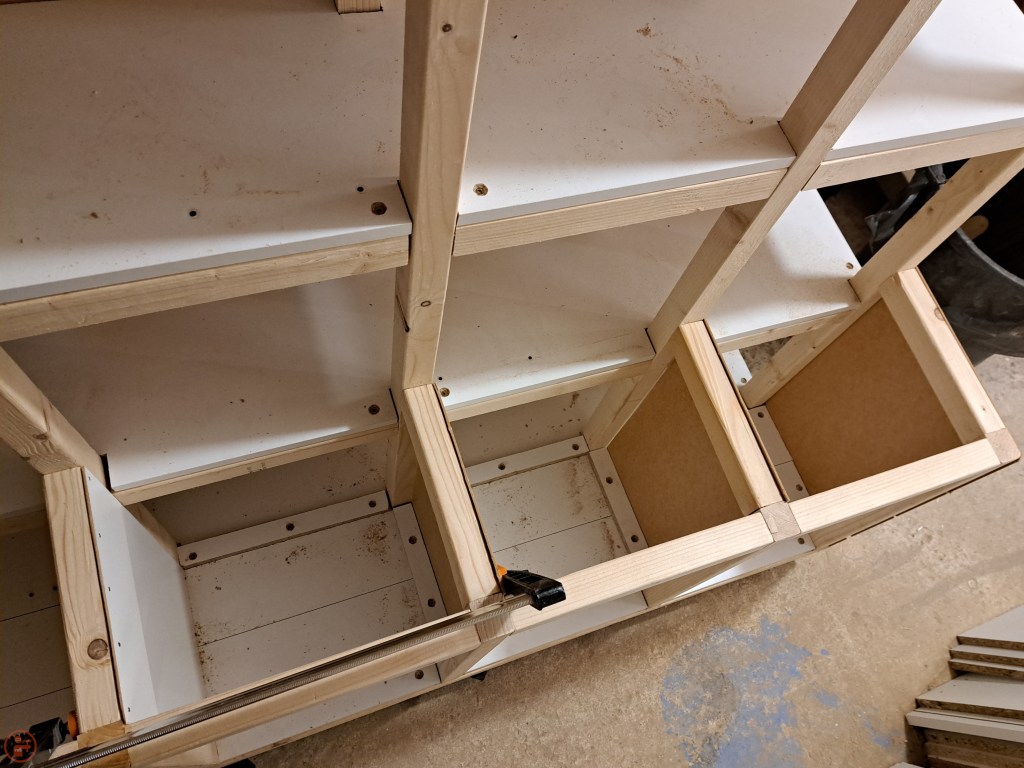
This setup means the material held in the dividers has a rear surface to lean against while I can also see what material is stored in the top two shelving areas in the centre section. As I plan to hold the larger pieces of material lower down and smaller off-cuts, thinner and shorter planks etc higher up to ensure the stability of the lumber cart, this makes sense to me, to make it easier to get those sorts of pieces out.
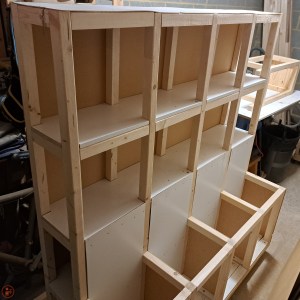
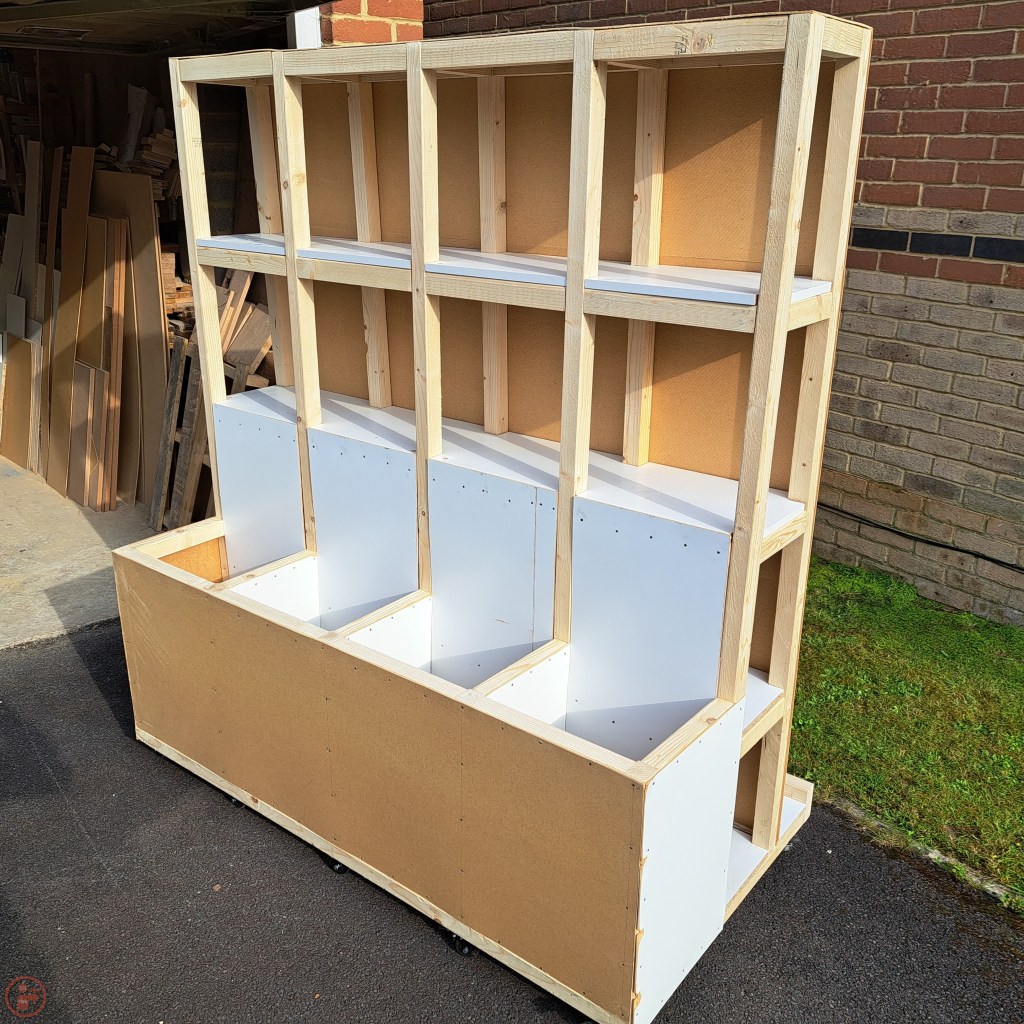
I fixed on the final piece of hardboard to the front of the dividers section and then wheeled the completed project out onto the front drive. It is something of a monster lumber cart and gives me a lot more space for storage than I currently need, but you know what they say – you always expand to fill any available space, so hopefully this has made me fairly future proof!

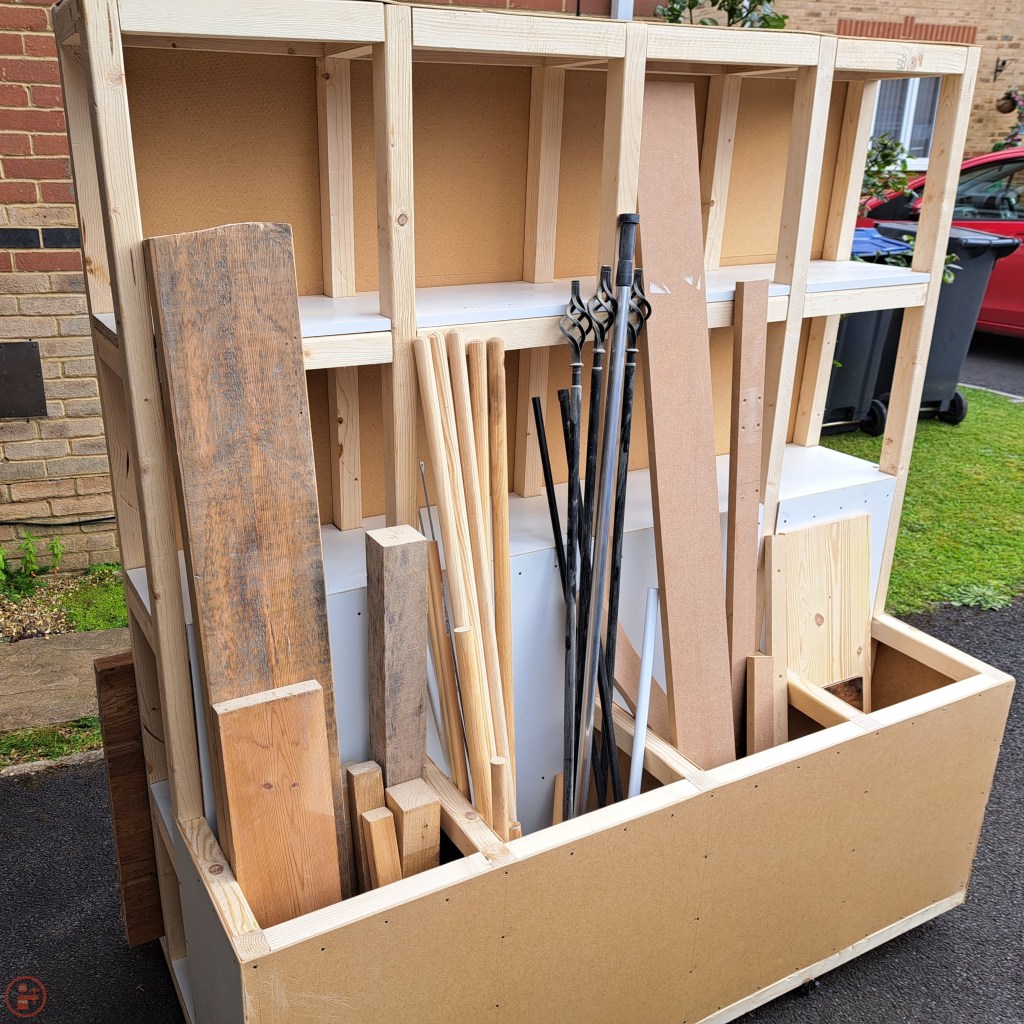

After a lot of to-ing and fro-ing to collect all the lumber from the various places around the workshop where it has accumulated without a proper storage space, I loaded up the cart, figuring out where to store everything as I went.
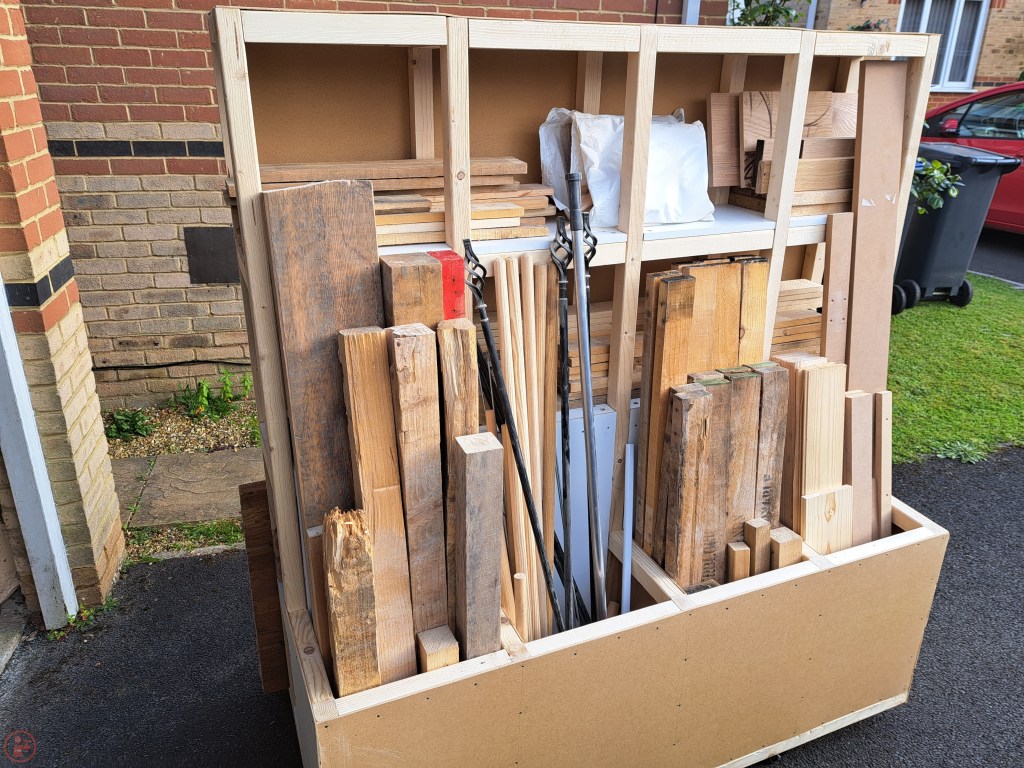
I am really pleased with how this has turned out – it’s only a shop project, and doesn’t have any sort of decoration or nice finish to it, but I’m really quite proud of it. It’s definitely highly functional and should last me a good long time. And I think it has given me an opportunity to practise a range of my skills, including an awful lot of mortise and tenon joinery! I shall probably do a review in a few months or so, to see if this arrangement works for what I need to be accessing the most.
This design also makes it so much easier to see what lumber I have got, and means I can access whatever I need a lot more easily too. As the whole cart is on wheels, I can move it out of my workshop to sweep up sawdust or to rearrange my tool setup if needed. Plus it will make it so much easier to transport all my lumber when we next move house, as it’s now all on wheels!
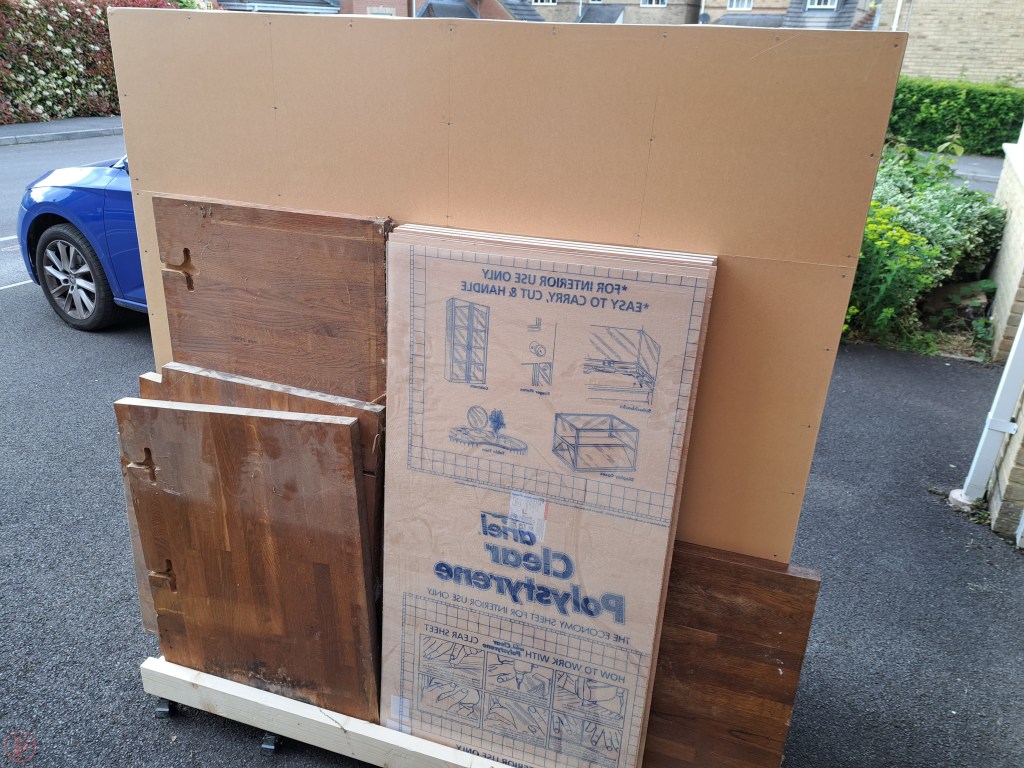
The organisation of all my lumber that I have accumulated over the last few years, including multiple posts, reclaimed slats and beams from dismantled pallets; and a discarded kitchen worktop I was donated (something for a future project!), is quite a sight! It makes me very excited to get back into the now less cluttered and more organised workshop to make something new! 🔨

1 thought on “Lumber cart – Part 2 – Dividers and panels”