My sister and her family have some really lovely oak dining chairs. I noticed on a recent visit that the glue had failed on a couple of the joints and they were starting to fall apart. Of course, I had to volunteer to repair them!
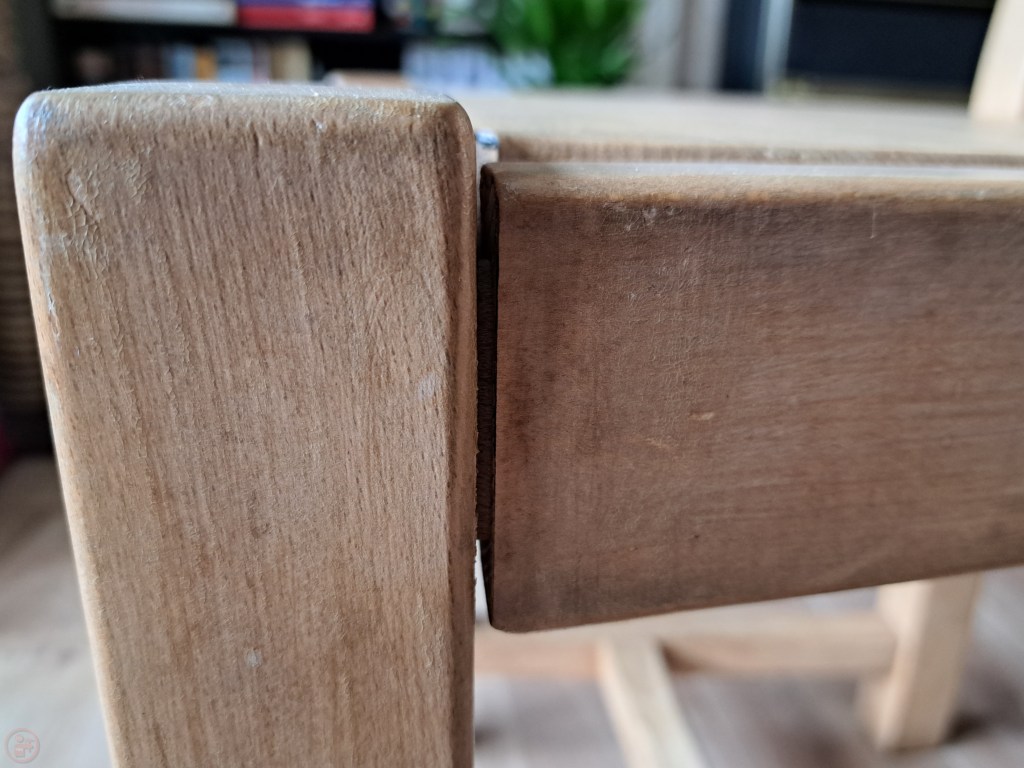
I started by examining the construction of the chairs and working out how best to complete the repair. I didn’t want to just force glue into the joints as I thought that risked splitting the wood under clamping pressure.

So I decided to gently dismantle the chair, remove any old glue residue, and then re-assemble the chair with new glue in the joints.

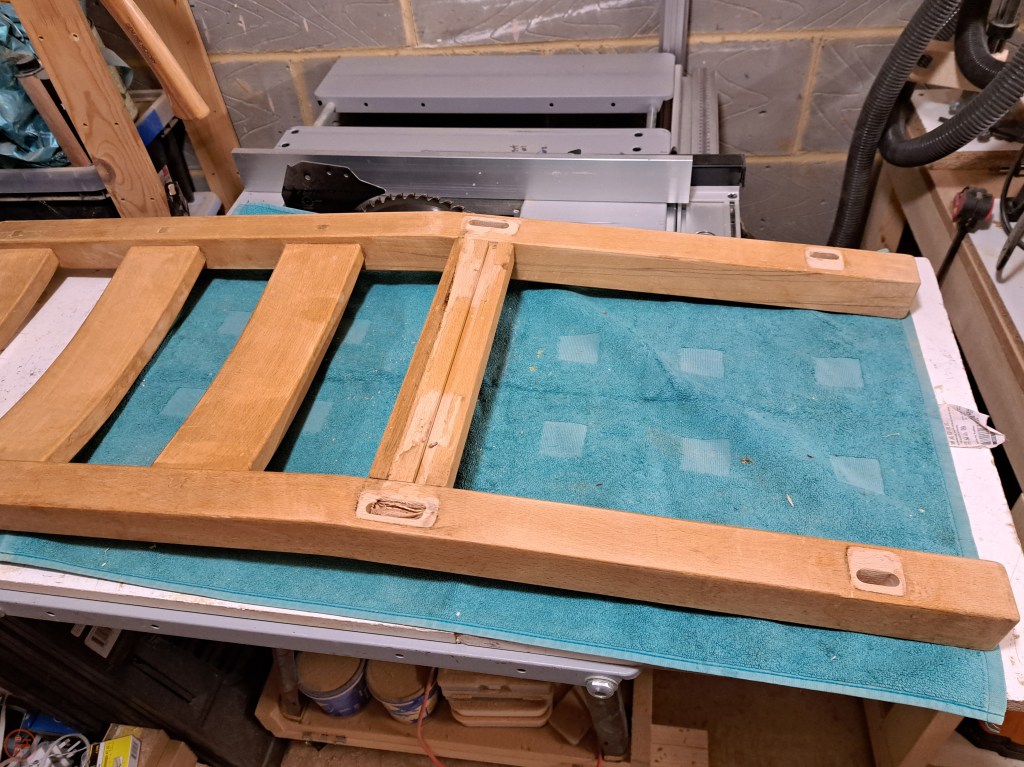
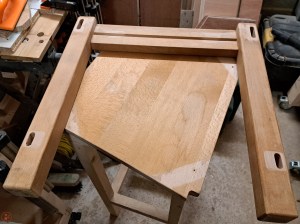
I started by removing the seat, which was held in place by four screws through wooden brackets sitting within rebates in the side, front and back pieces. I discovered that a couple of the wooden brackets had actually been glued in place, thereby preventing any kind of movement. Not ideal, as the design nicely incorporates some flexibility to accommodate seasonal wood movement.

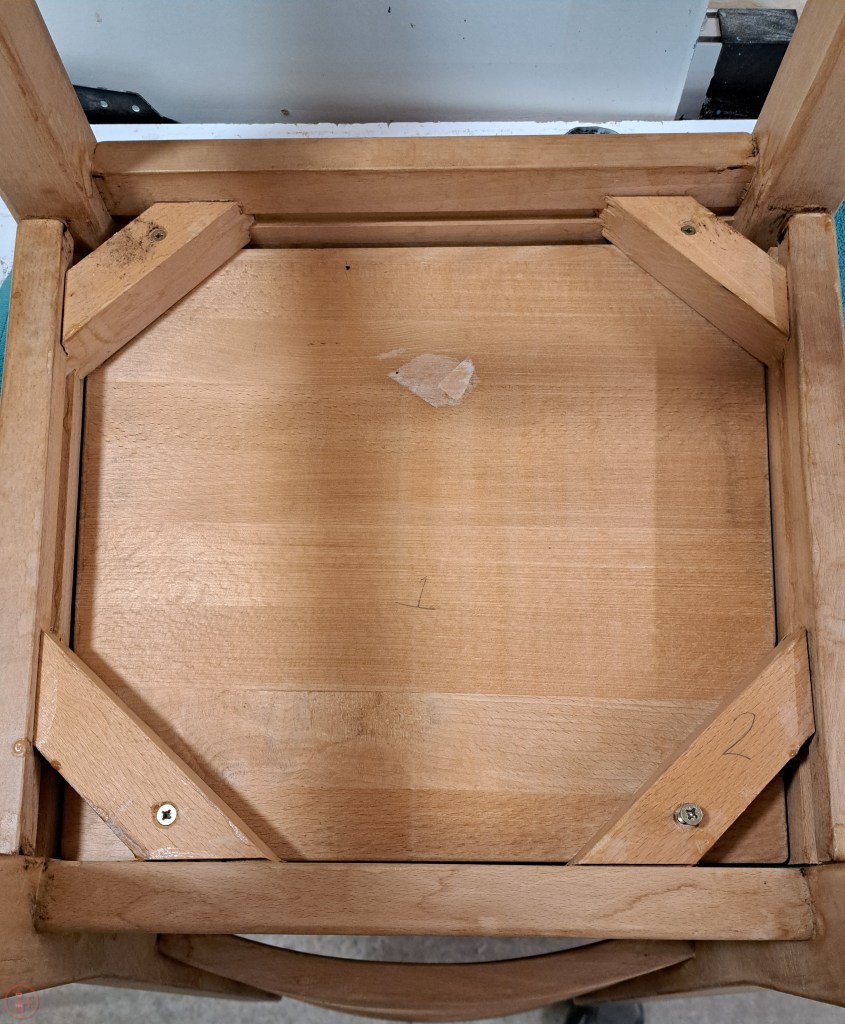
So I removed the brackets and gave them a good clean up, removing the old dried glue and sanding the bracket smooth where it slotted into the rebate.
To dismantle the chair, I didn’t want to use a large amount of force, to avoid splitting any of the joints. So I reversed the direction on some of my quick clamps and used them as spreaders on the top and bottom of each side to gradually push the joints apart.
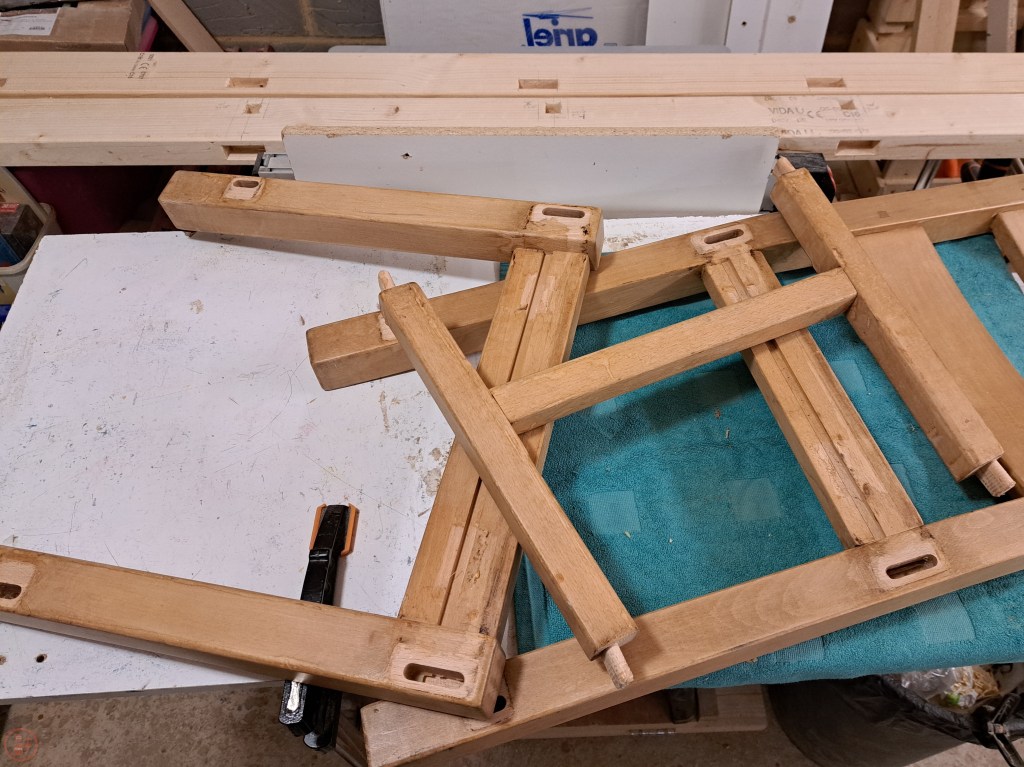

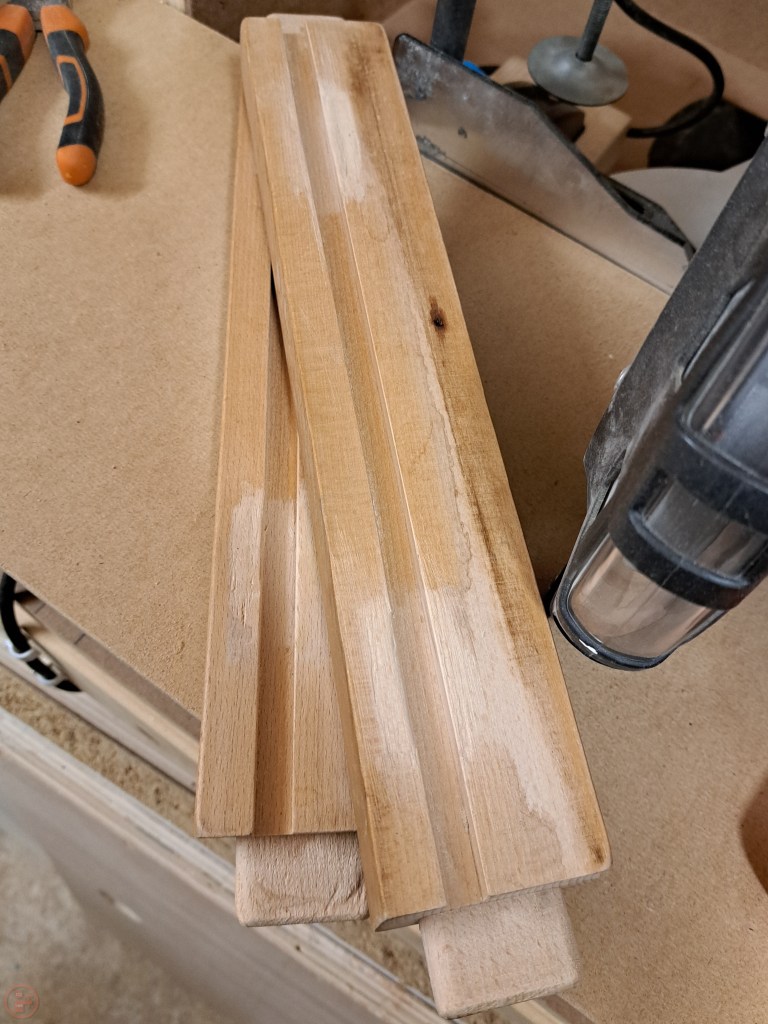
This worked really well and I ended up with the pieces successfully separated without incident. Some careful chiselling and sanding later, and the chair was ready to be reassembled!
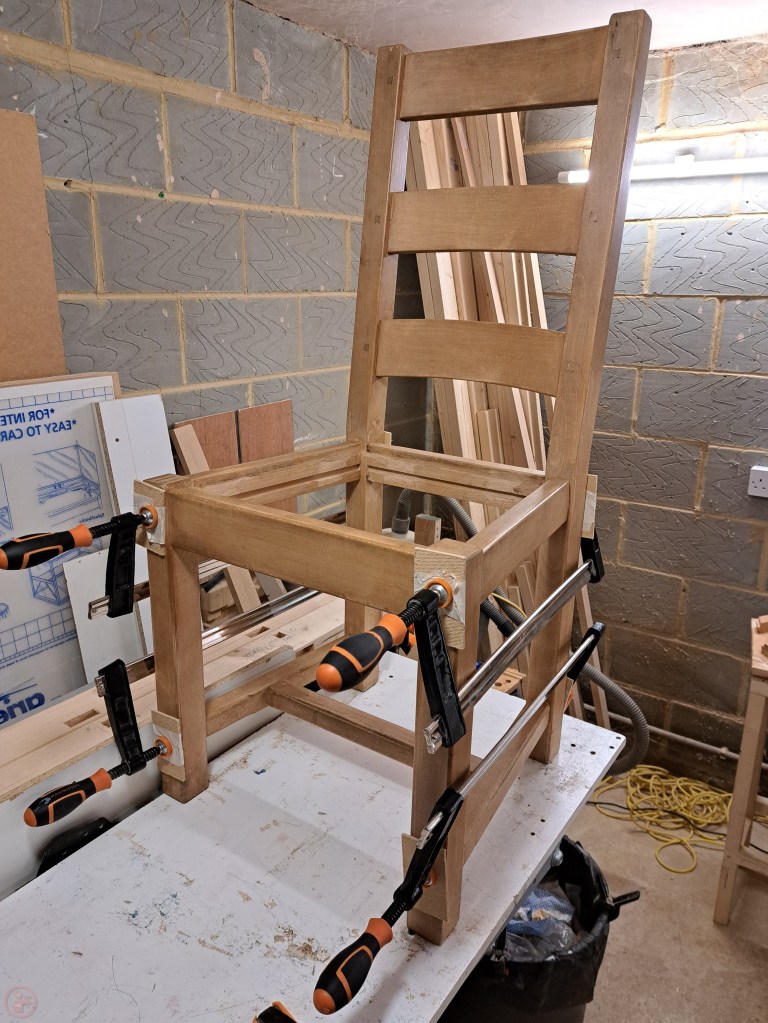

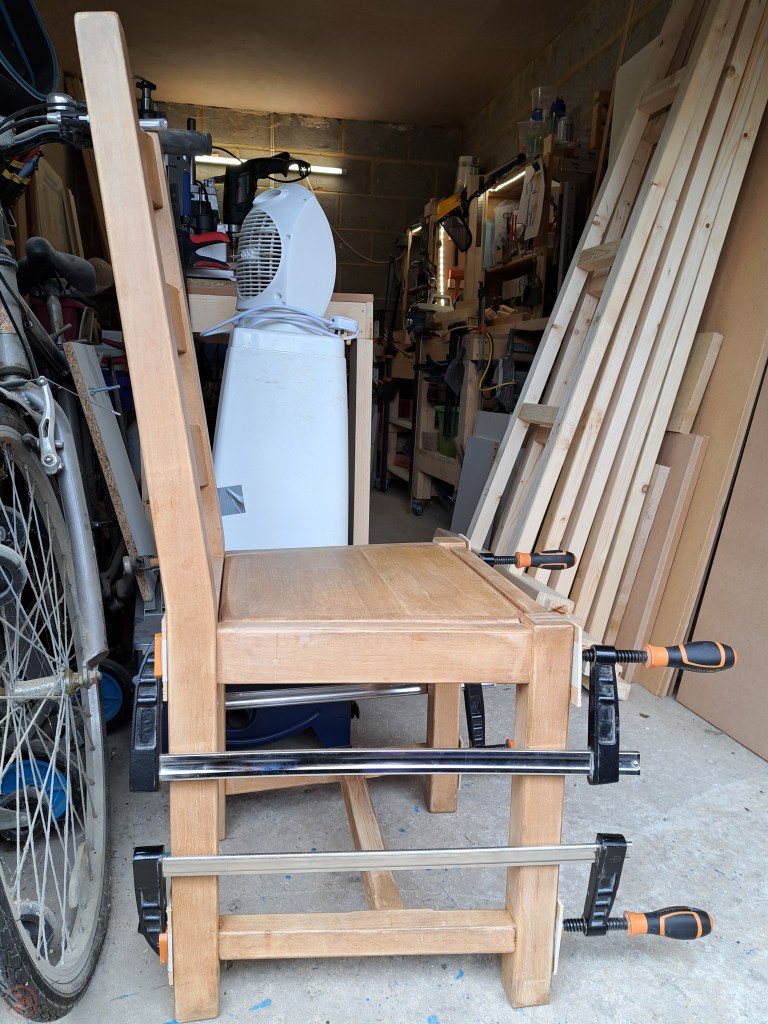
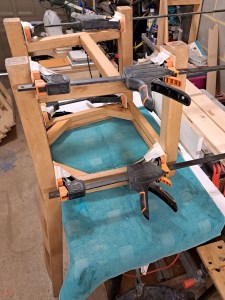
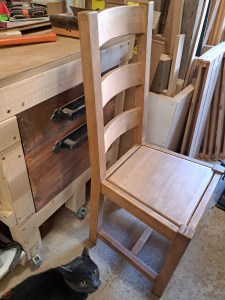
I added glue to the joints, making sure not to overfill the mitres so they wouldn’t split when the tenon was added, and then secured it all in place with clamps. I then refitted the wooden brackets and the seat to help keep everything square and left the chair to dry overnight.

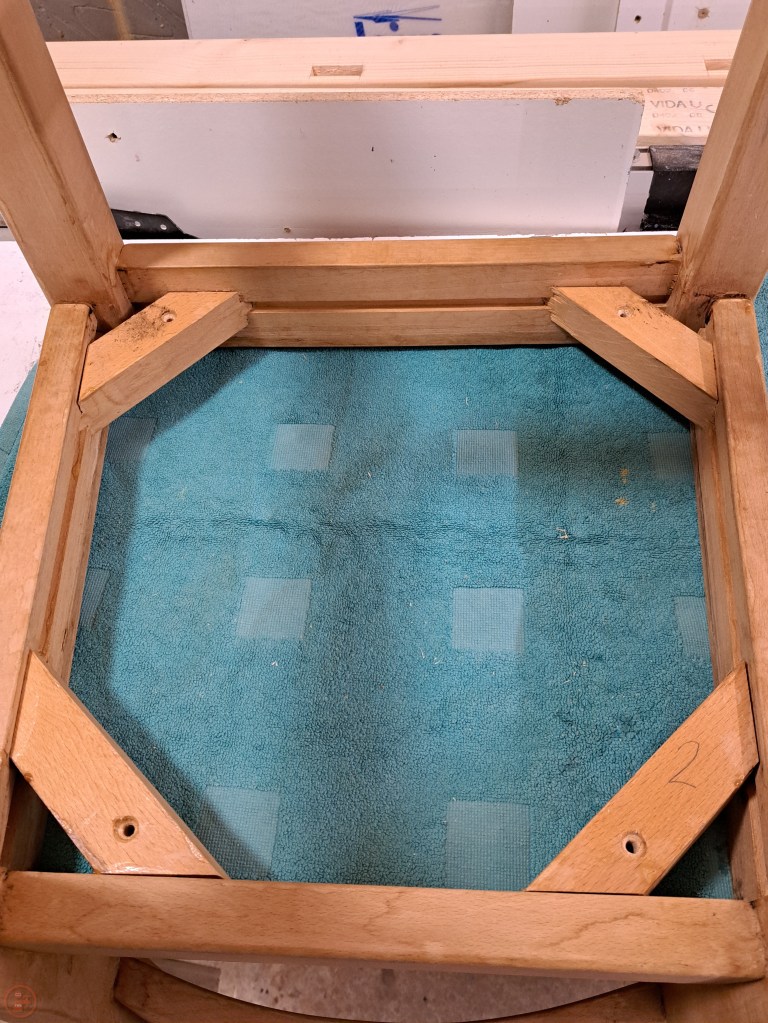
And of course, I then repeated the process for the second chair in need of some repair – carefully separating the pieces using my clamps as spreaders, before sanding away the old glue.

I cleaned up the glue on the brackets, as well as removed general dirt build up in the grooves, before adding glue to all the joints and reassembling.

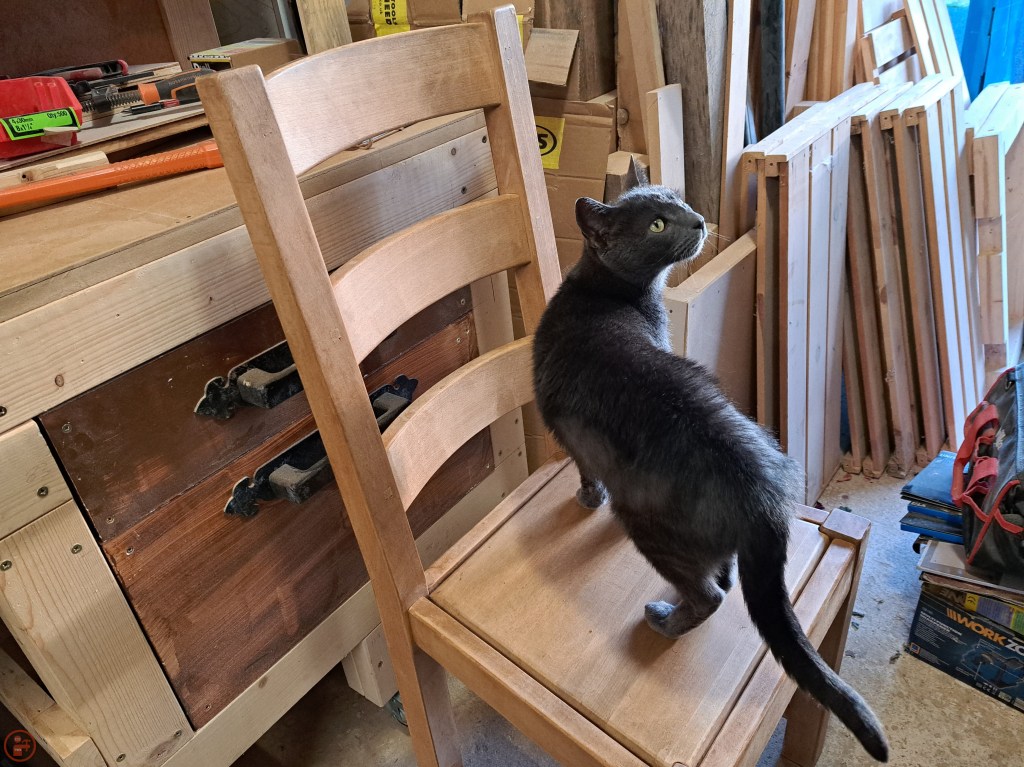
I kept both chairs in clamps for the glue to fully dry. My furry apprentice then came into the workshop to inspect my progress.
He was clearly impressed and decided to give it a test sit, before getting distracted by a spider on the wall!
I returned both fully-repaired chairs to my sister and family, who were very pleased with the finished results. The chairs should now last for a good few more years to come!🔨
