For my brother and his wife’s milestone anniversary, I wanted to get them something special. It’s often a challenge to know what to get a married couple, but this was made easier for me, as 5 years is wood!
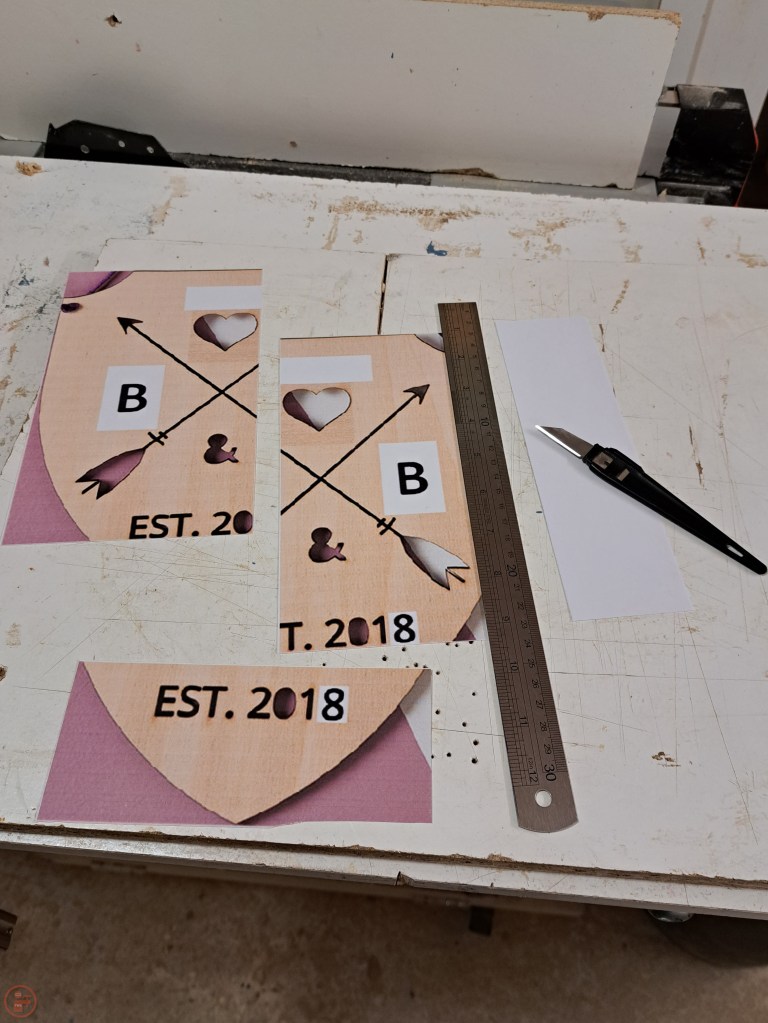
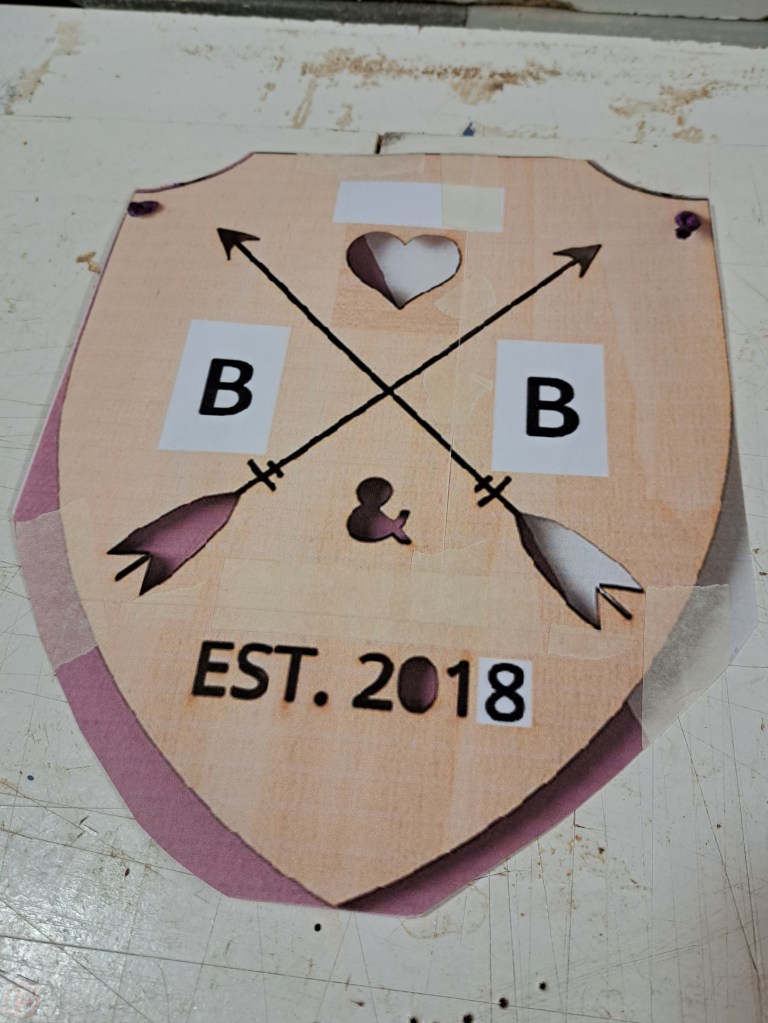
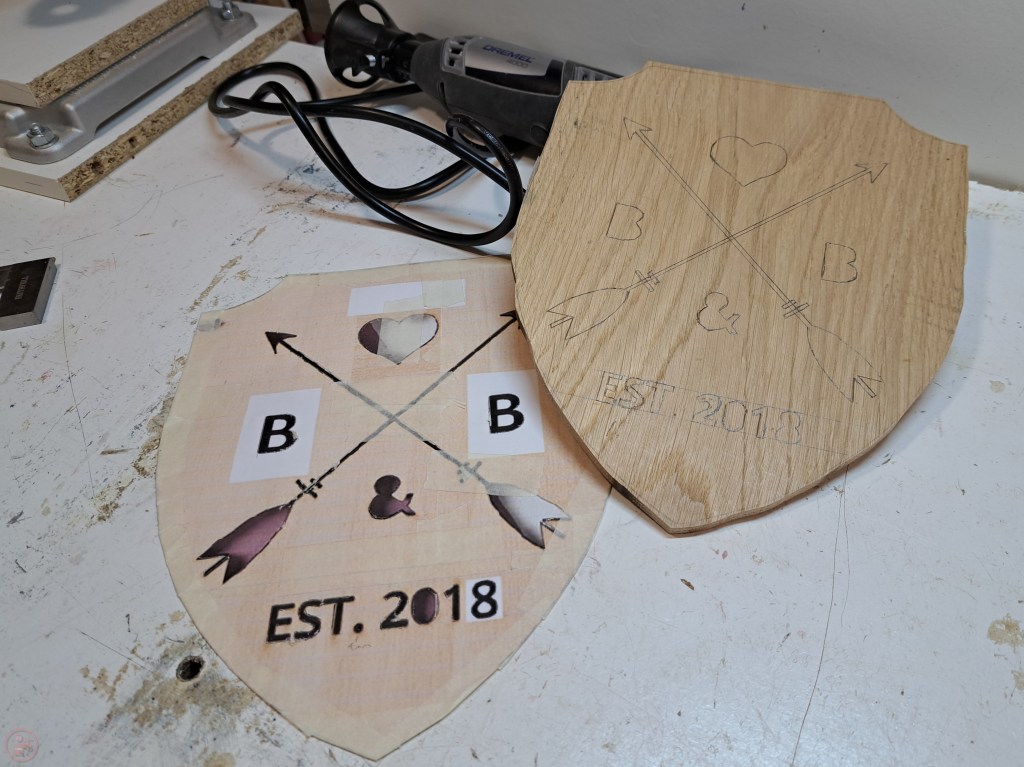
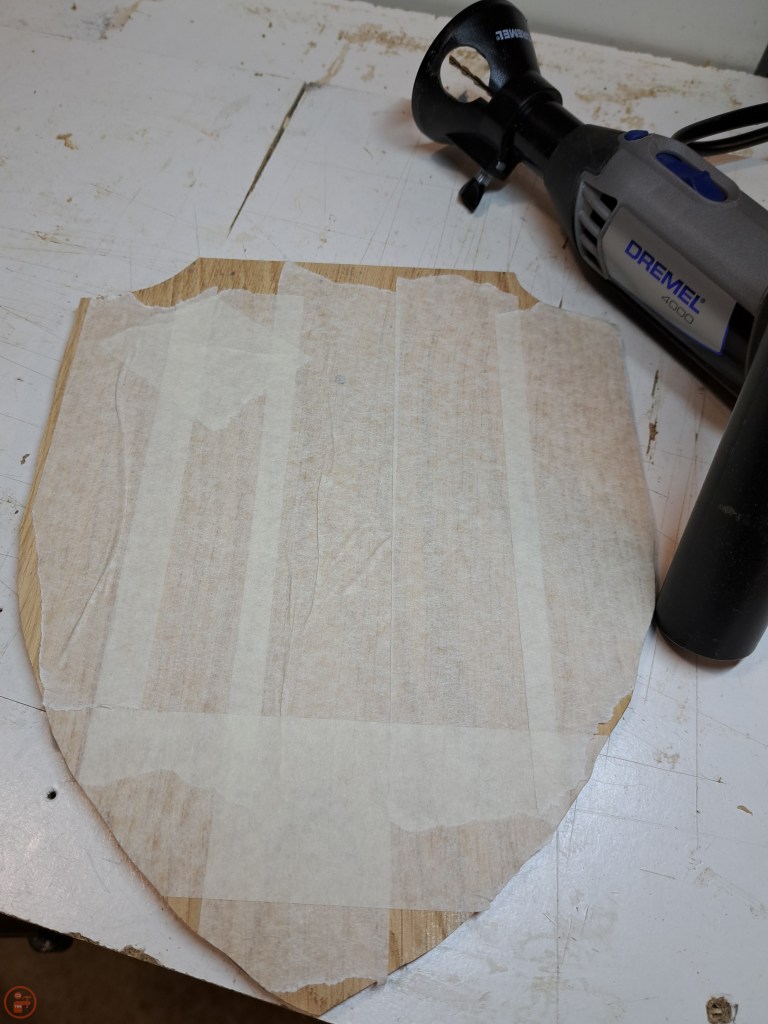
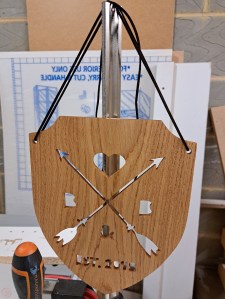
I decided to make them a custom wooden plaque, which could be hung up on the wall in their house. I started with some online searching for designs and settled on a shield shape, with crossed arrows, a heart and their initials and wedding year. I printed out the templates and taped the various pieces together, after carefully cutting them out with a scalpel and overlaying them to make one complete shield.
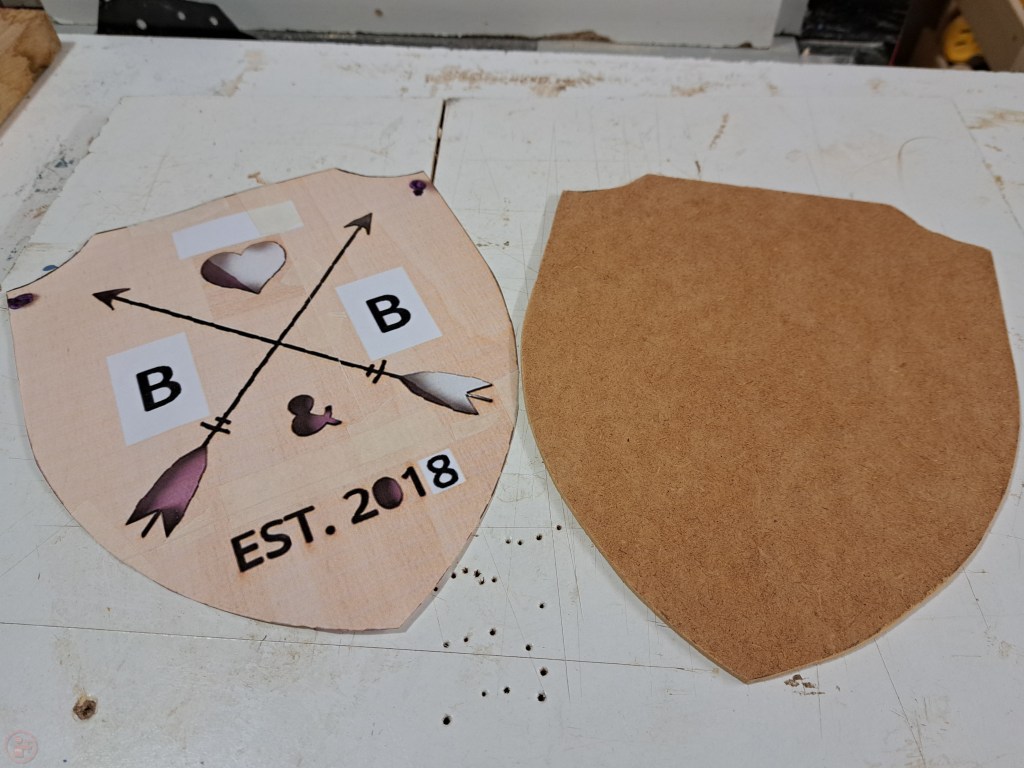
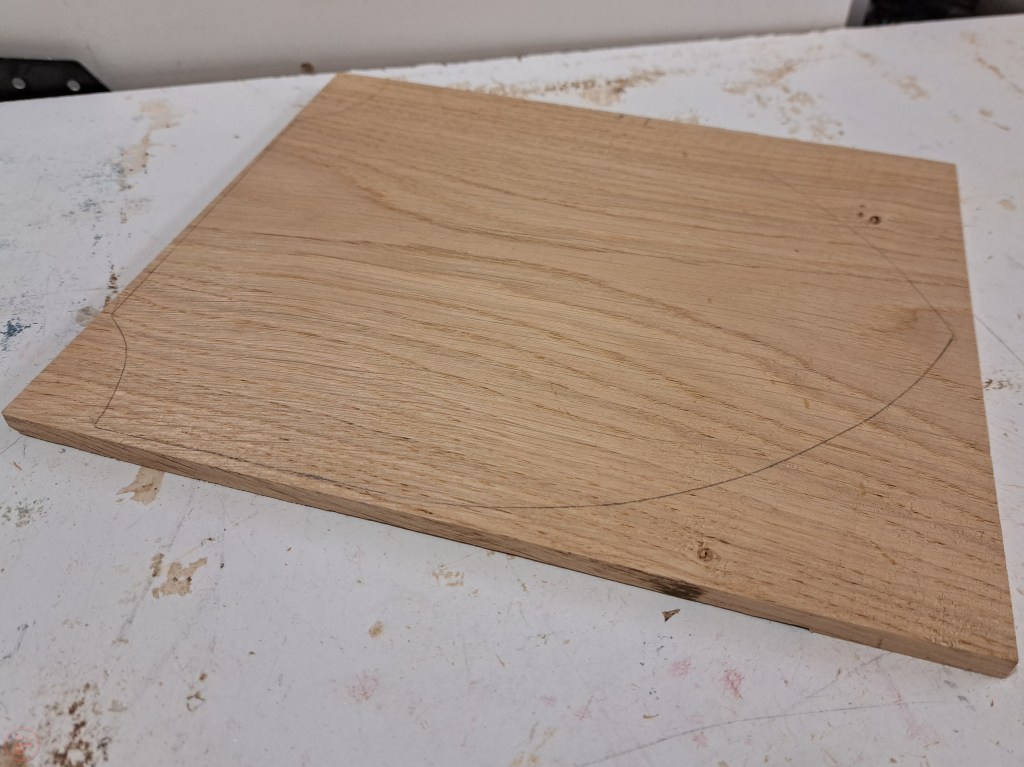
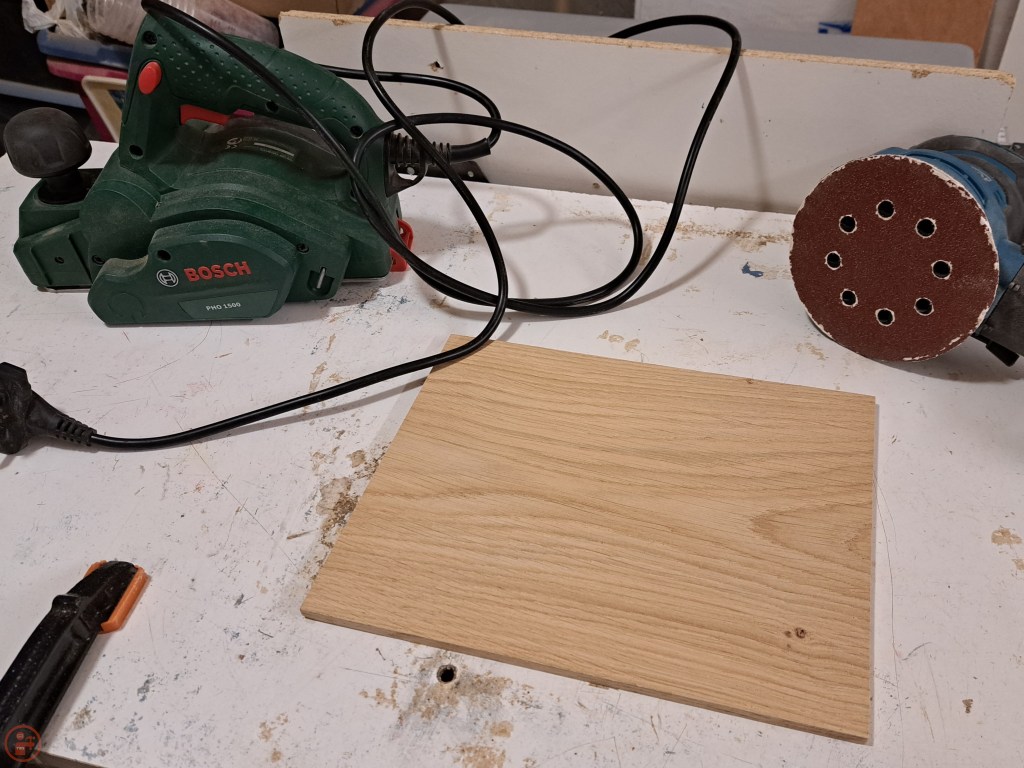
As the paper was quite thin, I decided to make a hardboard template. I drew round the template on the oak board, running the grain vertically through the plaque.


I cut the oak board to the rough dimensions in length and width and then ran the board through my table saw on its side to slim down the thickness. This was a bit of a challenge, but I took my time. I used an electric planer and my random-orbit sander with a 40 grit disc to remove the saw marks and give me a nice flat face on both sides of the board. I then used my jigsaw to cut out the rough shield shape.
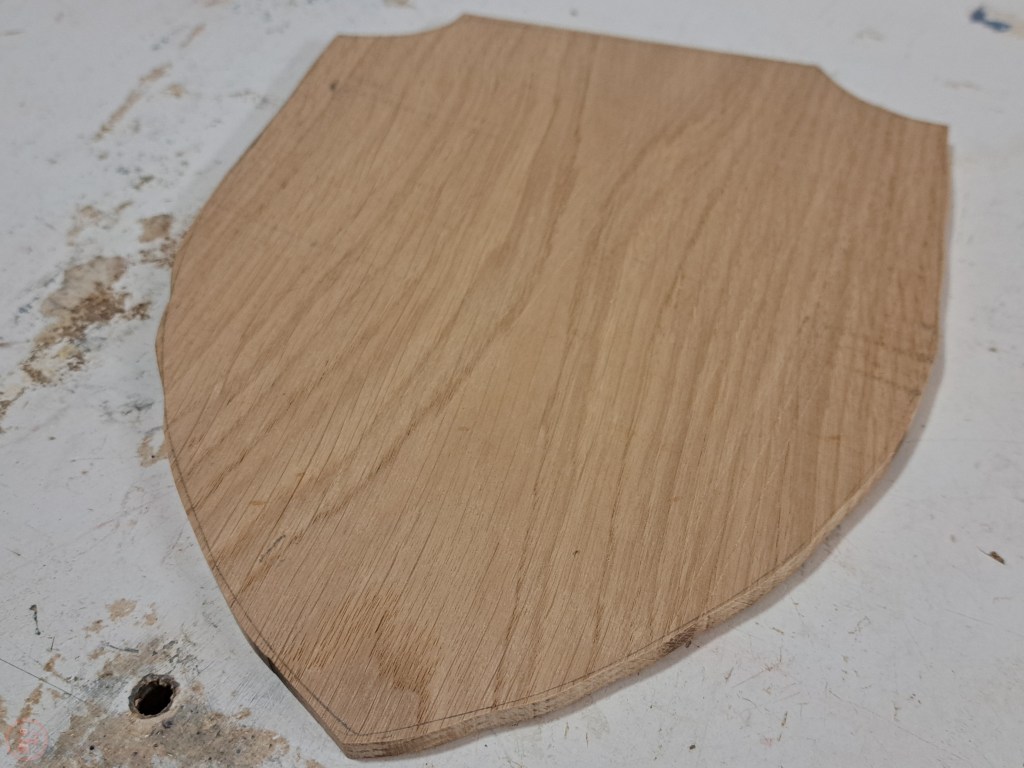
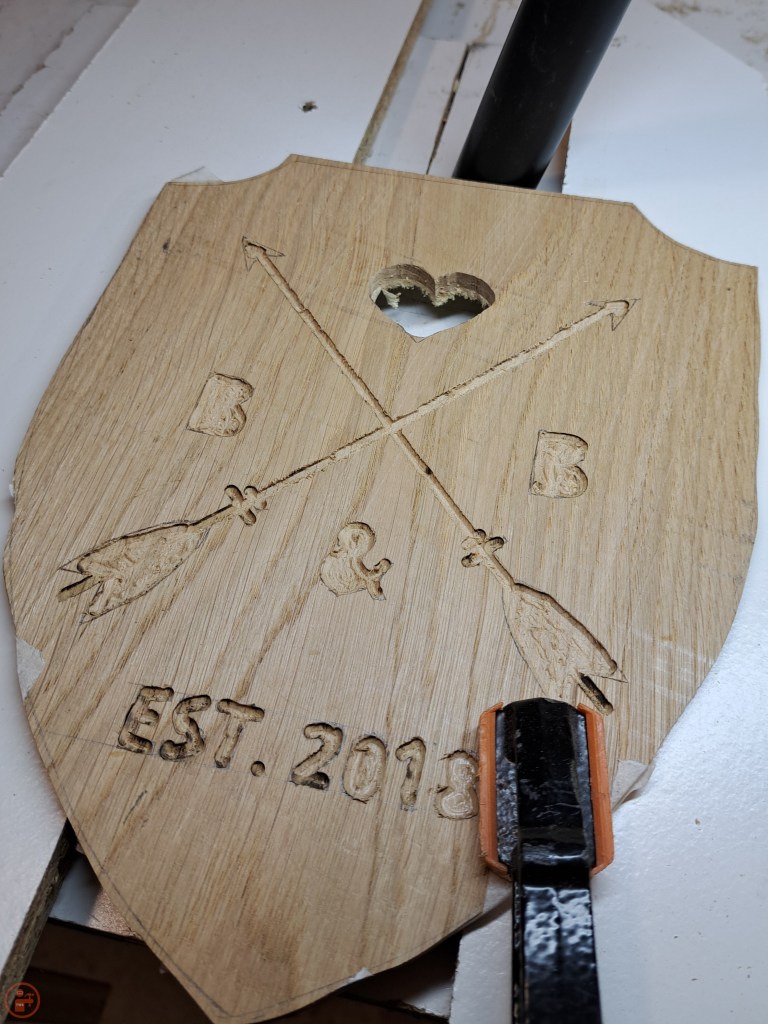
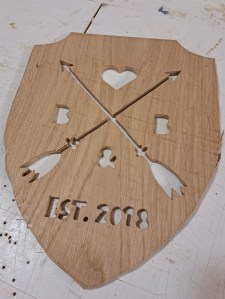
I left a small border around the edge to protect the plaque while I did the carving. I used the printed-out template to mark where the various details went on the front surface, taking my time to centre the text and crossed arrows.

I used my Dremel (not sponsored) to start removing material from the various details – the plan was to remove material all the way through the plaque, so I did this in several passes to not take too much off at one time.

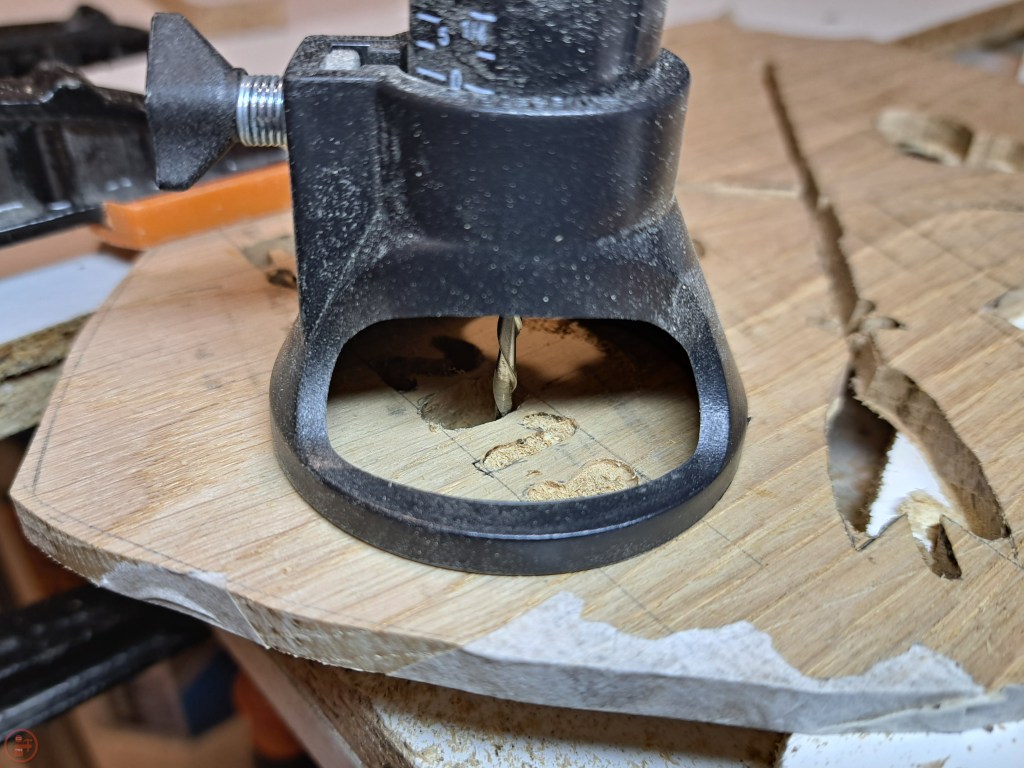
I used a cutting bit in my Dremel to gradually remove more material. I put several strips of tape on the back of the workpiece to reduce tear-out and then kept lowering the cut depth until I reached the other side of the board.
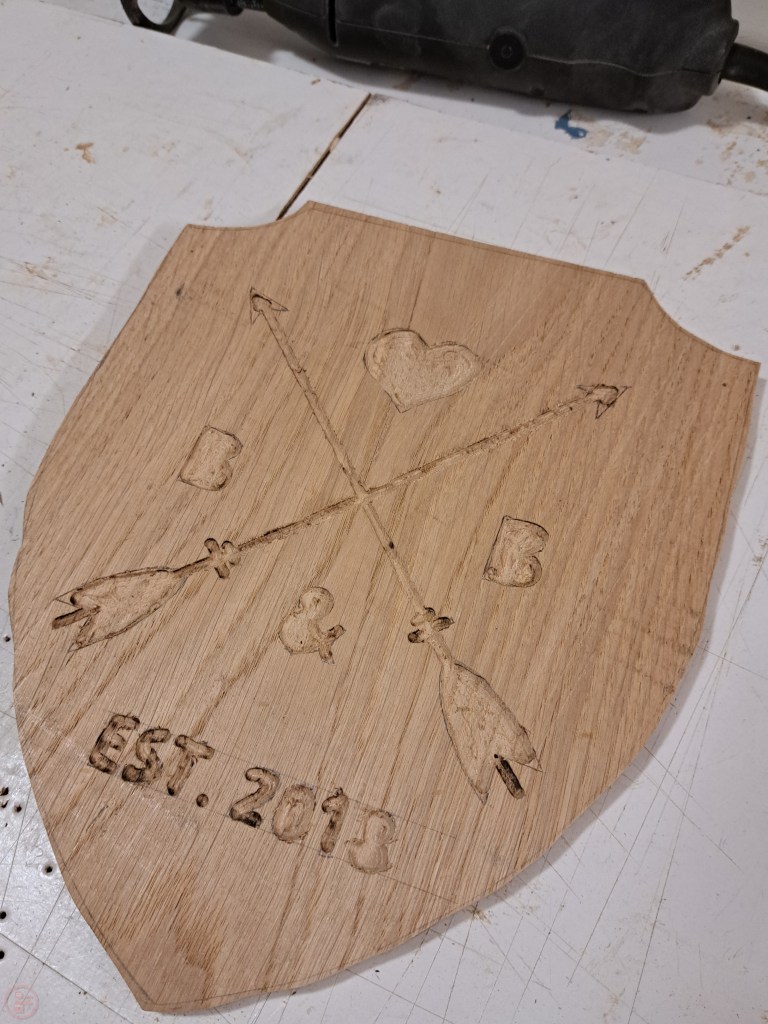
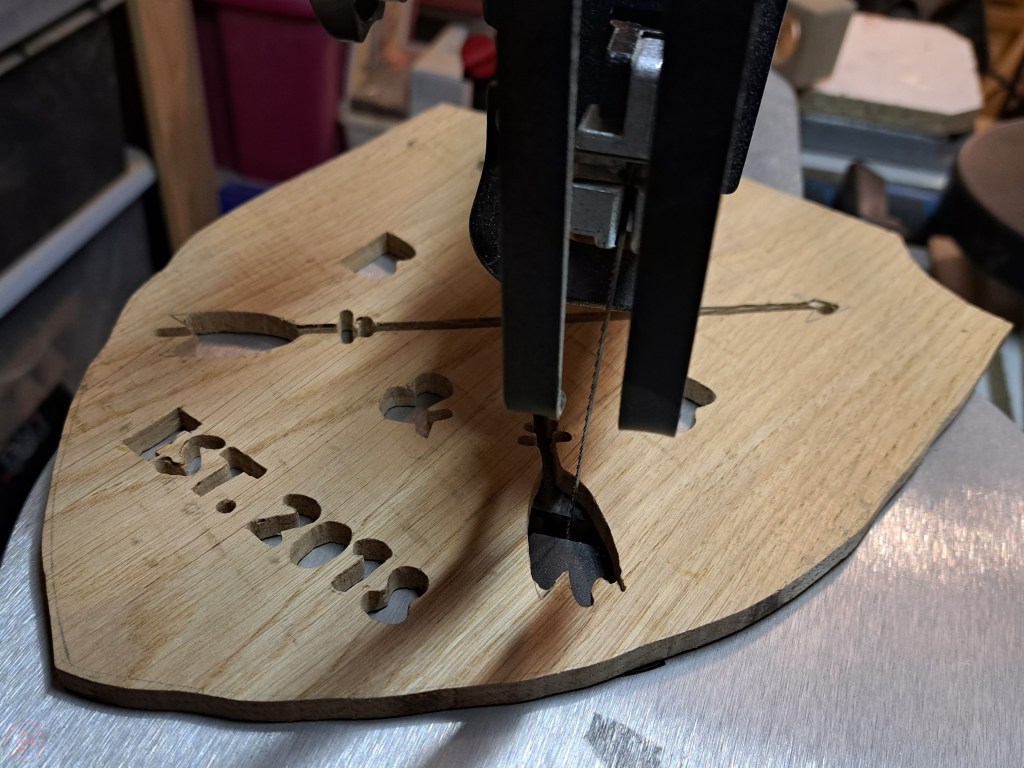
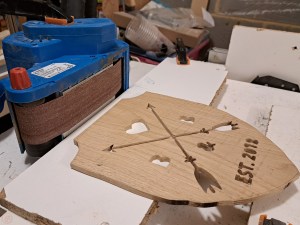
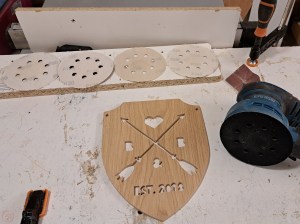
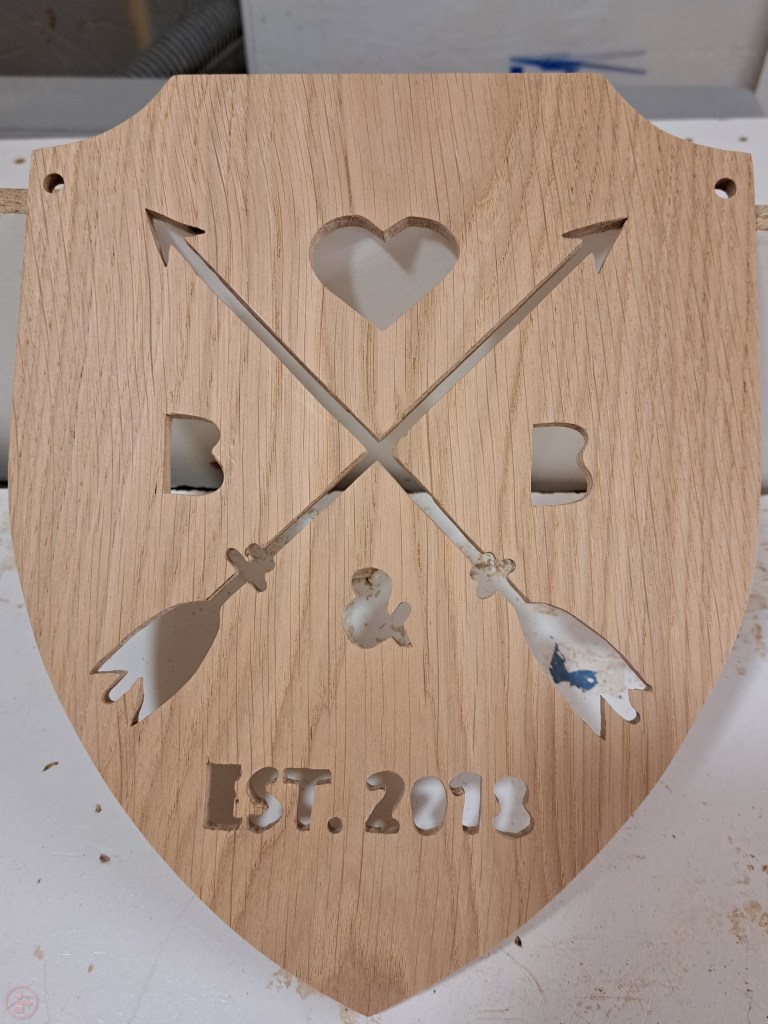
I repeated this process for all the details, taking my time to carefully follow the shape of the letters and numbers. The arrows were quite fiddly and I struggled with getting a straight line using the Dremel. Once I had finished all the carving, I switched to using my scroll saw, which allowed me to make refinements to the carvings, including removing material from the fletching and arrowhead ends of the arrows to clean up the design and getting a nice straight cut for the body of each arrow.
Once all the carving was complete, I used my belt sander on its side, to act as a disc sander. This allowed me to gradually remove material from the edges, working my way up to the line to get the shape perfect. It also made it really easy to get the curve of the shield right, as I pinned one part of the shield with one hand and pivoted the workpiece around to follow the curve against the belt sander.
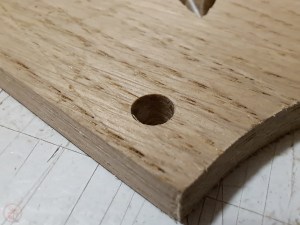
I marked two points at the top and drilled holes all the way through, to be used to hang up the plaque.
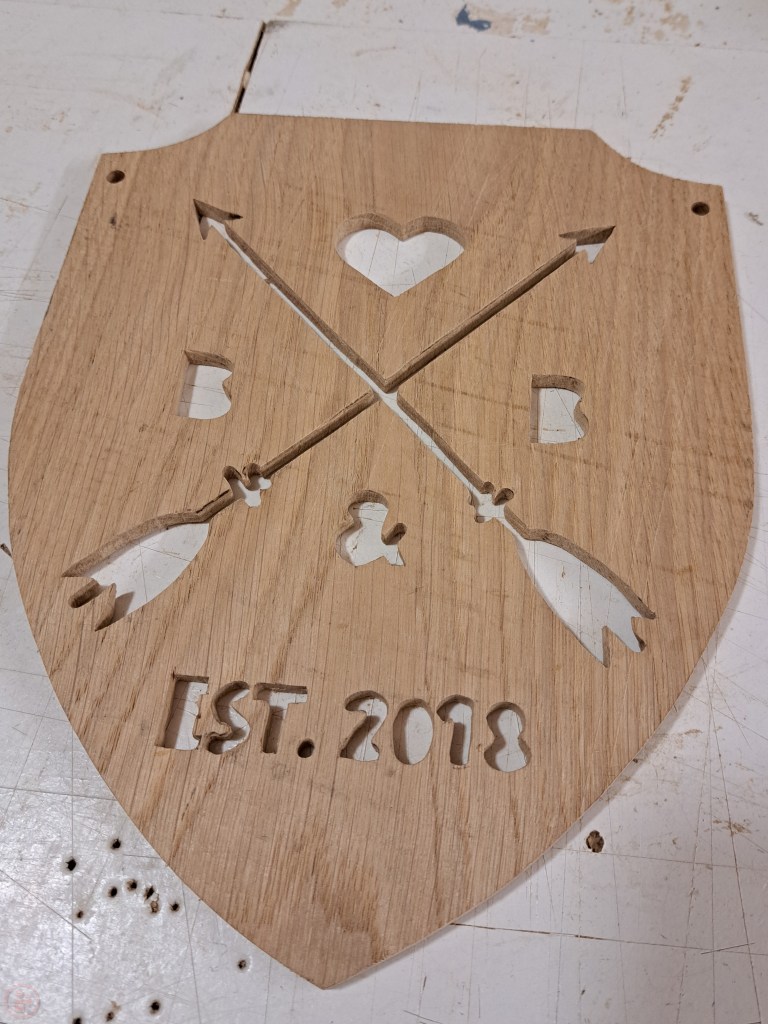

It was then time for everyone’s favourite part of woodworking – sanding! I worked my way up through the grits to 220 on each face using my random orbit sander, as well as hand sanding the edges and the large details up to 180 grit.
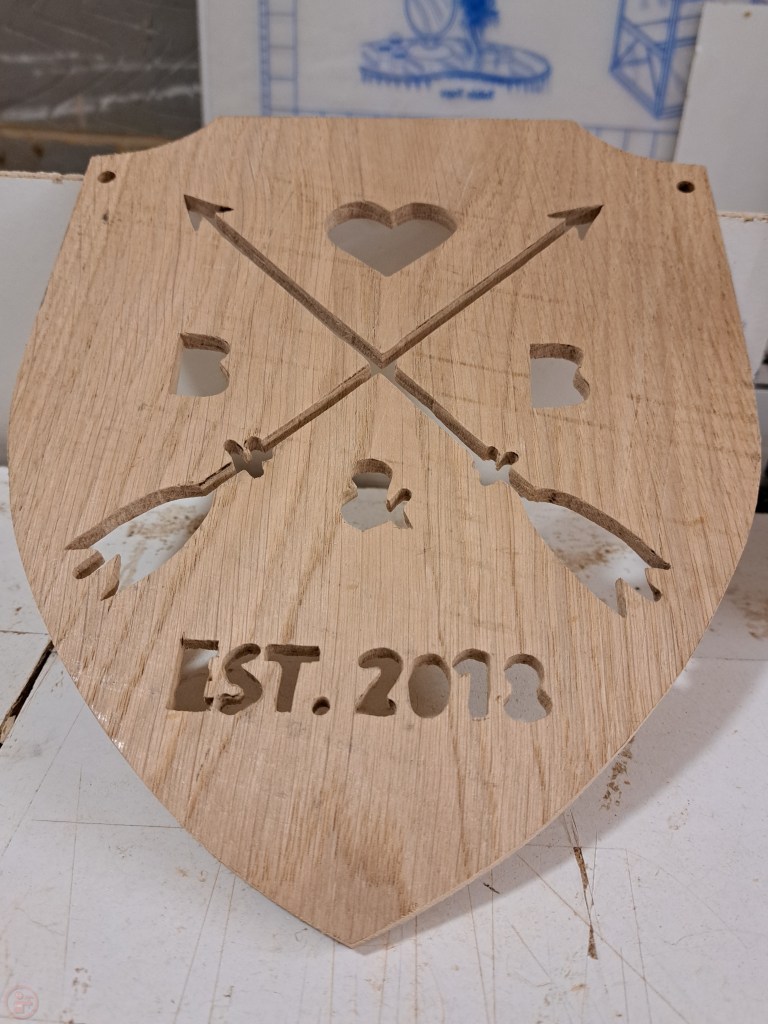
When I was happy with the smoothness of the surface, it was time to add some finish to bring out the grain and give the oak some protection.
I decided to use some Danish oil, as it has UV protective qualities, which should make sure the oak still looks good after several years, even if it is hung in direct sunlight.
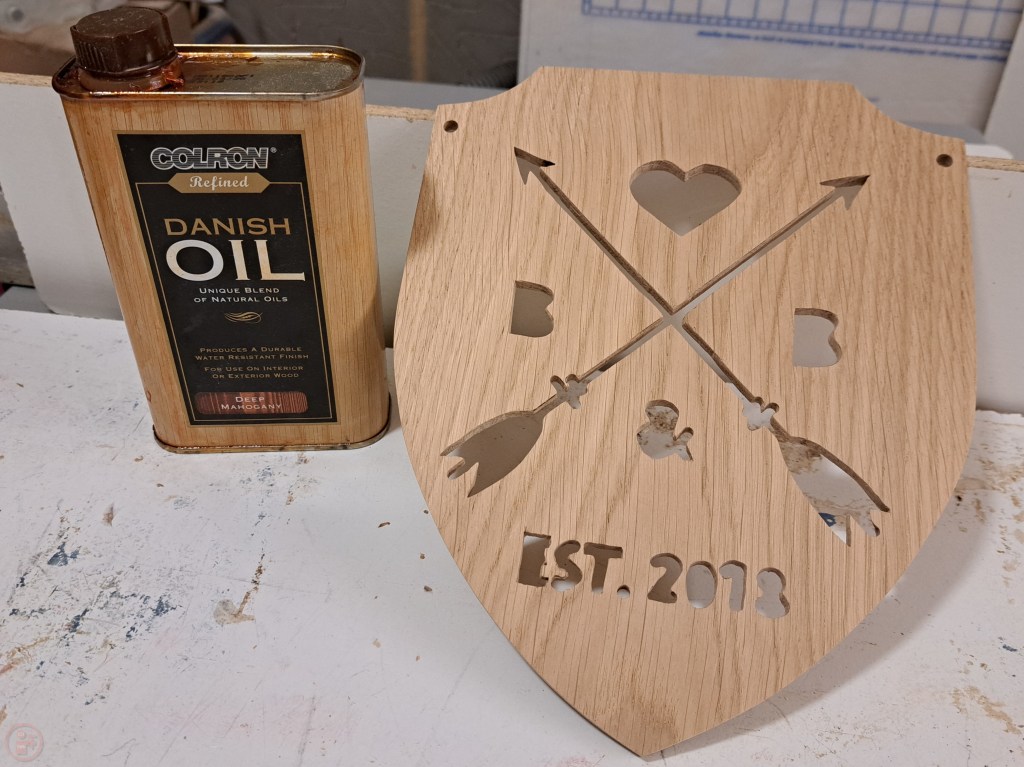
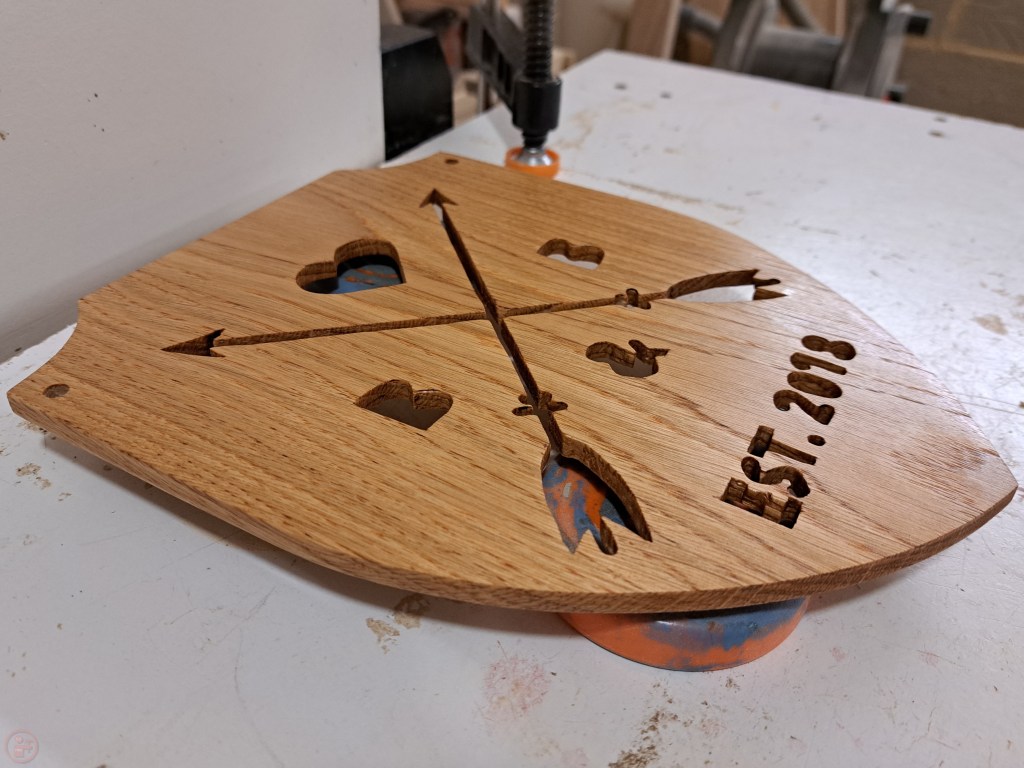

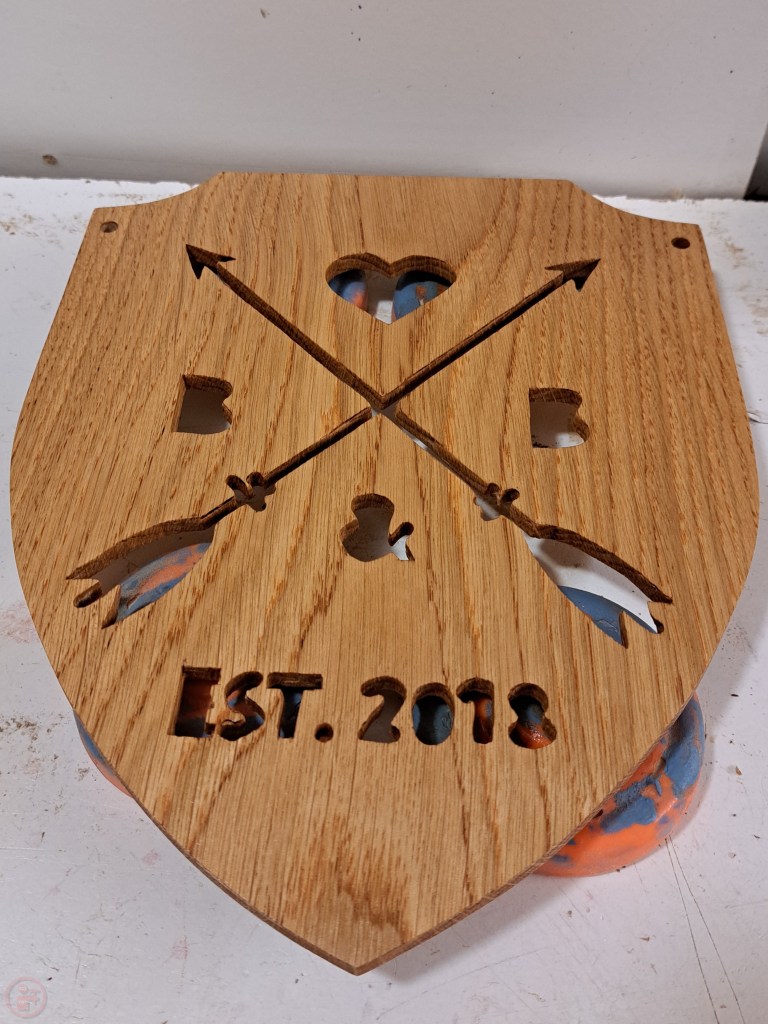
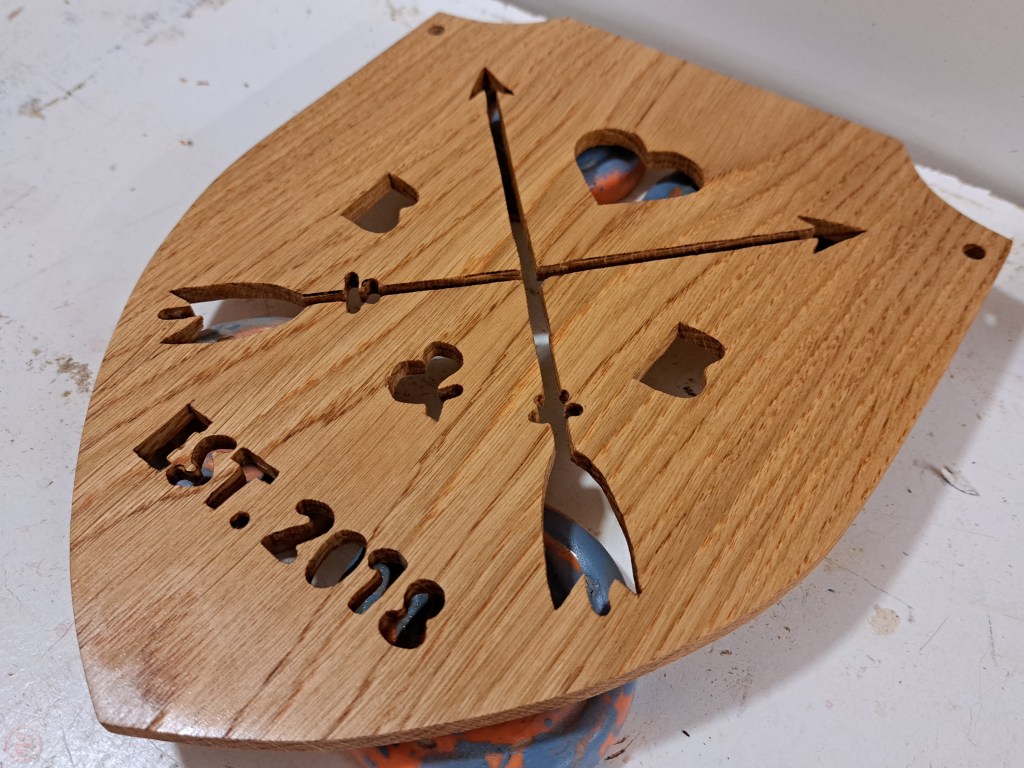
I used some Danish oil with a mahogany stain in it to darken up the oak, as it seemed quite pale. I applied several coats, wiping off the excess after each application and leaving it to soak in for several hours.
Once the oil was fully soaked in, I sorted through my leather cords to choose one of the right colour for the hanging loop.
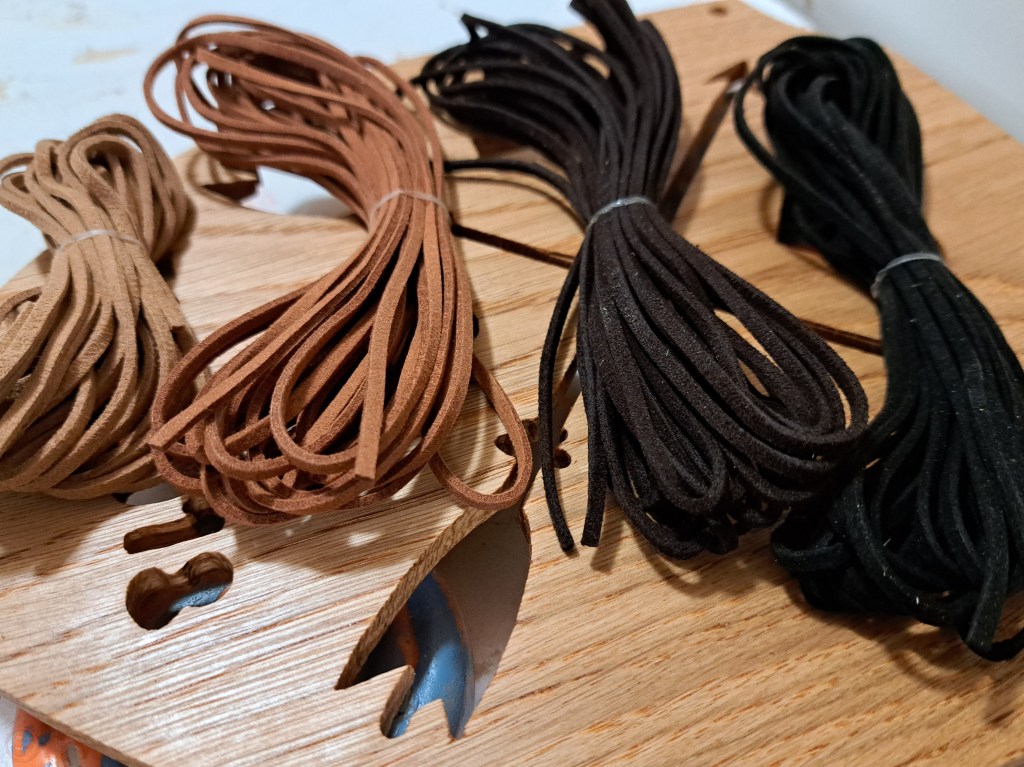
I selected the black cord, threaded it through the hanging holes and tied a knot. The cord is long enough to hang as a double cord, or can be pulled tight and hung by one cord, with the other tight behind the plaque. Finally I added my TWS stamp to the back of the shield and left the ink to dry hanging on a clamp in the workshop.
I am really pleased with how this project turned out – and more importantly, my brother and his wife both really liked it! Some of the letter carving was quite fiddly, but I am definitely getting more familiar with using my Dremel to carve with. With each project I complete, I am learning new techniques and ways to make things, which are always then useful in subsequent projects!🔨
