As my workshop has grown, the need for effective storage has also increased. Time to make some drawers for the mitre saw bench!
I first made my mitre saw bench back in 2019, and since then have added quite a few additional features to it. The last update was the addition of extra legs, meaning the bench should be fine to take the weight of drawers. The full series of posts to date includes:
- Part 1 – Framing
- Part 2 – Surfaces
- Part 3 – Shelving
- Part 4 – Manoeuvrability
- Part 5 – Additional shelving
- Part 6 – Adding panels
- Part 7 – New fence and stop block #2
- Part 8 – Updated stop block #3
- Part 9 – Extra legs
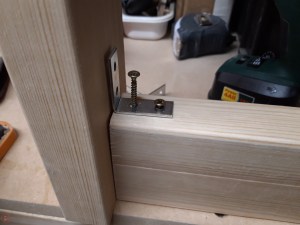
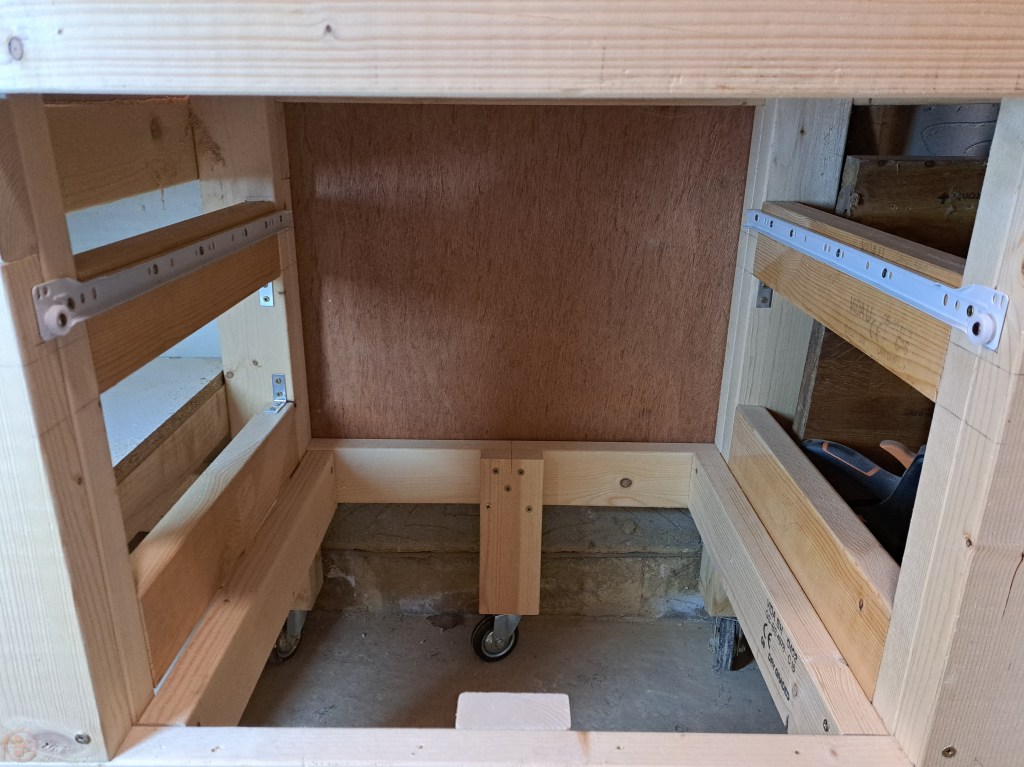
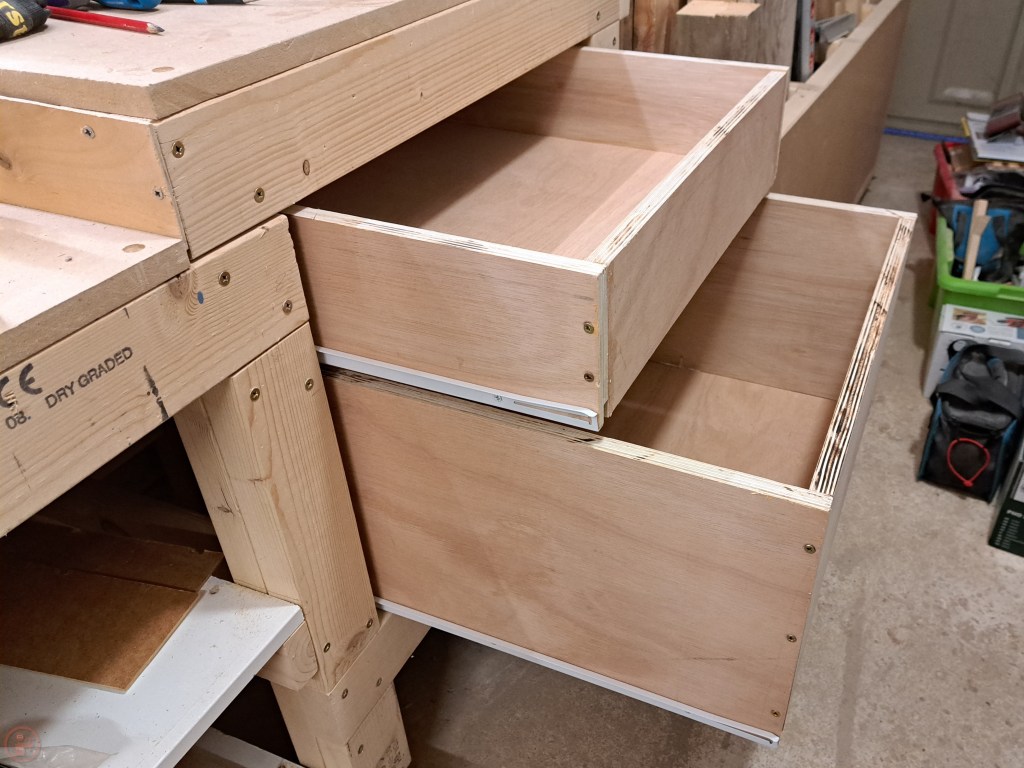
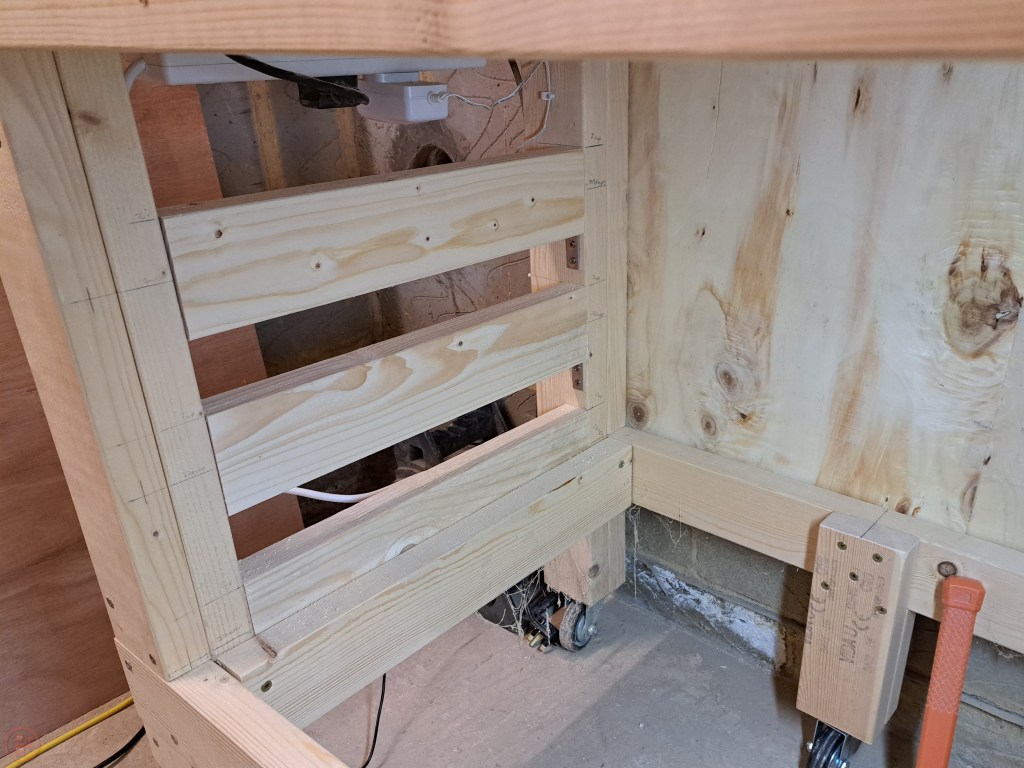
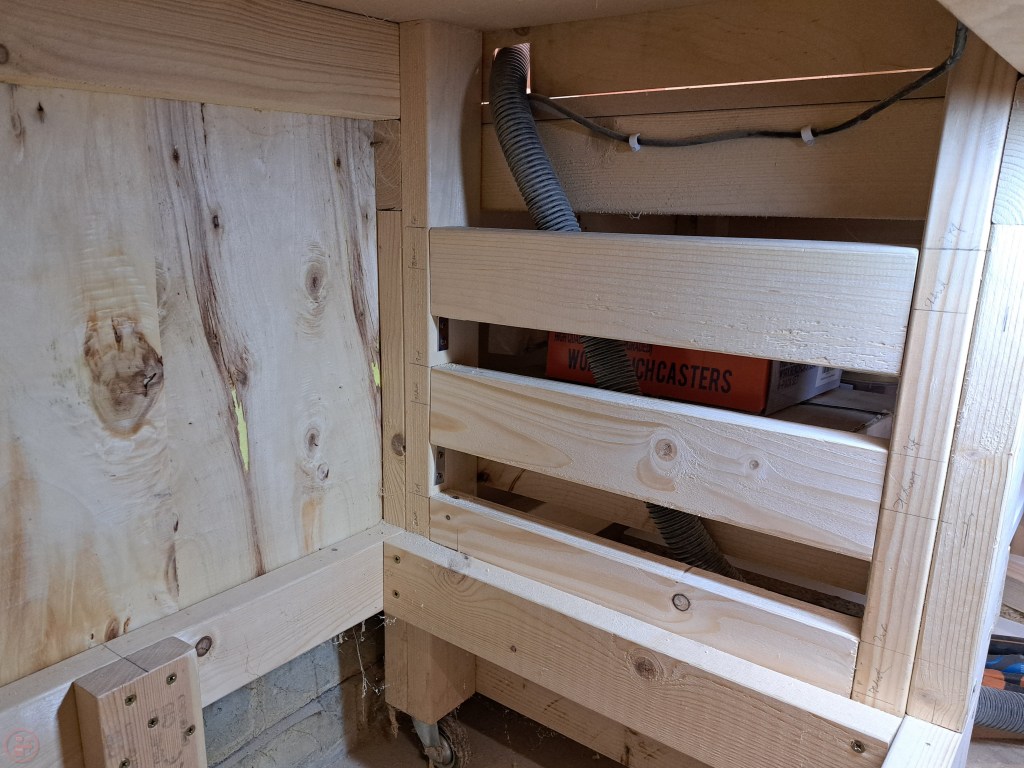
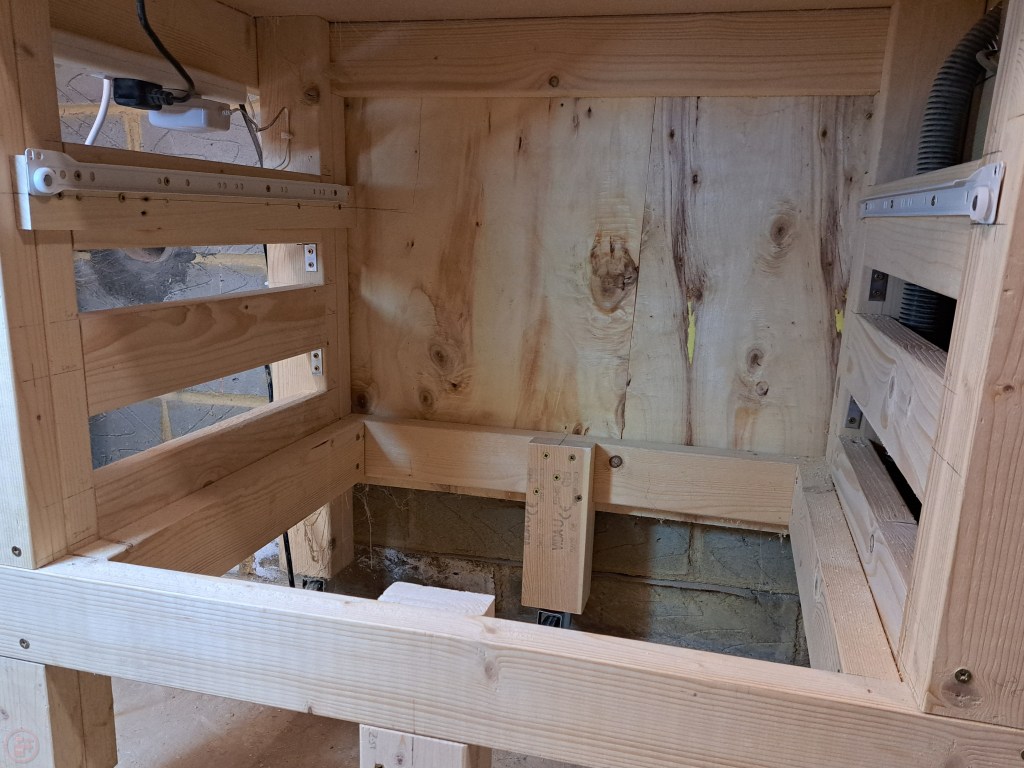
I started with tackling the drawers on the lower right side, which would be one smaller and one larger drawer, with deeper clearance to take power tools. To fix the drawer runners, I added some additional 2x4s cut to fit the space between the front and back legs. Alongside being somewhat wedged in place, I also added metal brackets for additional strength. I screwed the bracket into the 2×4 first, using a second offcut to flush the bracket up with the end. Then I marked where the screws needed to go into the bench legs, drilled pilot holes and screwed the brace into place. This took a bit of time as there’s not much space for a person to fit under the bench!
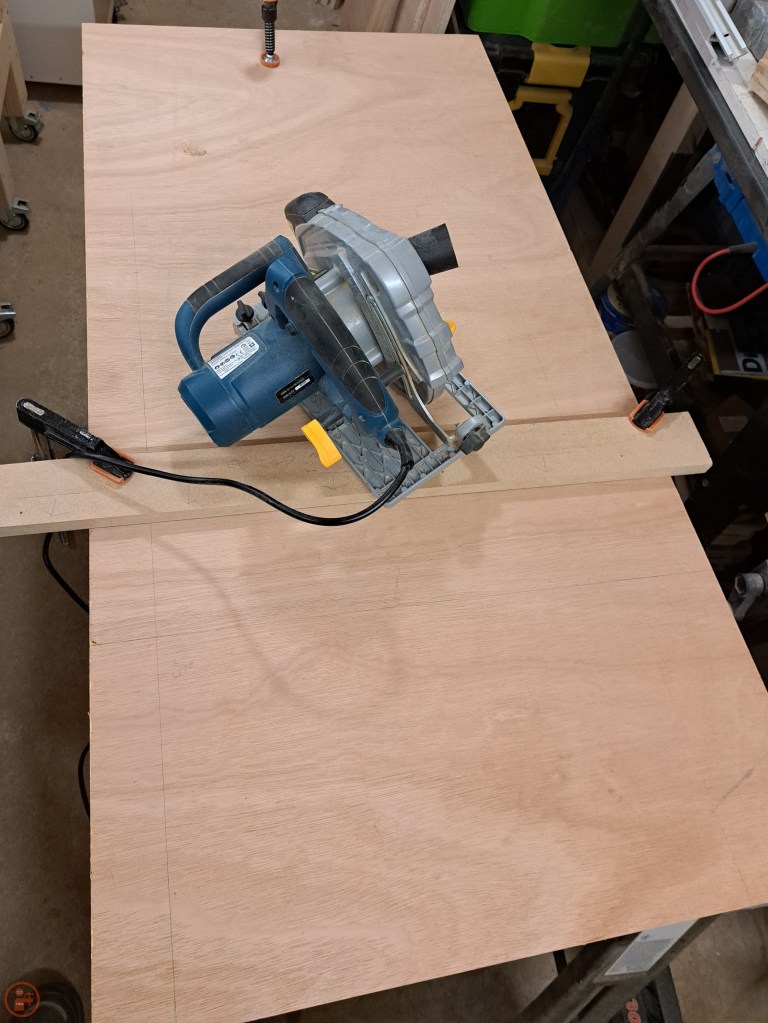
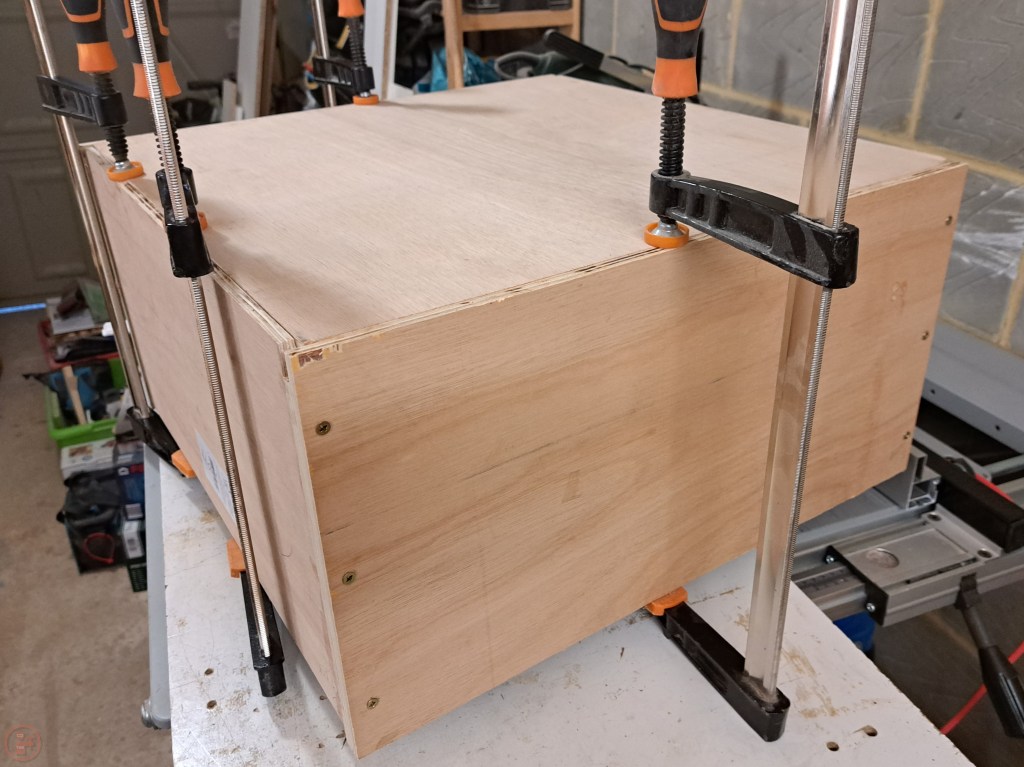
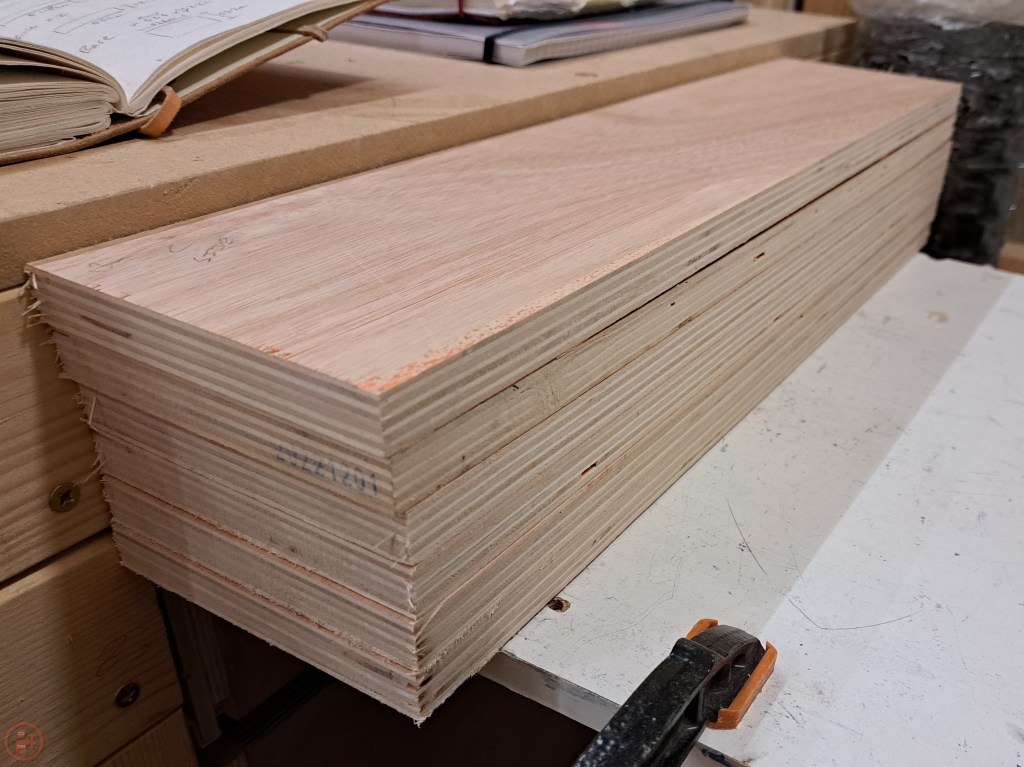
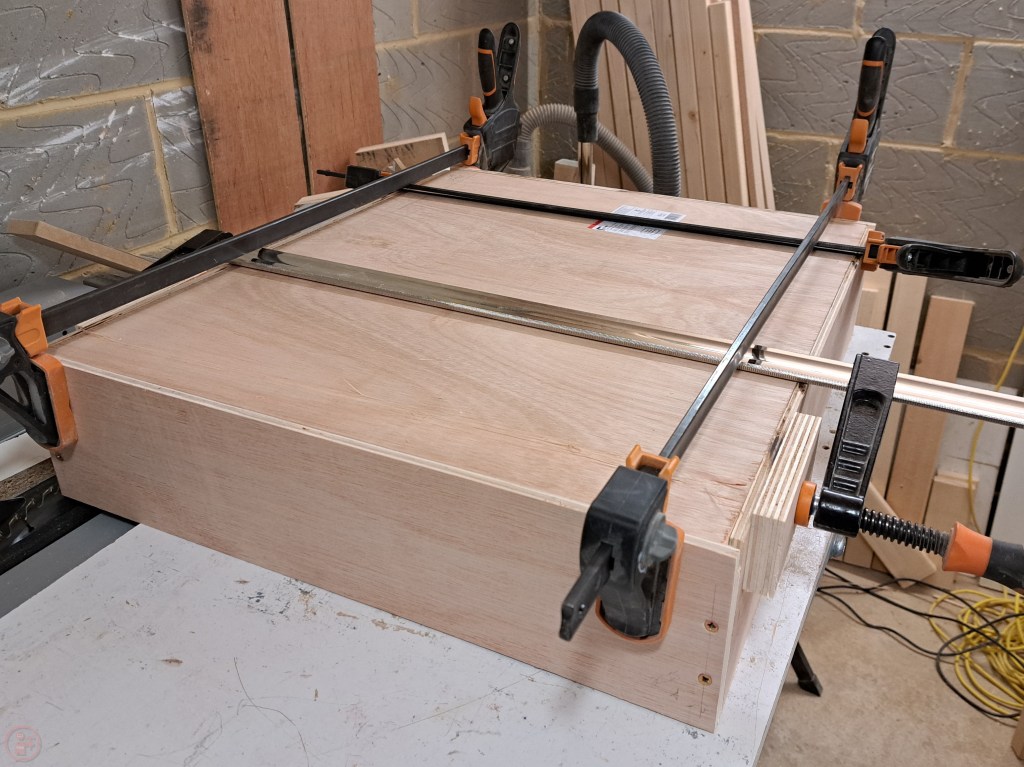
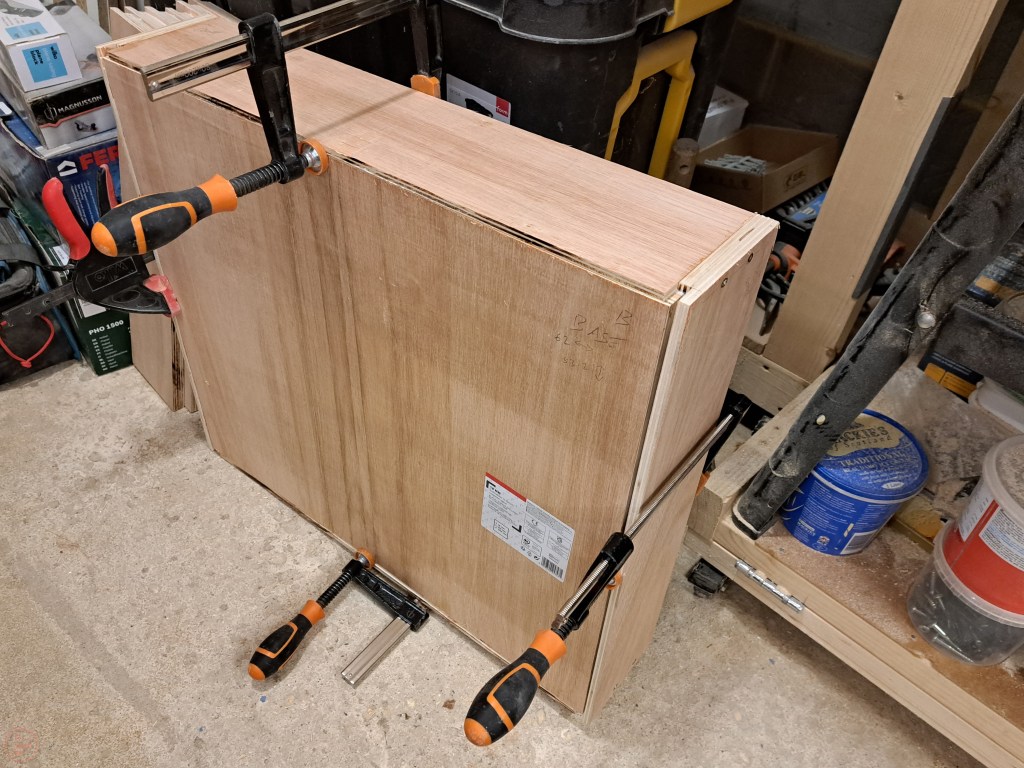
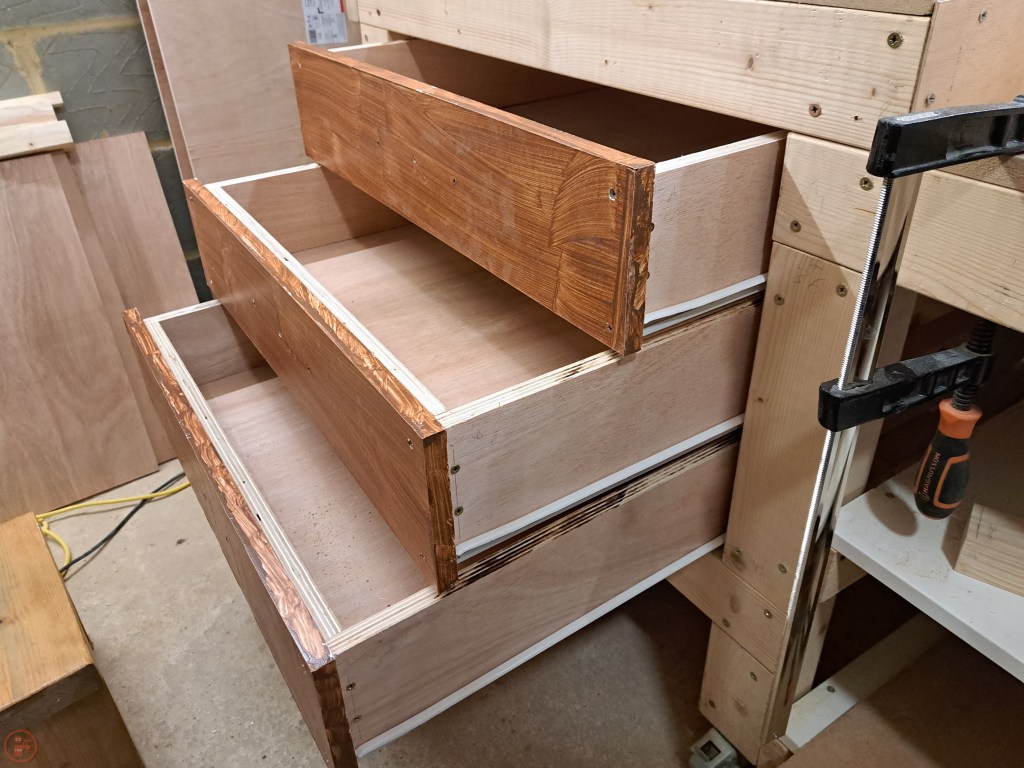
Once the additional bracing was in place, the next step was to make the drawers. I did a lot of research on the best way to make drawers – there’s a lot of very similar, but sometimes contradictory information out there! I settled on simple butt joints with glue and screws to hold together, with a rebate around the bottom to take the base panel. I used 18mm plywood due to the width of the drawers being too wide for something like mdf to be stable with a reasonable amount of weight in it.
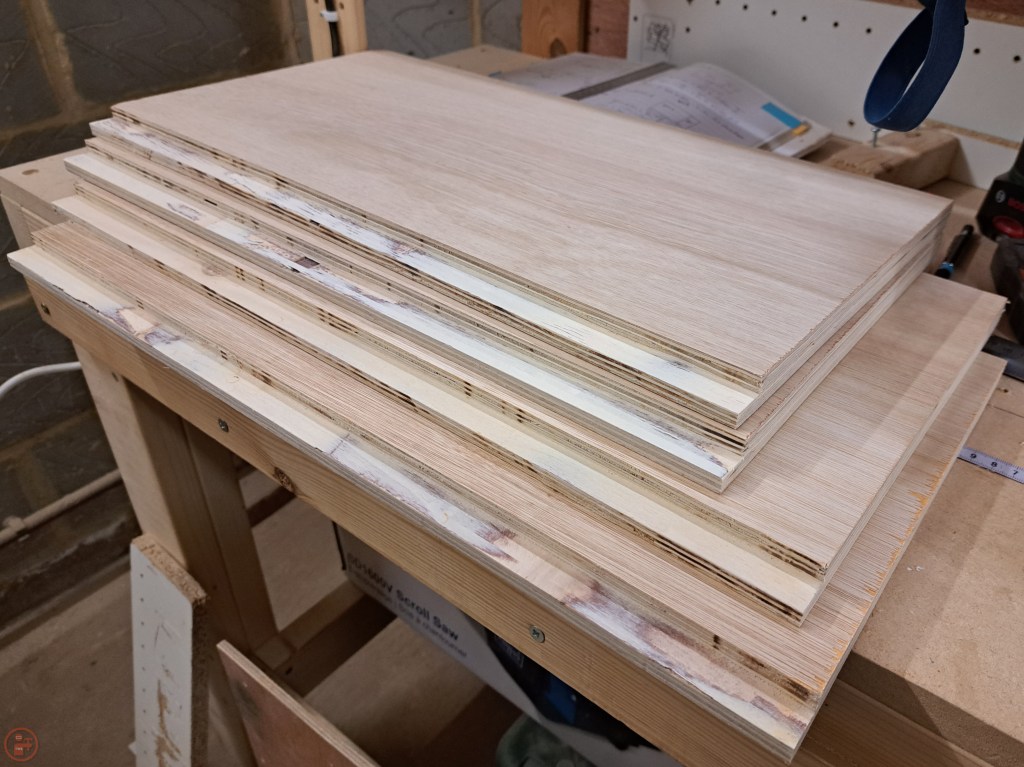
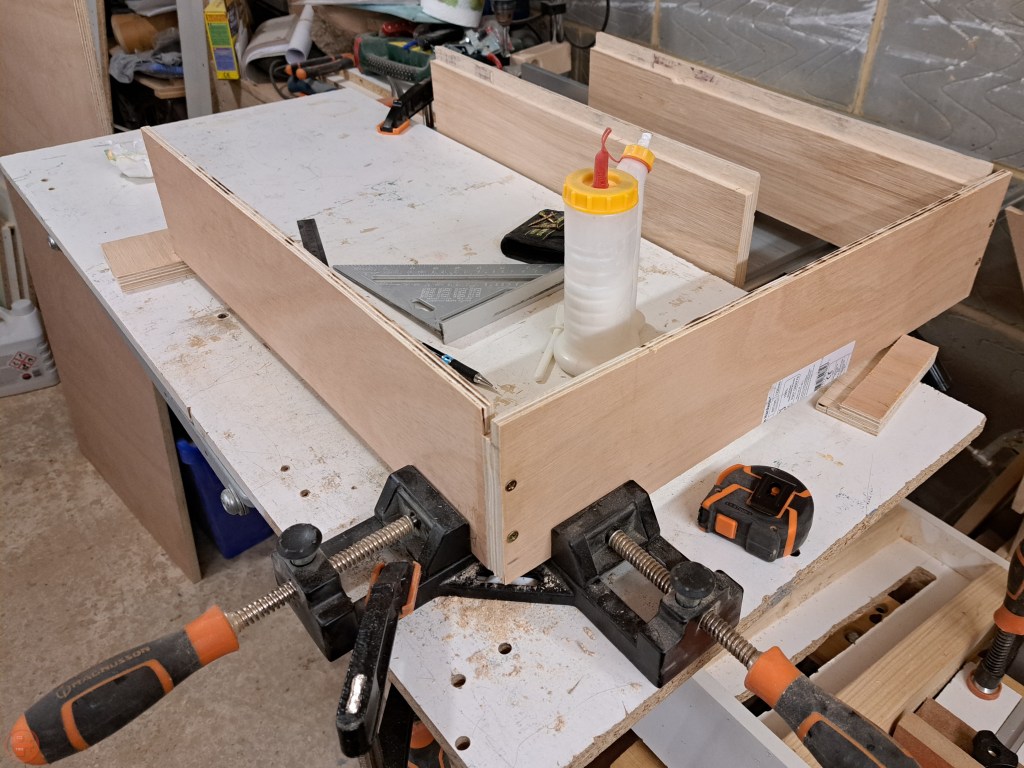
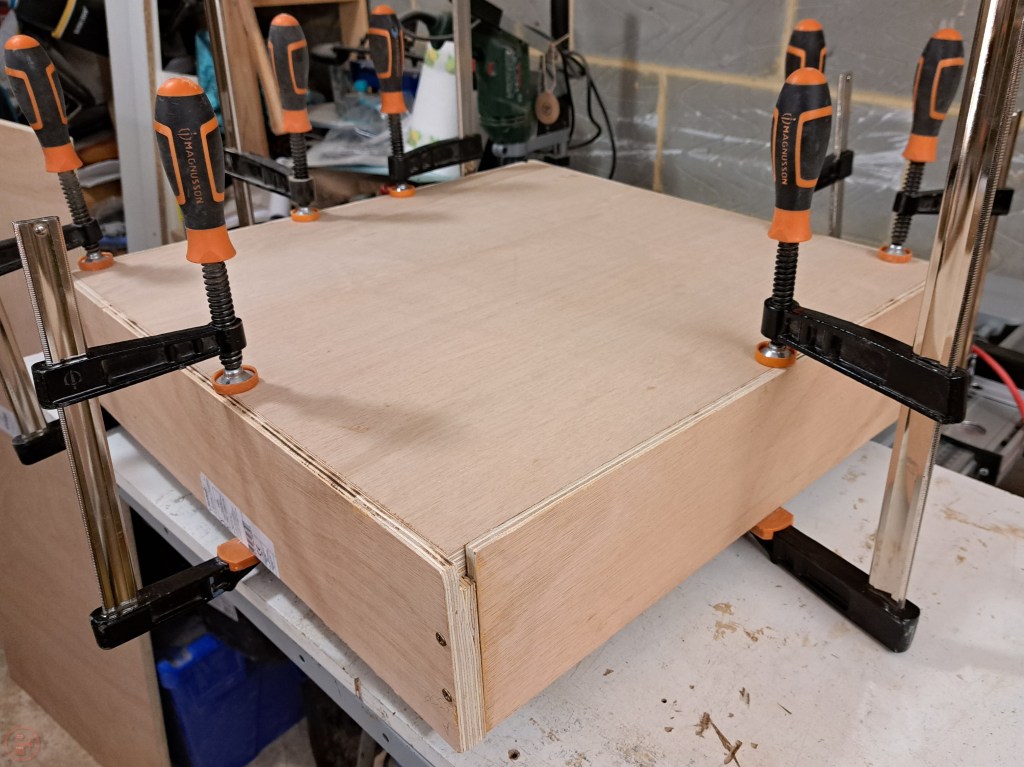
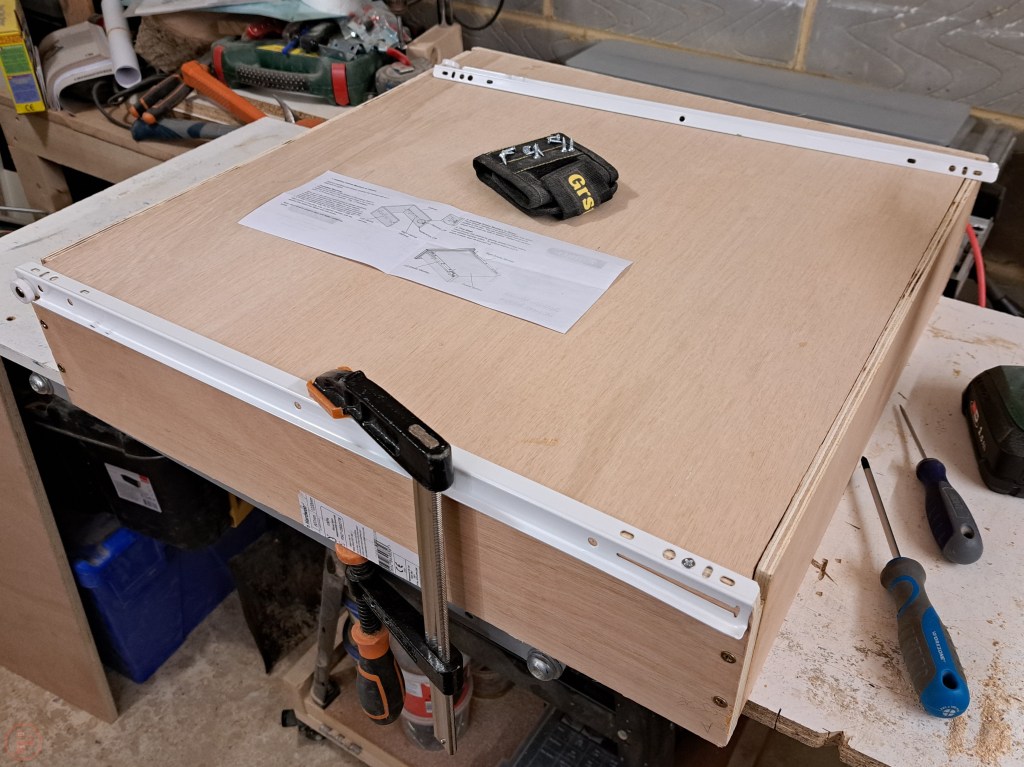
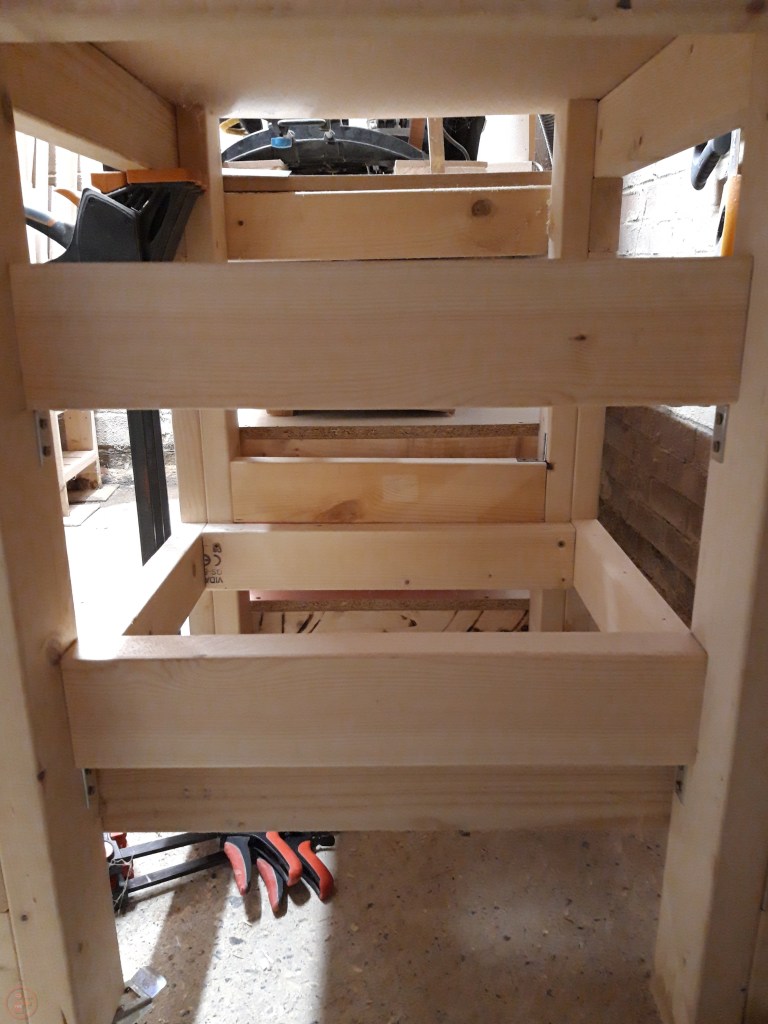
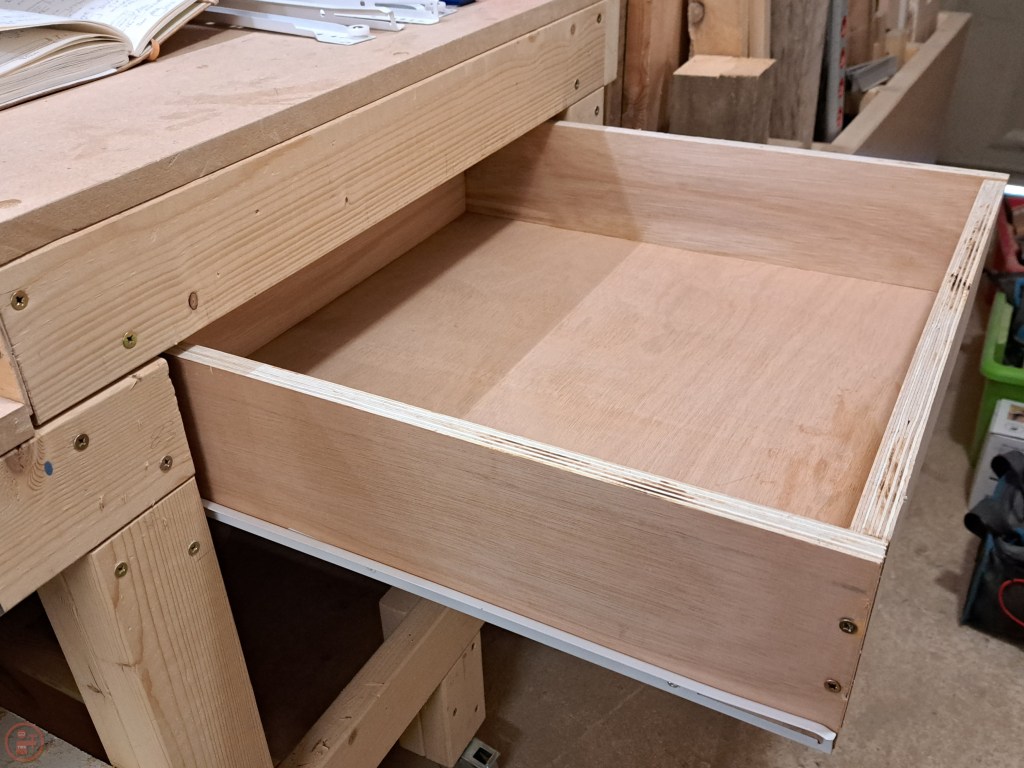
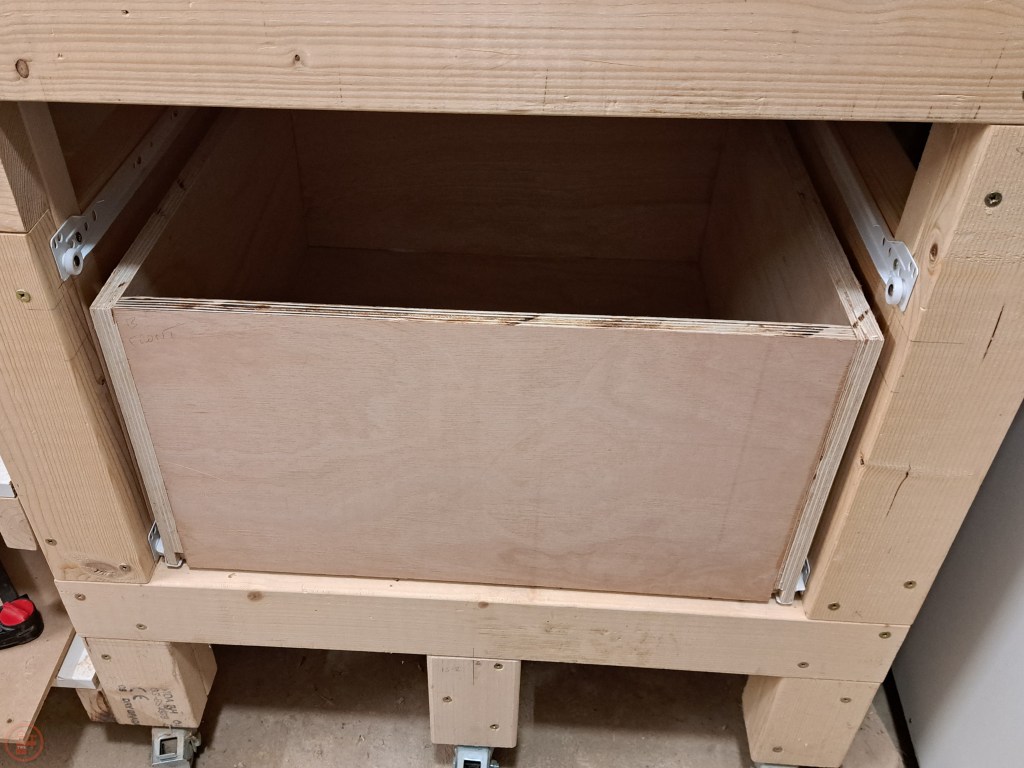
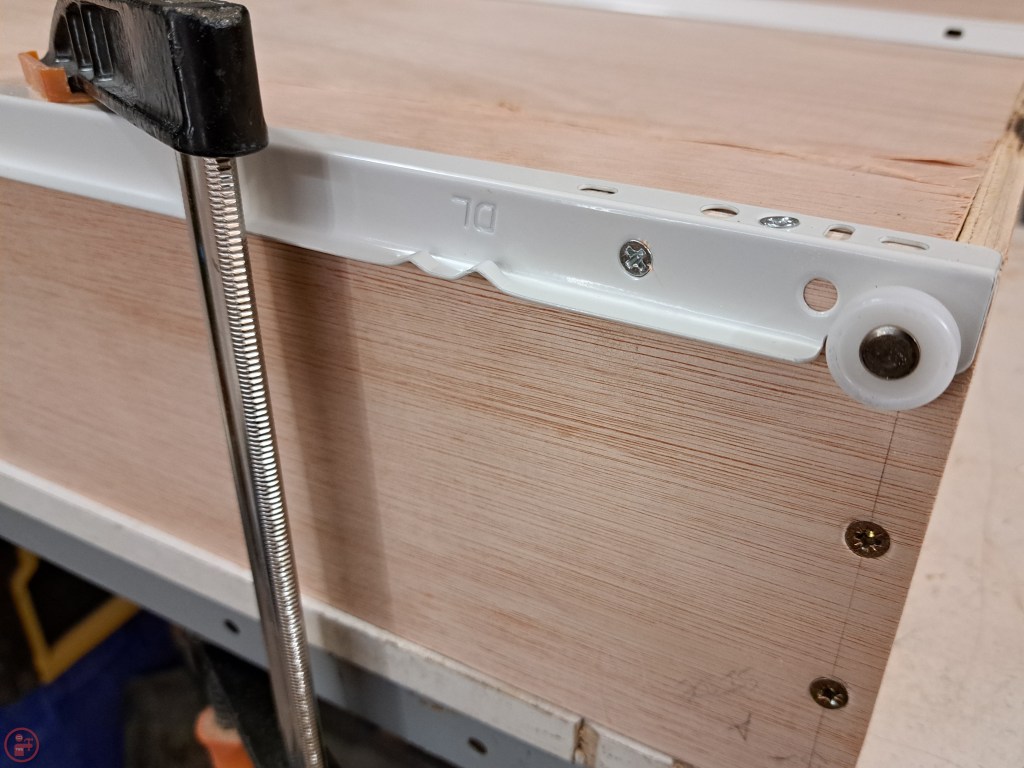
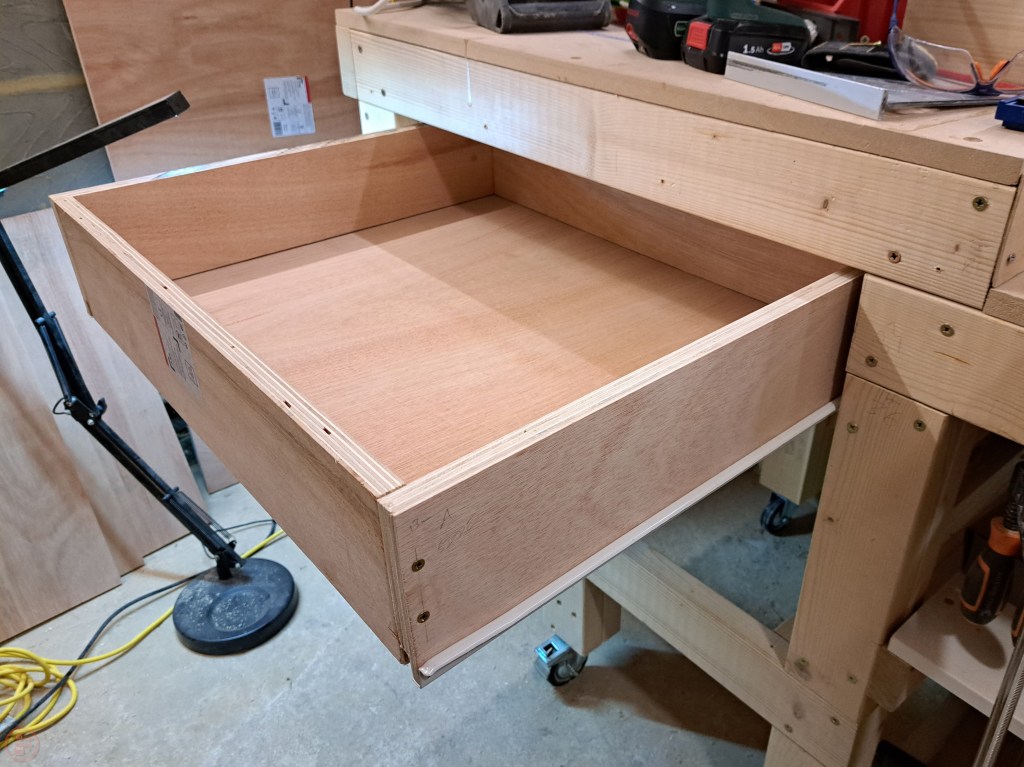
I haven’t used plywood much before as it can be quite expensive where I live, so this was a bit of an investment! I took my time with the planning and labelled each piece as I went so as to avoid making mistakes where possible. Fortunately, the first drawer went together really well and the base ensured the frame remained square as the glue dried. I mounted the drawer slides the correct way round for the “drawer part” and the “cupboard part” and then slid the drawer into place. Pleasingly it was a good fit and ran smoothly on the runners. I deliberately recessed the front edge of the drawer a couple of cm back inside the opening, to allow me to fit drawer fronts later on.
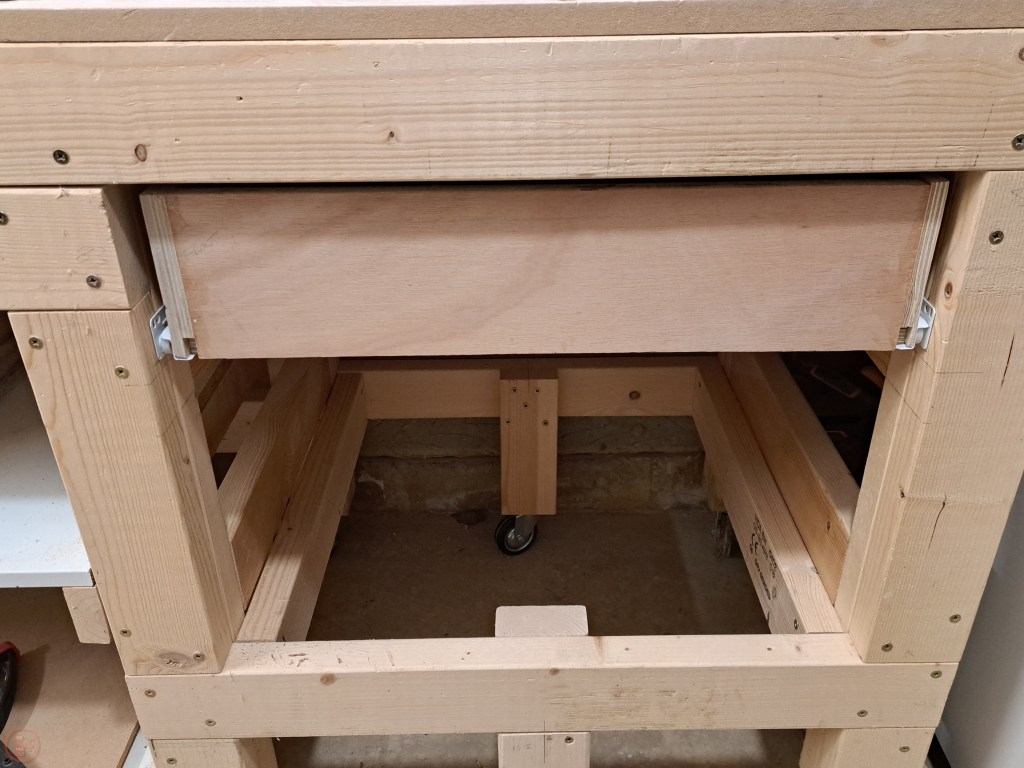


The next step was to make the larger lower drawer – exactly the same design, just slightly taller side pieces. This drawer was a bit heavier to move around but went together just as easily and matched the top one very nicely.
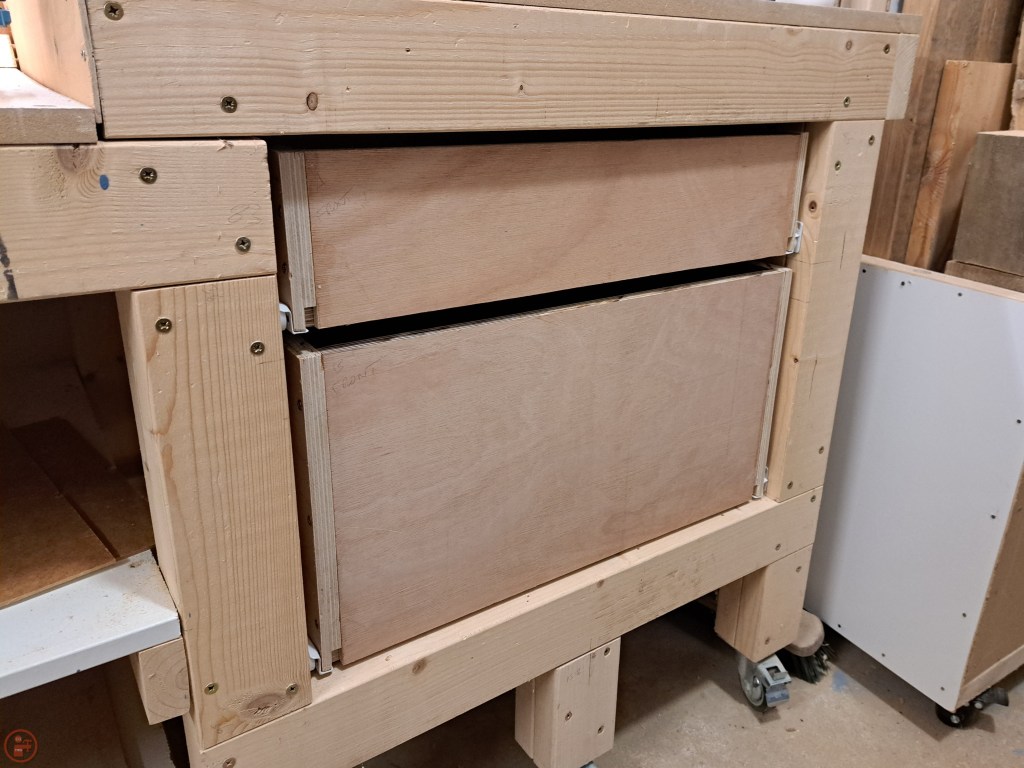
I slotted both drawers into place and added my stamp to the inside face of the drawer front. I also drilled some holes through for handles (to follow in an upcoming blog post!).
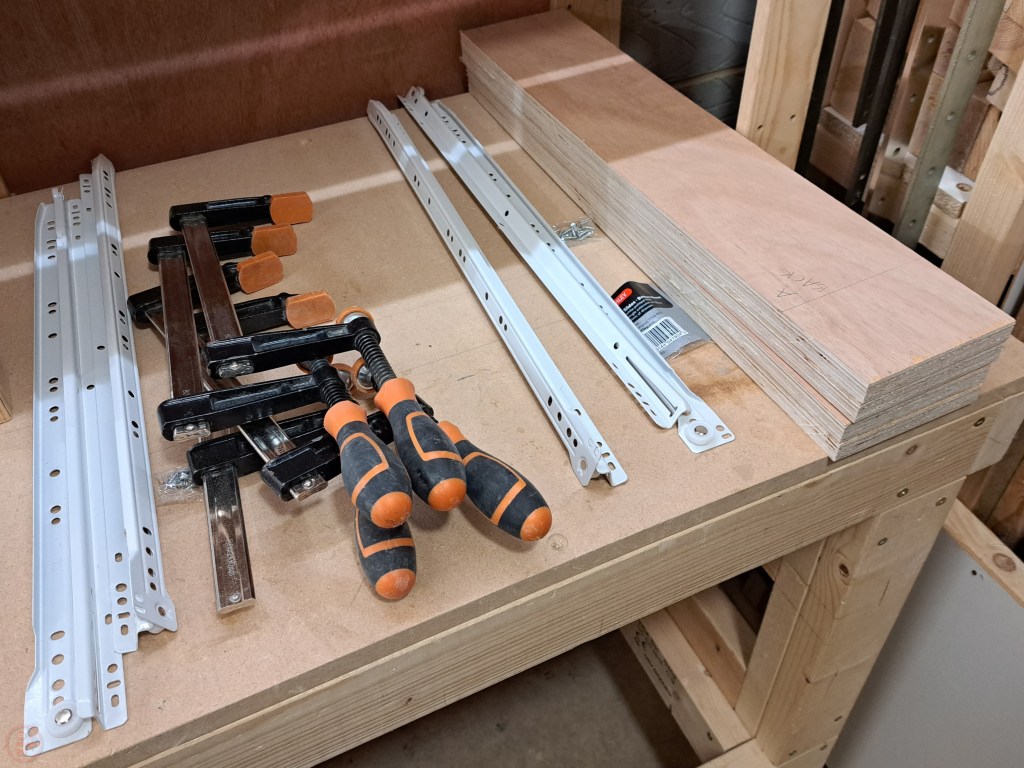
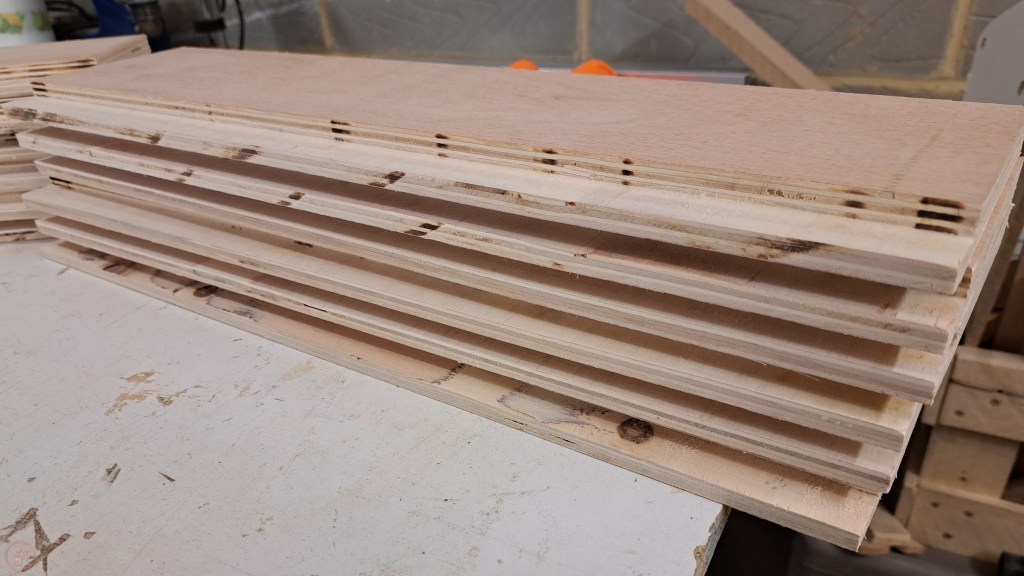
The right side drawers completed, I repeated the process for the left side. I decided to make this side three equal-sized drawers for keeping smaller hand tools. This meant I was able to batch cut lots of the parts, which made it a bit quicker to complete. I added in the additional 2×4 bracing using metal brackets on each side to hold the runners. Then it was simply a case of cutting all the parts, gluing and screwing them together and fitting the runners.
I worked through each of the drawers, checking the fit and making slight adjustments if required to ensure a smooth opening and closing path.


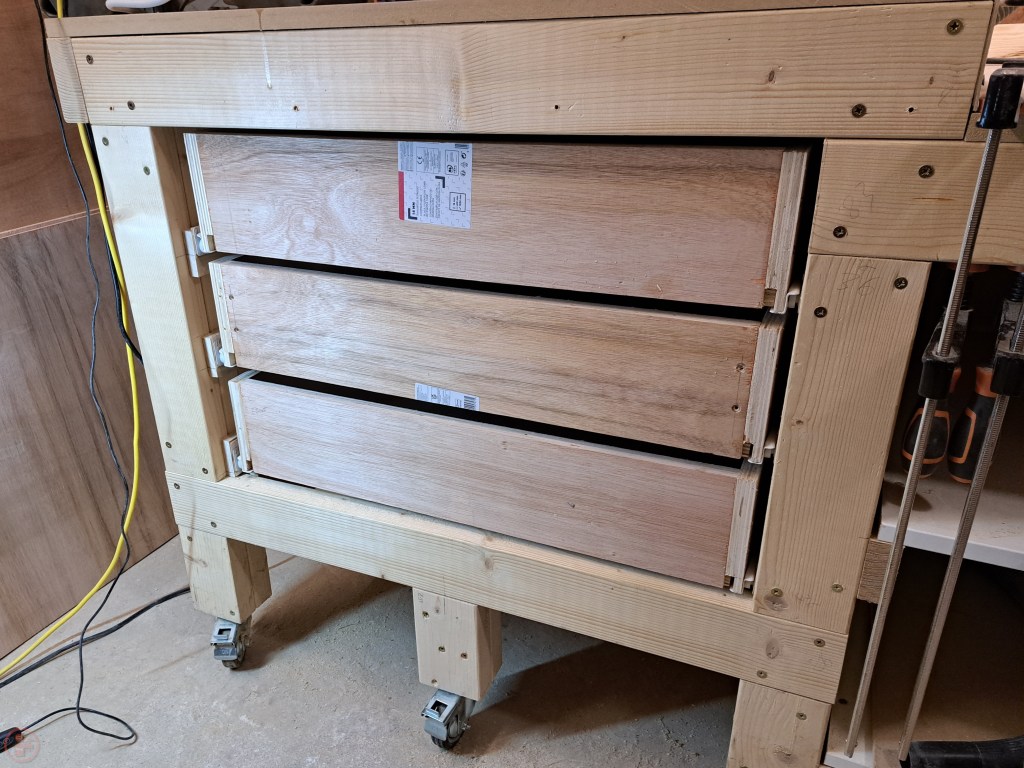
Once all three drawers were complete, I slotted all the drawers into place and measure up for drawer fronts.

I plan to make permanent draw fronts out of pallet wood, but for now (and probably a little while!), I decided to use some left over white melamine coated chipboard. I cut the pieces to the right size for each front, leaving a 2mm gap on each side and between the drawers. I added some iron-on edge banding to hide the cut edges and trimmed off the excess. This actually worked really well, which was my first time using it, so was a pleasant surprise.
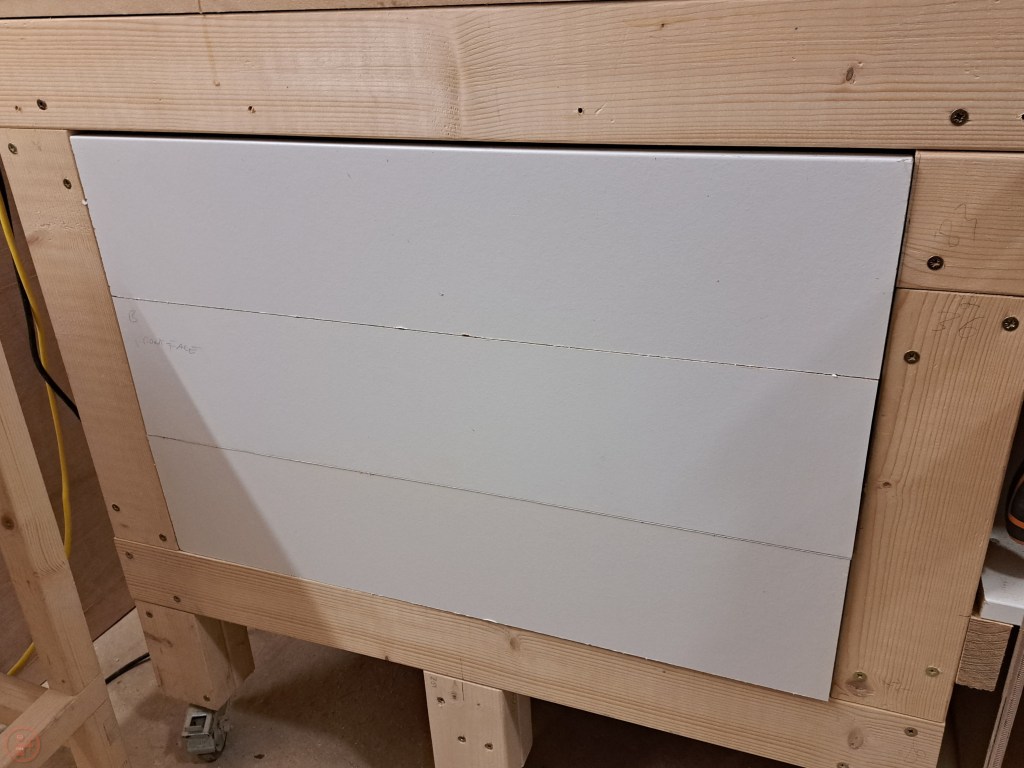
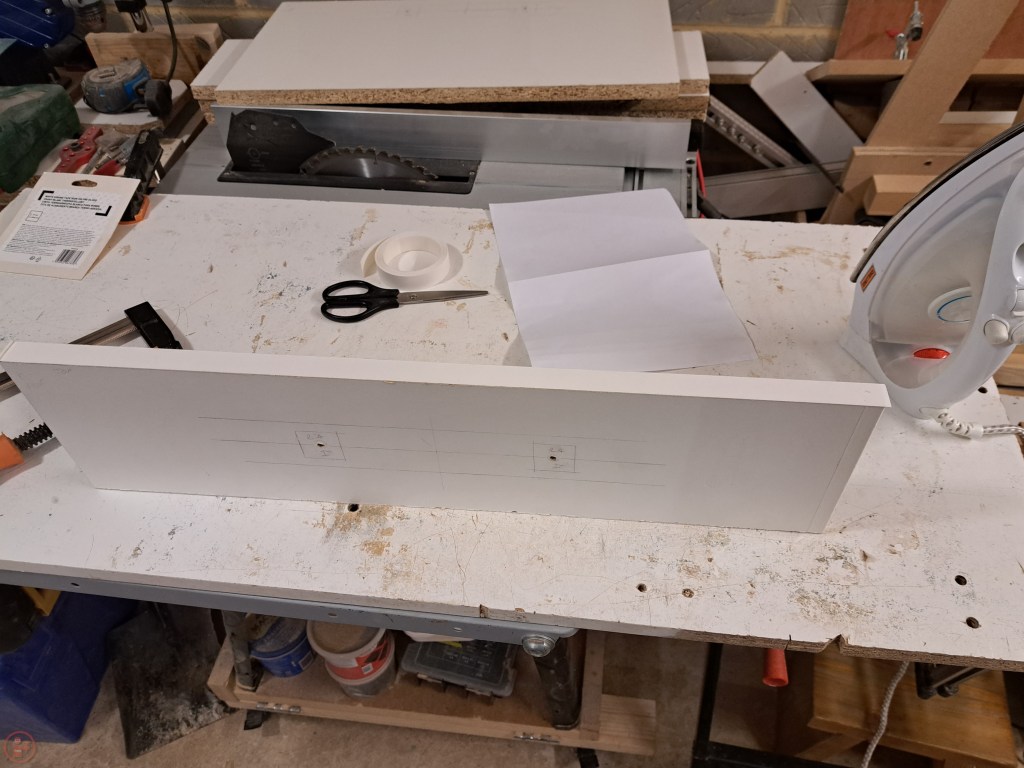
I tried out using some left over fence paint to add a brown finish to the drawer fronts – this didn’t really work all that well as the melamine didn’t take the paint at all well, resulting in lots of smears. It’s not a big deal for me though, as this is a shop project, so only I will see it; and I plan to fit new drawer fronts anyway!

Once the paint experiment had dried, I screwed the drawer fronts onto the drawers, using playing cards carefully positioned to centre the fronts on each drawer. I started at the bottom and worked my way up each set of drawers, as that then gave me a surface to rest the playing cards on to position the next drawer front up. I did keep losing cards into the drawers though, which got a bit annoying without handles fitted yet!
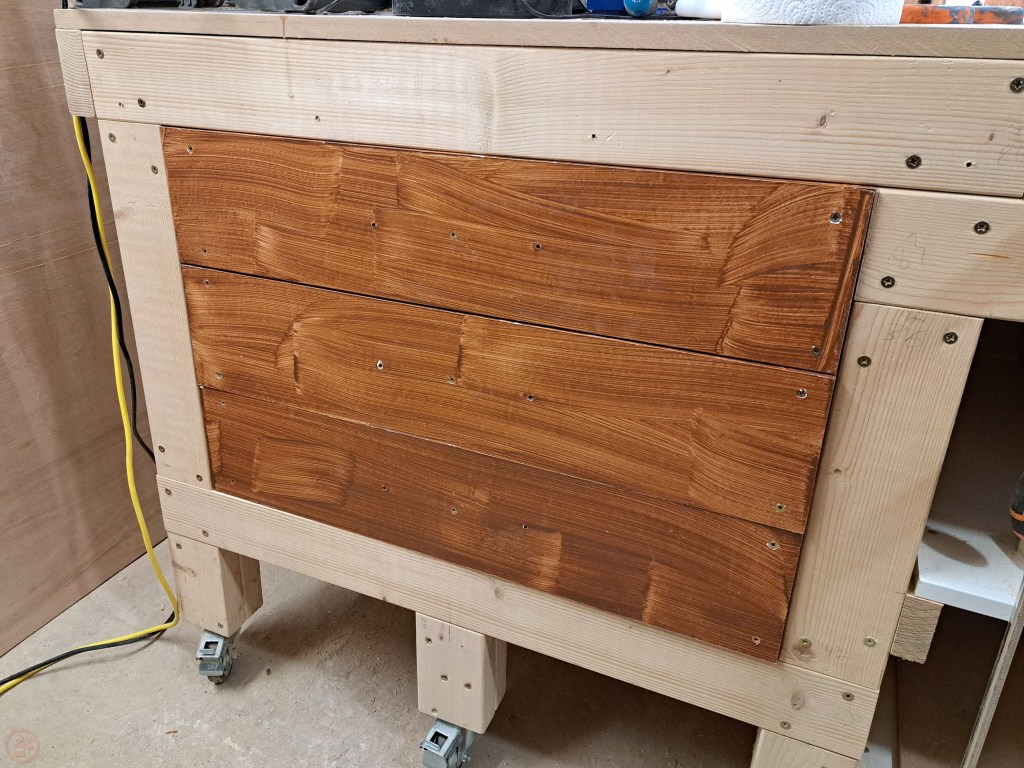
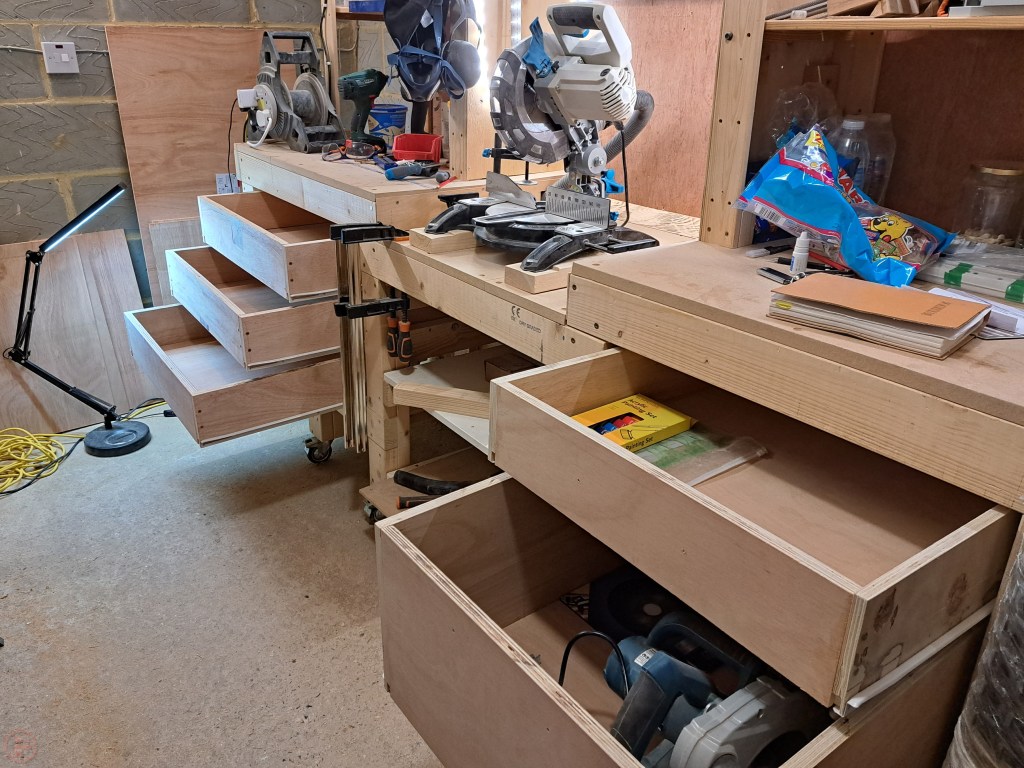
After a lot of patience and testing, the five drawers were complete!
Aside from the slightly weird finish to the fronts, I’m really pleased with how these have turned out – the construction is solid, the opening and closing is really smooth, and I now have lots more space for storing my tools, glue, tape, etc. Now I just need to remember which drawer I put things in! 🔨

2 thoughts on “Mitre saw bench – Part 10 – Drawers”