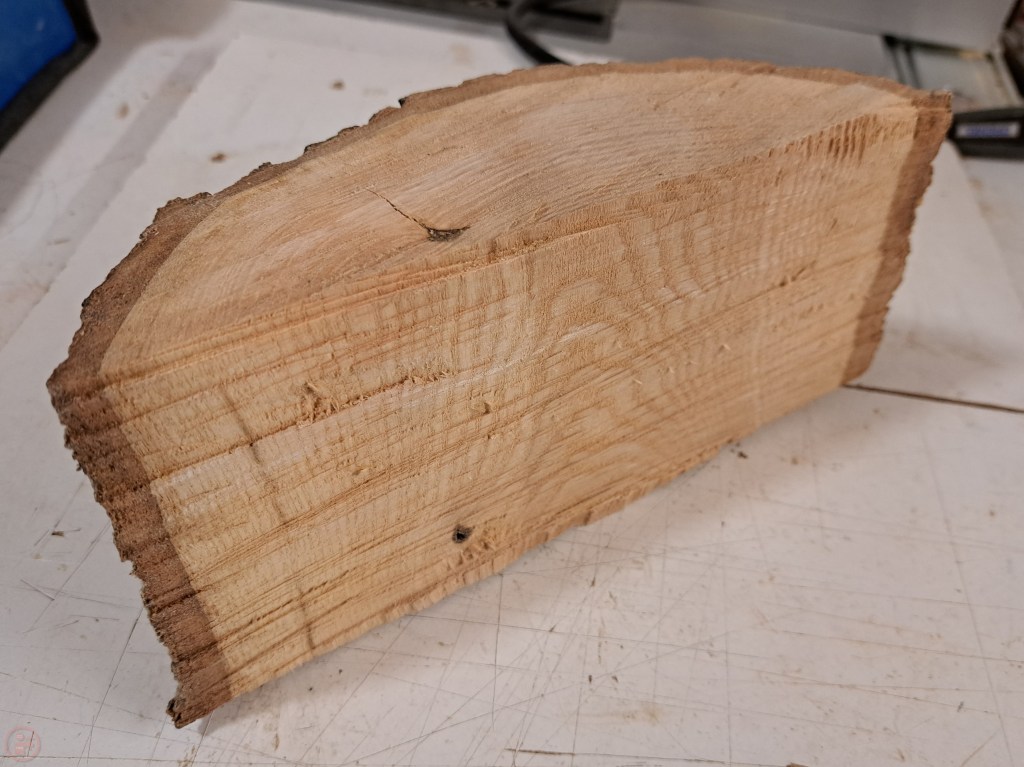
When my nephew was born I wanted to make him a special bespoke gift that he could play with and would hopefully last a nice long time. I decided on carving a bear out of a chunk of oak from a locally-felled tree!
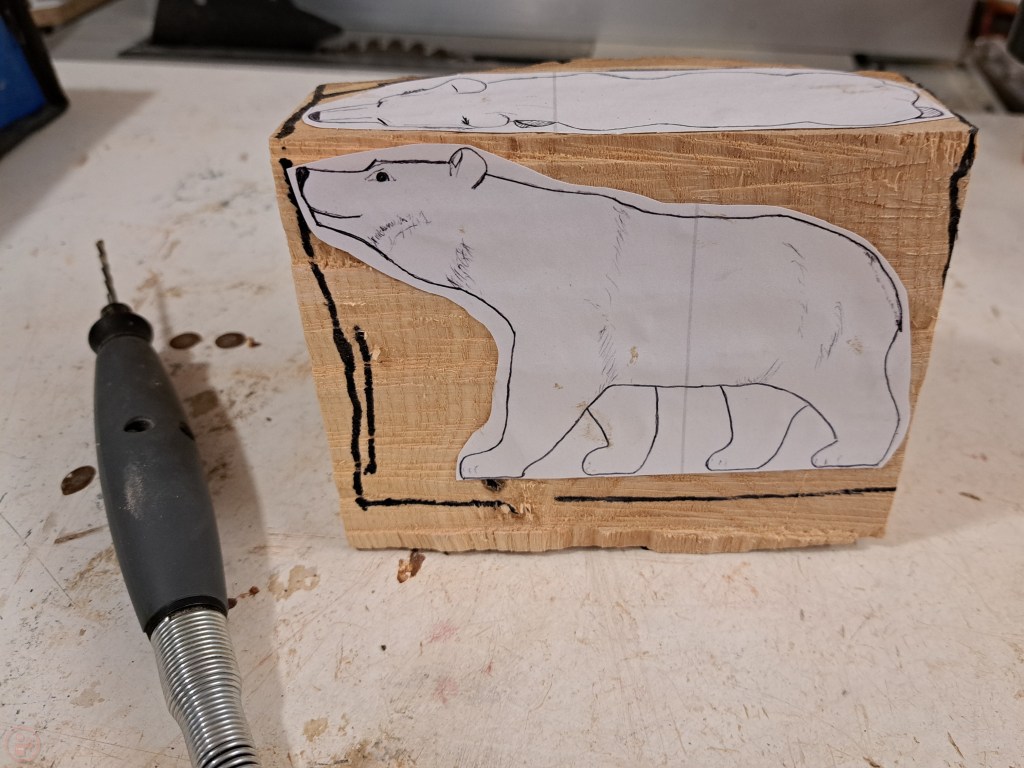
I started with printing out a picture to use as a guide for the shape. I found one online that included the top and side profile, which I scaled to the right size. I cut the piece of log down to a more manageable size using a hand saw and then set up my Dremel to start carving.

“I saw the angel in the marble and carved until I set him free”
Michelangelo
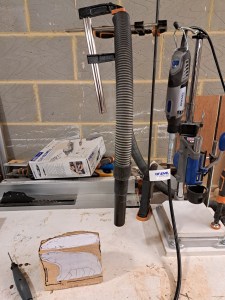
I set up my Dremel stand and a series of clamps to assist with dust collection, clamping my dust hose hanging above the work surface. I need to make a better option for this at some point if I’m going to do more carving!
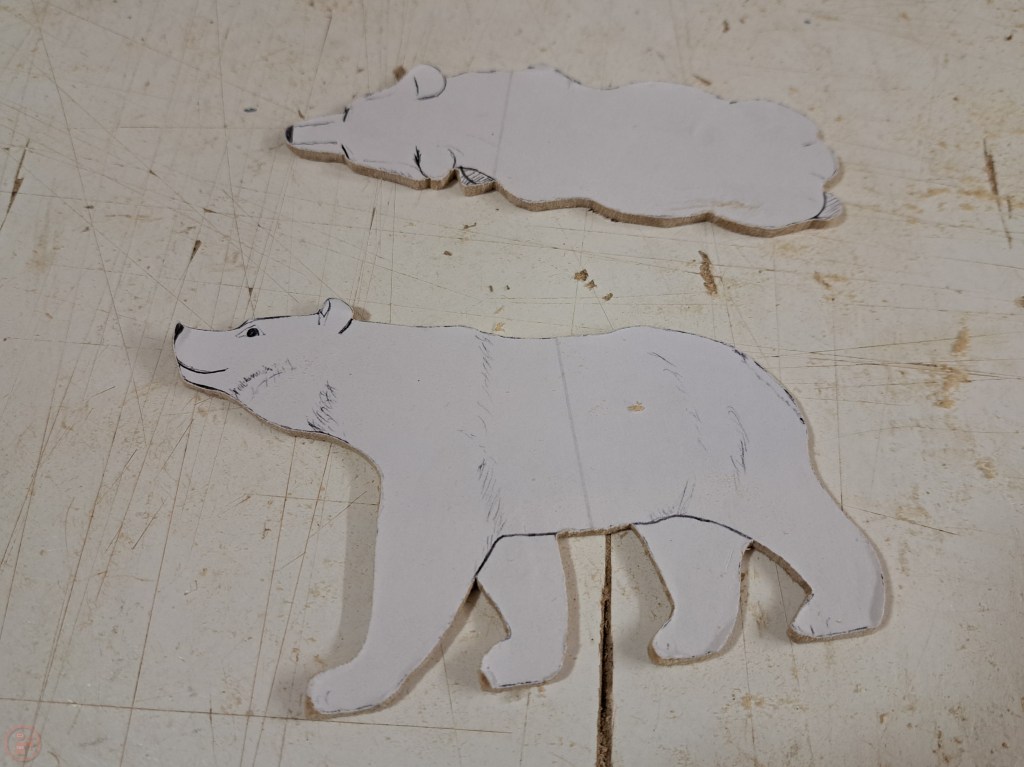
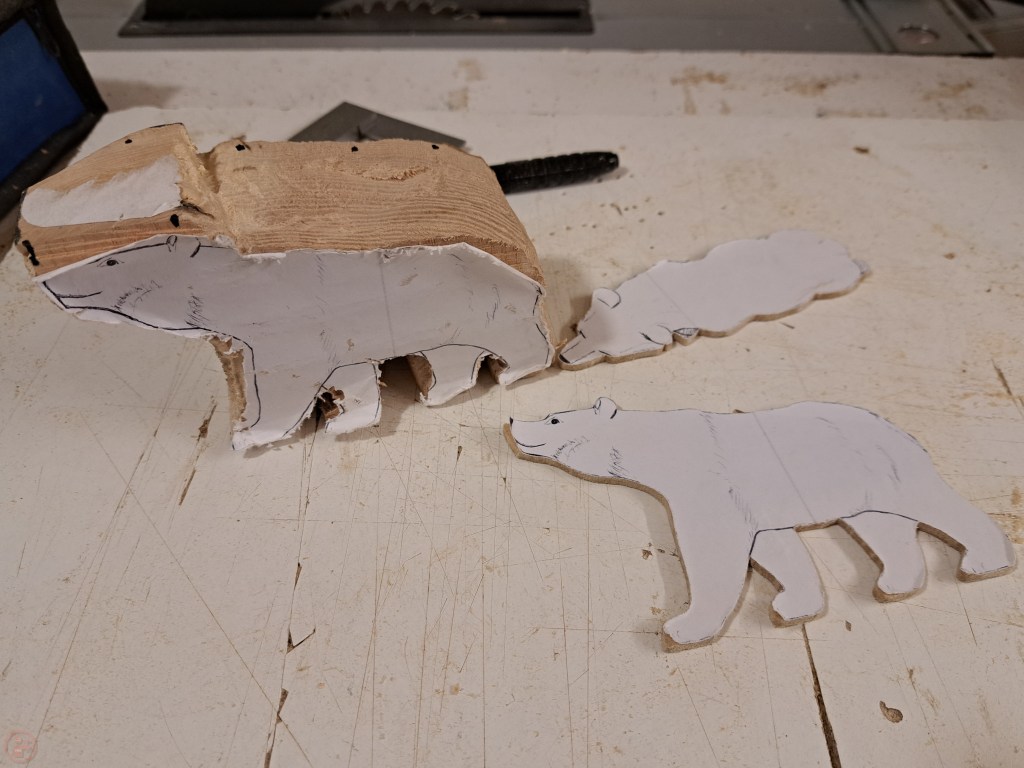

I realised that once I started carving, I would lose the printed out designs to guide me. So I made a second printout and made a template out of thin mdf, so I would have a guide I could refer back to throughout the carving process.
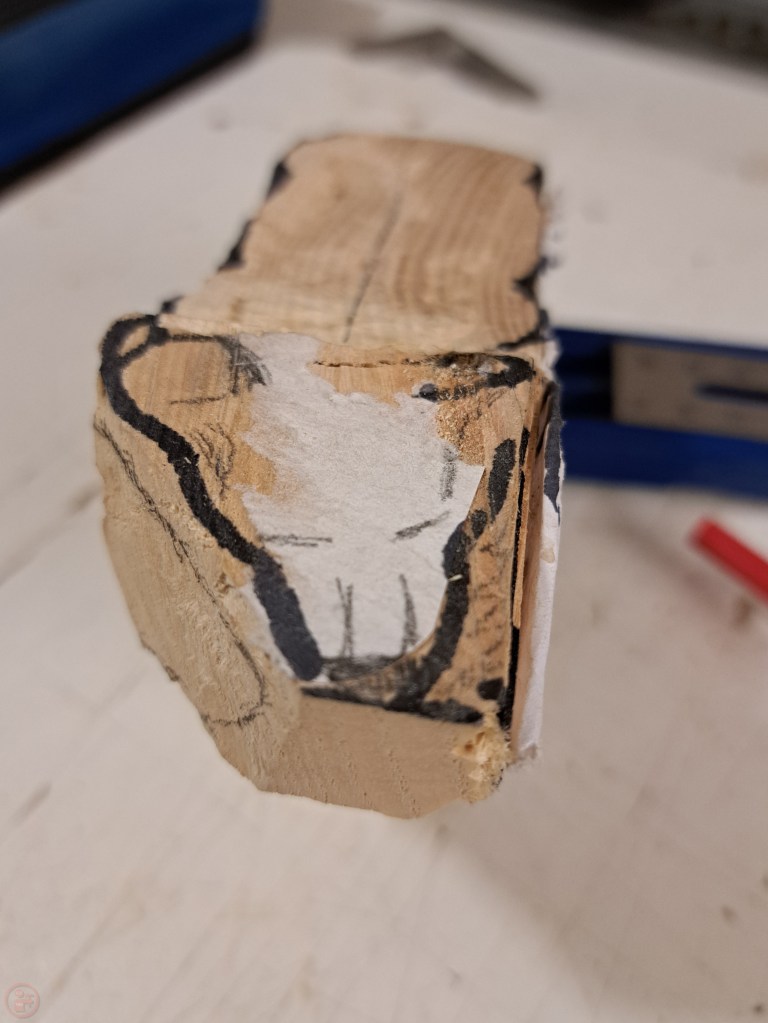
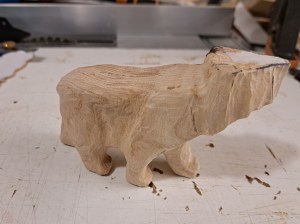
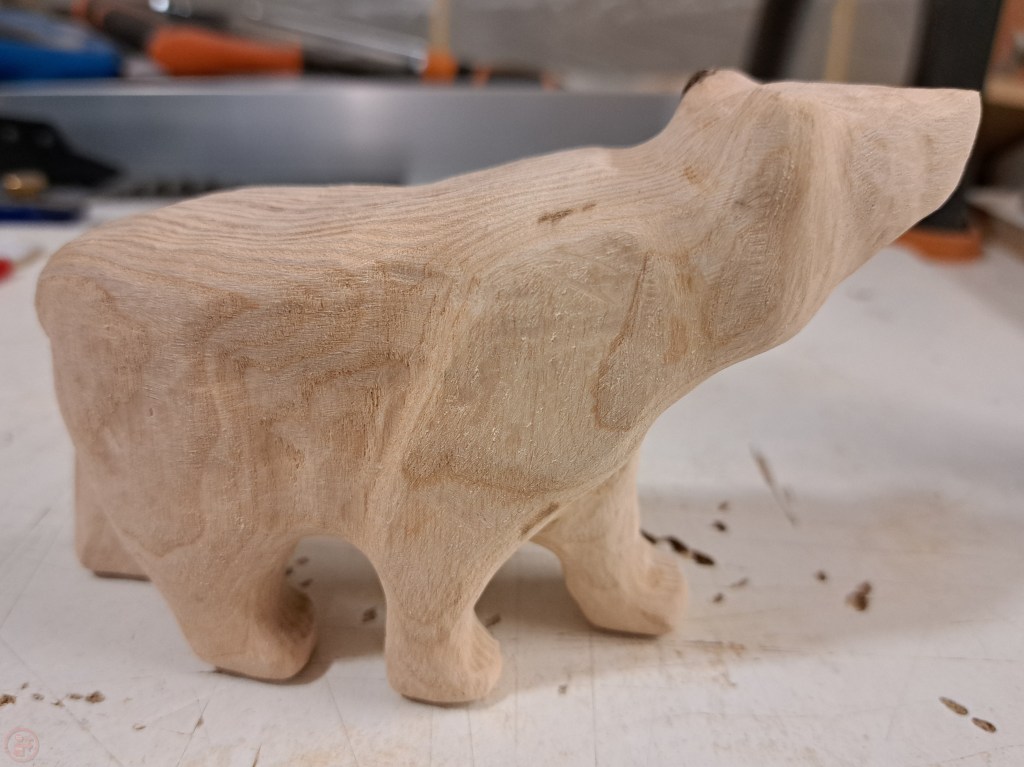
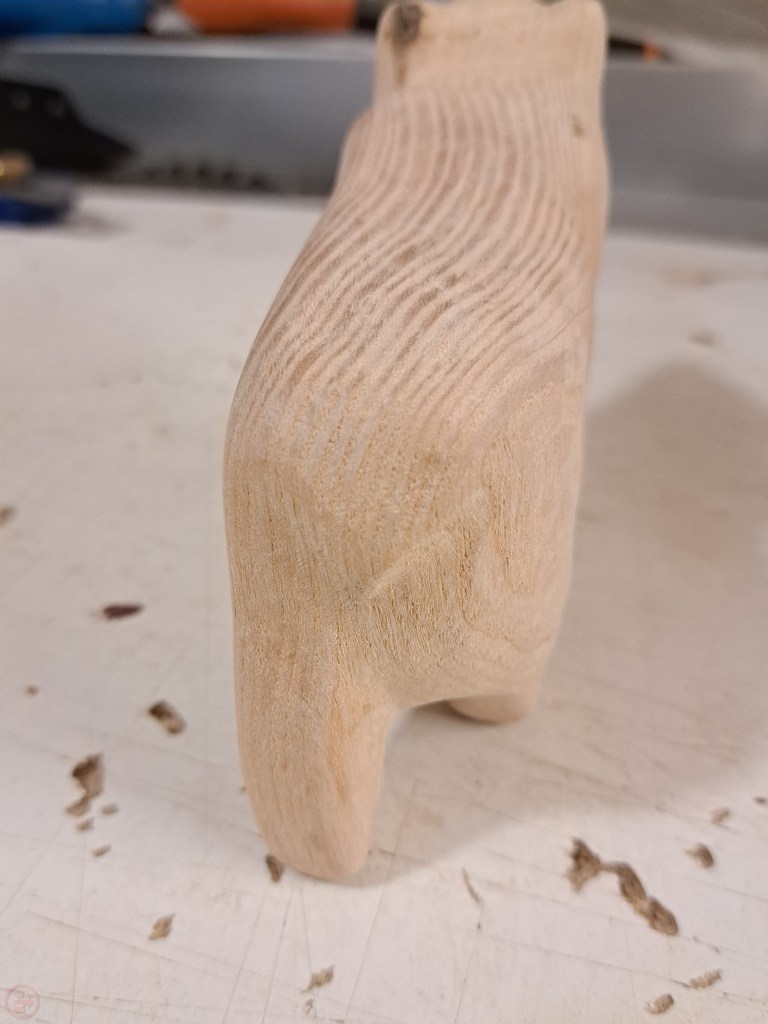
I took my time working on different parts of the bear, removing small amounts of material at a time using a carving bit in my Dremel to start to refine the shape. I used a pencil and a black marker to help me identify the bits to remove for the feet, as well as to shape the head and leg muscles.

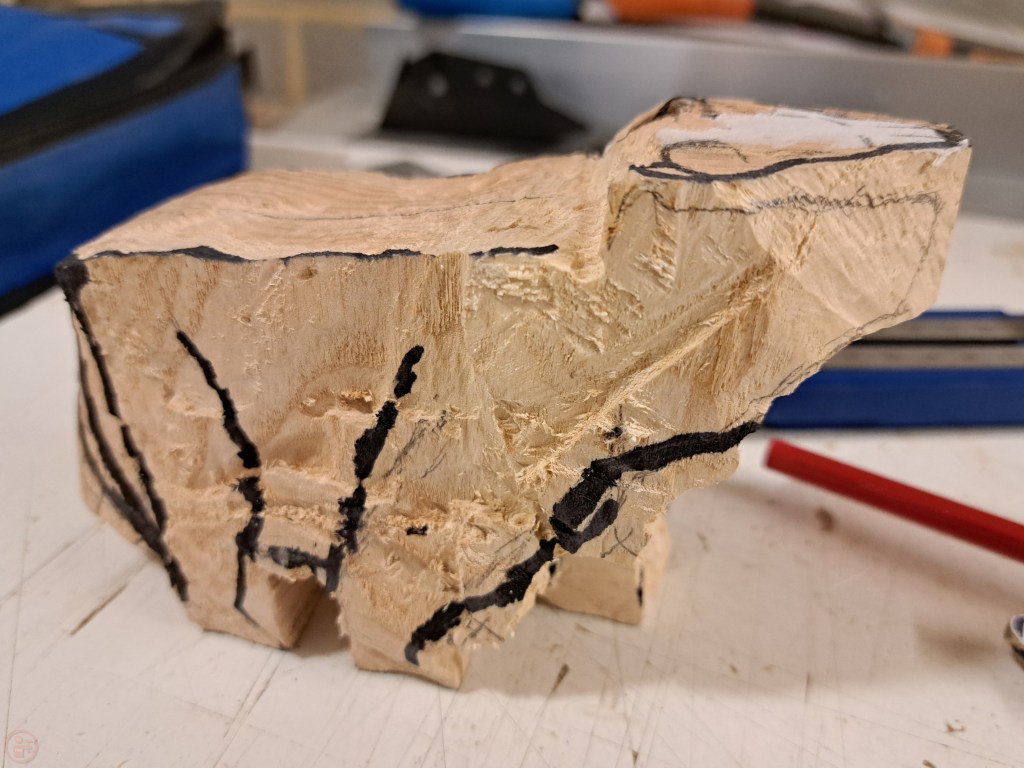

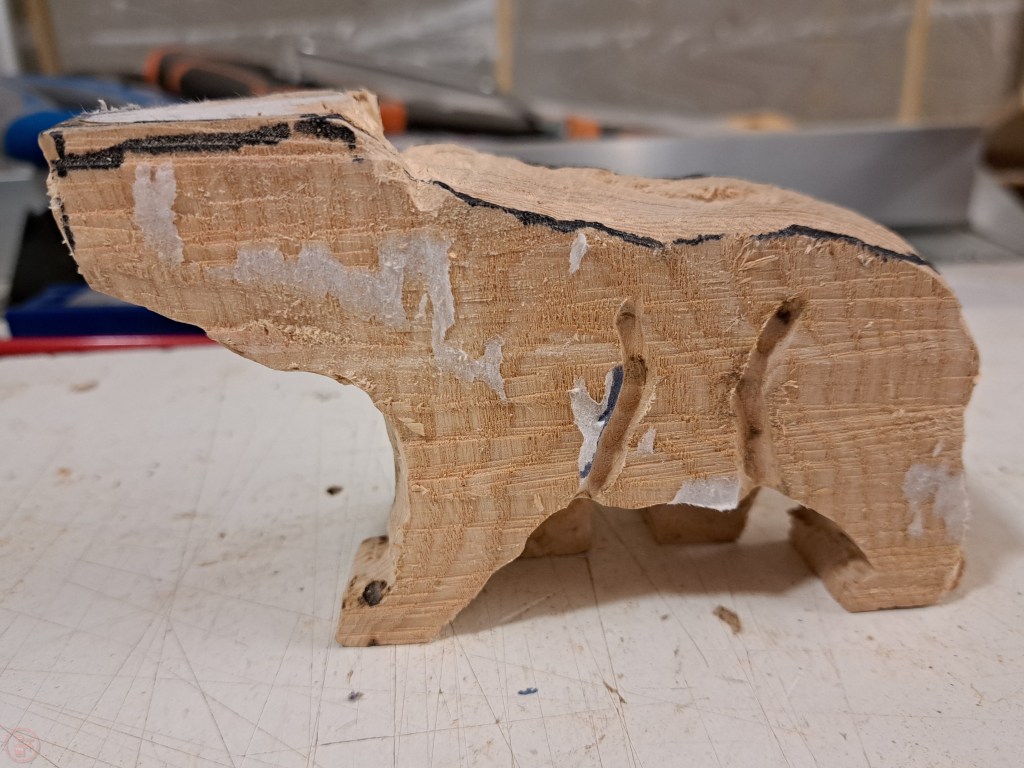

As the general shape of the bear started to appear, I found it a little bit of a struggle to keep hold of the workpiece, so used a small over-bench vice to assist.
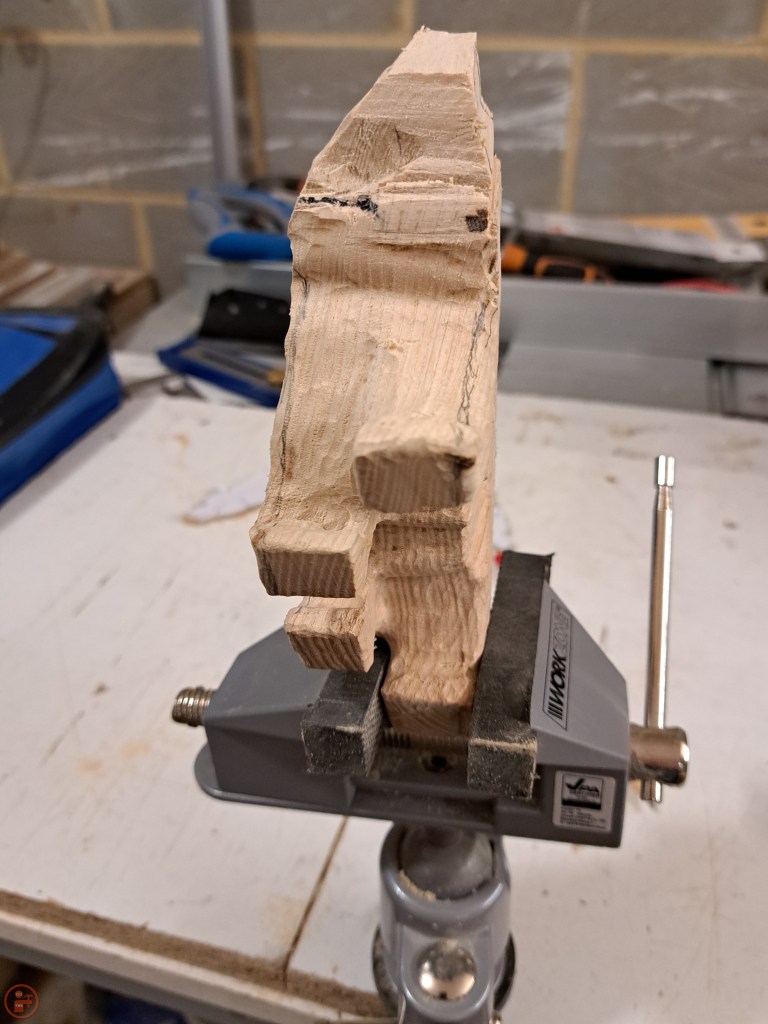
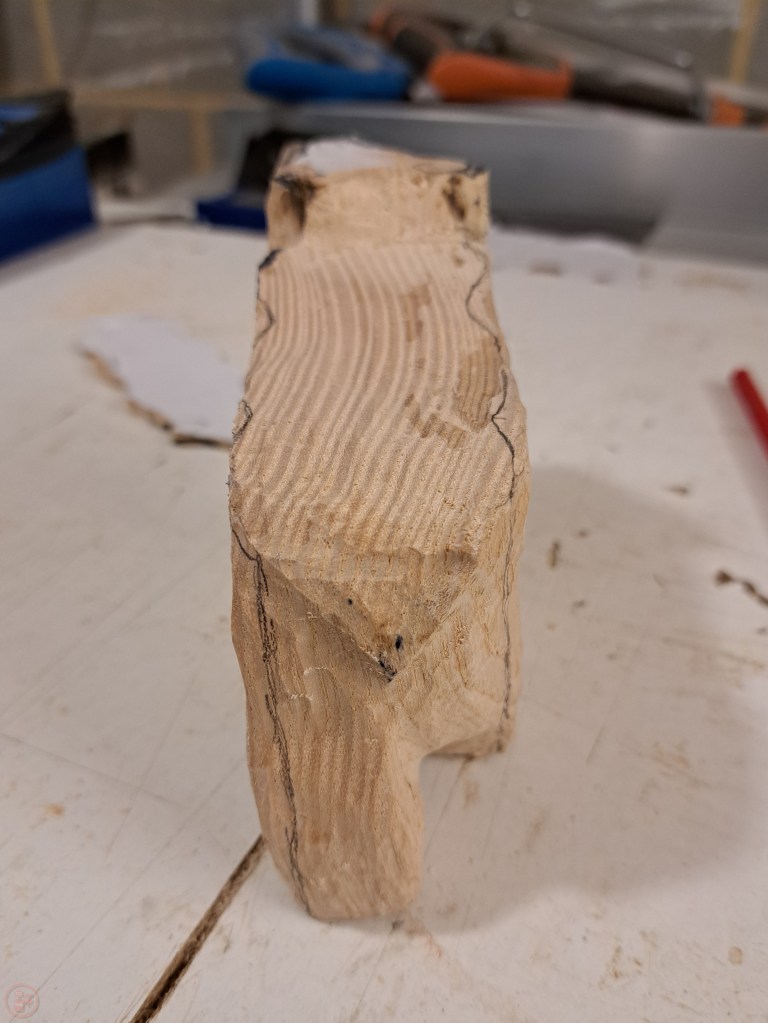
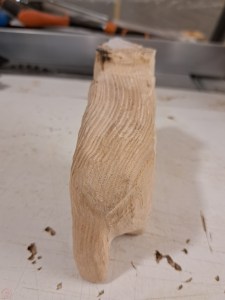
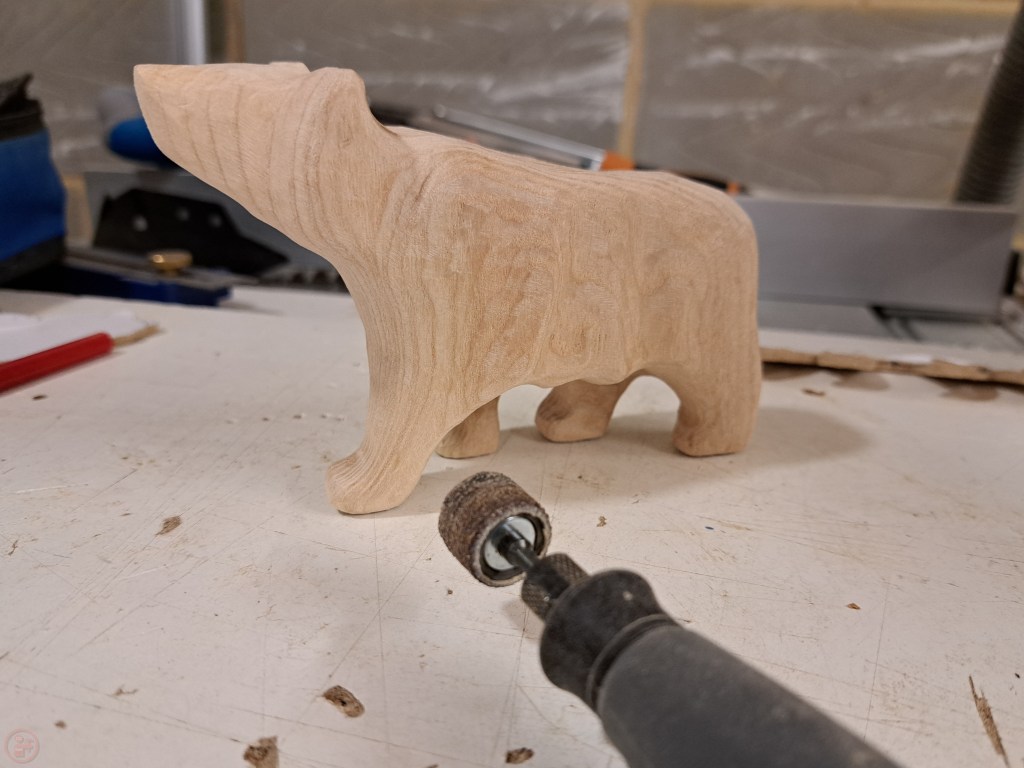
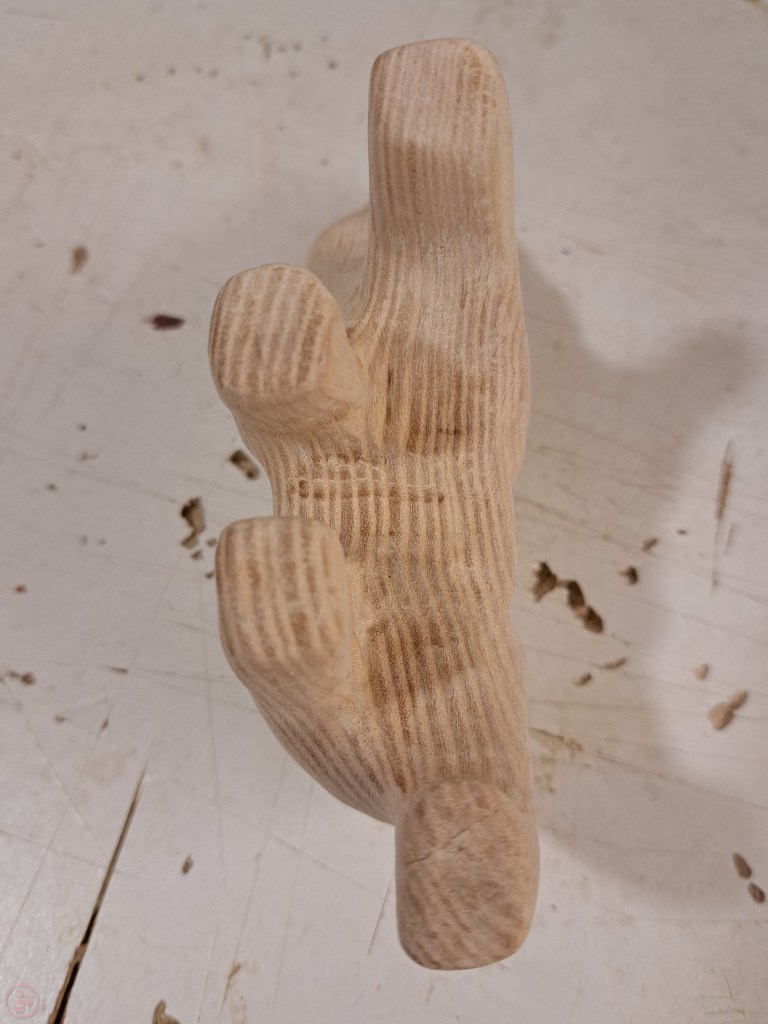
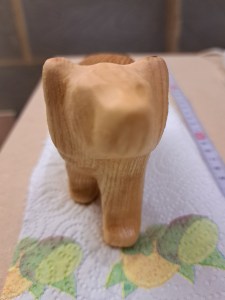
I added a v-shape for the tail and spent some time shaping the top of the legs, to provide definition for the bear’s thigh muscles.
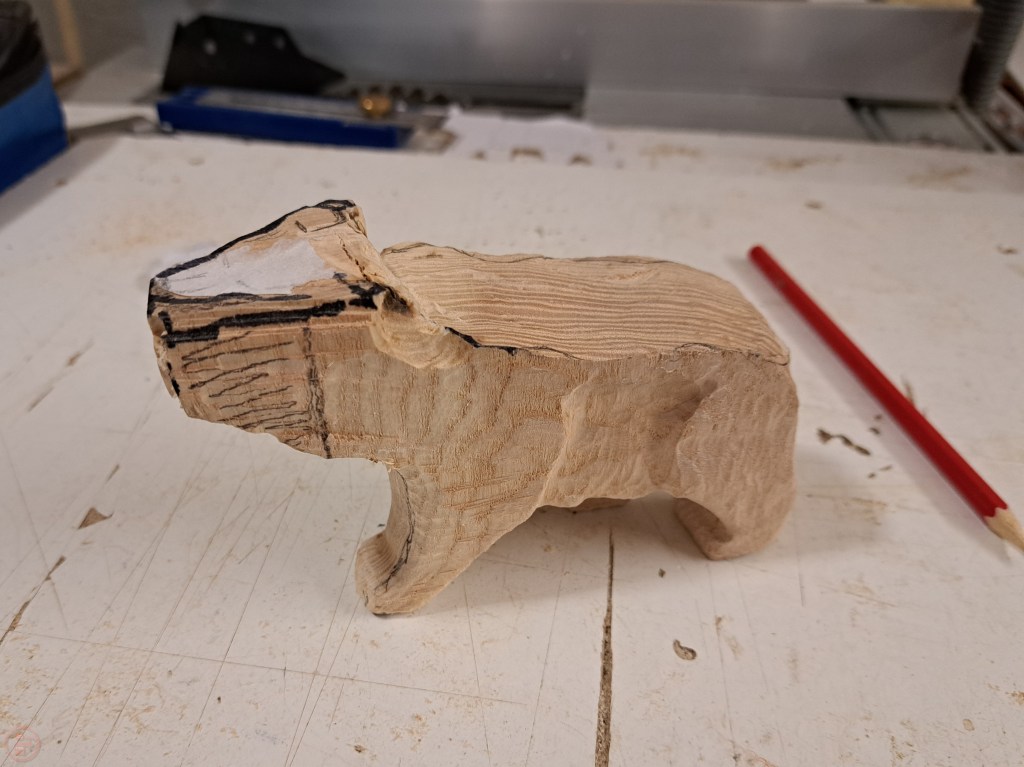
Once I had the majority of the material removed, I switched from a carving bit to a sanding bit to start to fine-tune and refine the shape.
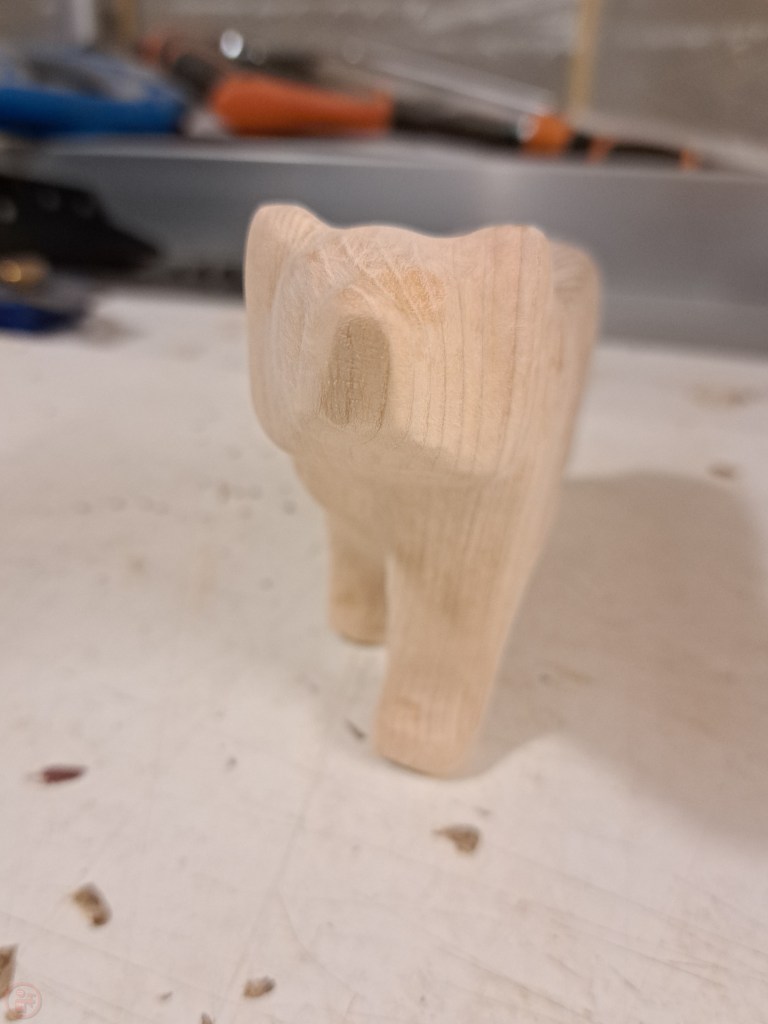
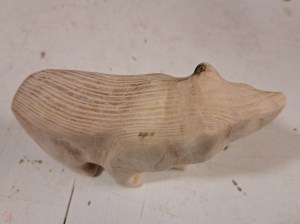
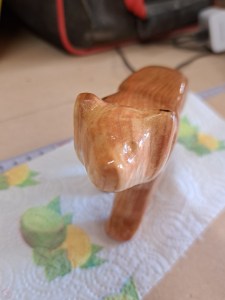
Once I had finished the legs, tail and body, I turned my attention to the head and face. This was the most difficult bit, as the features were quite small and I wanted to get it right so the bear looked as realistic as I could make it.
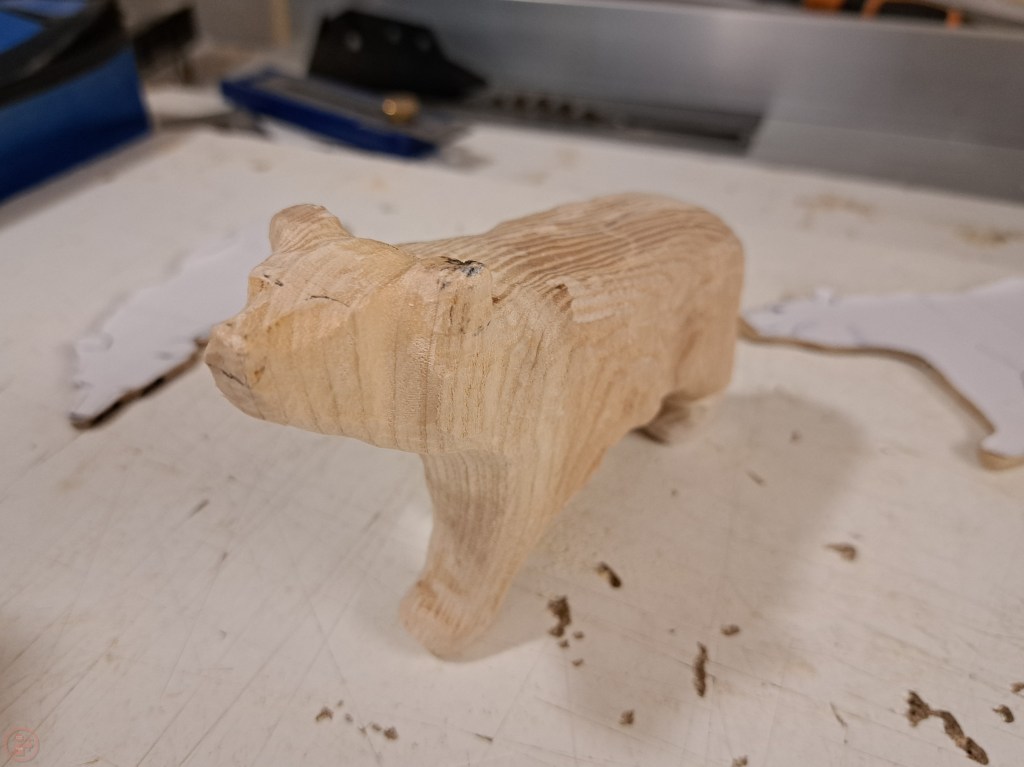

I drew out where the eyes and nose would be and then gradually removed material to highlight those features and complete the shape of the face.
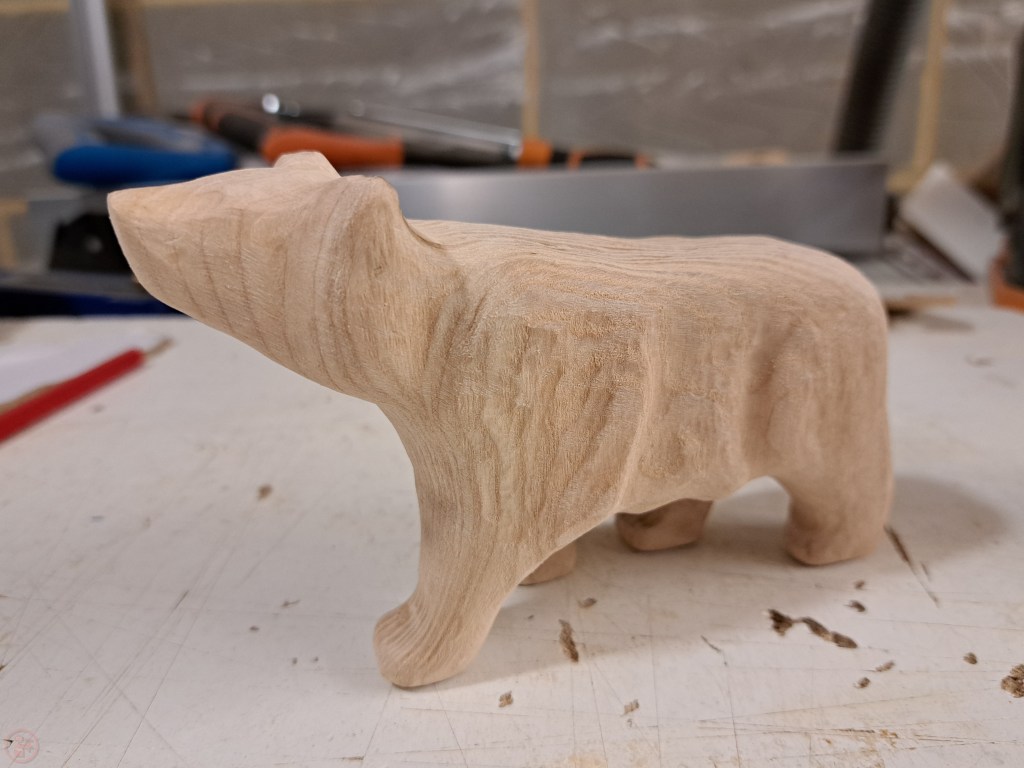
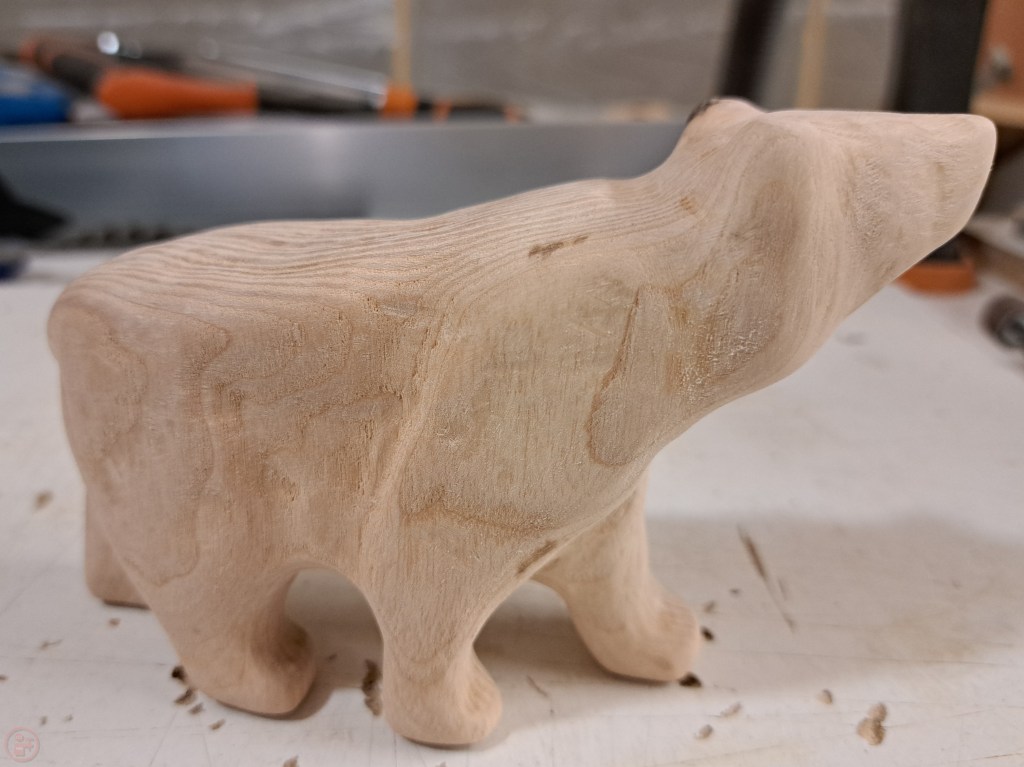
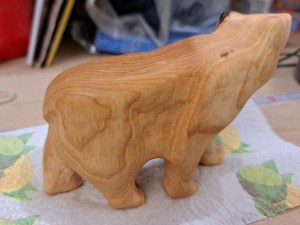
Finally I reached a point where I was happy with the look and switched to hand sanding, working my way up through the grits to 180 grit.
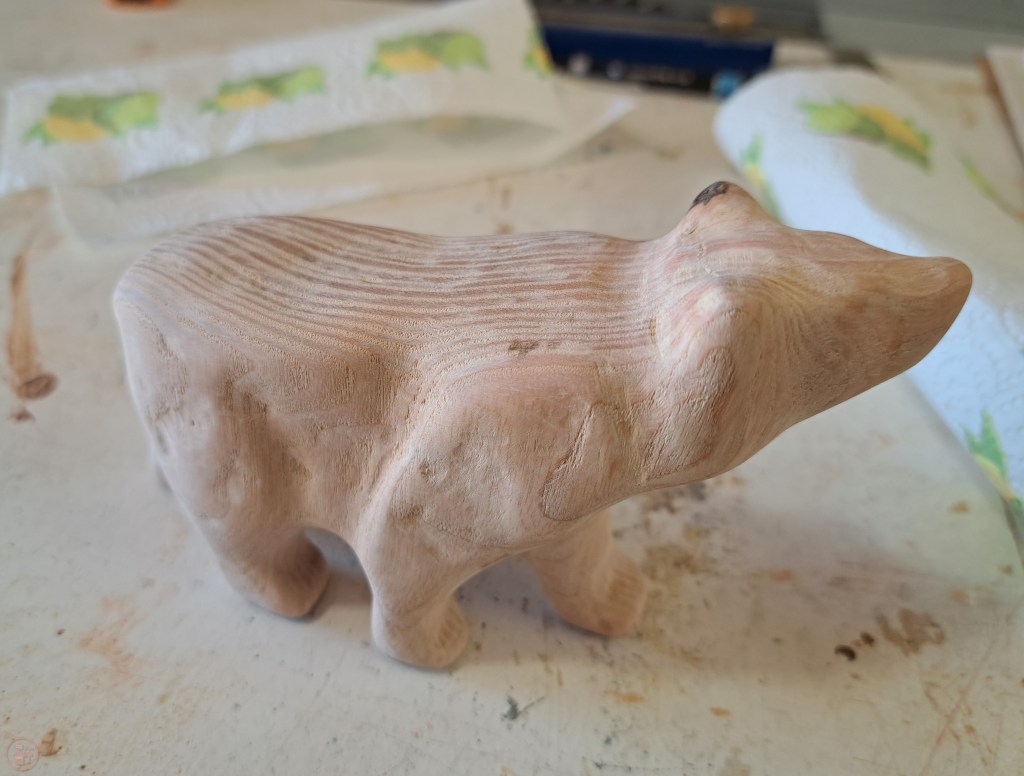
After a thorough all-over sanding, I sprayed the bear all over with water to raise the grain.

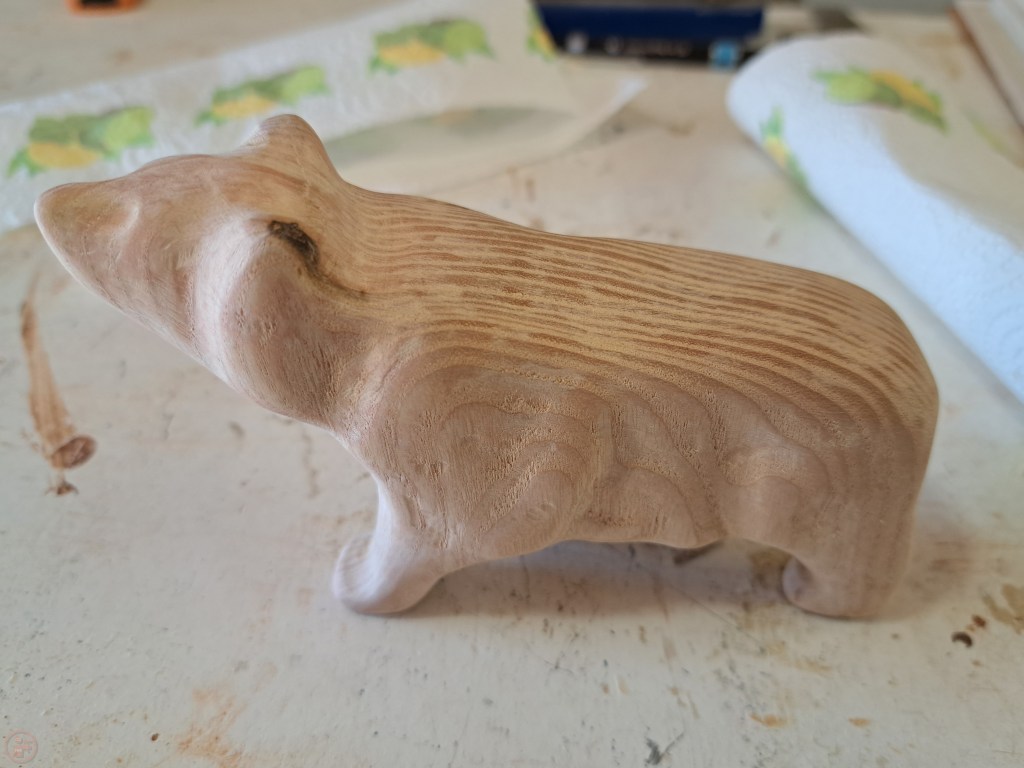
The water made the bear quite fuzzy in places, which made me pleased that I had decided to include this step before moving on to applying finish.
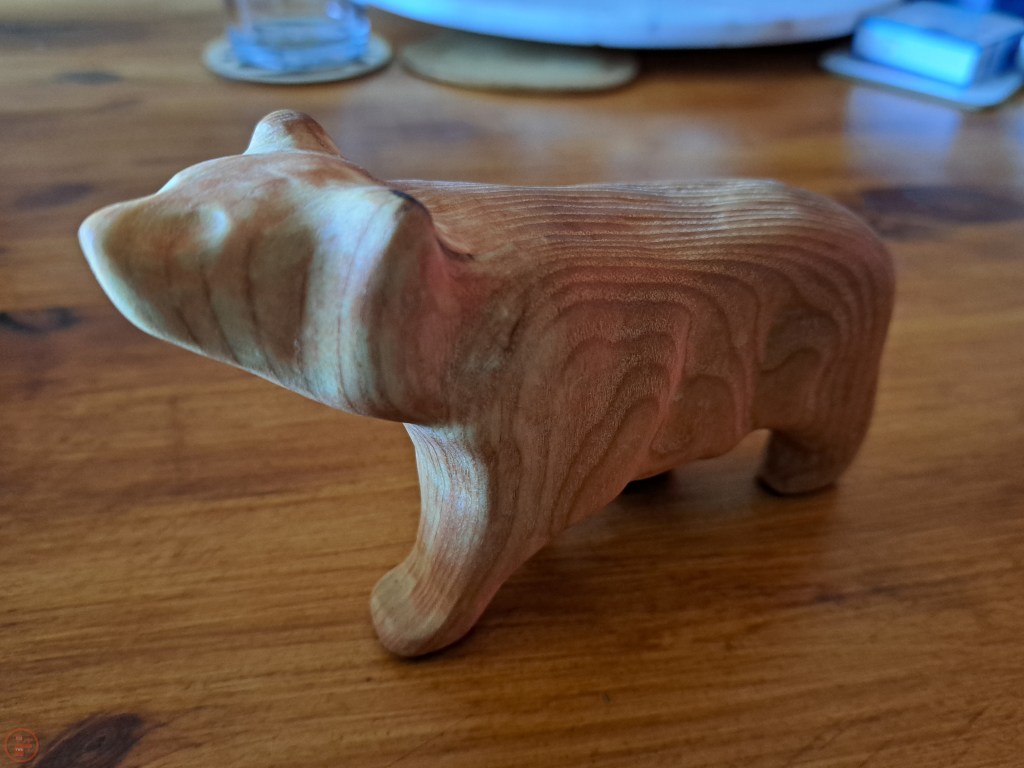
After leaving the bear to dry for around hour, I re-sanded up to 180 grit to leave a super smooth surface.
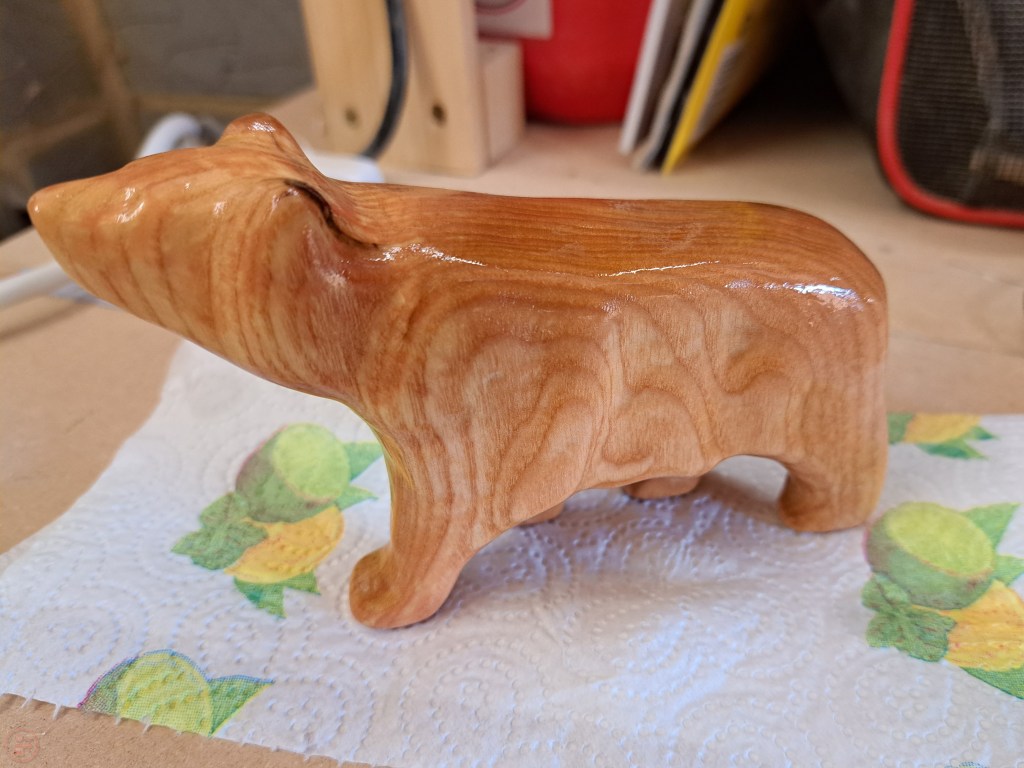
I applied mineral oil as a finish, as it’s food safe and soaks in quite quickly. I expect my nephew will put the bear in his mouth a lot, so I wanted to make sure the finish was safe!
After leaving the bear to dry for a day or so, I brought it into the house and put it with the other things to take when we next visited.
A few days later, I handed over the bear to my little nephew, as a new toy to play with. He seemed to really like the bear and spent some time holding it by the legs and waving it around!

And I was right – after some inspection, the bear went straight into my nephew’s mouth, but pleasingly the extra sanding and mineral oil finish meant the surface remained delightfully smooth despite the addition of slobber! 🔨
