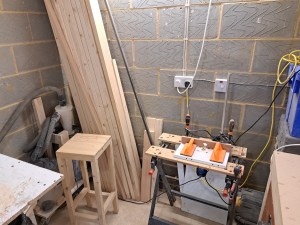
One of the challenges of a garage workshop is the limitations on electrics and lighting. Time to make some additions to make it easier to see what I’m working on!
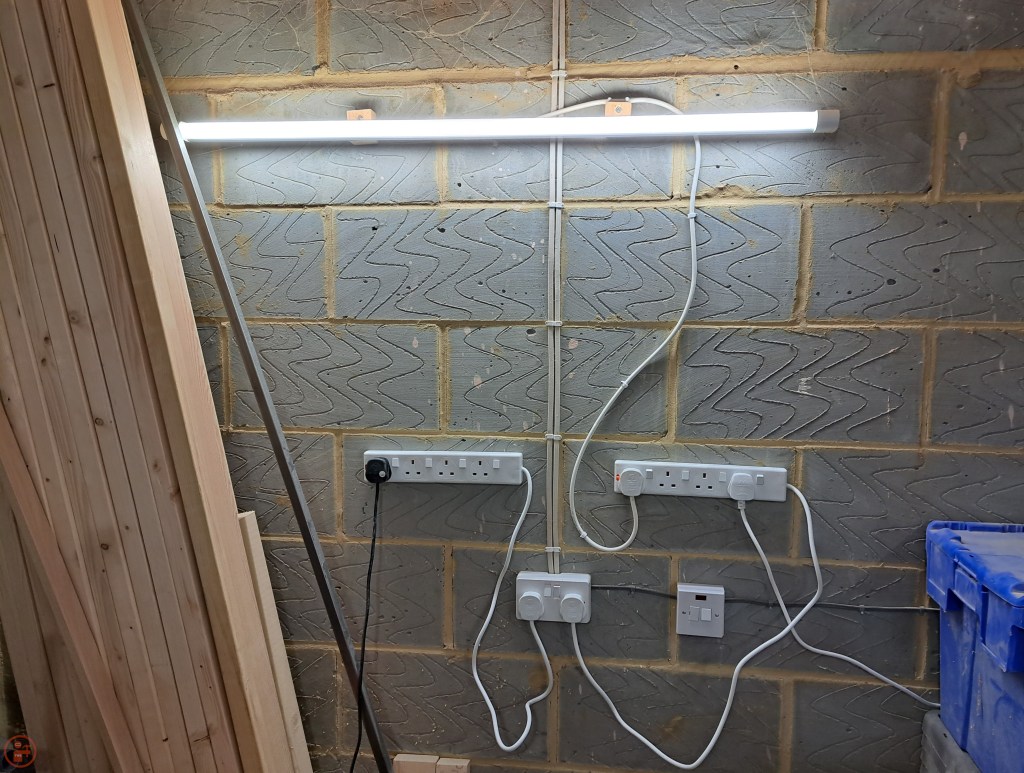
My workshop is accessed by the up and over main garage door but has no other way in or windows for natural light. This means I am entirely dependent on the main fluorescent light, plus the extra fluorescent light I added.

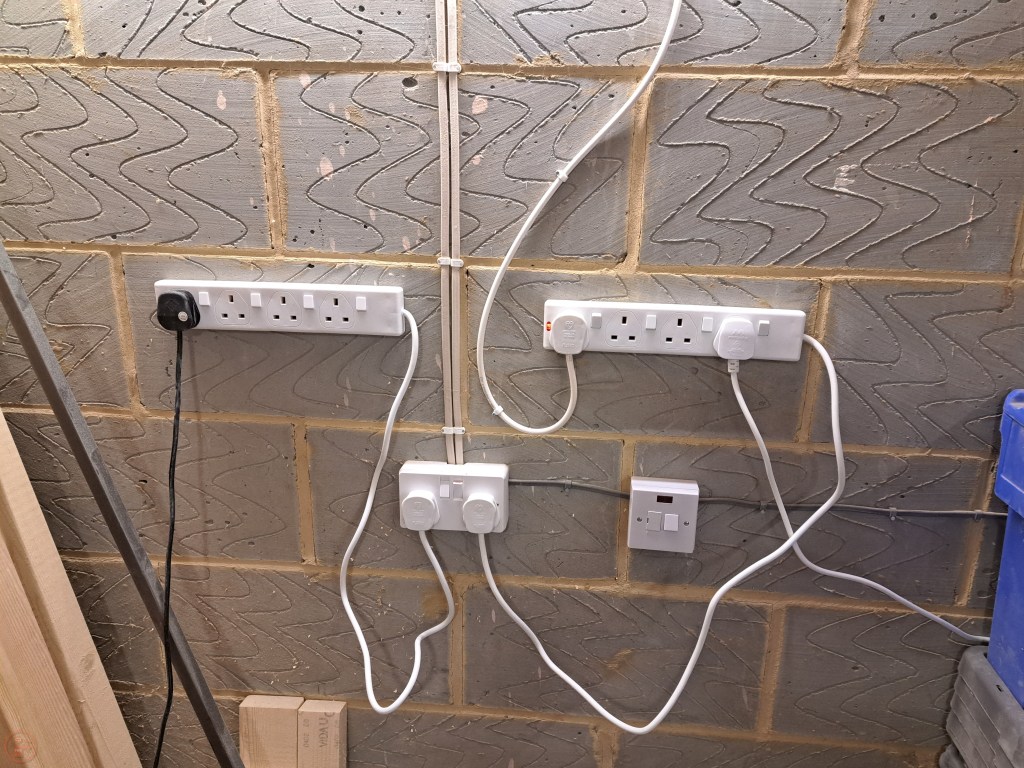
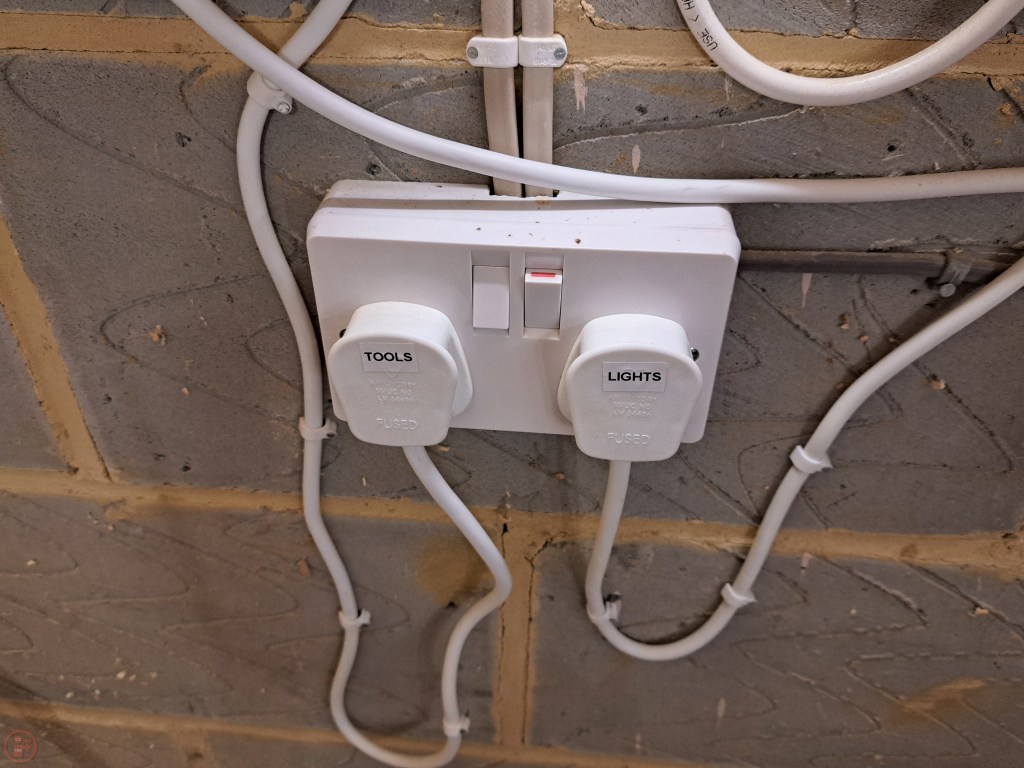
The garage only has a single double socket however, which means I have to run everything off one of these. To avoid overloading the sockets, I decided to use short switched multi-sockets, one for tools, so only one tool at a time would be requiring power. The other socket and short multi-socket is therefore for lighting, as that draws a lower power, especially with the low power LEDs I have mounted on my mitre saw bench.
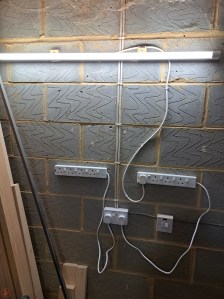
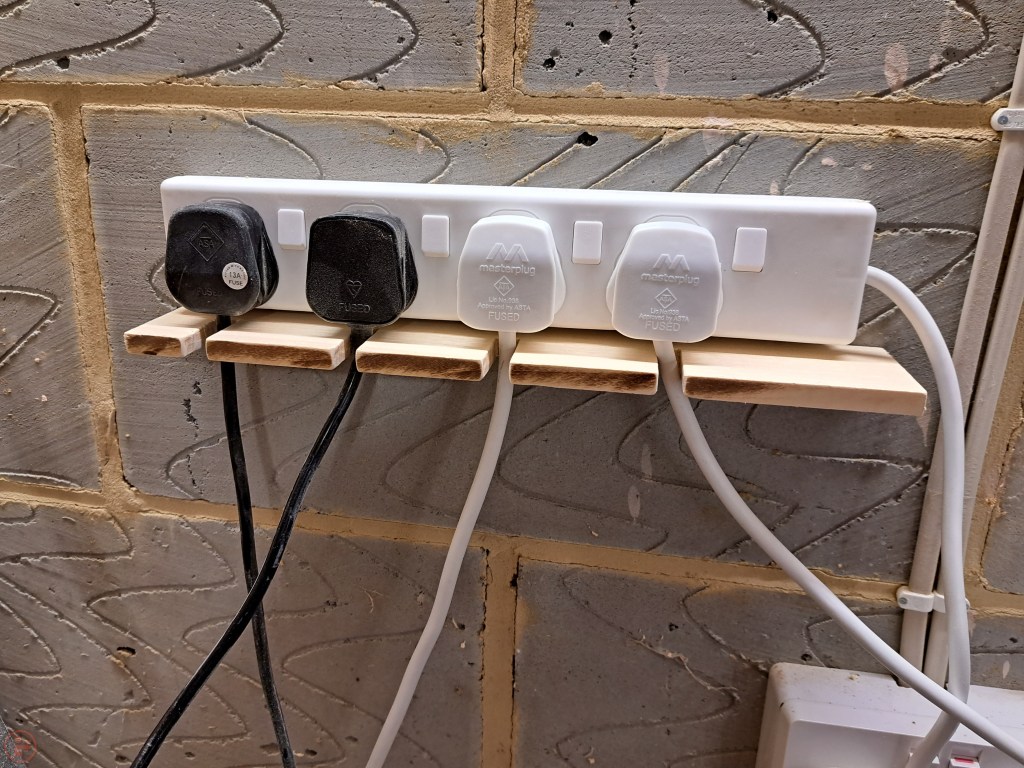
The first step was to mount the multi-sockets to the wall, using existing screw holes (rented house!). I then worked out the rough orientation for the wiring and went hunting for my cable clips.
While hunting, I found an old switch box from a router table I dismantled and scrapped. I decided to mount this to the mitre saw bench, so I could power the saw on and off at the bench, rather than have to walk across the workshop to kill the power. This seemed a much safer option, especially if I need to pause cutting to clear up sawdust for instance!
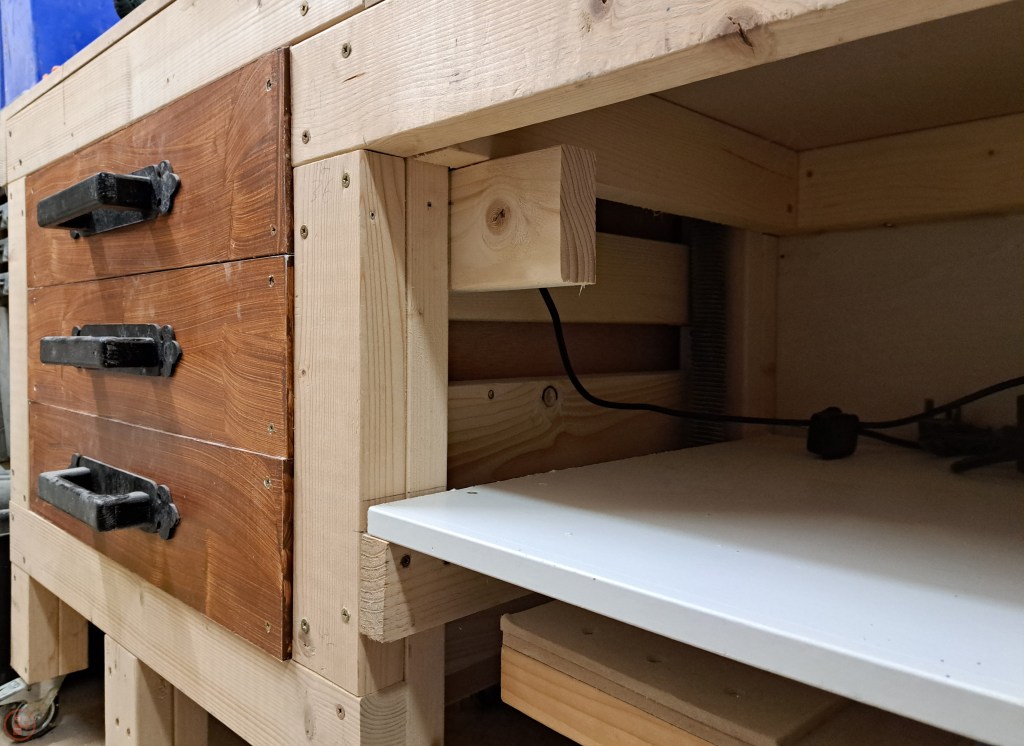
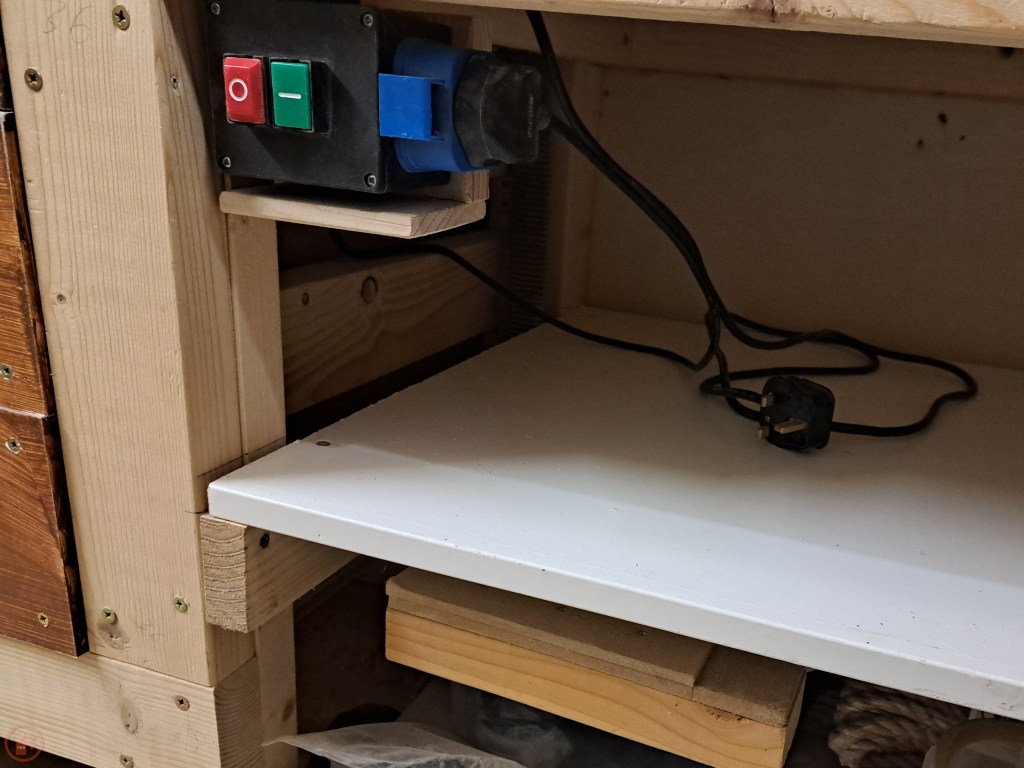
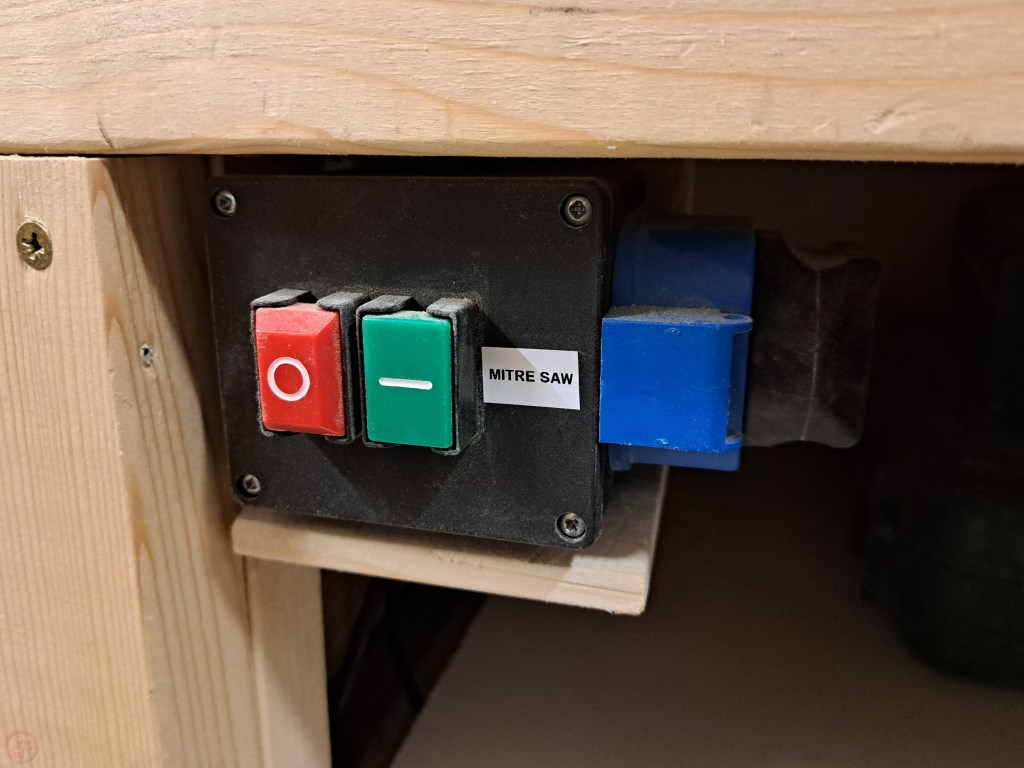
I mounted a scrap piece of pine to the back of one of the centre legs and secured on a base section too. This wasn’t wholly necessary, but I figured I should put a little bit of protection around the switch in case I smack it with something I’m storing on the shelf underneath. I open the switch box up and secured the box to the back plate, before reassembling it again. I snaked the cable for the mitre saw underneath the bench and connected it up to the switch.
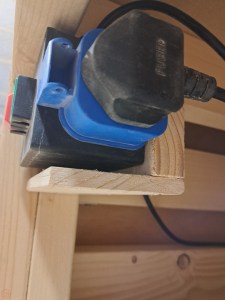
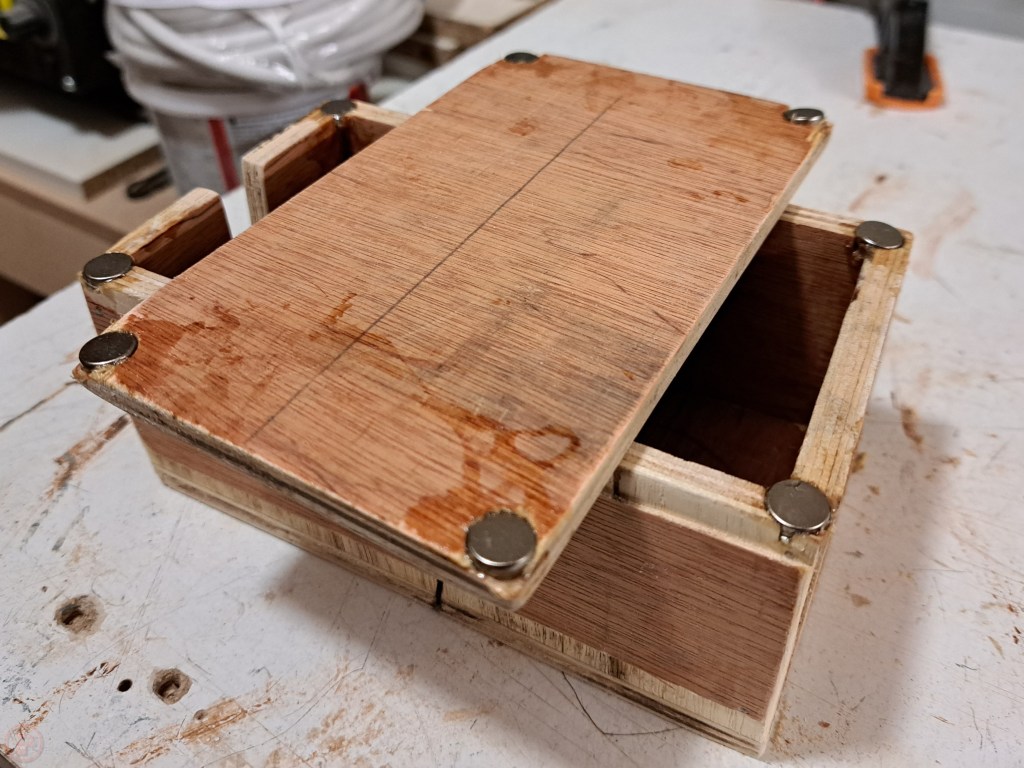
The switch for the box then runs underneath the whole bench to the left end, where it connects to the extension lead to the wall. I made a small box out of some scrap plywood to house the plug and extension lead, so as to minimise the sawdust it would accumulate. I mounted magnets on the box and lid, fighting with superglue to get the magnets to remain in place until the glue dried!


Once the box was completed, I mounted this to the end of the mitre saw bench, cable tied the wiring into place within the box to keep it tidy, and secured the outside cables with the cable grips I finally tracked down!

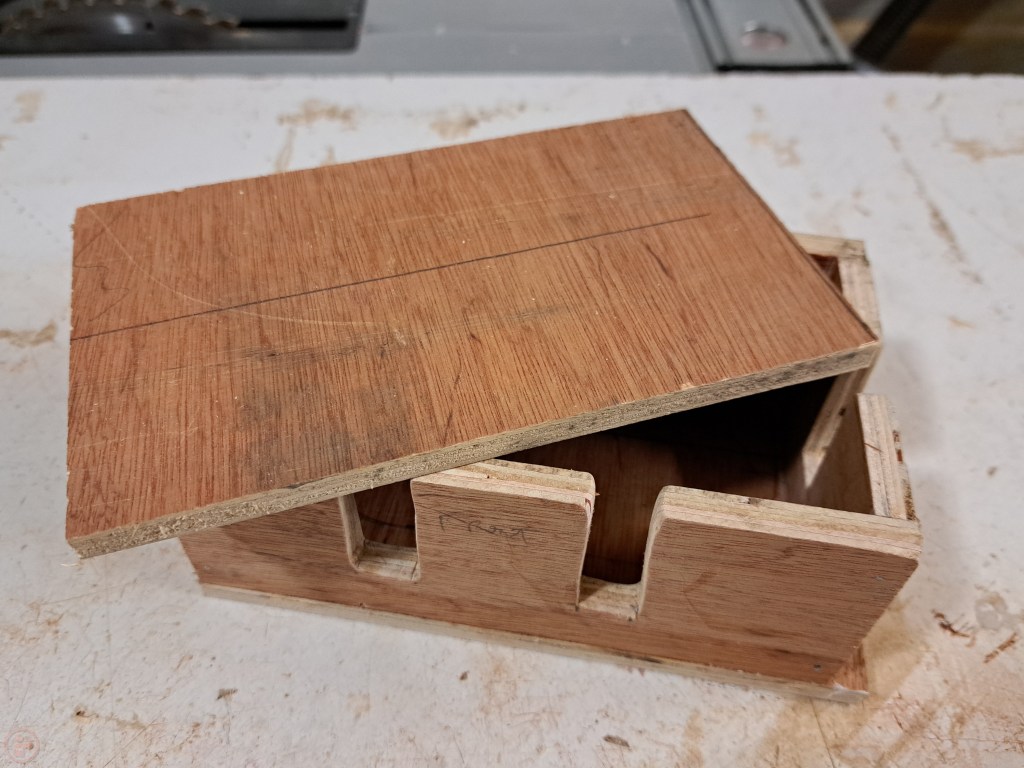
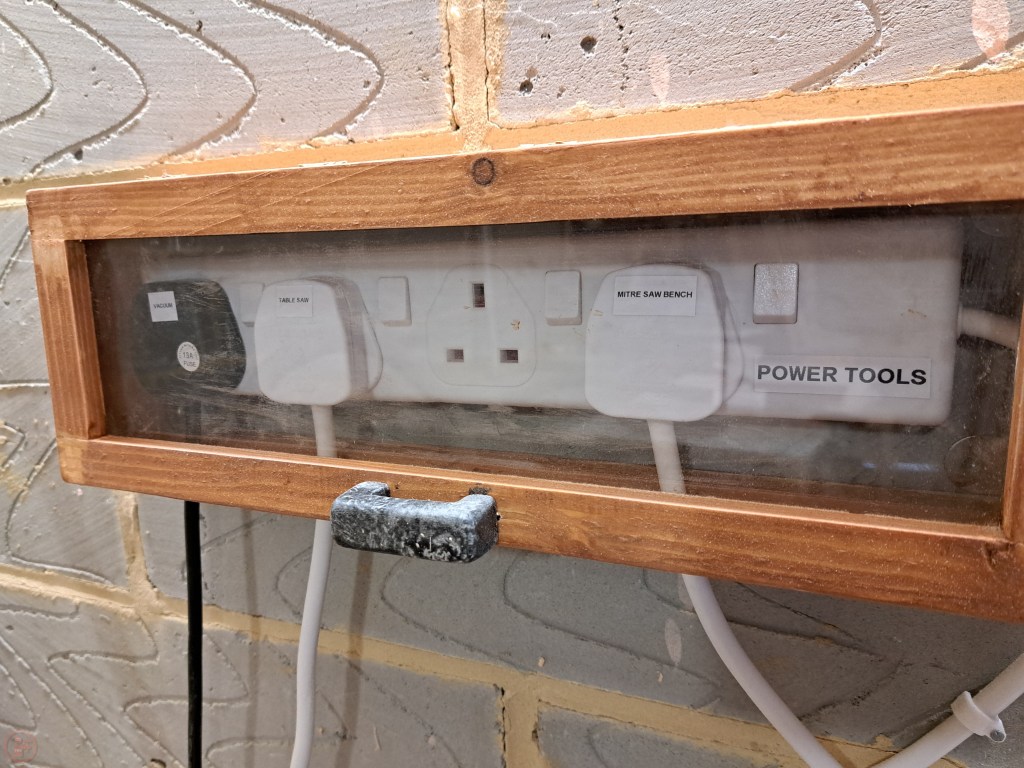
I turned my attention back to the electrics plan and decided to make boxes to house the multi-sockets too, to keep the dust off the various plugs when not in use.
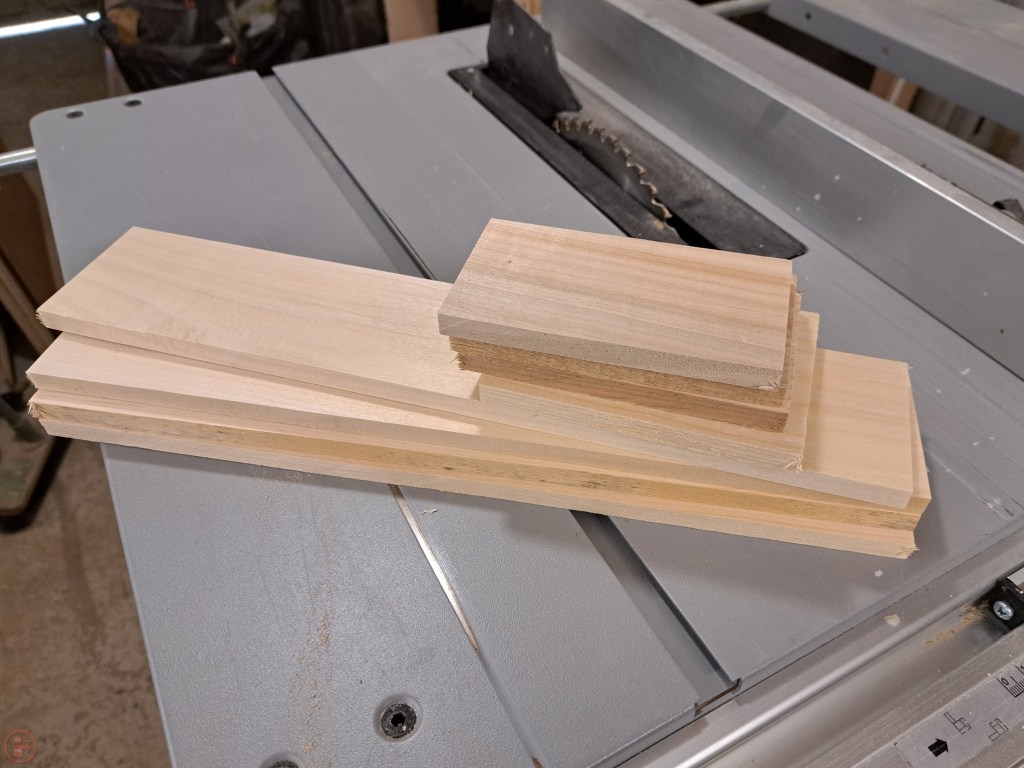
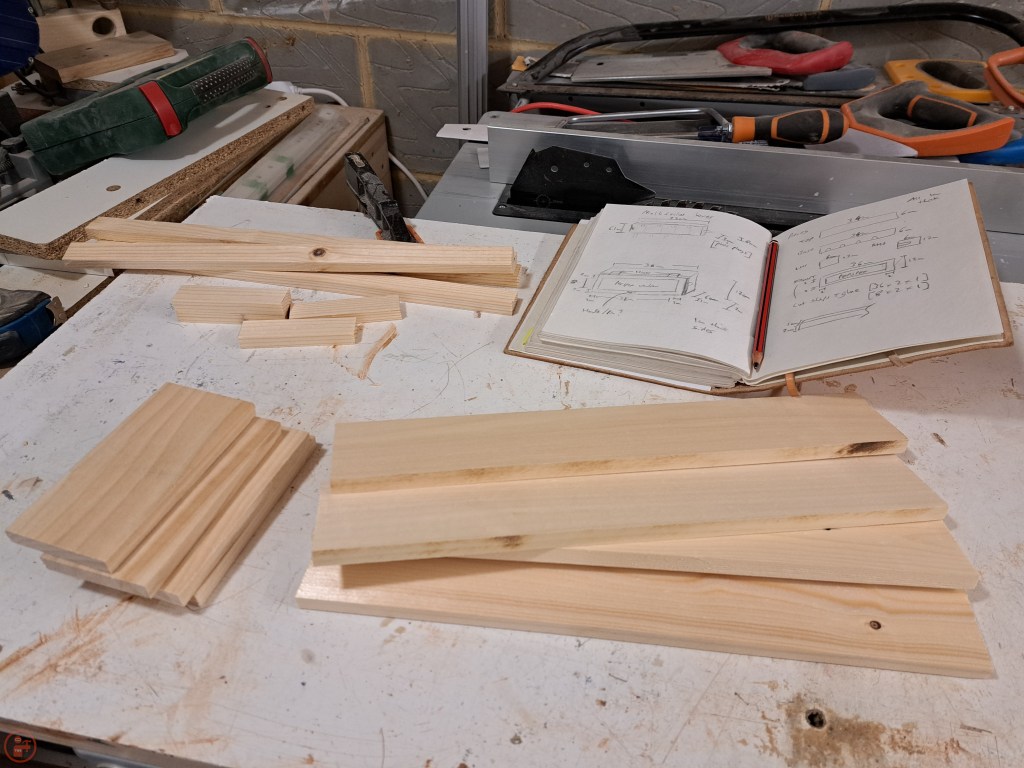
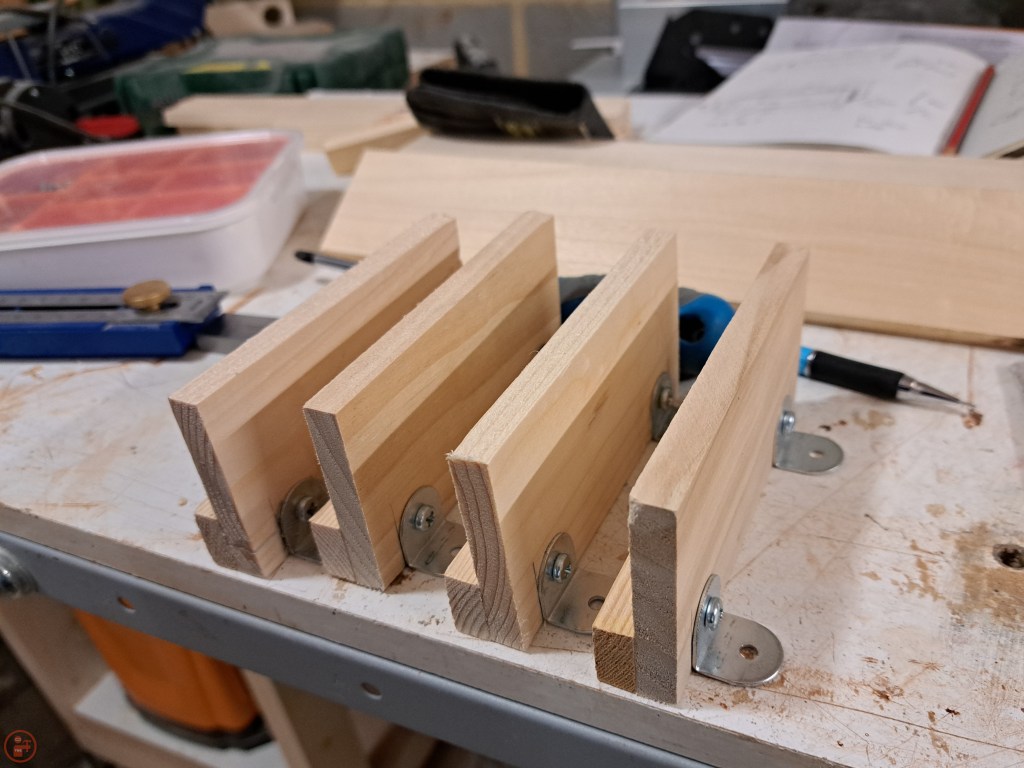
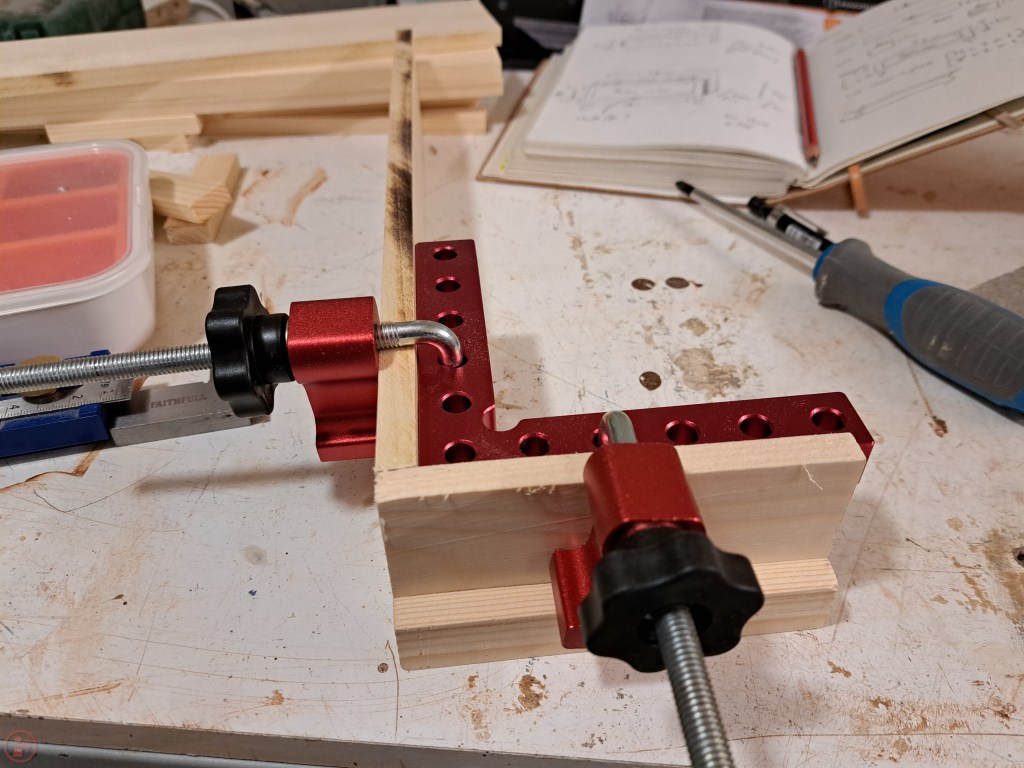
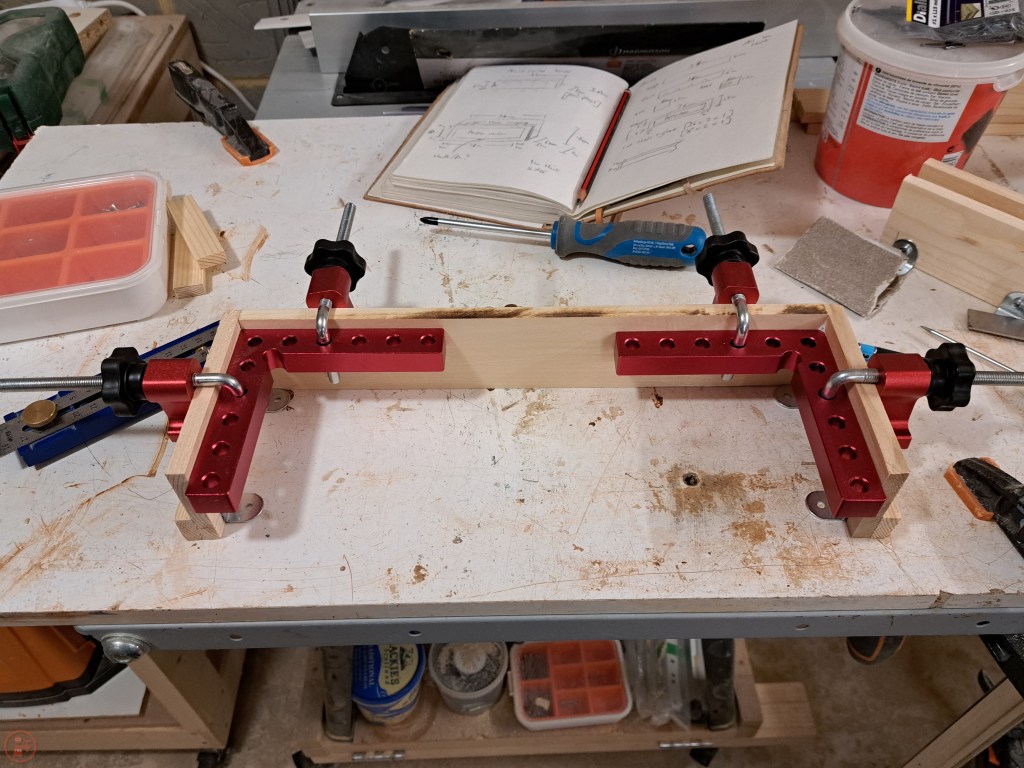
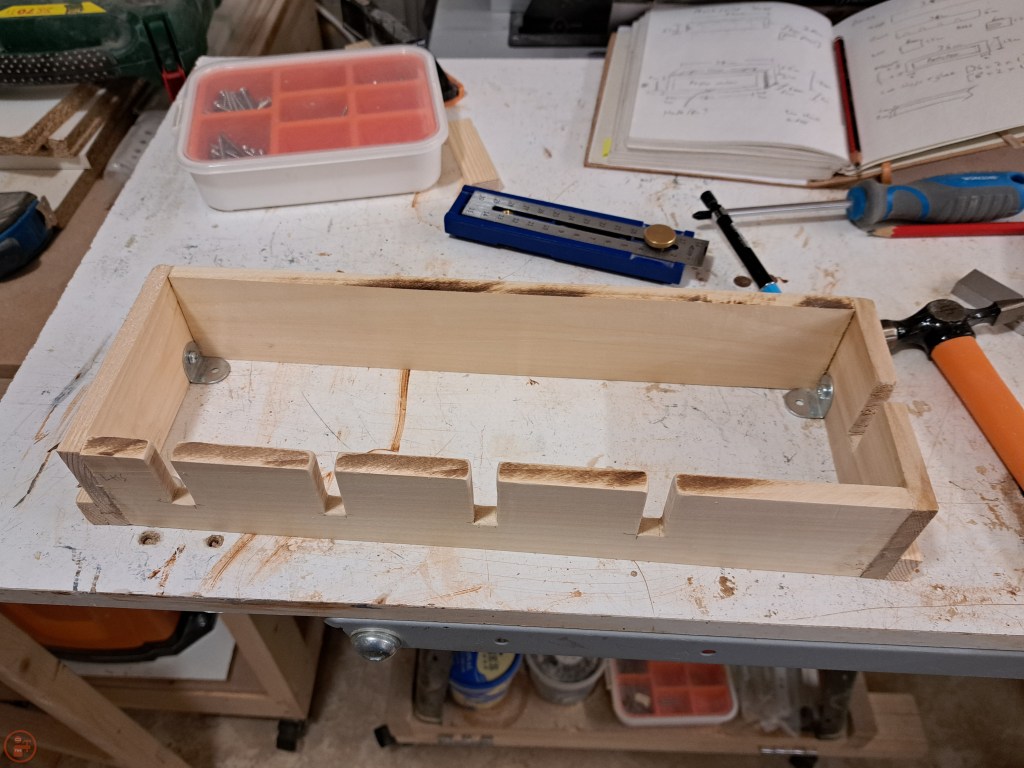
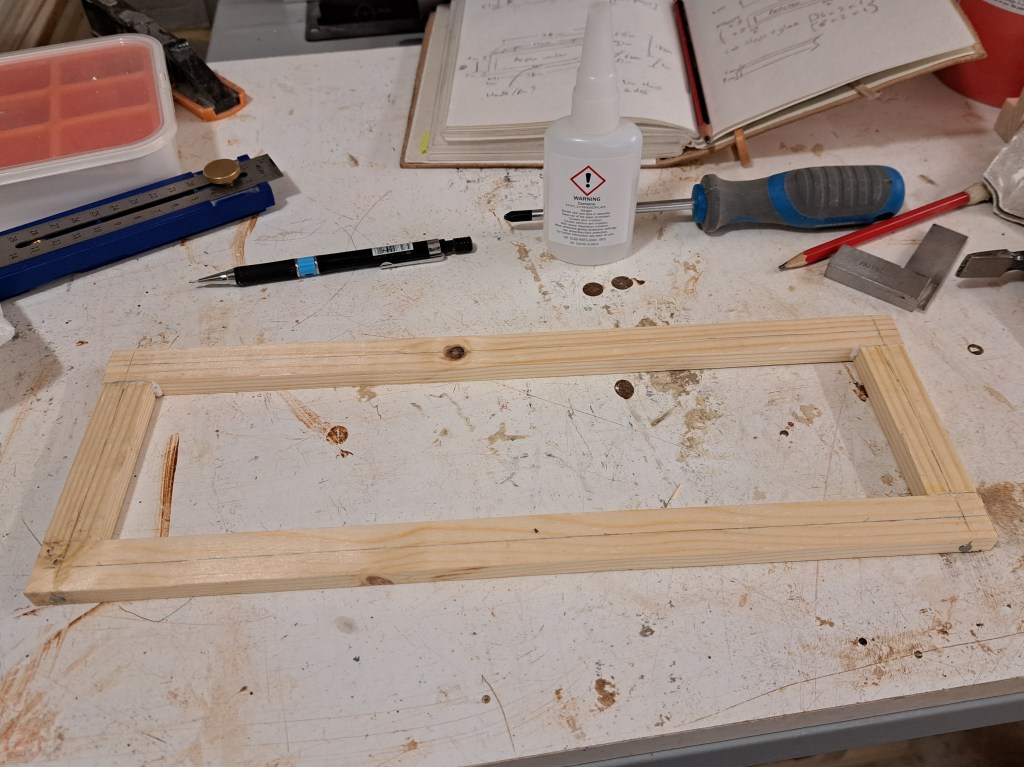
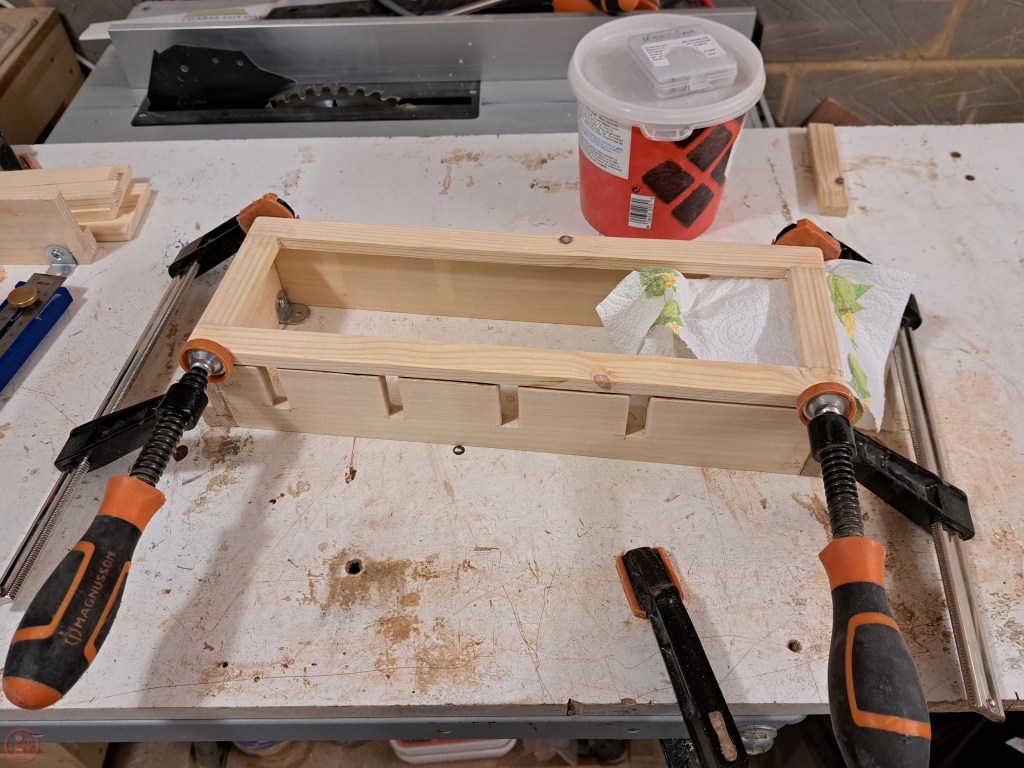
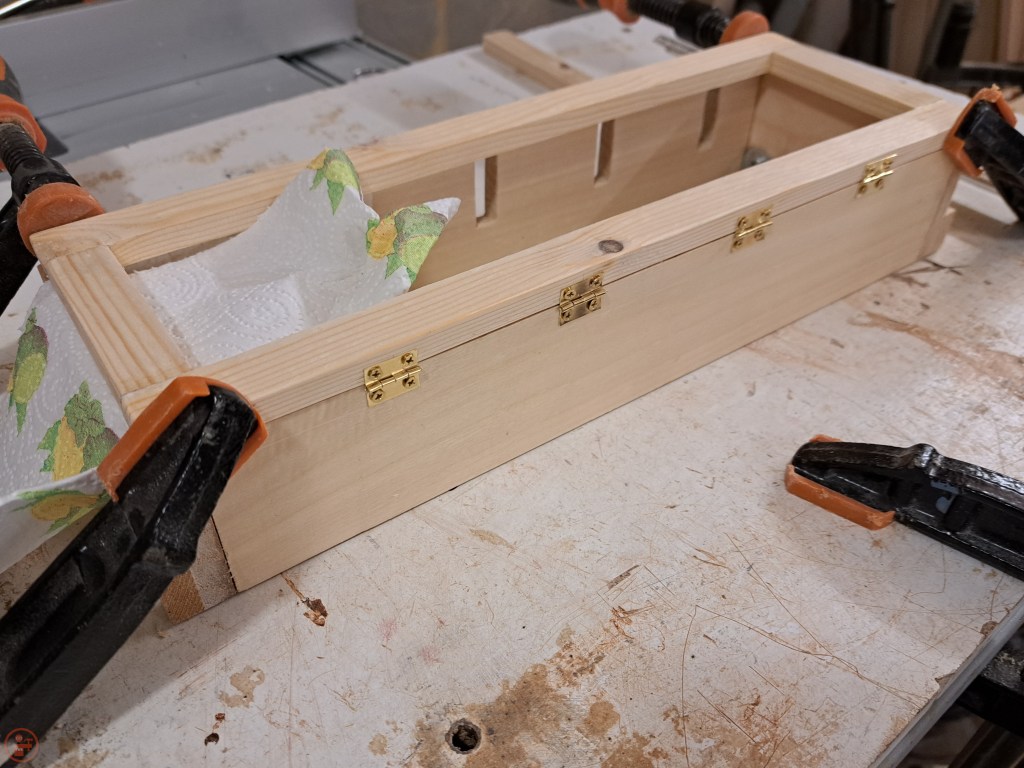
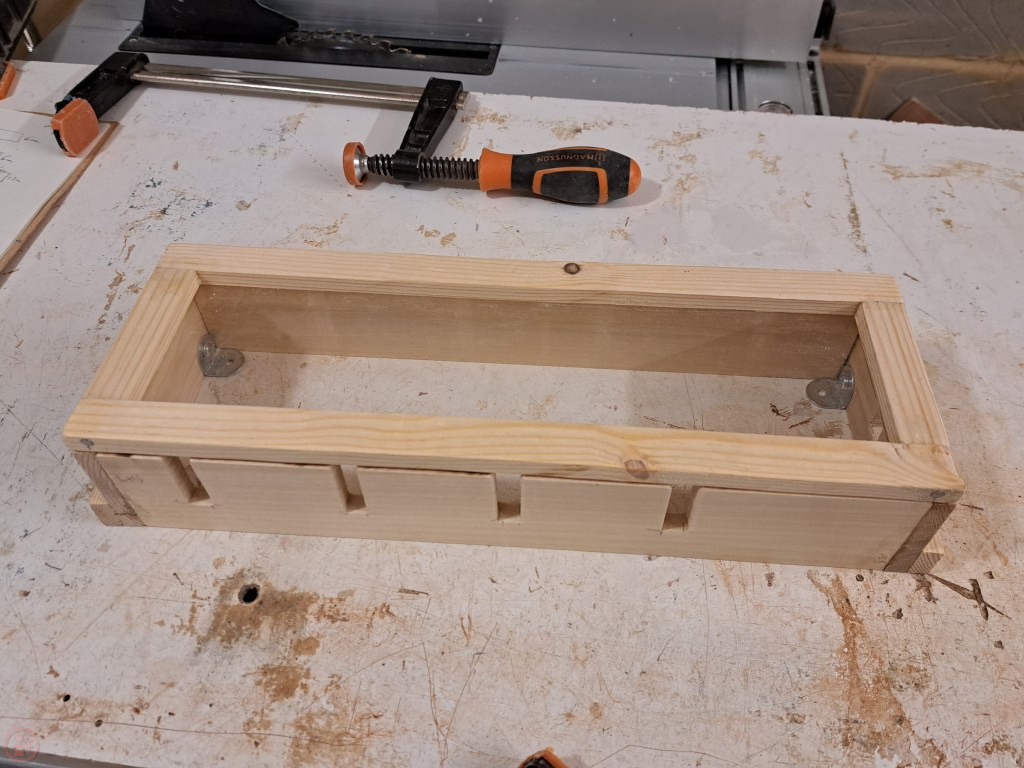
After some quick planning, I selected some lumber and cut the various pieces to size. I mounted some metal brackets to the inside of the short sides, adding an extra piece of wood to give the screws a solid grip. I glued up the box using simple butt joints and used small brad nails to keep the box pieces together while the glue dried. I used 90 degree corner clamps to keep the pieces in place while I measure out and cut the notches for the various plug cables. I made a simple lid and then glued all the pieces together, using screw clamps to hold the lid frame in place. I fitted some small hinges to the lid and frame to the lid can be lifted to access the switches underneath once the box is screwed to the wall.

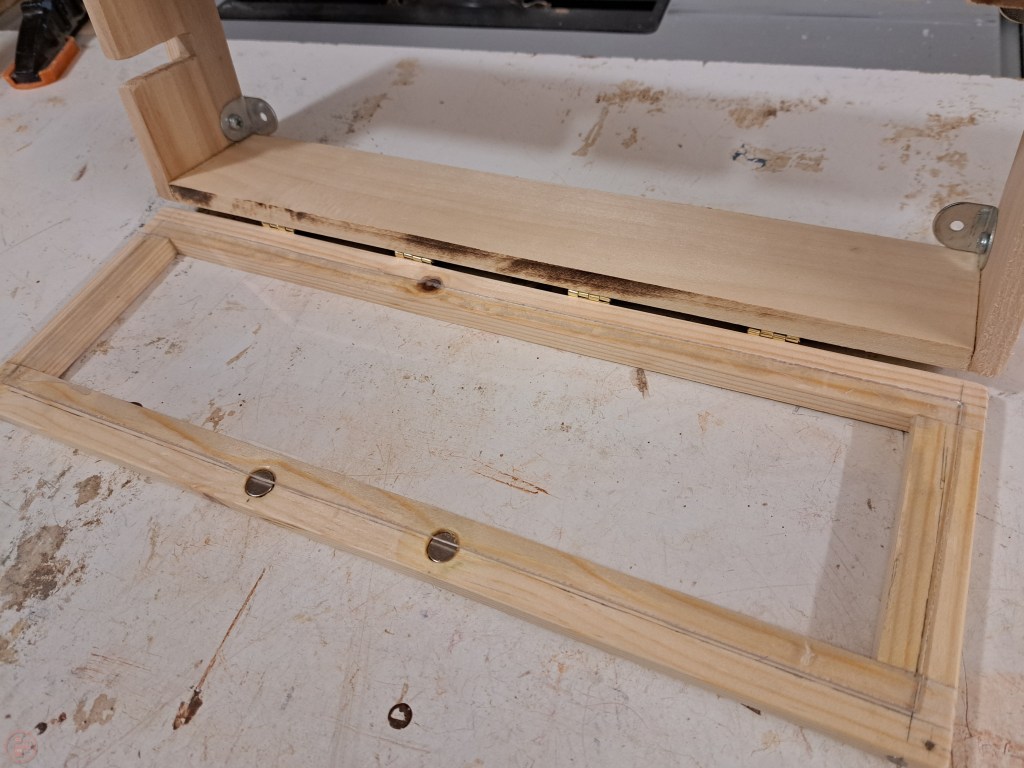
I cut some Perspex to size so it would make a window in the lid frame. I scored the plastic sheet multiple times using a knife and then snapped it off carefully. I have since learned you can cut Perspex on a table saw, so will definitely try that for future projects as I imagine it’s much easier!
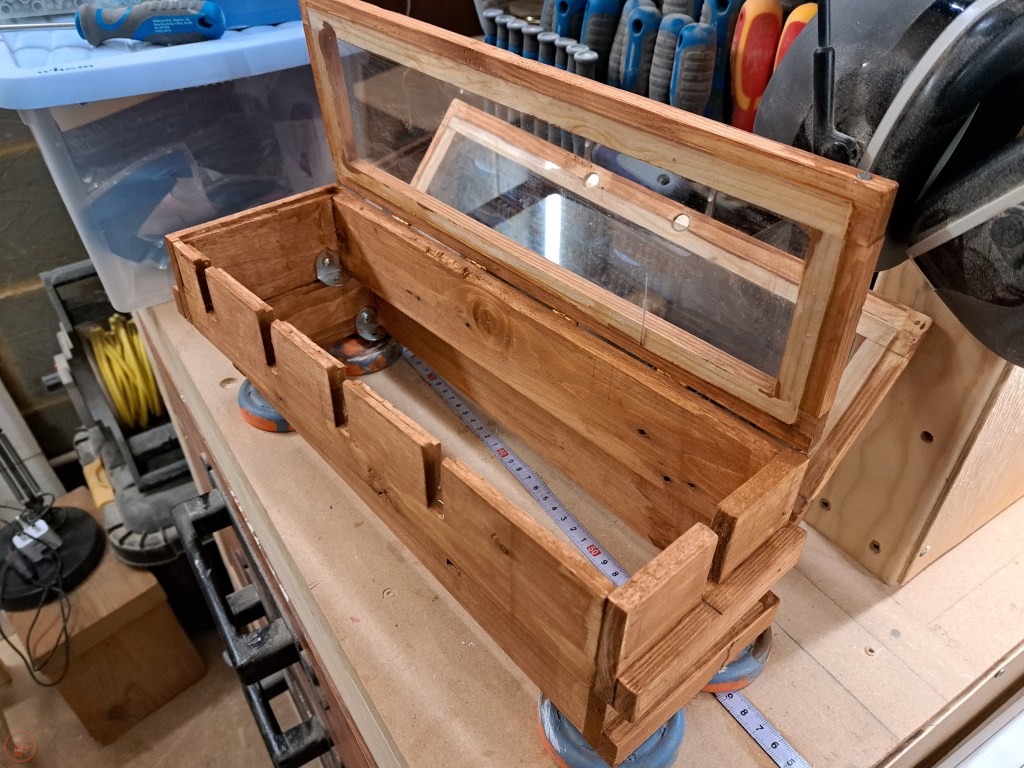

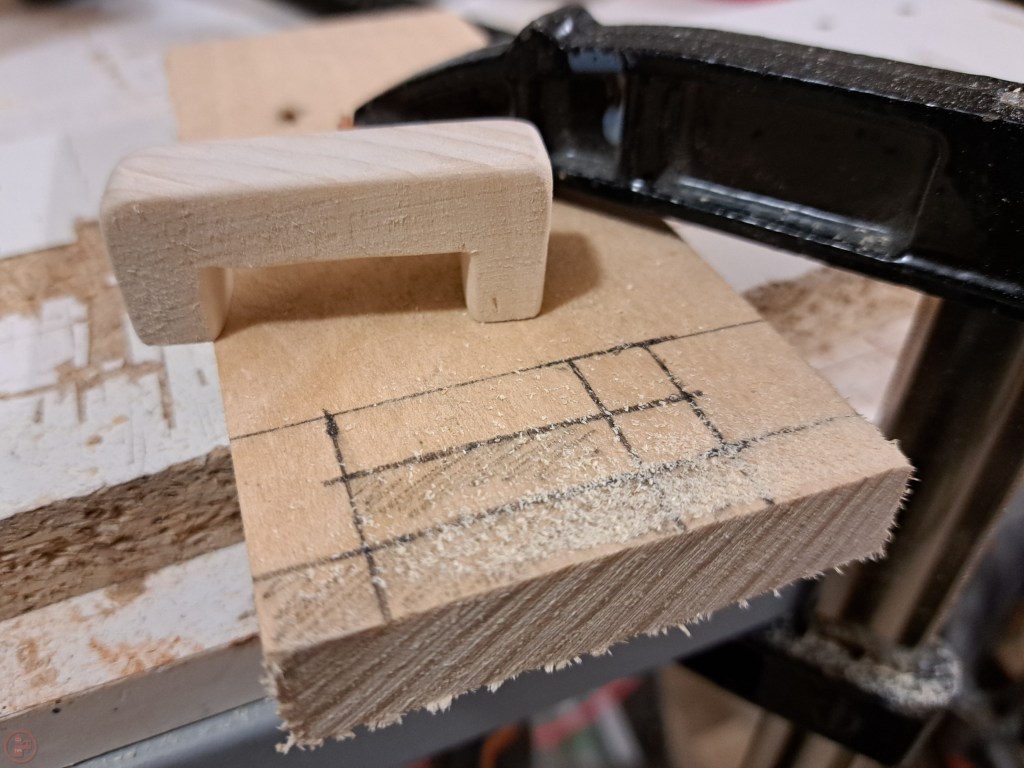
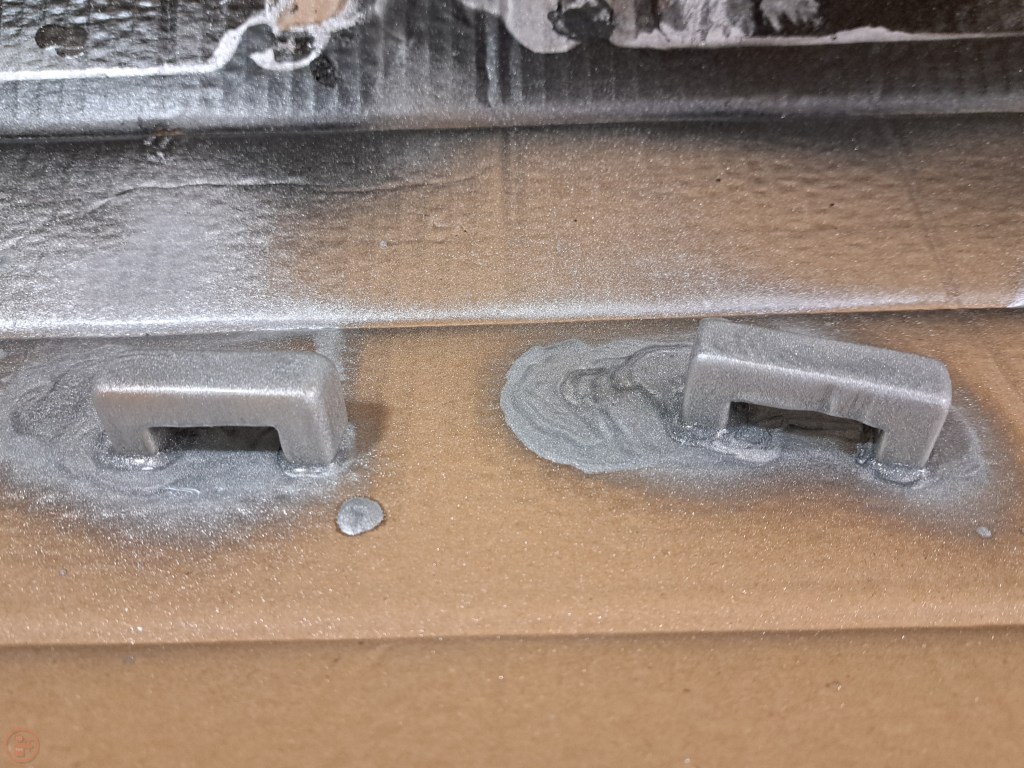
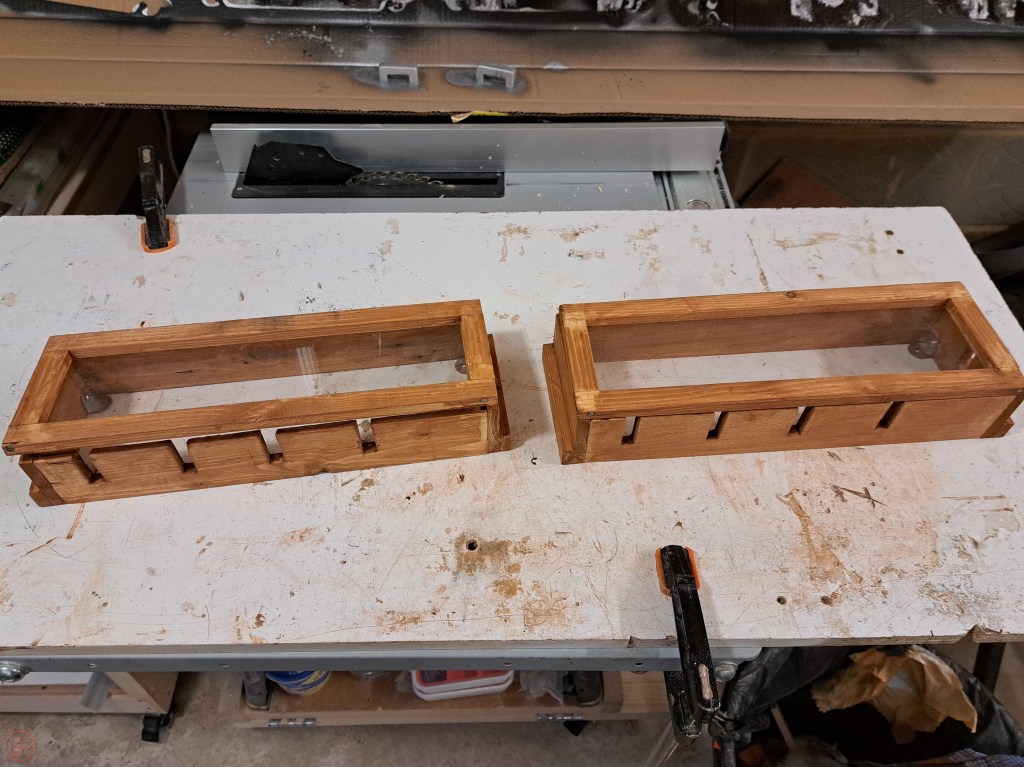
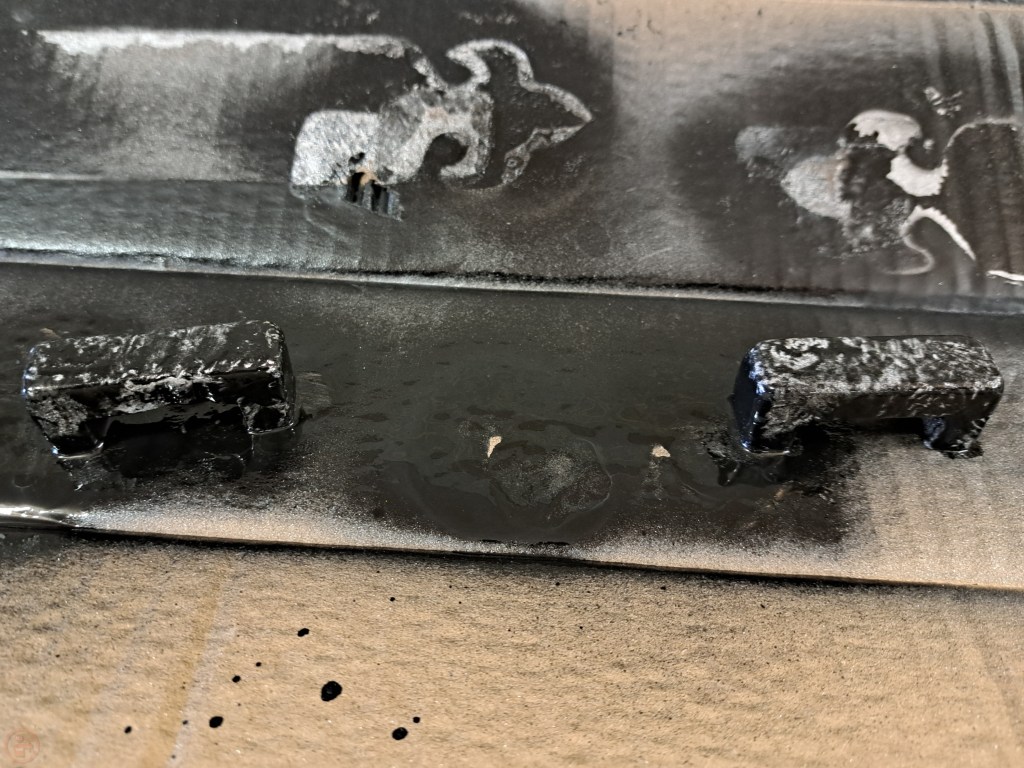
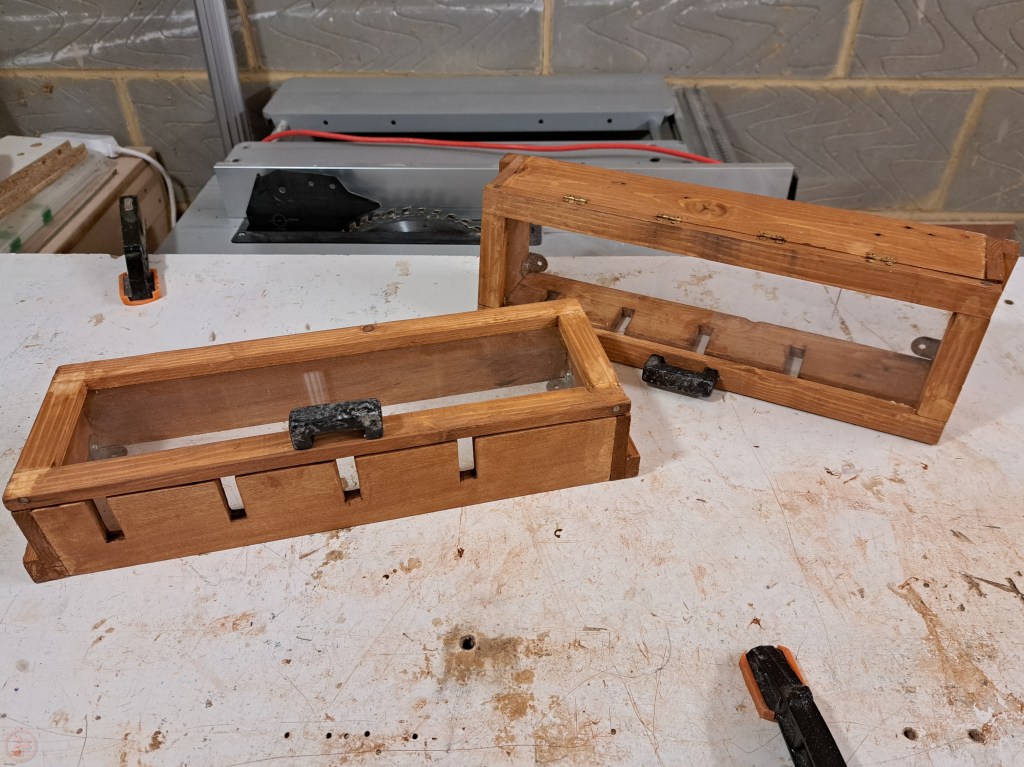
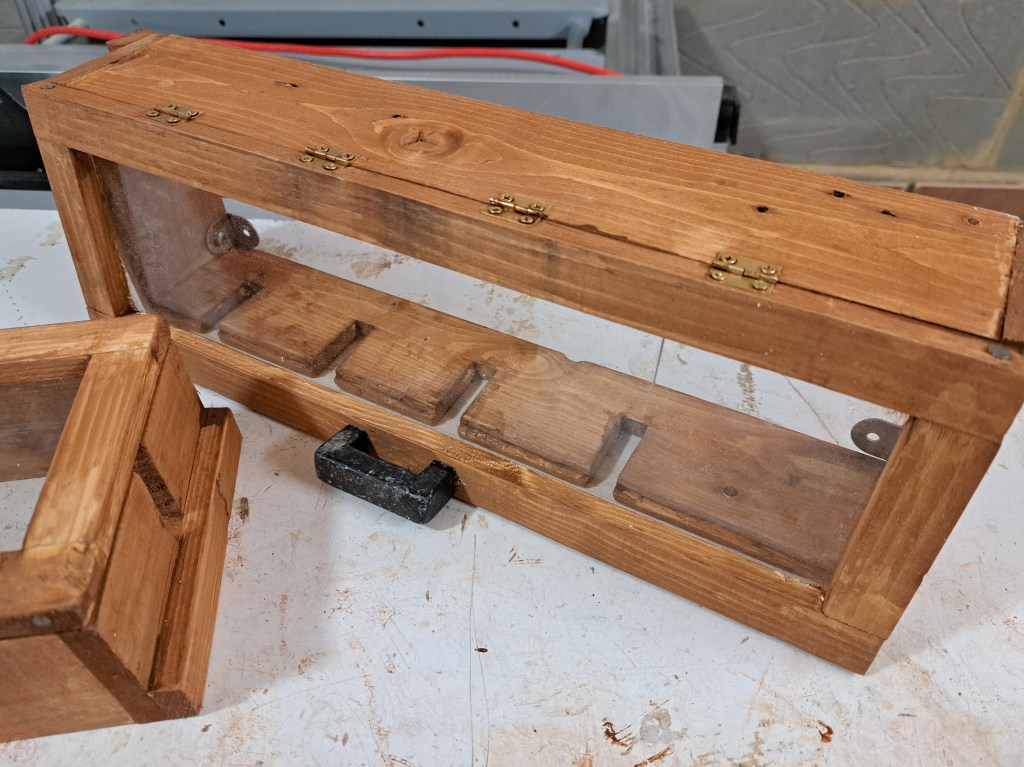
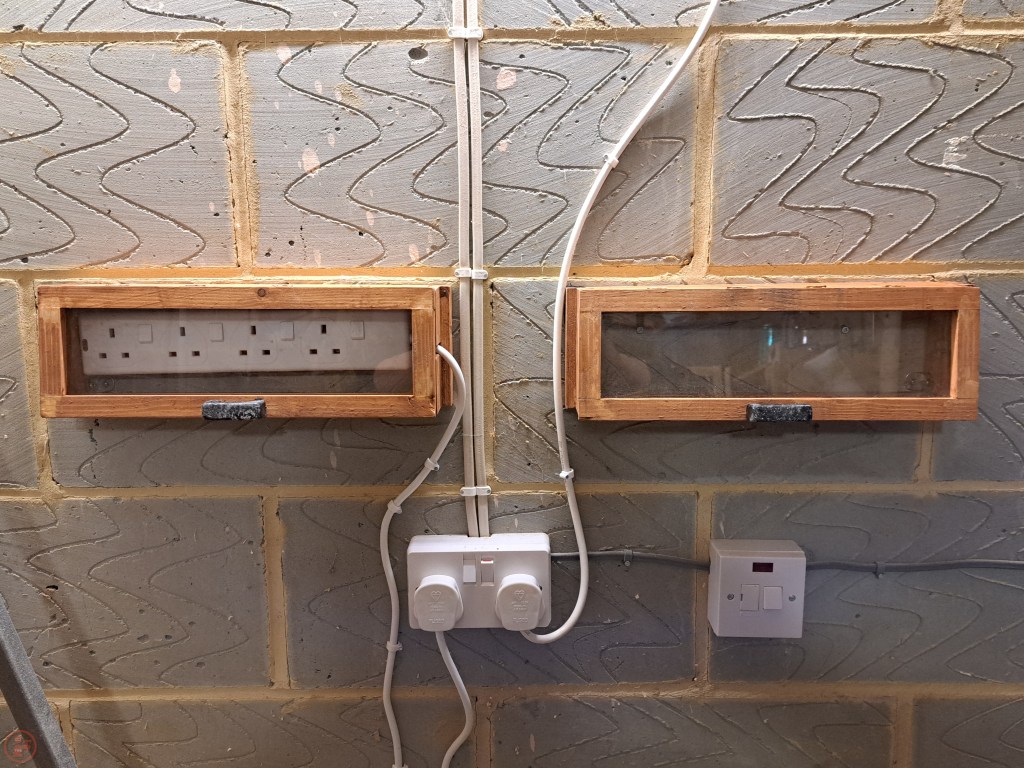
I mounted the Perspex to the inside of the lid using superglue and held it in place while it dried. Having successfully made one box, I repeated the whole process to make a second, and then finished the inside and outside of both boxes with some outdoor wood stain, so the boxes will hopefully last a long time. I cut some small handles and gave them a good hand sanding before spray painting them with silver paint, leaving it to dry and then spraying black paint over the top and dabbing with kitchen roll to remove some of the wet black paint. This was the same technique I used for my mitre saw bench drawer pulls, and I’m really pleased with how those turned out. Once the spray paint was fully dried, I mounted the handles to the lids of the boxes using small screws from the inside.
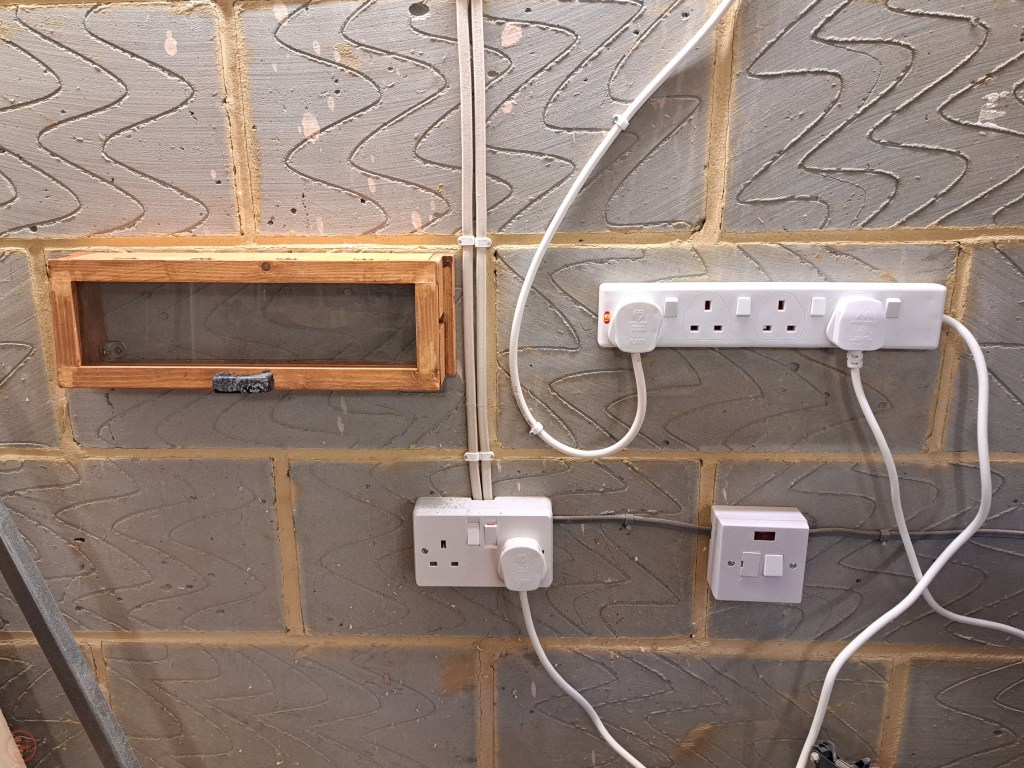
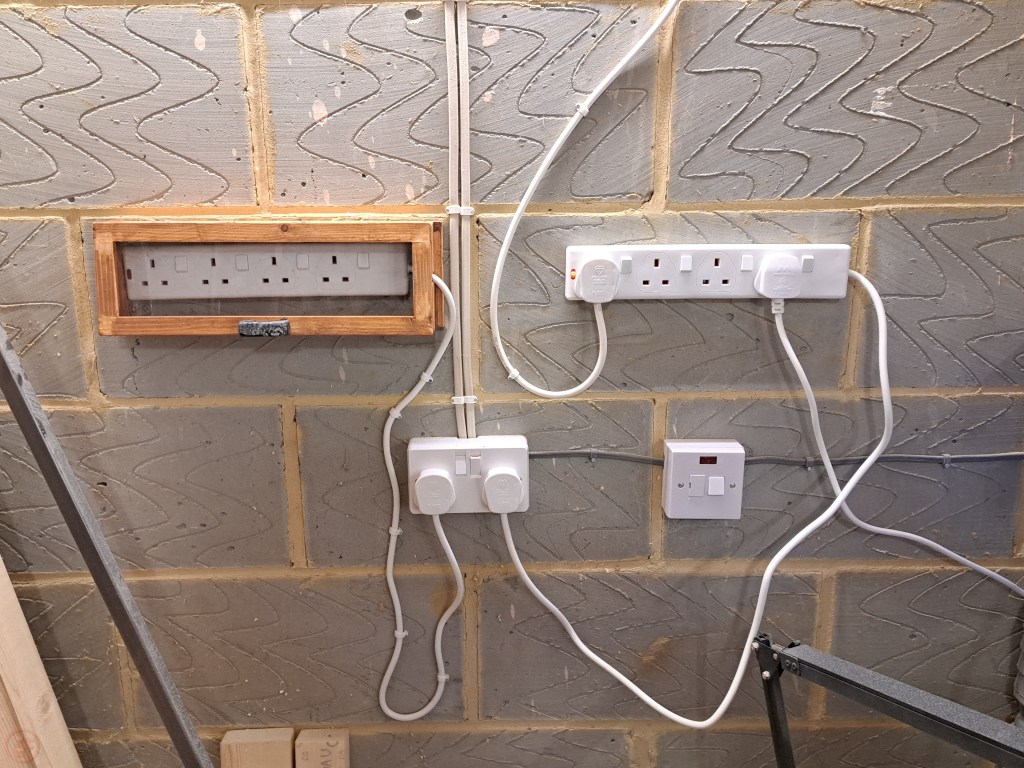

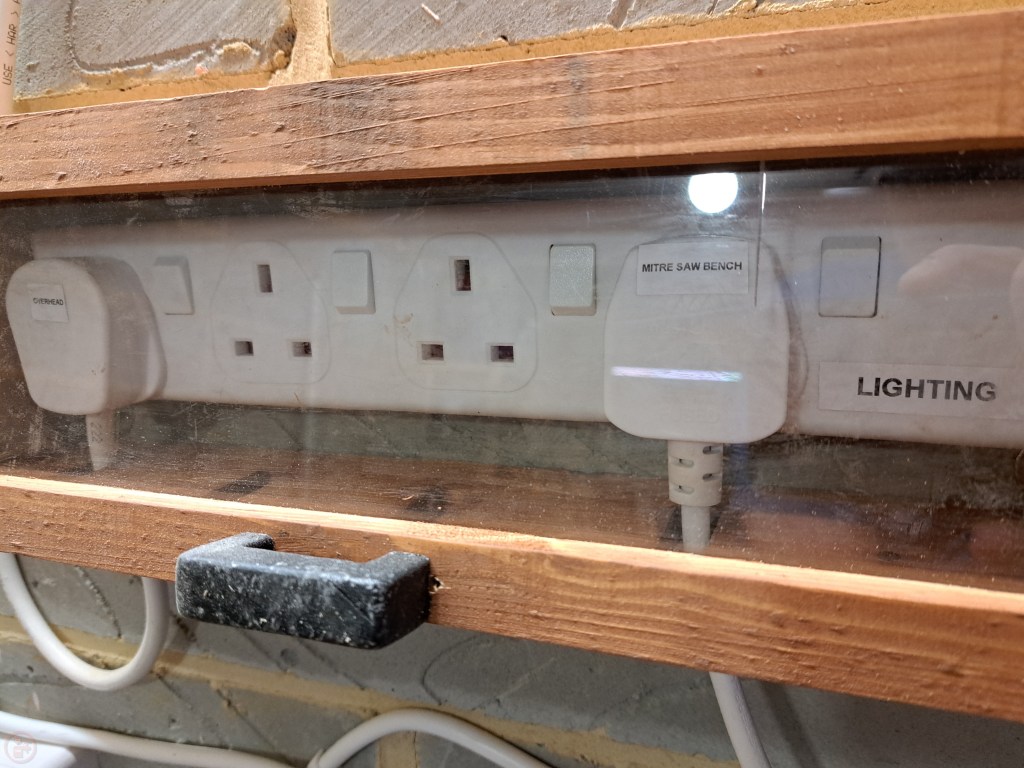

I mounted the boxes to the wall, fitting the box using the metal brackets and then slotting the multi-socket back onto the screws. I connected all the plugs and then used my label maker to label up each plug accordingly.

I secured all the cables using cable clips to keep the mass of wires separated and hopefully prevent any overheating.

I’m really pleased with the result – the wiring is much tidier and means I can have tools and lighting neatly organised and minimise the risk of overloading the sockets. I still have more to do to effectively light and power the workshop, but this is a definite improvement! 🔨

2 thoughts on “Upgraded electrics and lighting”