Effective dust collection is a vital part of any workshop, to keep surfaces clean, minimising dust in the air to prevent fires, and to stay healthy when working in there for longer periods. Definitely time to make some more upgrades to my setup!
My previous dust collection setup (Figuring out dust collection and Shop vac and dust collection cart) had the drawback of only being connected to one tool at a time. With a table saw, mitre saw, scroll saw, plus various hand power tools and a drill stand; I needed a method of switching between the different requirements for dust collection without having to unplug a hose and move it around the workshop.


I decided to make an air splitter, so I could have hoses permanently connected to each tool and simply switch which one was connected to the vacuum hose. I did some exploring of different ideas and settled on a simple sliding design, incorporating aspects of both the YouTube designs of “Dust Collection Switcher” by Jonathan Katz-Moses (link) and “Dust Collection System From PVC Pipes” by Well Done Tips (link).
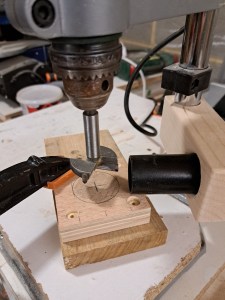
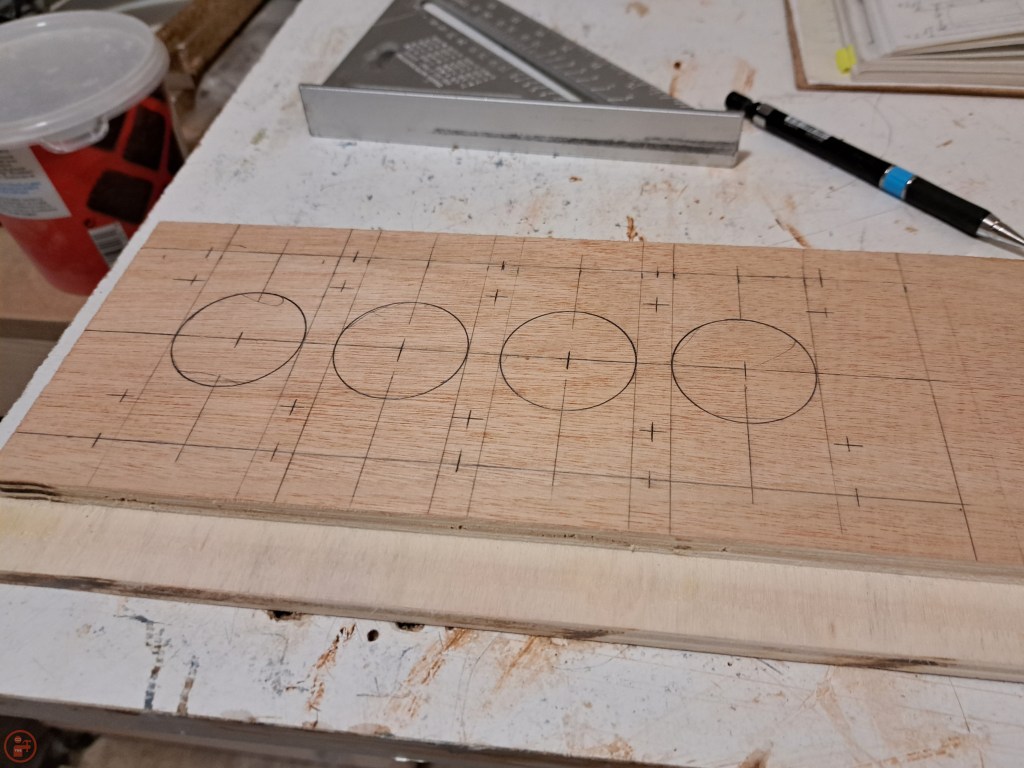
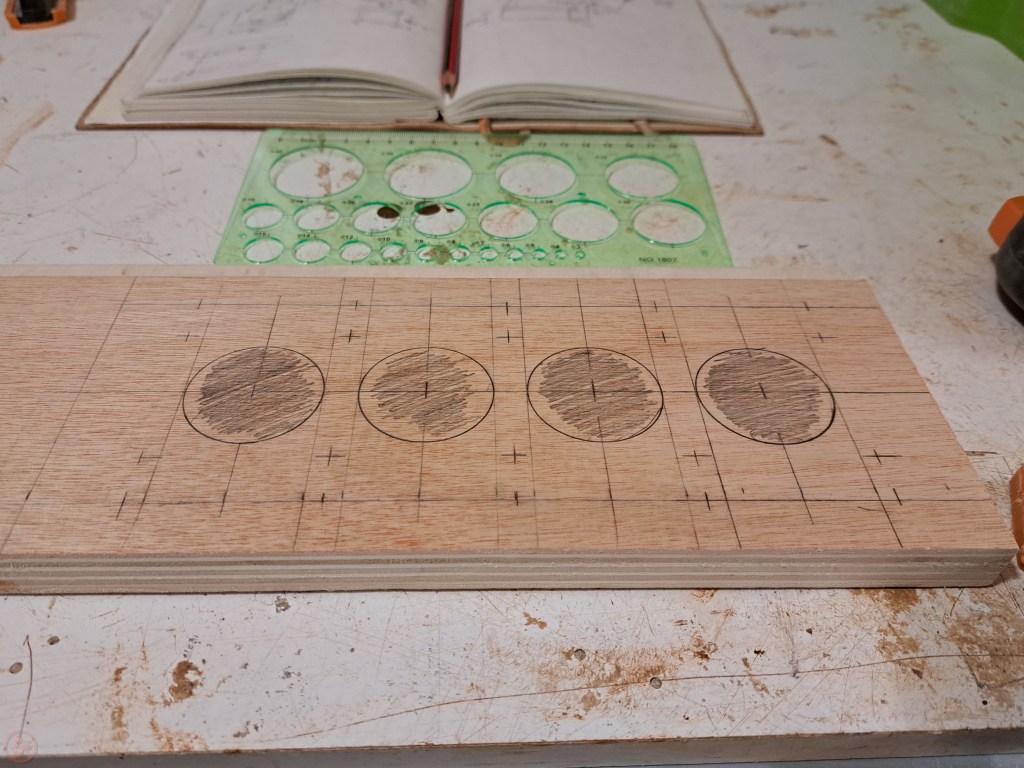
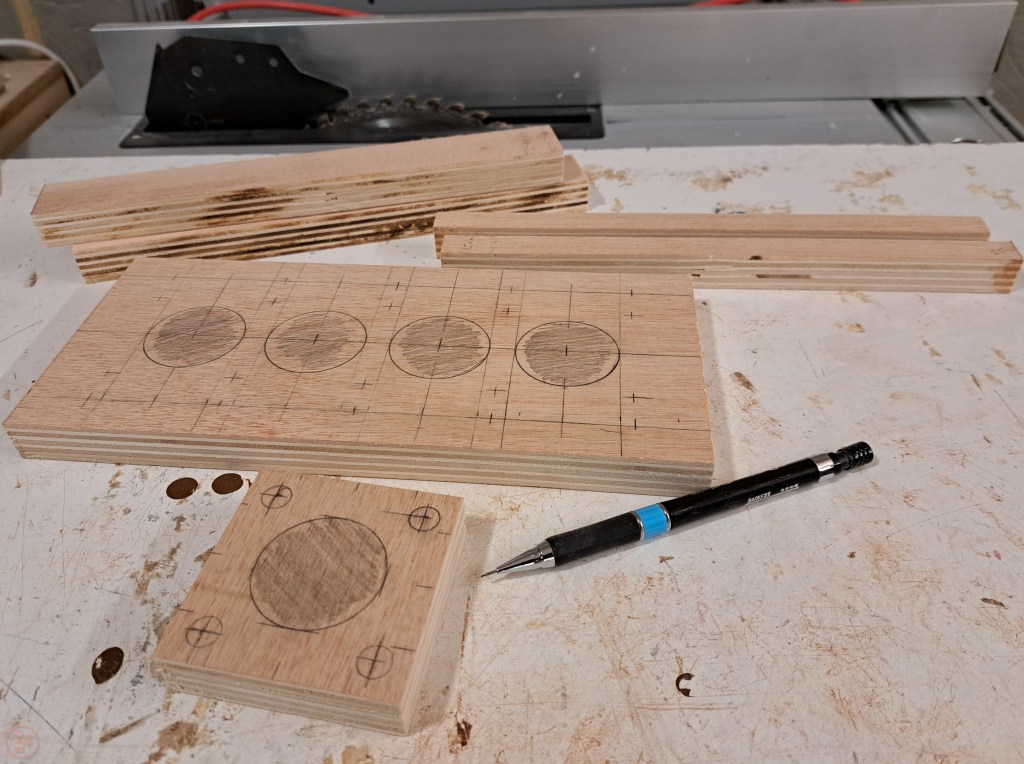
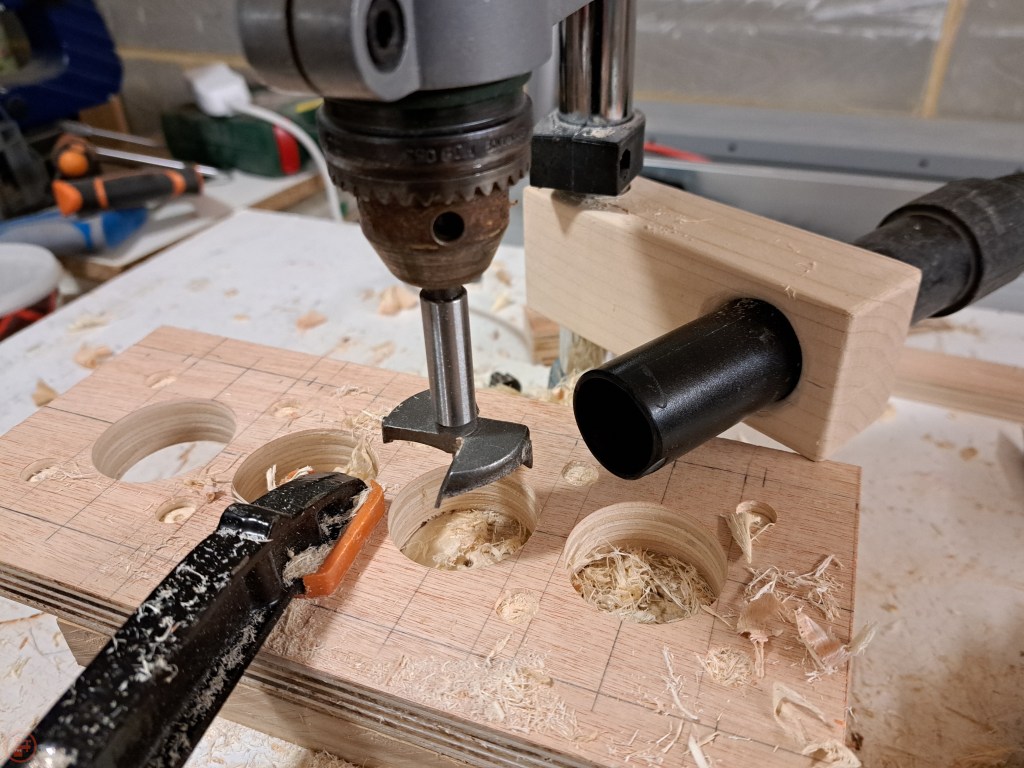
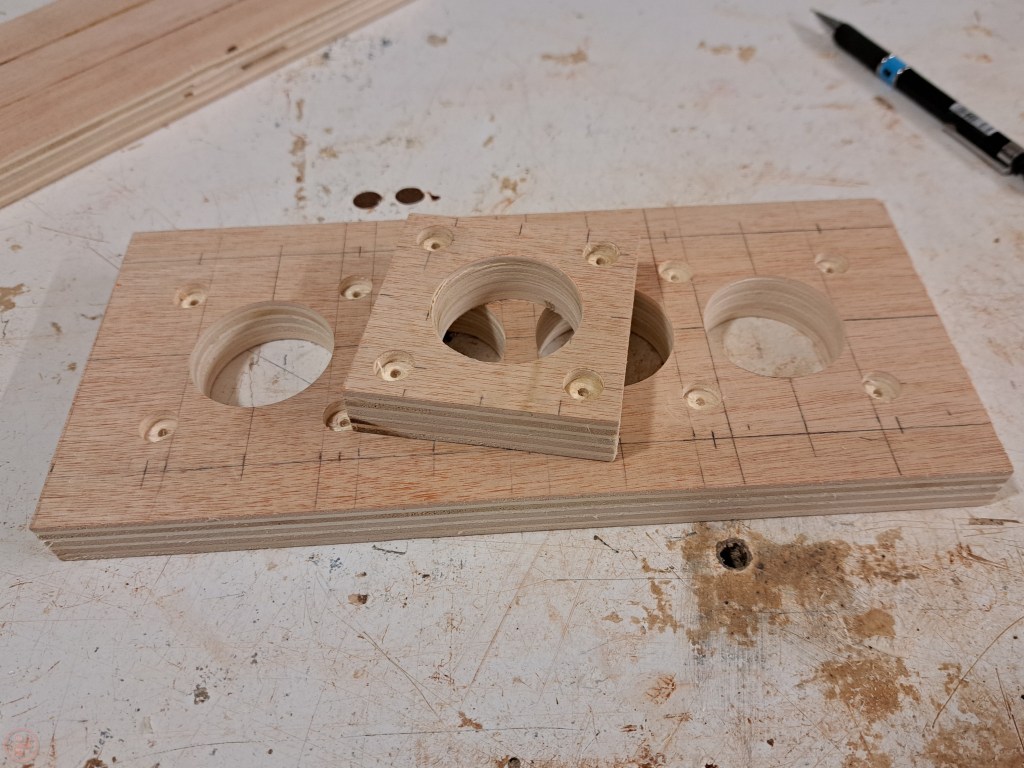
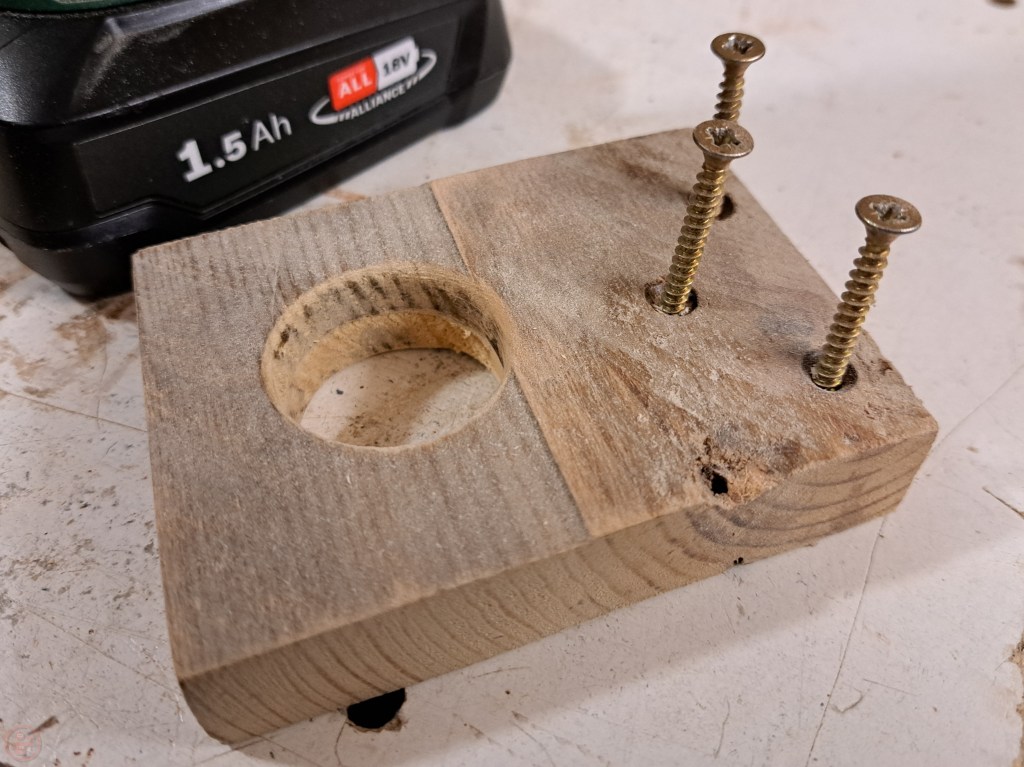
I marked out spaces for four dust hoses and accompanying magnets around each port. I also marked up and cut out the sliding piece to move backwards and forwards within the splitter. I used a large Forstner bit in my drill press stand to drill holes precisely through each of the spaces – this made quite a lot of sawdust! I then switched to a smaller bit and drilled out the holes for all the magnets around each port.
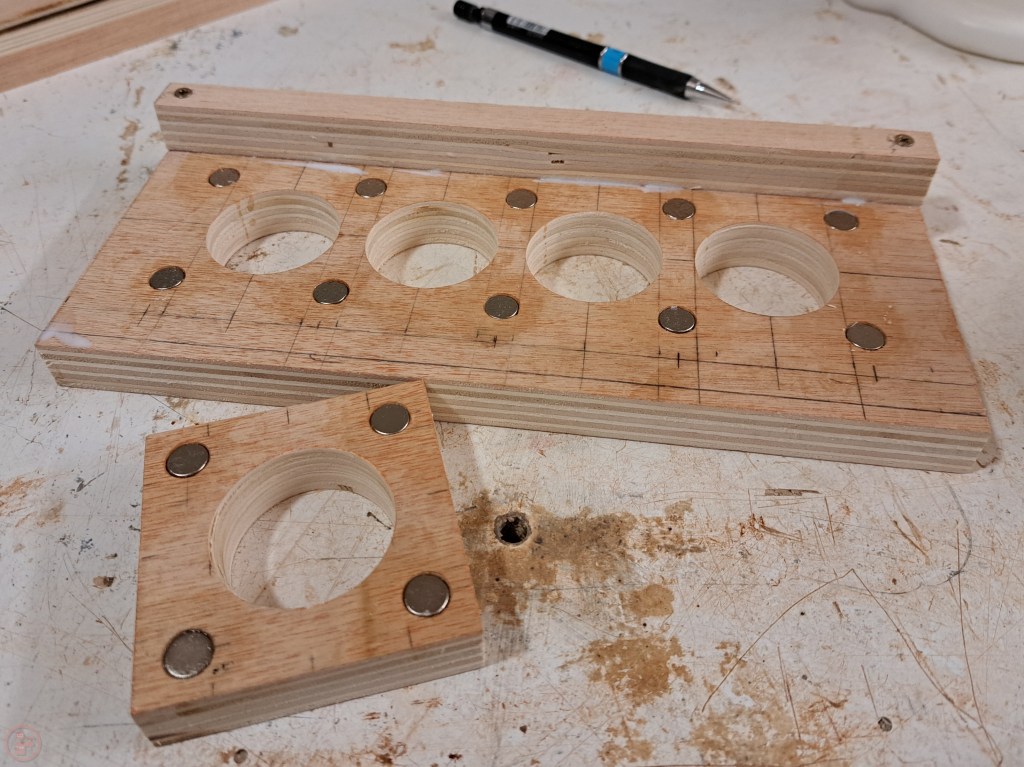
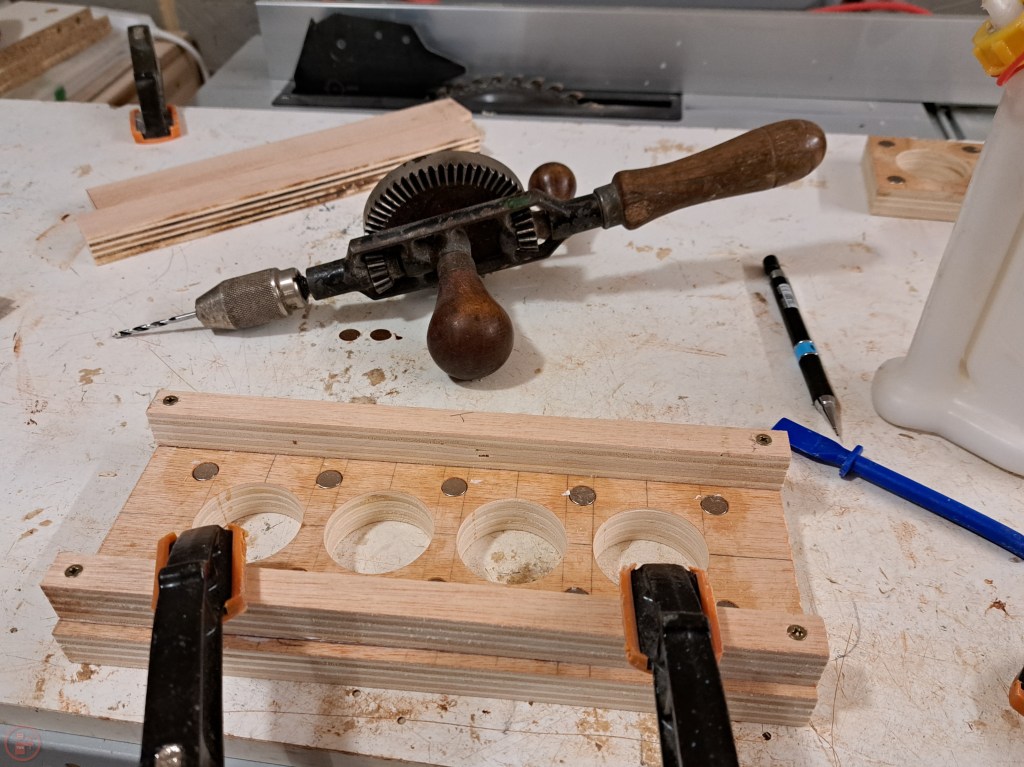
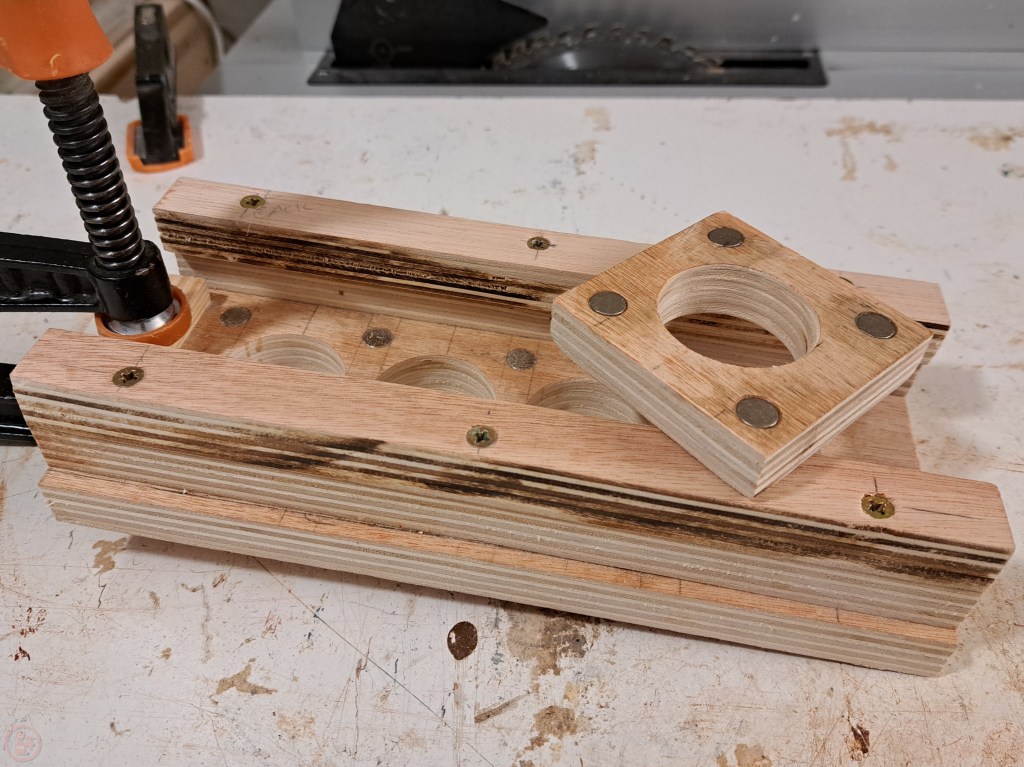

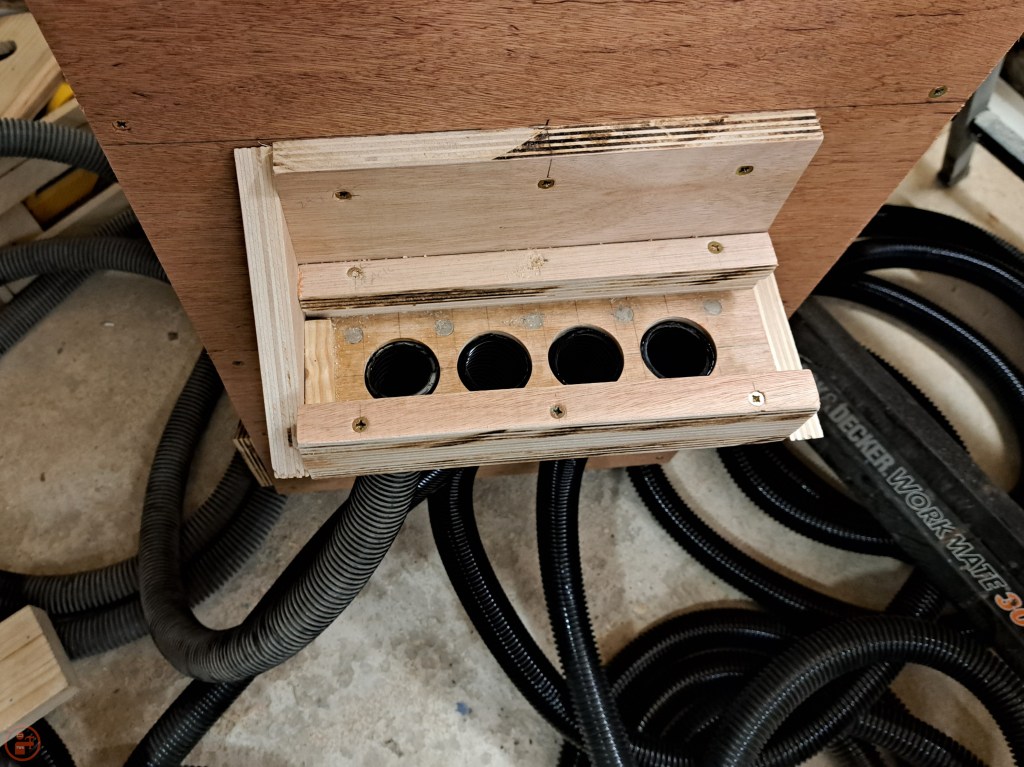
Once all the drilling was complete, I had the fun job of slotting in all the magnets and securing with superglue. This was a bit of a challenge as the magnets kept jumping back out the hole but after figuring out a technique of inserting the magnet as part of a stack and sliding all but one magnet away, it went quite quickly. I glued on some additional plywood sections as walls and then a second piece on each long side with an overhang to hold the moving selector part in place.

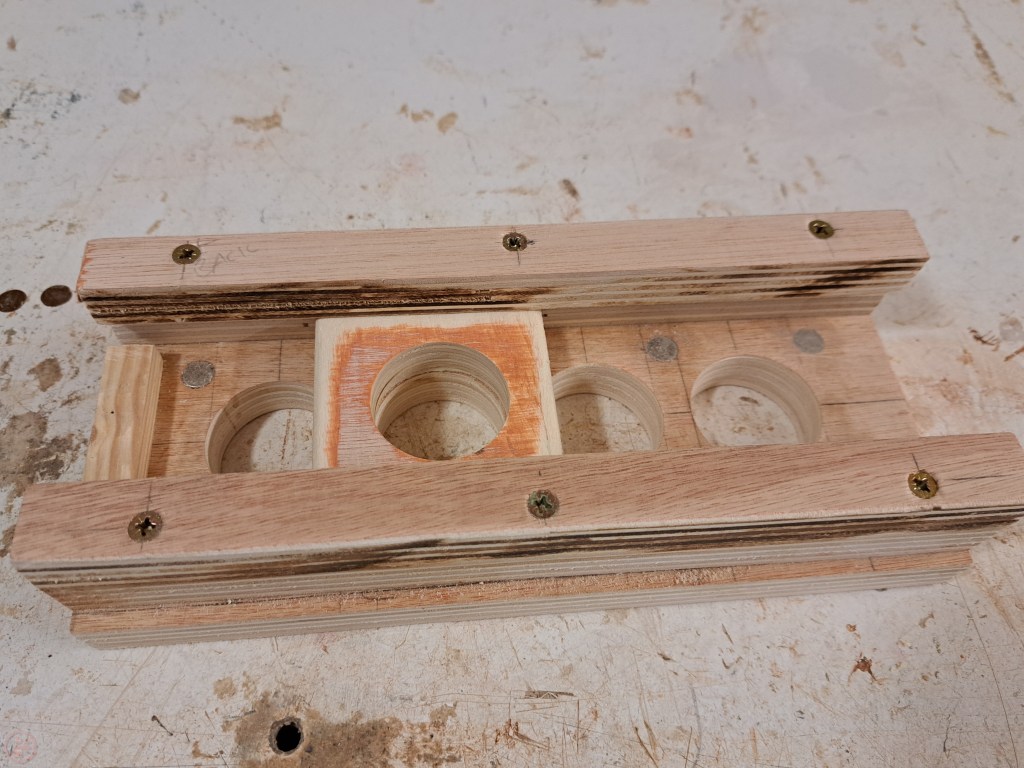


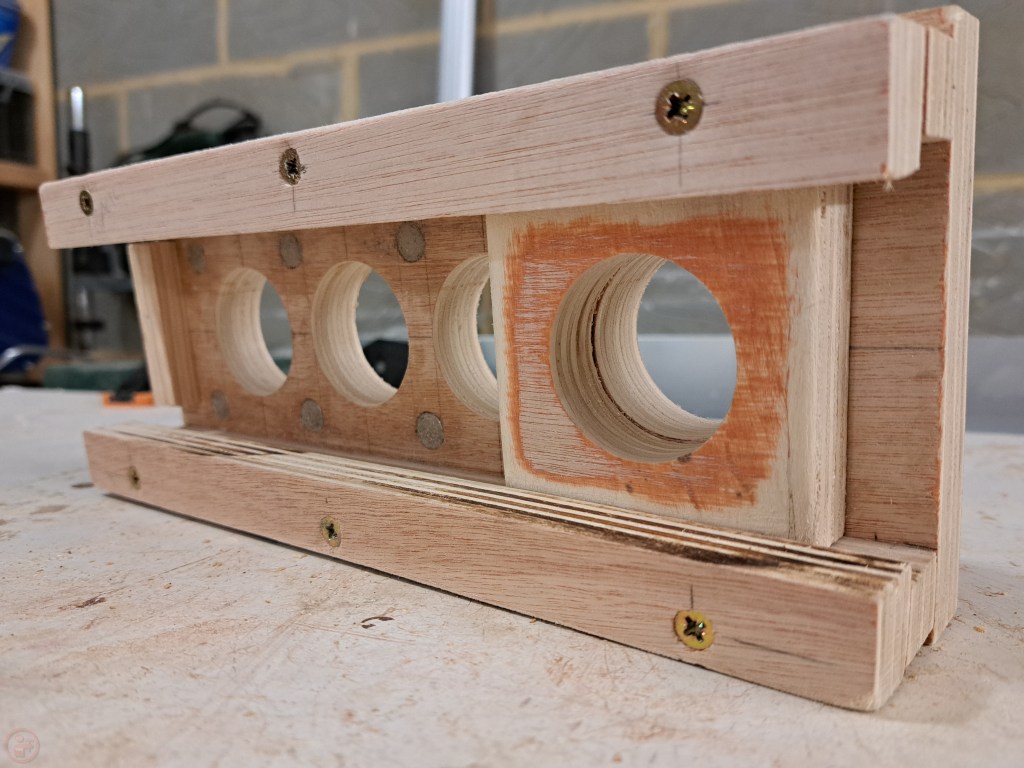
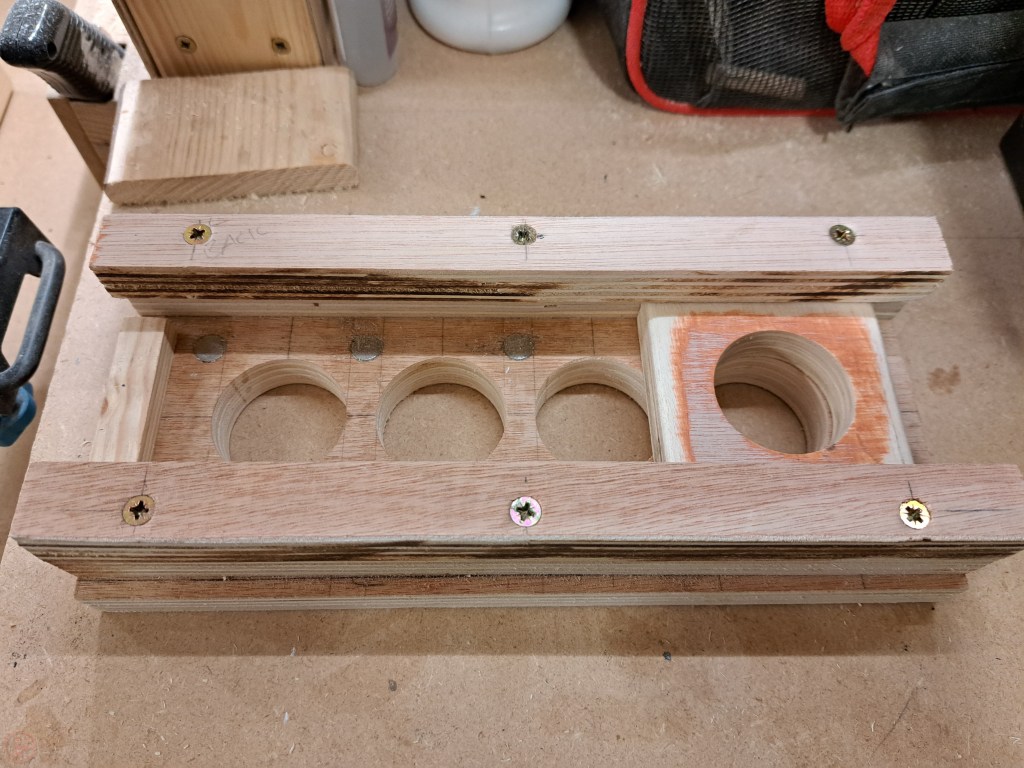
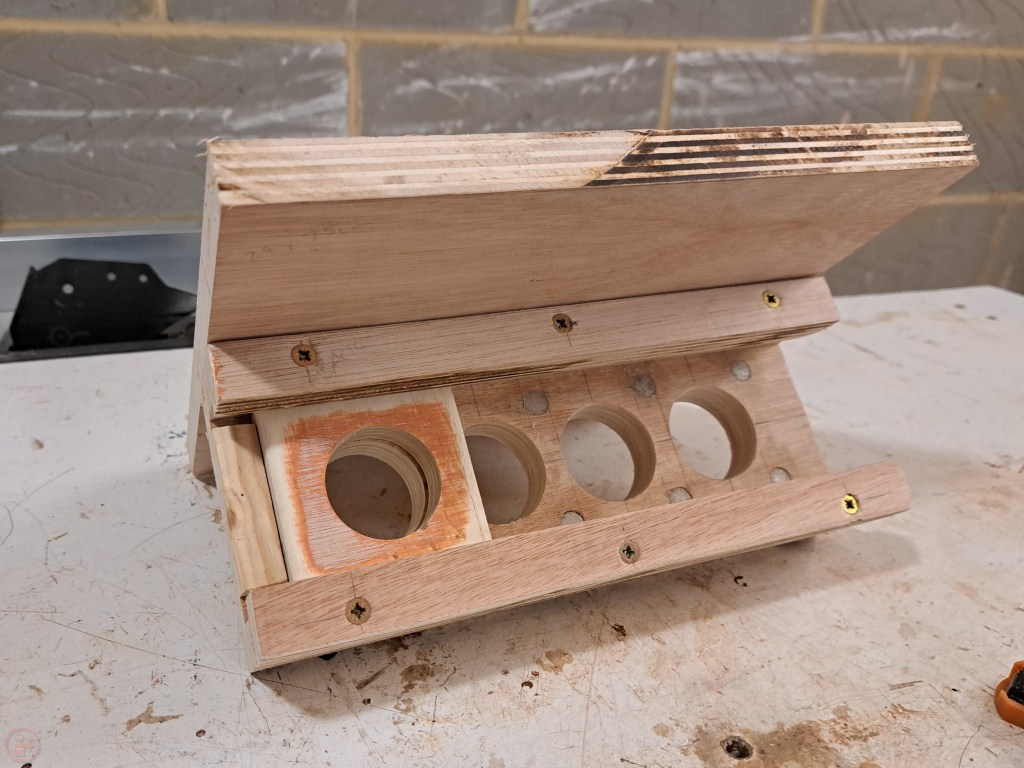
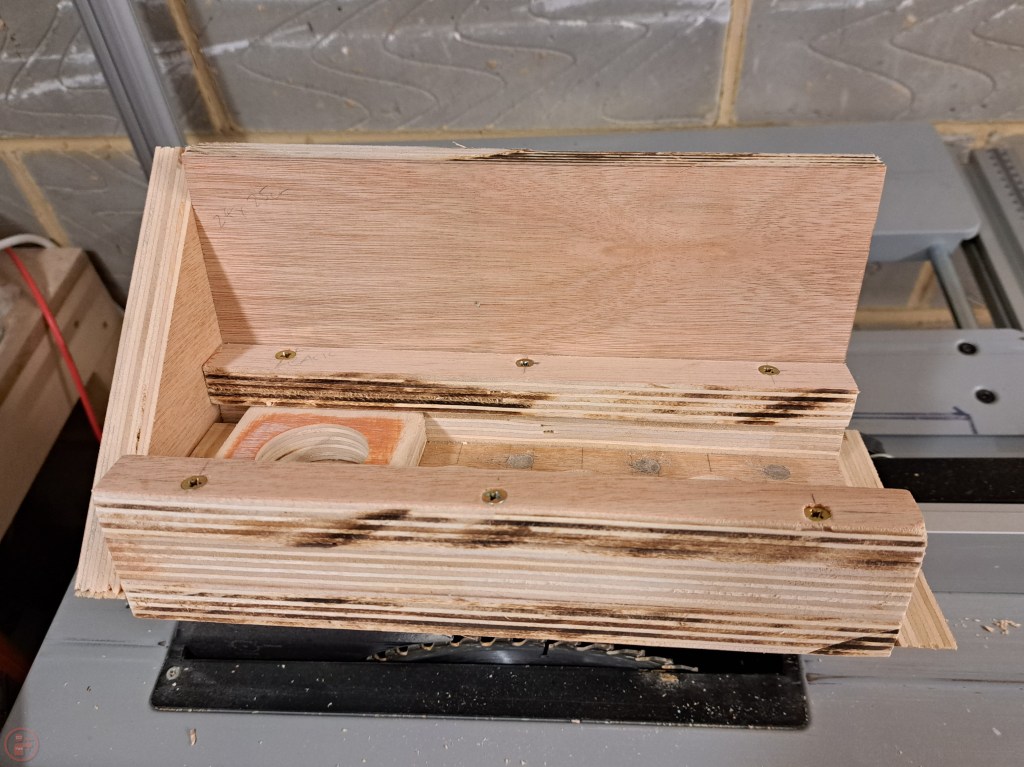

I was pleasantly surprised how well the selector jumped into each position perfectly with minimal pressure, with the magnets aligning the sections well. I added a stop to the left side of the splitter to prevent the selector from escaping and then added a backing panel and some triangular bracing for strength.
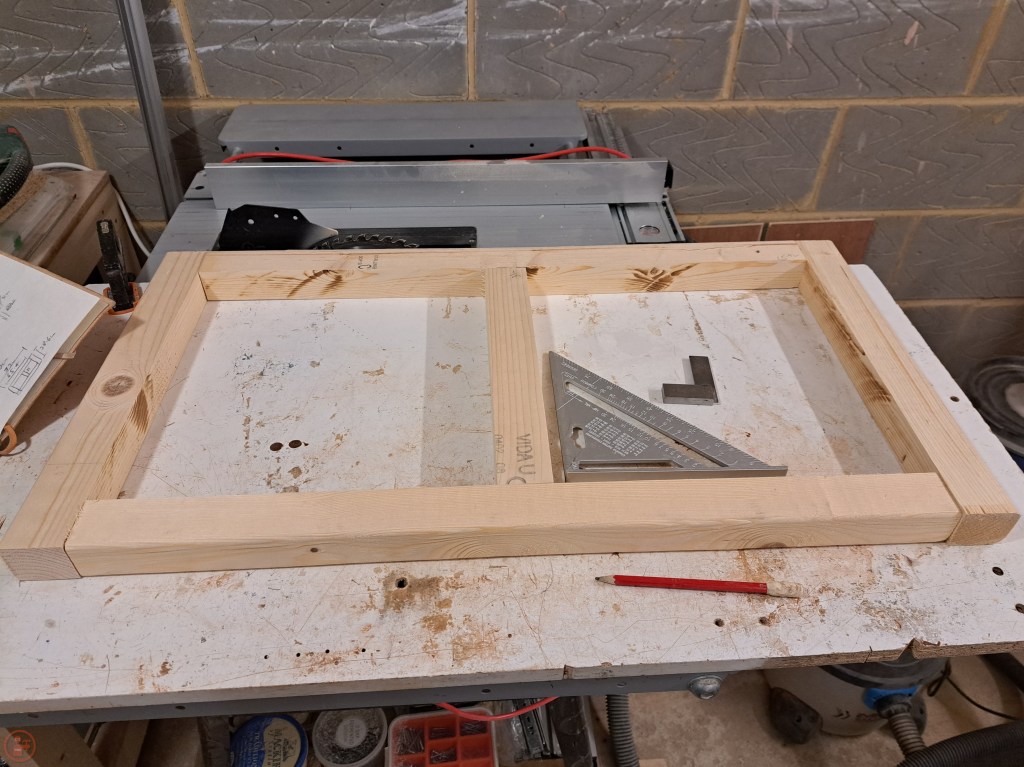
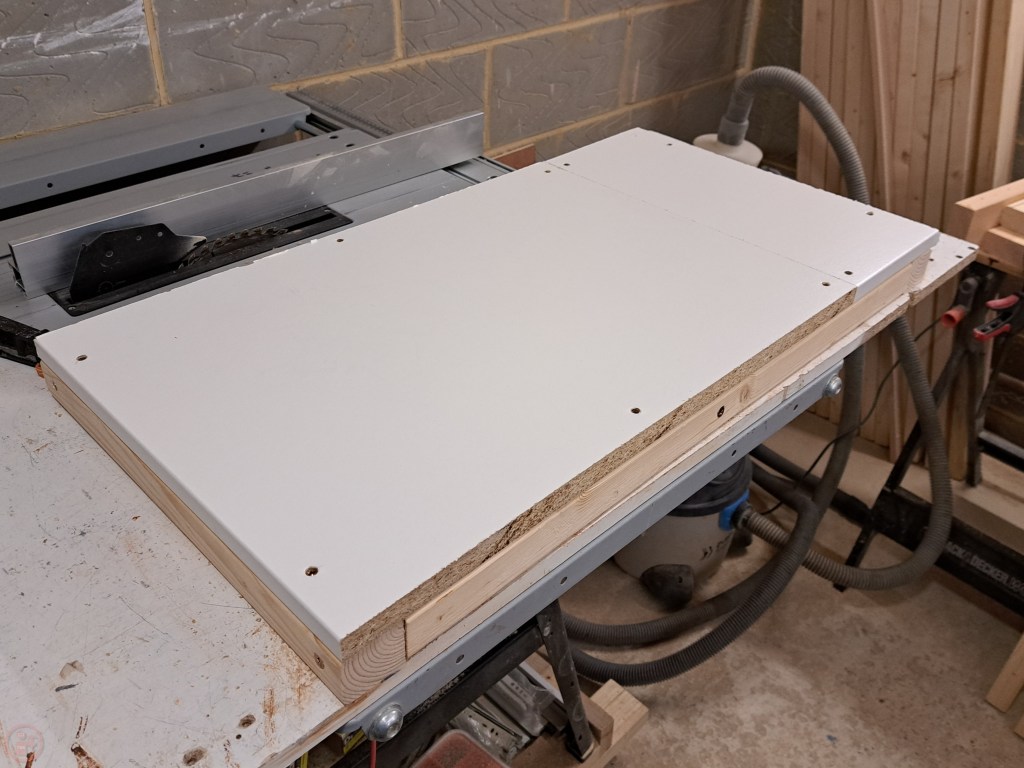
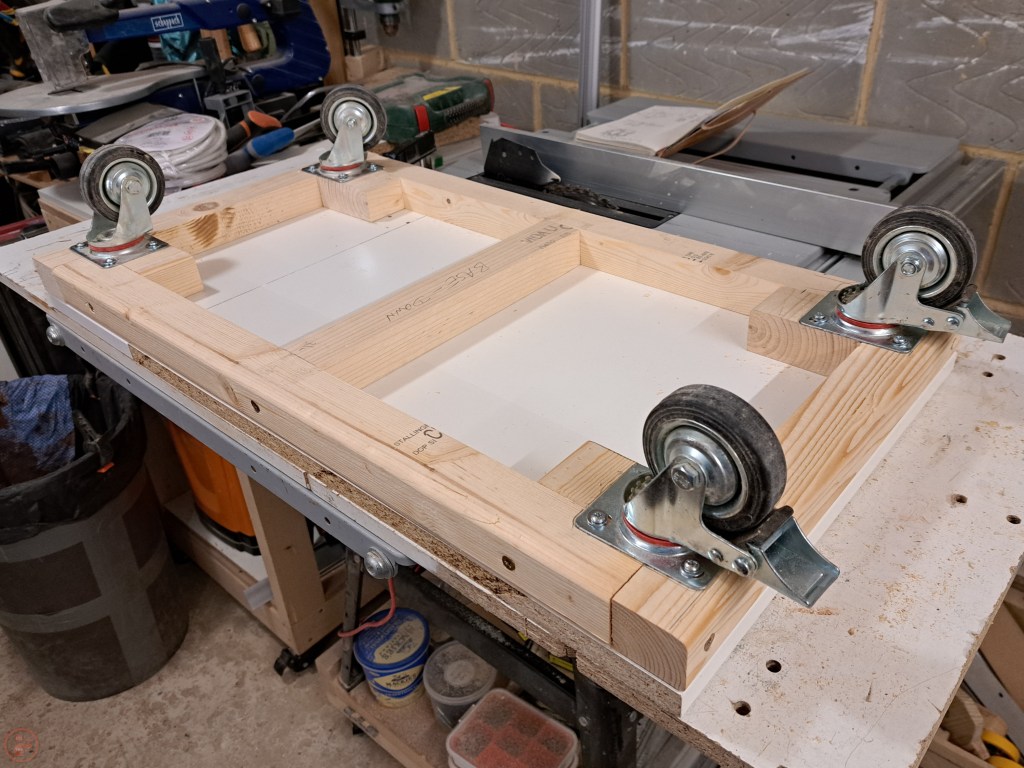
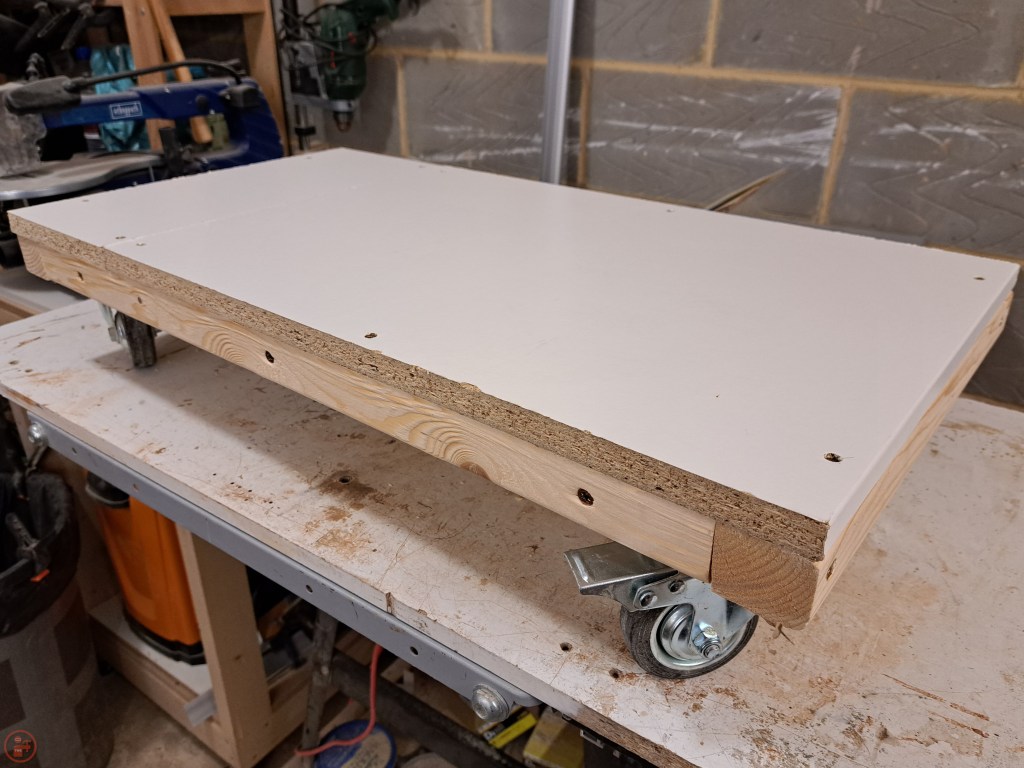
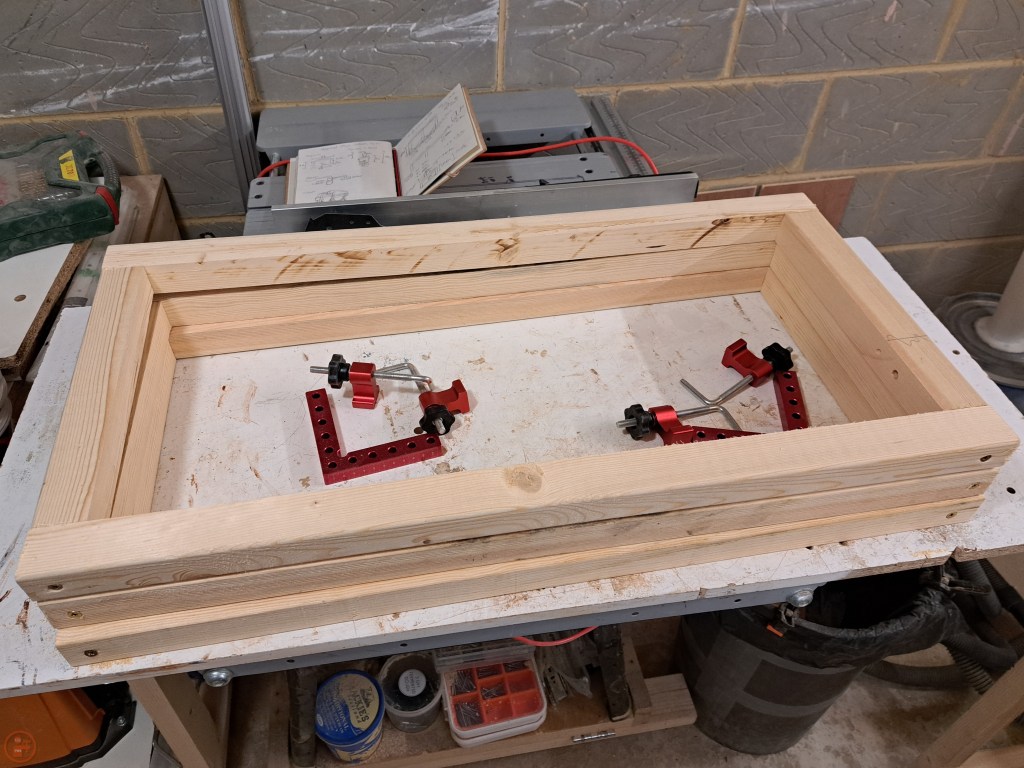
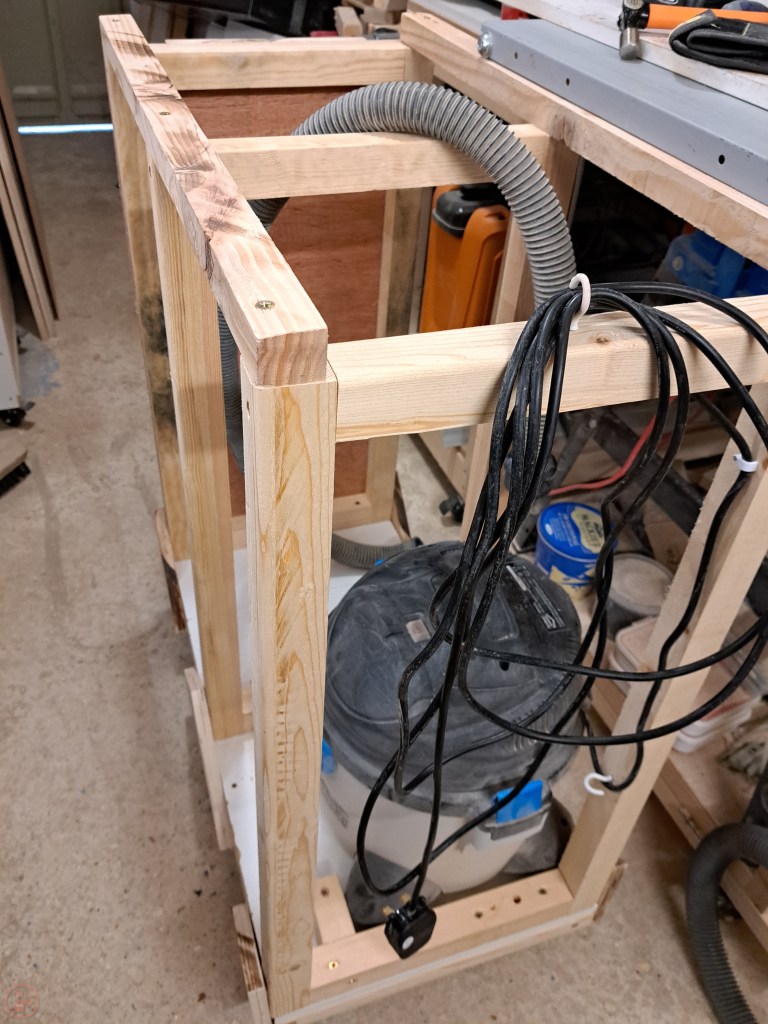
I then turned my attention to making a new dust collection cart, to replace the old one which had become somewhat unstable through constant use. I made a solid frame for the base using some left over construction lumber and fitted some salvaged white melamine-coated chipboard to the top with screws. I find the melamine really easy to clean, so it’s good to use for dust collection surfaces. I mounted some casters to the underside of the frame, using some additional blocks to give me sufficient area for all four screws.
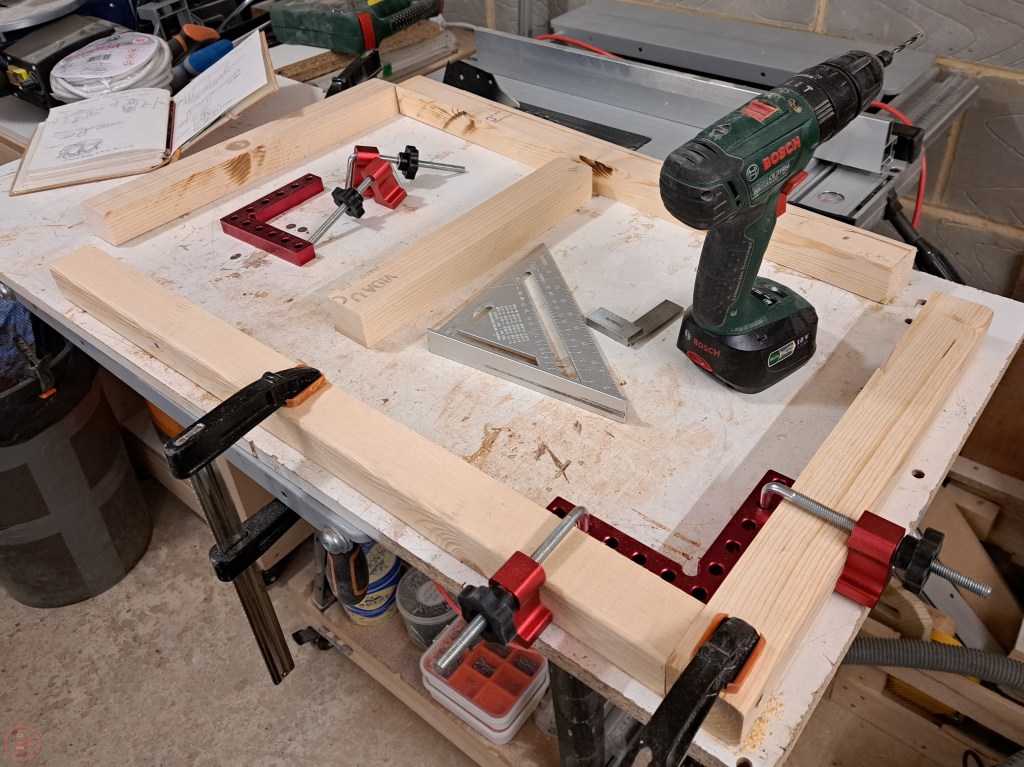
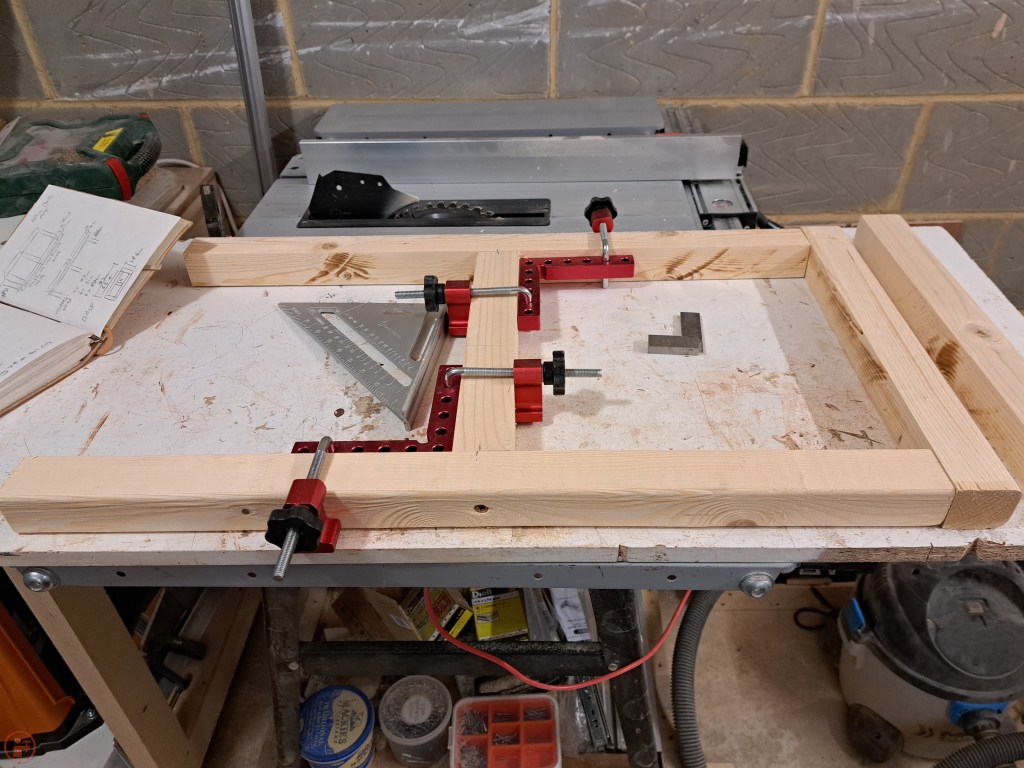
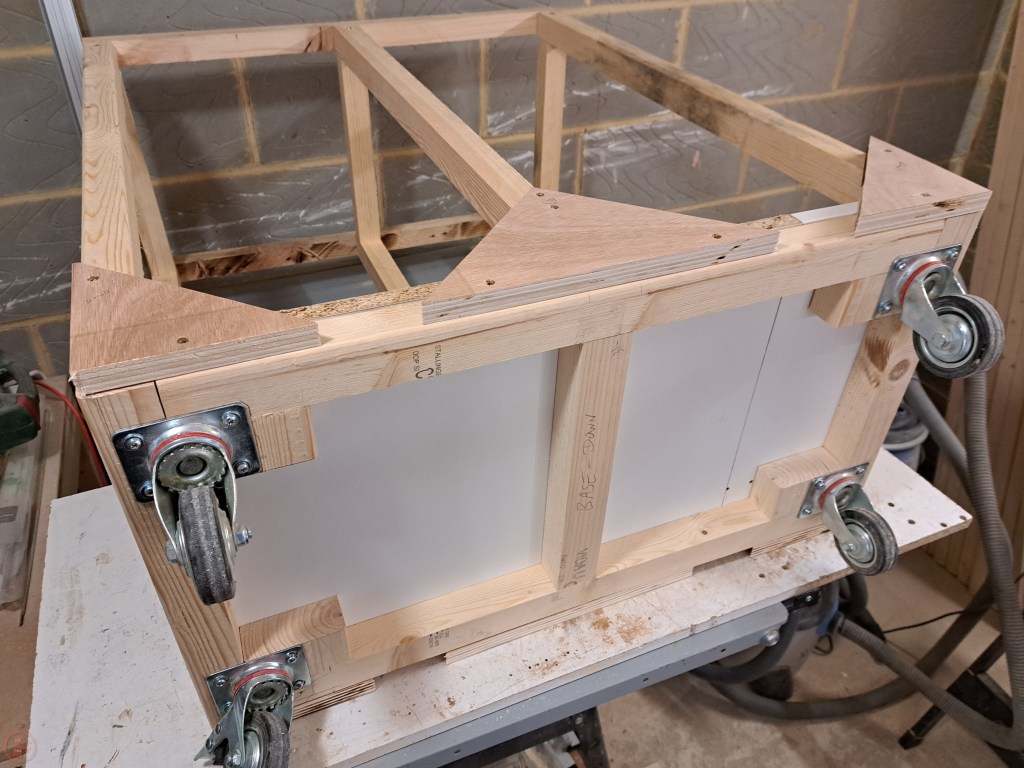
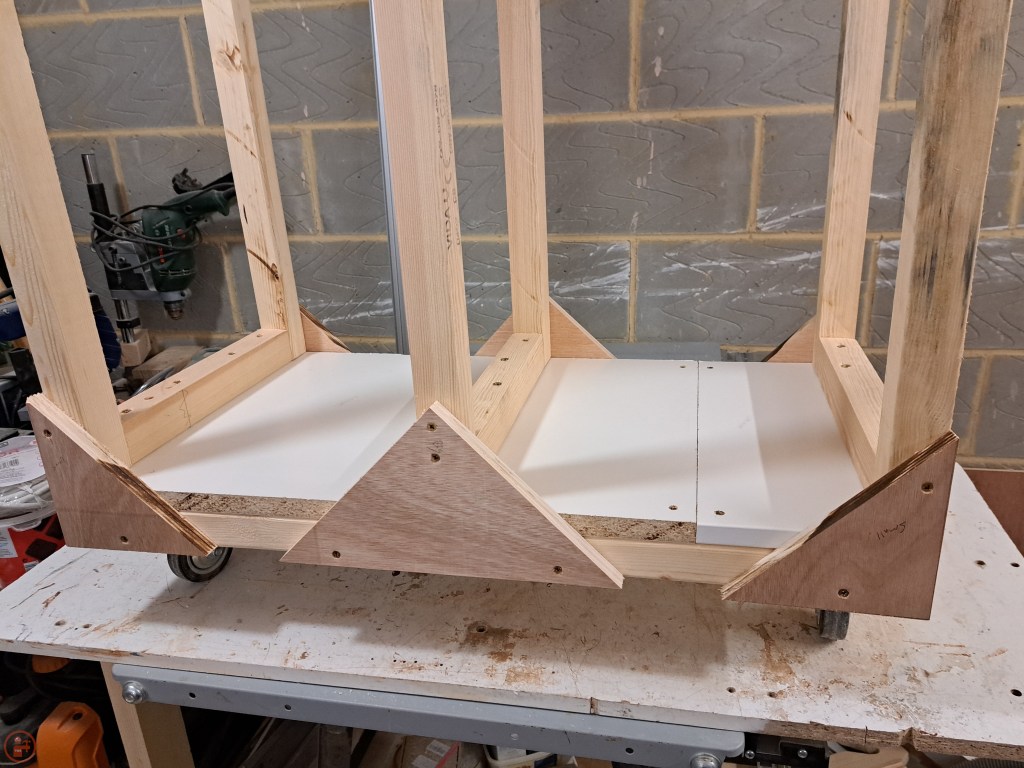
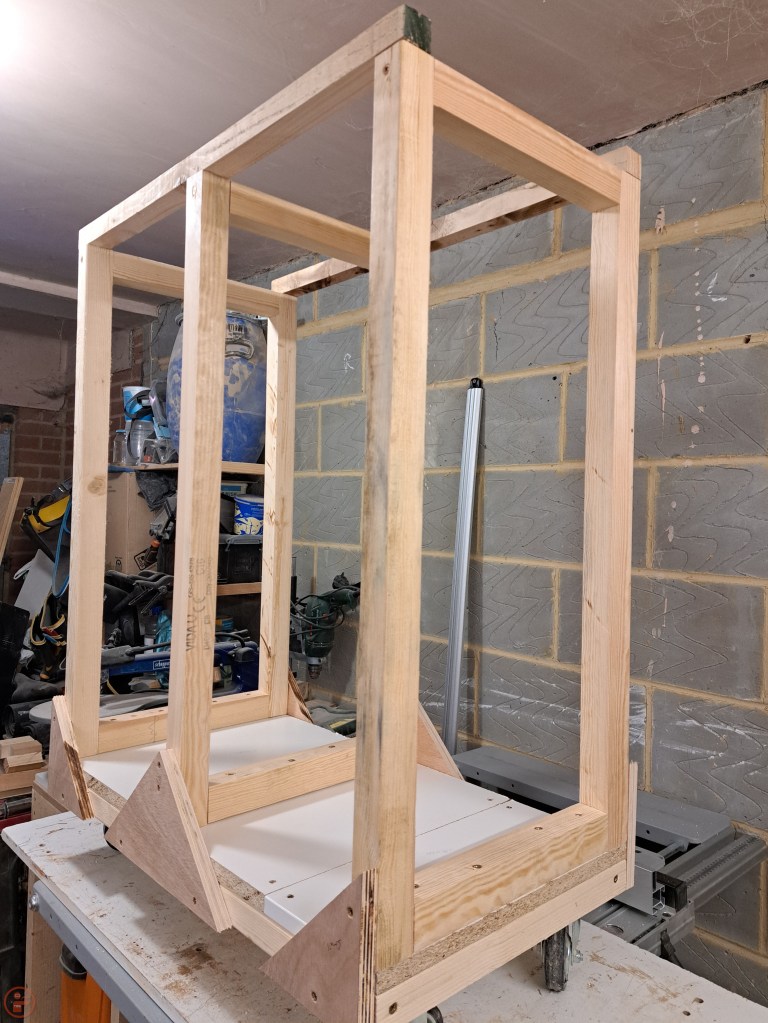
I made three frames and secured these to the base with more screws. I added triangular bracing for additional support and fitted two additional bars across the top to hold the frames in place.

I screwed a plywood panel on one end to hold the hose selector and then added some blocking to secure the shop vac in place on the cart.
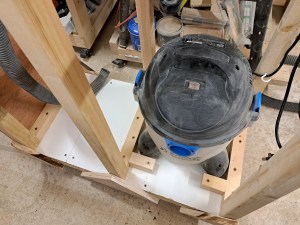
It was then a case of connecting up the wiring and drilling a hole through the plywood panel at the right height for the hose going to the cyclone. I drilled a hole in another scrap piece and secured that to the top to guide the hose from the shop vac up to the top of the cyclone.
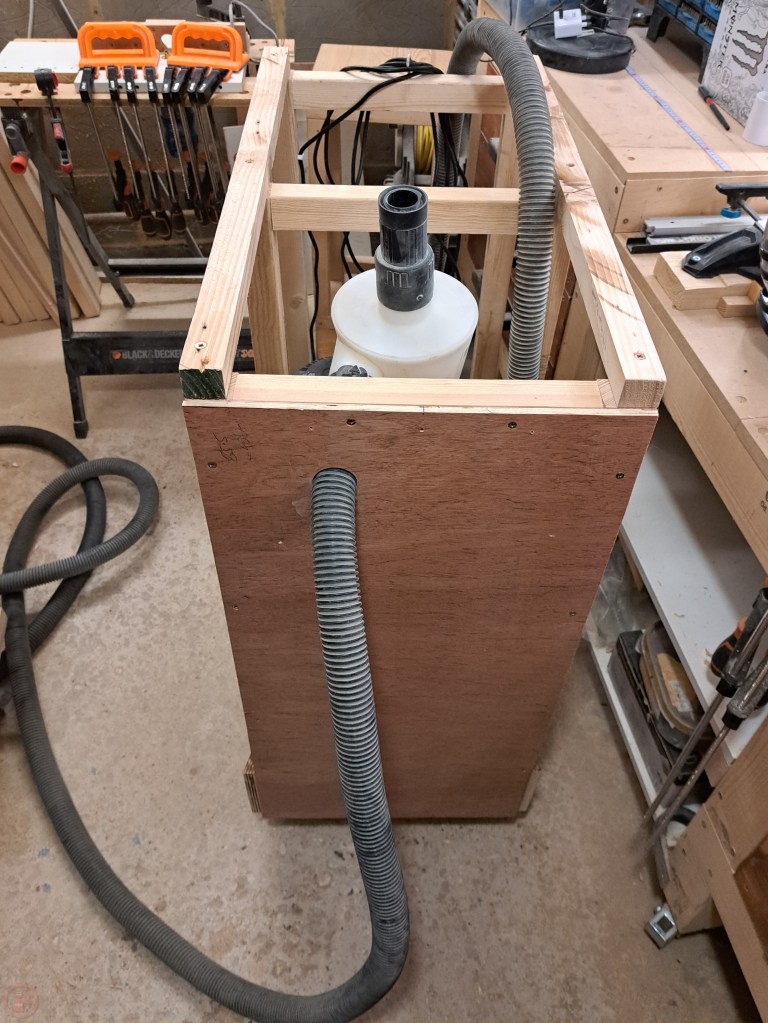

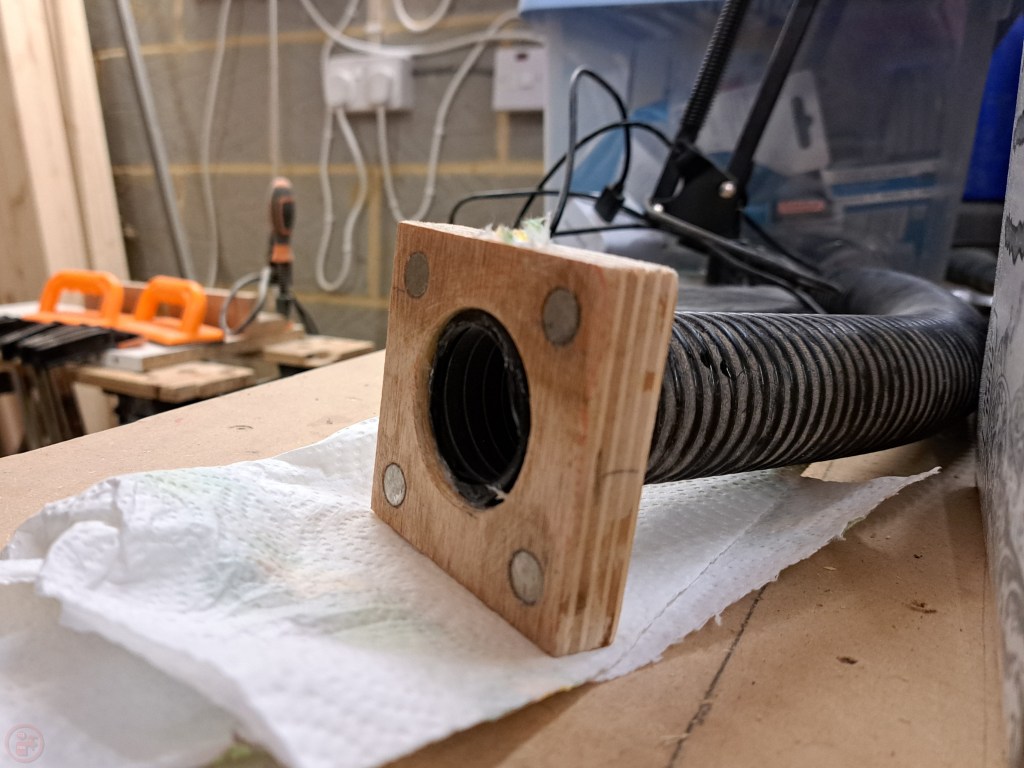
I trimmed the hose into the cyclone to the right length and then glued on the selector block to the end using some solvent cement (smells incredibly strong so recommend doing outside if possible!). This dried quite quickly and left a solid connection. I repeated this for four more hoses which I connected up to each of the splitter holes. At this point the workshop felt a little full of snakes, with the number of hoses all piled up in one place!
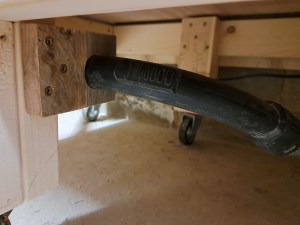
While the glue cured, I made a final hose bracket for the short length of hose under the mitre saw bench going up to the mitre saw. I figured this made it a lot easier for reorganising the workshop, as this way I simply connect the long hose into the easily-accessible connector under the mitre saw bench, rather than have to re-route the hose into the mitre saw every time I decide to move things around a bit.
Once the glue was fully cured I gave the setup a test – it worked perfectly! I easily switched between table saw, a hose for a boom arm (project coming in a future blog post!), my shop cart (with scroll saw, drill press stand etc), and the mitre saw bench.
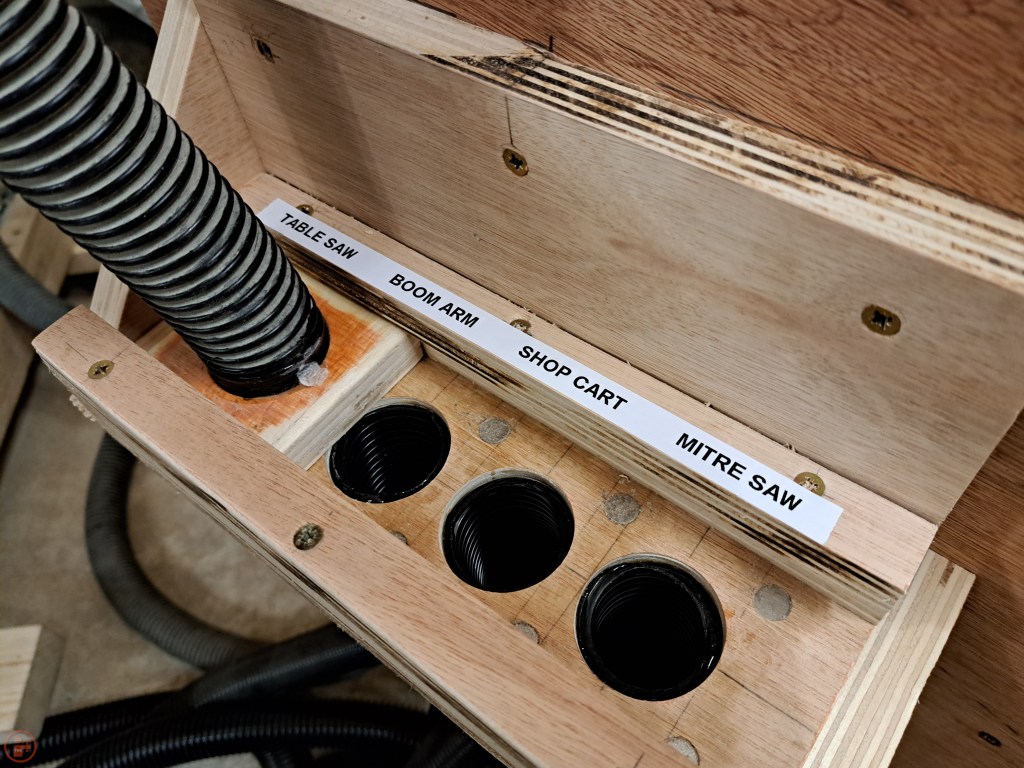
The final step was to add a label using my label maker to remember what each of the splitters connects to! I’m looking forward to how much easier this will make switching between tools and moving round the workshop without a hose permanently in the way. Plus it will save me time too, more time I can spend making things!🔨

1 thought on “Upgraded dust collection setup – air splitters”