The mitre saw is one of the greatest dust-producing tools I have! I decided I needed to upgrade the dust collection setup around the mitre saw to reduce the amount of dust being emitted into the workshop.
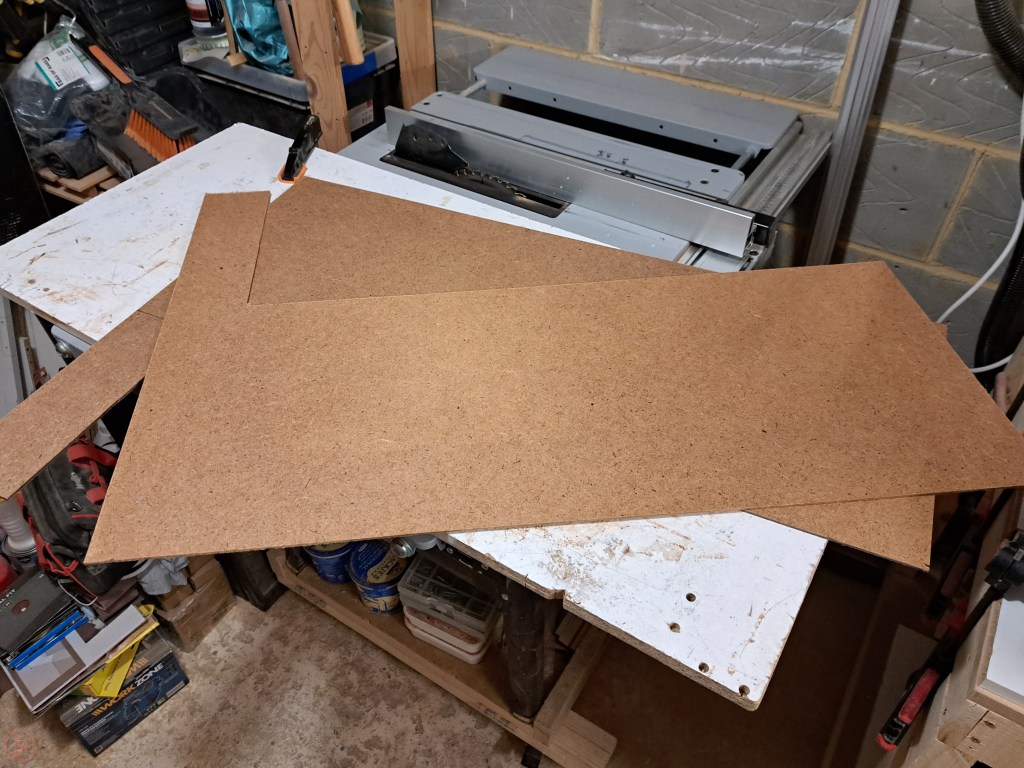
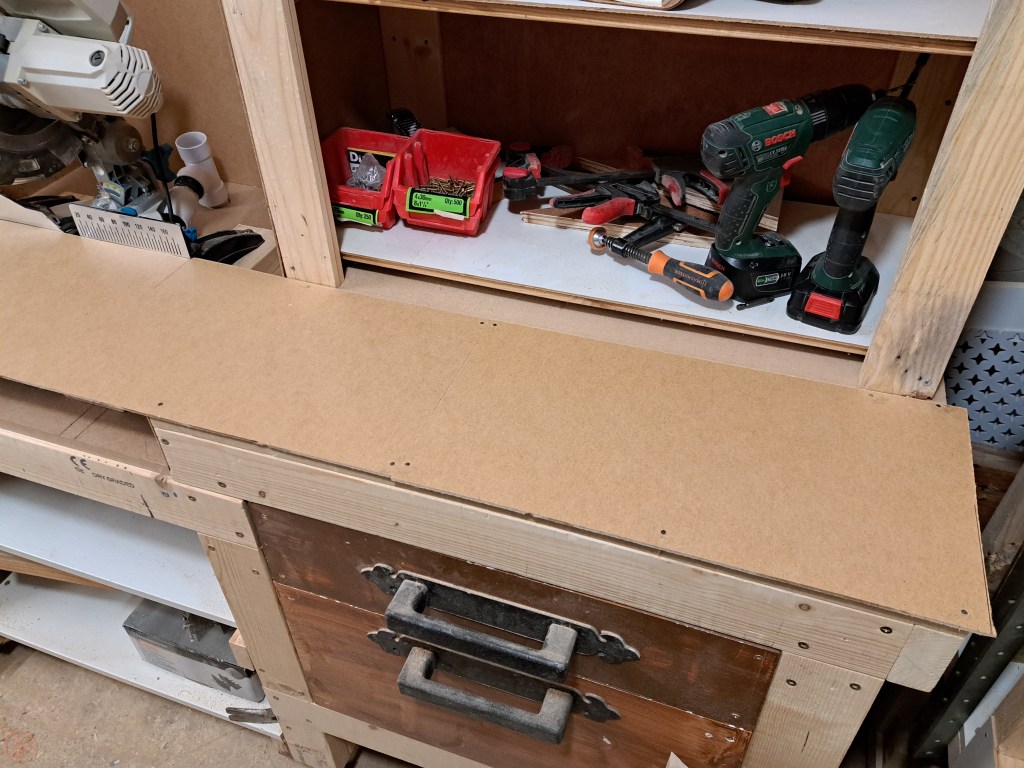
I realised the most effective setup would be to fully enclose the mitre saw as much as possible, with effective dust collection behind the saw to capture all the generated sawdust. I started by cutting some hardboard to fit the side of the shelves on top of the bench, as well as the opening into the lower drawers space.
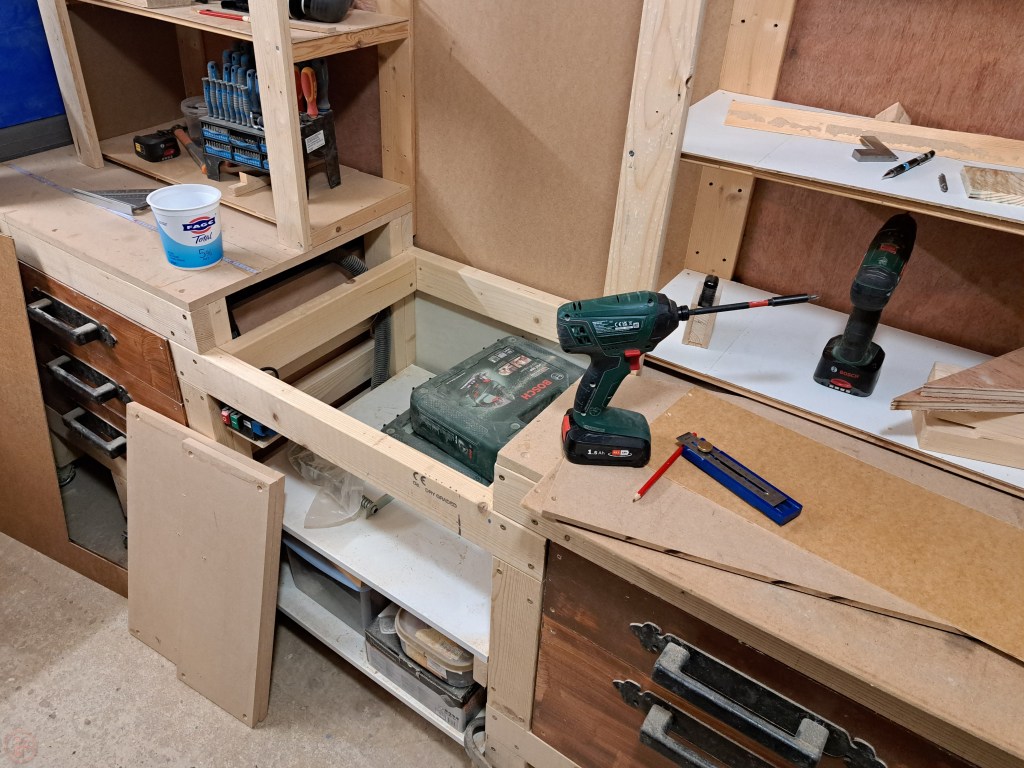
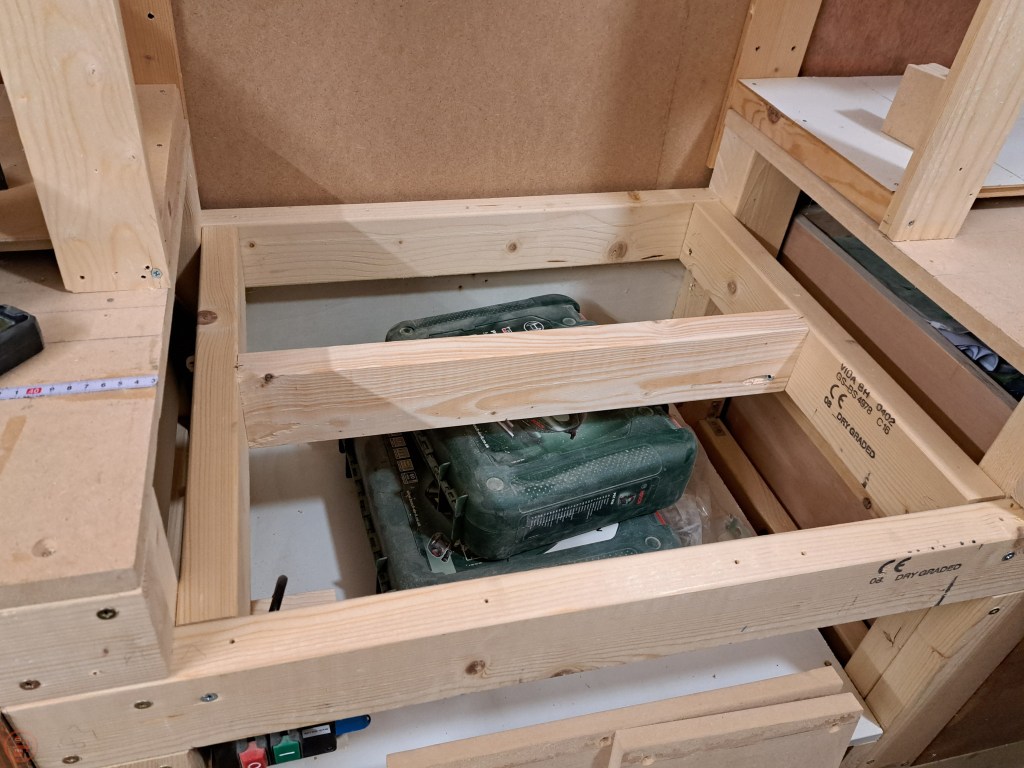
I then removed the mdf surface from under the mitre saw and added in an additional centre bracing 2×4.
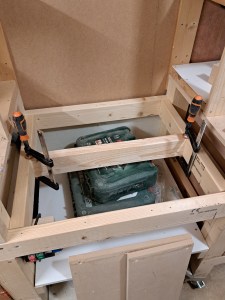
I used a pocket hole jig I acquired from a colleague who no longer needed it to drill holes in the 2×4 and connect it to the existing frame. As the centre bracing is not taking a huge amount of weight on its own, it doesn’t need to be a super strong construction.
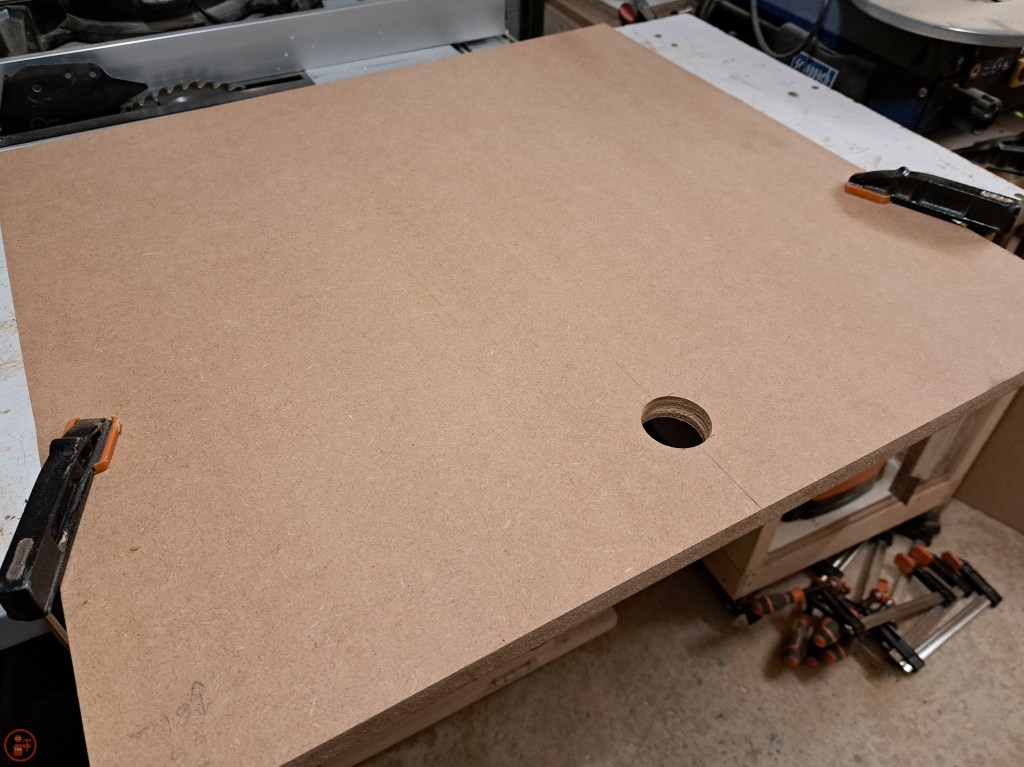
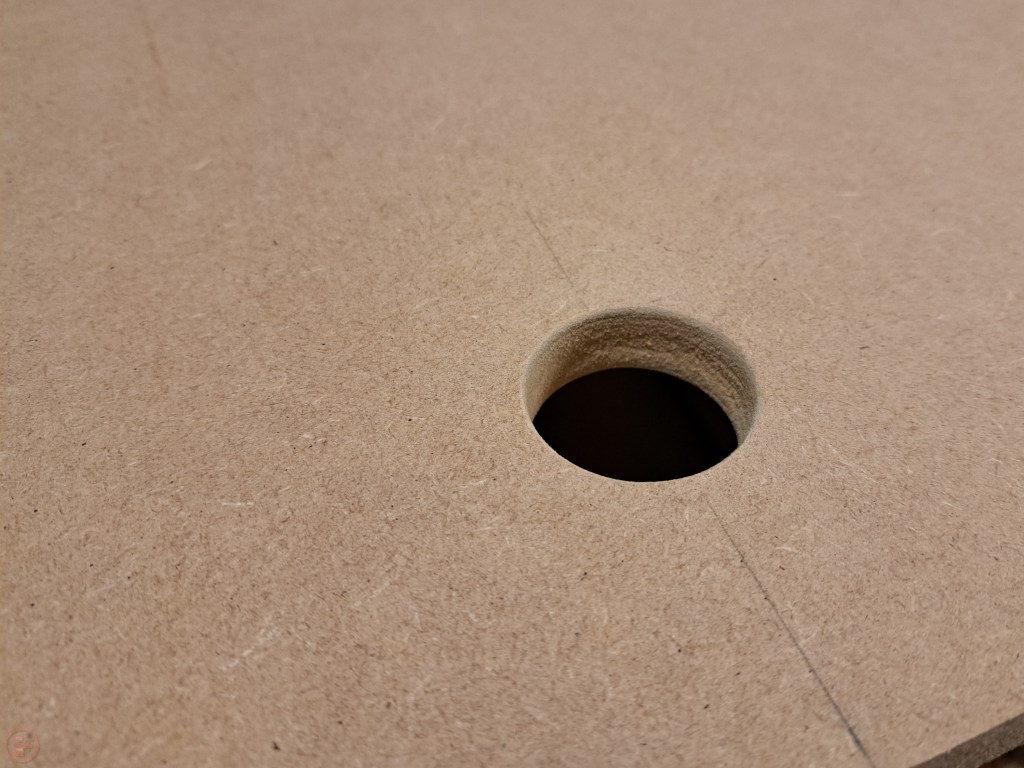
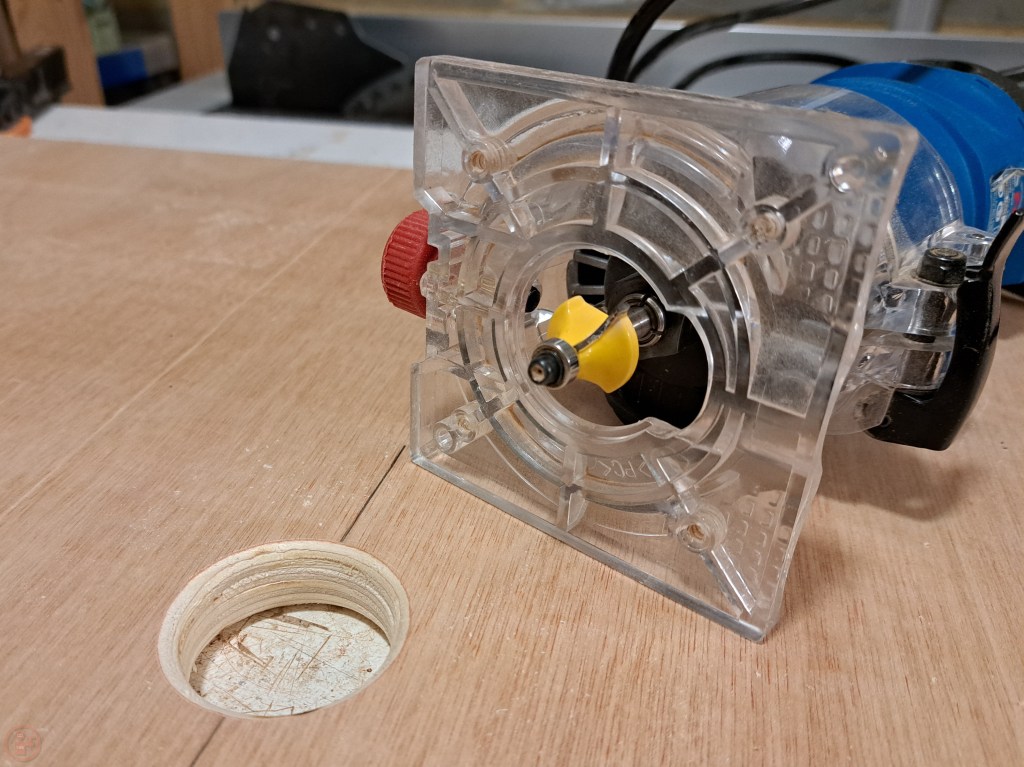
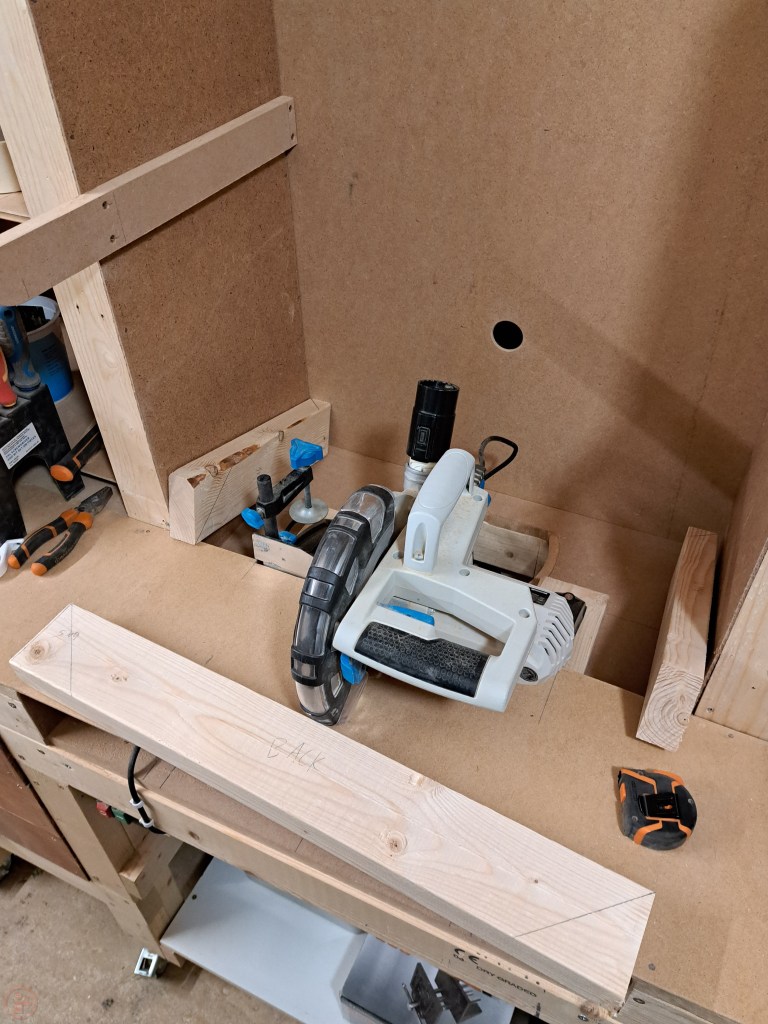
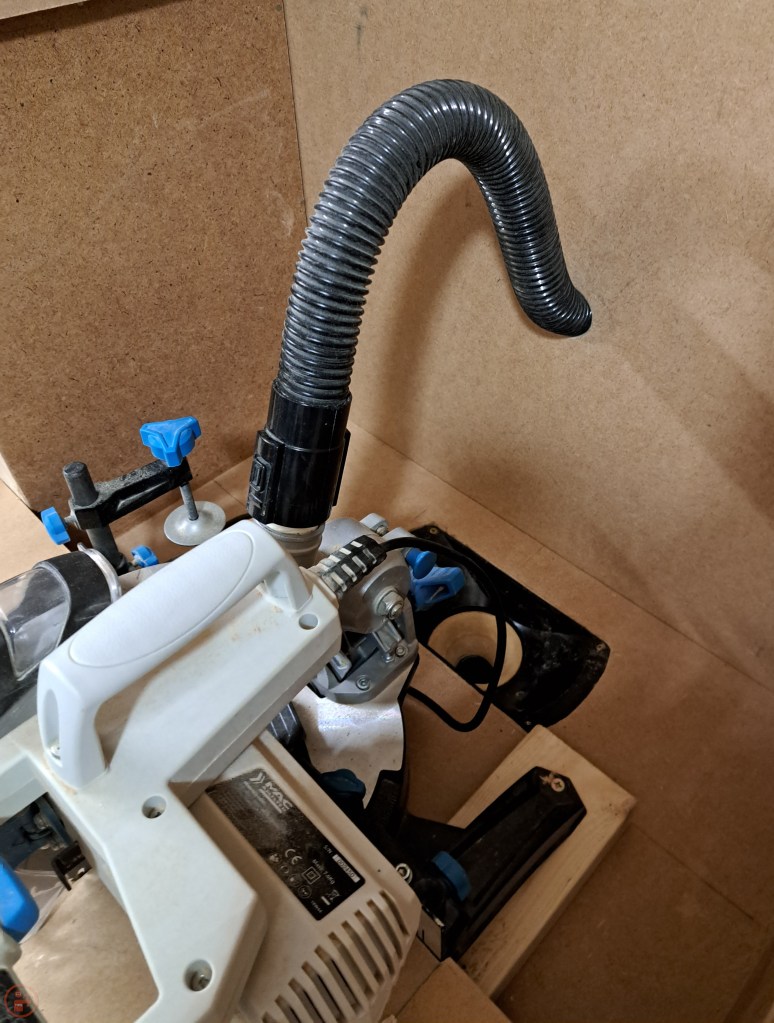
I then replaced the two smaller pieces of mdf with one larger 18mm piece, which I drilled a hole to feed the dust collection hose through. I used my palm router to add a roundover to both sides of the hole, so the dust hose wouldn’t snag on the sharp corners.

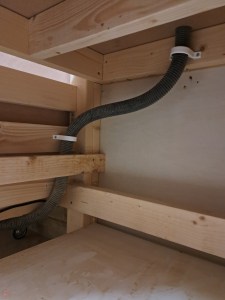
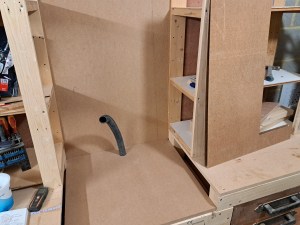
I removed and re-fed the dust collection hose under the mitre saw bench, using plastic pipe brackets to secure the hose in place.
I guided the hose up through the hole in the mdf panel and then secured the panel in place with screws.
I clamped the hardboard I cut to size earlier in place, resting the bottom on top of the new mdf surface. I used small tacks to secure both hardboard pieces in place to create the first part of the enclosed area around the mitre saw.

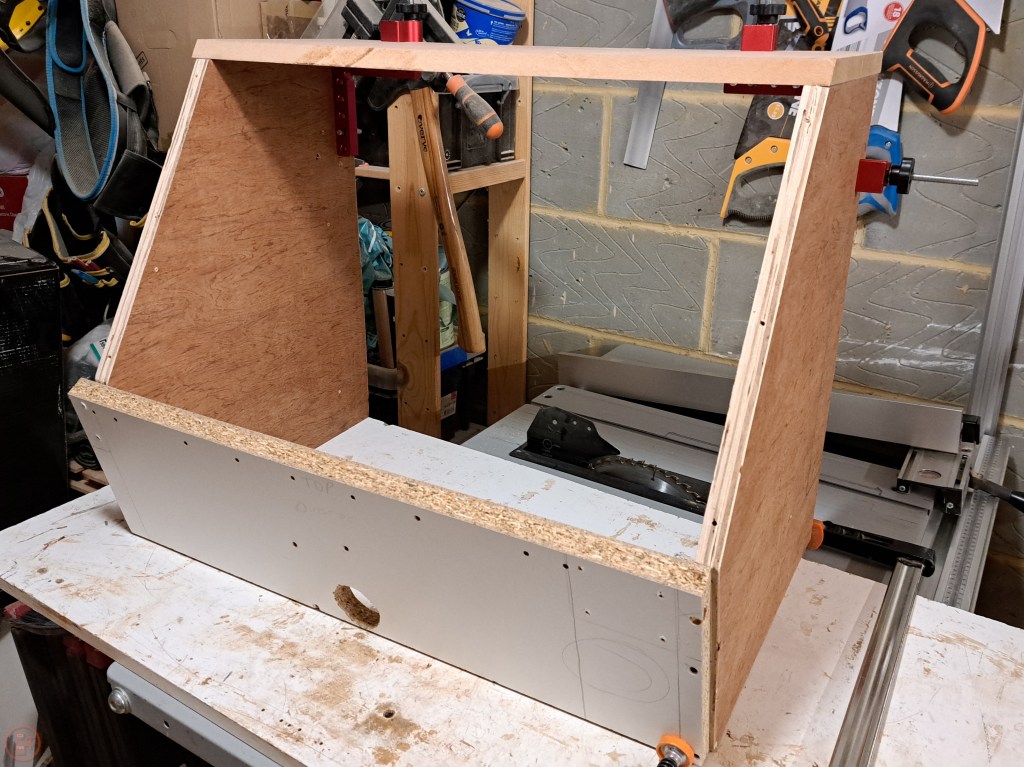
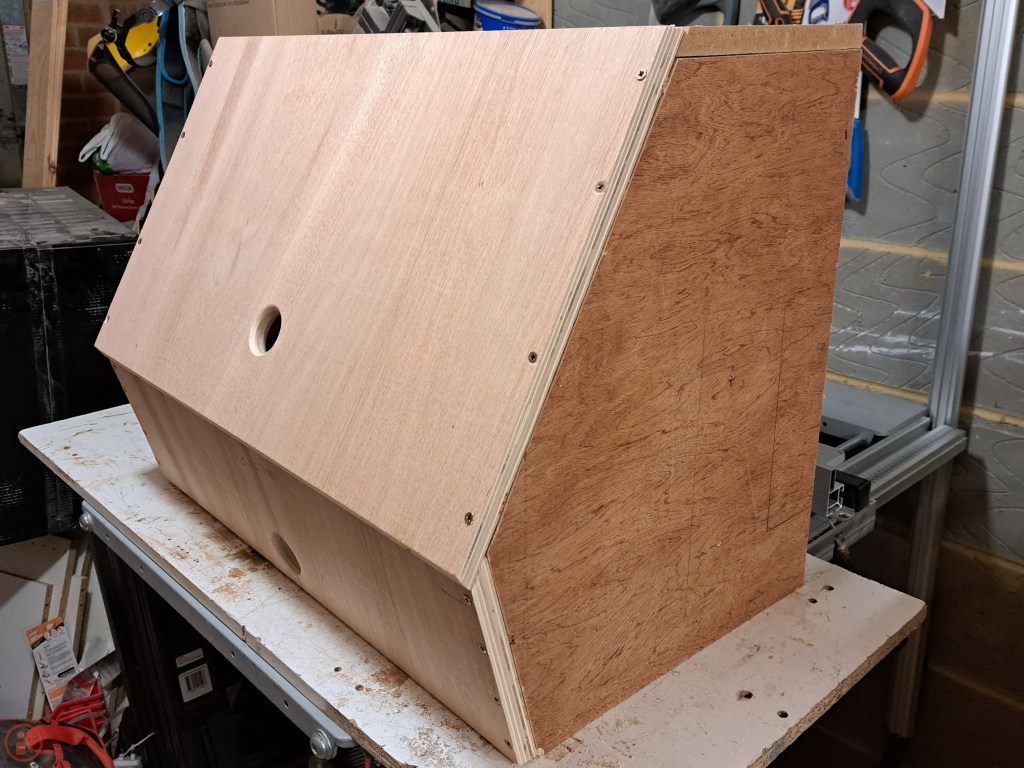
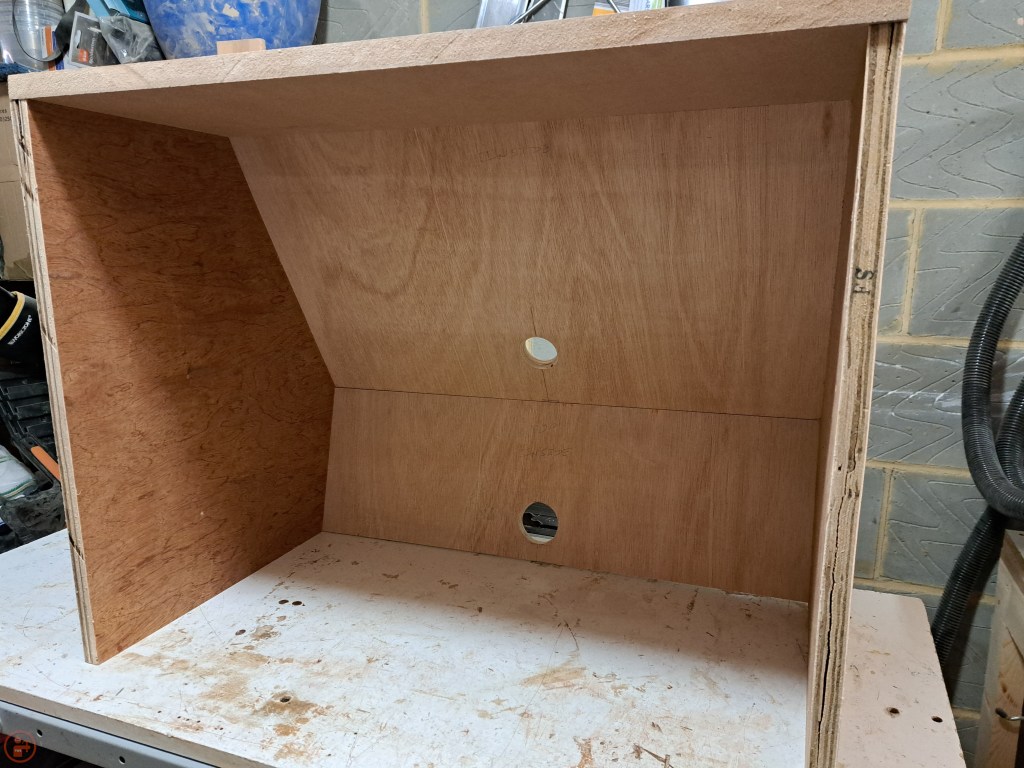
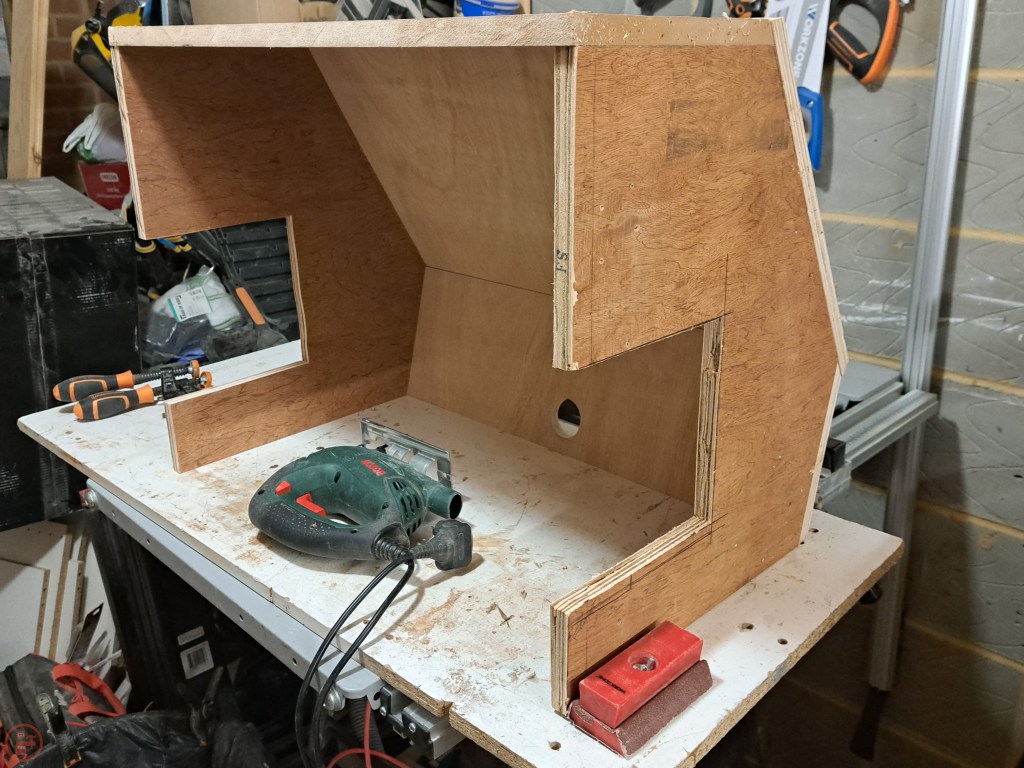
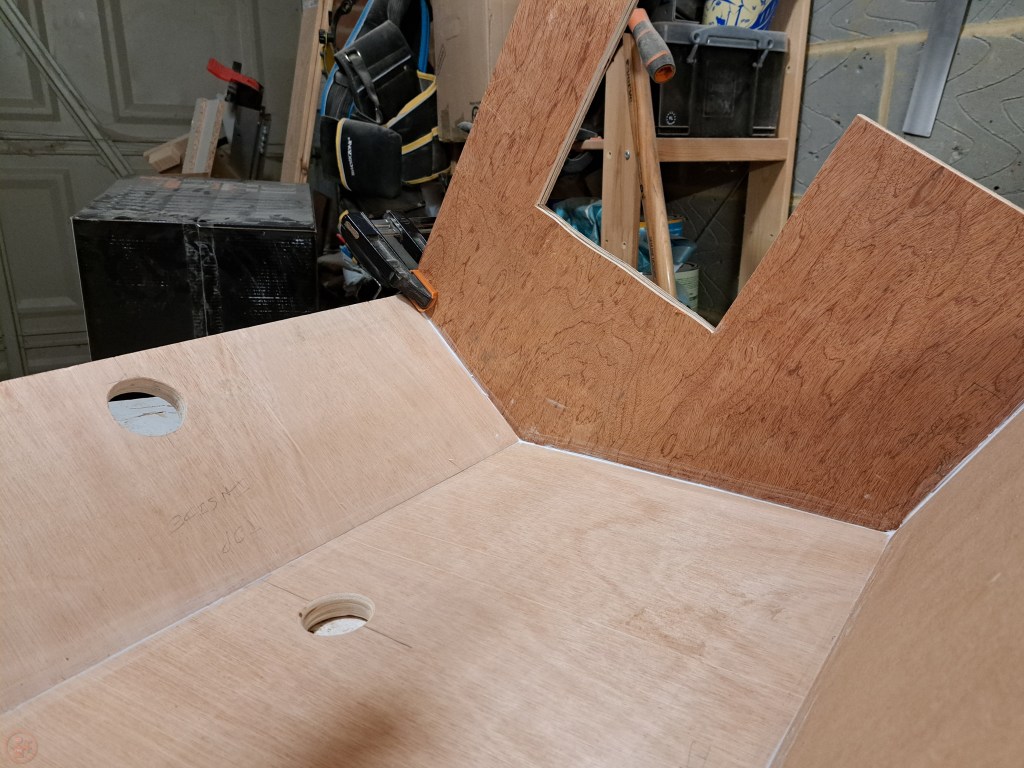
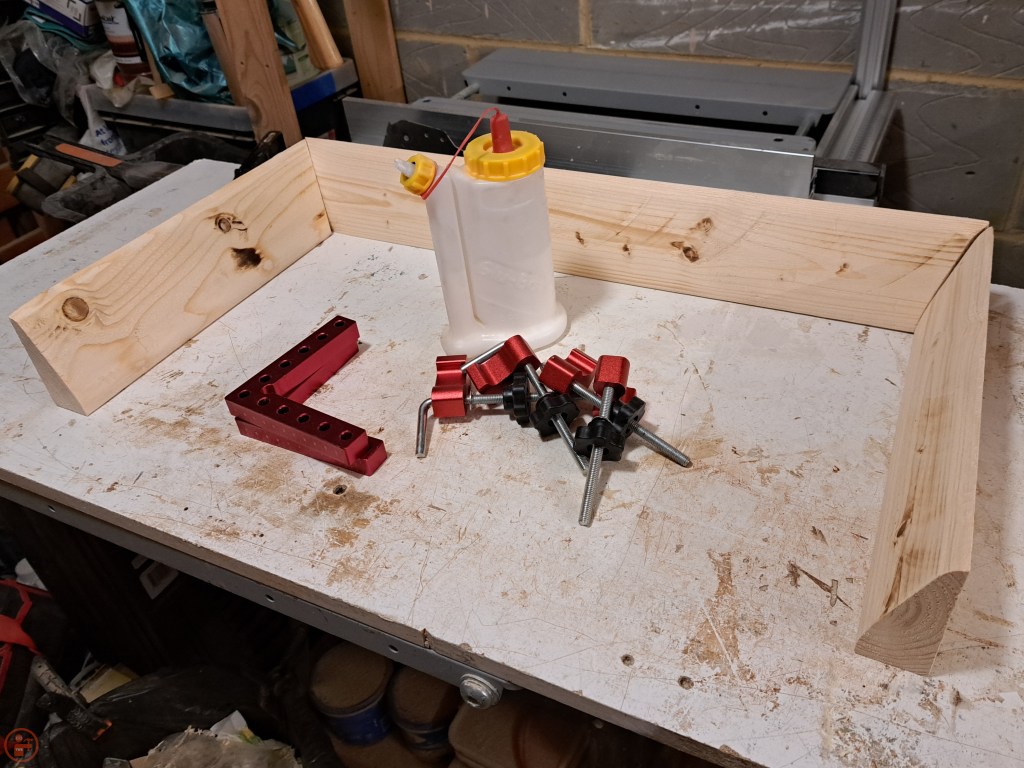
I wanted to fit a shelf above the mitre saw, to minimise the wasted space currently above the mitre saw. I cut some plywood pieces to make a frame to enclose the mitre saw, drilling a hole for dust collection using a large Forstner bit in my drill press stand. I again added a roundover to each side of the hole. I secured the frame together using screws only, so I can easily dismantle it if needed for future upgrades. I cut notches for lumber to fit in the side panels and then used some sealant in all of the joints to minimise the chance of any air or sawdust escaping.

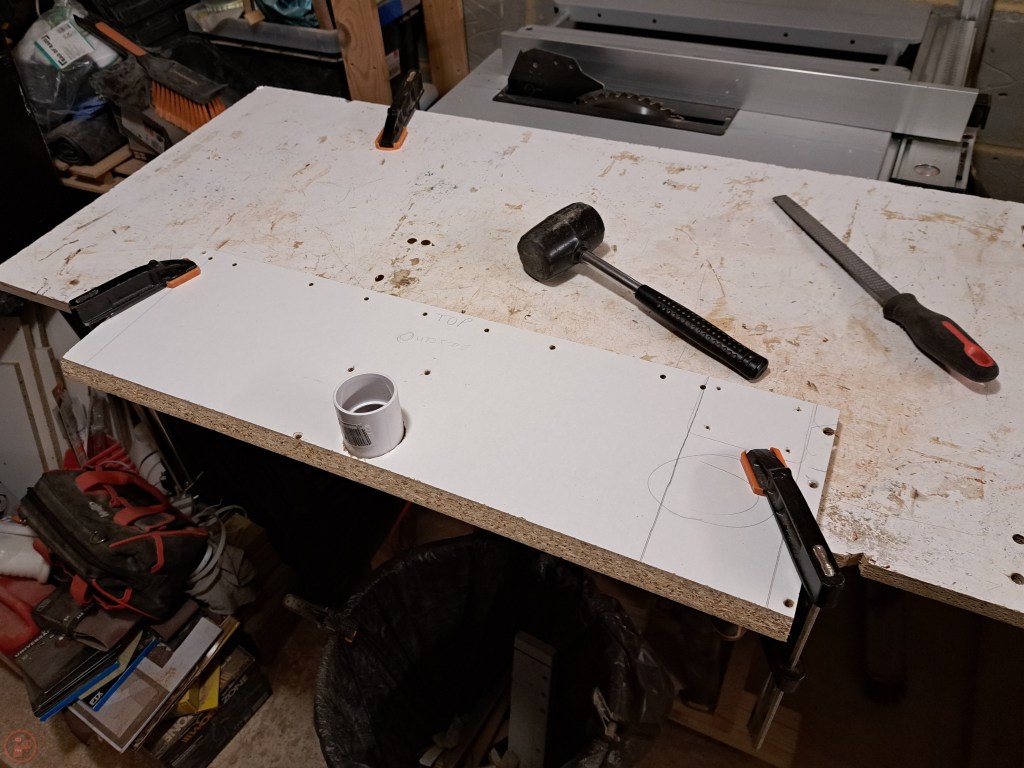
I fitted some hardboard the full length of the mitre saw bench to provide a flat surface across the top of the mitre saw.
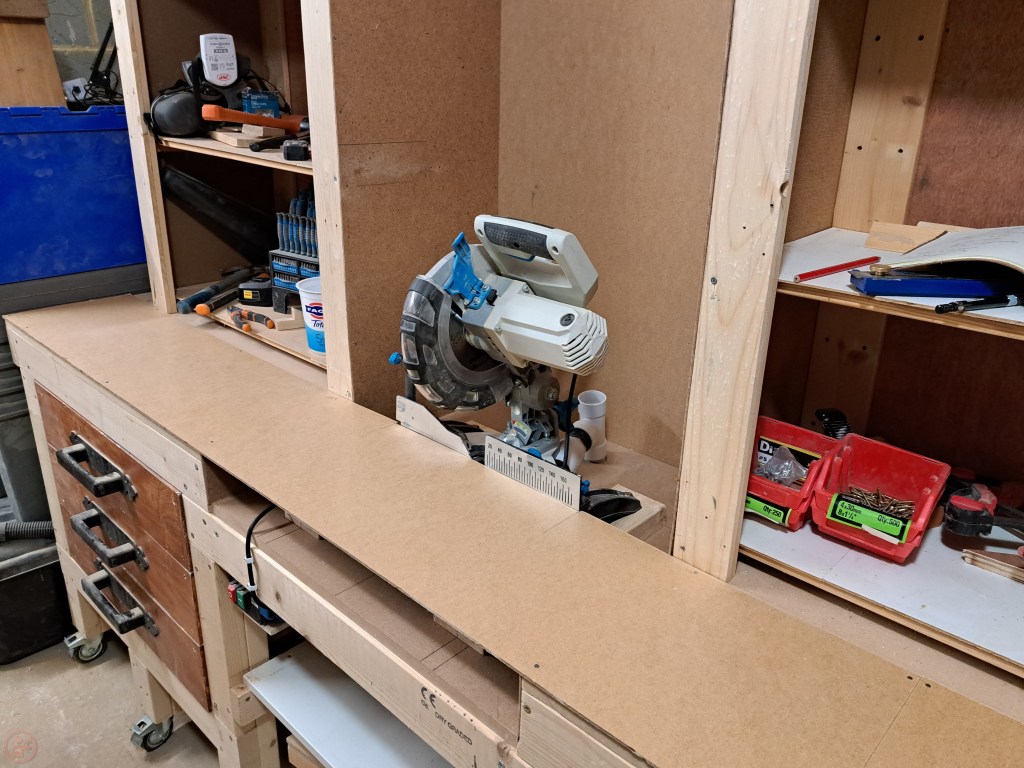
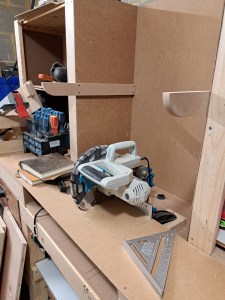
I secured the hardboard in place using small tacks and made the first cut into it using the mitre saw, providing a zero-clearance surface.

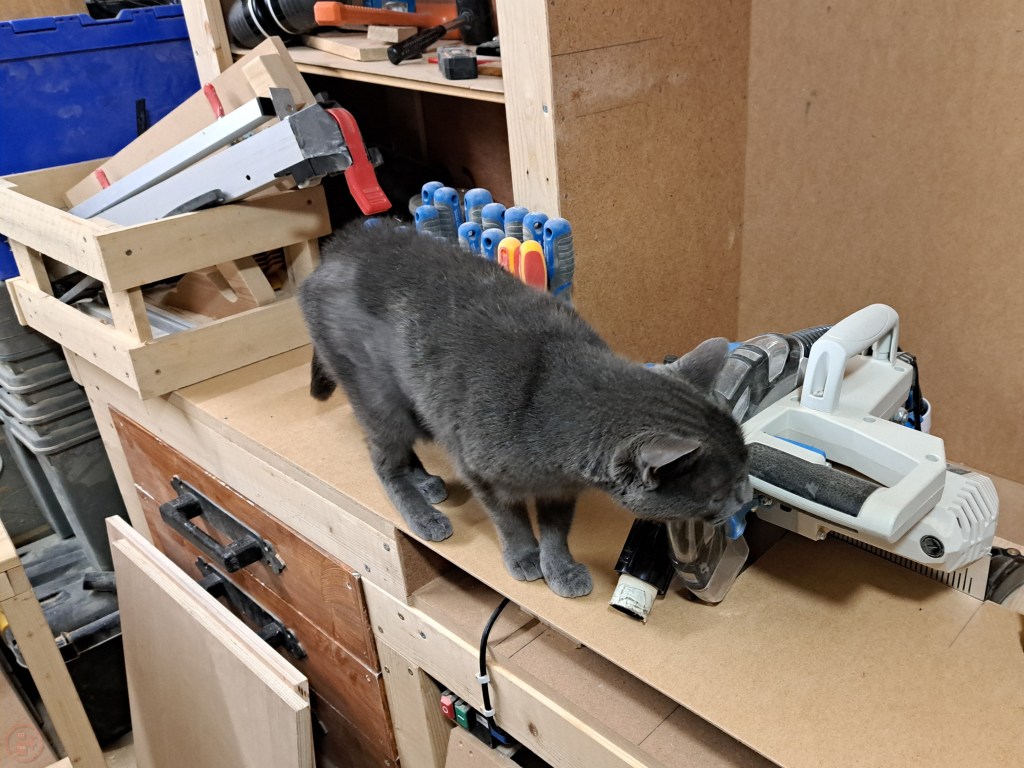
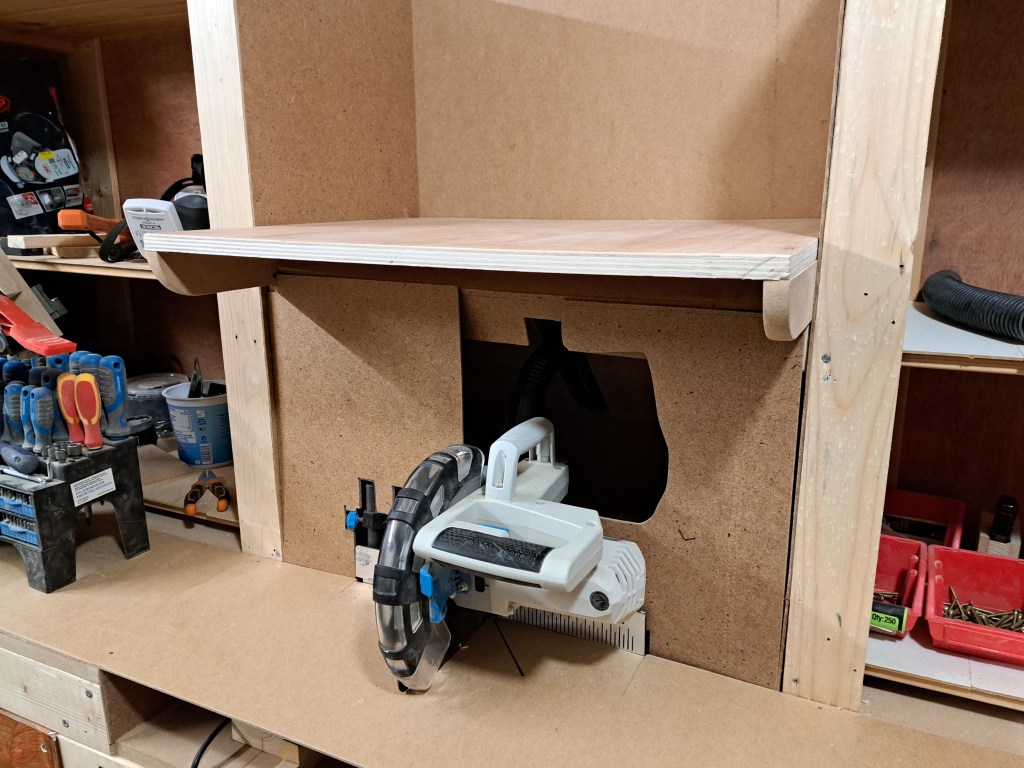
The furry shop apprentice came to inspect while I had a drink and then I marked up and cut some 18mm mdf strips to act as the shelf supports.

I added a curve to the underside of the front to make it less likely for me to injure myself when (not if!) I hit my hands on it. I screwed the shelf supports in place, ensuring both were the same height and provided enough clearance for the mitre saw.
For dust collection behind the mitre saw, I decided to include a wide dust collection hood – that way sawdust would be pulled from the mitre saw dust port behind the blade, as well as from the surface behind the saw.

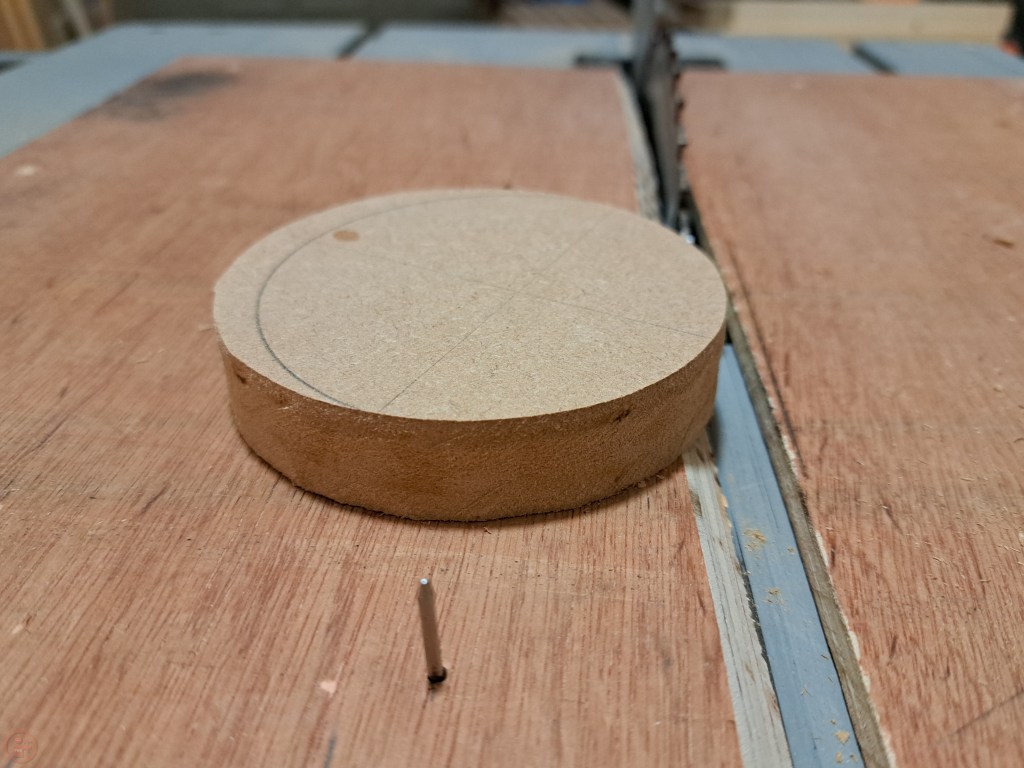
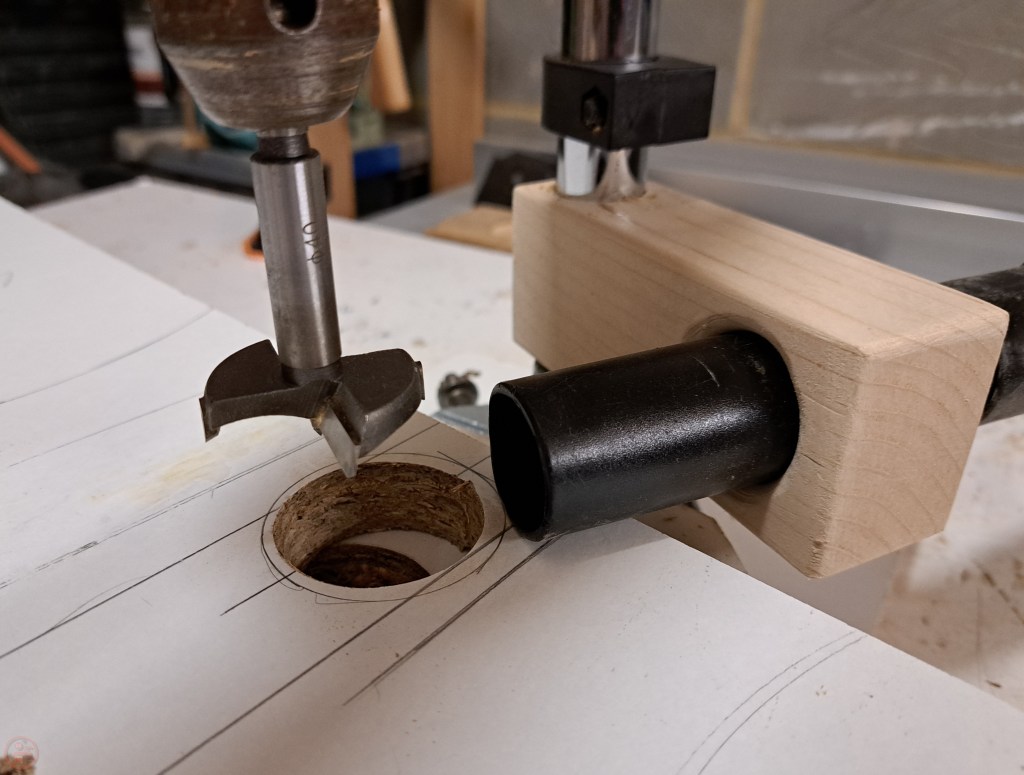
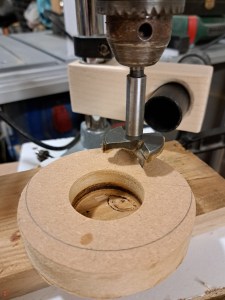
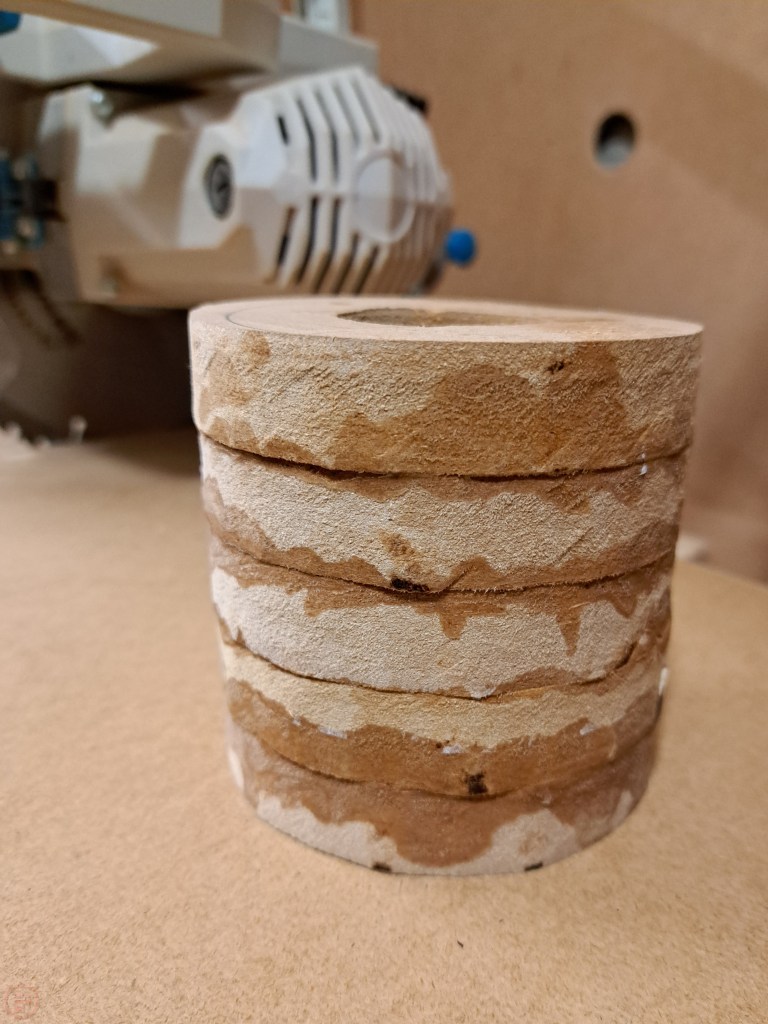
As the plastic hood was designed for larger hoses (I will need this size for future dust collection upgrades), I made a coupler out of mdf. I mounted a nail in my table saw cross-cut sled and carefully cut away the waste to leave a neat circle. I repeated this multiple times and then used my drill press stand to drill a hole through the centre of each piece.
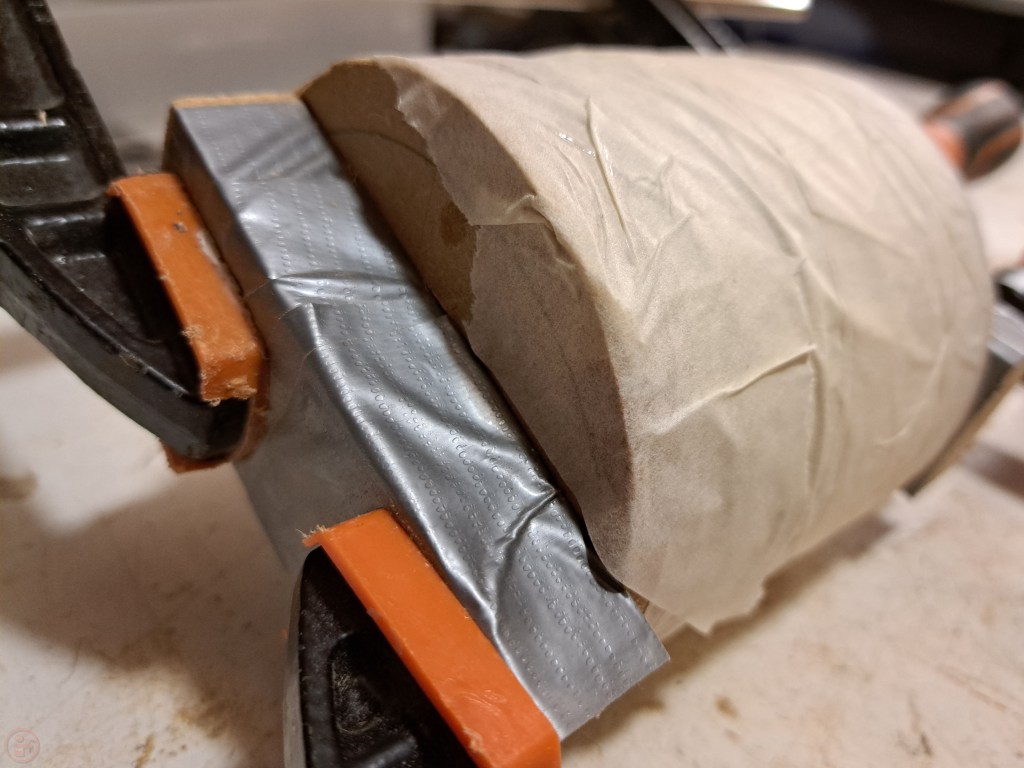
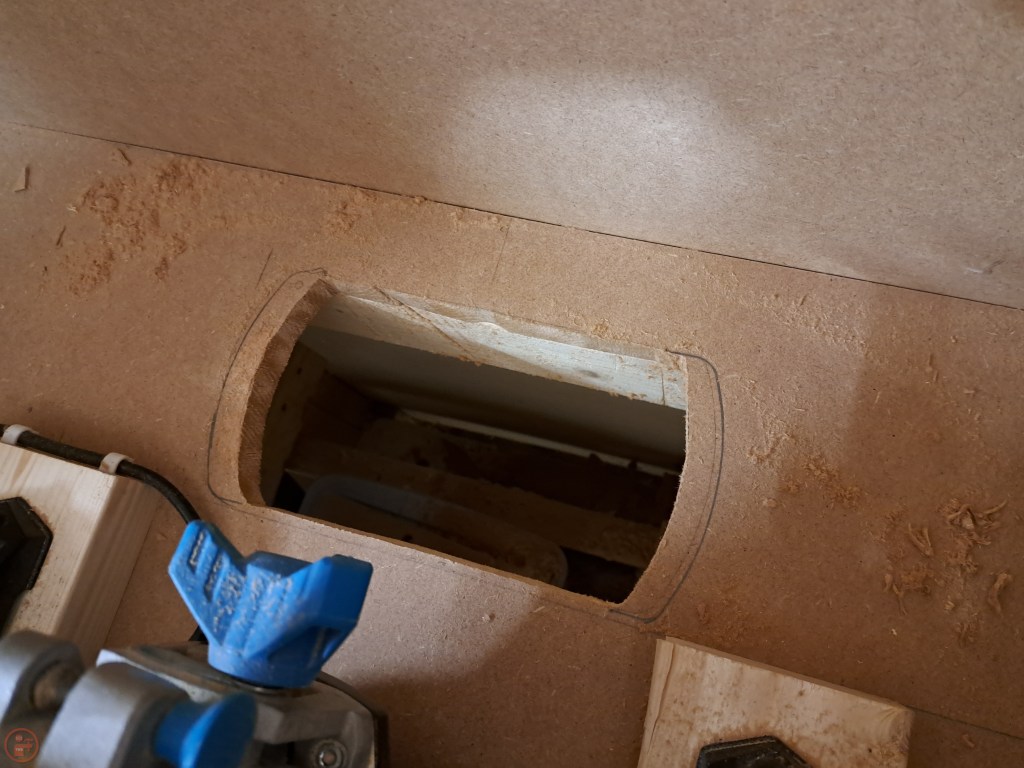
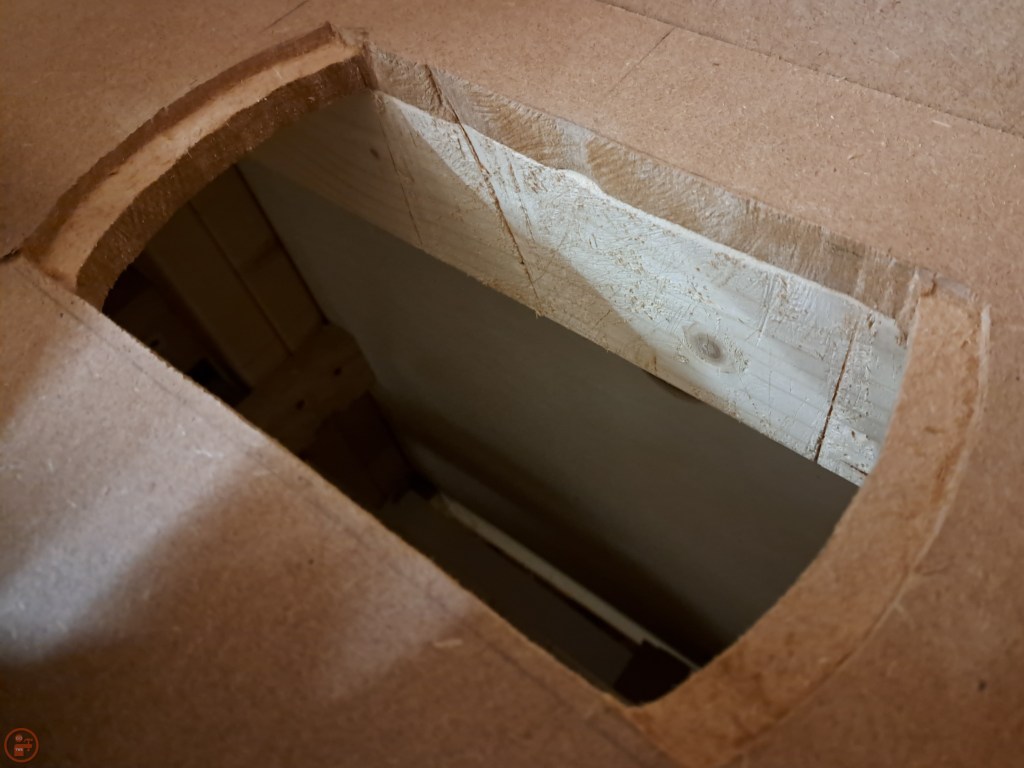
I glued the mdf pieces together and left them to dry wrapped in tape to prevent the pieces sliding about. While the glue dried, I cut a hole in the mdf surface behind the mitre saw and chiselled out a section at each end for the hood to sit flush to the table.
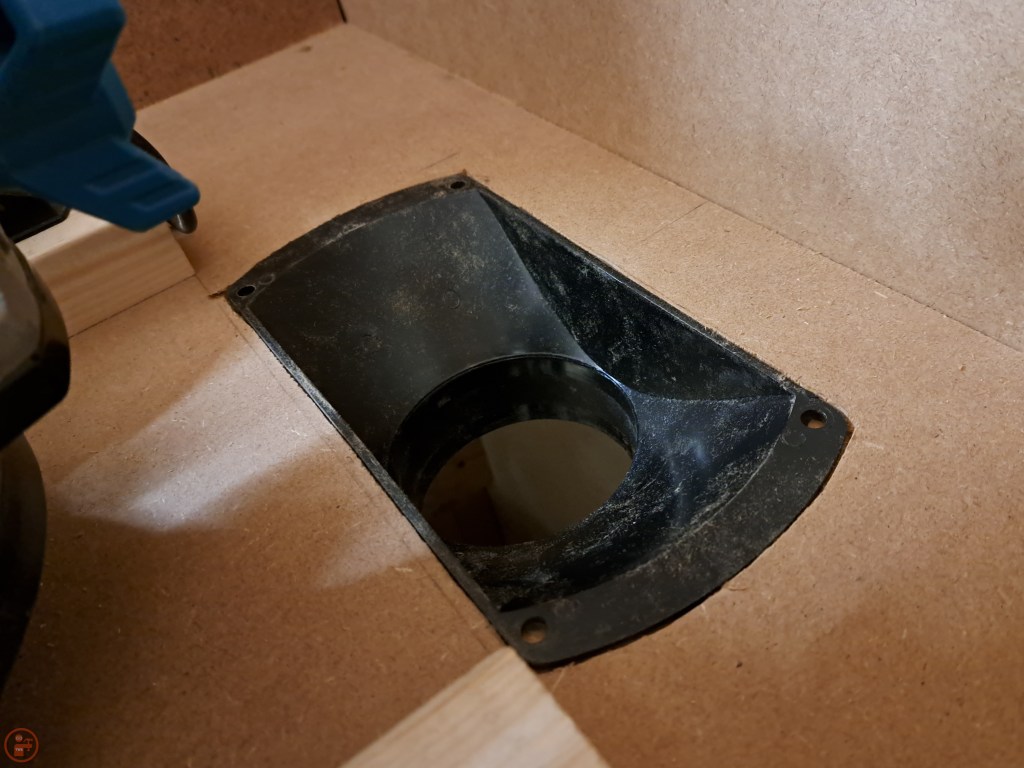
Once the glue was fully dried, I gave the mdf coupler a sand and shaped the inside into a funnel shape, to pull sawdust down into the hood.

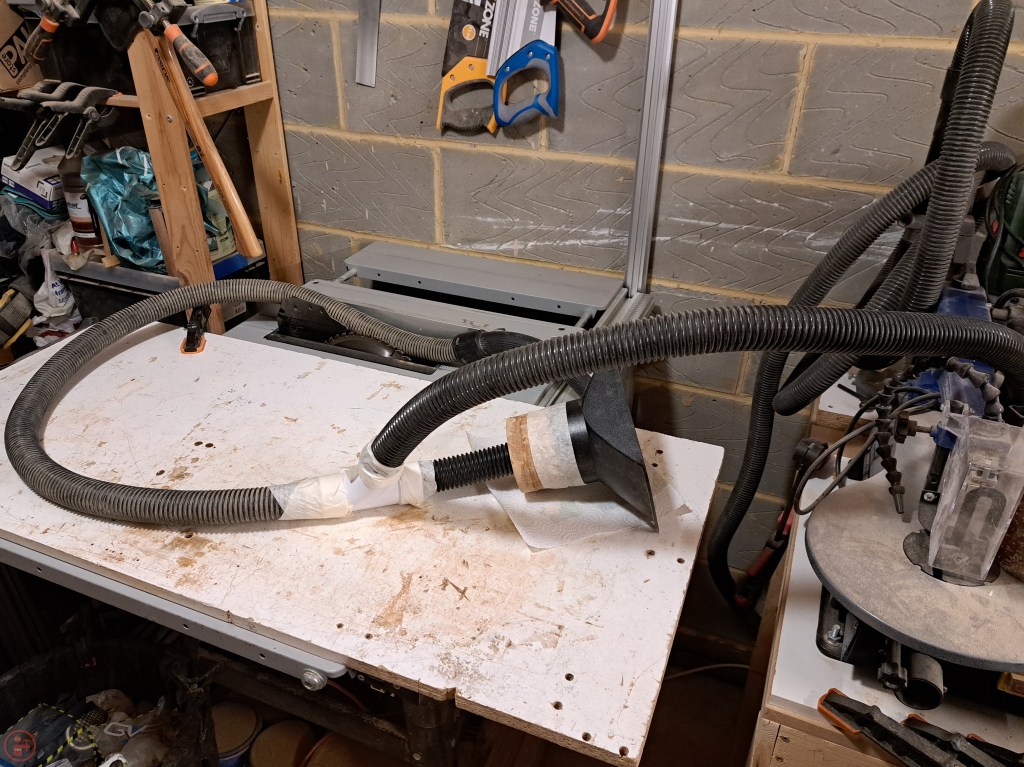
I secured the coupler into the hood and then connected up all the dust collection hoses, testing that the extraction worked successfully before mounting it all to the mitre saw bench!

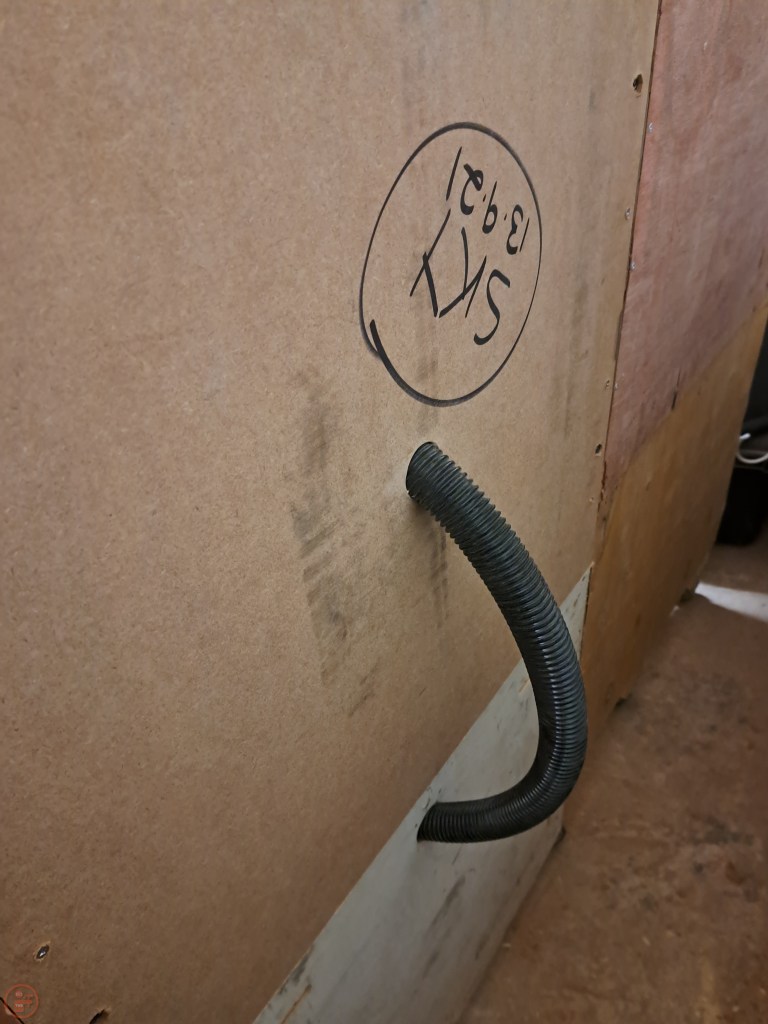
I fitted the dust hoses through the brackets under the mitre saw bench and then drilled another hole in the back panel of the bench. I fed the dust hose through from below the shelf and then connected it to the mitre saw dust port.
I discovered that the frame I had made to fit round the mitre saw didn’t fit the space, as the mitre saw bench is not quite square in places, partly because I used construction lumber with quite a large amount of tolerance in the dimensions, and also because I made it quite a few years ago, when I was a lot less accurate in what I make. I therefore decided to make an alternate version of the frame, so I would still have a surround around the mitre saw. I cut some pallet wood pieces to the right lengths and then used my table saw and mitre saw to make compound mitre joints.
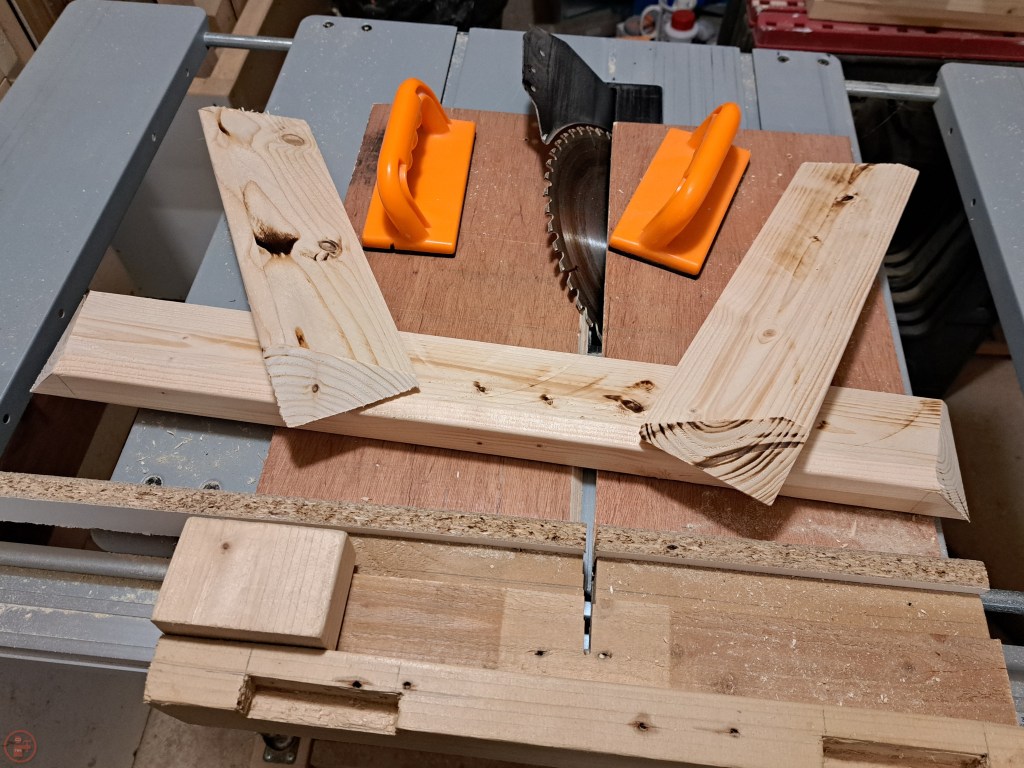
The pallet wood pieces fitted together nicely to make a frame with a sharp slope from top to bottom all the way round. I secured the pallet wood frame in place using glue and taking my time to line up the joints well.

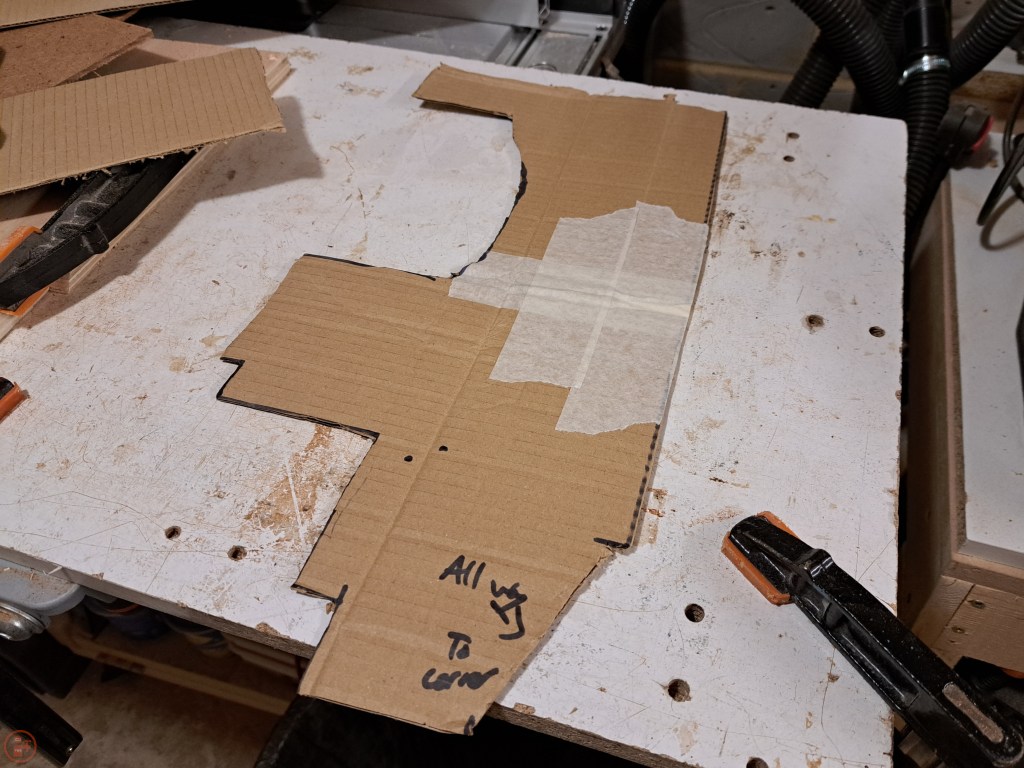
I used sealant again to fill in all the tiny gaps between the hardboard and the pallet wood frame. I wanted to add a front “curtain” on each side of the mitre saw that could be easily removed for making angled cuts. I did some experimenting with some cardboard, cutting away sections and taping extra bits on. Once I had the shape figured out for each side, I cut it out of hardboard.


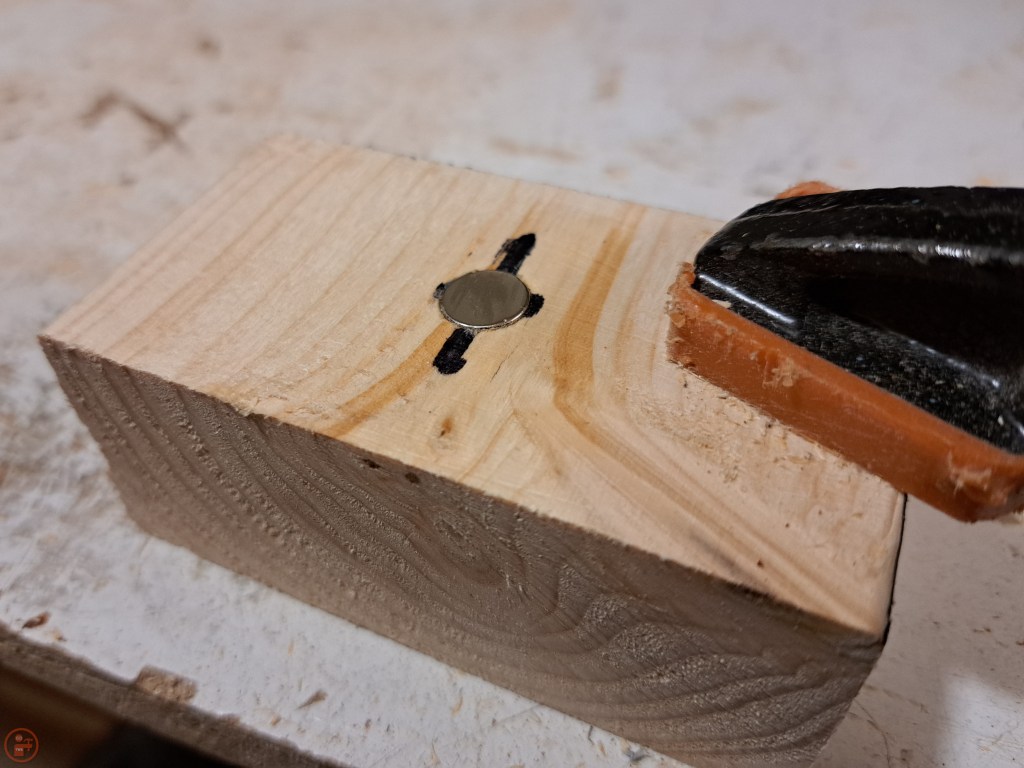
I drilled some pocket holes in two 2×4 offcuts and mounted a magnet in the centre of each one.
I mounted the 2×4 pieces to the bench and superglued a magnet to the back of the hardboard piece, so it was held securely in place.
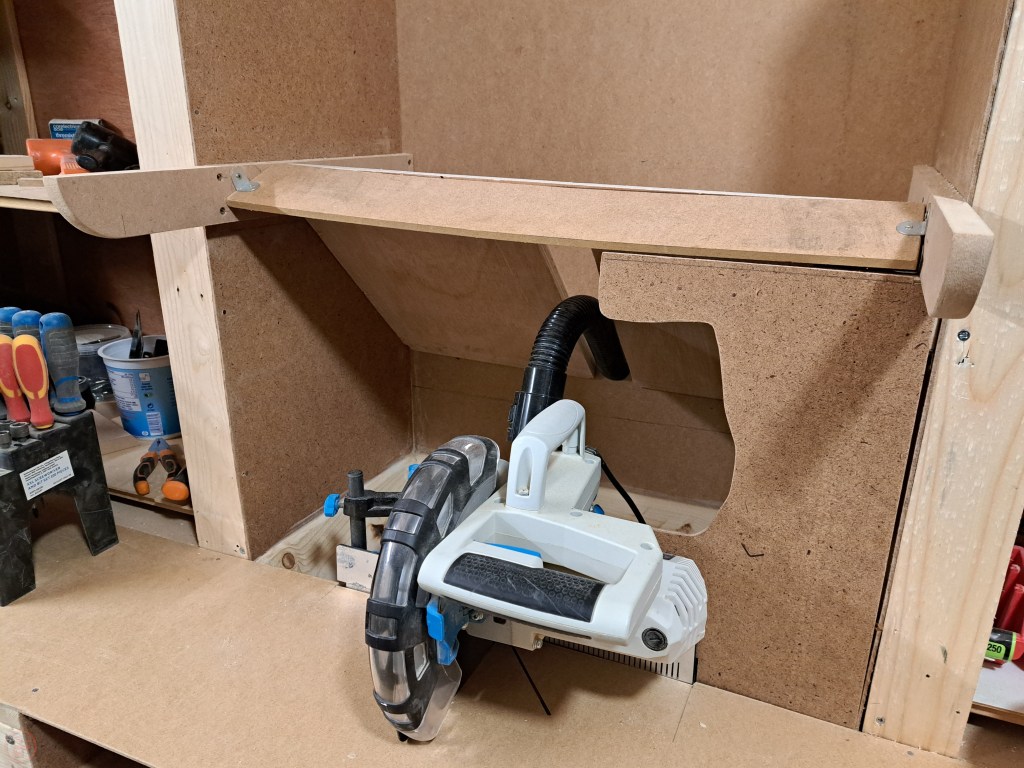
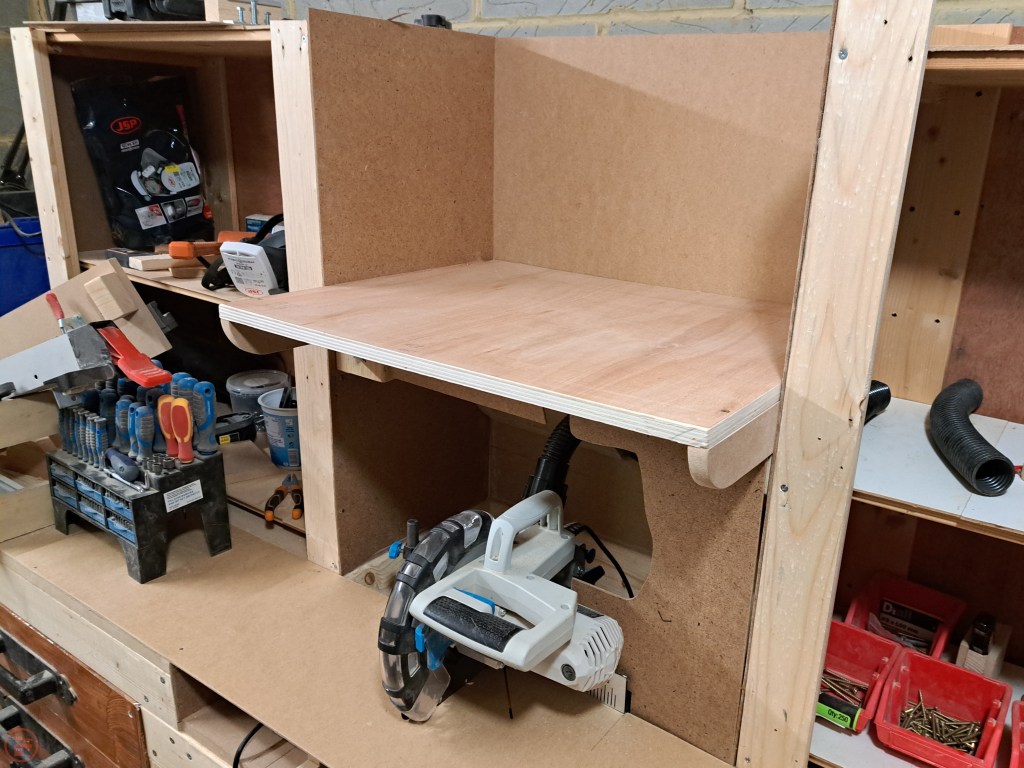
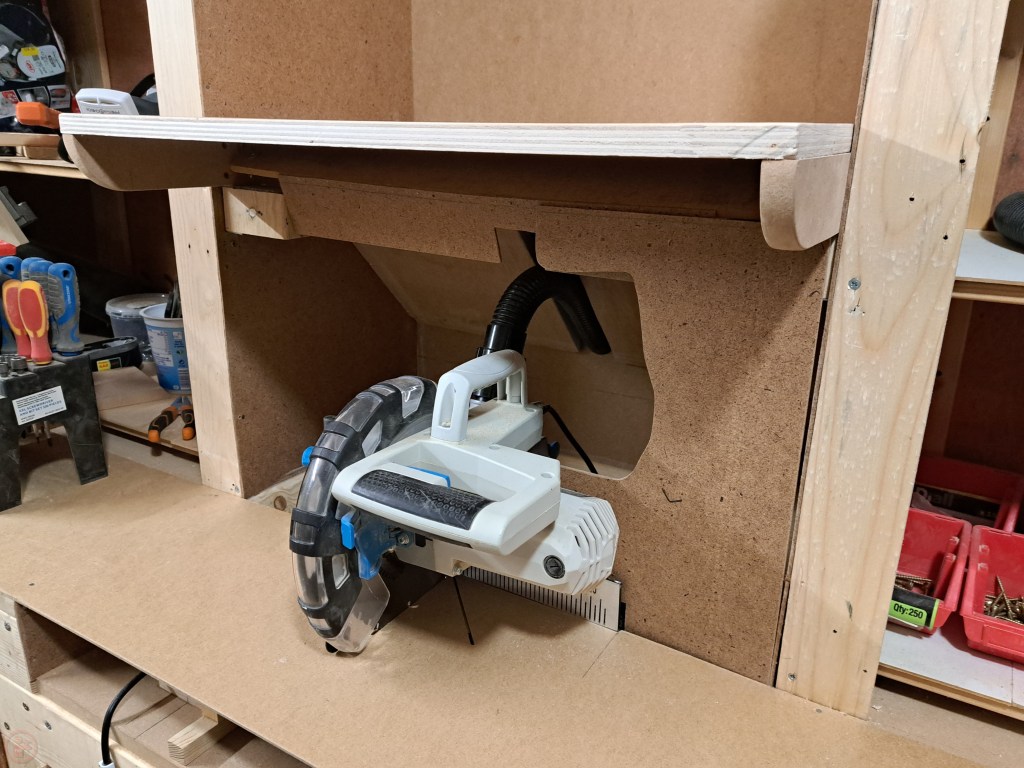
I mounted a top piece of plywood above the mitre saw to direct sawdust down back into the frame.

Lastly I fitted the shelf on top of the mdf supports using screws to secure it in place.
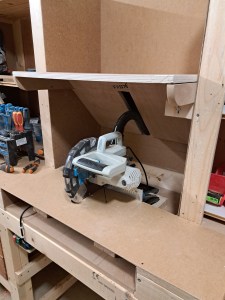
With the new surround in place the mitre saw generates a lot less sawdust and the dust collection works well to pull it all out of the air behind the mitre saw. I think with improved dust collection and large hoses it will work even better! I am really pleased with the removable hardboard panels, as they allow the saw to operate for normal cuts and can be easily removed for angled or compound mitre cuts. Time to plan my next project, so I can give it a thorough test! 🔨
