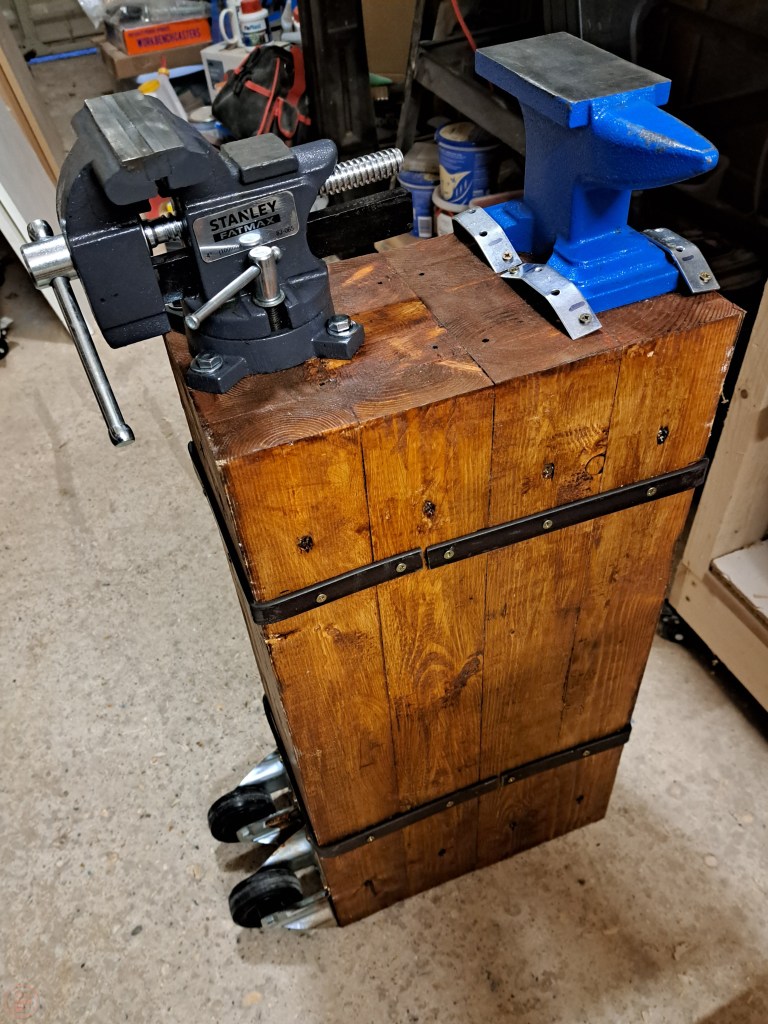
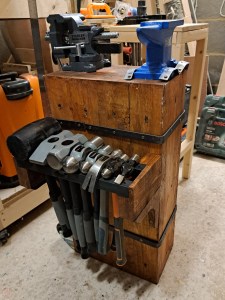
As I have progressed my woodworking, I found several projects have needed metal brackets or shaped metal parts to strengthen the design. I decided to invest in a small anvil and a metalworking vice. Time to make a portable-but-sturdy stand for them both to sit on!
After doing a load of reading for the optimum height of an anvil (generally considered to be around knuckle height when standing with a clenched fist, or about 76 cm (30 inches ) from the ground, allowing for comfortable hammer swings), I drew up some plans. I decided to make the stand out of 2x4s laminated together to make a large block, as this made it easy to get a consistent size and meant I could ensure there were no gaps or weak points in the wood.
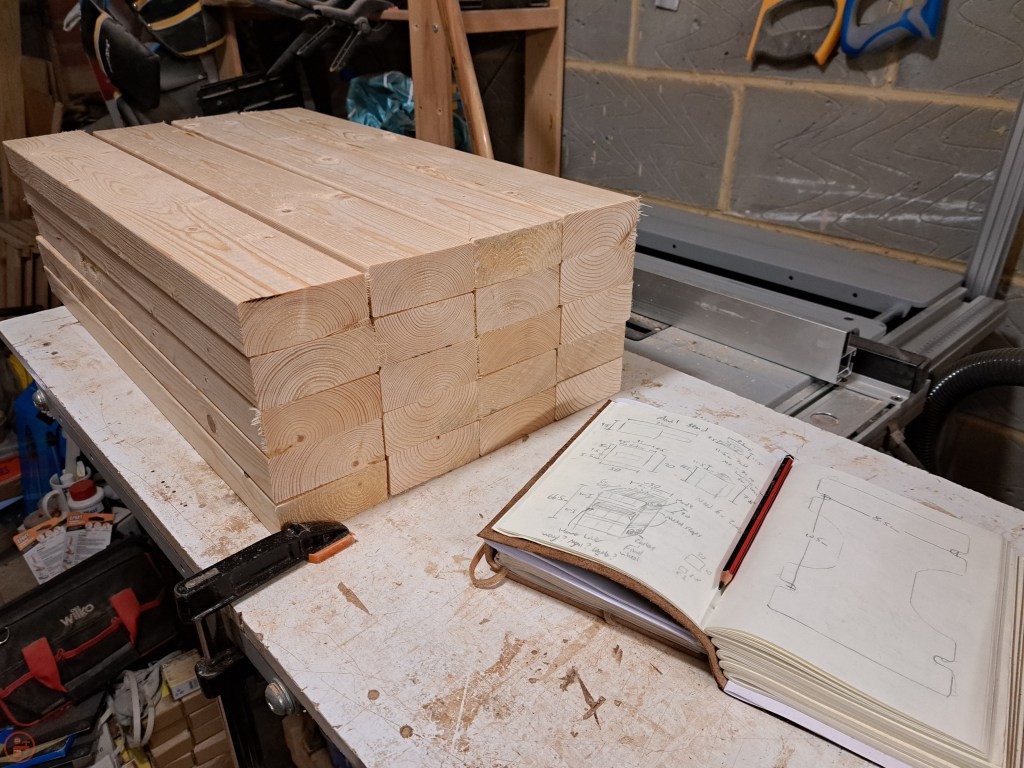
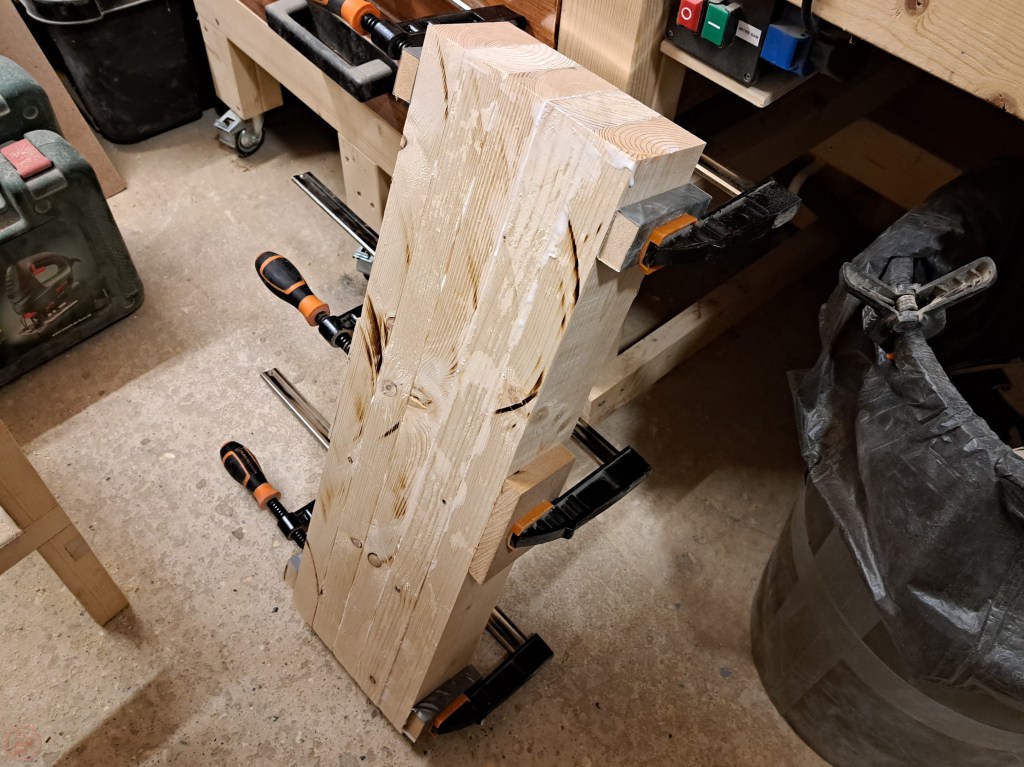
I cut the pieces to length and then cut off the roundover on each side of all twenty pieces using my table saw. This left me with 20 pieces that nicely tessellated together. I glued up the stand in four parts, with four 2x4s per part, so I could ensure a solid glue joint throughout all the pieces.

I left the glue to dry overnight under clamping pressure and then glued the sections together in pairs, with each set secured with clamps and long woodscrews driven through to assist with holding everything together while the glue dried.

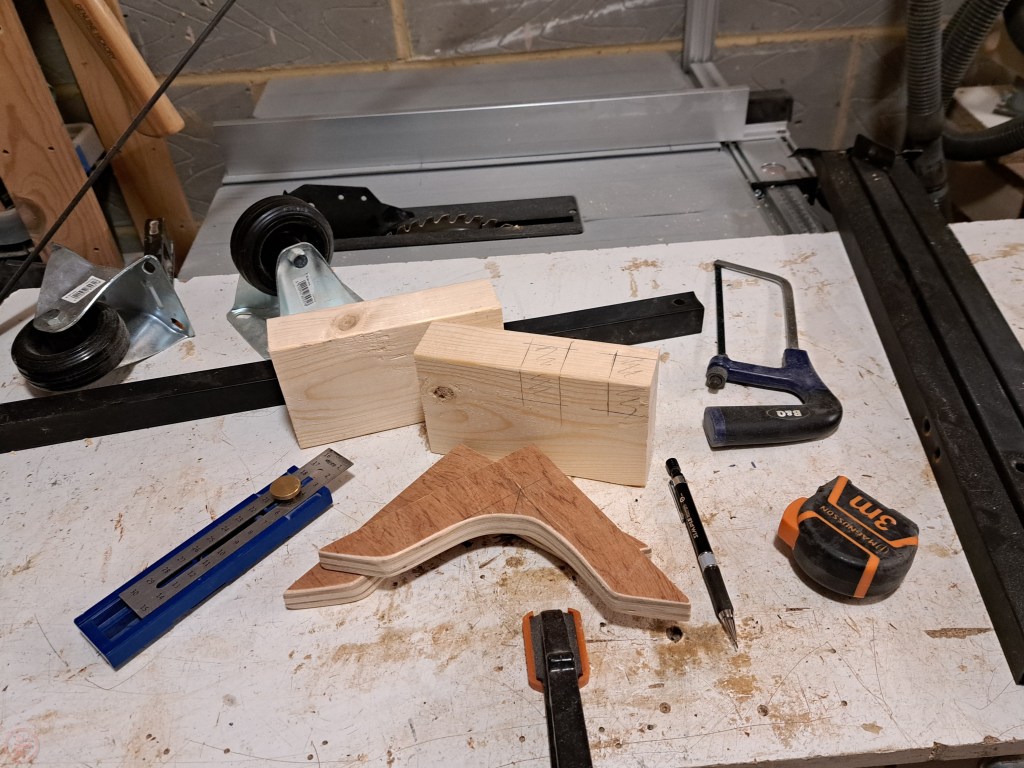
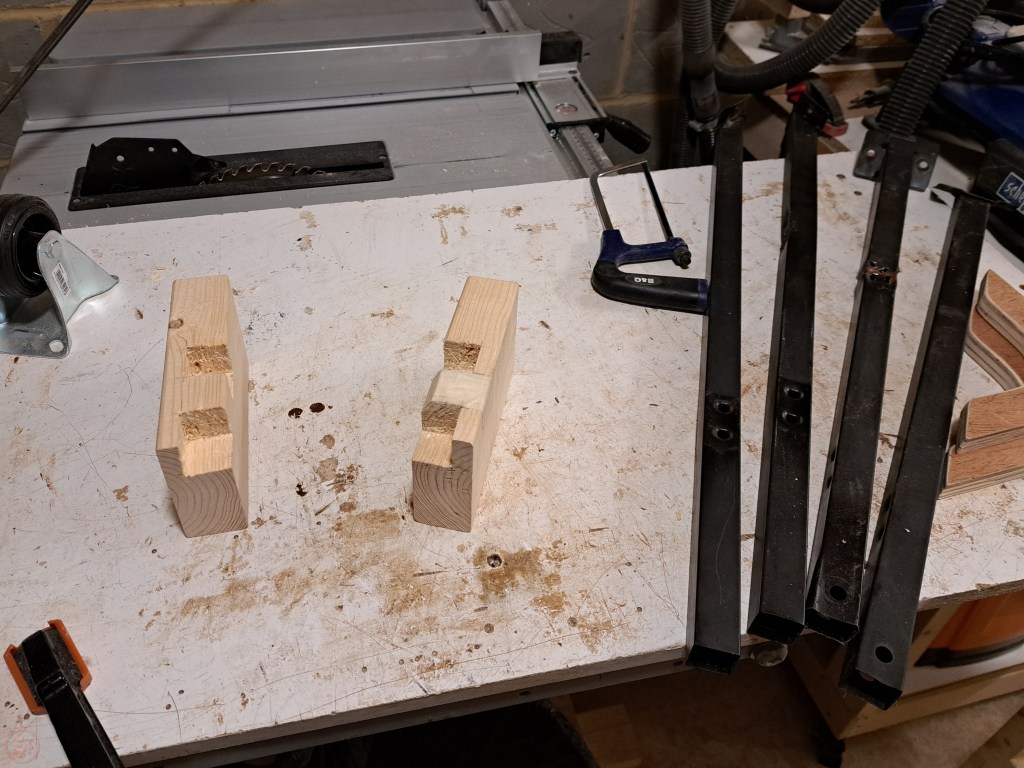
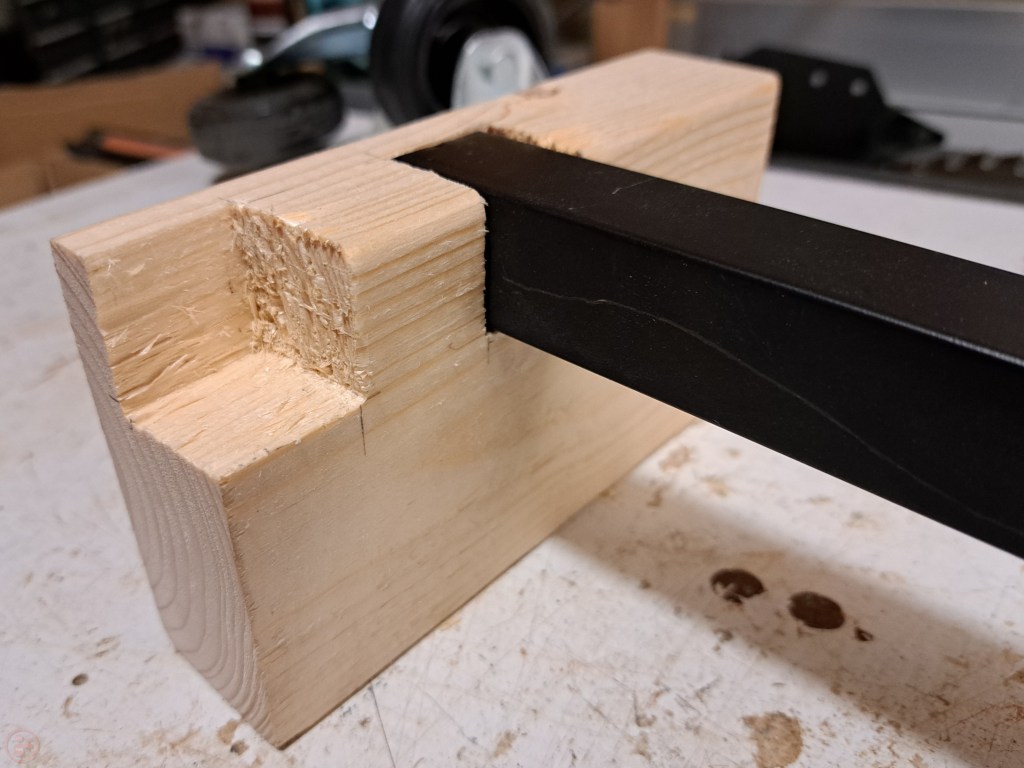
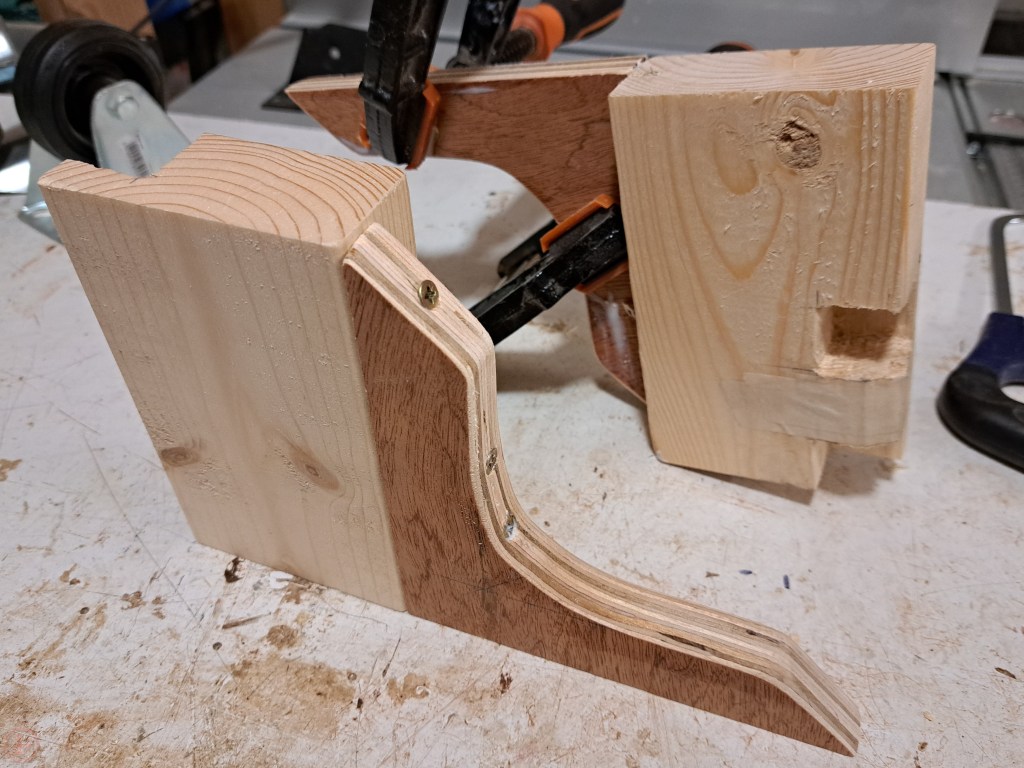
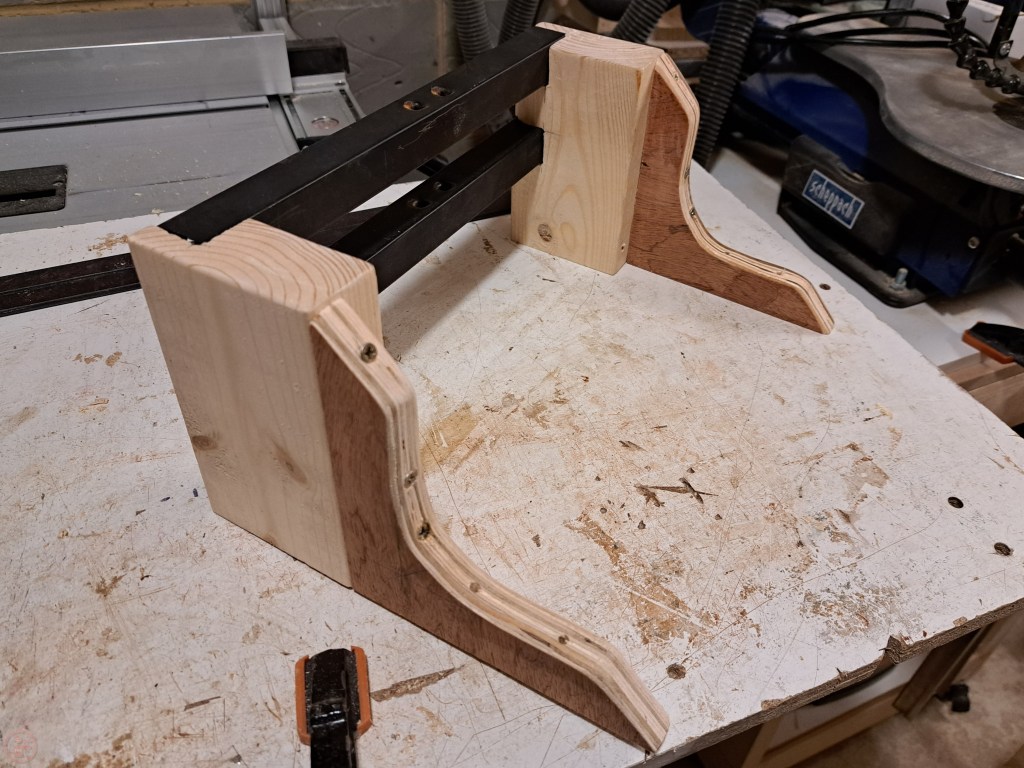
While the glue dried I decided to make a holder for the various hammers I have collected over the years, plus some newer ones for specifically working with metal. I had some scrap metal left from the legs of an old dismantled bbq, so I decided to use these as metal bars to hang the hammers on. I cut some blocks to size and notched out sections for the metal bars to slot into. I drilled holes in the metal bars just large enough to fit a screwdriver into, so I could put a screw through to secure the bar to the 2×4 block on each end. I then mounted the block to a support brace I cut out of 18mm plywood, to provide additional strength underneath the block.

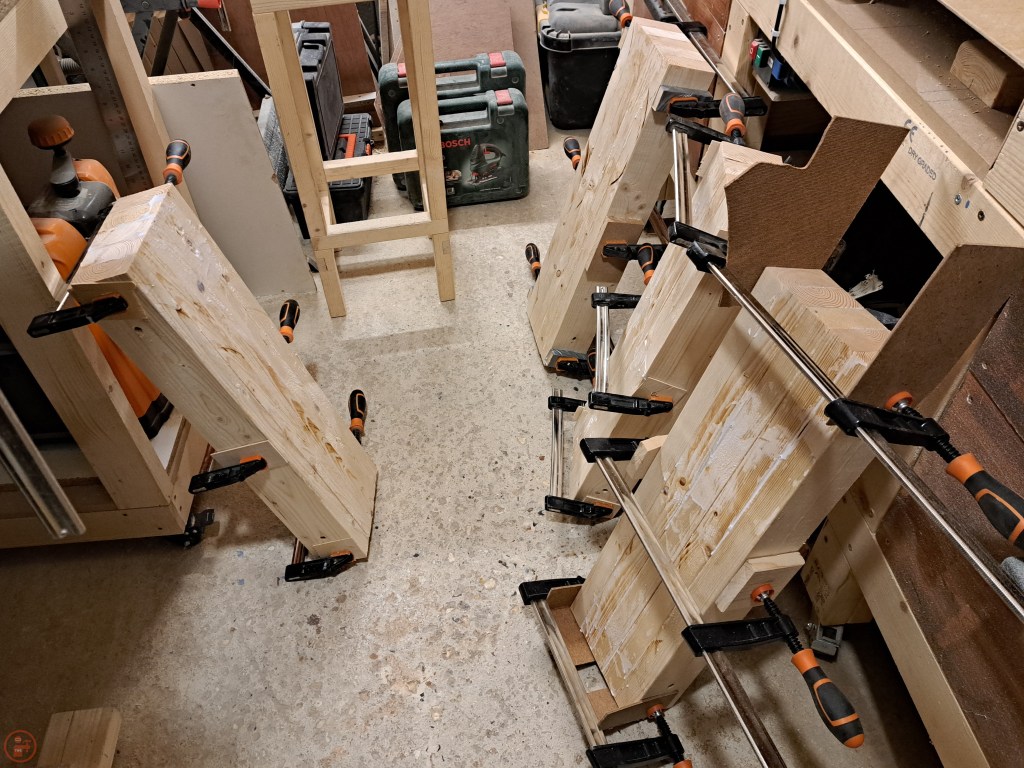
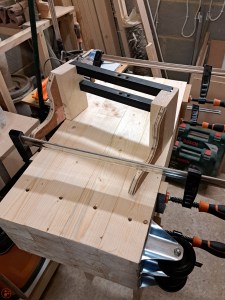
I turned my attention back to the 2×4 glue up at this point, and secured the two ten 2×4 sections together, using larger clamps and straps to keep it secure while the glued dried.

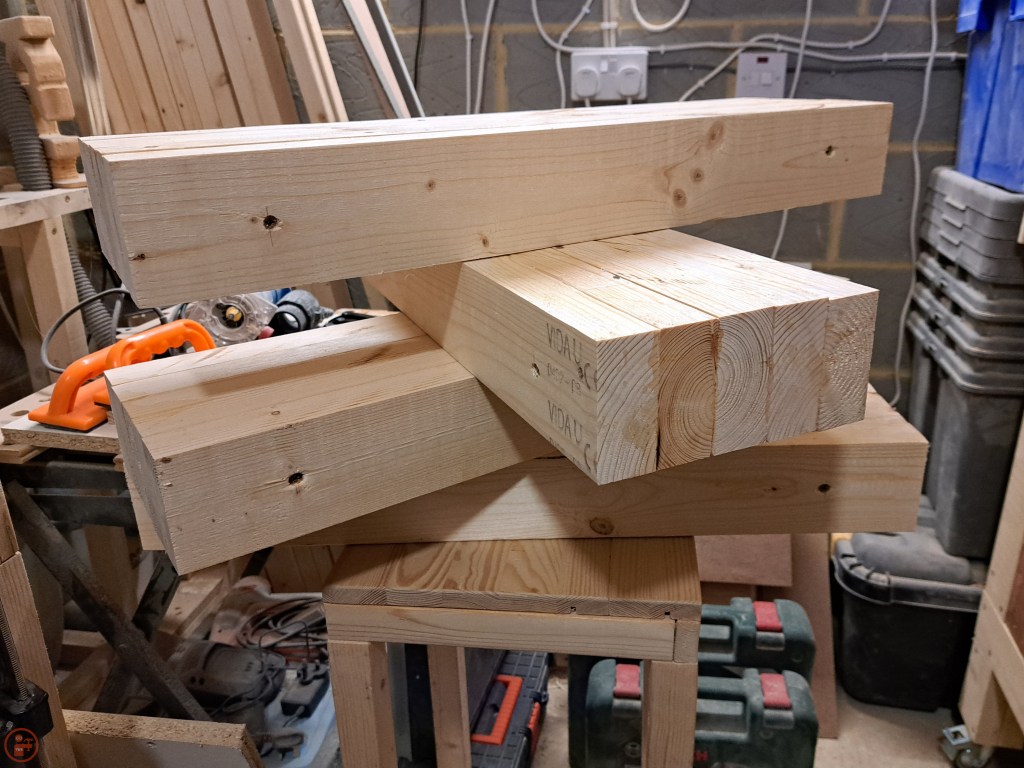
As the block was already quite heavy (I wanted a nice stable base!), I decided to add some casters to the side. I didn’t want the stand to be permanently on wheels, but came up with the idea of some casters on the side, so the stand can be wheeled about when tipped slightly onto one side.


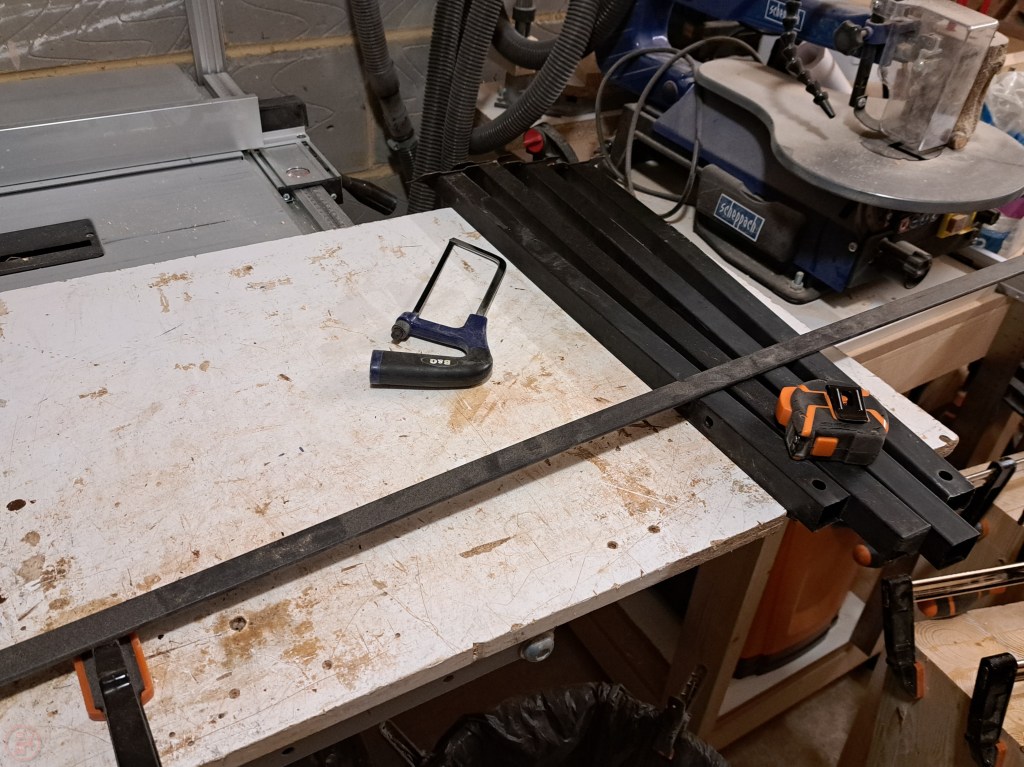
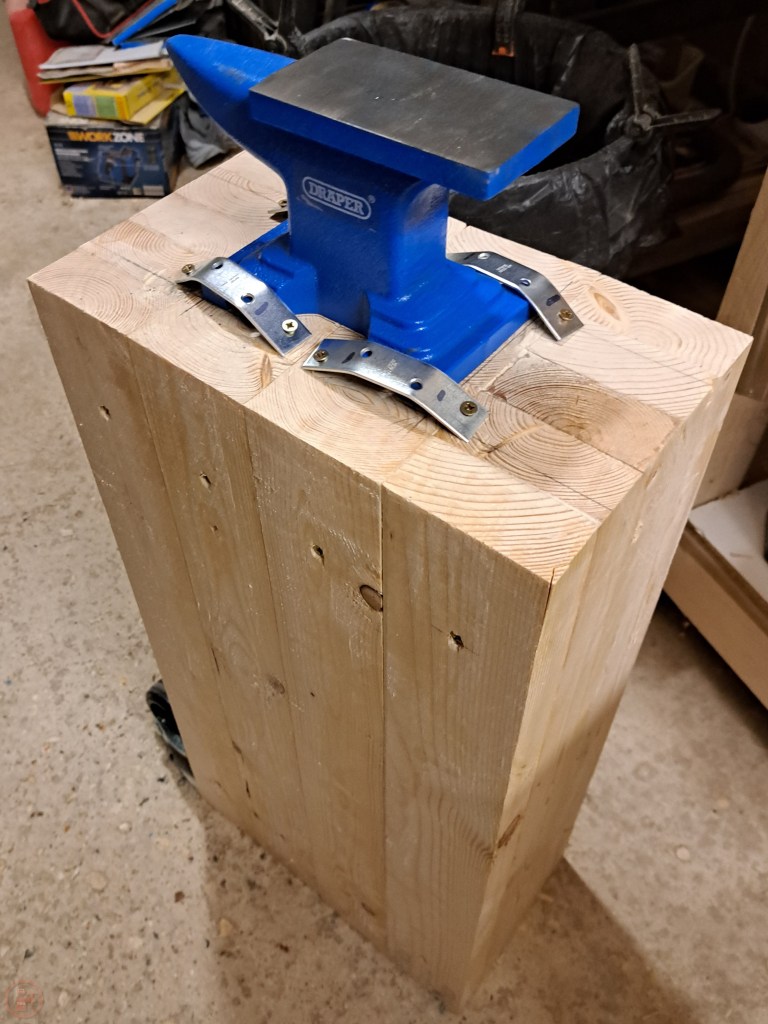
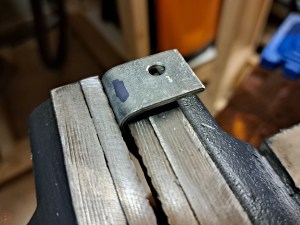
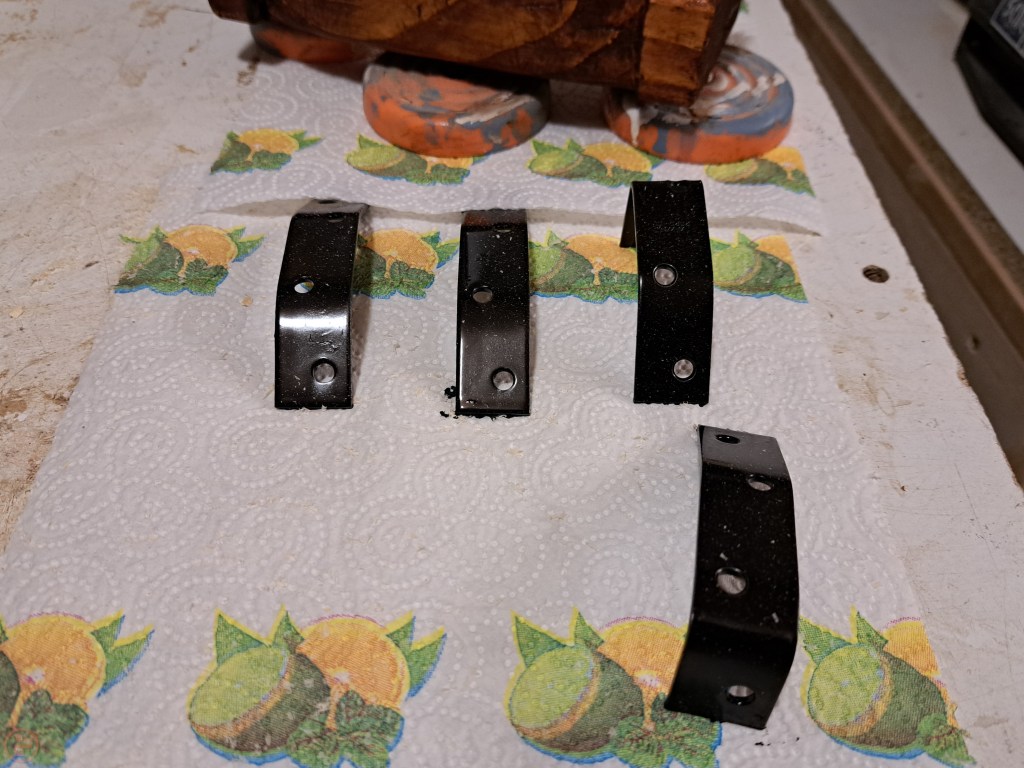
Once the glue was fully dried, I secured the new (bright blue!) anvil to the top of the stand temporarily, so I could use it to shape some metal for decoration and additional strength around the stand. I bent some metal brackets to sit over the feet of the anvil and secured it in place with woodscrews. I then used the anvil horn to add a curve into the two metal bars, so they would fit around the stand. I drilled holes at periodic intervals along both bars, using a metal drill bit at slower speeds.


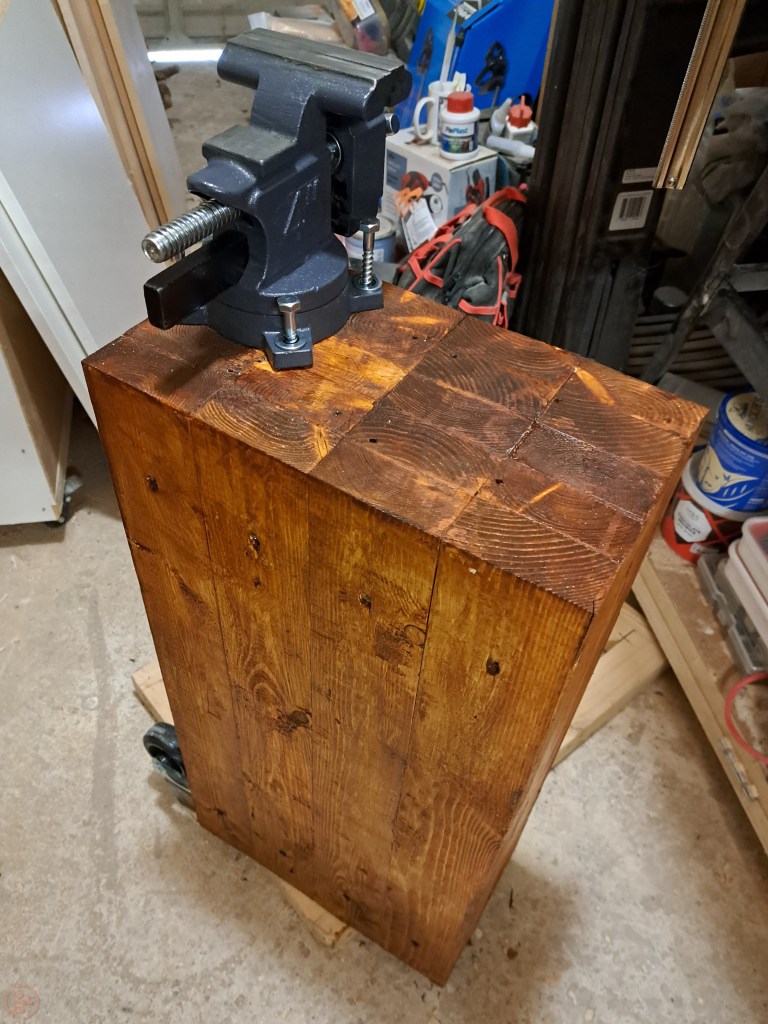
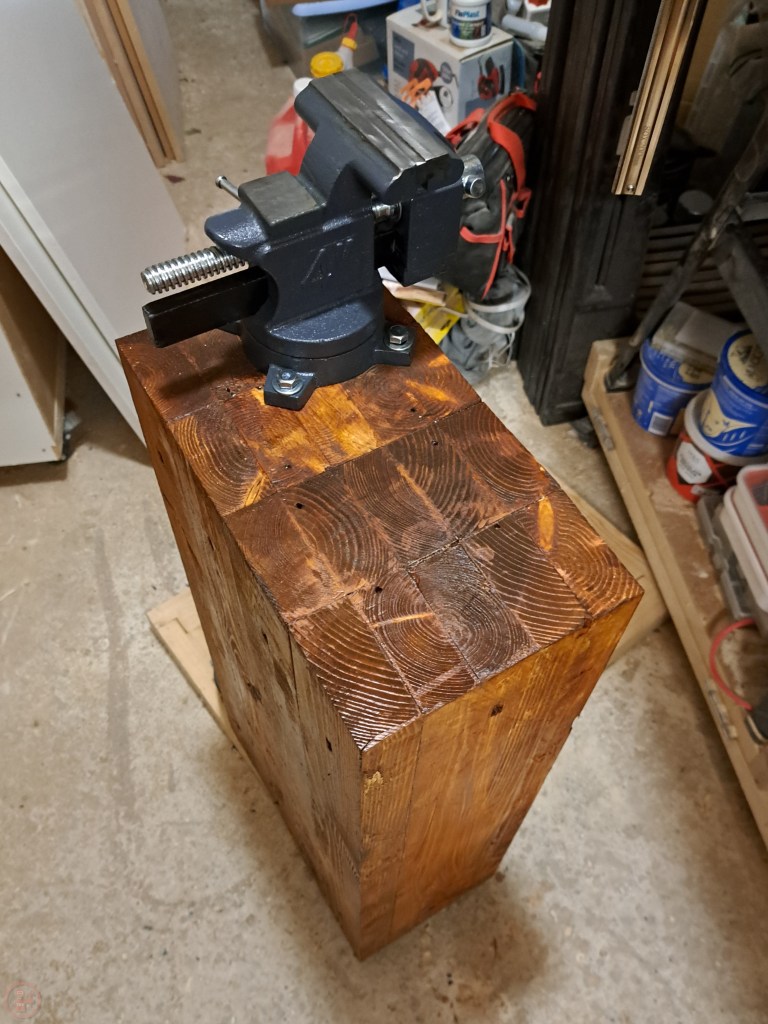
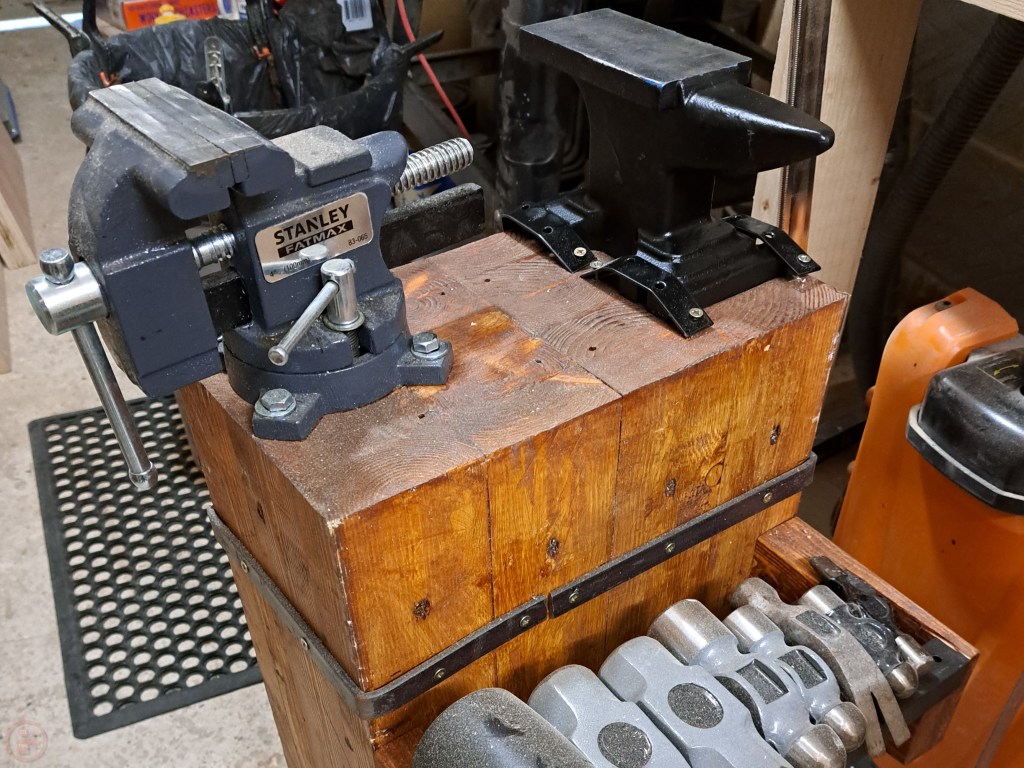
I decided to finish the pine 2x4s with a darker outdoor wood stain, as I liked the colour (Cuprinol “Rustic brown” – not sponsored!) and it will ensure the wood is nicely protected from the damp for a good amount of time. I then did some testing with the anvil and my new metalworking vice to figure out the optimum arrangement on the top of the stand. Once I had figured out where to put both tools, I drilled pilot holes and mounted the vice to one end, with the jaws slightly overhanging the edge so I can use it to hold longer metal pieces down to the floor.
I then used the newly-mounted vice to better shape the metal brackets to secure the anvil to the stand, putting a sharp 90 degree bend on one pair of brackets to secure the anvil into both the top and the side of the stand. This should keep it nicely secure and in place.


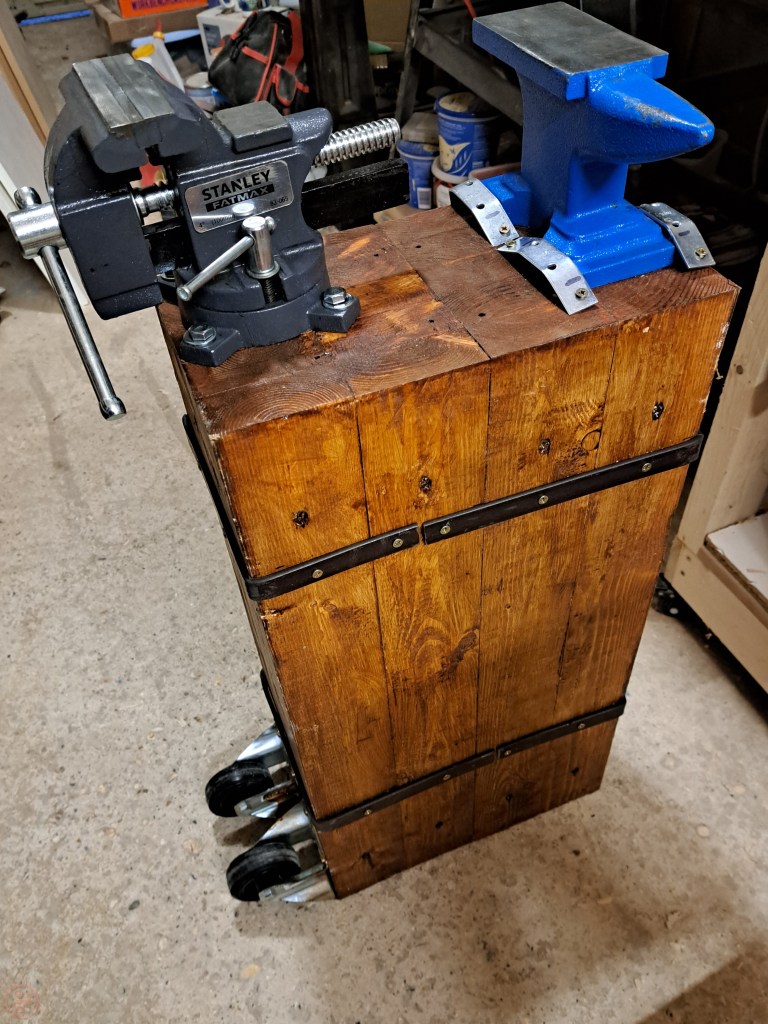
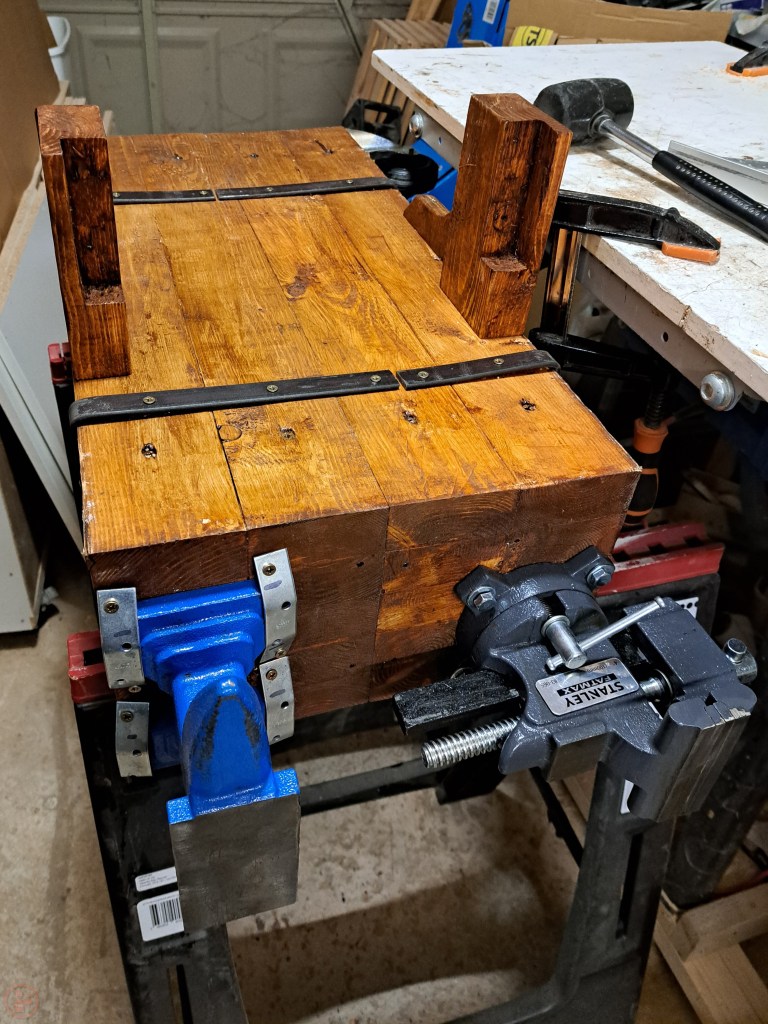
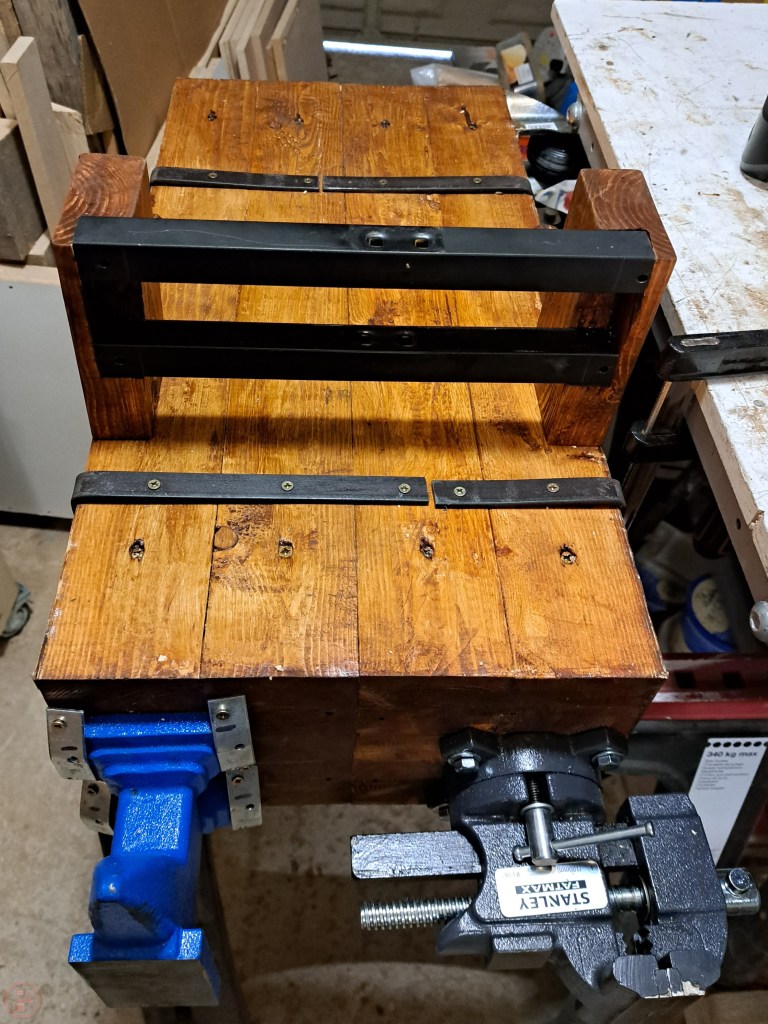

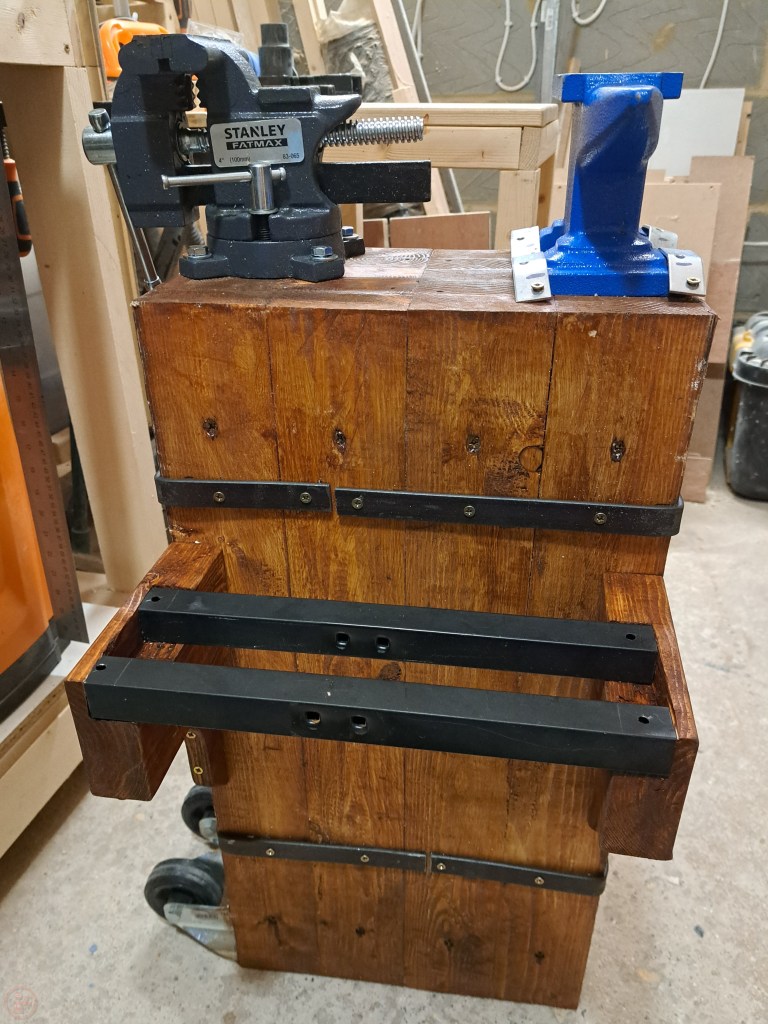
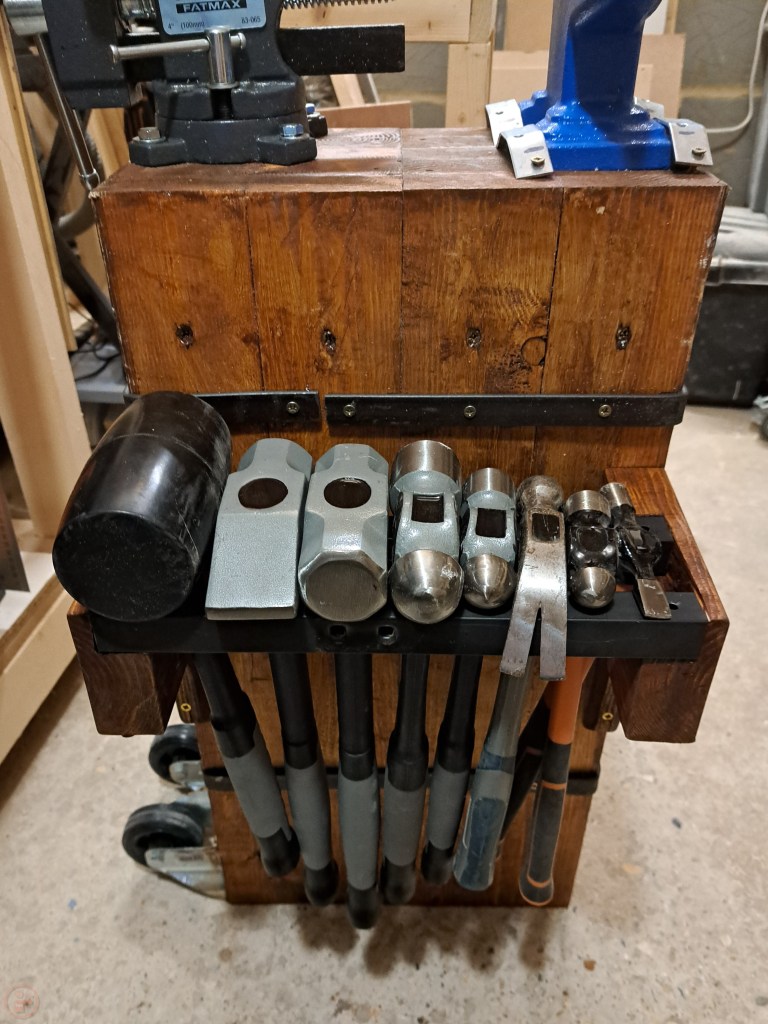
I mounted the hammer holder to one side, on the opposite side to the vice jaws, so the hammers don’t get in the way. I really like how the holder looks and how easy it is to us, as I can quickly grab whatever hammer I need and then just drop it back into the holder, where the metal bars keep it securely held.
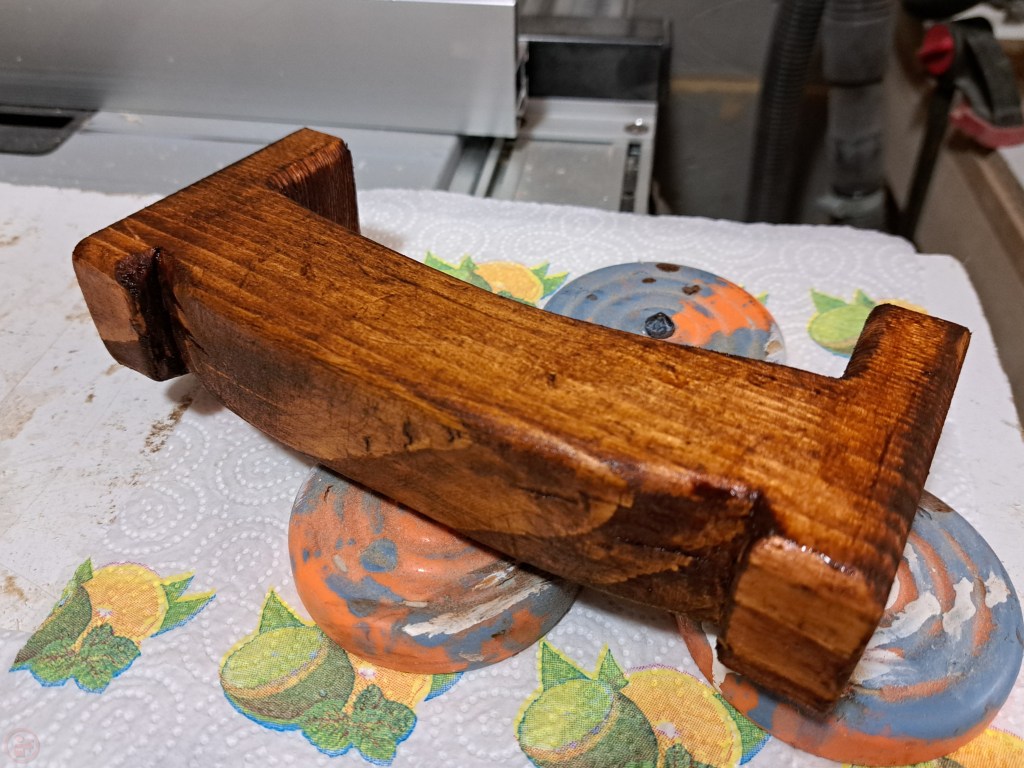
To add some finishing touches to the stand, I carved a simple handle out of some more pine and stained it with the same outdoor “Rustic brown” stain so it would match the rest of the stand. I used some black spray paint to finish the metal brackets, so they matched the black metal strapping around the stand.
I also decided to spray paint the anvil black, to mute the bright blue colour! I covered the anvil face with tape so that would remain unpainted and then applied an even coat over the whole surface. Pleasingly this worked really well and after a couple of hours the paint was dry and I could remount the anvil to the stand using the newly shaped and painted brackets.
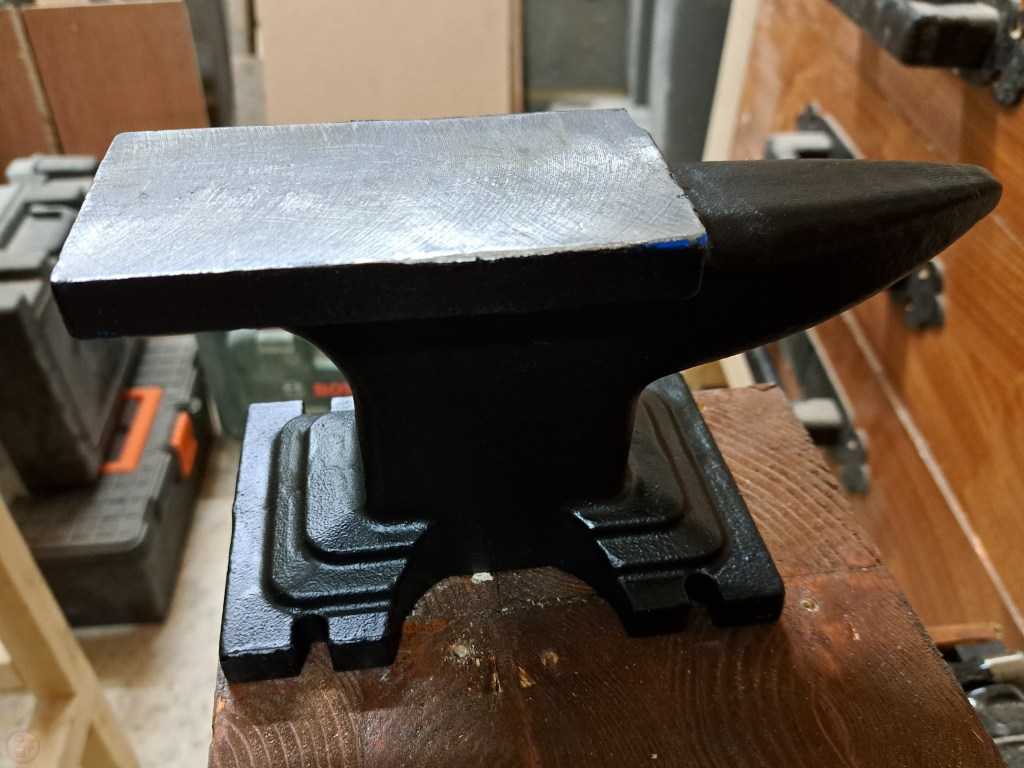
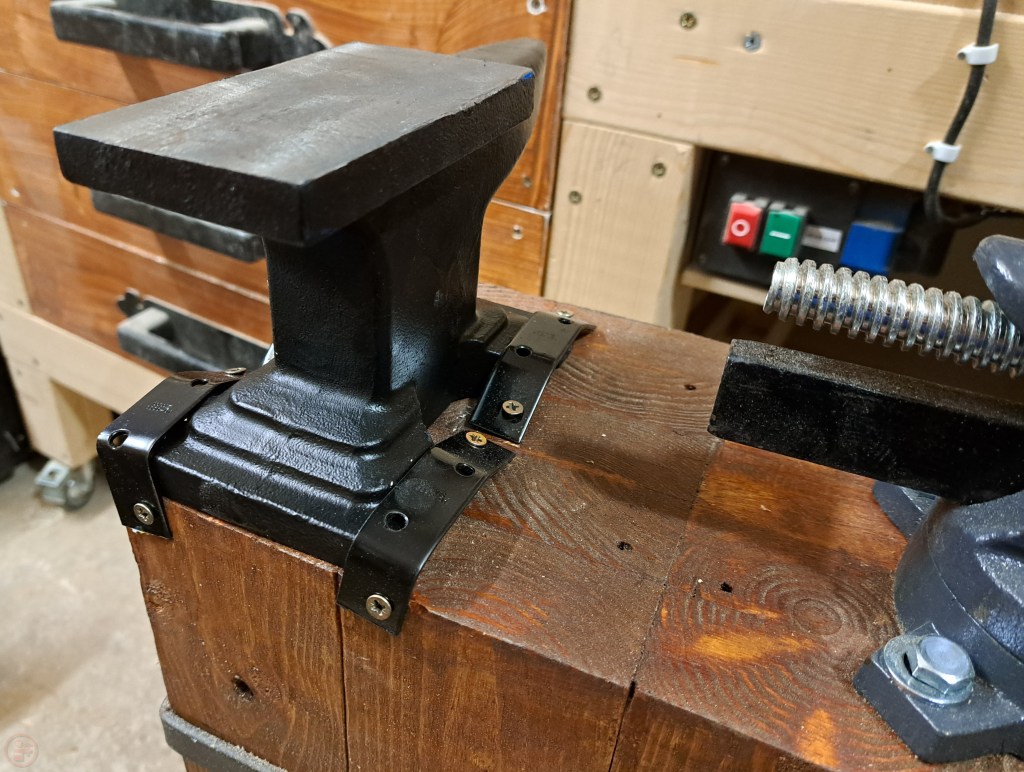
I secured the anvil to the stand using woodscrews driven deeply into the top of the stand. I will see if these hold after prolonged use or if I need to increase the diameter to something equivalent to the coach screws I used with the vice.
I’m really pleased with how this all turned out – lots of it was something of an experiment, as I haven’t really made anything out of metal before. I know this was a fairly simple project in the grand scheme of complex metalworking, but I’m pleased that shaping the metal strapping worked so well and fits with the over appearance I was going for. And the absolute standout for me is the hammer holder, as this means I can easily grab any type of hammer I need without having to rummage in a drawer or tool box. Time to come up with new ideas for how I can thoroughly test this out, once we’ve moved and got settled in the new place! 🔨

1 thought on “Anvil stand for metalworking”