We like to play lots of different board games in the evenings and at the weekend. One of our recent investments was a set of silicone game piece bowls, which fold flat for storage. Time to make a box to keep them in when we’re not using them!
We treated ourselves to some “GeekUp Bit Bowls” by Board Game Geek (not sponsored), which took a couple of weeks or so to arrive as they ship from the US, but was worth it for the range of colours! We are now the proud owners of 13 different coloured foldable silicone bowls and have already tested them with several different games with great success.
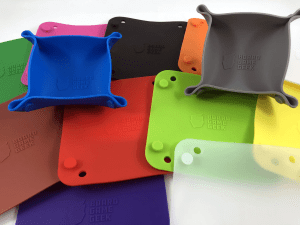
One of the things we discovered however, is the silicone is great for collecting dust (and cat hair!) when left open to the air. So of course, I decided to make a nice storage box to keep them in, using some oak pieces I had in the workshop.

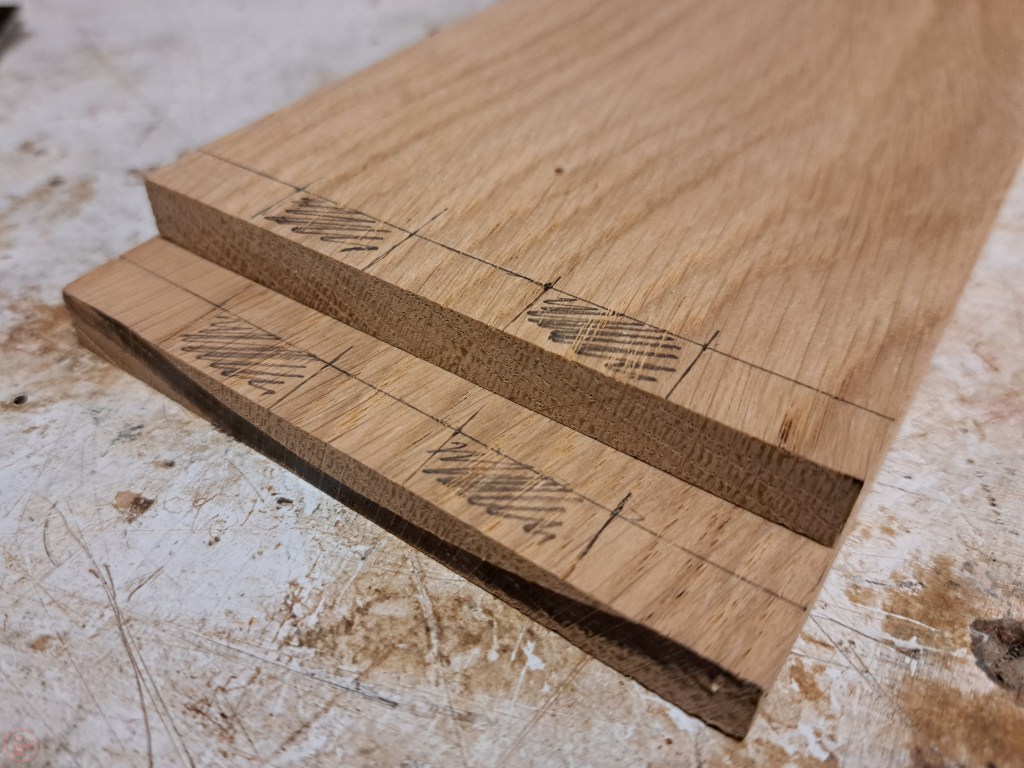

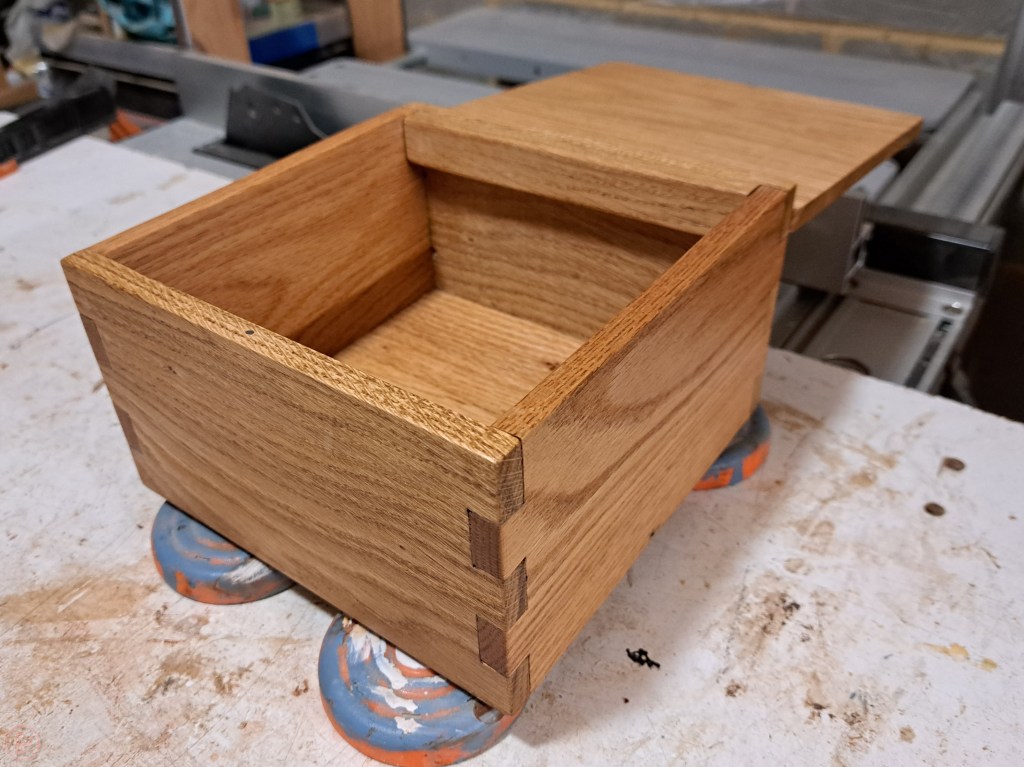
I cut the pieces to length and width using my table saw and then used my coping saw to cut out corresponding notches in each piece to make a simple comb-and-finger style joint. This provides a large surface area for glue to hold and means I can sand the edges of the joint slightly to “break” them, meaning it isn’t a super sharp corner. This makes holding the box more comfortable and reduces the chances of the wood splitting if I accidentally hit the box with something or drop it!
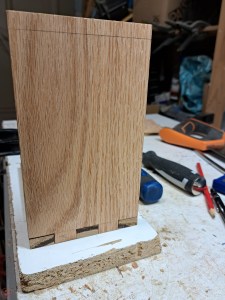
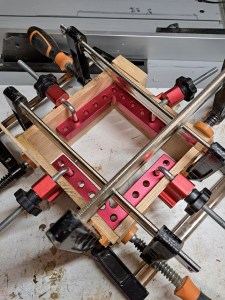
After doing a test dry fit of all the joints, I proceeded to apply glue to all the joints and make some kind of modern art with an assortment of clamps to hold it all in place.
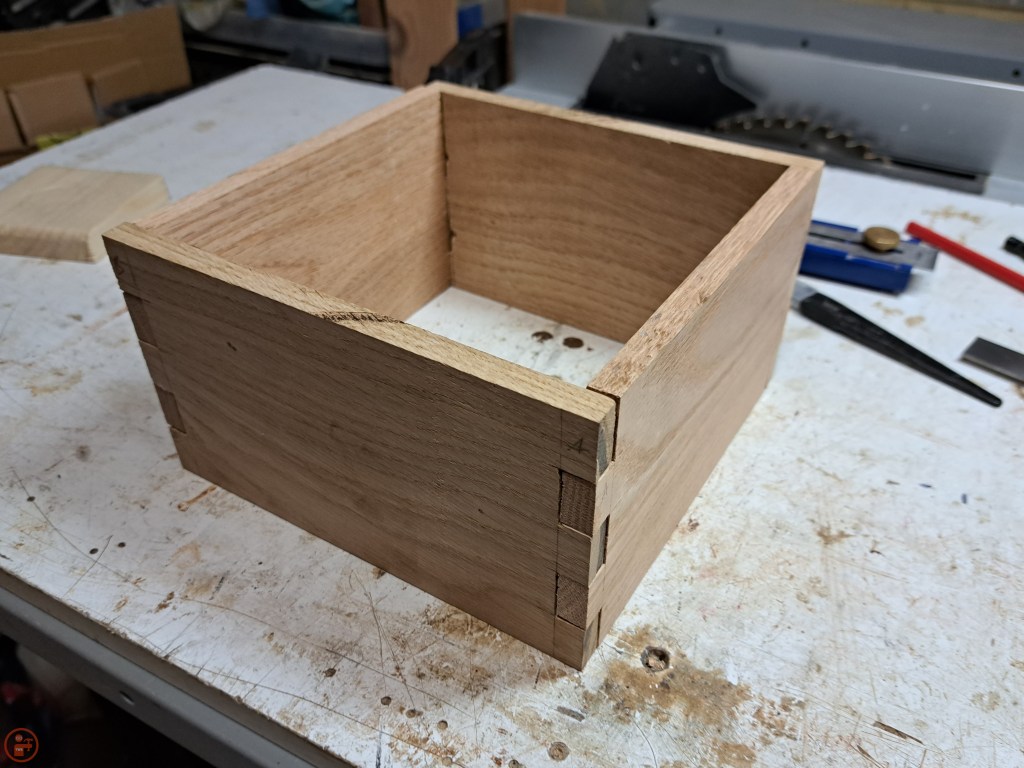

I positioned some 90 degree clamps inside two corners of the box to keep the sides square while the glued dried.
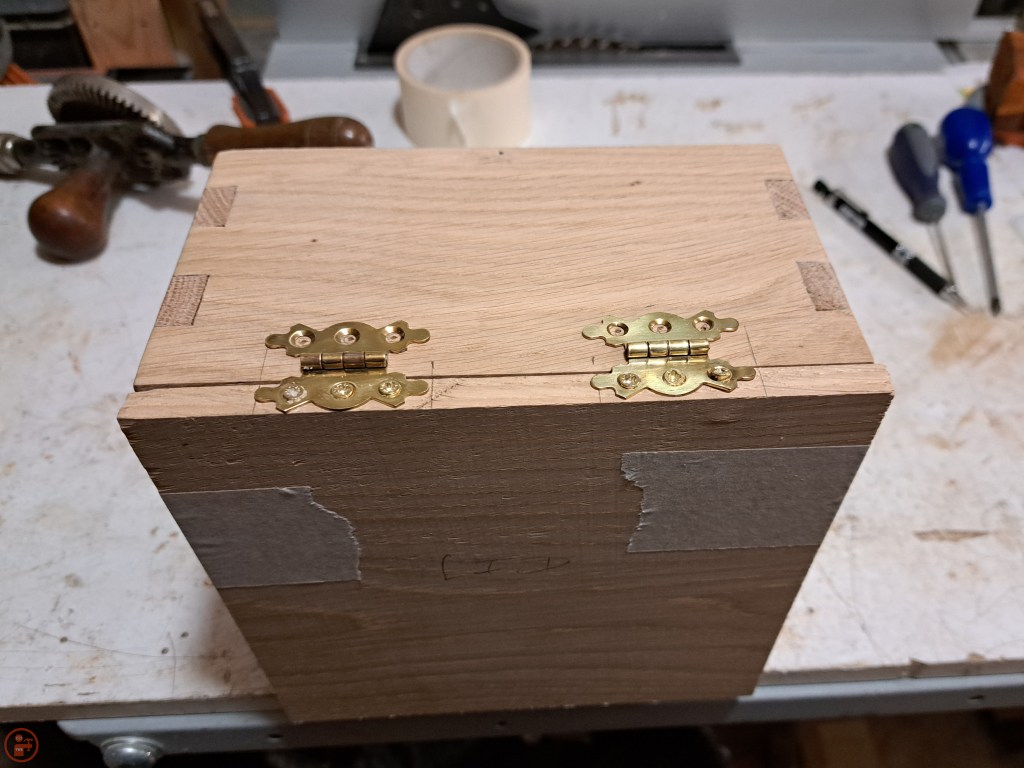
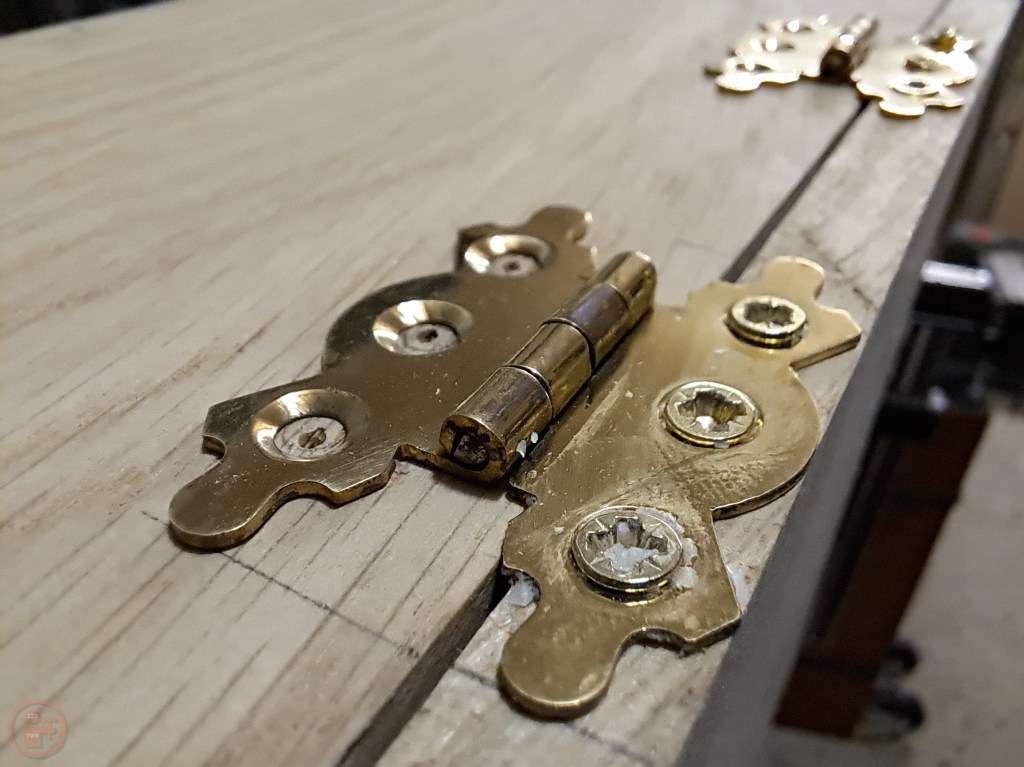
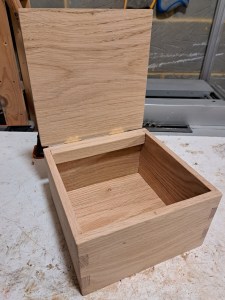
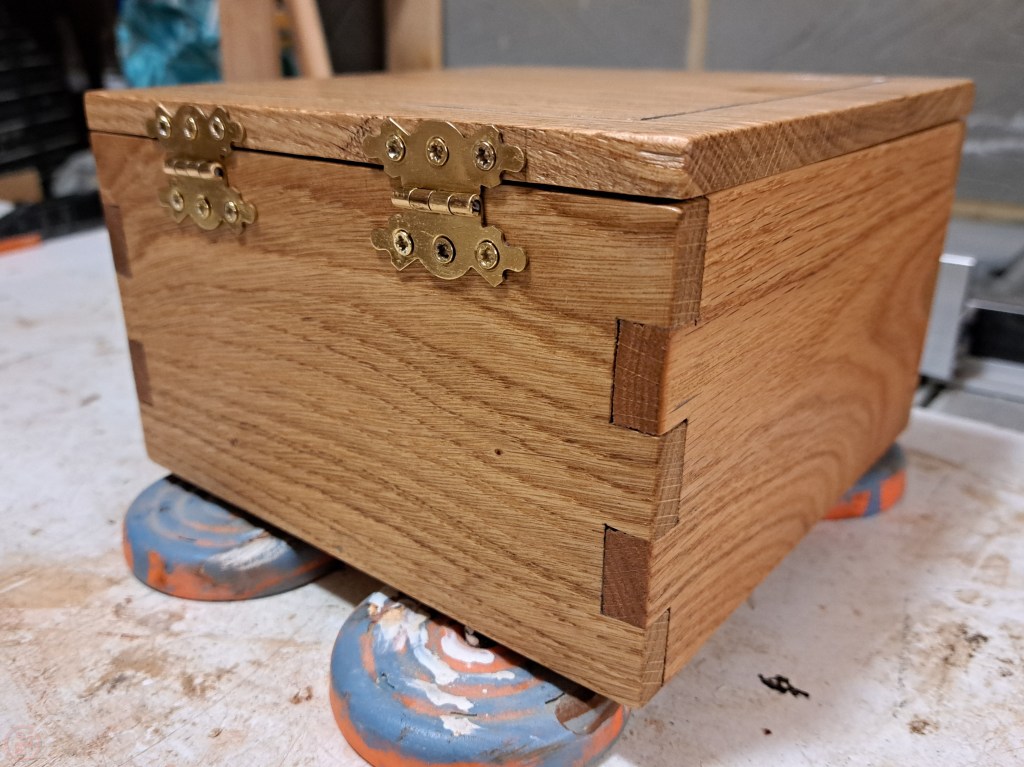
I fitted a simple base to the bottom, positioning it inside the side pieces, as it doesn’t need to take a lot of weight. I made a full width lid that sat on top of the sides, to which I fitted some decorative hinges, pre-drilling the holes using a small drill bit in my hand drill. I applied some candle wax to the small screws as I have found that makes it much easier to drive the tiny screws into the holes fully without needing lots of force and risking stripping the screw head or snapping it off!
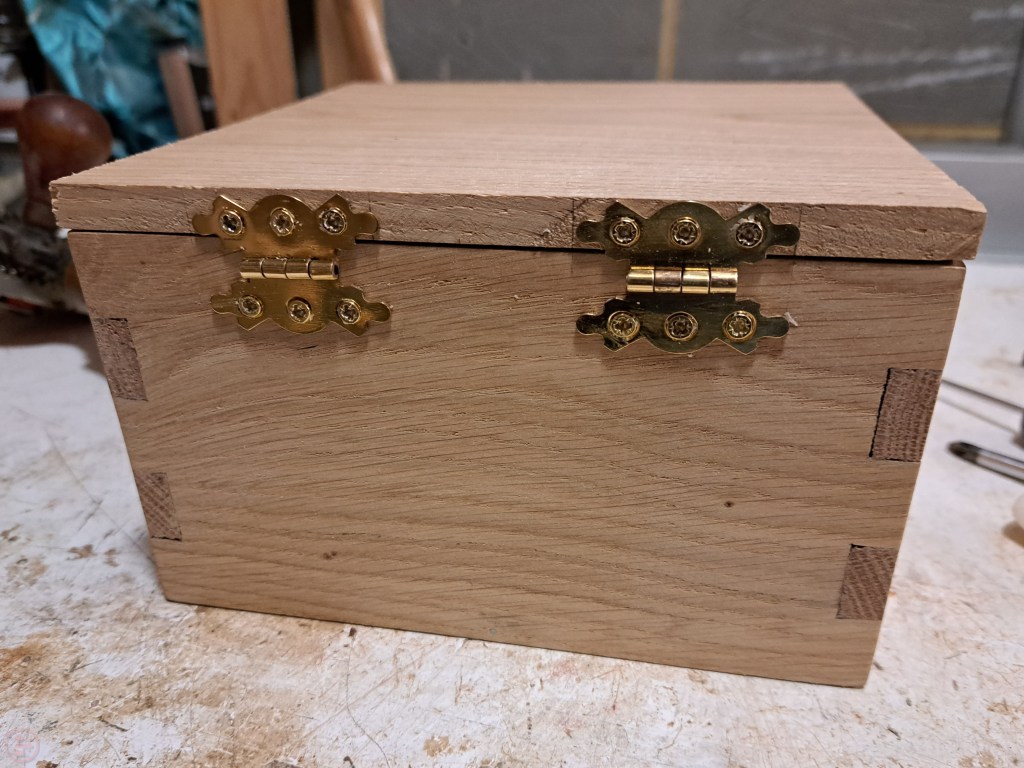

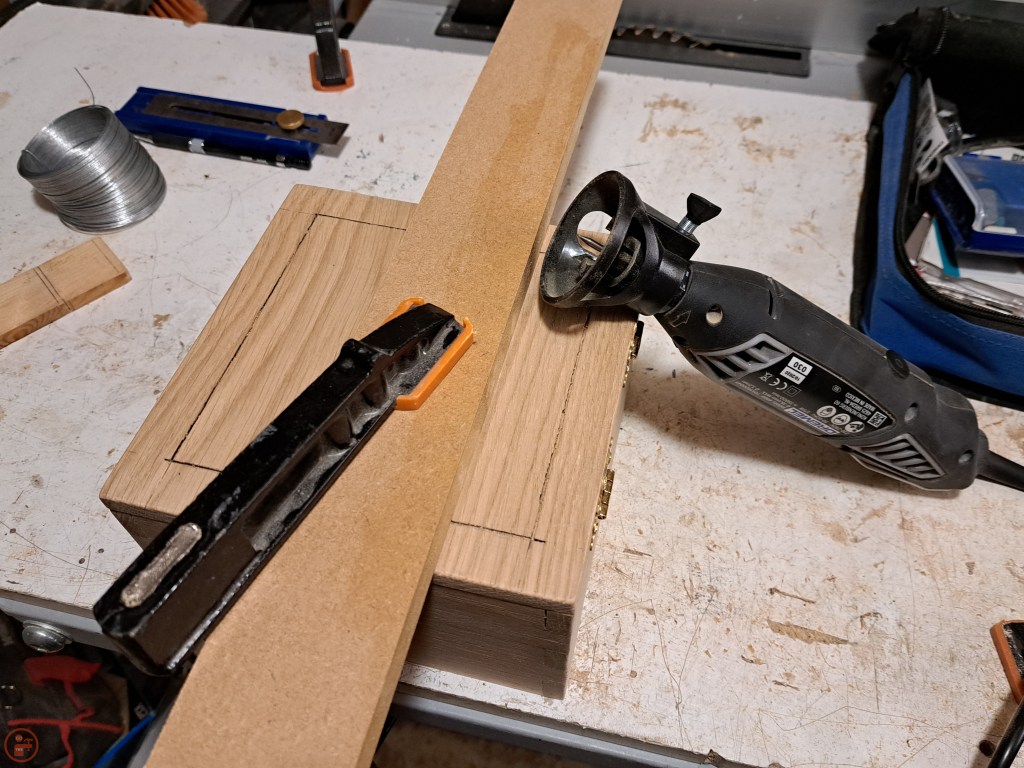

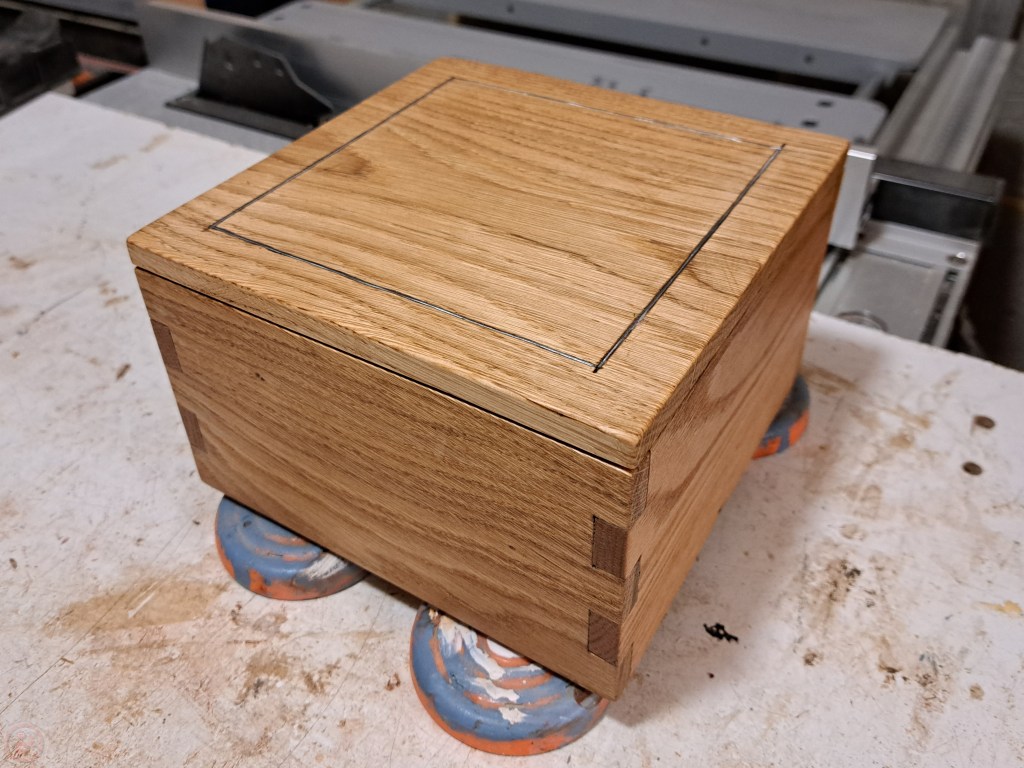
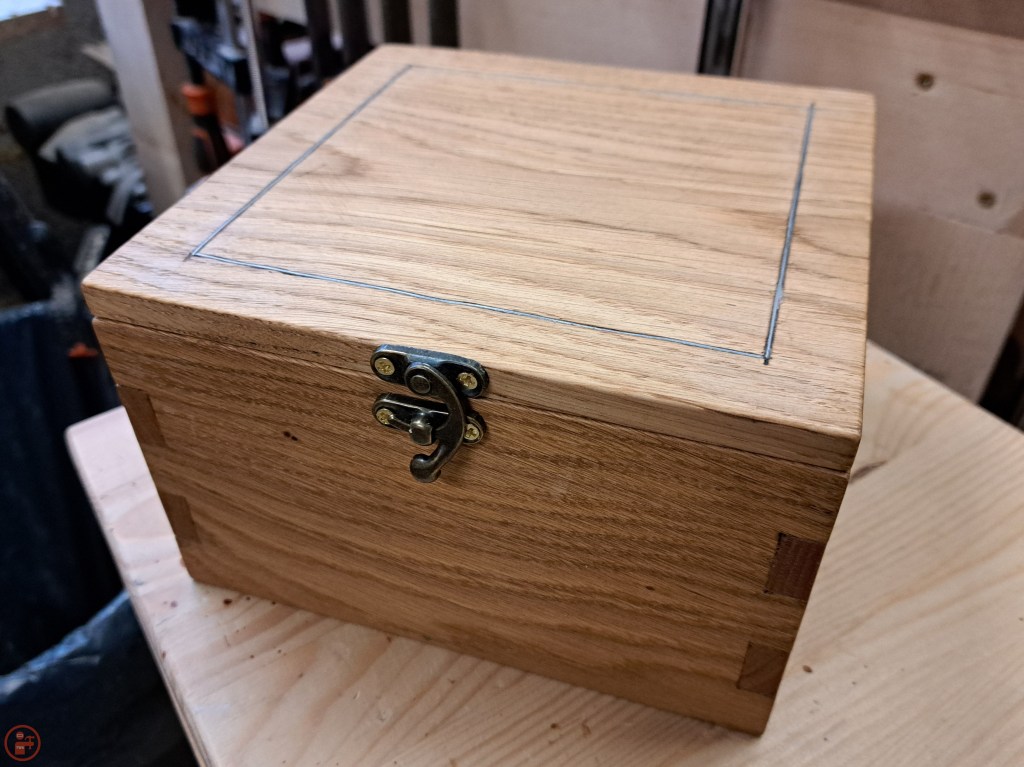
Due to the thickness of the side pieces, I had to add an extra piece of oak inside the box to give the screws for the hinges sufficient material to grab onto. I clamped the piece in place while the glue dried and then added a simple decoration to the top by using my Dremel to carve a groove an equal distance from the edge all around the lid. I used a plunge cut attachment so I would carve out the same amount consistently on all sides. I then hammered some thin silver-coloured metal wire into the grooves, securing the ends with superglue. I may add some kind of artwork to the top in future, but I am leaving it plain for now while I come up with some ideas.
I spent some time sanding all the faces, edges and corners of the box, with both my random orbit sander and a whole lot of hand sanding. The box ended up delightfully smooth as a result and removing the burn marks from cutting the pieces on the table saw, plus the pencil marks, showed off the fantastic grain across the pieces.
I decided to use Danish oil to finish the box as it provides some protection for regular handling and highlights the grain very nicely. I left the box to dry for a few hours after applying the final coat and then wiped it down thoroughly to remove any remaining oil.
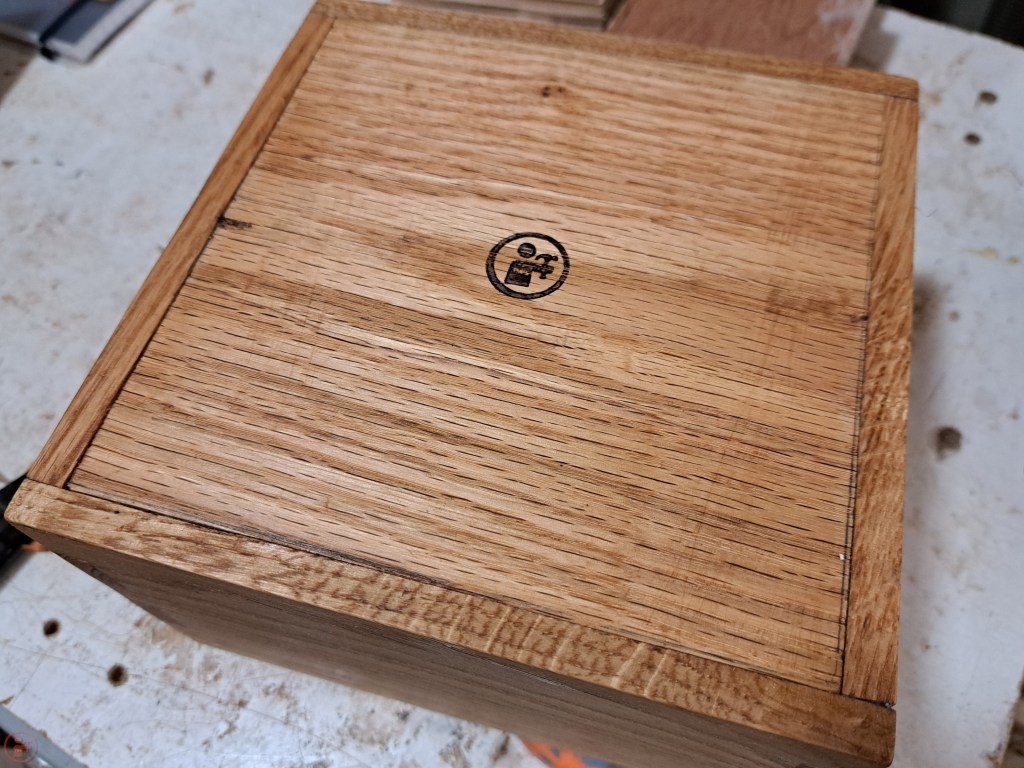
I applied my logo stamp to the bottom (see future post!) and then brought the box into the house to be properly tested.
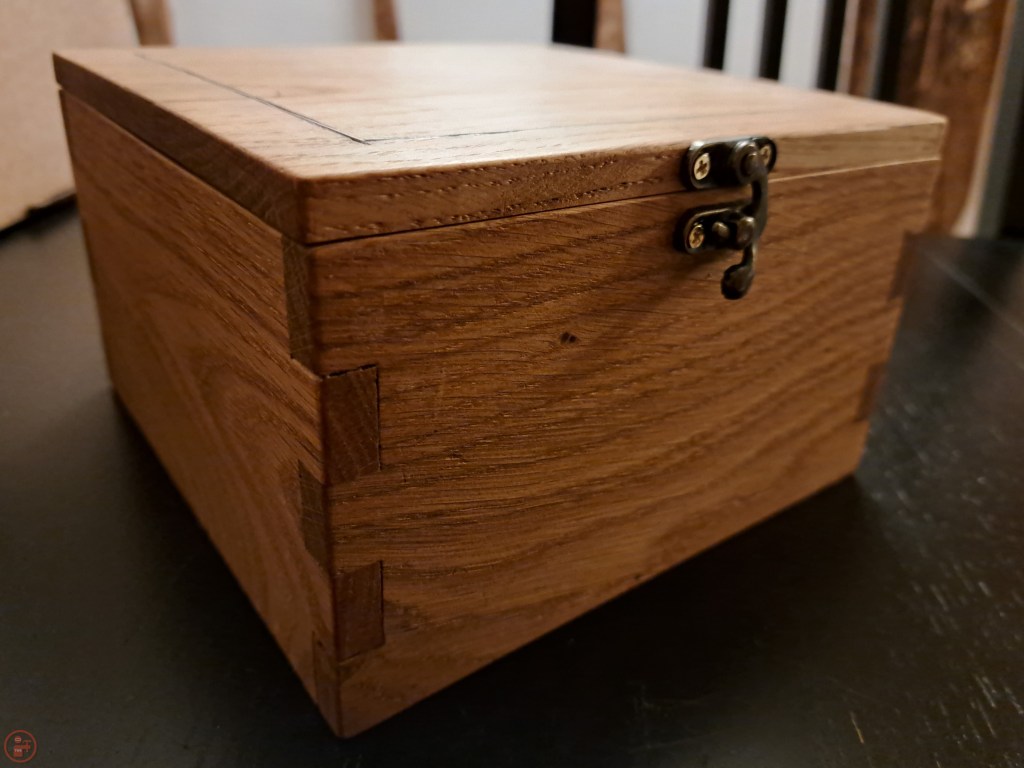
I’m really pleased with how this box turned out! The catch on the front is really easy to use to open the box and the bit bowls are kept dust free and tidy in the box. And then we can just grab the whole box when we want to play a game, or stick it in a bag to take to a friend’s house when needed. A simple box but a very useful one! 🔨
