One of the biggest challenges (and frustrations!) with renting is the need to keep moving house – which requires a pack up and restart of the workshop! Time to layout a new electrical and lighting setup (again!).
As I have been woodworking since 2018, and with a house move about every 2 years, this is now the fourth house, and correspondingly, the fourth workshop, that I have worked out of. This is the first one with a pedestrian walk door and a window however, so despite the efforts of setting everything up again, it will definitely be worth it!
The garage only had a single overhead fluorescent light, about two thirds of the way in from the up-and-over door. This would be fine if I were only parking a car in here but definitely not enough light for woodworking! I started by mounting a second fluorescent light fitting to some pallet wood and then secured that to the rafters using zip ties (so I don’t make any damage). I secured the wiring along the top of the beam and then down to the plug sockets. This is the same light I had in the previous workshop on the wall and I’m pleased it survived the move ok!
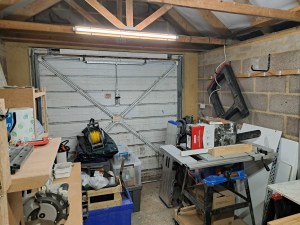
The combination of the two overhead lights makes the space a lot more evenly lit and also removes some of the harsh shadows at each end.
To sort out the wiring, I decided to make a frame to sit against the wall, to which I could fit my boxes and cabling setup.
I used some left over shelf legs and secured them a sufficient distance apart to fit both multi-socket extension leads next to each other, mounted on a piece of mdf.
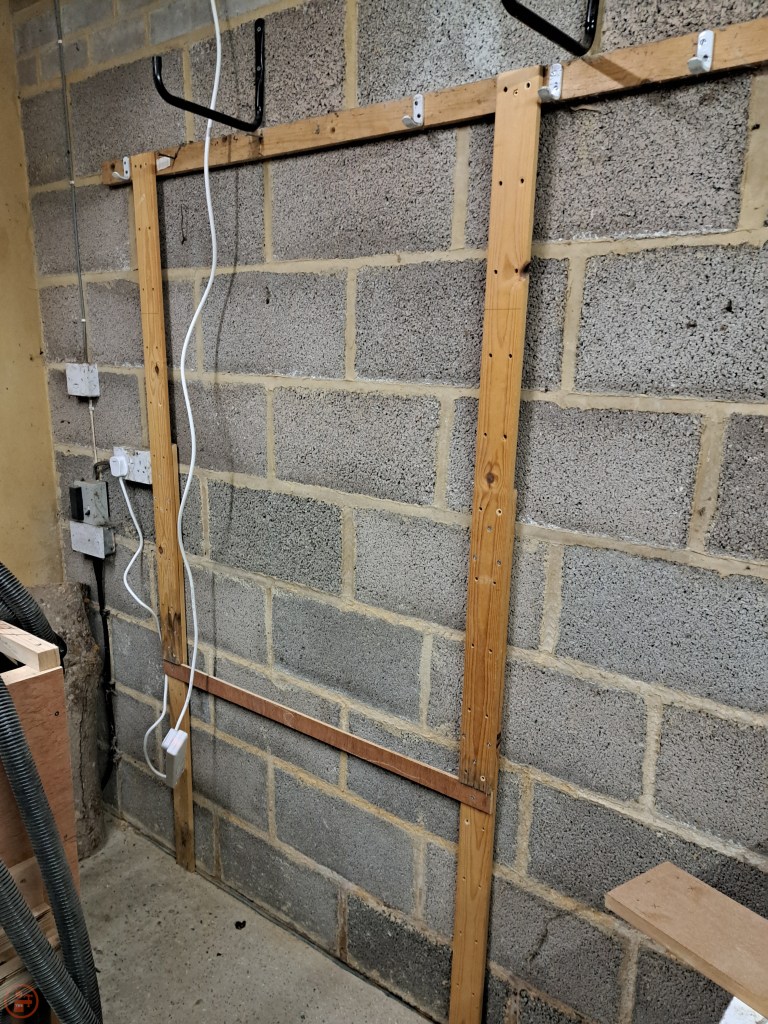
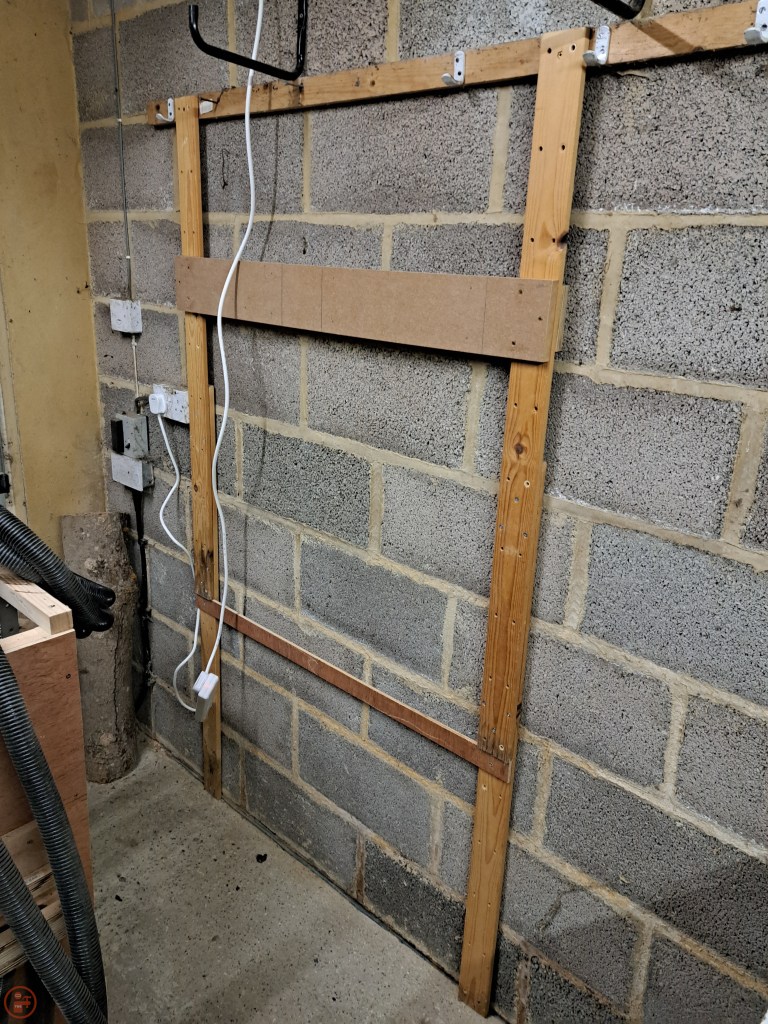
I added an additional scrap piece of wood behind the mdf piece, to provide additional material for the screws to hold into, as well as to fill the space between the shelf legs and the wall.

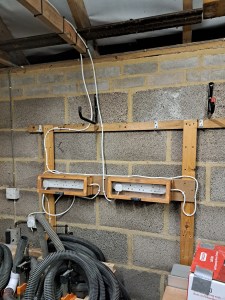
I refitted by cabling and boxes and then dug through multiple boxes yet to be unpacked to find my cable grips. I carefully secured all the cabling out of the way, hammering in the cable grips to hold the wiring securely.
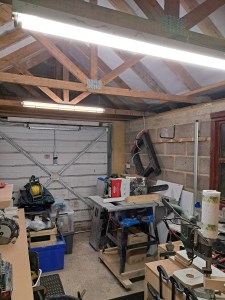
The layout for this workshop is slightly different from ones I’ve had before due to the pedestrian walk door allowing me to not have to open the main up-and-over door to get in. This means I have arranged the workshop around a central working area-space, rather than as a corridor from front to back, like in previous workshops. The challenge for this however is how to get power from the sockets on one side to the tools on the other!
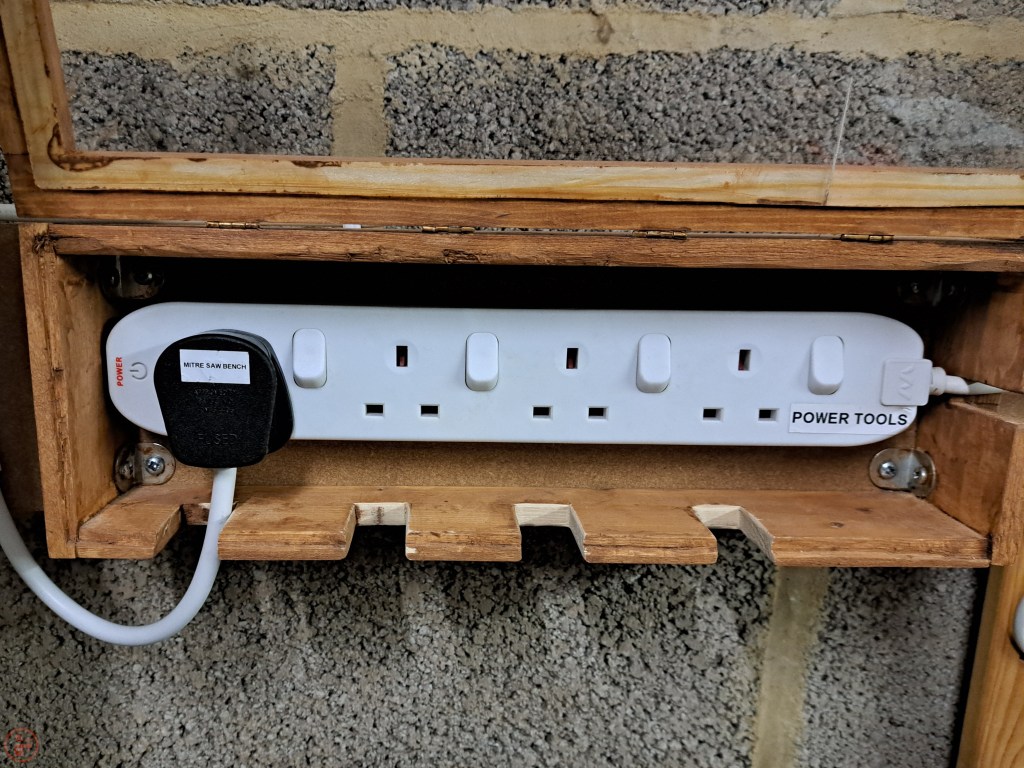
Using some appropriate cabling, I wired up a second cable and ran this over the beam with the additional light to the mitre saw bench. I only run one power tool at a time so there is no risk of overloading the sockets. It is simply much easier to have everything plugged in and then switch what I need on (and off again after use), than have to fight multiple plugs every time I want to change tools!
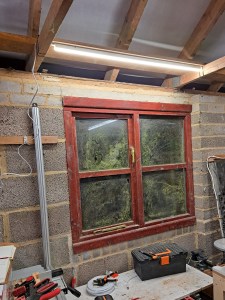
With the main stage of the wiring complete, I decided to add a third light setup directly above the window. This is where I plan to have my main workspace and will be where my workbench will go once built, to replace the current setup of white melamine coated chipboard on top of two sawhorses.

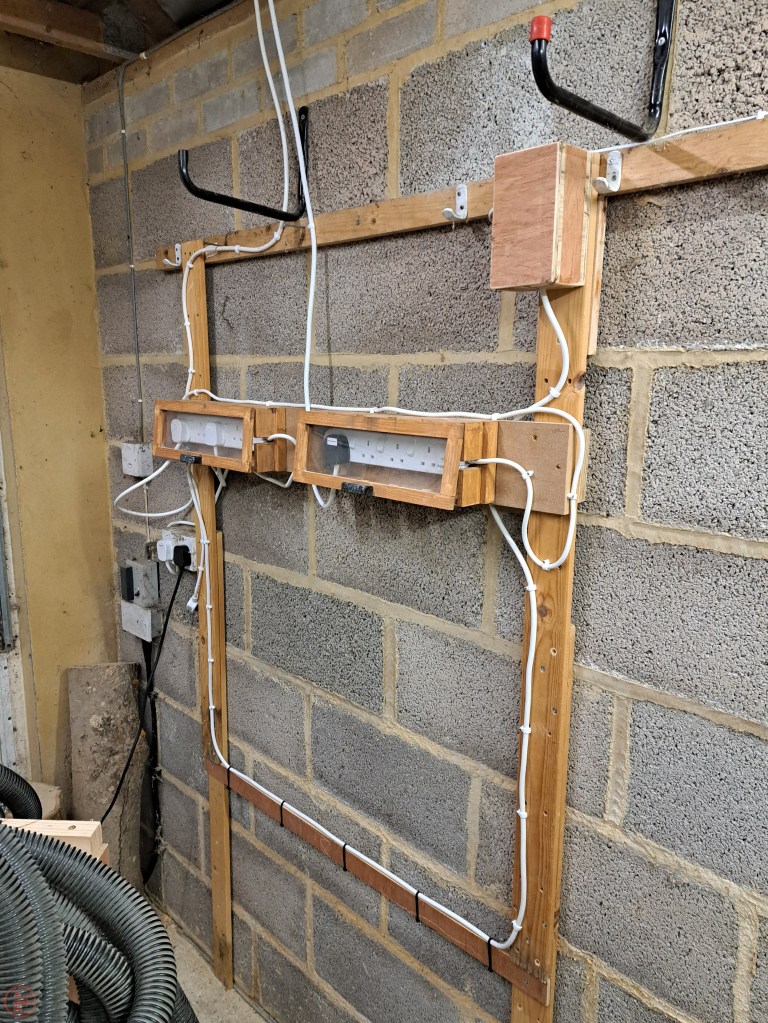
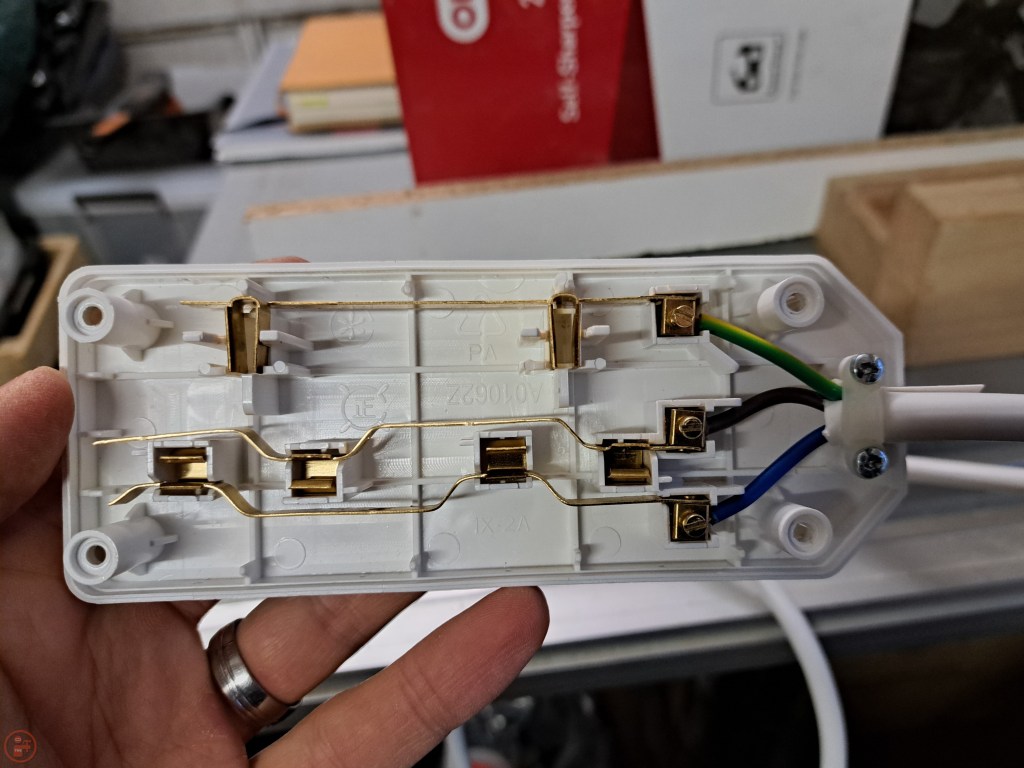
With the lighting all now in place, I connected up the plug using the small cabling box I made previously and secured the additional cabling in place with some more cable grips and careful hammering.

With the electrics and lighting now all in place, I can progress to the next stages of getting things unpacked and set up in their new spaces, so I can start making things! 🔨
