For my Mum’s 60th birthday this year I wanted to make her something special. I decided on making some personalised gifts including a carved letter opener and a decorative hardwood storage box with her initials carved into the lid. I started by making a prototype version of the letter opener to explore different methods for shaping and carving.
As this was quite an intricate project, it took quite a bit of planning and I made a prototype version of the letter opener so I could figure out how best to get the design and shape the way I wanted. I am sharing my progress in this through 4 parts and links to all the associated pages will go live below as each subsequent part gets written and shared:
Part 1 – Carved Letter opener – Prototype and shaping – this post
Part 2 – Carved Letter opener – Carving and finishing
Part 3 – Gift box – Making the box
Part 4 – Gift box – Carving the design and finishing
The first step was to identify a suitable piece of lumber for the prototype – I had a suitable piece left over from another project which was large enough to use to make a prototype and to make the final version. That way I could learn how the wood behaved when cutting and carving out the prototype so I could make a better version on my next attempt.


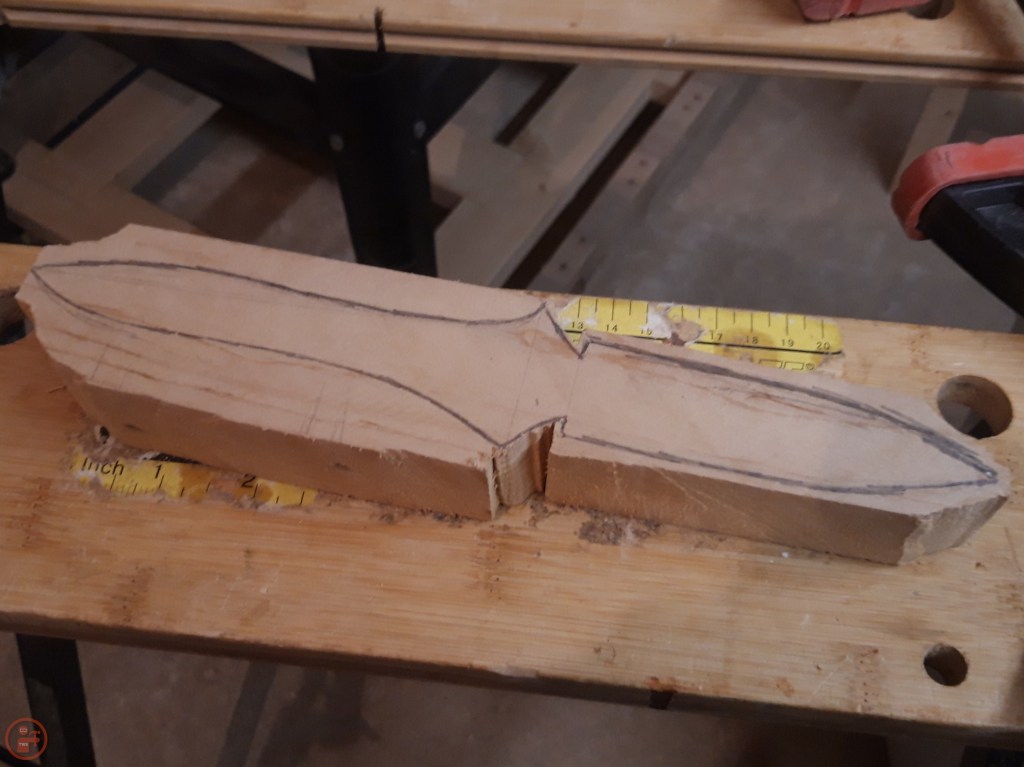
I drew out the rough shape on paper and then transferred that to the workpiece. I used my coping saw to cut out the rough shape from the block and then carefully removed material to follow the rough outline of the drawn on shape.
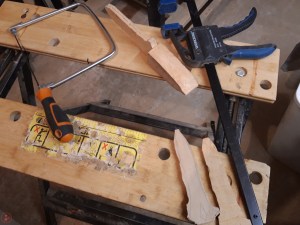
I used a Stanley knife to mark the pattern into the blade and handle areas and then thinned the blade section down by cutting off a section of material on each side using my coping saw. This was a little fiddly as I don’t yet have a dedicated workbench (work in progress!) so was still using my workmate, which although a fairly stable surface most of the time, has limited clamping options for securing a workpiece. I took it slowly however and was able to successfully reduce the blade thickness to what I was imagining.
I used files, sandpaper and then my Dremel with a rotary sanding attachment to shape the blade – as this was the prototype I wanted to try out different options to see what was the easiest to use and gave the best results. Files worked quite well but it was very slow progress and difficult to get the angle exactly how I wanted it. Using my Dremel was a lot easier and by altering the speed, I could reduce more or less material with each pass along the blade without having to put any more pressure onto the workpiece.
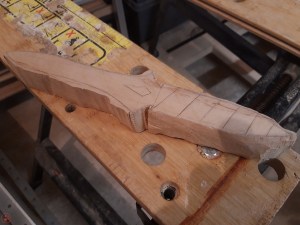
Roughly forming the blade shape 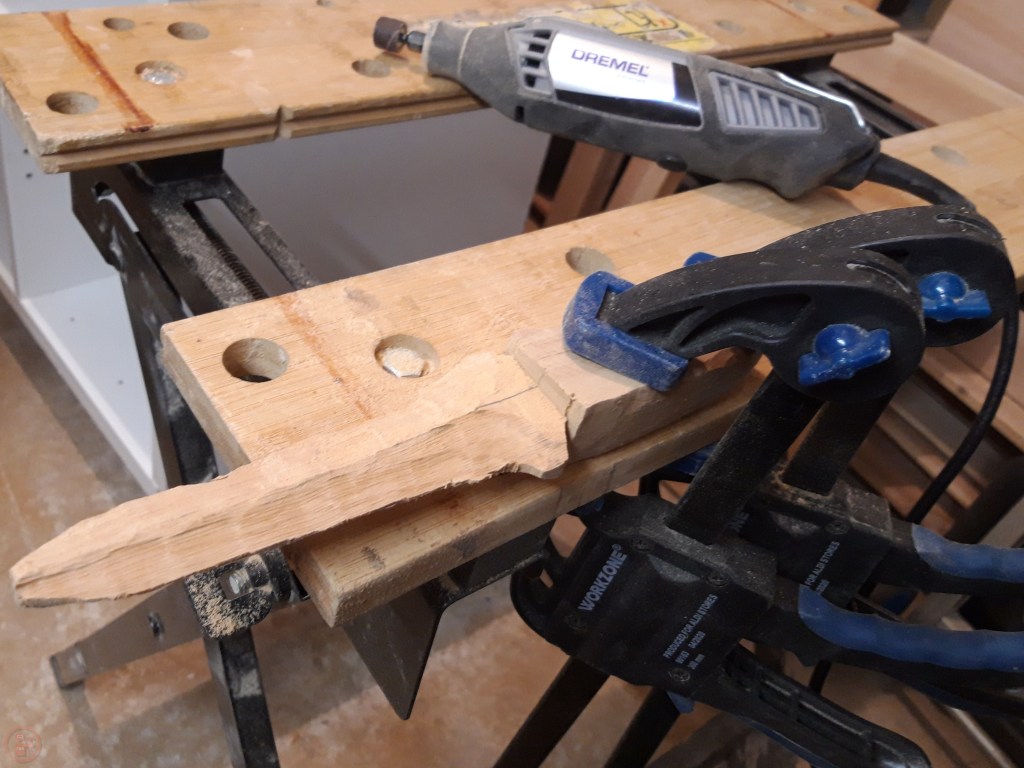
Refining with my Dremel
I spent quite a bit of time working out how best to get the blade shape how I wanted it. I drilled out a section at the top of the blade and then inserted my coping saw to refine the shape of the cut out section. This was quite tricky to rotate the workpiece to the right angle to be able to saw effectively and I found a combination of drilling and then using a round wood-carving bit in my Dremel worked well and was a lot easier to get the shape I wanted.
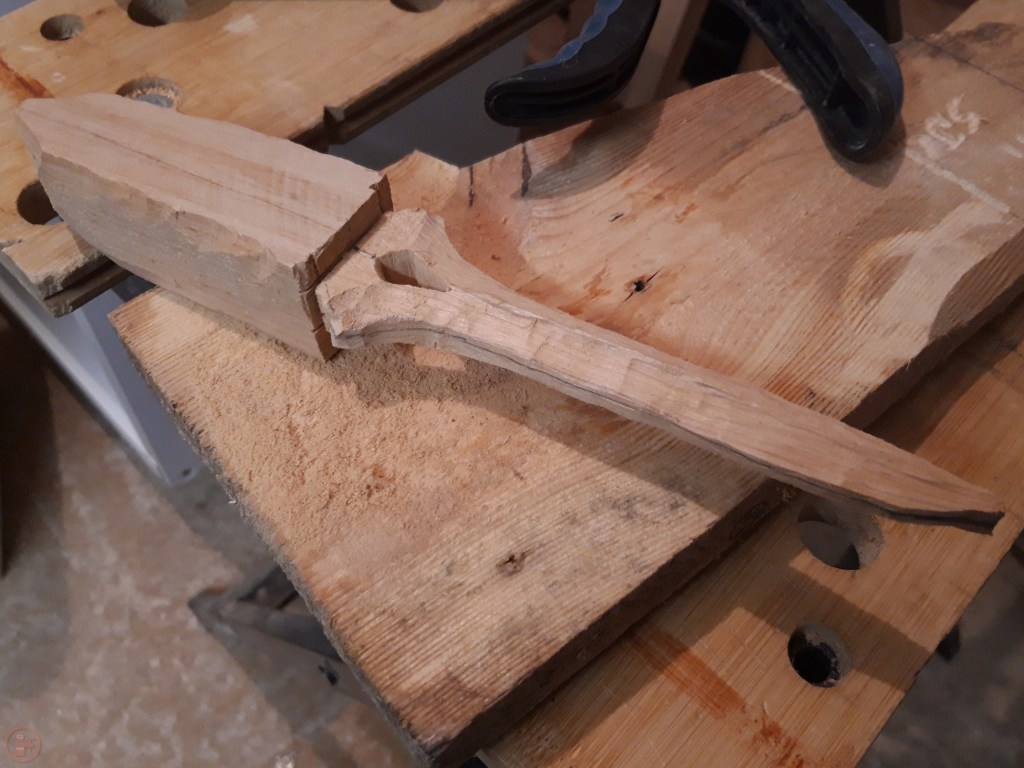

The blade ended up being quite a bit skinnier than I originally intended as I was exploring different methods for shaping it and refining the angles. As this was the prototype version however, I was pleased to have identified a suitable method for each of the steps so far.
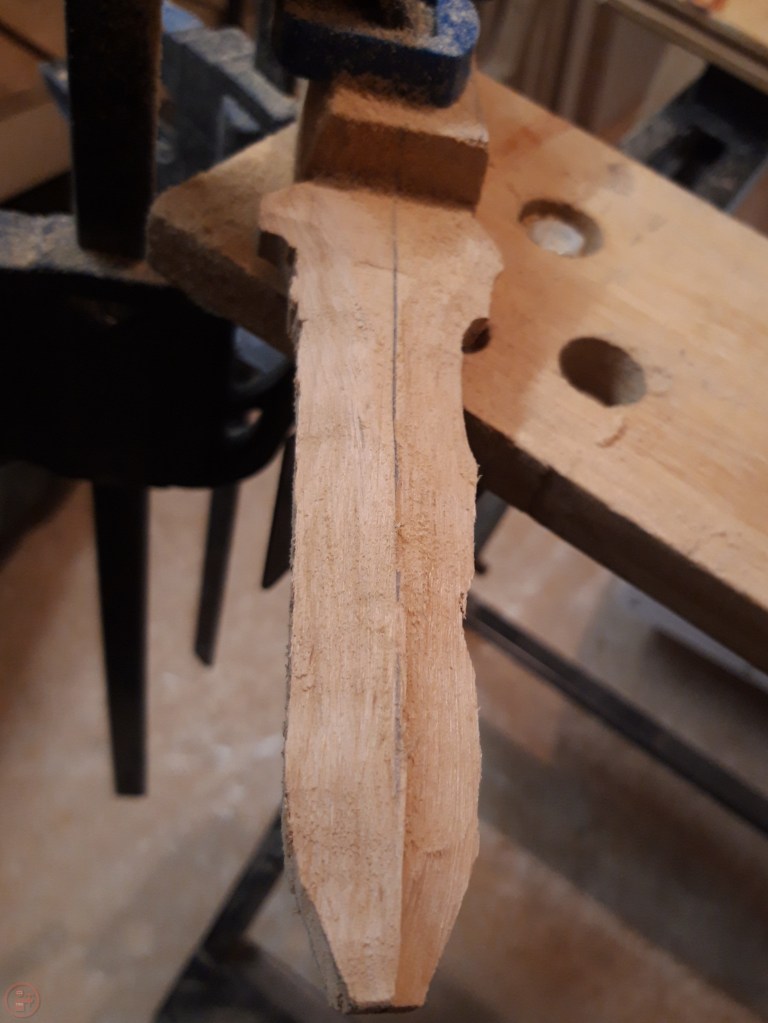
The final part of the workpiece to shape was the handle – I wanted this to be a spiral shape going up the handle to a point at the end. I used a Stanley knife to cut grooves into the handle and then carefully removed more and more material, following the drawn on pattern and cut out grooves as I rotated the letter opener.
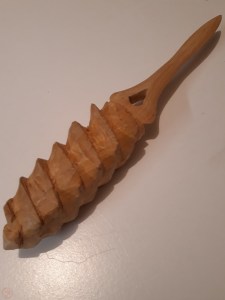
The “finished” prototype still has a very square and blocky looking handle, but I decided to stop the process at this point as the remaining steps are a whole lot of sanding and smoothing – time better spent on the version I am giving as a gift!
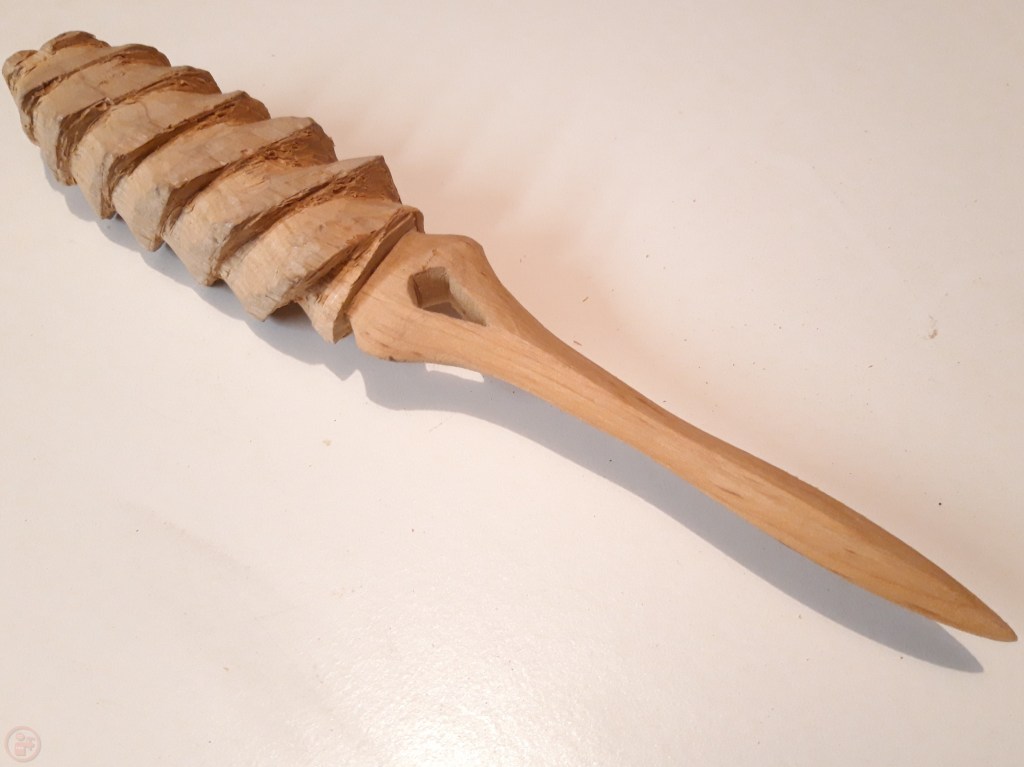
This prototype version was useful therefore to identify the best methods for each of the various steps required and showed me that the lumber I had selected was going to look exactly like I was hoping when finished. Time to repeat the whole process for the gift version! 🔨
