For my Mum’s 60th birthday this year I wanted to make her something special. I decided on making some personalised gifts including a carved letter opener and a decorative hardwood storage box with her initials carved into the lid. After making a prototype version of the letter opener, I repeated the process to make the gift version.
As this was quite an intricate project, it took quite a bit of planning and I made a prototype version of the letter opener so I could figure out how best to get the design and shape the way I wanted. I am sharing my progress in this through 4 parts and links to all the associated pages will go live below as each subsequent part gets written and shared:
Part 1 – Carved Letter opener – Prototype and shaping
Part 2 – Carved Letter opener – Carving and finishing – this post
Part 3 – Gift box – Making the box
Part 4 – Gift box – Carving the design and finishing
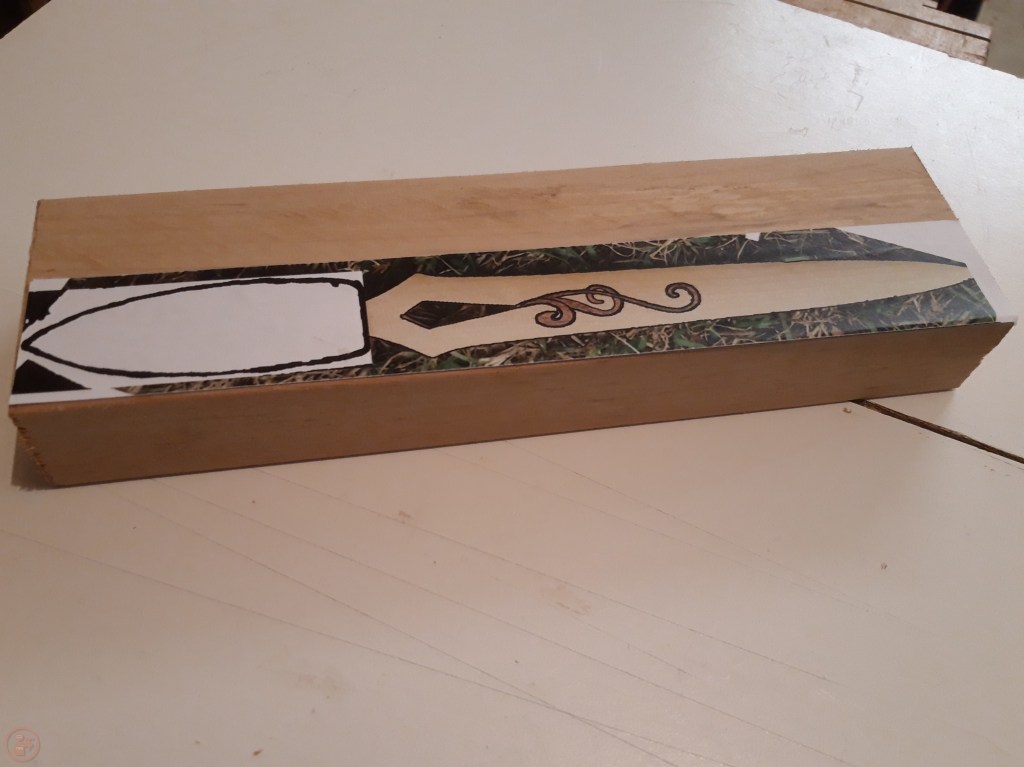
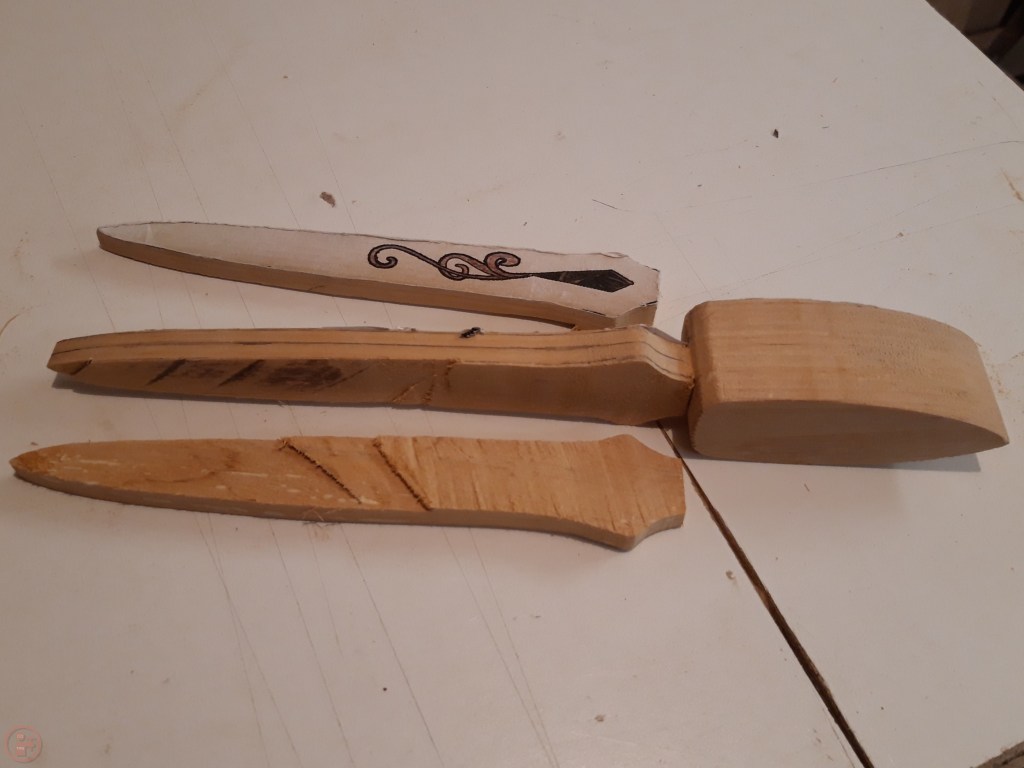
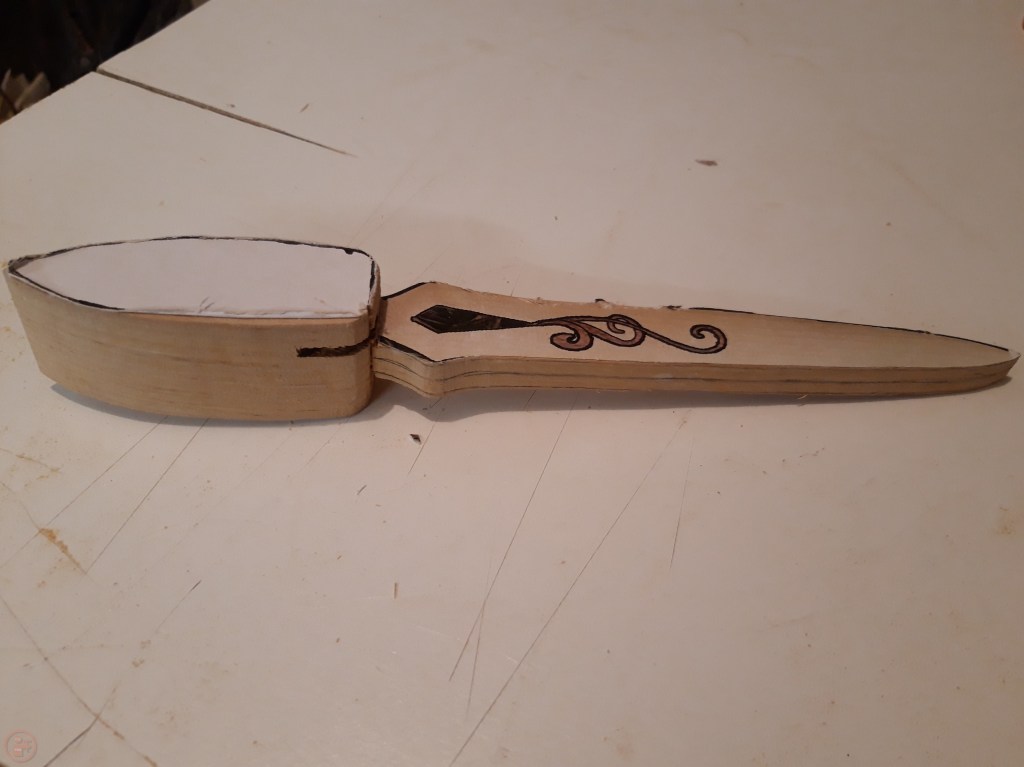
I printed out an image to help me get the shape of the blade correct which I glued onto the wood blank. I rough cut this out using hand saws and then refined the cut out shape more accurately using my coping saw.
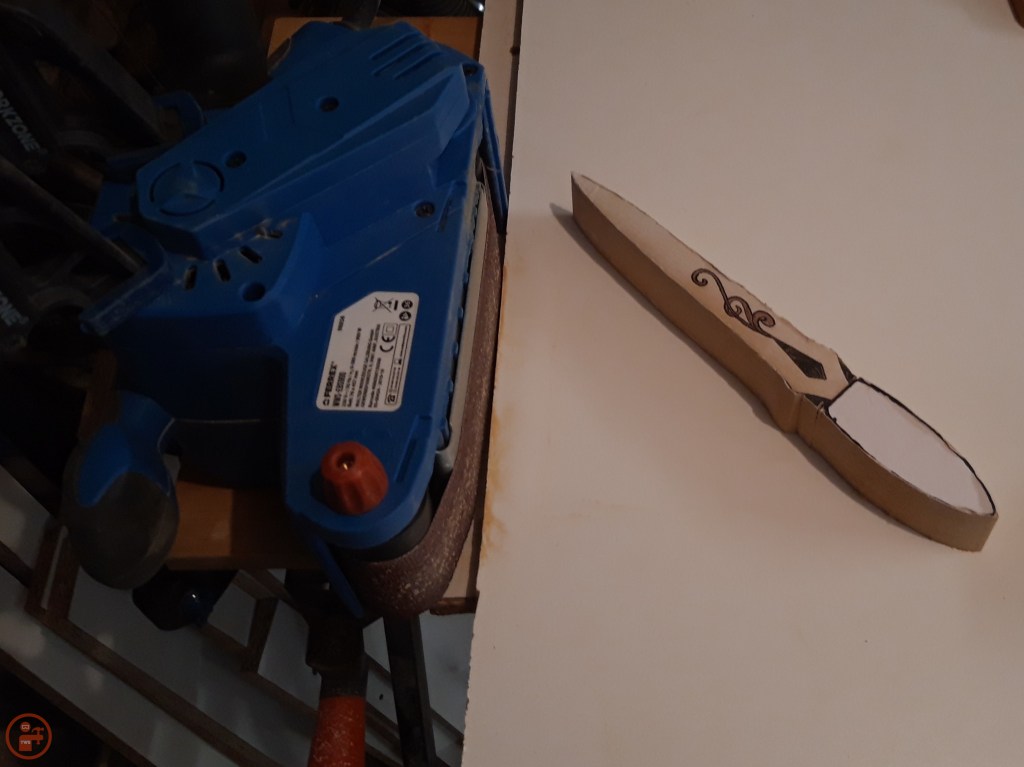
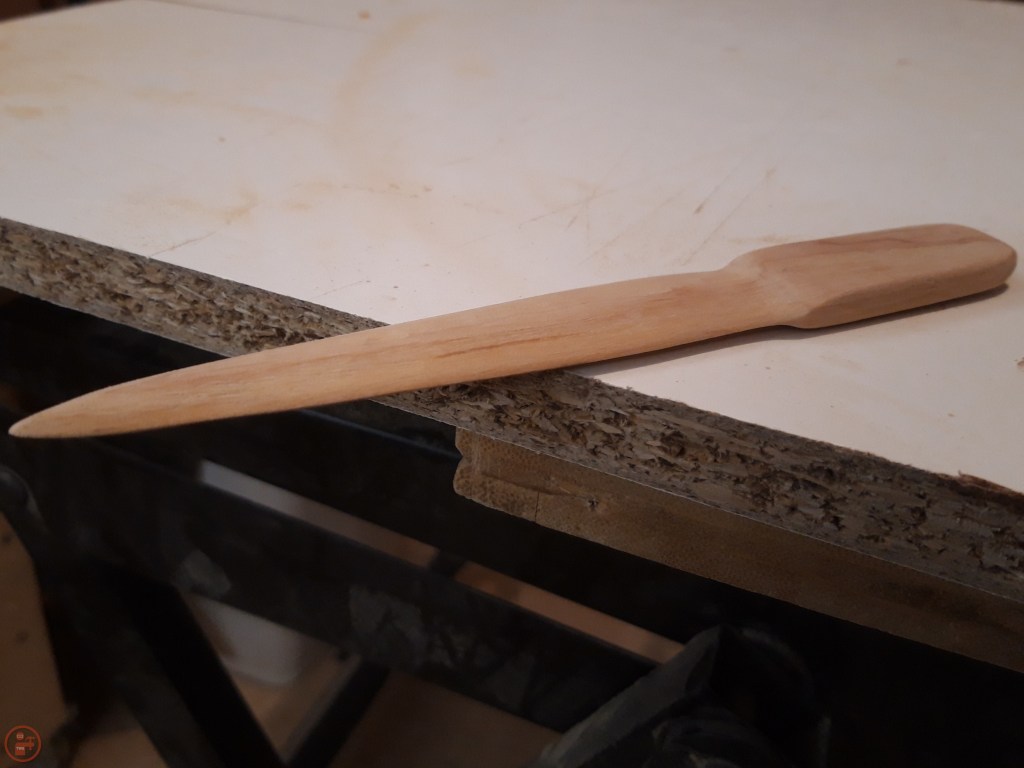
I secured my belt sander to my workmate and used some white melamine coated chipboard left over from a dismantled wardrobe as a smooth surface to slide the workpiece around on. I sanded the blade and handle sections up to the marked lines and then hand sanded to create the indent at the top of the blade next to the handle.

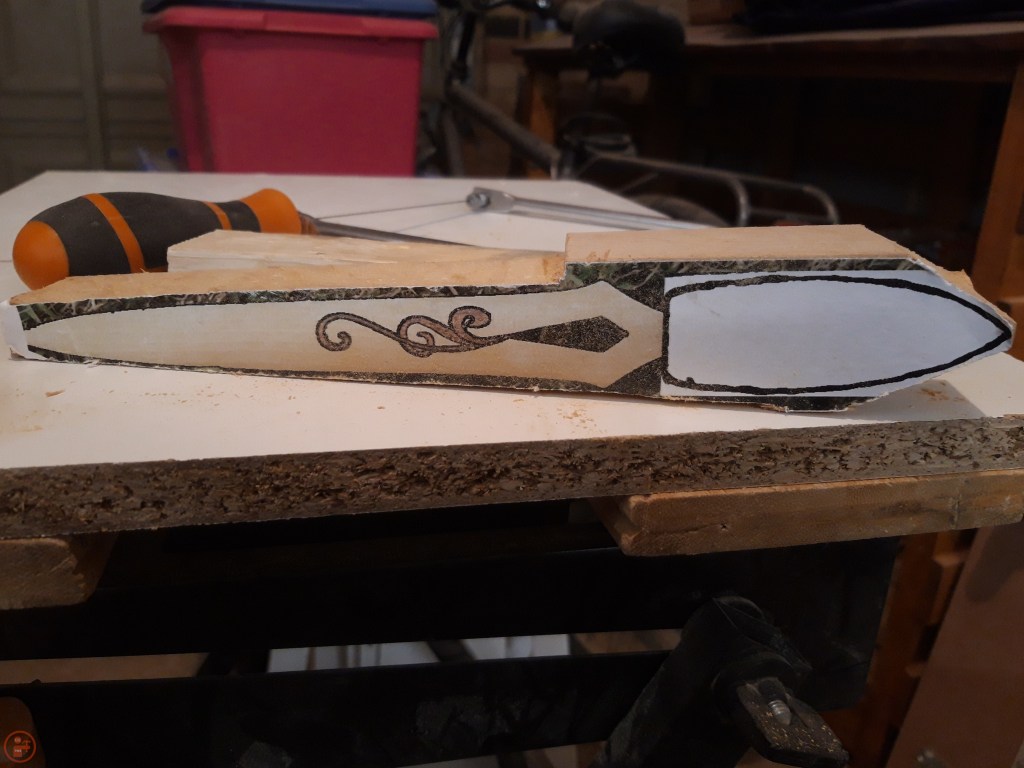
As the workpiece was still quite thick, I measured to the middle and then to the same distance each side. I used my coping saw to cut off sections of the blade to thin it down and then glued on another print out of the blade shape.
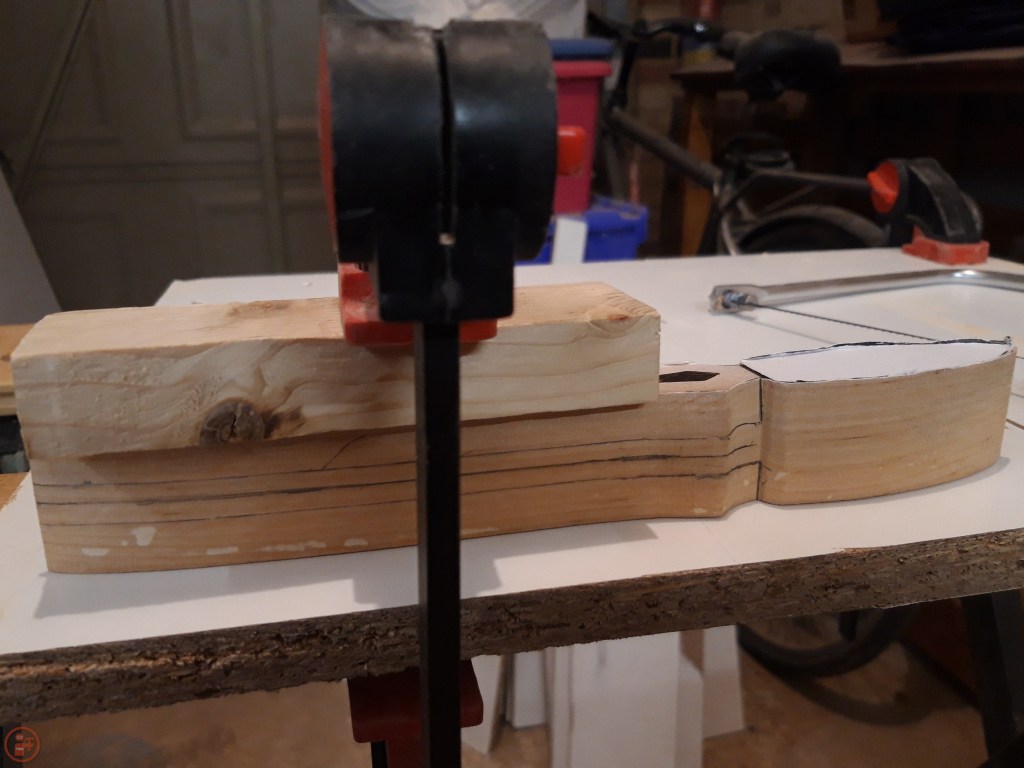
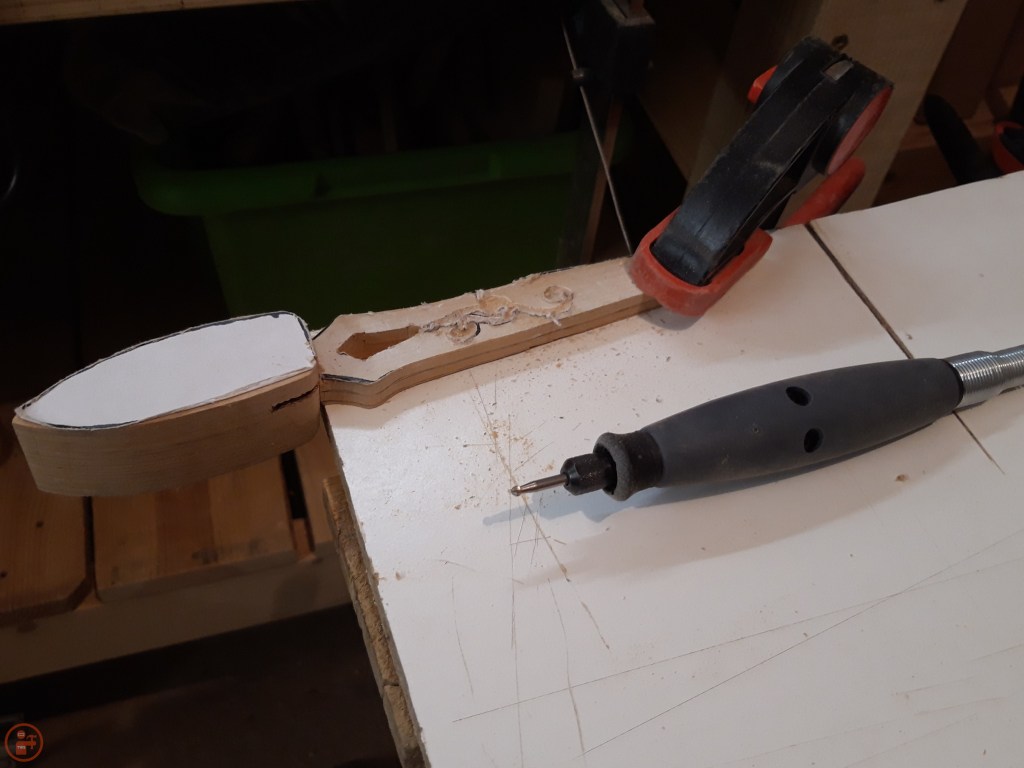
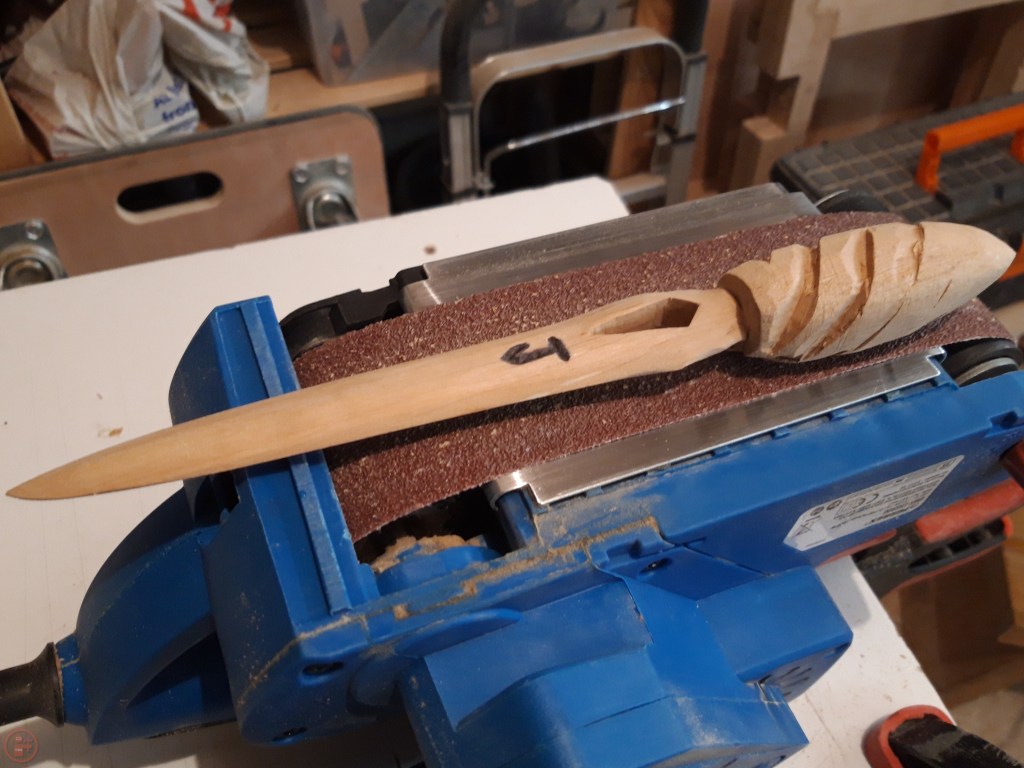
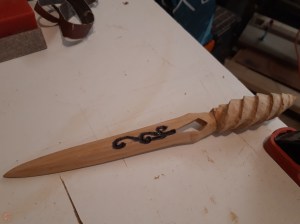
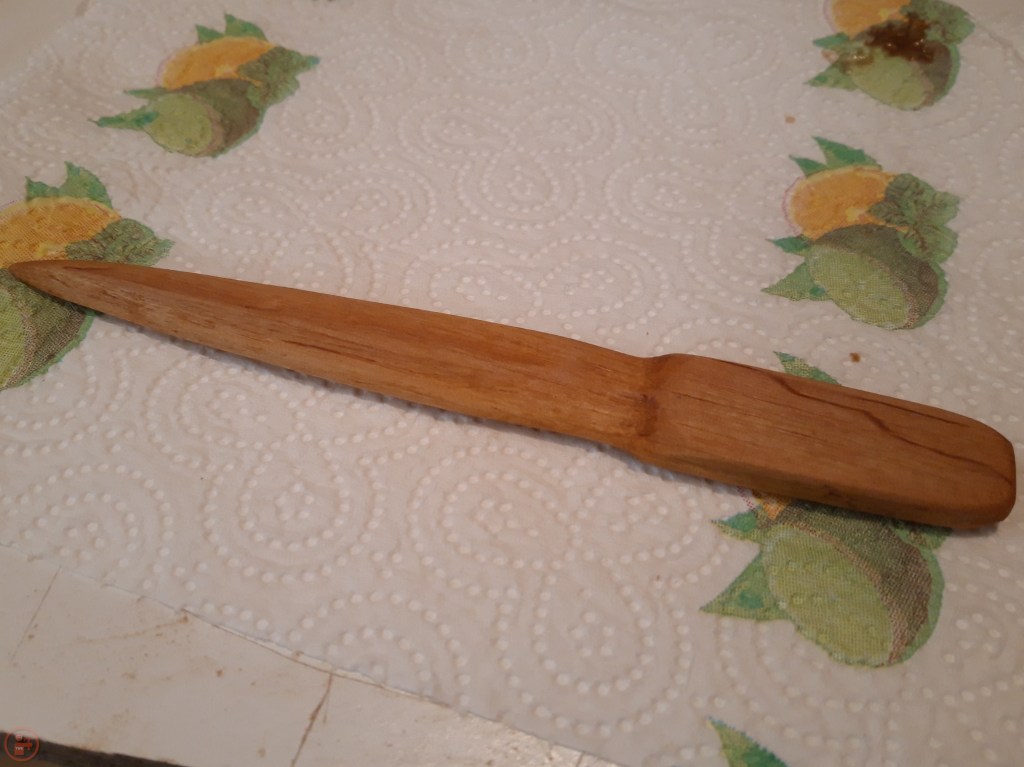
I used my Dremel with a round wood-carving bit to remove material from the centre of the blade and to carve the pattern and my mum’s initial into opposite sides of the blade. I then used my belt sander clamped upside down to my workmate to shape the blade and round the handle, tipping the blade against the coarse grit sanding belt to thin the edges of the blade down to a sharp edge. This worked really well and was a lot more controllable than doing it a section at a time with a rotary sanding bit in my Dremel.
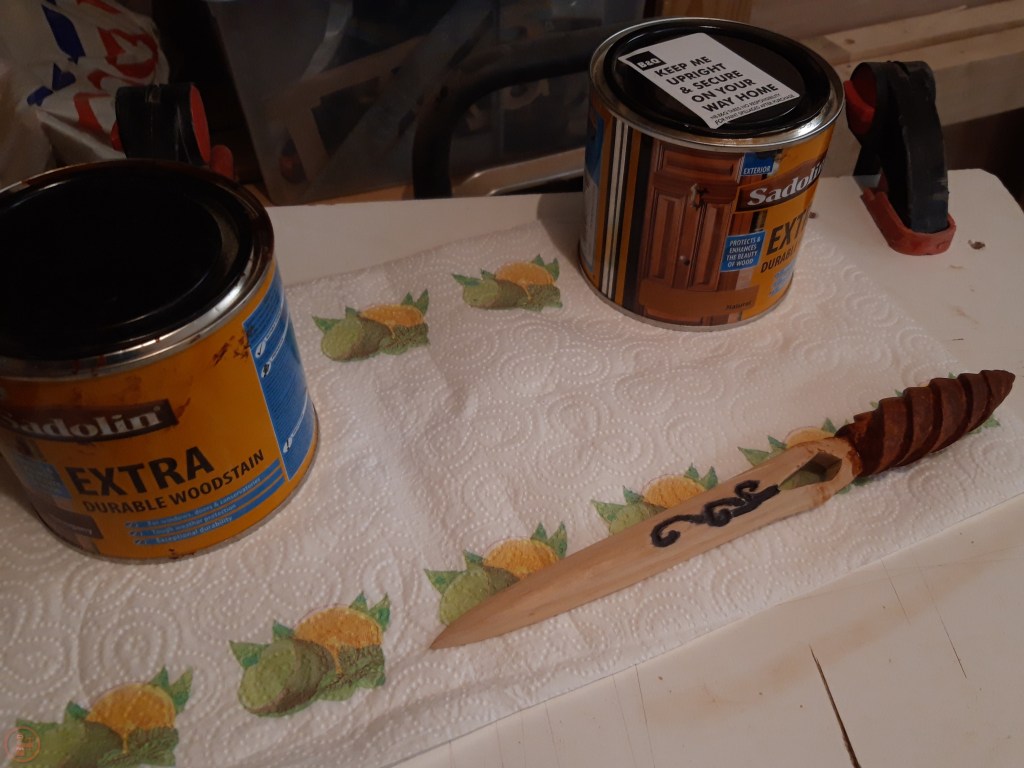
I used some ink to fill the carved sections and left it to thoroughly dry overnight to minimise the amount it might bleed during staining. I repeated the same process as in the prototype to shape the handle, using my Stanley knife to create an upcut spiral shape. I then sanded the handle thoroughly by hand to refine the shape before giving the whole letter opener a sanding with a fine grit to leave it with a nice smooth surface for staining.
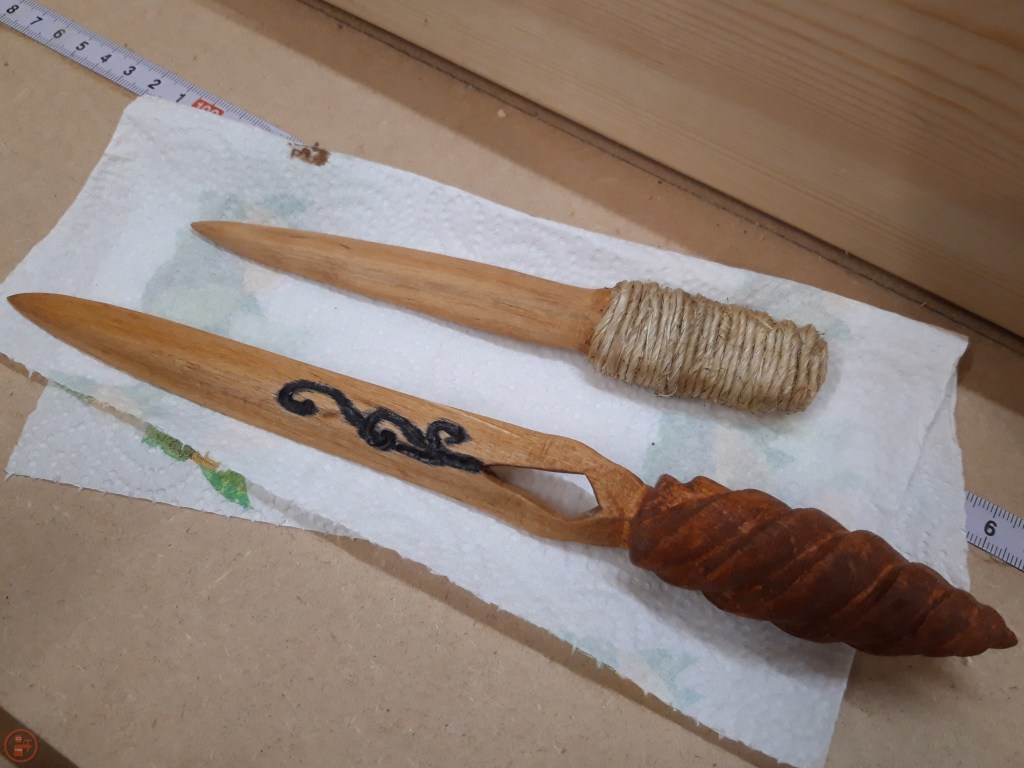
I decided to use two stains for this carved letter opener – I used a mahogany wood stain for the handle and then a lighter oak wood stain for the blade. This worked really well and I really liked the contrast between the two shades.

With an offcut from the blade, I had the idea to create a smaller simple letter opener to accompany the larger carved version. I clamped the workpiece to my workmate and then having found the middle, shaped the blade using my Dremel and the same rotary sanding bit I tried out on the prototype letter opener.
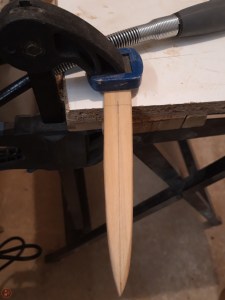
As this was a much smaller version, using the Dremel worked really well and I quickly had the letter opener in a shape I liked. I sanded the workpiece thoroughly by hand, working up through the grits to a nice smooth finish before staining the letter opener with the oak stain.
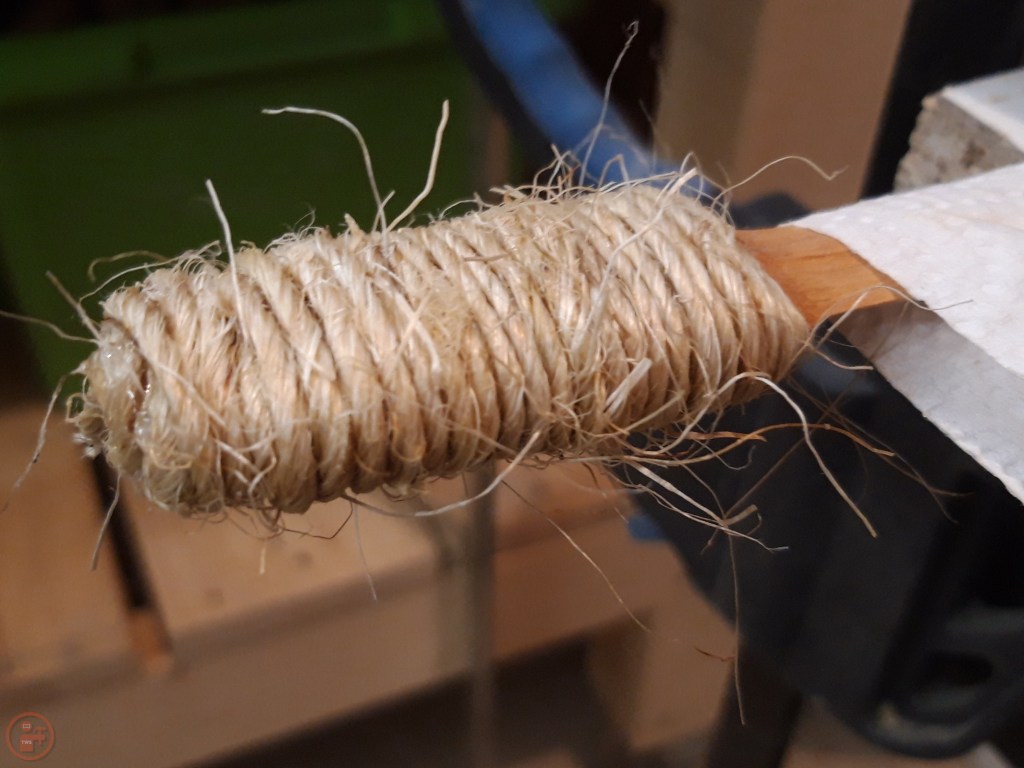
Once the stain had thoroughly dried overnight, I glued and tied some twine around the handle section to give it a textured grip. I used some matches to carefully burn off any straggly bits of twine and to tidy up the presentation. This was a little fiddley and I was very careful not to burn myself or the letter opener!

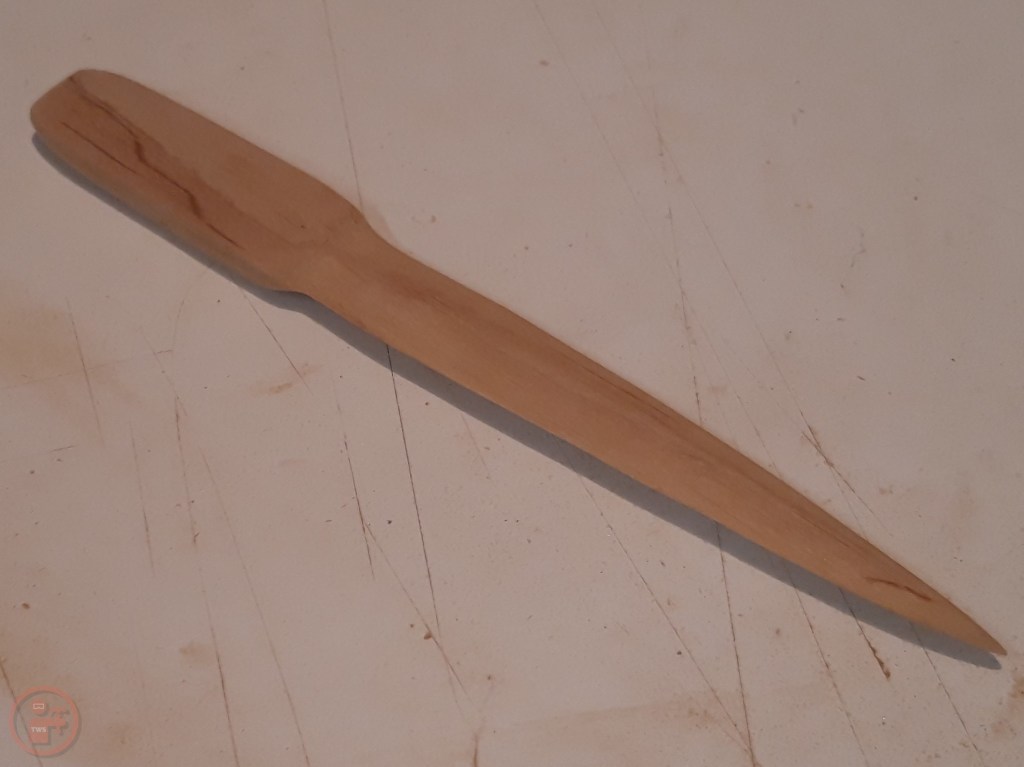
And I am really happy with the finished result! The carved letter opener is exactly what I was imagining in my head and I am pleased that I was able to get the blade sufficiently sharp too so it functions very successfully. The smaller second letter opener was a fun addition to the original idea and complements the first one nicely by being a much simpler design.
Now I have finished the letter openers a know the dimensions, I can move on to what I am going to put them in to give them as a gift. I have decided to create a personalised presentation box for them, which will look nice and also be a practical gift that can be used to hold any number of items. The design for this box and how I created it is the subject of my next blog post! 🔨

3 thoughts on “Personalised gifts – Part 2 – Carved Letter opener – Carving and finishing”