For my Mum’s 60th birthday this year I wanted to make her something special. I decided on making some personalised gifts including a carved letter opener and a decorative hardwood storage box with her initials carved into the lid. After finishing the letter opener, I used the dimensions to design and create a giftbox to put it in.
As this was quite an intricate project, it took quite a bit of planning and I made a prototype version of the letter opener so I could figure out how best to get the design and shape the way I wanted. I am sharing my progress in this through 4 parts and links to all the associated pages will go live below as each subsequent part gets written and shared:
Part 1 – Carved Letter opener – Prototype and shaping
Part 2 – Carved Letter opener – Carving and finishing
Part 3 – Gift box – Making the box – this post
Part 4 – Gift box – Carving the design and finishing
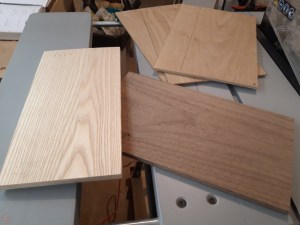
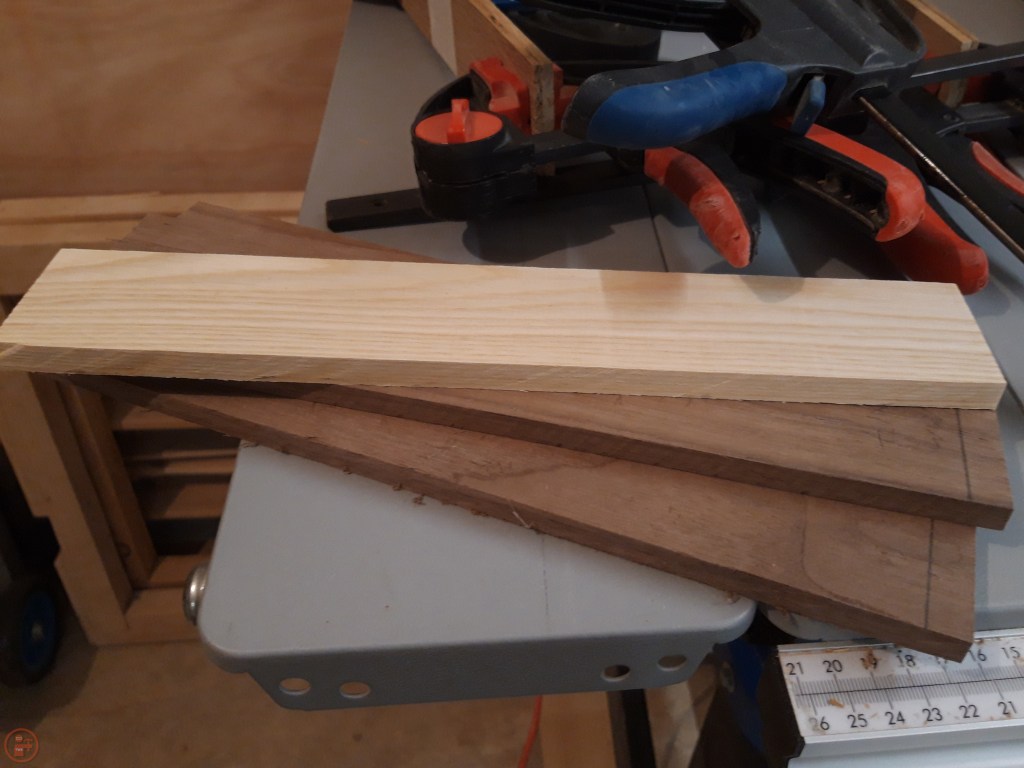
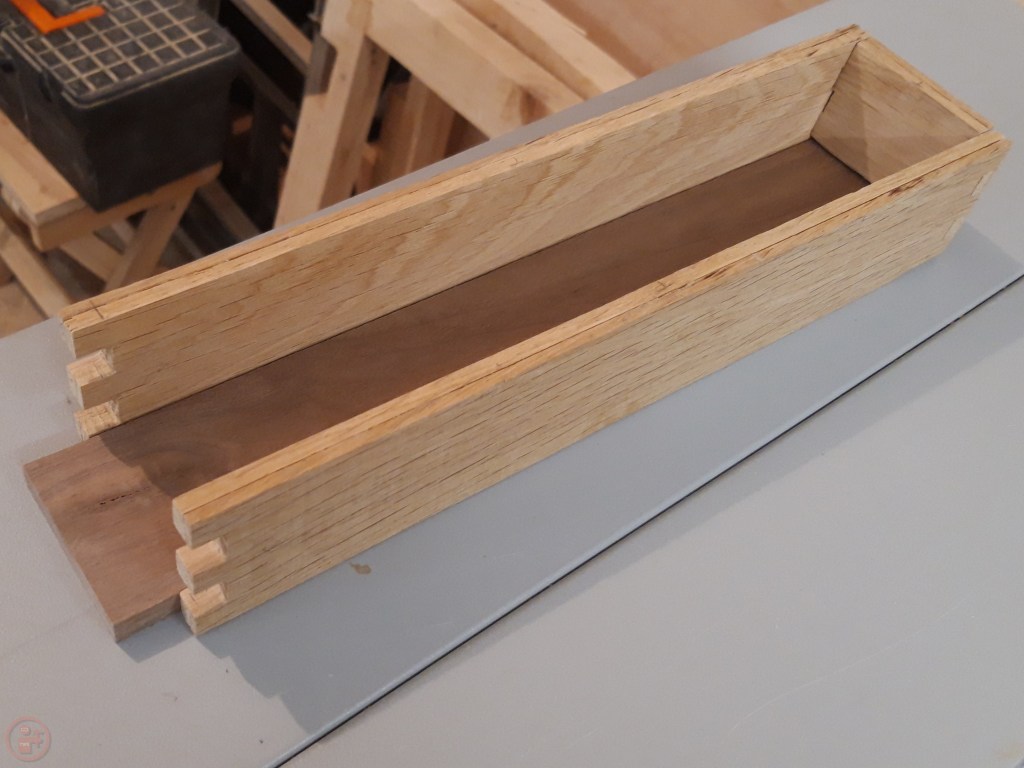
I had a selection of different hardwoods that I wanted to use for the gift box, that would provide a nice contrast with each other for the lid and body of the box. I selected some oak and maple panels for the sides of the box and glued them together to provide a thicker piece, holding the pieces together with tape and clamps while the glue dried. I ripped the piece of walnut into two pieces for the base and the top of the lid and then selected a piece of beech for the inside section of the lid to fit inside the box sides.
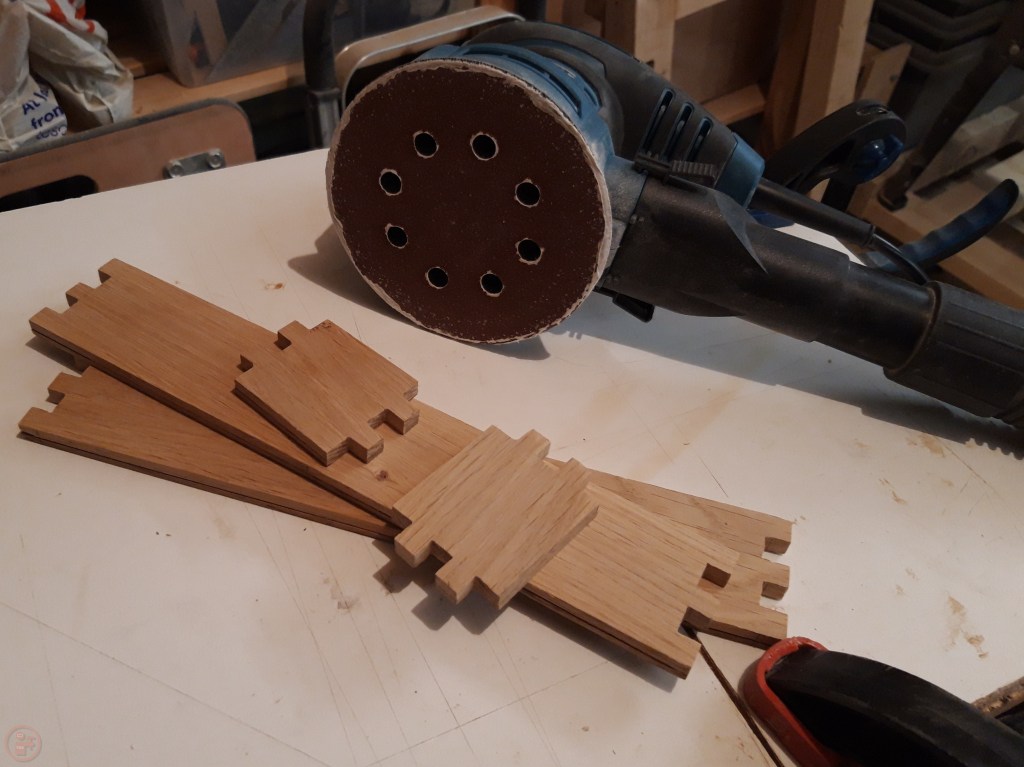
Once the sides were glued together I marked out finger joints on each end, to ensure a secure fit and a sturdy construction to the box. I cut the marked areas out using my coping saw and used a sharp chisel to finish off each cut, ensuring a clean and accurate joint setup.

I repeated the process on each end of the four box sides, testing the joints as I went to ensure a snug fit. I labelled each joint to ensure an exact fit with the corresponding joint on the adjacent side of the box. That allowed me to very accurately adjust each joint to ensure a perfect fit.

After I had completed all the joints, I then sanded all the side pieces thoroughly up to 180 grit using my random orbit sander, as it would be a lot more difficult to sand the inside of the box to a smooth finish once the side pieces are glued together.

I did a test fit of the side pieces to confirm the joints were square and then measured the panel for the base of the box, using the sides of the box to give me an exact measurement.
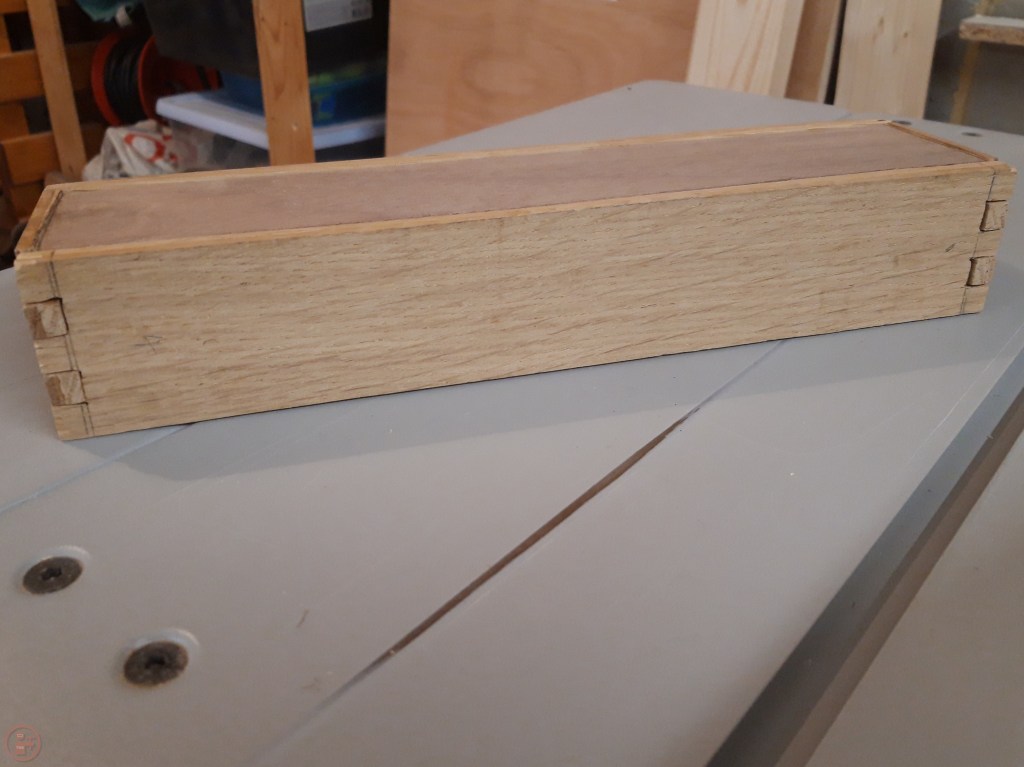
I cut the base slightly long on my mitre saw and then gradually removed material using a hand plane to dial in the perfect fit. Once I was happy with the fit of the pieces in a dry assembly, I applied glue to all the joints and clamped the box together for the glue to dry.

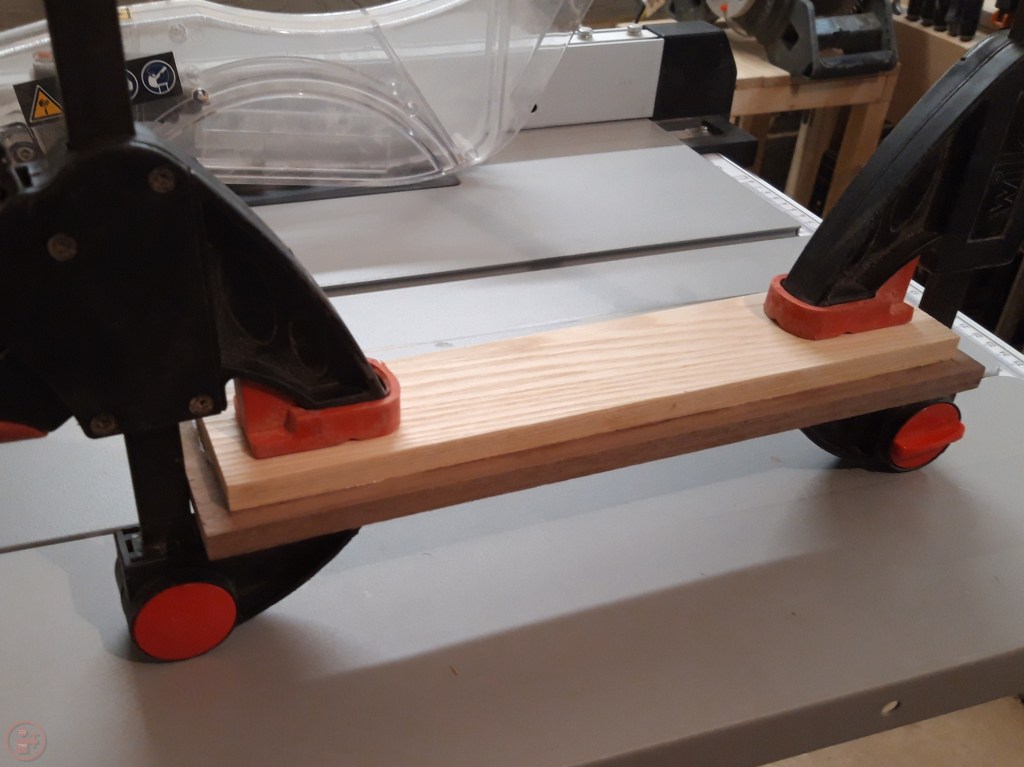
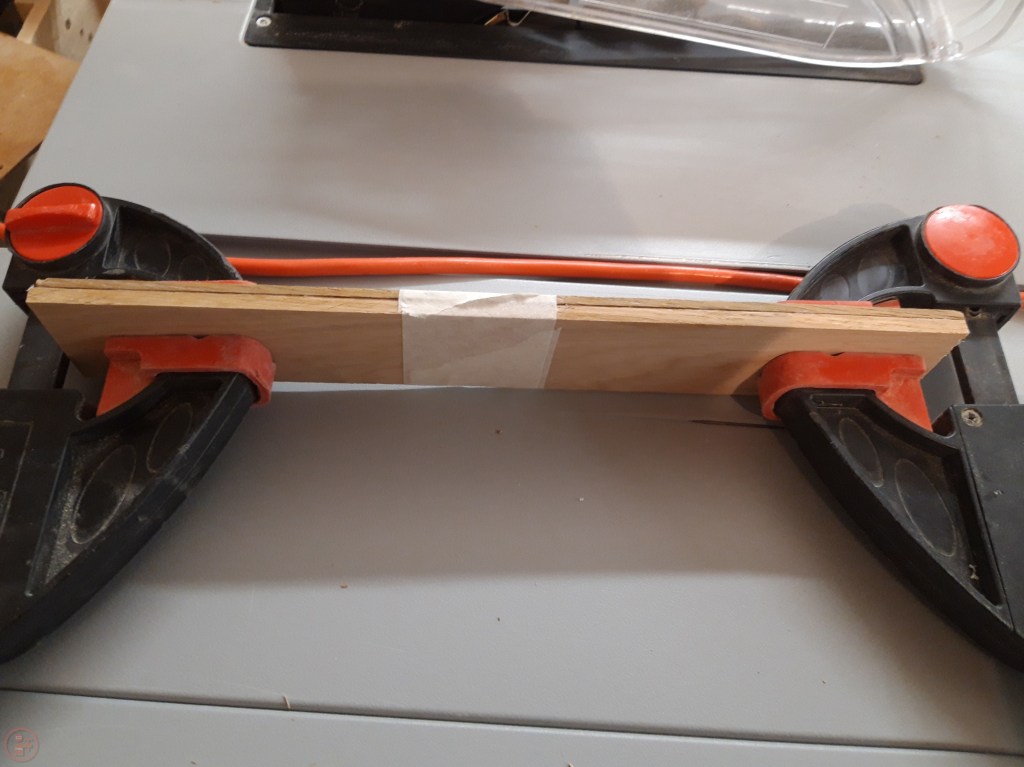
While the box was drying, I ripped the pieces for the lid to width on the table saw, leaving the walnut wider that the width of the box so there was a slight overhang. I cut the pieces to length on my mitre saw, again leaving a slight overlap.
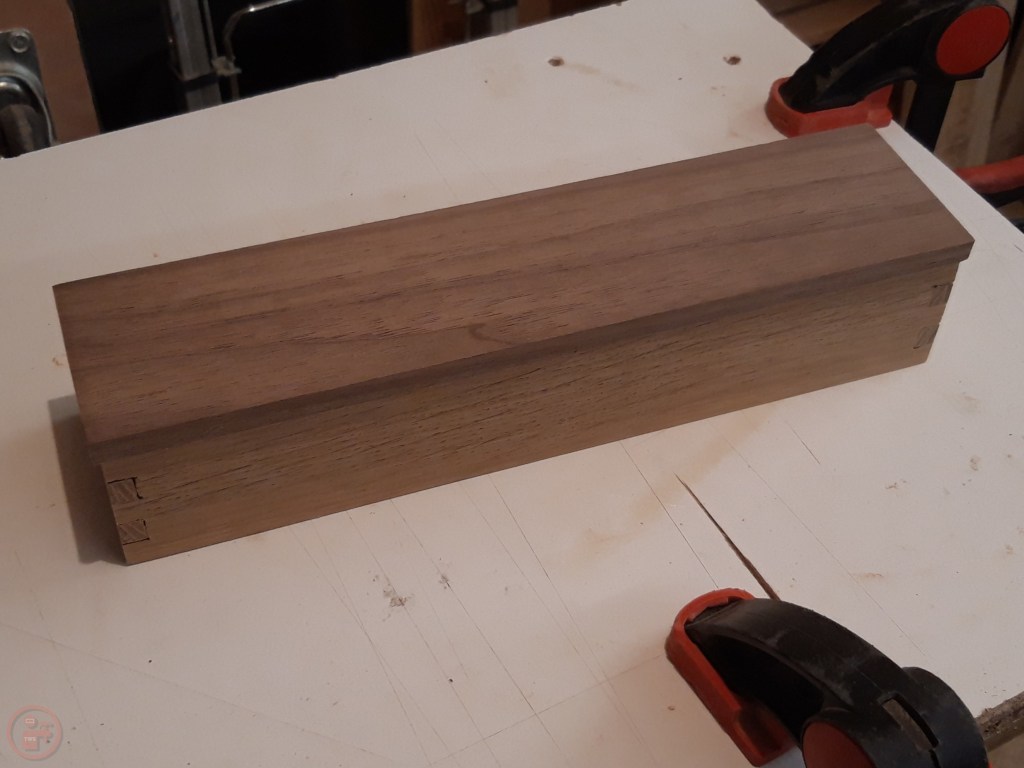
After leaving the glue to fully dry overnight, I gave the box a thorough sanding using my random orbit sander, again up to 180 grit to smooth out the finger joints and create a smooth surface on the lid for carving a design – the final steps to complete the box before adding finish!🔨

3 thoughts on “Personalised gifts – Part 3 – Gift box – Making the box”