For my Mum’s 60th birthday this year I wanted to make her something special. I decided on making some personalised gifts including a carved letter opener and a decorative hardwood storage box with her initials carved into the lid. After designing and creating a giftbox I carved out Mum’s initials in the lid and applied finish to the box to complete the presents.
As this was quite an intricate project, it took quite a bit of planning and I made a prototype version of the letter opener so I could figure out how best to get the design and shape the way I wanted. I am sharing my progress in this through 4 parts and links to all the associated pages will go live below as each subsequent part gets written and shared:
Part 1 – Carved Letter opener – Prototype and shaping
Part 2 – Carved Letter opener – Carving and finishing
Part 3 – Gift box – Making the box
Part 4 – Gift box – Carving the design and finishing – this post
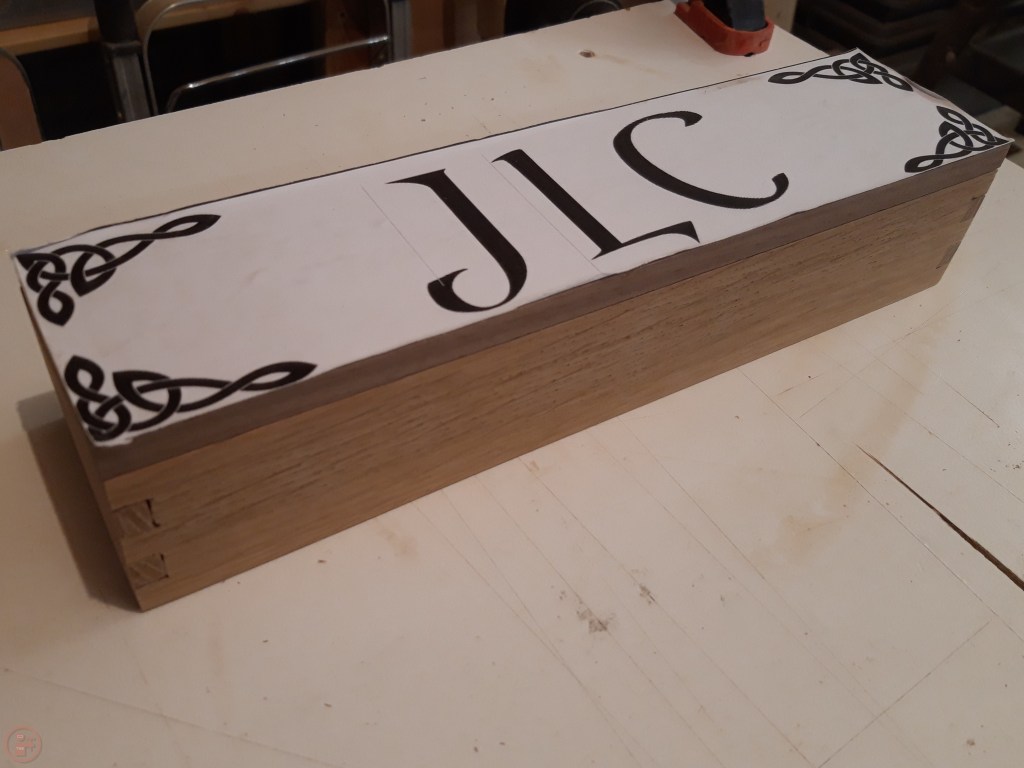
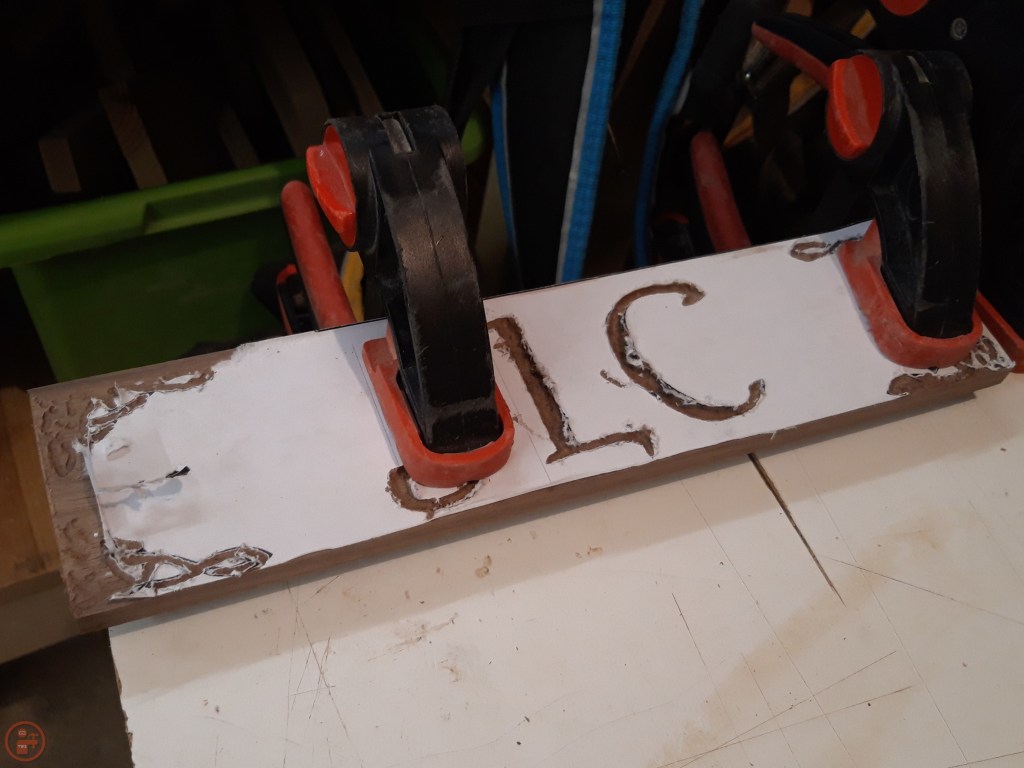
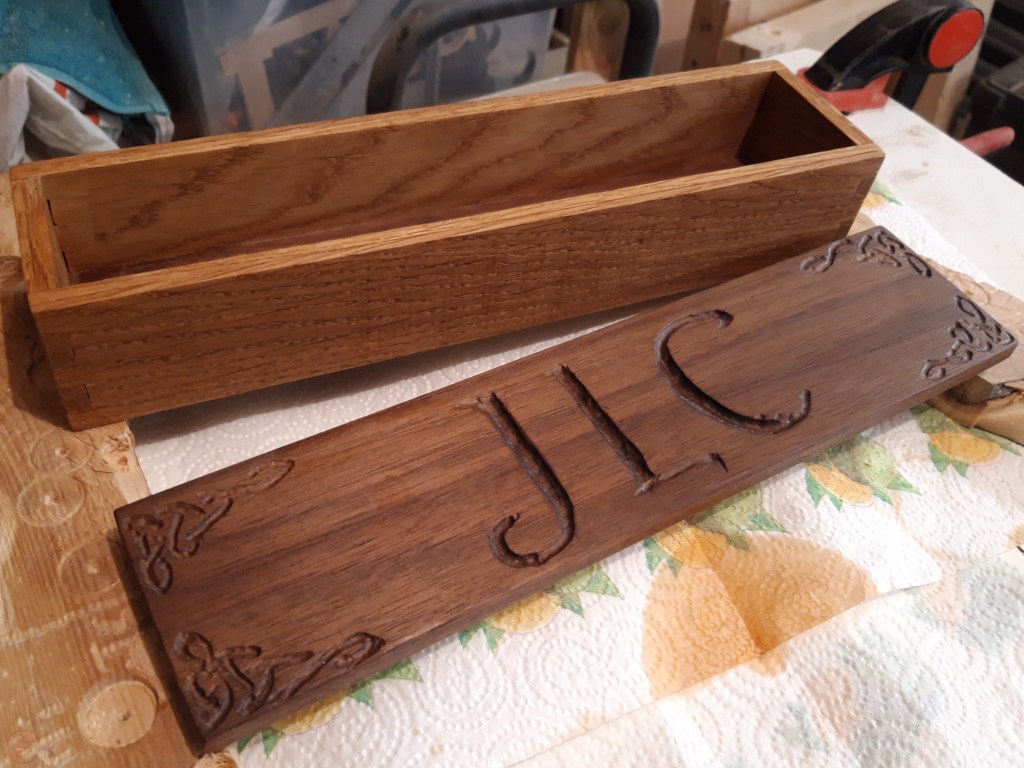
I designed the pattern and lettering for the lid on my computer and then printed out the design for the dimensions of the lid. I stuck the print out to the lid using a glue stick so I could remove it again easily while making sure not to affect the surface for applying finish later. I used my Dremel and a small wood carving bit to follow the shape of the patterns in the corners and my Mum’s initials in the centre of the lid. I took my time to make sure I was accurate with the carving, gradually removing material to deepen the carving in places where the lettering was thicker.
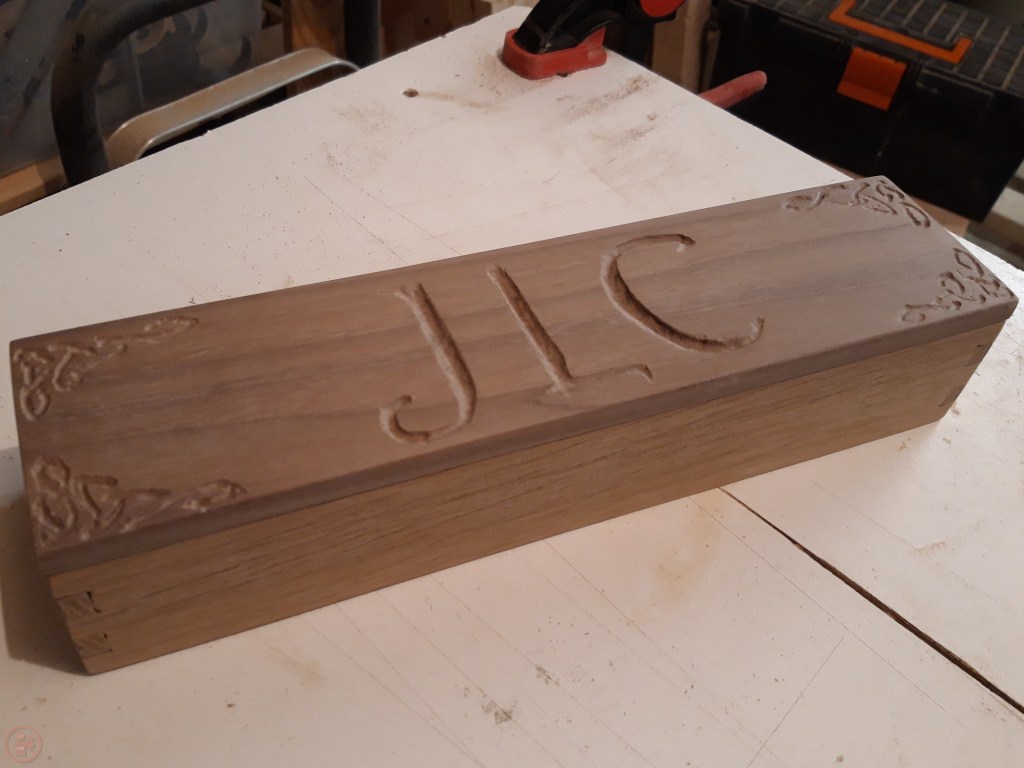
When I had finished carving, I removed the paper and sanded the carved letters and pattern carefully with 180 grit sandpaper to smooth out any carving marks. I completed final sanding using my random orbit sander up to 240 grit to leave the box with a lovely smooth feel.

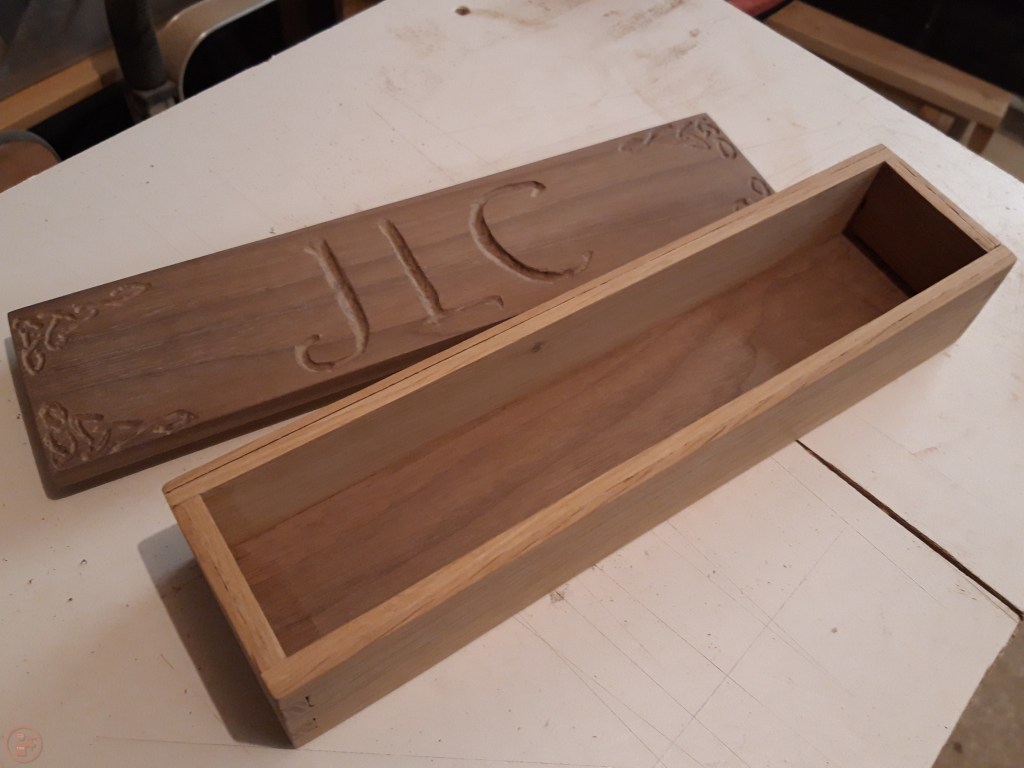
I applied Danish oil to the inside and outside of the box and lid, wiping off the excess and leaving it to dry for several days. The Danish oil really brought out the grain of the various different hard woods, especially the dark walnut of the lid. The carved initials work well in the dark wood and the patterns in the corners add additional detail to make the lid more interesting.
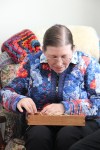
I filled the box with shredded paper and put in the letter openers I made previously. I wrapped the box up and gave it to my Mum at our family get together to celebrate her birthday – she really loved the box and the letter openers!
I am really pleased with how these gifts turned out, as this was my first proper project with a selection of different hardwoods. Hardwood definitely behaves differently to soft woods, like pine I have used for a lot of projects previously. Especially with the carving I did in the lid, as due to the denser fibres the shape holds a lot better. I’m looking forward to what my next hardwood projects can be! 🔨
