When we first moved into our current house, we found post and delivery drivers were struggling to find the address, as the house number on the front door was partially hidden from the main road due to the angle of the house and the bay window at the front. I therefore knew I could make something to highlight our house number more clearly!
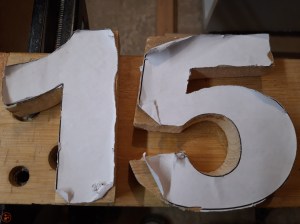
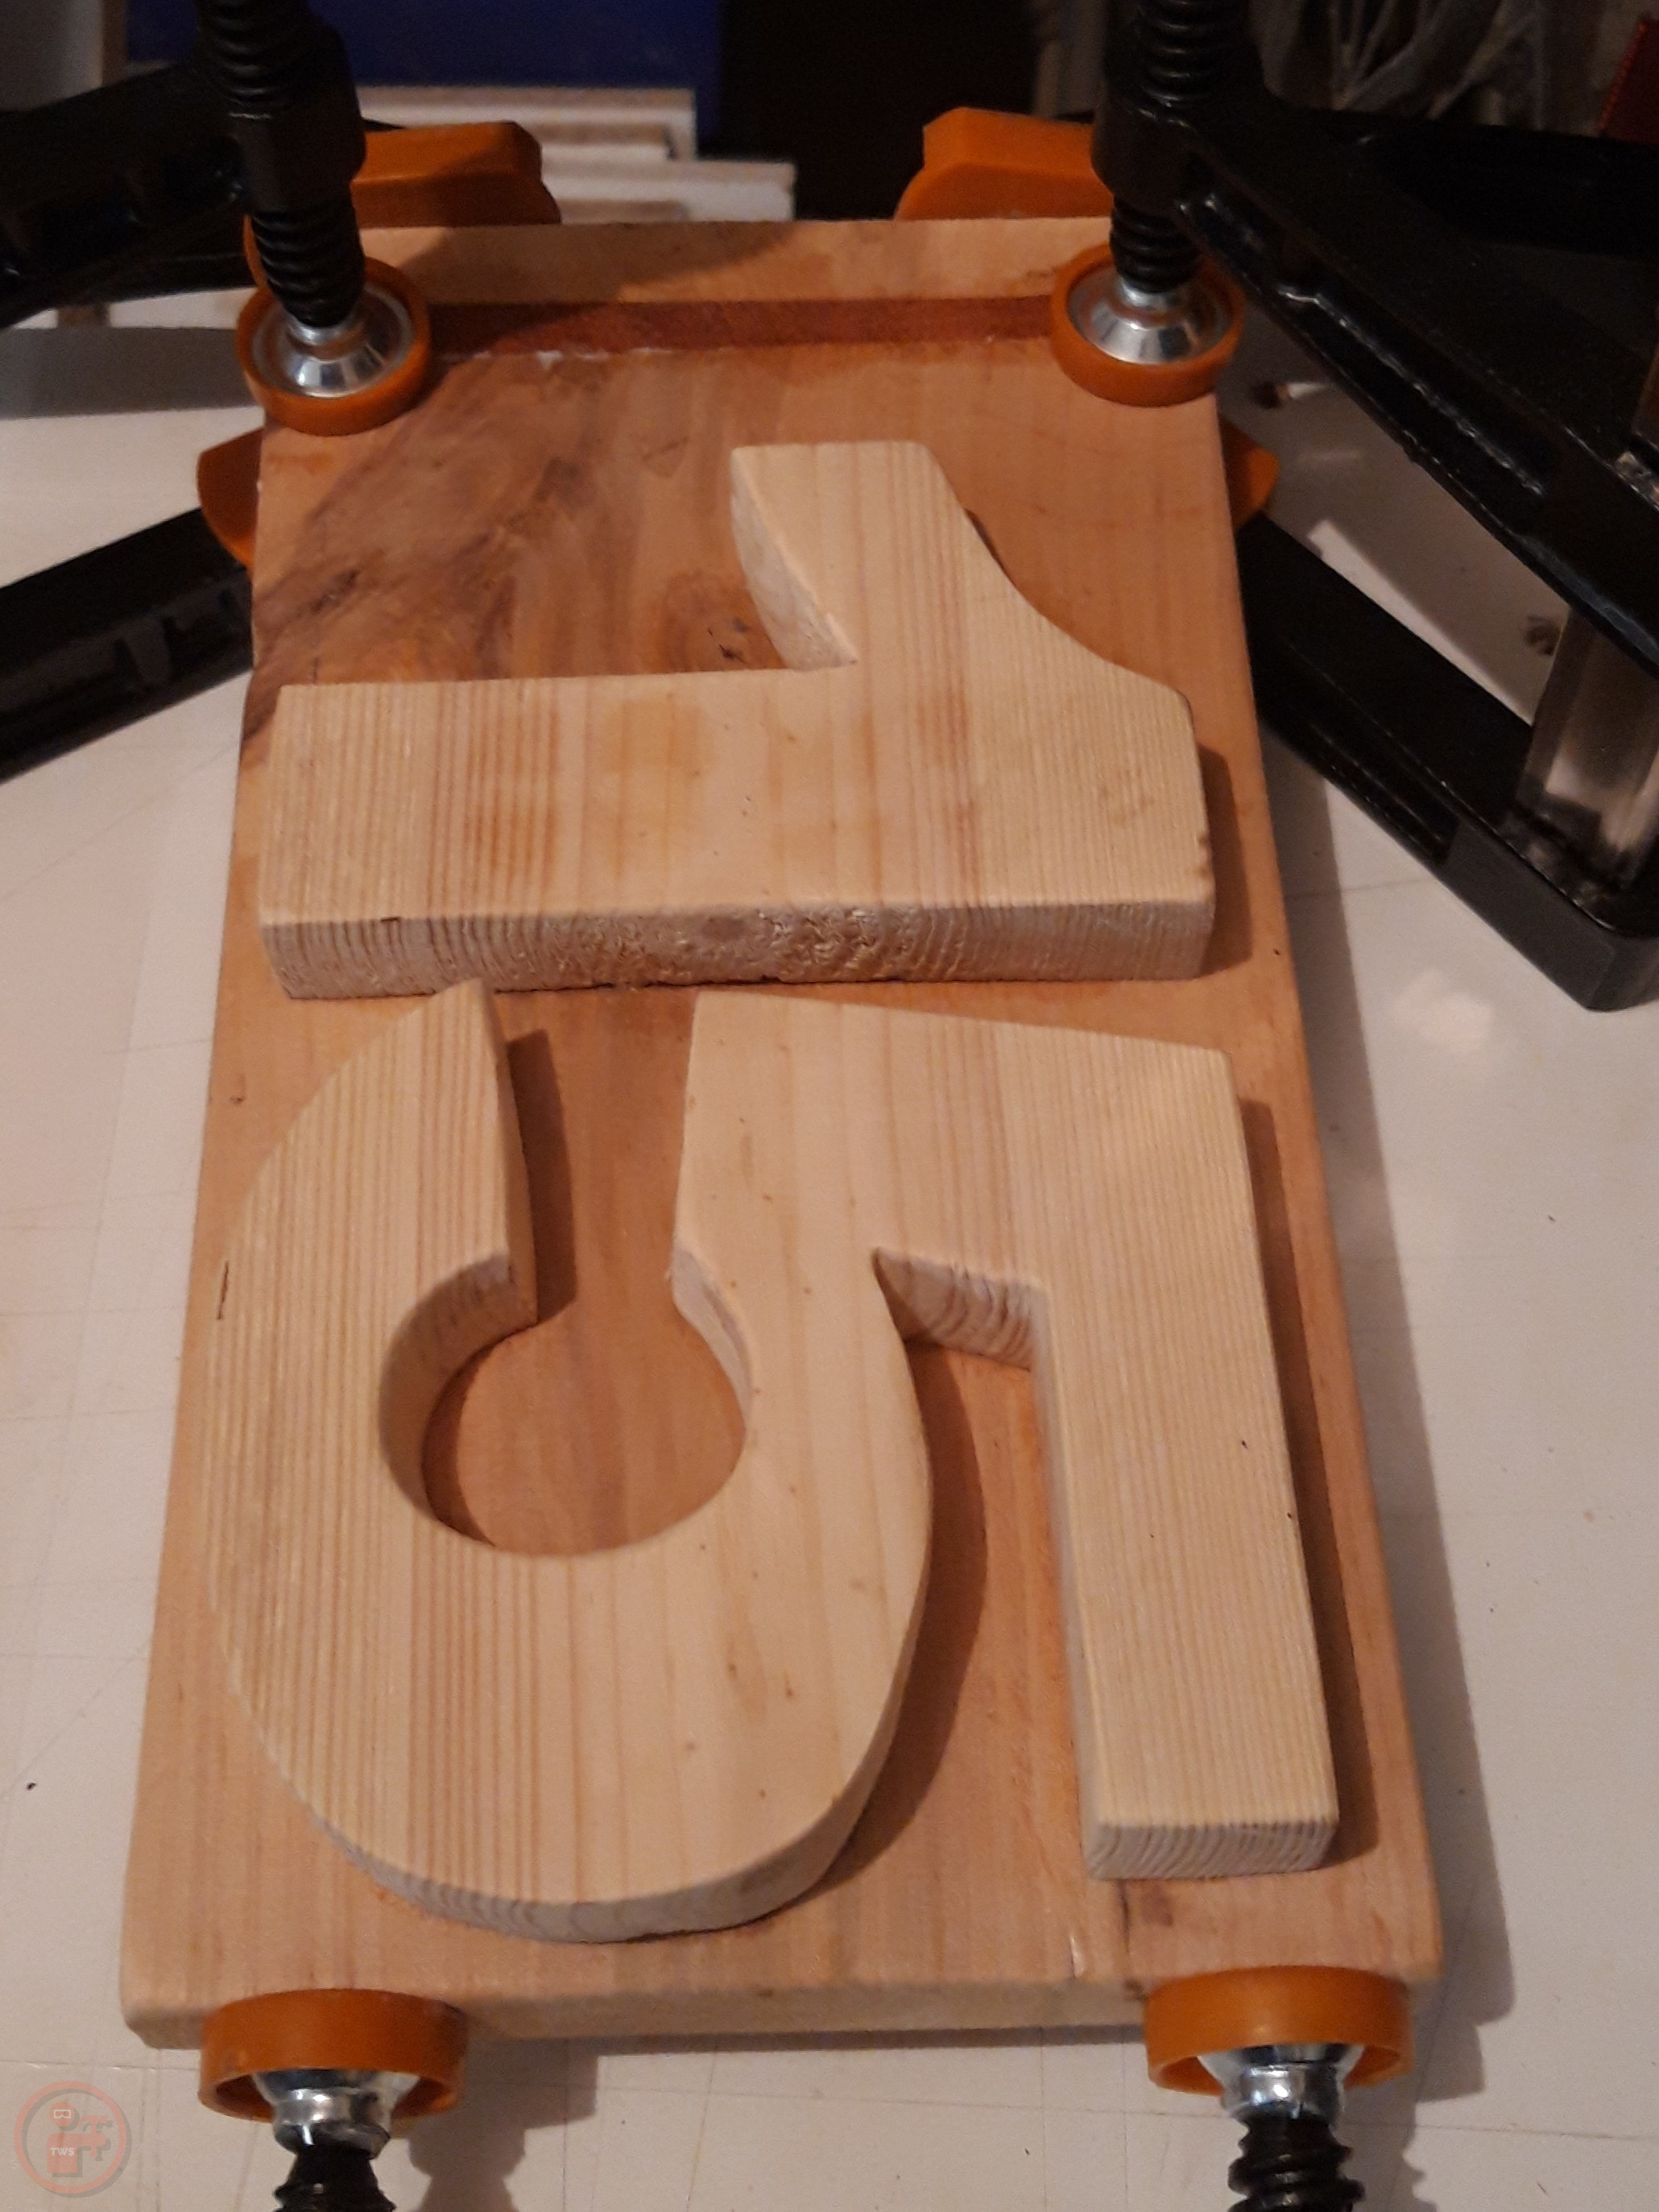
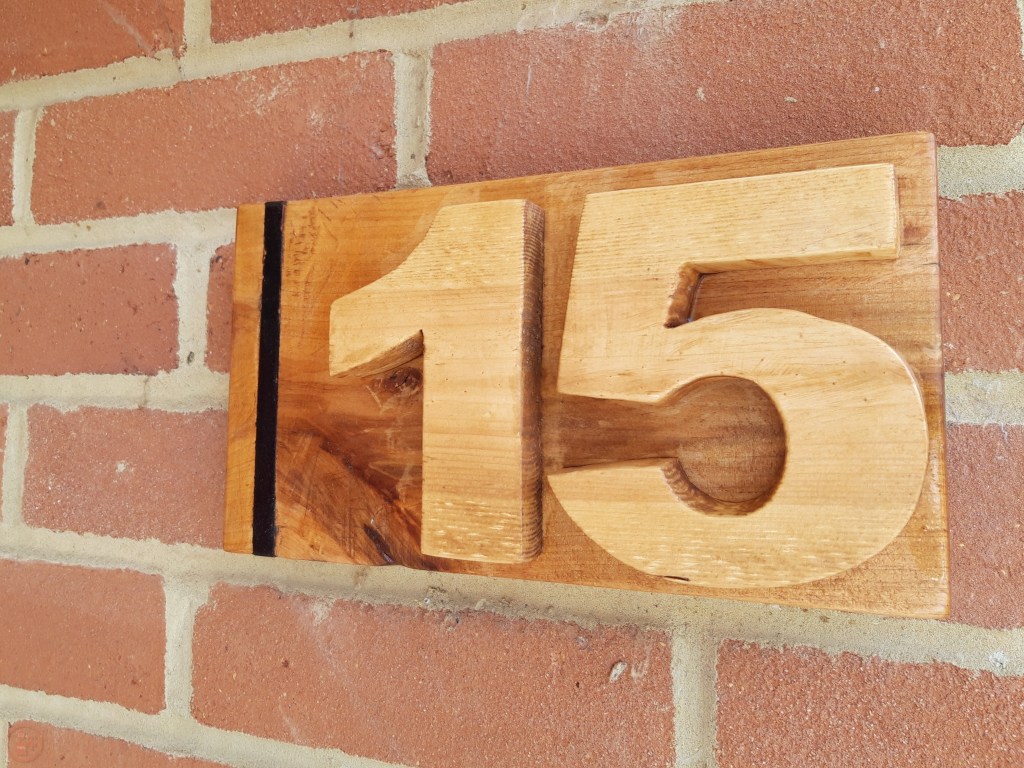
I took some rough dimensions of the wall outside the front door and then printed off a template to use to cut out the numbers one and five, for our house number fifteen. I used some scrap pallet wood and followed the lines of the number templates using my jigsaw. I took my time and then hand sanded the numbers, especially inside the curved section of the five, as I don’t have any power tools that can sand the inside of a curve.
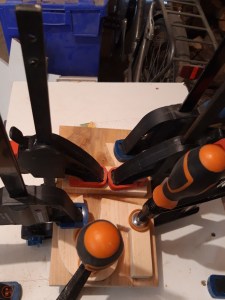
Once I was happy with the numbers, I mounted them to another flat piece of scrap pallet wood that I cut to size using the table saw. I used plenty of wood glue and clamped the numbers in place, leaving them overnight to allow the glue to fully cure before moving on to the next steps.
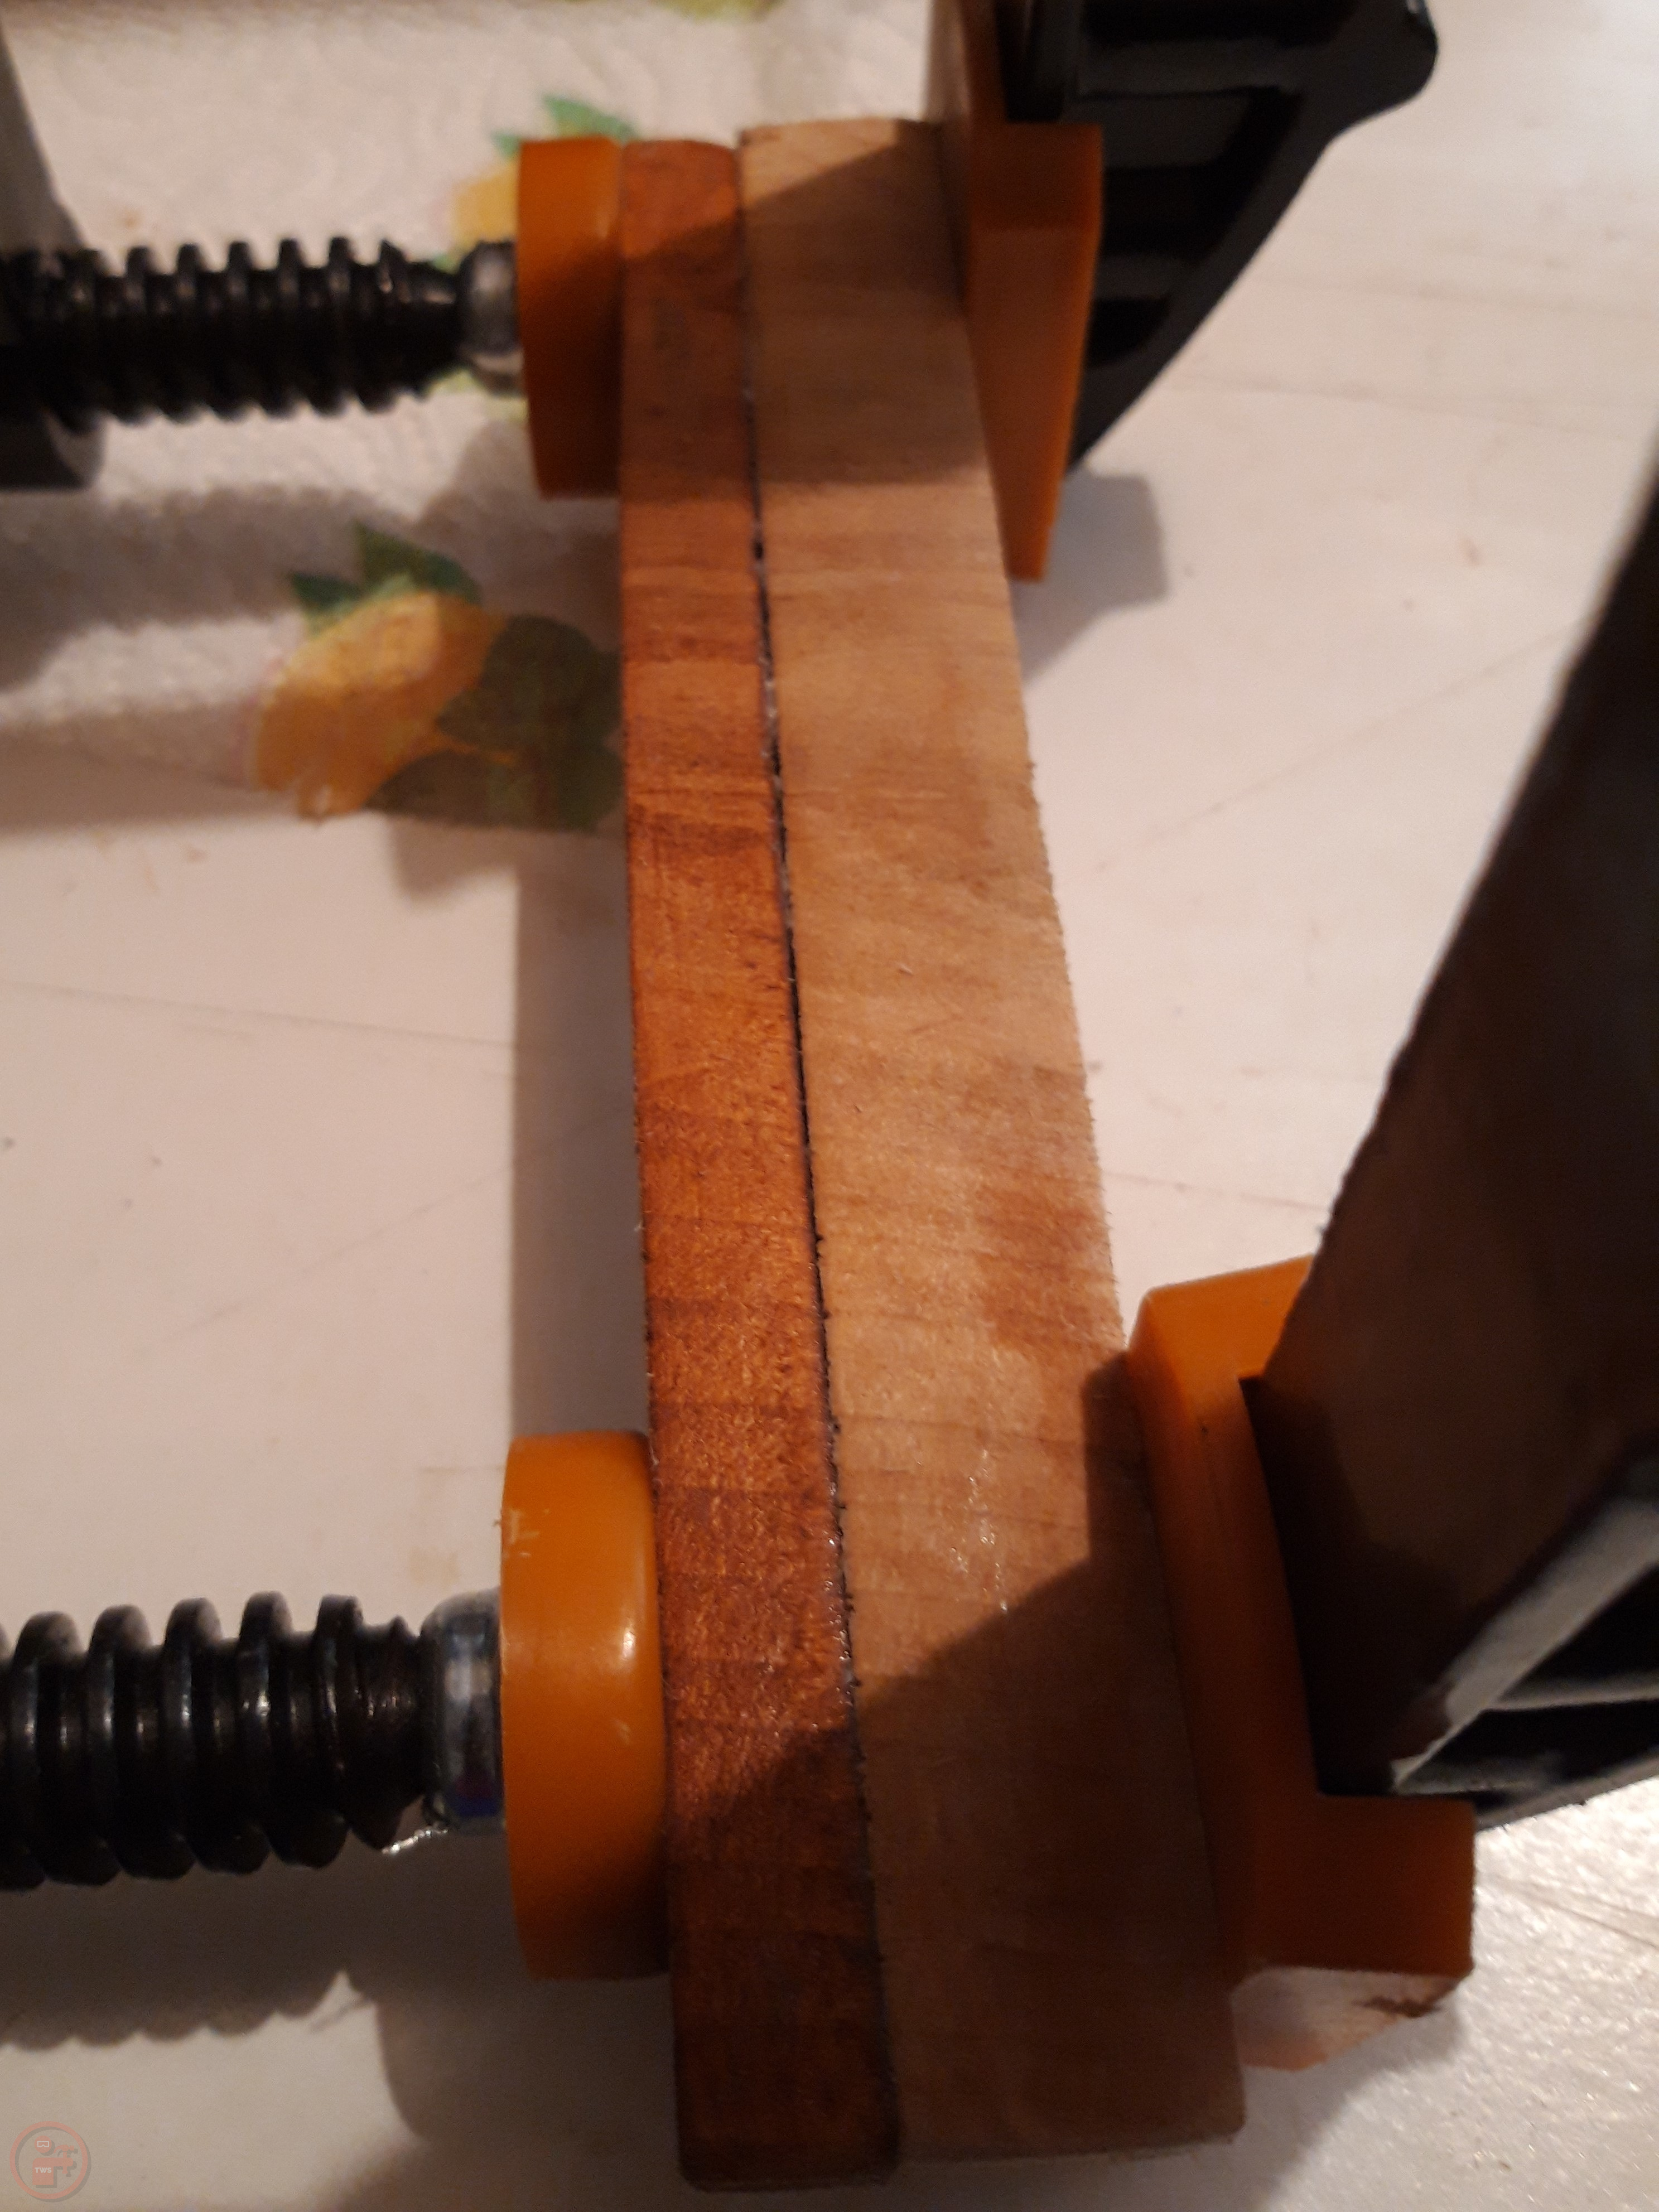
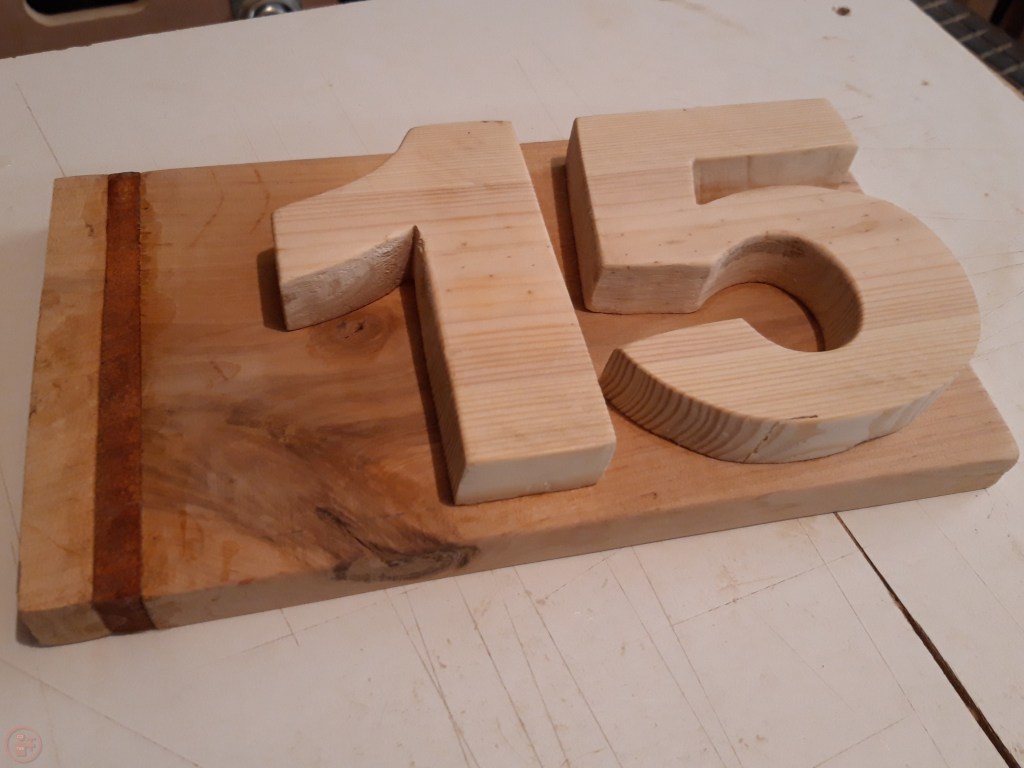
I wanted to add a feature to the number plaque to make it more interesting, so after scrolling through a variety of existing number plaques online for inspiration, I experimented with cutting off a section on the left hand side and staining it a darker colour. This looked quite good close up but wasn’t the look I was going for when viewed from further away as it was just too subtle.
I therefore explored other options and decided I needed something darker and more impactful to give the plaque a more interesting feel.
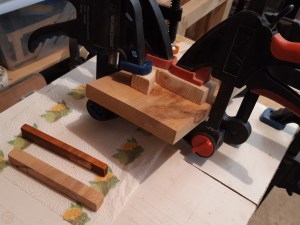
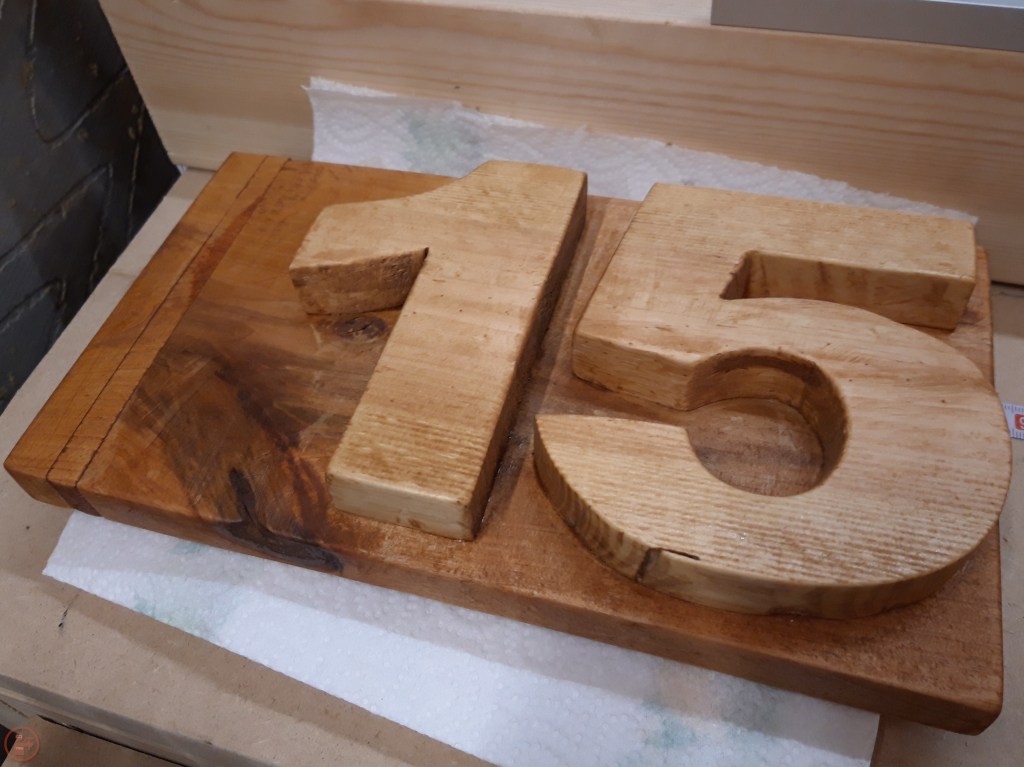
I glued the cut off section back on, using wood glue and clamps to hold it in place while the glue dried. Once that was done, I gave the whole workpiece a thorough sanding, which removed some of the stain from the cut-off (and re-glued!) section. I then applied two coats of a waterproof varnish to the workpiece to protect it from the elements, giving it time to dry in between coats and a very light sanding with a high grit sandpaper.
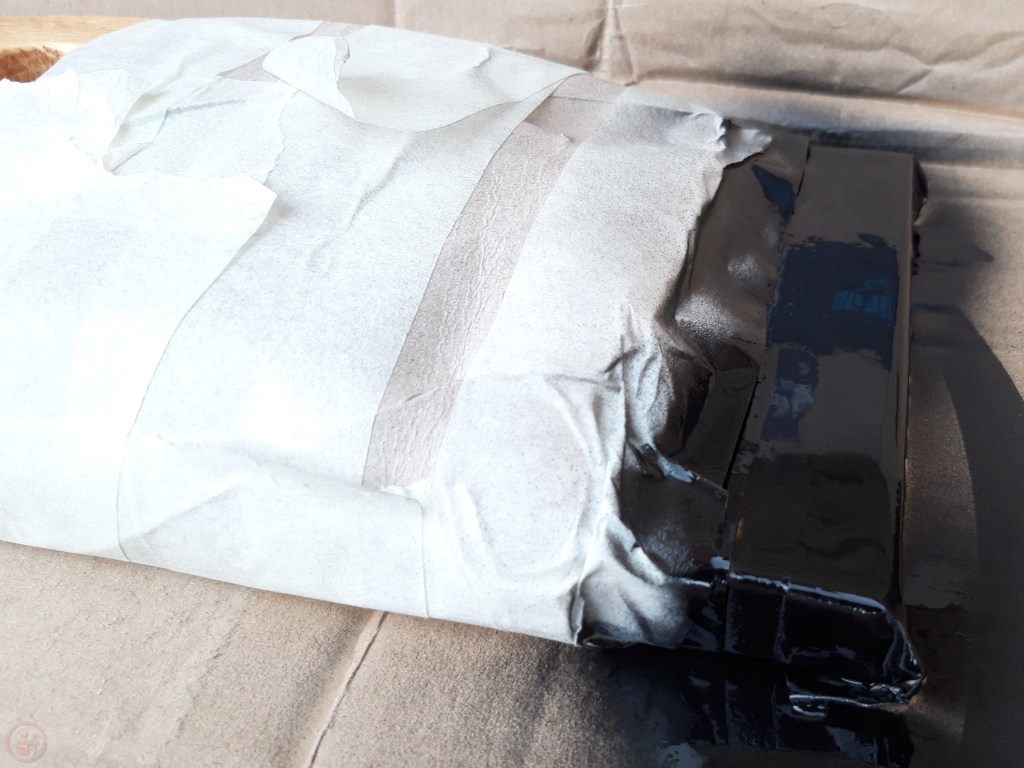
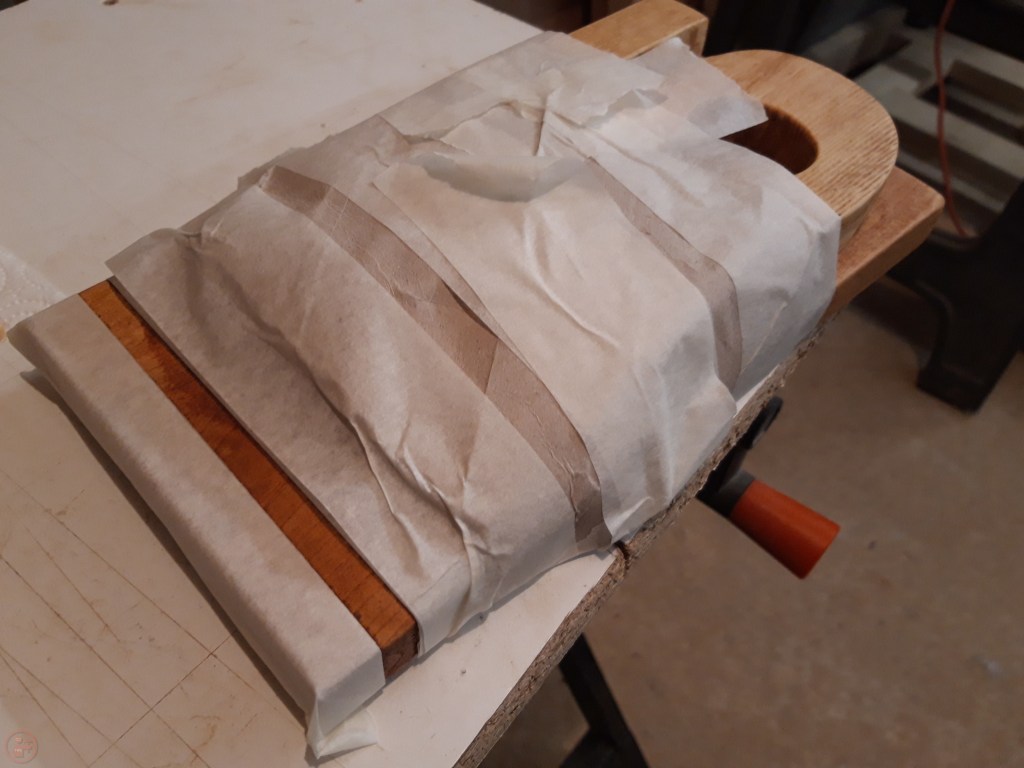
Once the varnish was fully dry, I masked off the majority of the workpiece, leaving only the highlight area clear. I used a black (satin finish) spray paint to cover the area, which due to the satin finish had a nice reflective sheen once dried, but not too bright like a full gloss would.
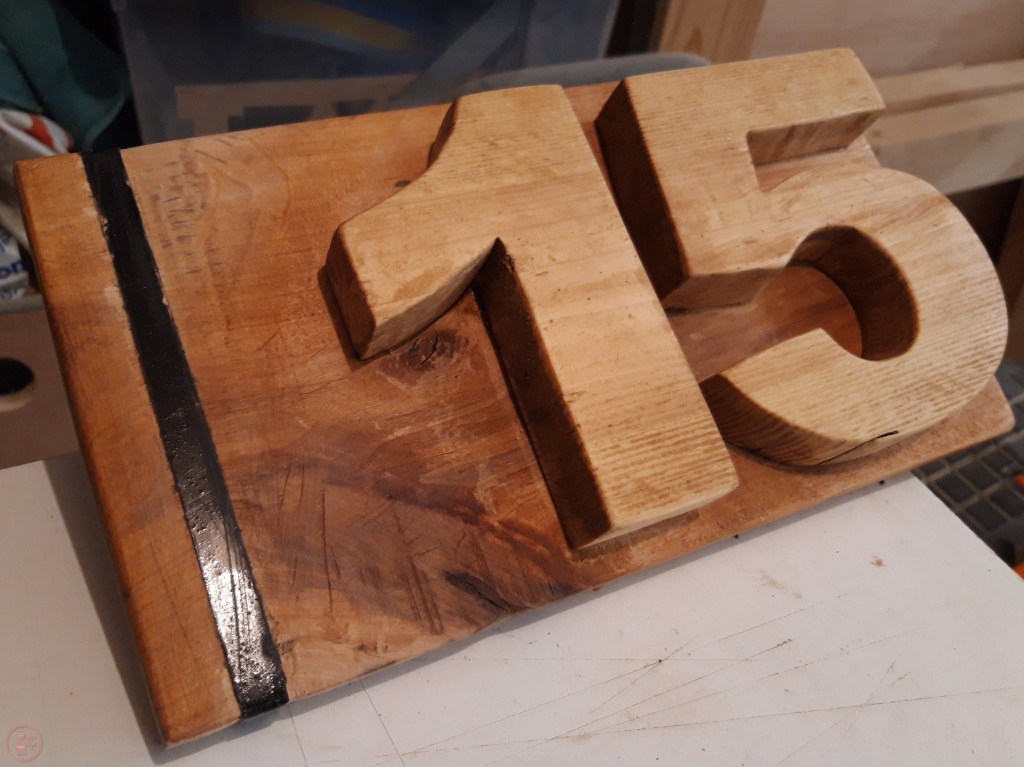
This was much more of the look I was going for – a more modern number plaque with a fairly simple design but something to make it more interesting than the numbers on their own.
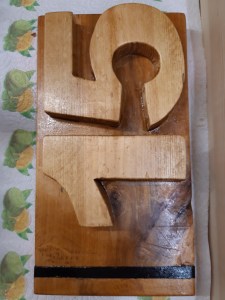
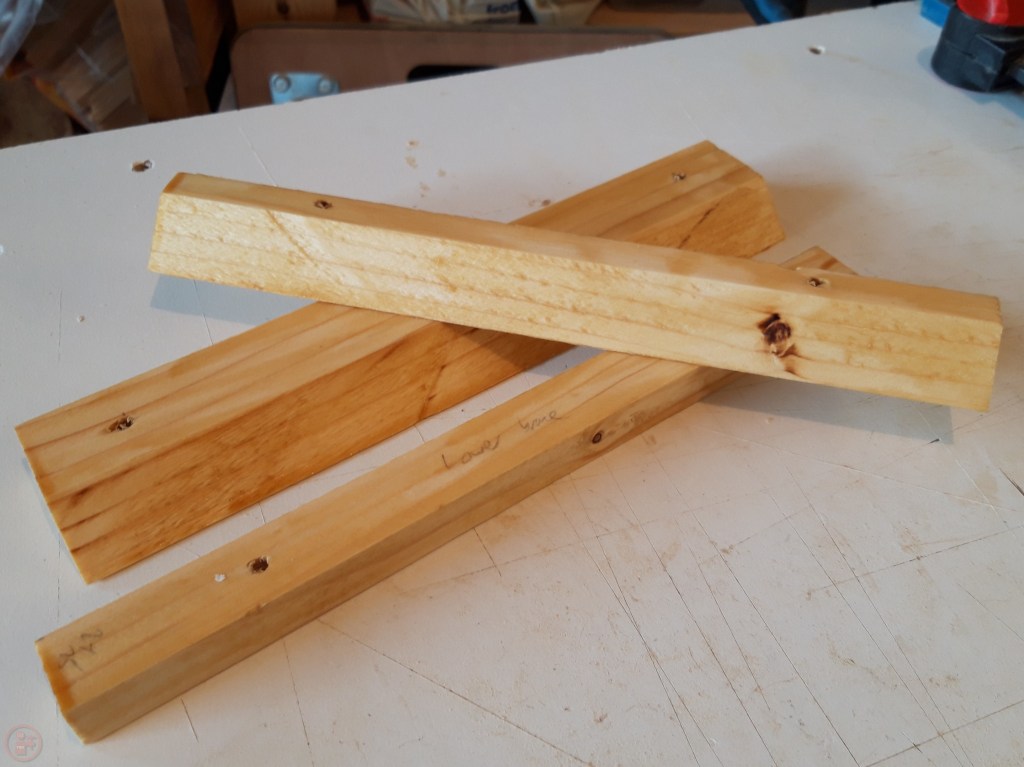
There were already screw holes in the wall outside with Rawl/wall plugs inside so I decided to mount the number plaque using a French cleat so I could easily make use of these holes. Also, this way I could easily take it down if I needed and having the plaque further from the brickwork made the plaque a bit more 3D and stand out from the wall. I cut a piece of scrap pine to 45 degrees and an additional baton as a rear brace for the lower part of the plaque, so the bottom of the plaque would also be braced against the wall. This would give it additional stability in the strong winds we regularly have and not put additional pressure on the French cleat by making it flex.
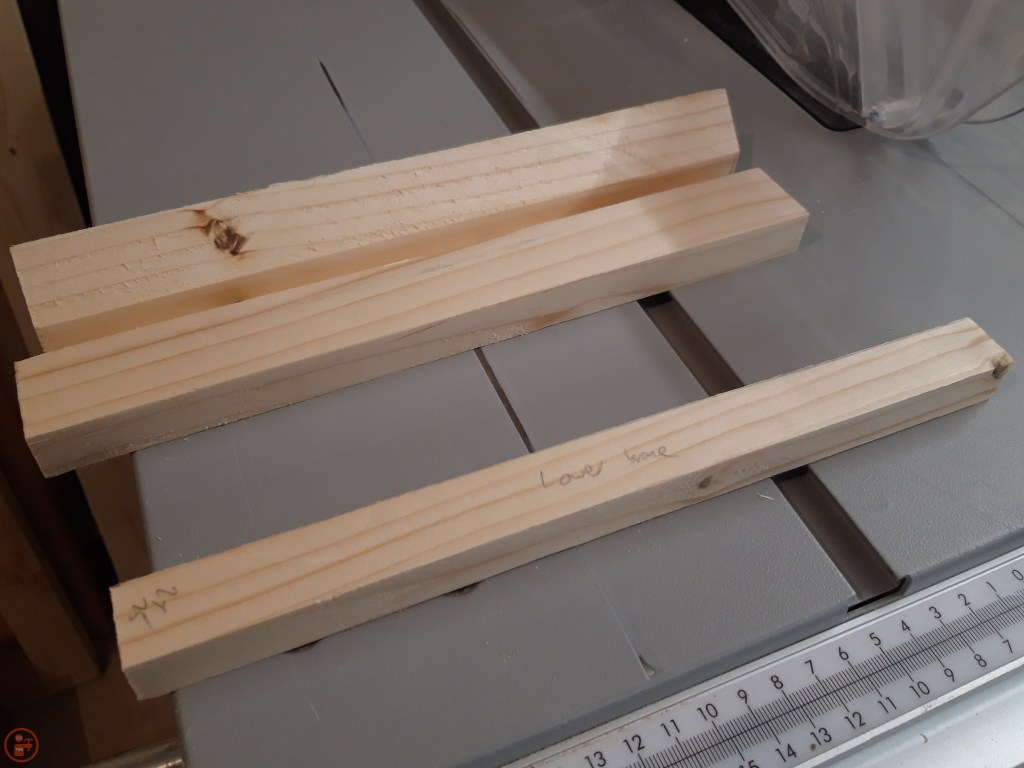
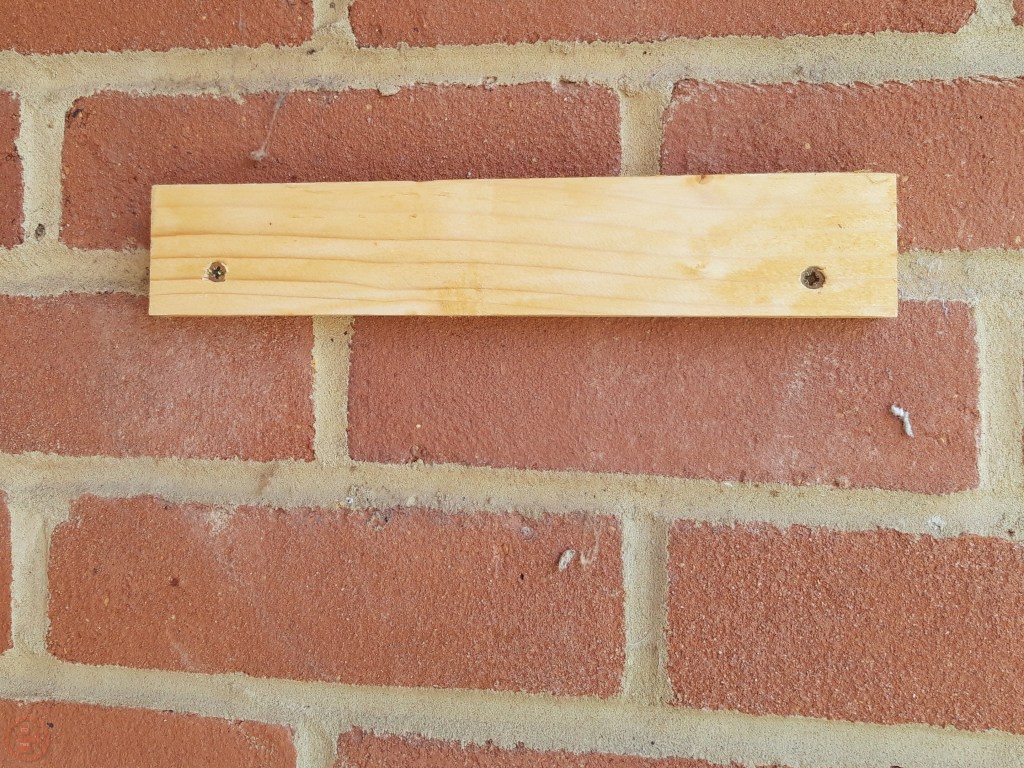
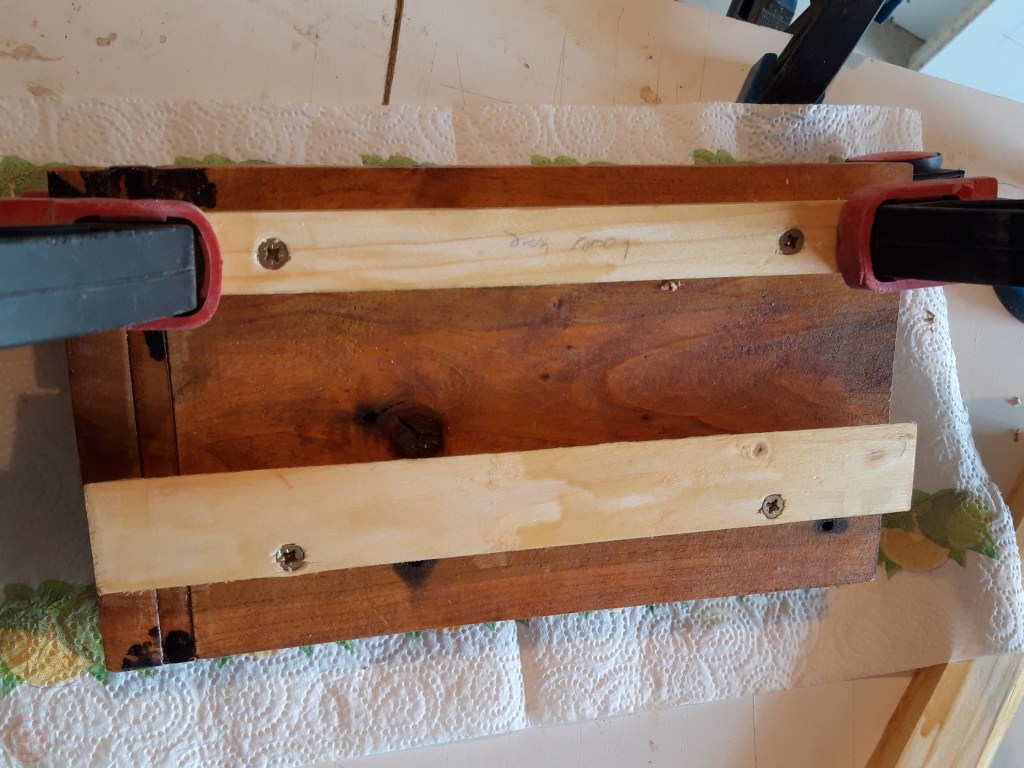
After varnishing the extra pieces, I mounted one half of the French cleat to the back of the number plaque using wood screws and then positioned the baton on the lower section of the plaque. I mounted the corresponding piece of French cleat to the brick wall outside using the existing screw holes and then simply slotted the number plaque down on top.
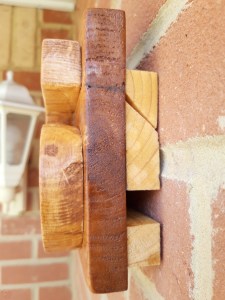
The French cleat system works perfectly and the weight of the workpiece combined with the lower baton means the plaque remains in place and sufficiently secure. I could always add additional screws if I need or remount the plaque directly using the screw holes if needed.
This way however, it means there are no screws visible from the front giving a nice modern and sleek look, with the grain of the back panel and numbers visible. I am really happy with the black spray painted vertical feature, although if I were to do it again I would spray paint the section separately before gluing it in place on the workpiece. That would make it much easier as I wouldn’t have to mask off half the workpiece to avoid overspray and would remove the slight bleeding of the paint around the highlighted section. Overall however, I am very happy with how this turned out and so far all the delivery drivers and our post person have successfully found our address! 🔨
