When a colleague moved into a new role, we wanted to give them a special present. As they’re really into gaming, and our team theme is cats, we found a special set of dice with cats on and I made them a custom cat-themed box to gift them in!
I started by finding a cat face to use as a template. I printed off several copies and glued one onto a scrap piece of mdf. I cut this out using my coping saw and sanded flush to the edge of the cat face.

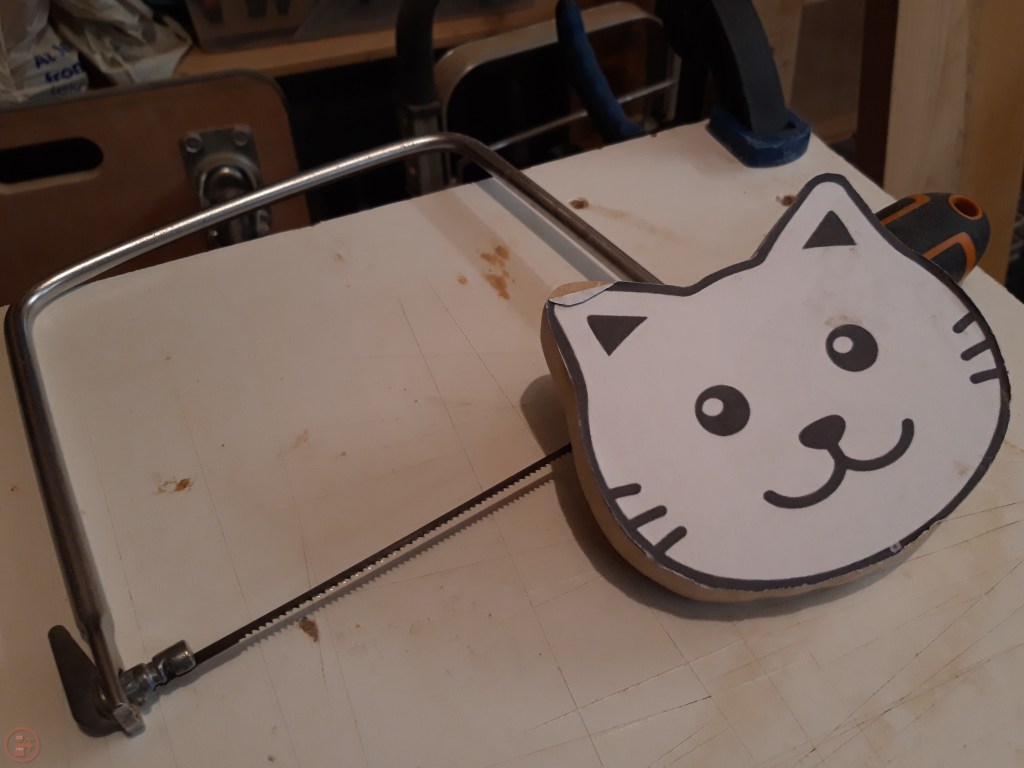
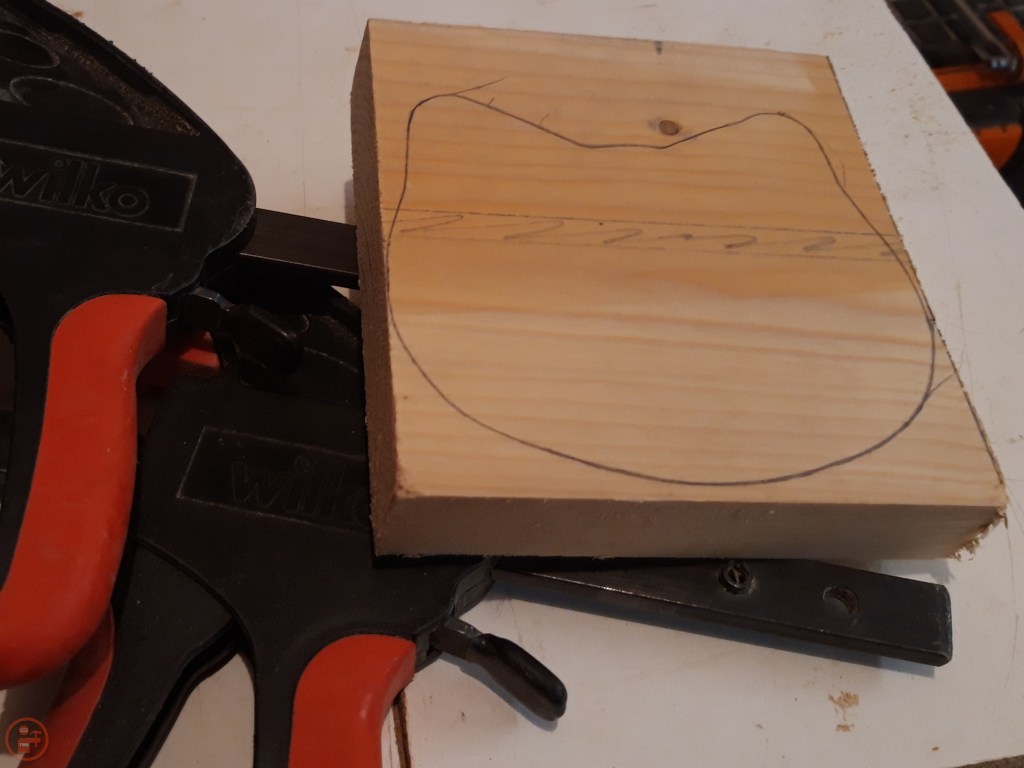
I used the mdf template to draw out the shape onto some pine and then refined the shape using a flush-trim router bit.
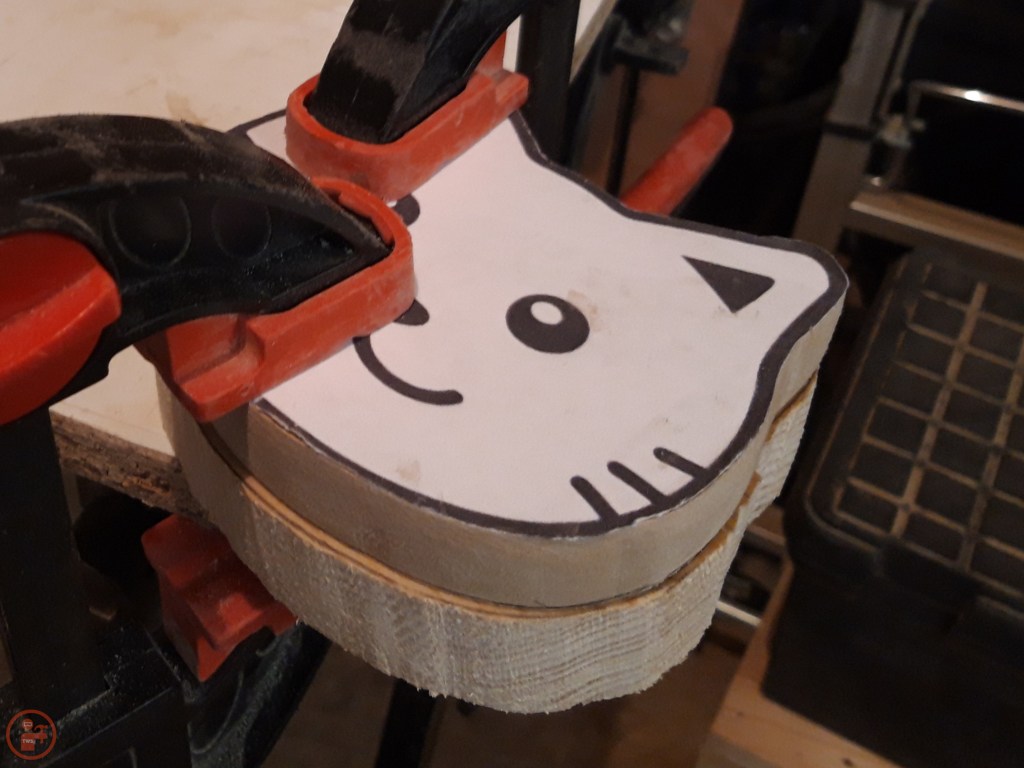
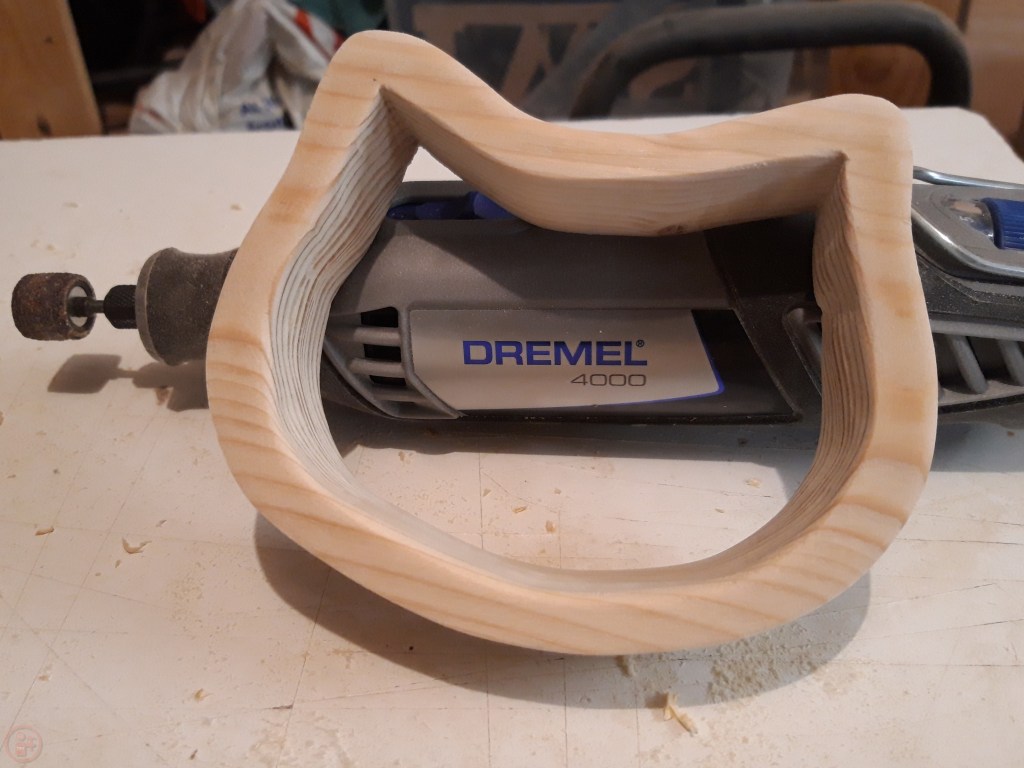
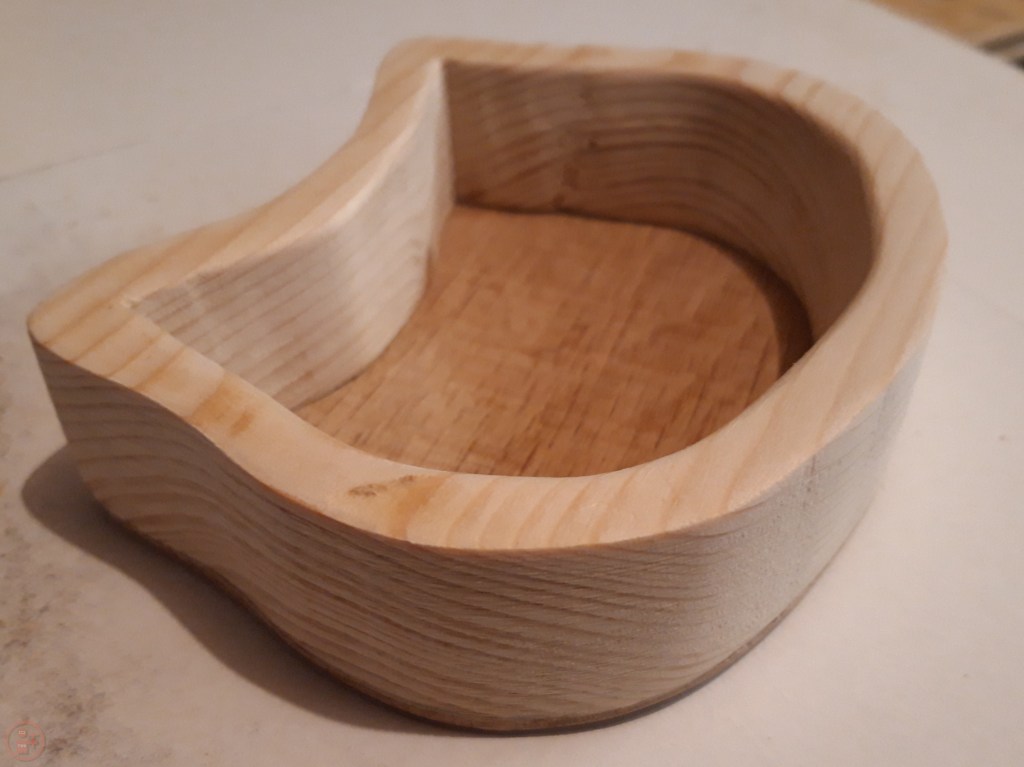
I measured a uniform distance inside the outer edge all the way around the perimeter of the cat face and then cut it out using my coping saw. I then used my dremel to refine the shape up to the marked line and to sand the wood smooth.


I used the box to draw an outline on a thin sheet of oak. I cut this out using my coping saw again and then glued it in place on the bottom of the box.


While the glue was drying to secure the base to the box, I also measured, cut and glued up multiple pieces of pine to make a lid. I used additional blocks of scrap wood (wrapped in duct tape to prevent glue sticking) to keep the pieces flat while the glue dried.

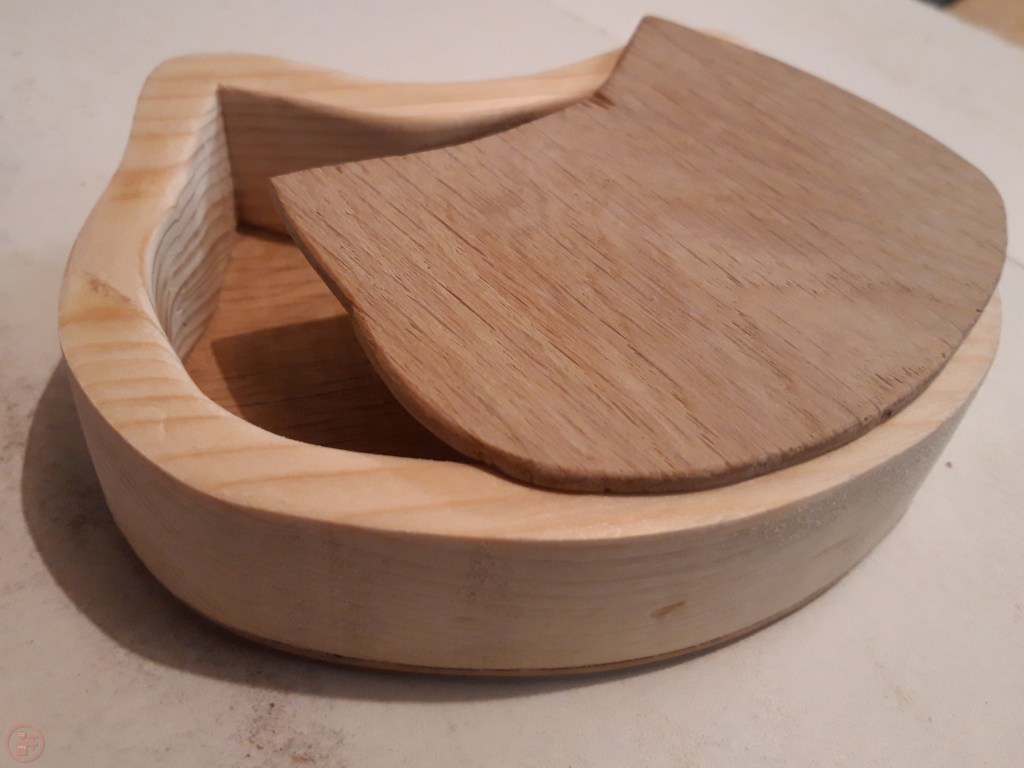
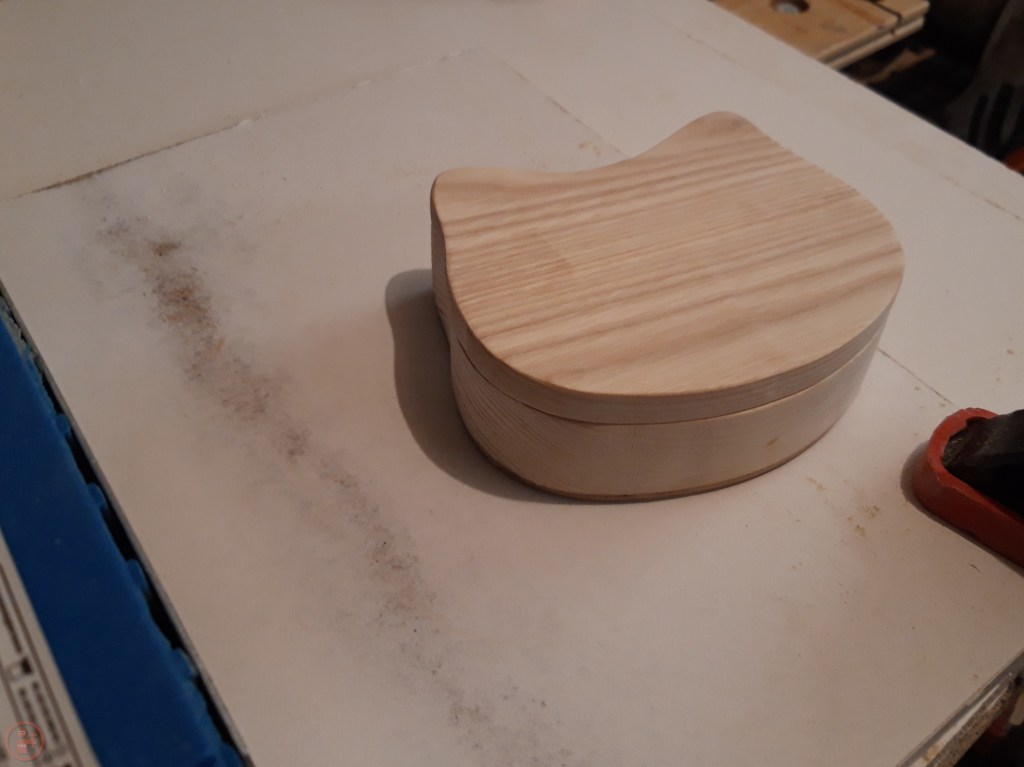
I measured and cut out the shape for the lid and glued on another cut out piece of oak sheet to allow the lid to be held snugly on top of the box.
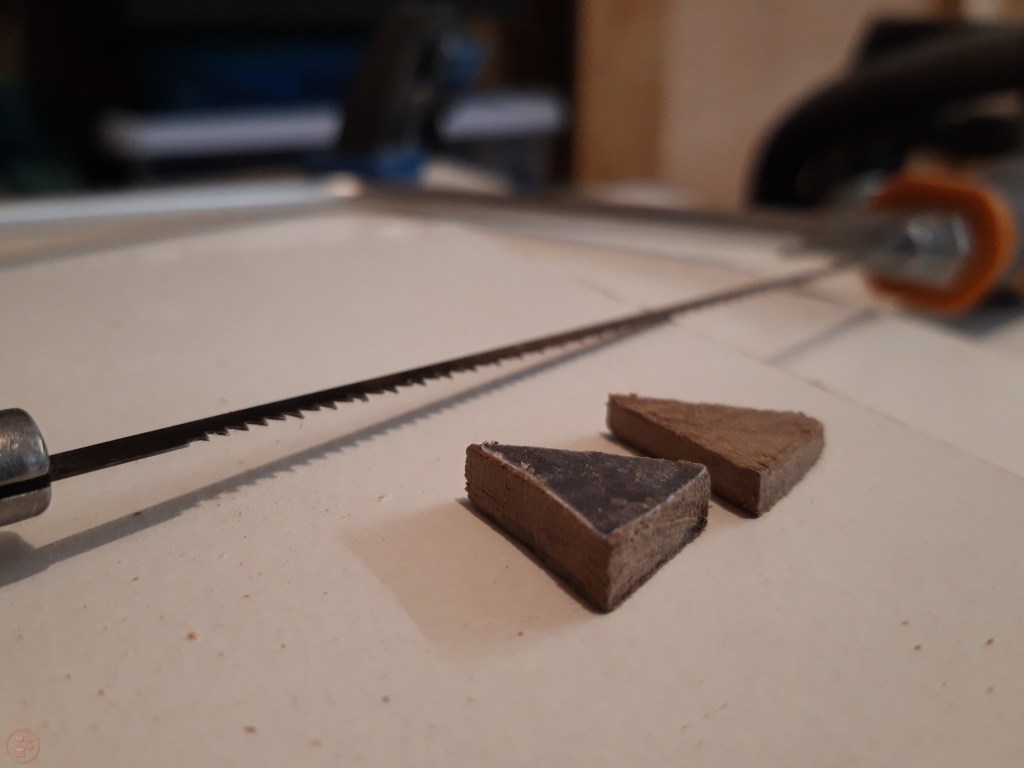
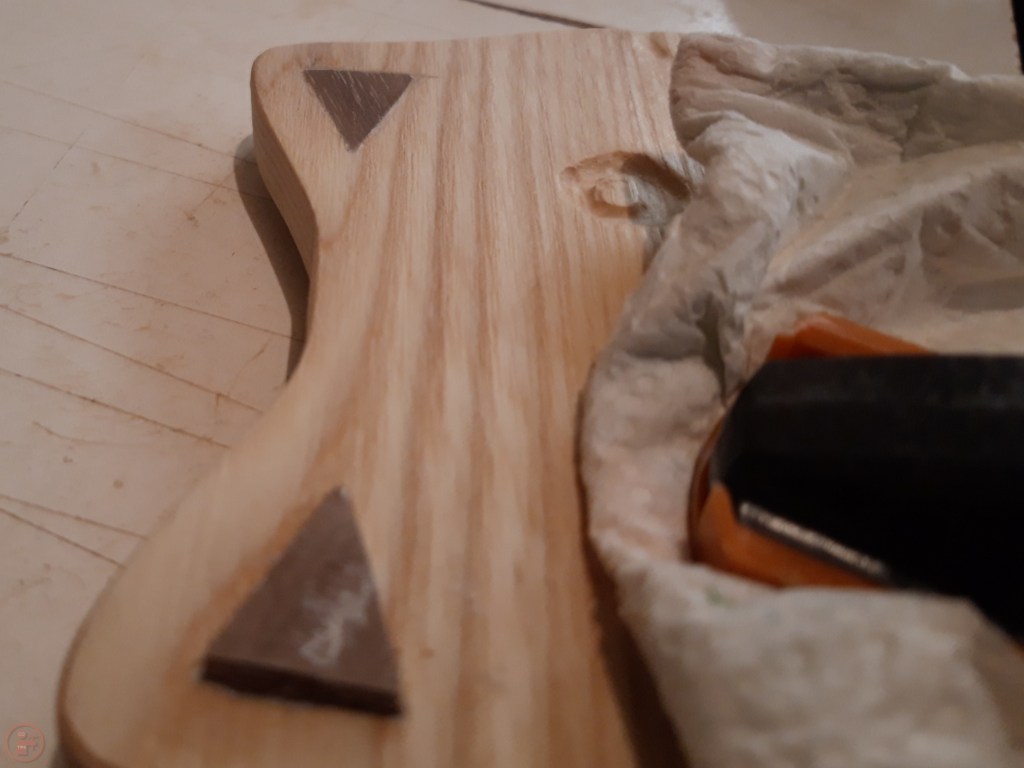
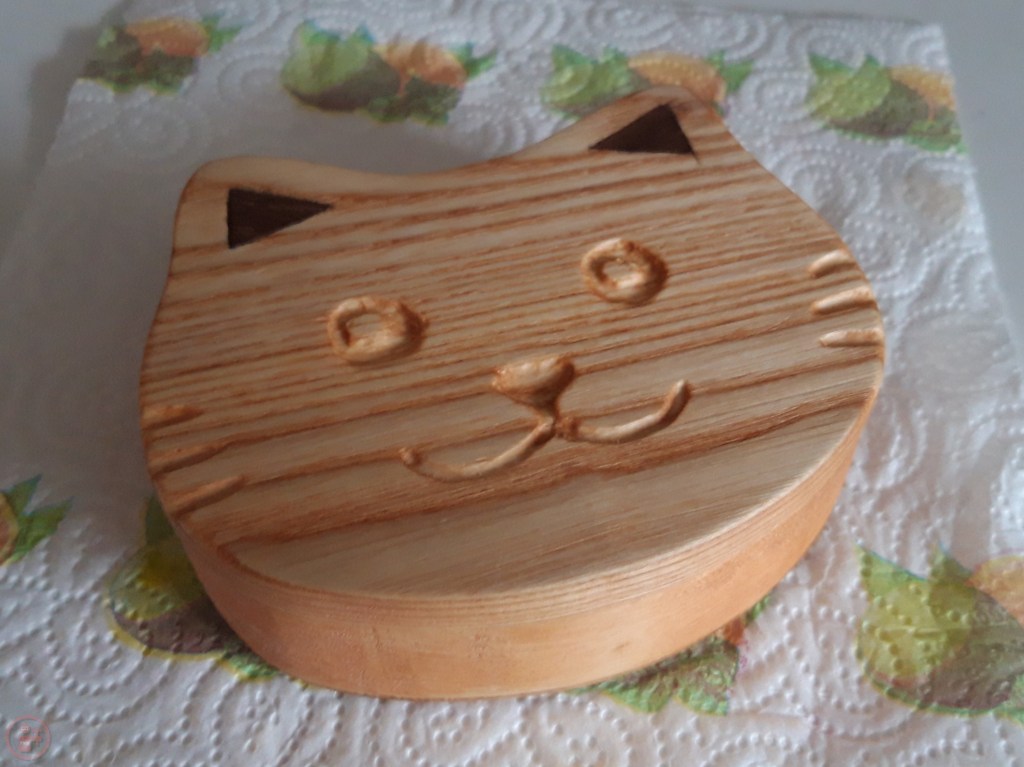
Once the glue was dried, the main box design was finished. I turned my attention to decorating the lid with cat features! I marked and chiselled out small triangles in the lid for the ears and then cut small triangles from a scrap piece of walnut, to add a dark contrast to the lighter pine face.
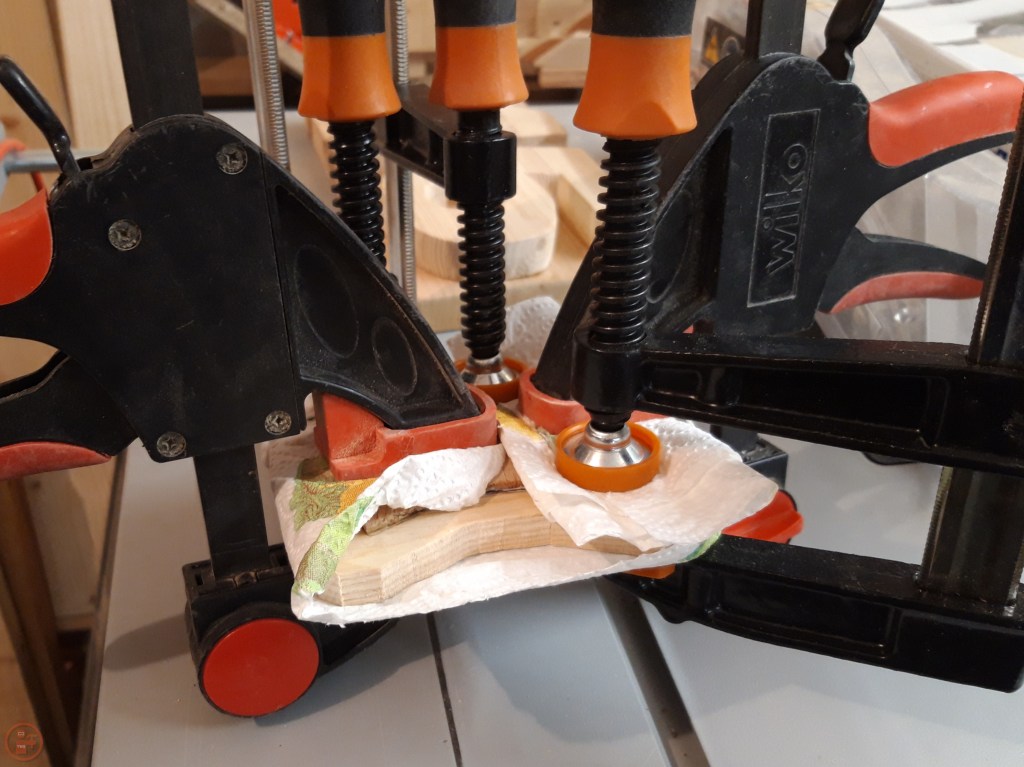
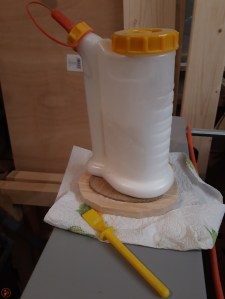
I used a small amount of glue (a small amount to prevent the wood splitting under clamping pressure) and then clamped the small walnut triangles in place, using some kitchen roll to catch any glue squeeze out and prevent the clamps from sticking to the workpiece.
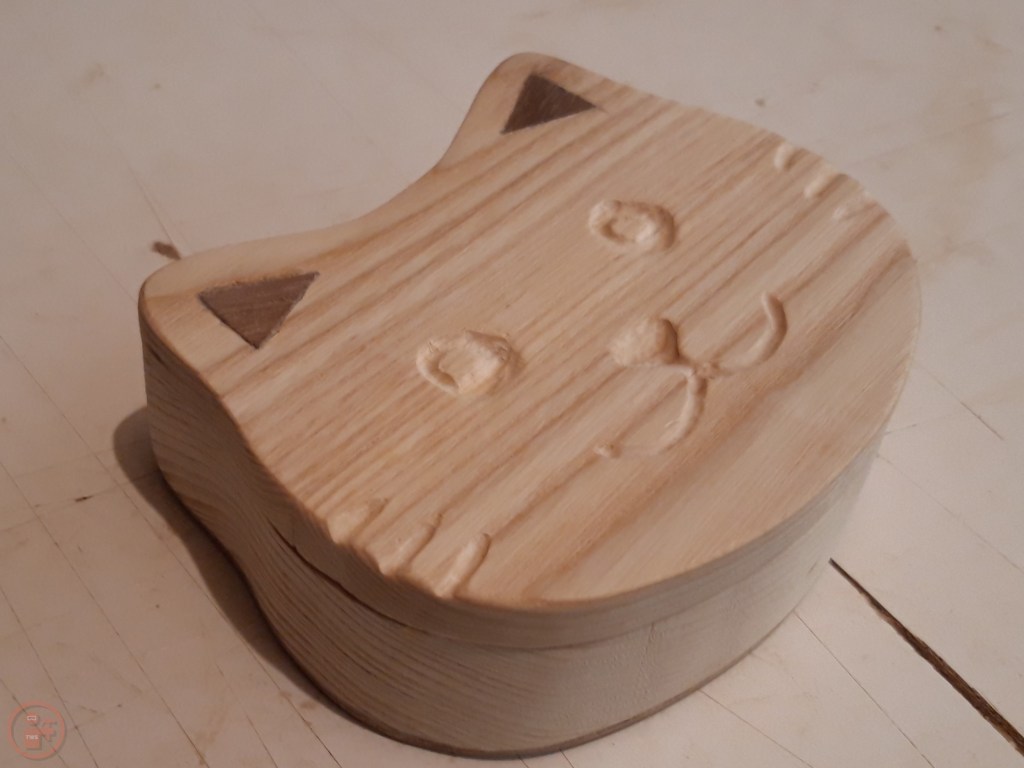
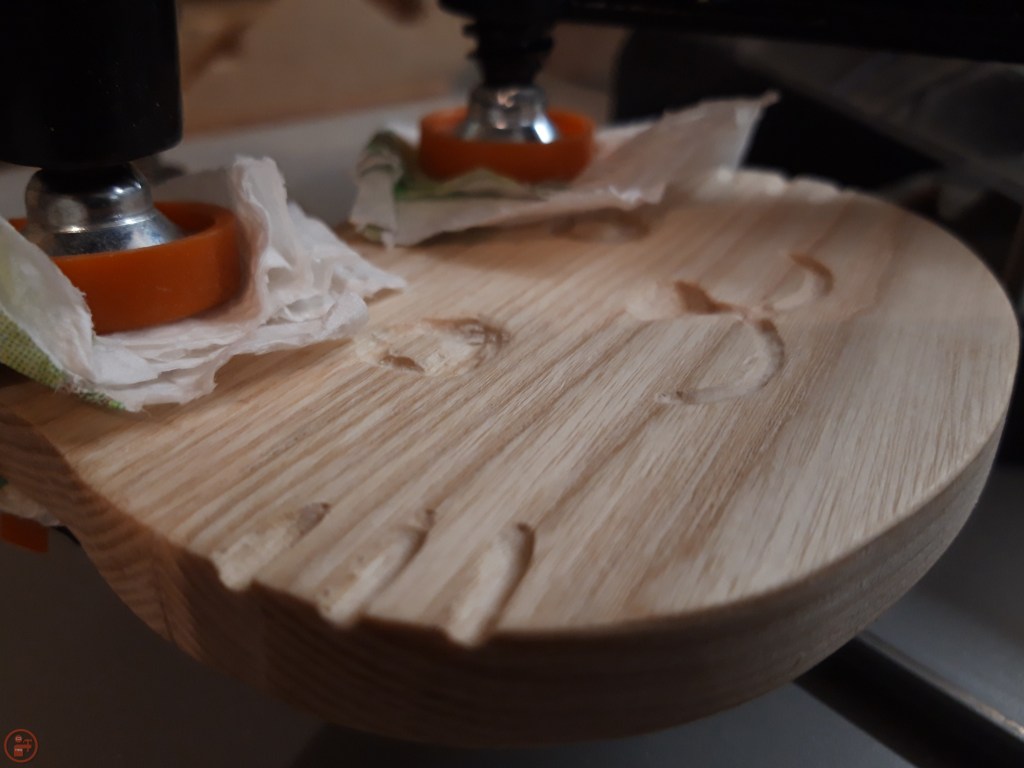
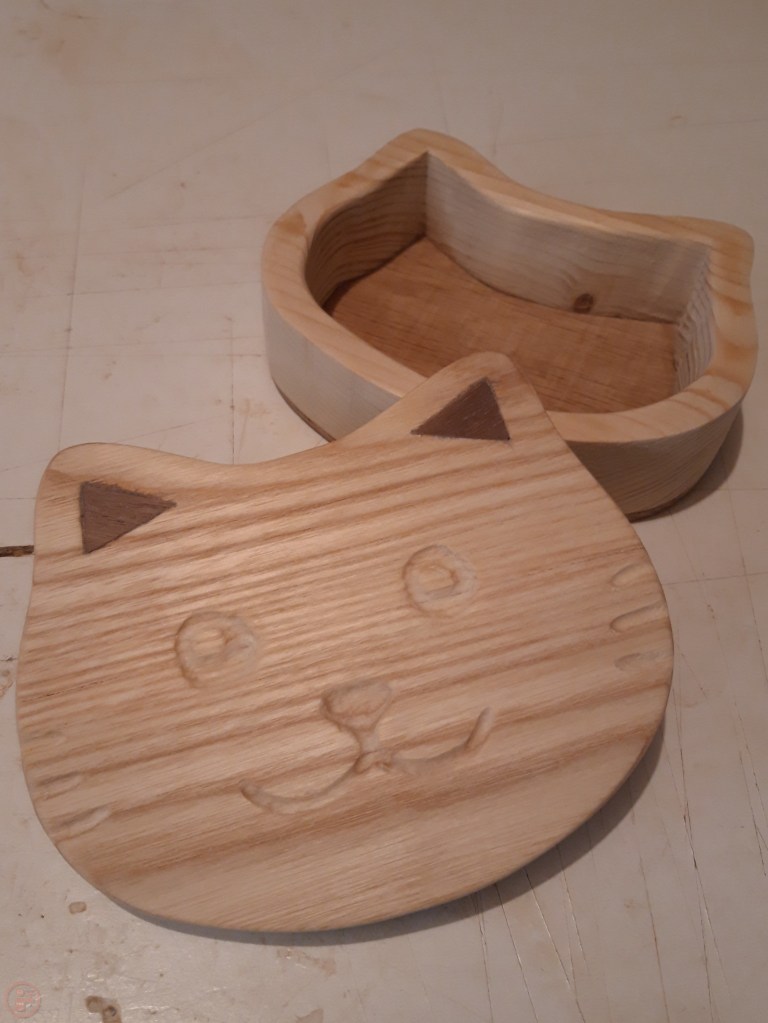
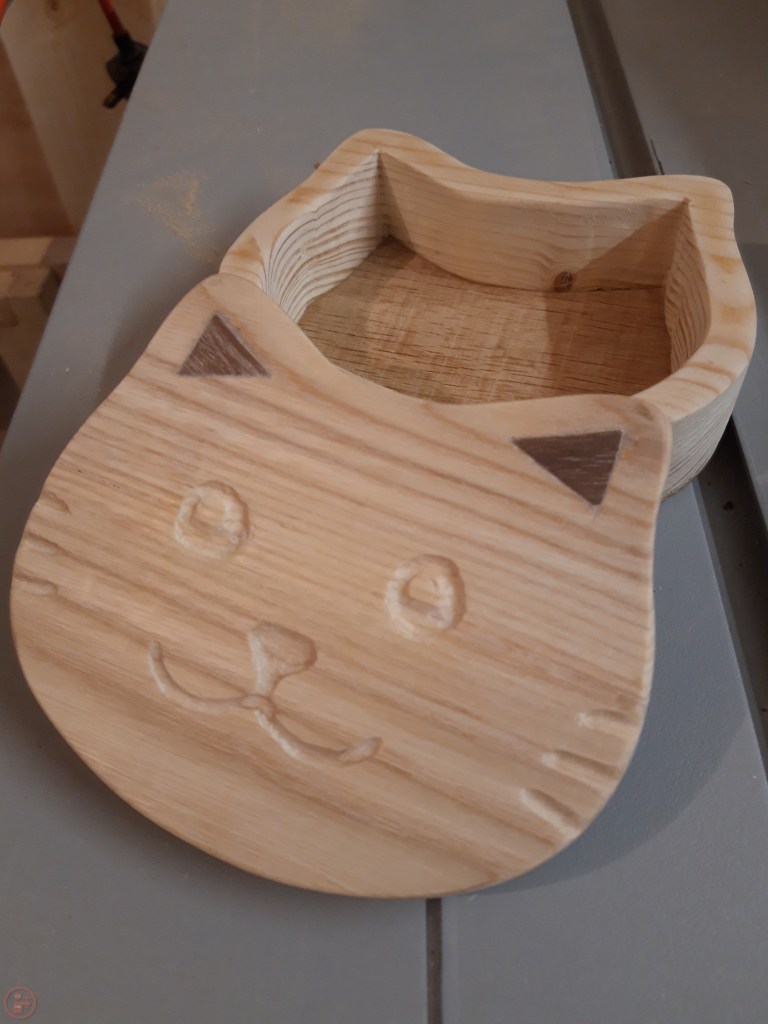
Once the glue was dry, I used my block plane and a sharp chisel to remove the walnut material protruding above the top of the lid. I then sanded it smooth and focused on the other features. I drew them on using the template as a guide and then used my Dremel to carve out the shapes for the eyes, nose and mouth, as well as three neat whiskers on each side of the face.
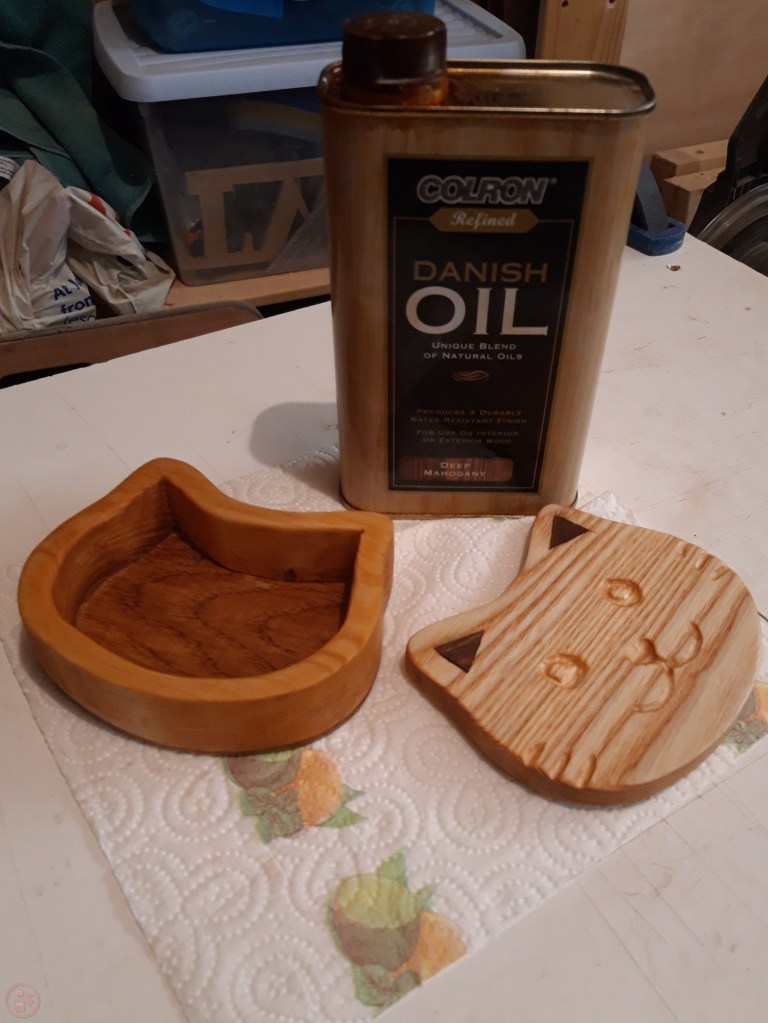
After a thorough sanding up through the grits to leave a really nice smooth finish, I finished the box and lid using Danish oil with a mahogany stain, to darken down the pine, to bring out the different tones of the wood, and highlight the grain throughout the workpiece.


I had designed the box to fit the dice easily and also to fit a nice presentation gift box. I added the dice to the box, placed the cat-shaped box into the gift box and secured it with the bow.

My colleague was really overwhelmed with the gift and showed it off to anyone who came near his desk for the rest of the day! I am really pleased with how it turned out as it was a bit more intricate than some of the shop projects I have made previously. The fact that it was so well received made me really happy and excited for my next opportunity to make something special for someone! 🔨

That’s a great and memorable gift 🐈😺🐈
LikeLiked by 2 people