As my number of tools has grown, the need for additional surfaces and storage has also increased! I therefore need something that can provide both of these, while not taking up too much space in the workshop.
I decided to make a simple shop cart out of some left over construction lumber from a previous project – namely an assortment of 2x4s. I used my table saw to remove the roundover, taking around 3mm off each side, leaving me with nice square lumber.

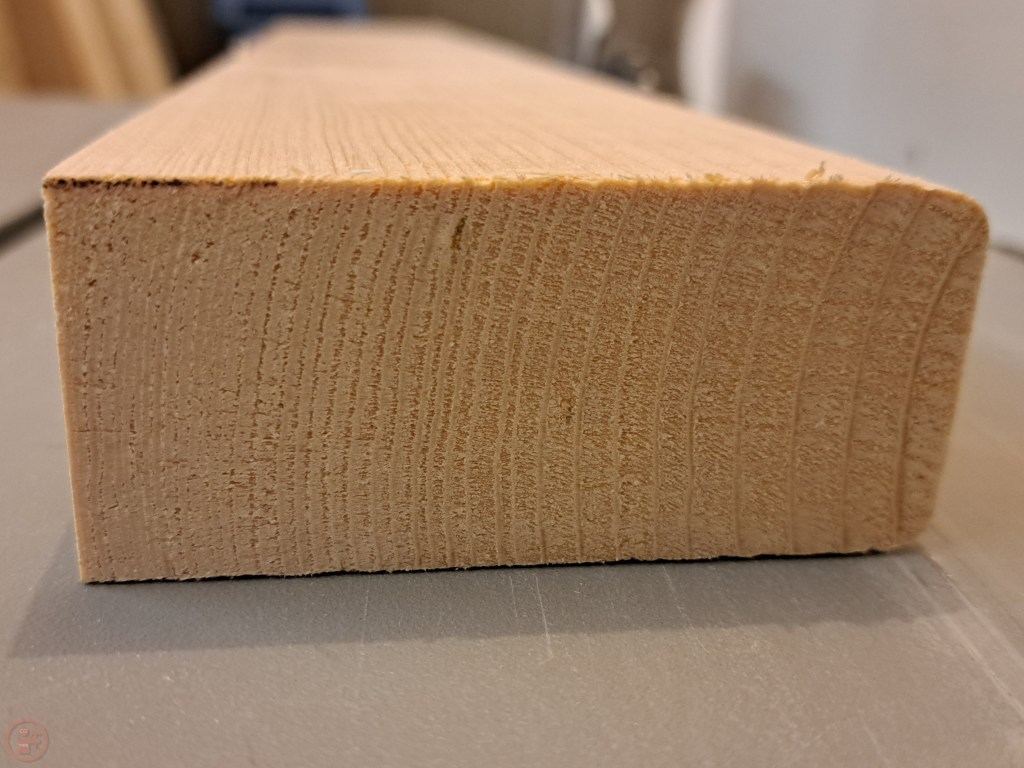
As I didn’t want the shop cart to be massively bulky, I decided to rip the 2x4s in half to basically make 1x4s. This was very easy to do using my table saw but didn’t half make a lot of saw dust!
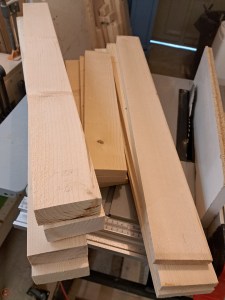
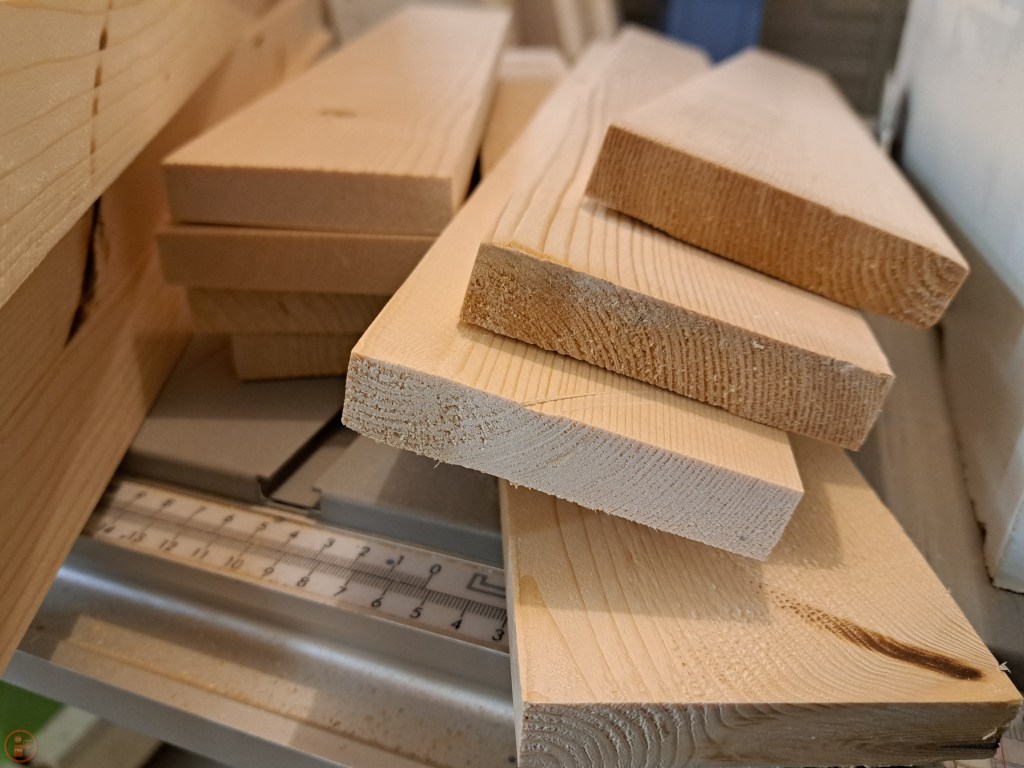
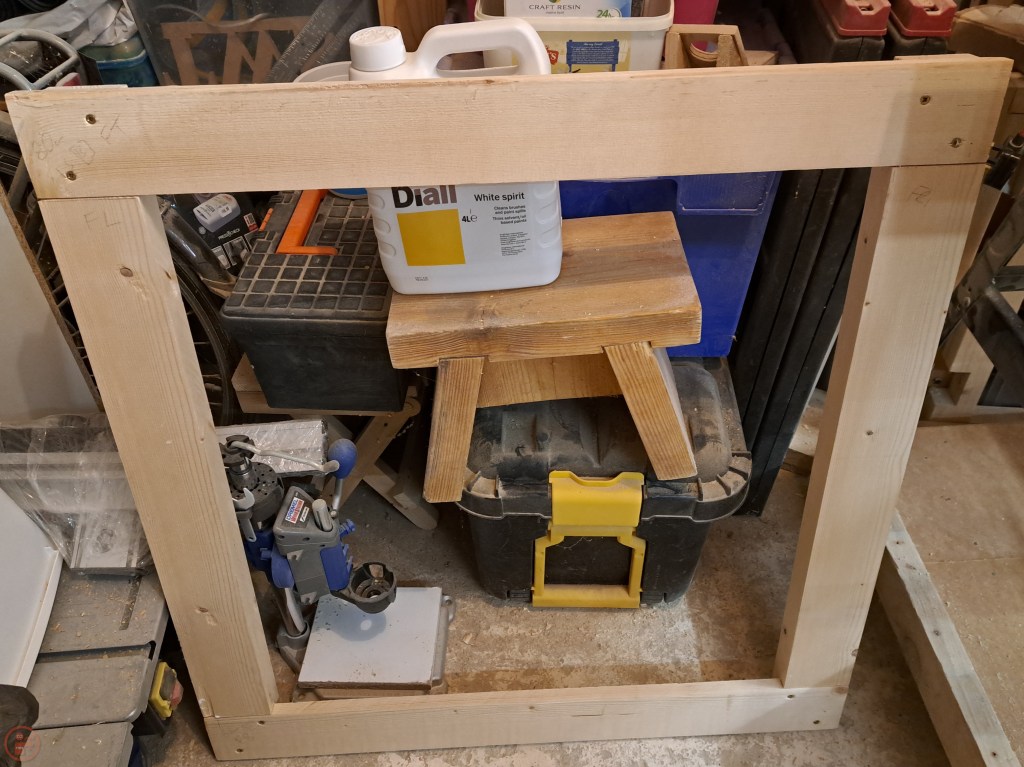
Once I had all the pieces cut to the right lengths, widths and ripped to the required thickness, I started work on the joinery. I decided to use half laps for the side frames due to the high surface area providing a lot of gluing surface.
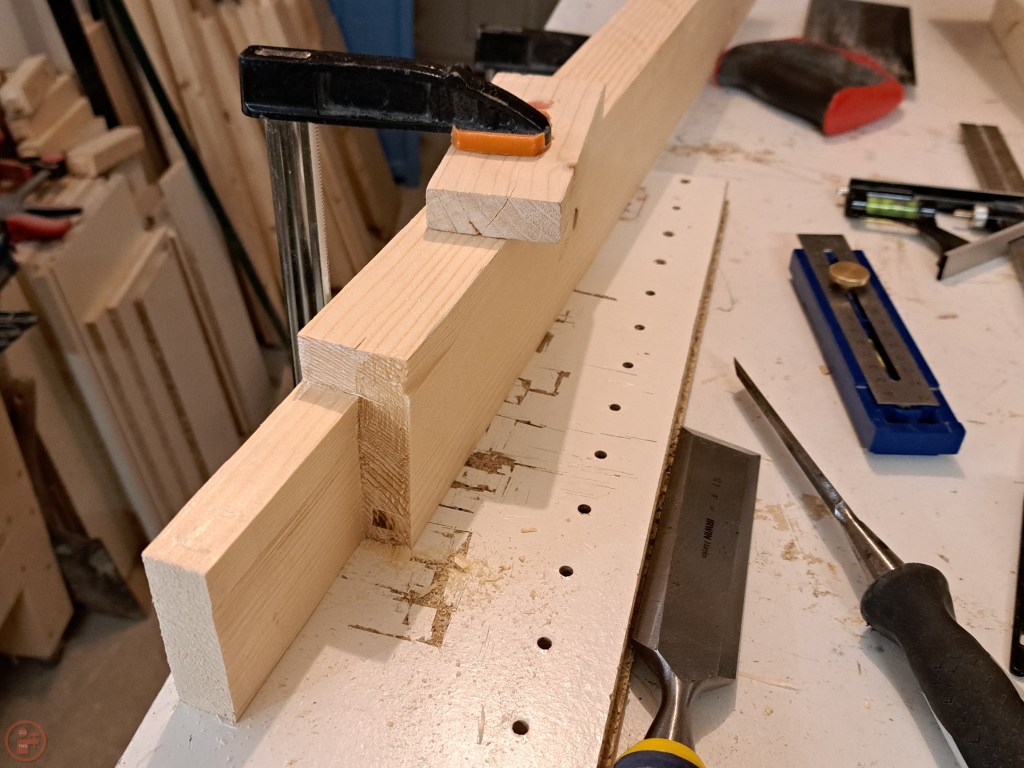
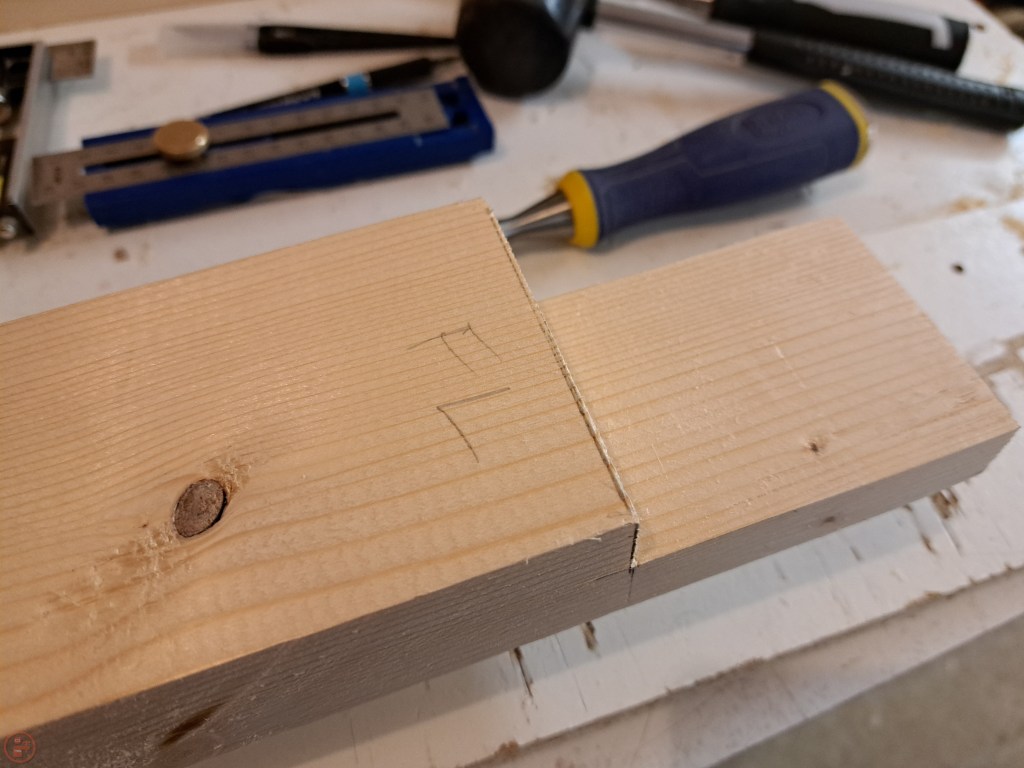
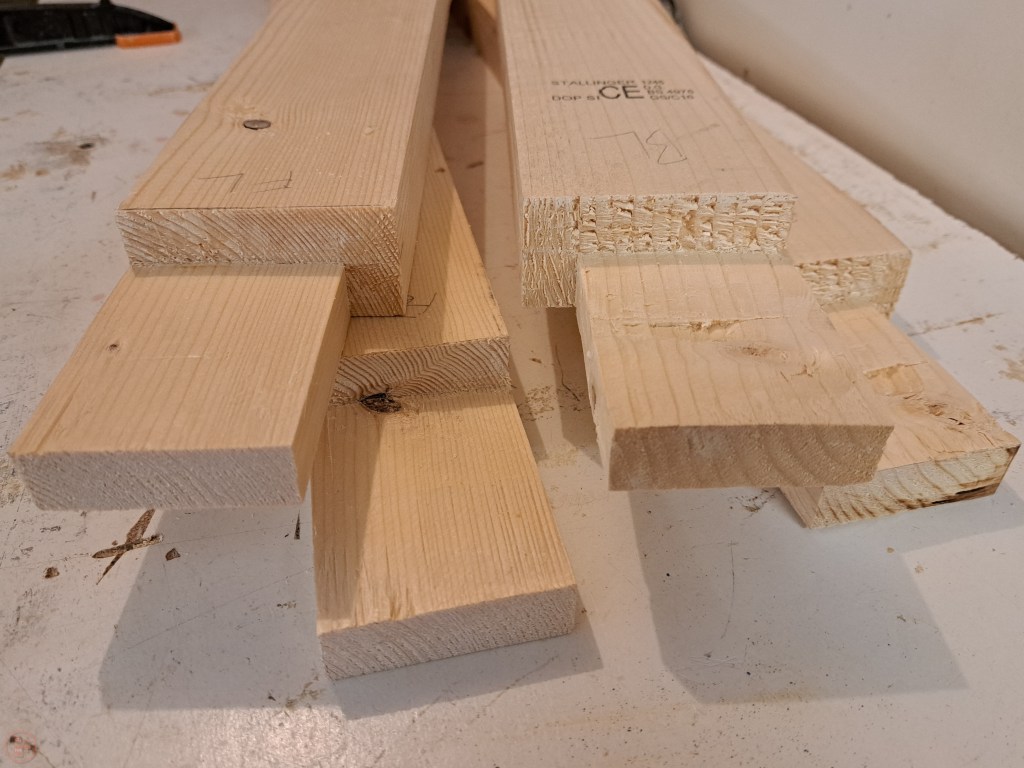
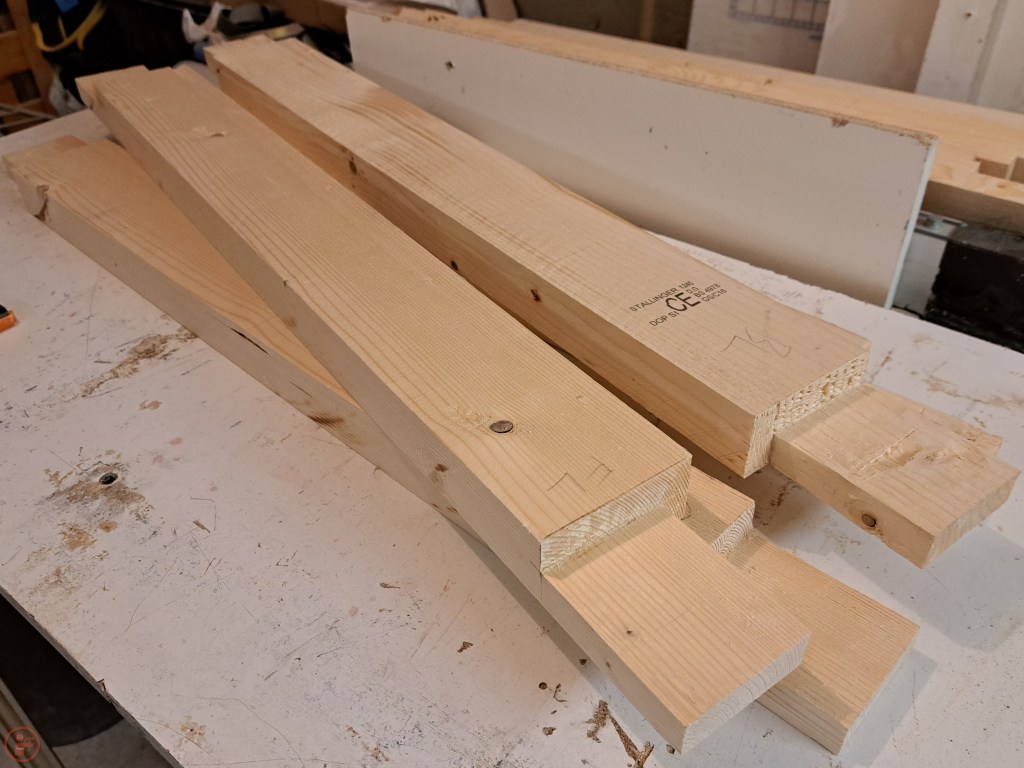
I used a hand saw to cut the majority of the waste material off for each joint and then tidied them up using chisels. Once I had all four completed, taking care to ensure I had two pairs of mirror images, it was time for assembly.
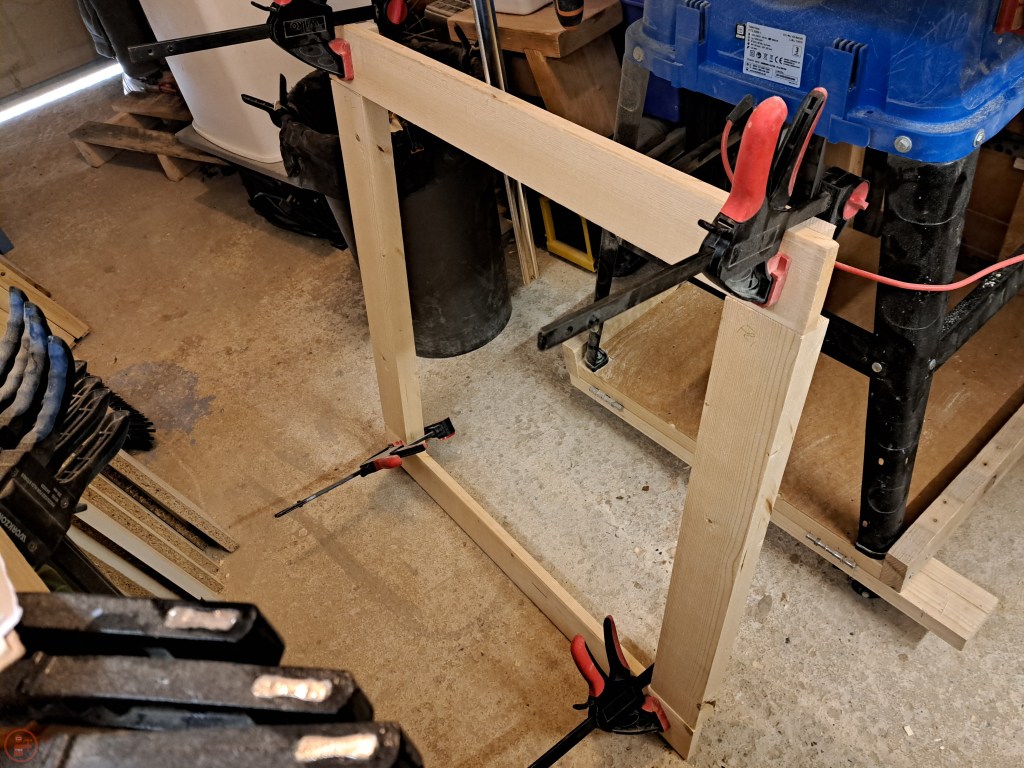

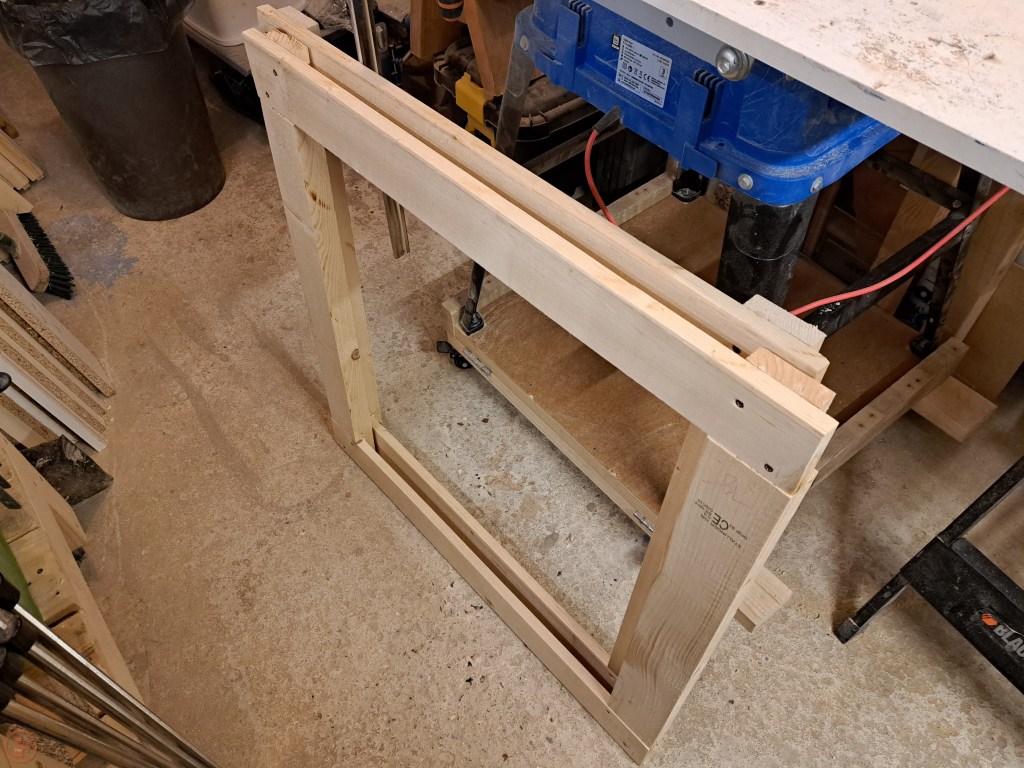
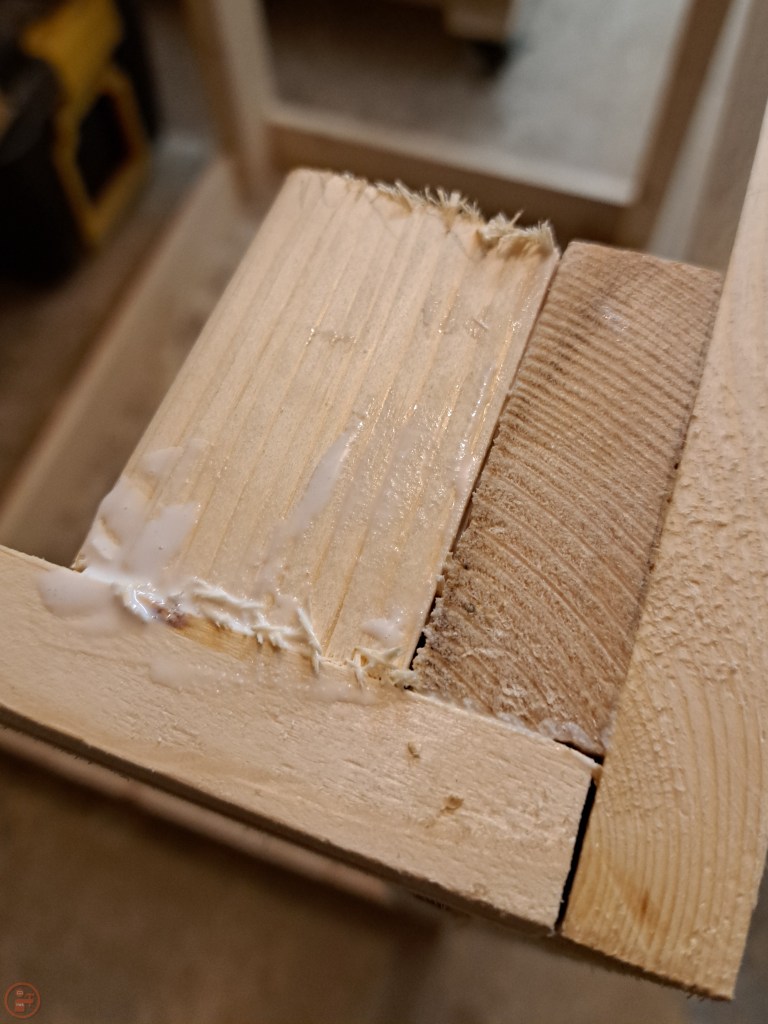
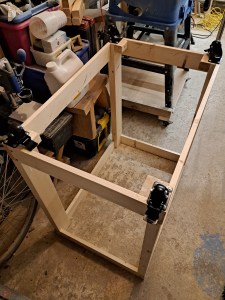
I used glue and screws to fix each piece in place, which allowed me to keep working, with the screws holding everything in place while the glue dried. I made sure each corner was 90 degrees using my square as I secured the screws in place. And after getting covered in a lot of glue, I ended up with two long side frames that were the same size and shape.

I fixed the two frames together using the short side stretchers and glued and screwed them in place too, resting the bottom of the stretcher on the notched out shoulder in the half lap.
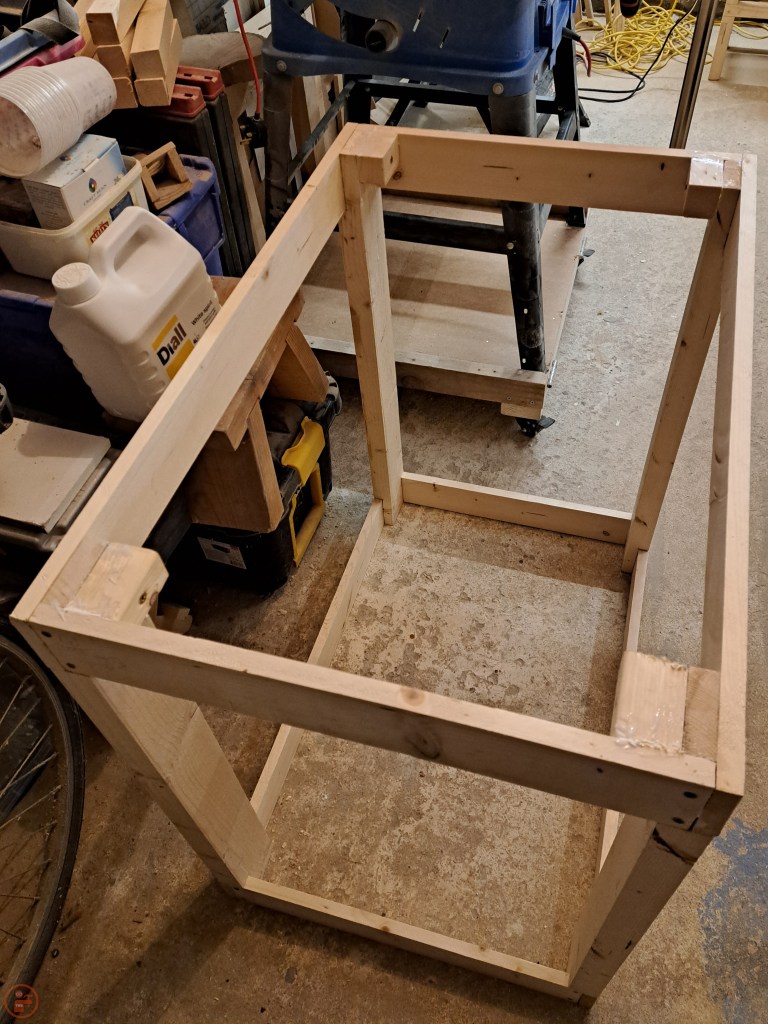
Everything in my workshop is mobile and on casters, so I can easily move things around depending on the projects I am making. I glued and screwed an extra block in place on the bottom of each corner of the shop cart to give me sufficient area for each caster to sit.

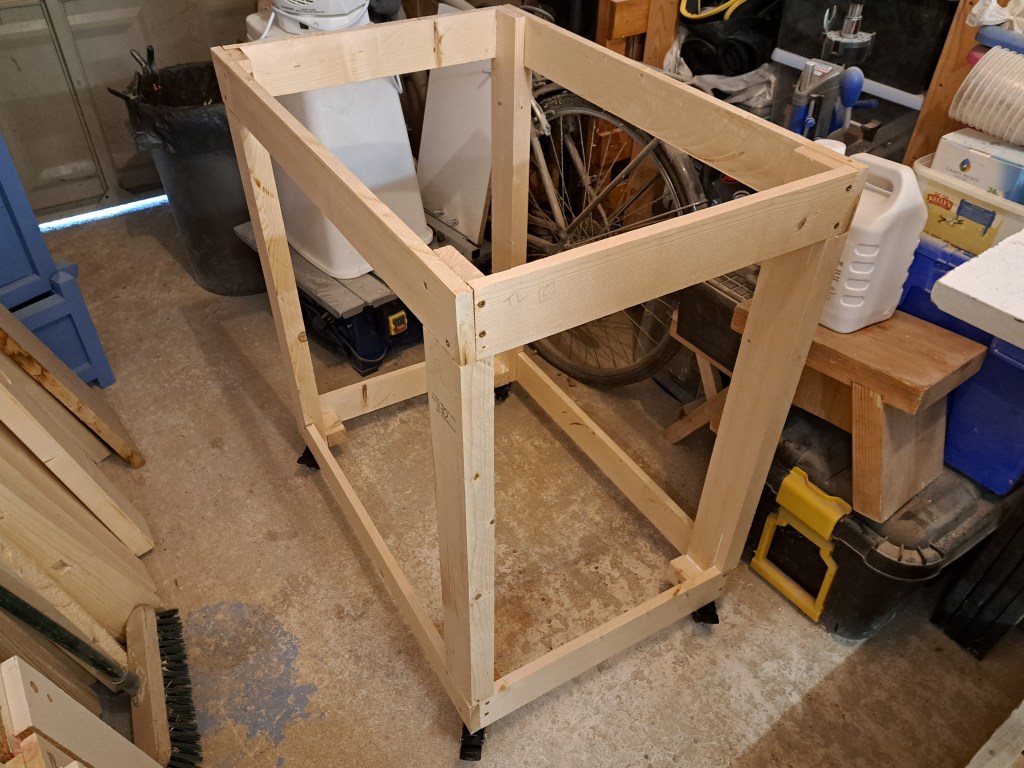
I mounted four swivelling and locking casters to the cart, one in each corner, which was a very quick process with the cart upside down.
I flipped the cart the right way up and then focused on putting a solid top and shelf in place. I used some 18mm mdf for both, as it was something I had already, and as this is a workshop piece, it doesn’t have to look pretty – just functional!

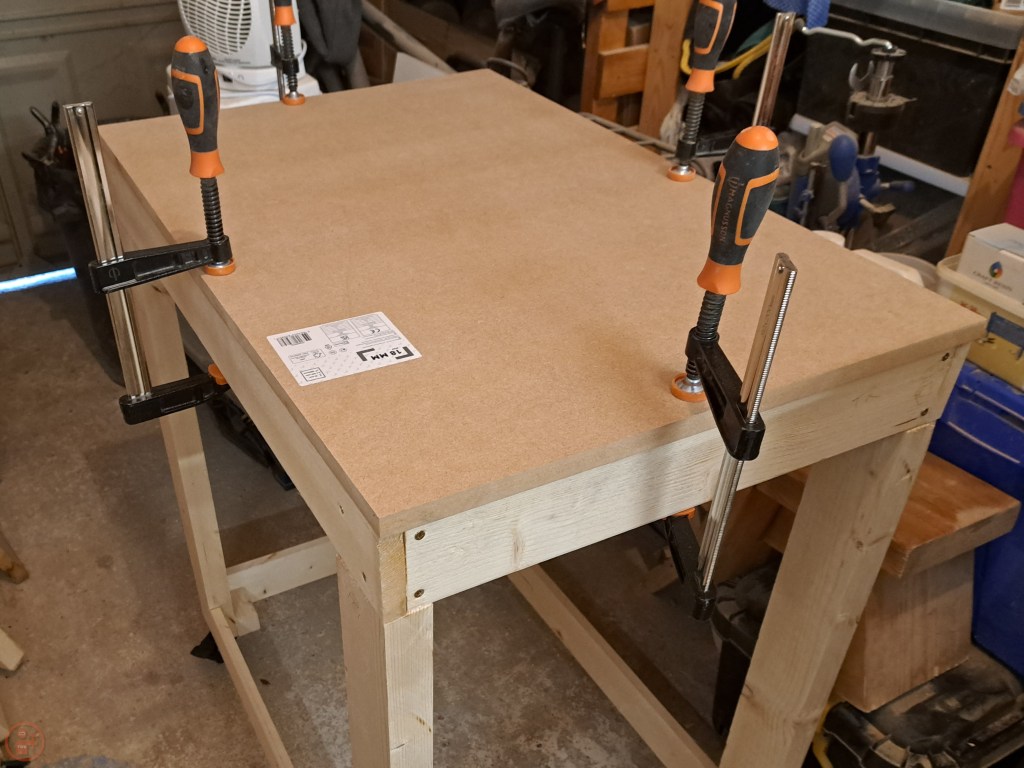


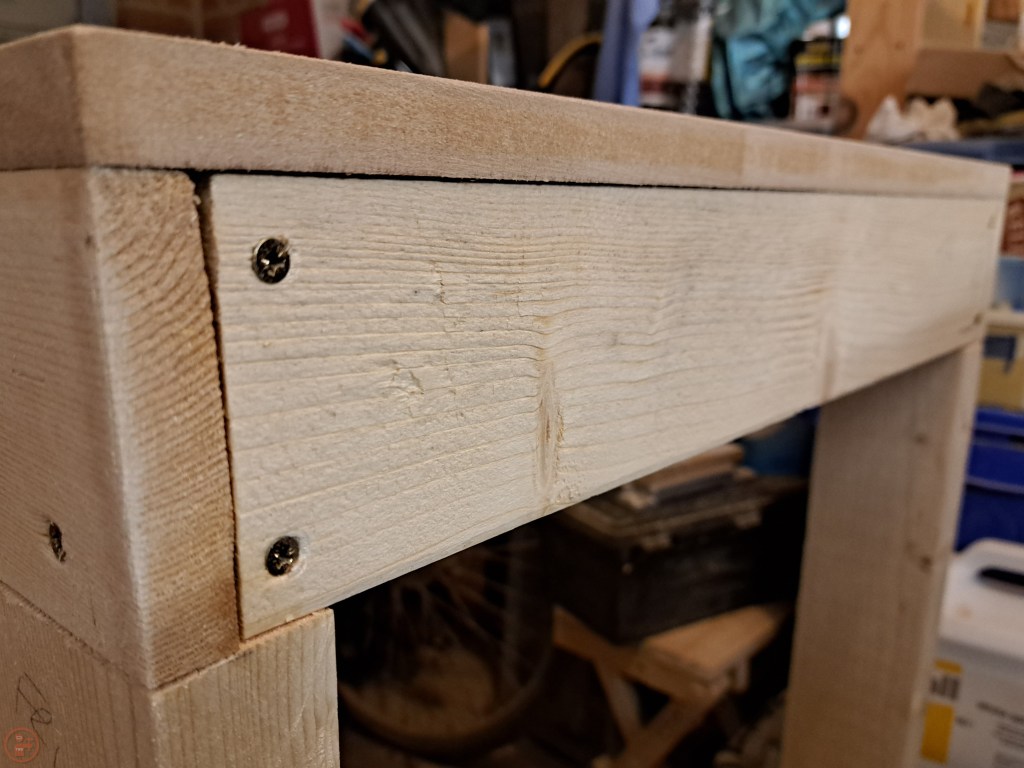
I fitted the mdf to the top and clamped it into place. I drilled and screwed the top into the frame, counter sinking the screw heads below the surface. I then used an offcut as a fence to trim the overhang flush using my palm router with a straight bit. I could have used a flush-trim bit, but I didn’t have one at the time with a bearing at the bottom. I trimmed up the top surface and then repeated the whole process for the lower shelf, notching out the sections for the legs using a hand saw. Some gentle persuasion with a mallet and the shelf was in place!
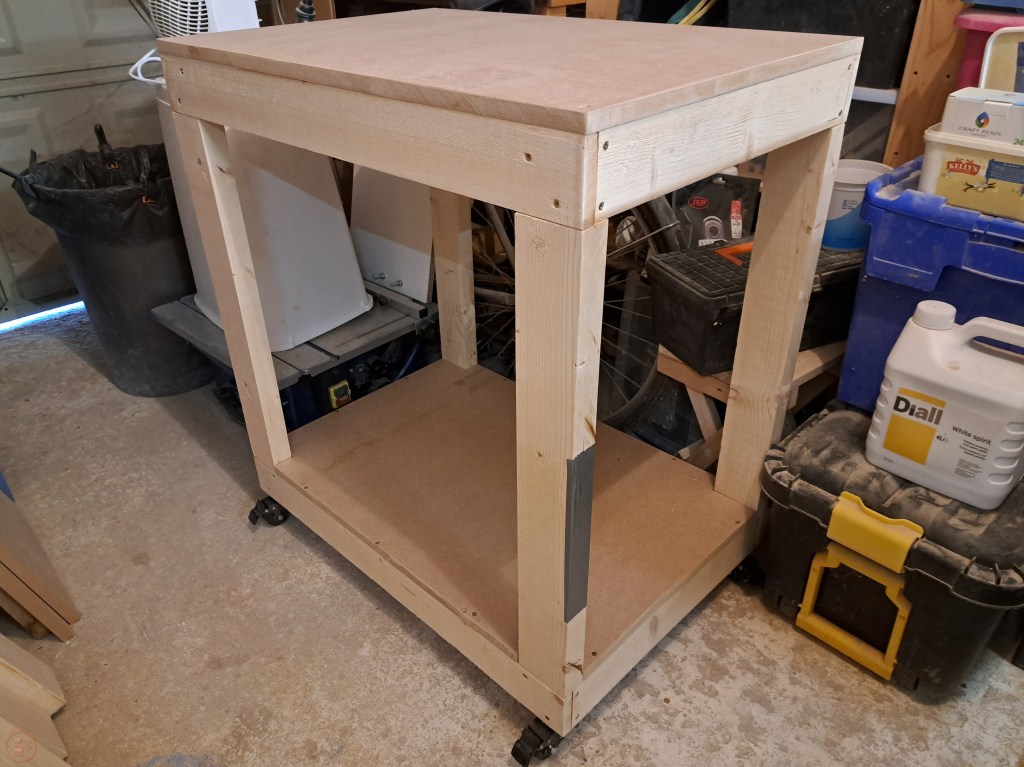
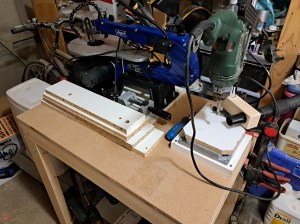
This will be a very useful shop cart, to hold various power tools, as well as be an additional surface for me to put things down on. I am also very happy with how well the lower shelf fitted in place and will give me space for future storage as I continue to optimise the workshop.
I really like projects where the outcome is a functional item, as I will be reminded that I made that thing each time I am using it. And yes, I will have to work hard to make sure the top remains usable and doesn’t become a dumping ground for off-cuts, clamps etc! 🔨

2 thoughts on “Shop cart – Part 1 Frame and Top”